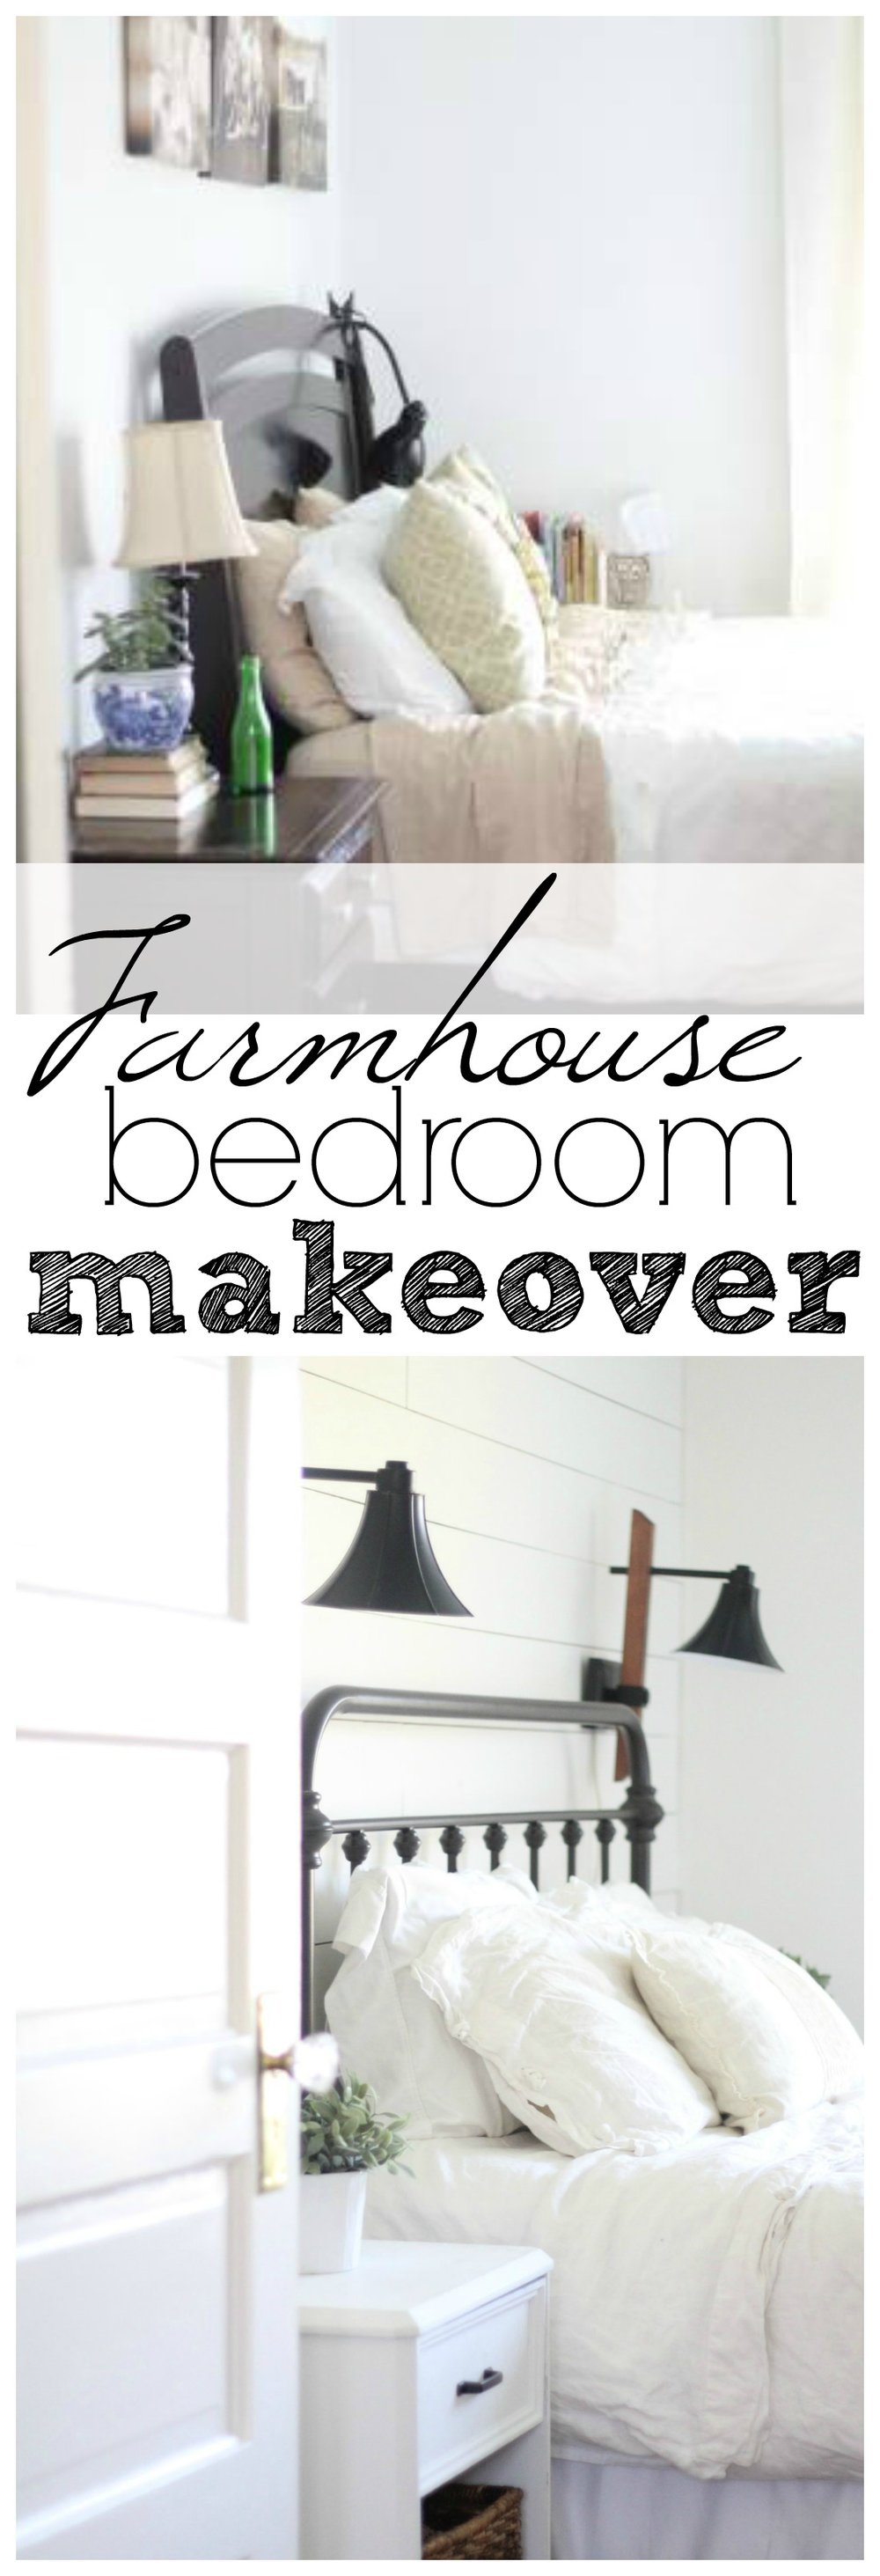
Hello friends! Last time I talked to you about our farmhouse makeover in Part 3 I was still waiting on night stands, bedside lamps, a chandelier and an antique wardrobe that is hanging out in our garage, waiting to be redone.
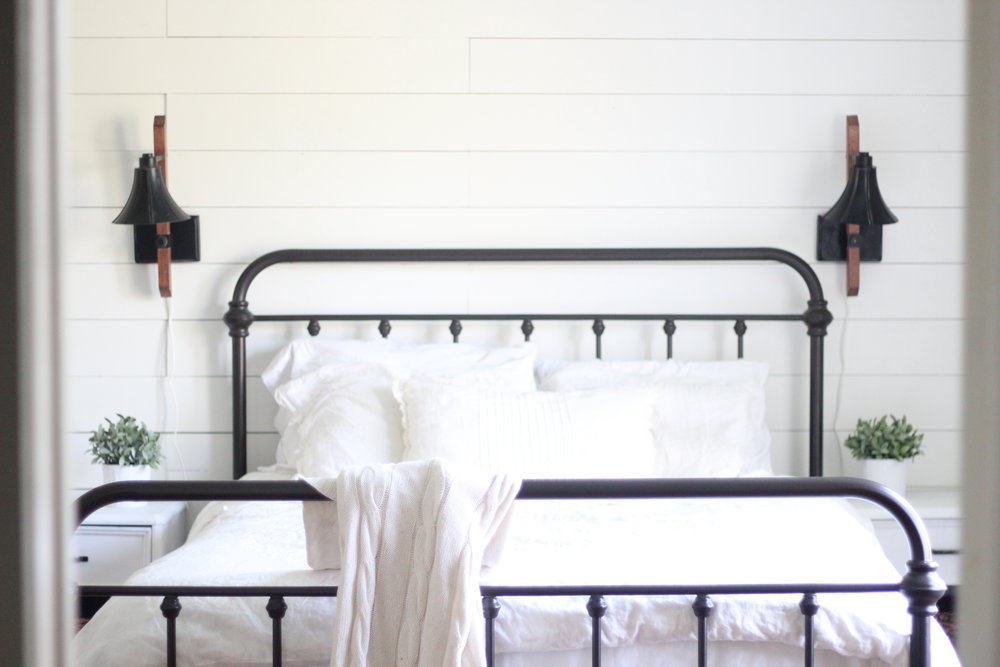
If you remember, I started this whole transformation back in May with Part 1 . I had a cherry colored bedroom set, from Ashley Furniture, that totally didn’t fit my style. Over the past five months, I have sold the old bedroom set, purchased my iron bed from Target, installed the shiplap wall in Part 2, added a Rugs USA jute rug and brought in an antique dresser that I refinished with milk paint. That brings me all the way up to the last month, where I added some new bedside lamps and a set of night stands.
I recently struck garage sale gold when I stumbled across two old light fixtures and a high back apron front farmhouse sink all for, get this…….$40!! I know. I know. Crazy.
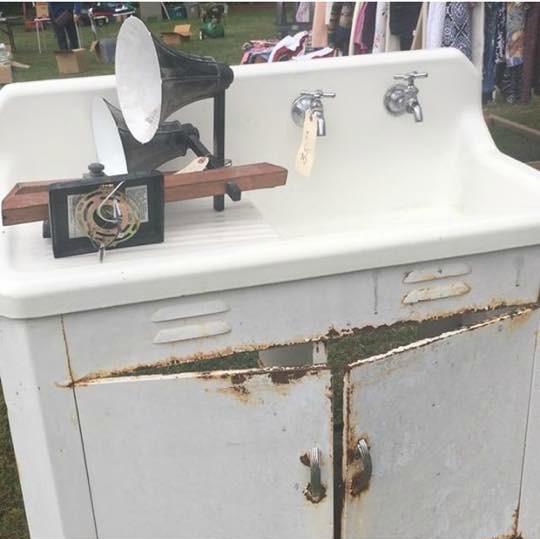
I snapped the picture above before I sped off to the bank to get the cash. The ATM was less than a mile away, and I promised them I would be right back, but I was so worried they would sell my goodies while I was gone. When I got back, I found them just as I had left them, unpurchased.
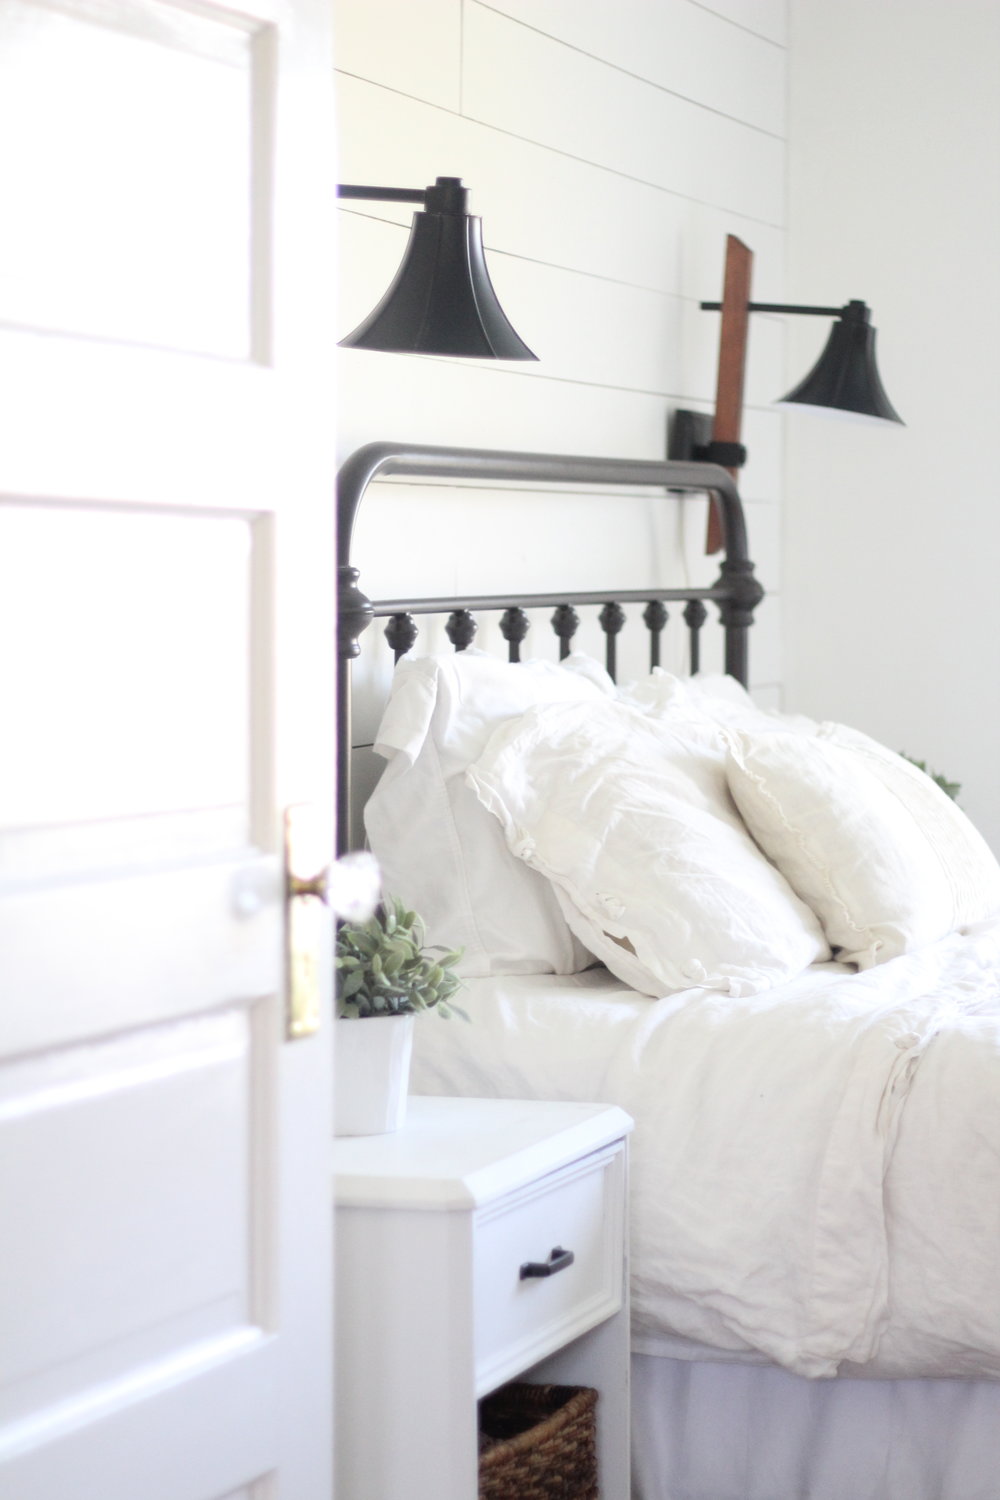
I knew the fixtures would look awesome next to the bed, even though they weren’t at all what I had originally planned. And at five bucks for the pair, they were definitely worth a shot. Since my husband and I are nowhere near electricians, I knew we would have to find a way to make them plug-in bedside lamps.
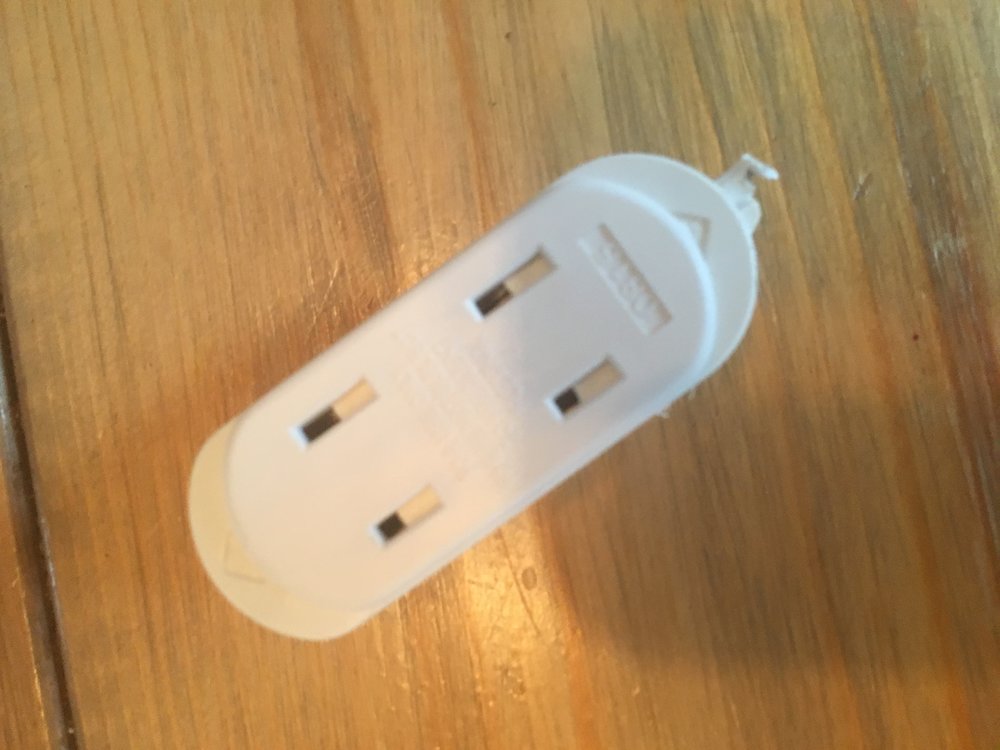
I went to Lowes and purchased a couple extension cords, electrical connectors, lamp switches and two pan boxes.
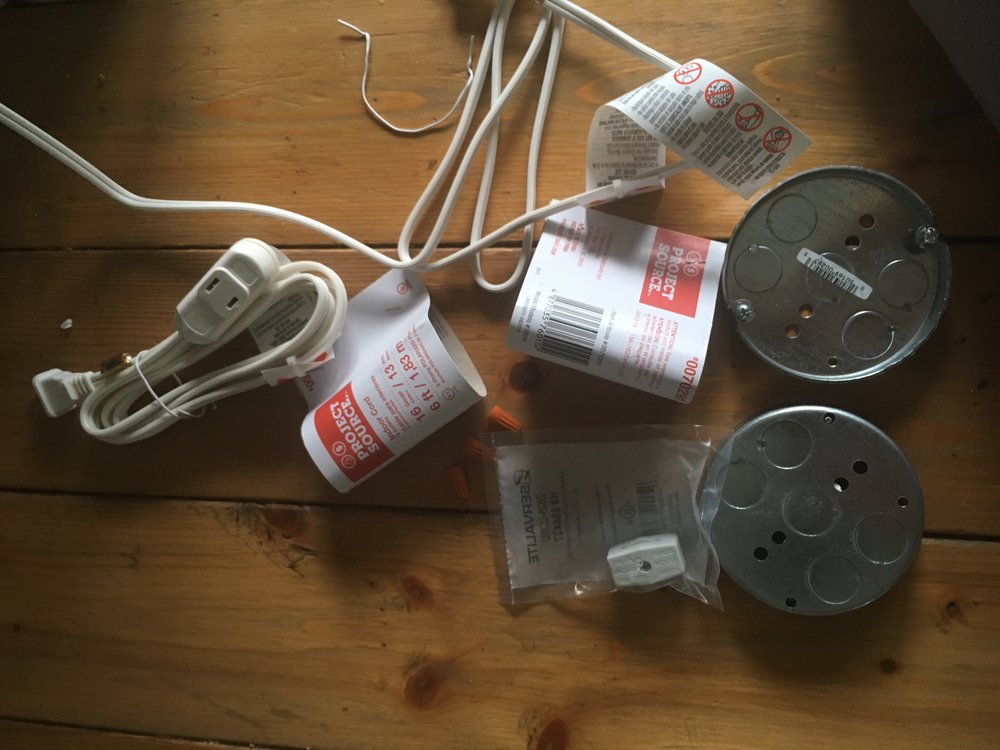
We cut the ends off of the extension cords, so we could wire them to the light fixtures.
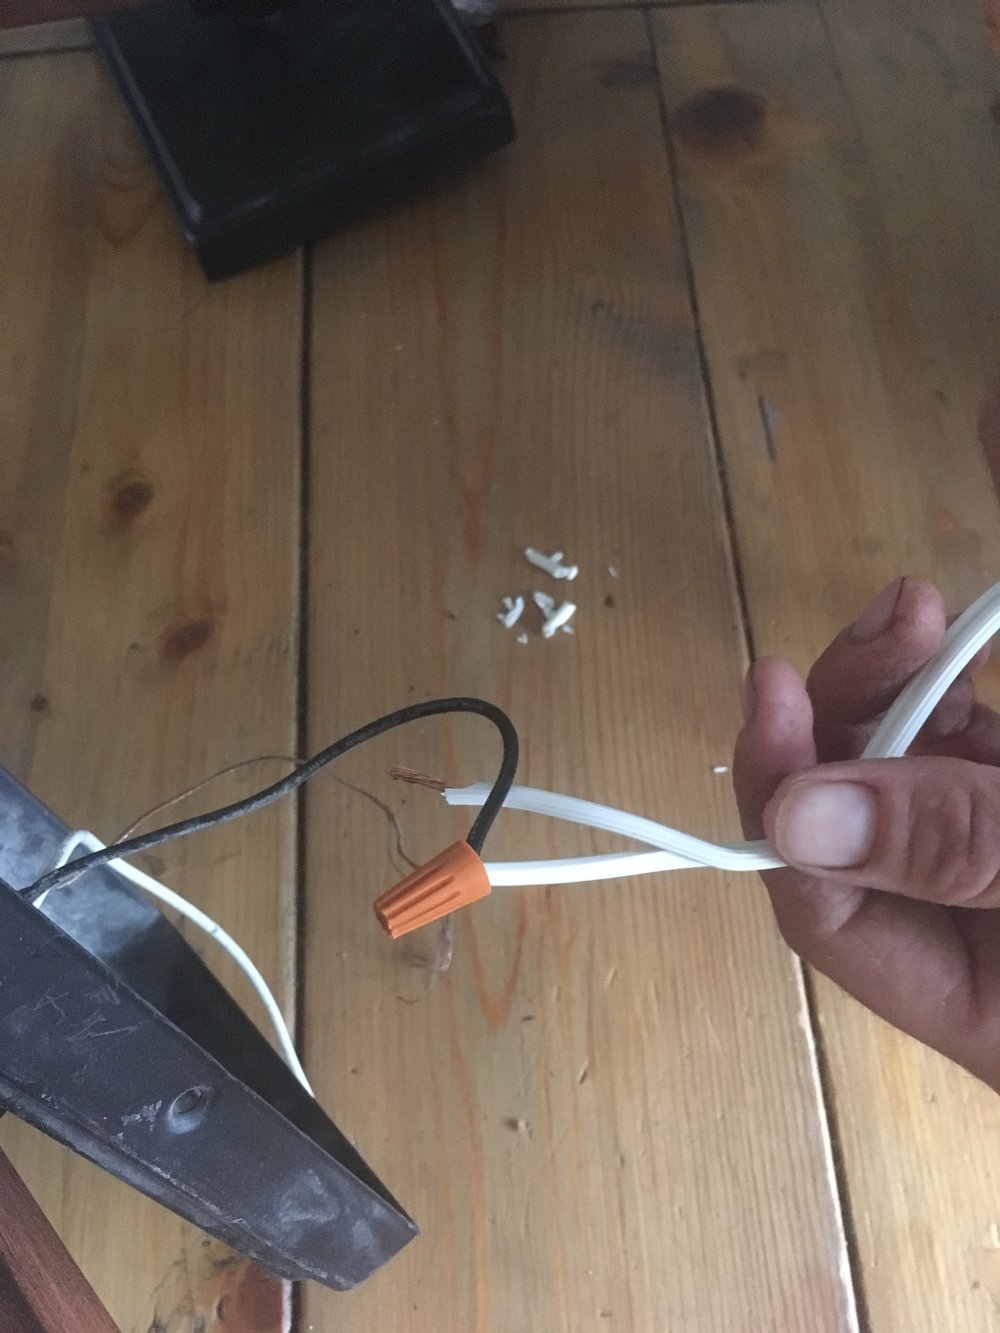
When I say we, I really mean my husband did this entire project. All I did was find the lamps at a garage sale and tell him where I wanted them hung on the wall.
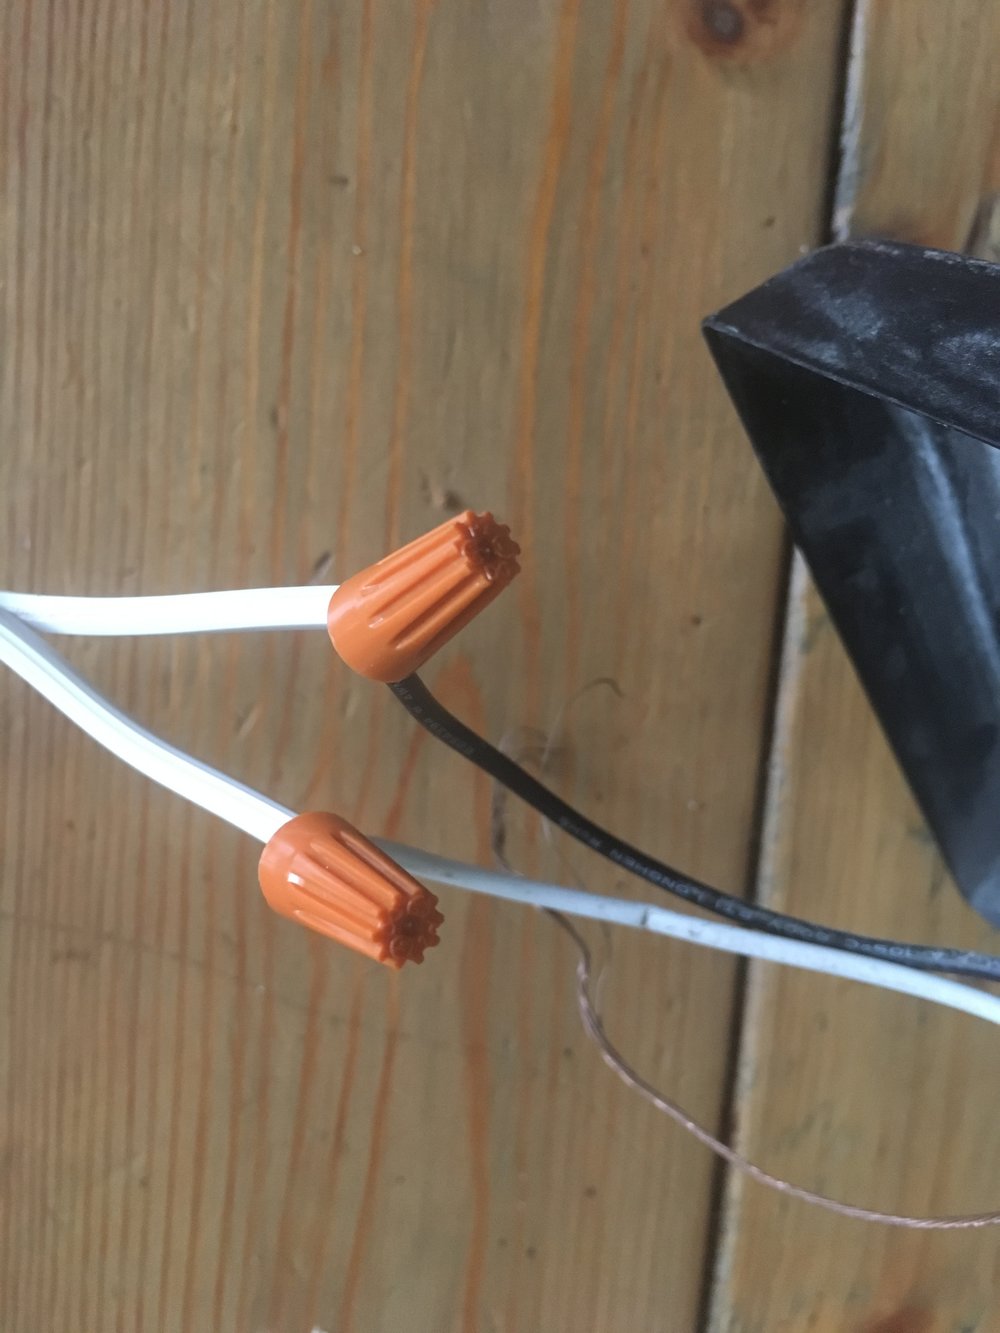
After he got them all wired up, he attached them to the wall with the pan box. All that was left was to install the in-line switches onto the lamp cords.
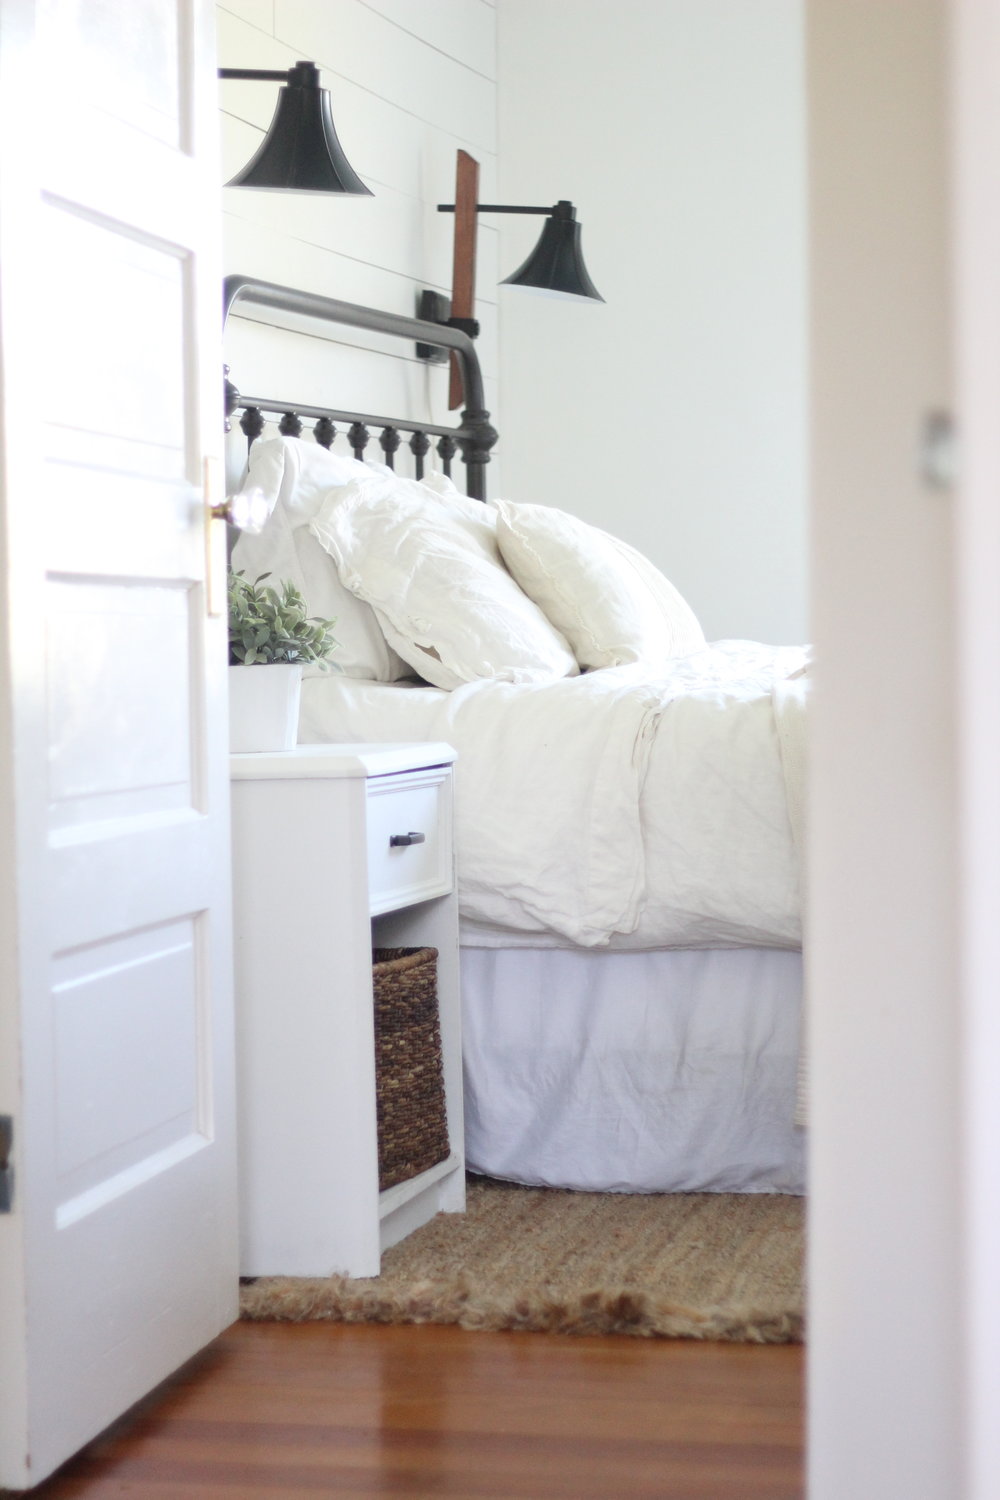
The night stands were also thrifty finds that i snagged up on Facebook marketplace. I paid 50 bucks for the pair and gave them a new coat of white chalk paint. I added some target milk crate baskets that I already had laying around. In Part 3 I had a small dresser for a nightstand, but I ended up selling that on buy, sell, trade. I didn’t like that I couldn’t find a matching one for the other side of the bed, and it was too tall.
As you can see, my ideas and plans change a lot over the months that it takes for me to pull together a room. I am happy with the way it is turning out so far.
Thank you for stopping by!
Check out the other posts in this makeover here:
Part 1
Part 2
Part 3
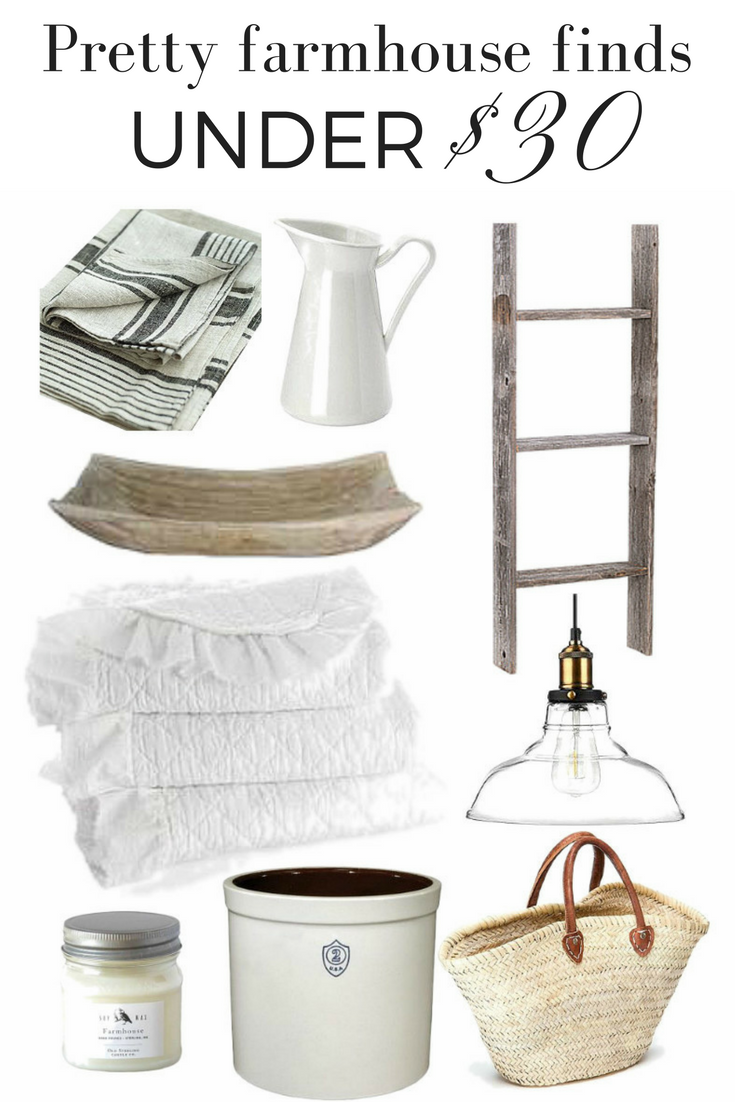
Check out these pretty farmhouse finds for under $30!


Lisa Bass says
Thanks so much!
Louise Laprade says
I just love those people who know how to turn old stuff into great things. You have done an amazing job in this bedroom. The look is lots more in the calm side. Enjoy your new bedroom. Congratulations!
Lisa Bass says
Thank you so much!
Kara Beach says
You have completely inspired me to shiplap my bedroom wall and sell my upholstered headboard. Thank youuuuu!!!
Lisa Bass says
oh Yay! You will love it! 😉
Liz says
I love the room and this is essentially EXACTLY what I have in mind for my master. I hadn’t seen it all put together in one place until I saw your post… I’m so excited! Question: I’ve looked at that same bed from target and read ALL the reviews. Is it squeaky/cheap/shaky? I love the look but have never had an iron bed so I’m unsure about the purchase. Anyhow, LOVE the makeover… you nailed it:)
Lisa Bass says
Yay! So funny how we can find exactly the vision we have in mind, all put together, somewhere on the great big internet. I do that all the time also! 🙂 Also, yes we love our bed. I don’t find it to be cheap. Although, I have had the question a lot, so maybe it has notoriously bad reviews. We personally have no problem with ours!
Jenna says
Hey! I just have a question about your iron bed from target… My mattress combined with the bed frame is pretty high. Does the iron bed extend at all? I’m just worried that I’ll order the bed and it will end up looking ridiculous because my mattress is so high that it covers most of it.
Your room looks beautiful by the way! I love the wall!
Lisa Bass says
I actually have the full size boxspring and it works fine. I may invest in the low profile one eventually, because I would like it to cover up less of the bed frame.
Angela says
What size shiplap did you use? I’m doing the same look (which I love) in my guest bedroom and I can either use 6” or 8”. Your room looks amazing. Thank you for sharing!
Katty Balle says
This was a cool step-by-step journey into that farmhouse bedroom makeover. The changes are drastic — as they should be. Thank you for sharing.