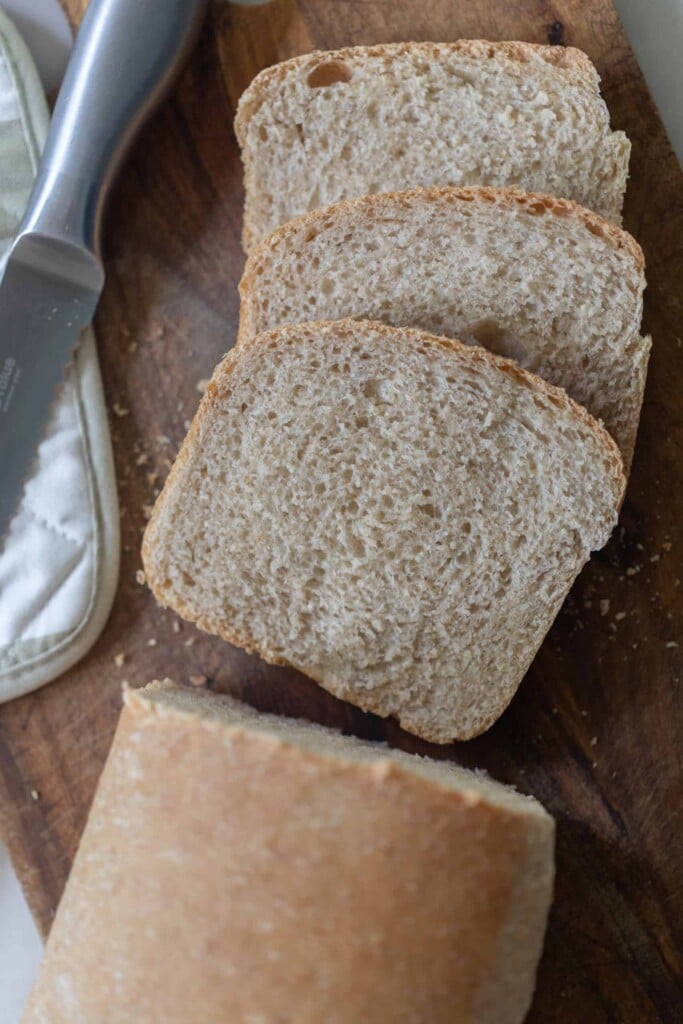
Bake the perfect loaf of whole wheat sourdough sandwich bread with this easy-to-follow recipe. A beautiful, flavorful loaf that will be loved by friends and family and become a staple in your house.
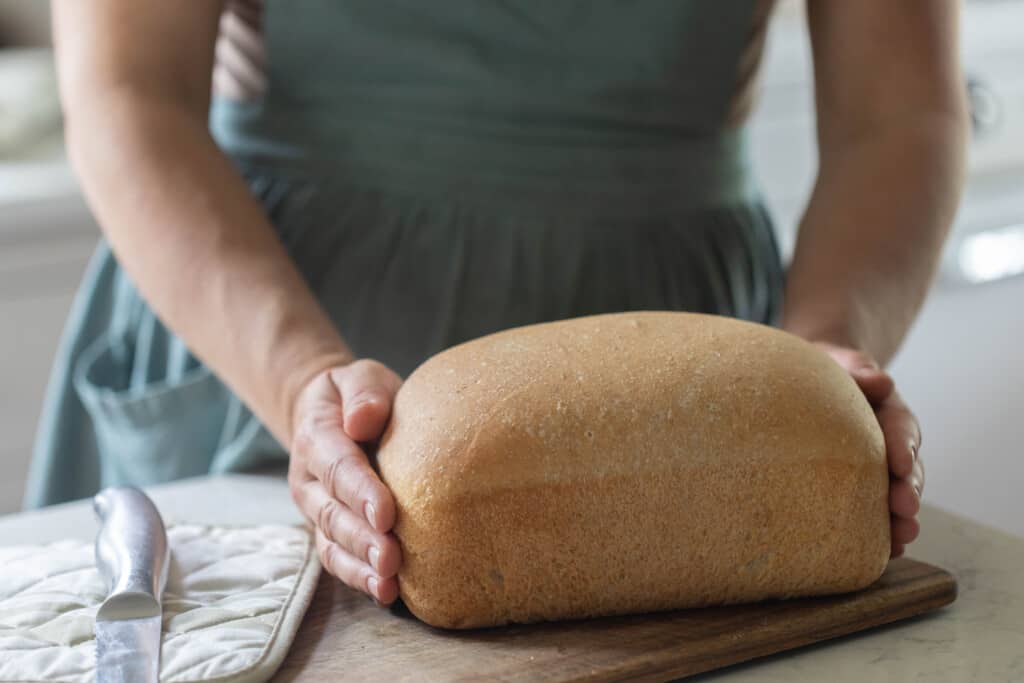
Are you tired of store-bought bread that just doesn’t cut it in terms of taste and nutrition? Looking for a healthier and more satisfying alternative? Well, look no further!
This honey wheat sourdough sandwich bread is a delicious soft sourdough sandwich loaf perfect for sandwiches, french toast, and toast.
Whether you’re a seasoned baker or a newbie to bread-making, this is a super easy recipe that is a true winner. Throw the ingredients into a stand mixer, let it work its magic, let it rise, shape, rise and bake.
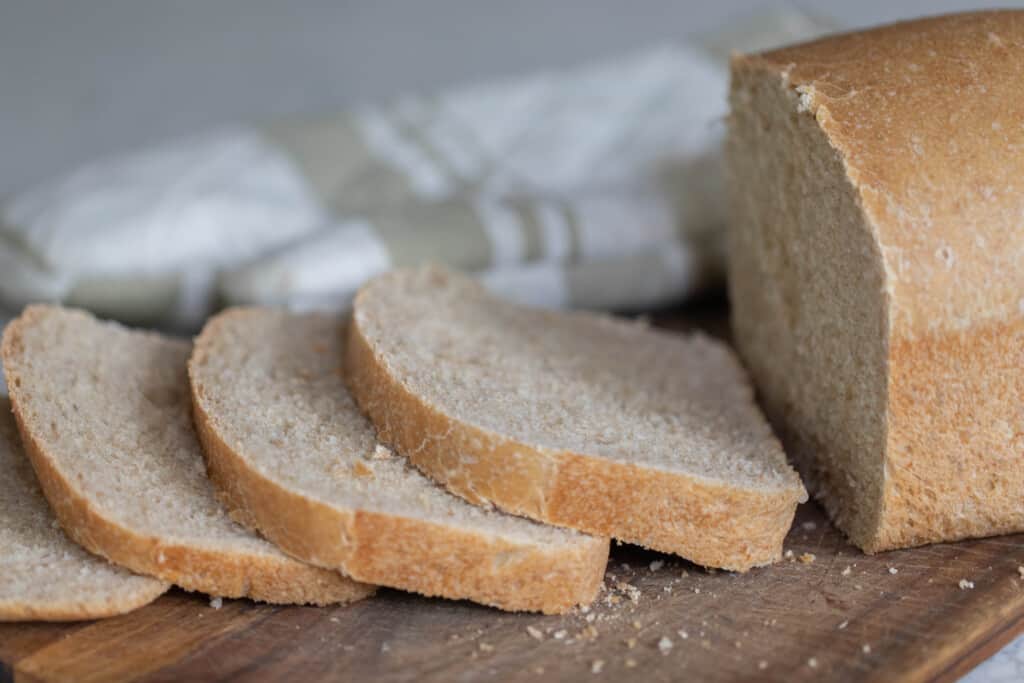
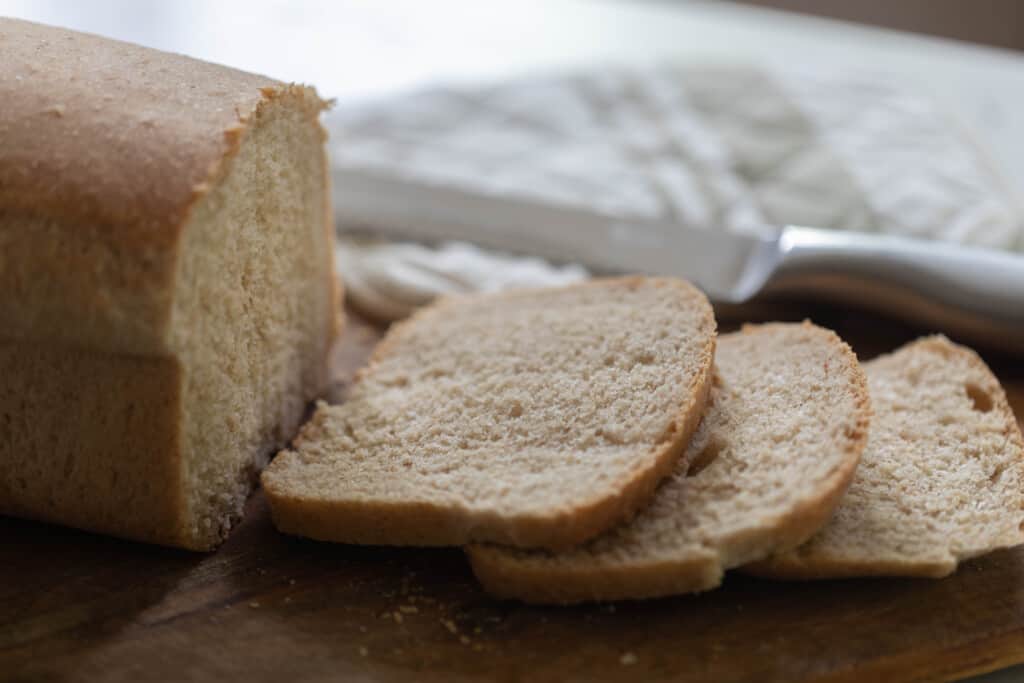
A mixture of whole wheat flour and all-purpose gives this bread the fluffy texture perfect for deli sandwiches or even the classic peanut butter and jelly.
Homemade bread is one of my favorite ways to bless my family. There is just something about creating something from scratch with a few simple ingredients that is healthier than any bread you can find at the grocery store.
This is a twist of the perfect sandwich bread recipe (found here), that you can make a little healthier with the addition of wheat flour.
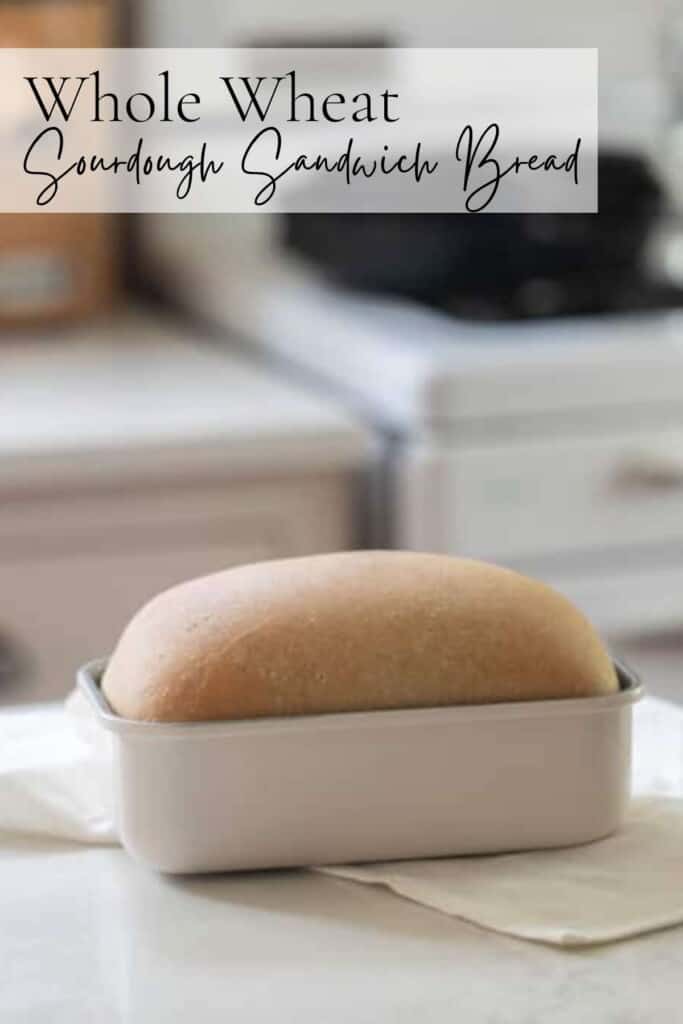
Why you will love this recipe:
Healthier: This bread is not only delicious but also much healthier than its store-bought counterparts. Made with whole wheat flour and sourdough starter, it’s packed with nutrients and has a low glycemic index, which means it won’t cause a spike in your blood sugar levels.
Versatile: You can use it to make a classic sandwich bread or use it in other recipes like grilled cheese. The sourdough starter also gives the bread a tangy flavor that pairs well with a variety of toppings and spreads.
Rewarding: Lastly, making your own bread from scratch is a rewarding experience that can bring a sense of accomplishment and pride. Plus, the aroma of fresh bread wafting through your home is hard to beat. With our recipe and tips, you’ll feel confident and excited to start your bread-making journey.
Tips:
- Use really soft butter and cube it up so it blends together easily.
- Be patient with the rising process. Sourdough bread takes longer to rise than traditional bread, but this slow rise is what gives it its unique flavor and texture. If you’re in a rush, you can try placing the dough in a warmer spot to speed up the process, but be careful not to let it rise too quickly.
- Don’t over ferment the dough. It will turn into a wet sloppy disaster that won’t rise well. Still edible. Maybe. It could also be turned into sourdough croutons.
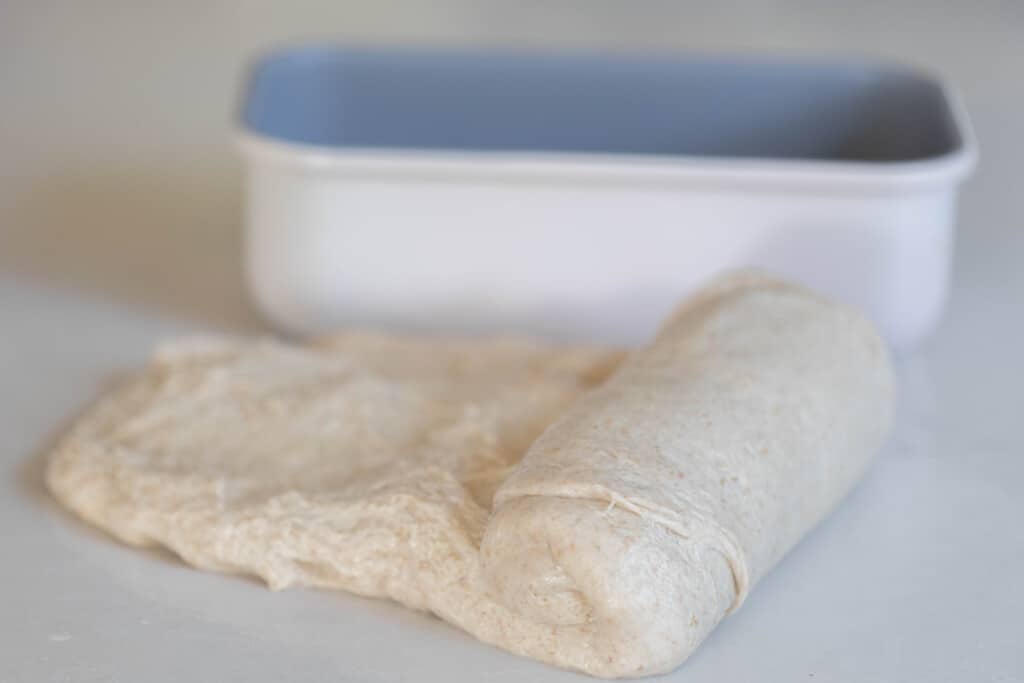
- Make sure to create a tight surface on the outside of the dough when rolling it up. This will help trap in the gases created during the rising process and ensure that your bread has a good structure.
- If you do not have a stand mixer, you can use the stretch and fold technique. First three stretch and folds every 15 minutes and then the last three stretch and folds every 30 minutes.
- If you are new to sourdough, you can check out how to make a sourdough starter here, find my sourdough conversion chart, and baking glossary of terms.
Dough Ingredients:
Butter (softened) or coconut oil. A key ingredient to soft sourdough sandwich bread.
Honey or maple syrup – Adds just the right amount of sweetness
Salt – Don’t skimp on the salt – it adds so much flavor.
Active sourdough starter – Active and bubbly. This natural leavening agent is what makes sourdough bread rise. If you don’t have a starter, you can make one from scratch or buy one from a bakery or online. This adds more complex flavors with the tangy sour flavor from the wild yeast.
Water – Use filtered or spring water to ensure your bread has the best possible flavor. Tap water may have too much chlorine in it which can inhibit the natural yeast in the sourdough starter.
Whole wheat flour – This forms the base of your bread and gives it its hearty, nutty flavor. I usually use fresh milled hard red wheat flour.
All-purpose flour – Could also substitute with bread flour. The combination of all-purpose flour and wheat flour gives the best soft texture.
This post contains affiliate links, which means I make a small commission at no extra cost to you. See my full disclosure here.
Tools:
Stand mixer with dough hook attachment
How To Make Whole Wheat Sourdough Sandwich Bread
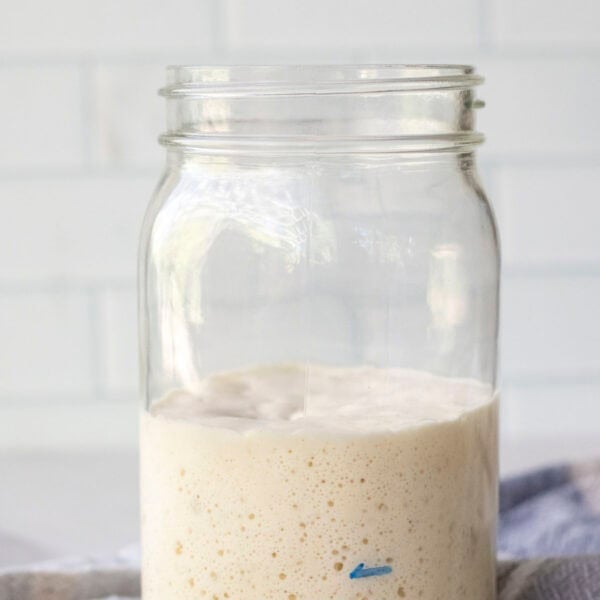
About 4-12 hours before you start the dough, feed your sourdough starter. You want a very active starter that is nice and bubbly.
To a bowl of a stand mixer, add all of the ingredients. I like to add the flour last, so I can add a bit less or more depending on my starter’s hydration.
Knead until dough is stretchy and smooth. You want it to pull away from the sides of the mixing bowl and be smooth and elastic – about 10 minutes. It should pass the windowpane test. Grab a small ball of the dough and stretch it into a square. It should stretch thin enough to see through it without breaking.
Place the dough in a large bowl with a little olive oil.
Allow to bulk rise for 10-12 hours in a warm place like on top of a stove or refrigerator covered with plastic wrap, a tight lid, or beeswax wraps. Rise time will depend on the temperature of your home and how active your sourdough starter is.
Tip: If you would like to long ferment this recipe for digestion reasons, I would suggest placing the dough in the fridge after the bulk fermentation and after it has been shaped and placed in the loaf pan.
In the summer, I ferment mine more like 8 hours but can get away with longer in the colder months.
Shape The Loaves And Rise
Grease a loaf pan or add parchment paper.
On a lightly floured surface shape the dough by rolling the dough flat with a rolling pin into a rectangle and roll it up.
Add shaped dough to the greased loaf pan. Cover with a tea towel.
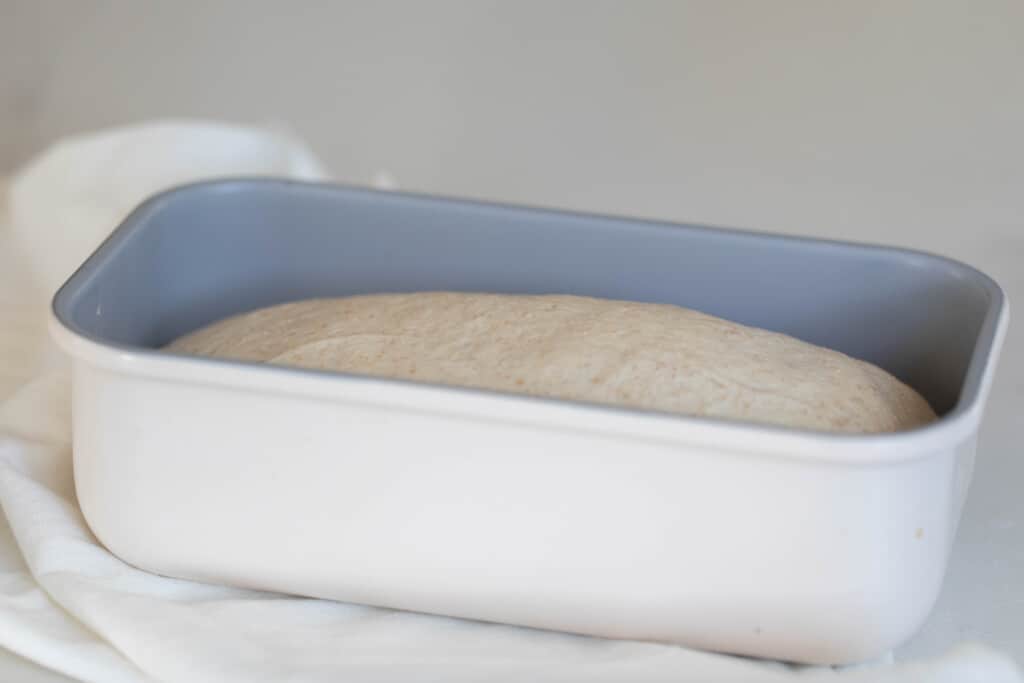
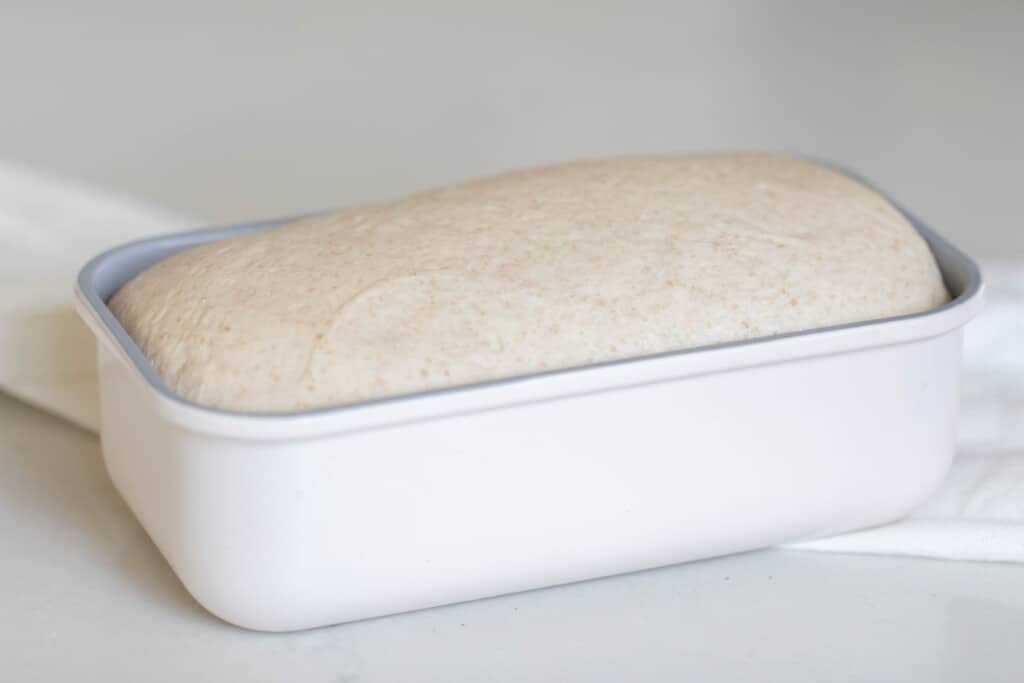
Let the dough rest for the second rise for 2-4 hours in a warm spot, or until doubled. Again this depends on the temp! It could be as little as 1 hour if the house is warm and the starter active. Do not skip this step. It adds volume and strength to the dough.
Bake
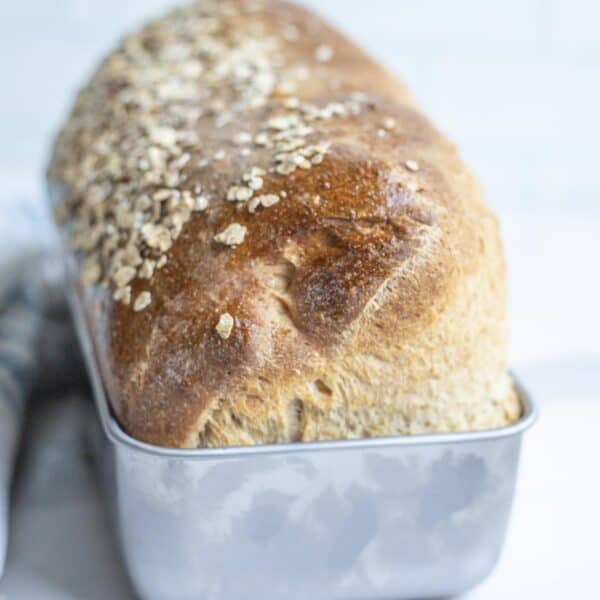
You can add an optional egg wash to the top of the dough for more browning.
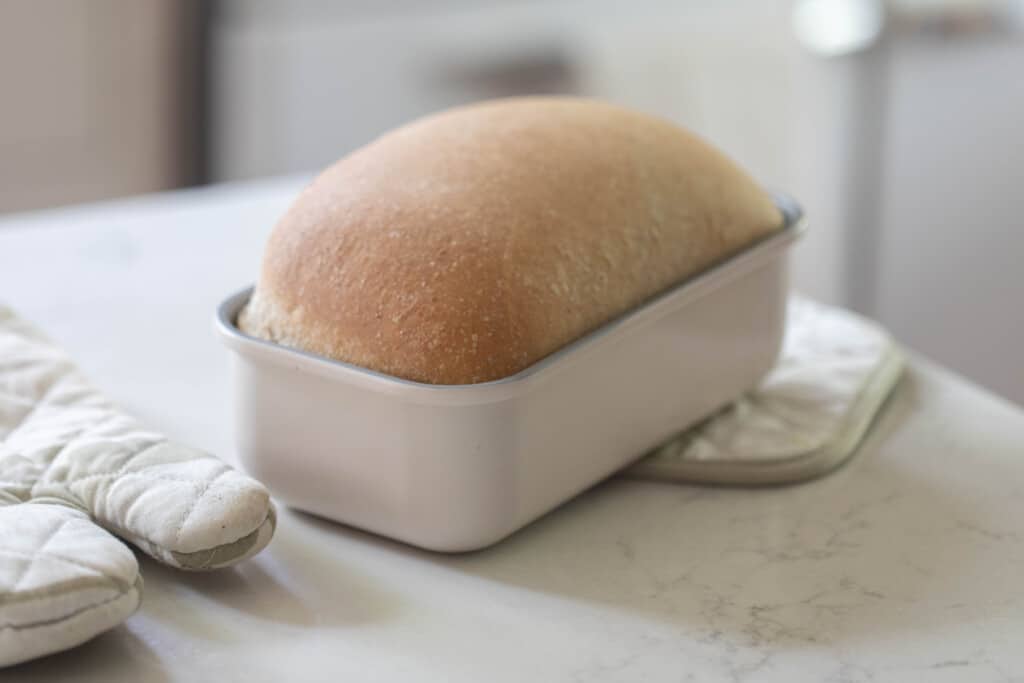
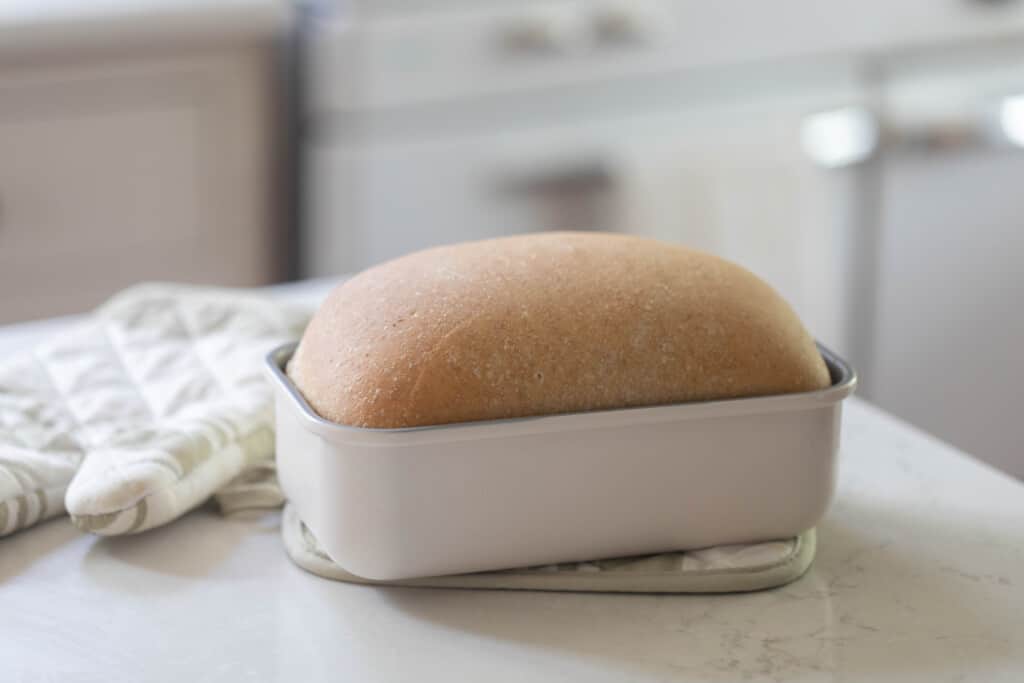
Bake at 375 for 45 minutes, or until golden brown on top.
Allow to cool completely before slicing.
Storage:
Store in an air-tight container for up to five days for best results. A bowl with a lid, ziplock bag, or bread box works well.
You can also freeze loaves in freezer safe plastic bags for 3-6 months.
FAQ:
Full of vitamins, minerals, and fiber, this bread is a great healthier option.
Sourdough sandwich bread is healthier compared to regular bread because the fermentation process breaks down the phytic acid making the nutrients in the grain more easily absorbed by the body. The gluten is also broken down making it easier to digest, so you may have less stomach issues after eating.
Whole wheat sourdough is made with whole grains which contain more fiber and nutrients compared to regular sourdough made with all-purpose flour. All purpose flour has the bran and germ removed which is where all the nutrients are contained in grain.
It does! While 100% whole wheat sandwich bread does exist, the texture may be a little dry for the liking and difficult to make.
I suggest mixing whole wheat flour with regular flour for the best texture. For a 100% whole wheat loaf, try this recipe.
Sample Baking Schedule:
9 AM: Feed sourdough starter
7-9 PM: Add all the ingredients to the stand mixer and knead together until smooth and stretchy.
Ferment until doubled. I usually let this happen and room temperature overnight.
8 AM the next day: Shape and place into the bread pan. Cover and allow to ferment for 2-4 hours.
10 AM-12 PM: Once it has doubled. Bake.
Find more sourdough recipes:
- Sourdough Discard Bread
- Same Day Sourdough Bread Recipe
- Sourdough Beer Bread Recipe
- Beginner’s Sourdough Bread Recipe
- Delicious Sourdough Breadsticks
If you try this recipe and love it, I would love if you could come back and give it 5 stars! Tag me on Instagram @farmhouseonboone .
Whole Wheat Sourdough Sandwich Bread

Ingredients
- 1/4 cup butter, softened or coconut oil (56 g)
- 1 tablespoon honey
- 1/2 tablespoon salt, 8 grams
- 1/2 cup sourdough starter, active and bubbly (113 grams)
- 1 1/4 cups water, 295 grams
- 1 cup whole wheat flour, 150 grams
- 3 cups all purpose flour, 420 grams
- Optional: Egg for egg wash
Instructions
- About 4-12 hours before you start the dough, feed your sourdough starter. You want a very active starter that is nice and bubbly.
- To a bowl of a stand mixer, add all of the ingredients. I like to add the flour last, so I can add a bit less or more depending on my starter's hydration.
- Knead until dough is stretchy and smooth. You want it to pull away from the sides of the mixing bowl and be smooth and elastic – about 10 minutes. It should pass the windowpane test.
- Place the dough in a large bowl with a little olive oil.
- Allow to bulk rise for 10-12 hours in a warm place like on top of a stove or refrigerator covered with plastic wrap, a tight lid, or beeswax wraps. Rise time will depend on the temperature of your home and how active your sourdough starter is.
- Grease a loaf pan or add parchment paper.
- On a lightly floured surface shape the dough by rolling the dough flat with a rolling pin into a rectangle and roll it up.
- Add shaped dough to the greased loaf pan. Cover with a tea towel.
- Let the dough rest for the second rise for 2-4 hours in a warm spot, or until doubled. Again this depends on the temp! It could be as little as 1 hour if the house is warm and the starter active.
- You can add an optional egg wash to the top of the dough for more browning.
- Bake at 375 for 45 minutes, or until golden brown on top.
- Allow to cool completely before slicing.
Notes
- If you would like to long ferment this recipe for digestion reasons, I would suggest placing the dough in the fridge after the bulk fermentation and after it has been shaped and placed in the loaf pan.
Nutrition
Nutrition information is automatically calculated, so should only be used as an approximation.






An important note is that when I printed 2X the recipe, the grams didn’t change. Fortunately, I noticed when it was too dry to add all the flour. Are you able to change the grams or at least make a note so someone else doesn’t realize before it is too late?
Working on trying to get that changed!
Loved, loved loved this recipe and all of your recipes. I used all whole grain berries for this. I did find my dough when in the mixer to be quite wet so I added a little more milled flour to the recipe. Is that due to hydration in my starter? And do you think I should do a generally mix and that let sit for 20 to absorb all the moisture before kneading in the mixer?
That’s pretty typical with whole grain wheat berries! I like to let the dough mixture rest for about an hour before I start the kneading process. I find that the flour does a better job of absorbing more of the water.
Haven’t tried yet but would this work if I did whole wheat, einkorn and spelt? Lisa your recommendation please? Thank you!
Yes. I like to use a hard white or hard red wheat for this recipe.
Loved this recipe! Do you think I can do fully wholegrain by subbing 1 for 1? Or will the dough not be quite right if I do that?
Yes, that is just fine.