Come tour our Victorian farmhouse pantry reveal. From the floors to the ceiling, cabinets and more. Every inch of this space has been spruced up and made to look like it belongs in this 1860’s farmhouse.
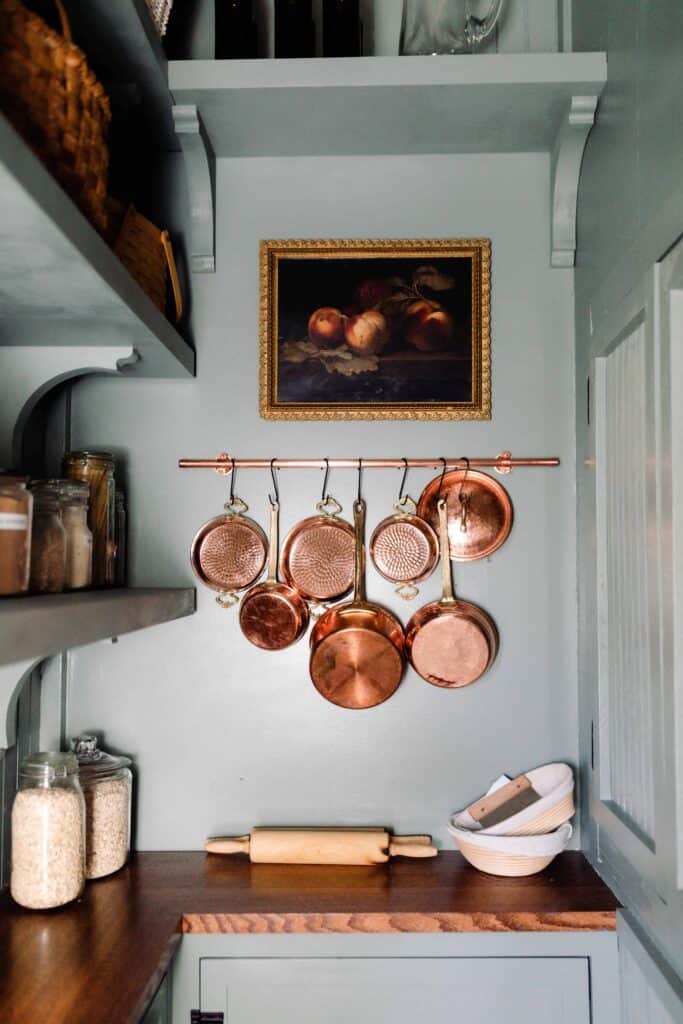
Table of Contents
We’ve been in our 1860’s farmhouse for a little over two years now, and we have touched just about every single room in our house.
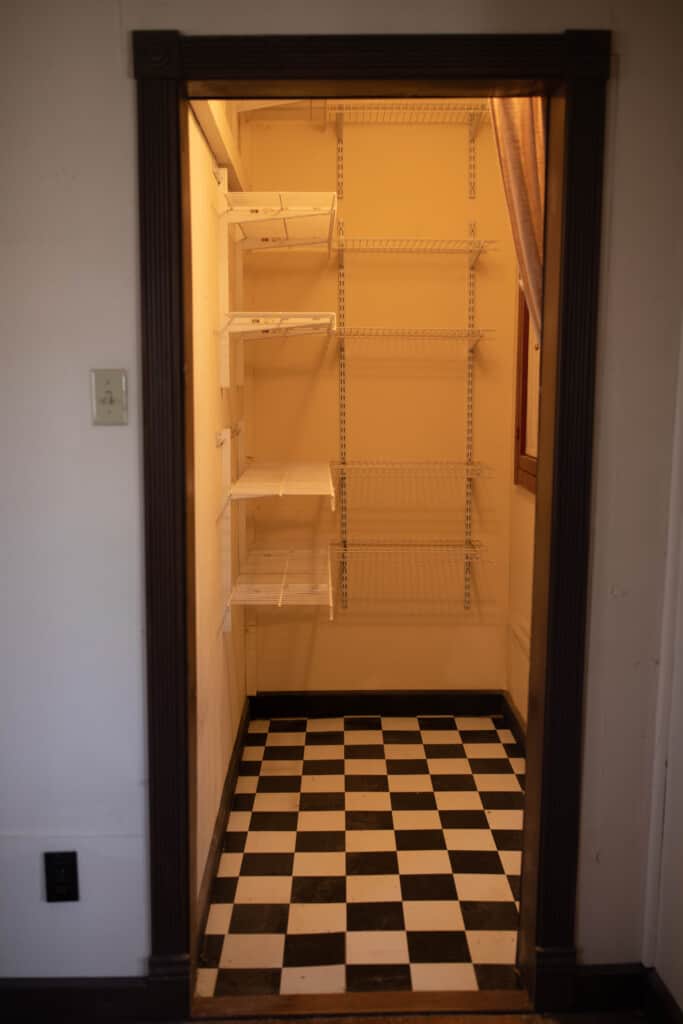
One space we hadn’t worked on yet was the pantry. When we were originally touring this house, I remember seeing the space and knowing what a blessing it was. Even if it wasn’t in the ideal aesthetic, the bones were there, and it was very useful.
In our last farmhouse, we didn’t have a pantry – just cabinets. It’s a common set up that many people live contendedly with, but still … having a designated space for kitchen storage is really a game changer.
So, we went to work creating not only a practical and functional space, but something that is also beautiful. It feels like an extension of our kitchen.
We decided not to put a door on the pantry. Originally, I thought a door was simply necessary. However, I love sight lines, and I knew once we redid it, it would be much more functional with people going in and out multiple times a day if we didn’t put a door on.
I love being able to stand in the kitchen and see another space with coordinating colors, theme, and style, and that’s what we’ve achieved with this pantry.
The color we chose is complimentary to the kitchen, dining room, and hall. When I’m standing at the fridge and look out at these spaces, this is the color I see. It really brings it all together.
This post contains affiliate links, which means I make a small commission at no extra cost to you. See my full disclosure here.
What we did in the farmhouse pantry:
Custom cabinetry:
Even though the old pantry had a lot of shelves, they weren’t very practical. I knew I wanted to bring in some cabinets.
After searching around, we quickly found that we needed to have custom cabinetry made. While the space is pretty large, the cabinets needed to be shallow in order for us to be able to walk around in there.
So, we hired the same cabinet maker who did our built in office and our remodeled kitchen.
With putting in such shallow cabinets, I worried that they wouldn’t be as useful as I hoped or that they would make using the space harder. In actuality, they made the space feel much larger.
In the cabinets, we store all of those unsightly, not-so-pretty, small appliances. Like the Instant Pot, French press, coffee grinder, blender, waffle maker, etc.
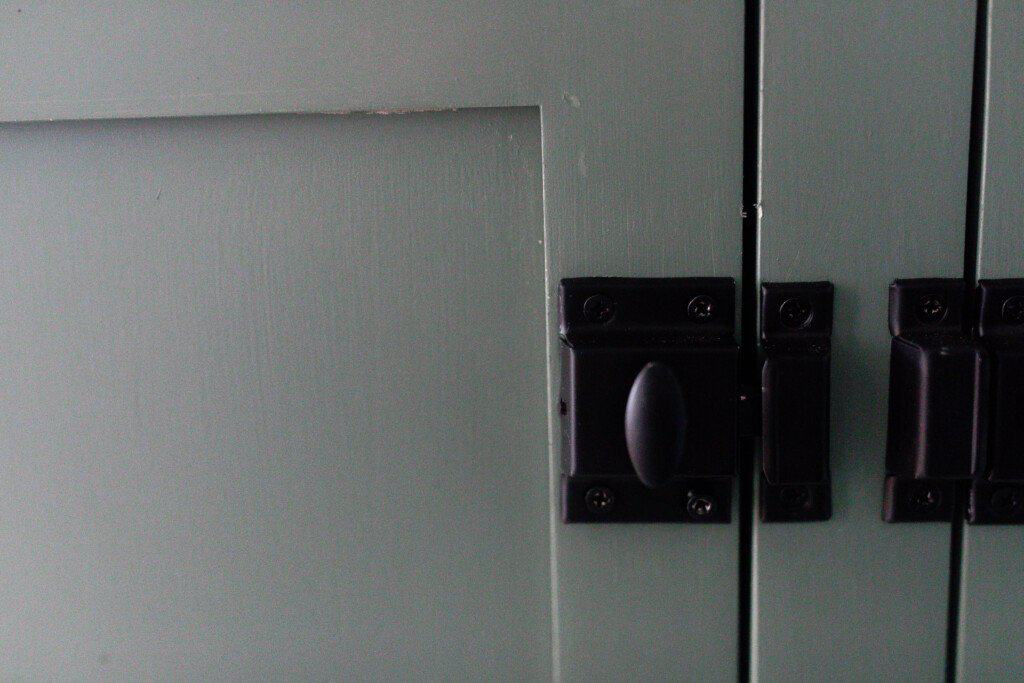
I added the same black vintage-inspired hardware that is on the cabinetry in the mudroom, kitchen, and office. It brings everything together, giving it a cohesive look.
Shelving
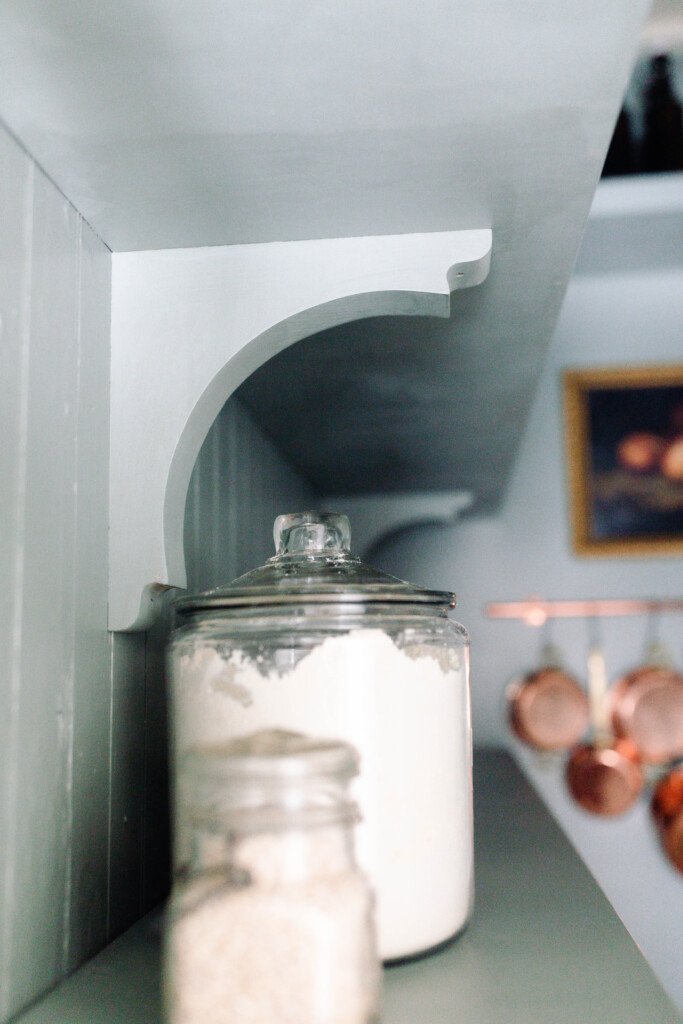
The previous owners had installed wire shelving, which was somewhat useful. However, things wouldn’t always sit nicely, or they would fall through the spaces.
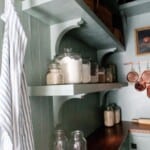
So we swapped those out for some nice, sturdy, wooden shelves. To hang them, we used heavy-duty wood corbels from Lowe’s. I love how substantial and ornate they are.
We ran the shelving up one wall and at the very top of another. This is because there is an interesting cupboard with doors on the other wall. It is built in above our basement stairs. There used to be shelves on that wall, but you couldn’t open the left door to the cupboard, and it drove me nuts.
Originally, we were just going to take off the ugly doors but then it just didn’t look right. A weird, huge, open space. So, Luke took the doors off, removed the fabric, and installed some bead board to the backs.
We painted them the same color as the rest of the room, and now they look like they have always been there.
Copper Pots And Pot Rack
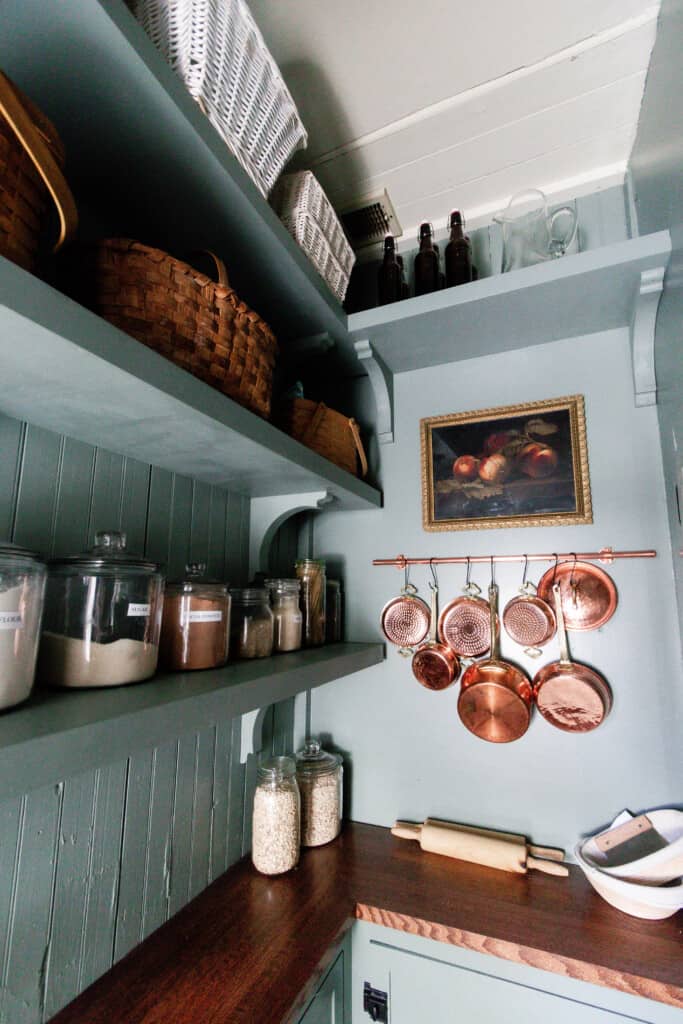
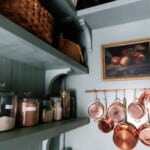
On the back wall, these beautiful copper pots from Etsy and copper pot rack add so much character to the space. I can’t wait to use them more so they develop a beautiful patina.
Peg Rack
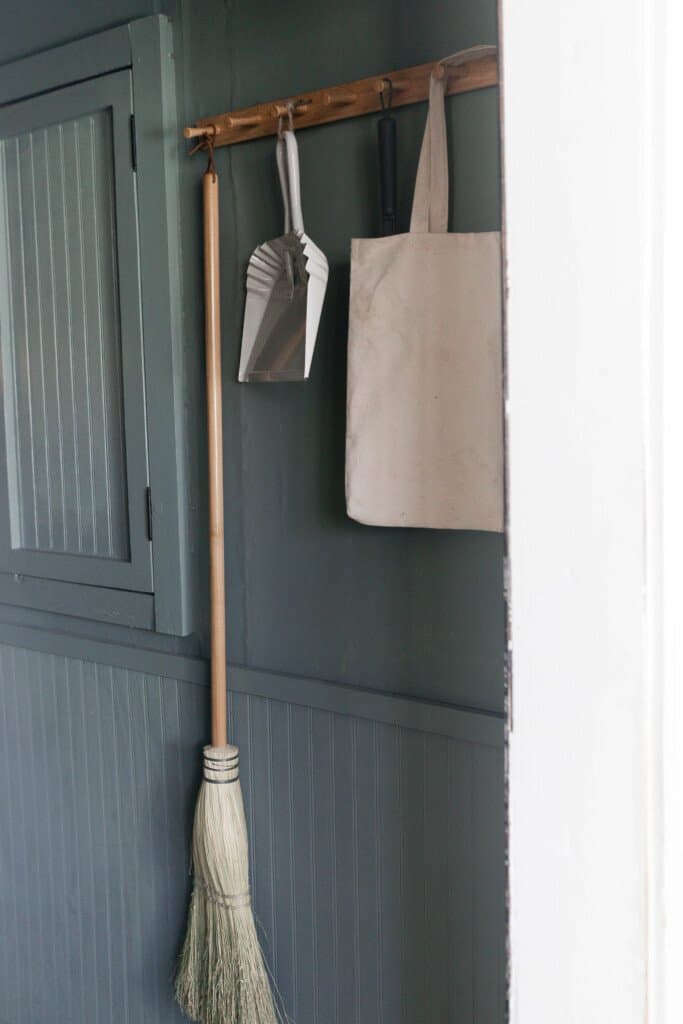
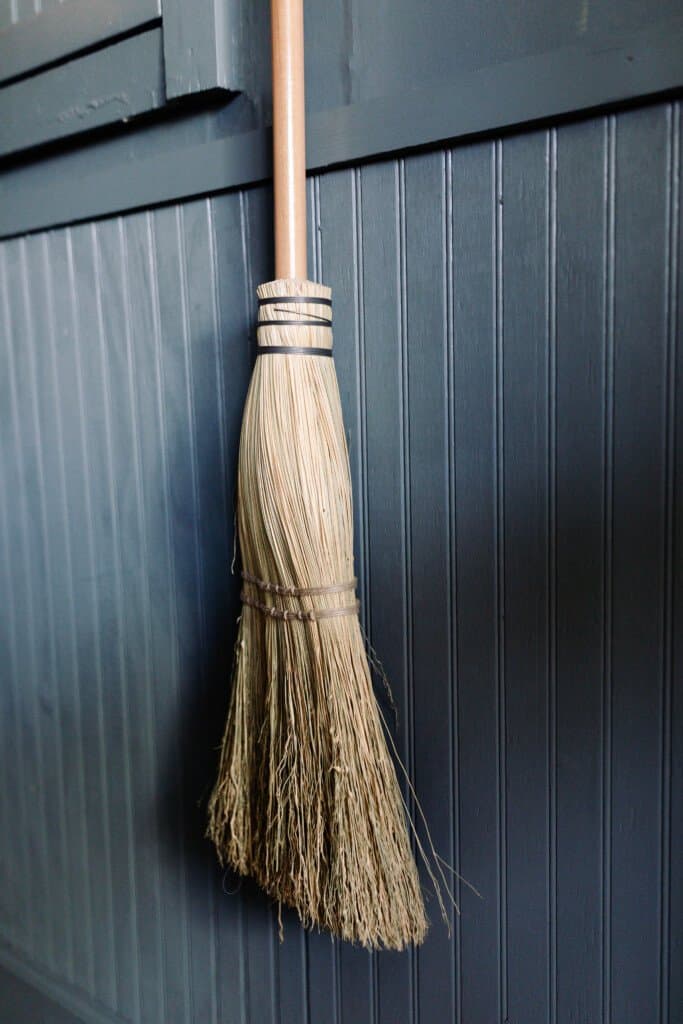
In the name of being pretty, I added this peg rack to store some of our cleaning supplies. I ordered a beautiful dustpan and handmade broom to replace our old, not-very-nice one.
Shelf Storage
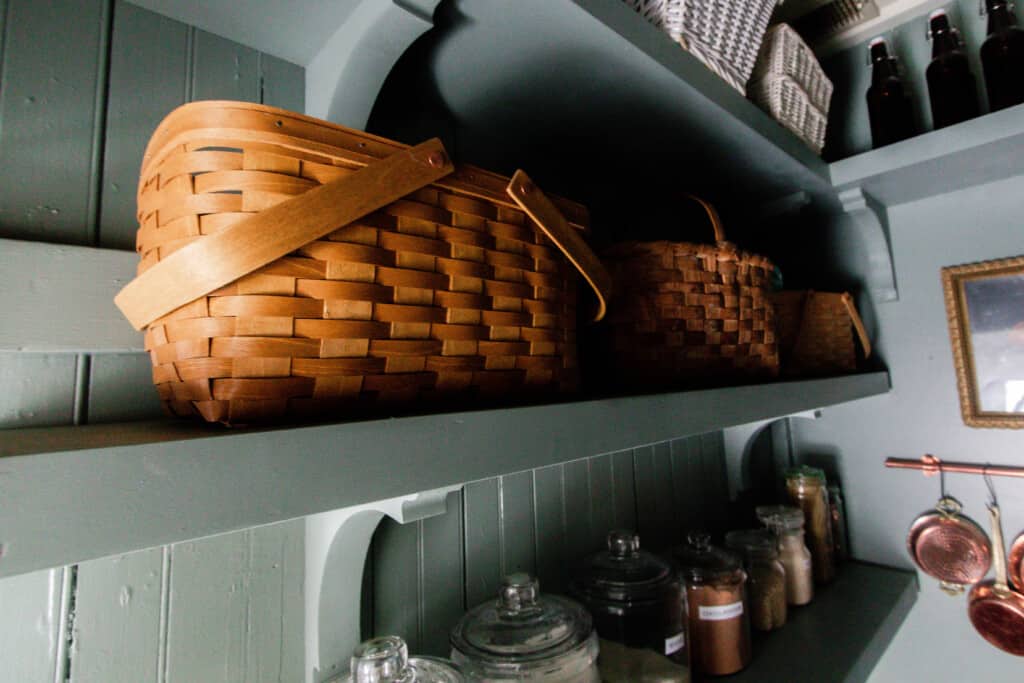
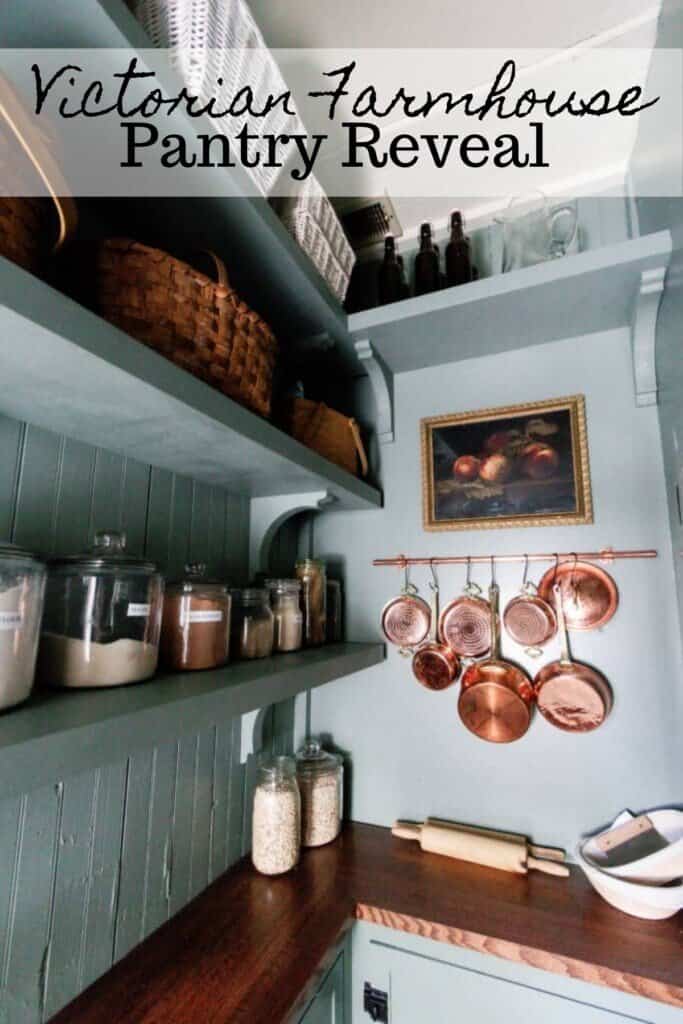
Next, we added some storage on the shelves with baskets and jars. Now, I didn’t do what I did in the last house, putting everything in jars, because I found it to be quite a pain to always be emptying things into the jars. Rather, I only put things in jars that are in constant use, like einkorn flour, all-purpose flour, cocoa powder, etc.
The baskets are full of dried staples like beans, quinoa, rice, dried fruit, and coconut.
The top shelf holds items I rarely ever use: some fermenting bottles (which usually only get used in the summer for kefir soda), a glass pitcher, and then, honestly, the white baskets are empty. Not sure what I will put there, but there is extra space if we do need it.
All our 1/2 gallon mason jars are placed on top of the wood countertops, since those are in constant rotation with either fermenting or for our milk pick-up. Joining the jars is my milk pail that I use every single morning to milk the goats, as well as rolling pins and banneton baskets for sourdough bread baking. Just those items I use daily.
Wall Color:
For the wall and cabinet color, we went with Benjamin Moore Carolina Gull. I had them do a Farrow and Ball color match at the local store here. I really love it. It’s the perfect greenish blue.
Art:
Just this morning, after hanging the pot rack, I thought that it just needed a little something extra. So I printed off this vintage artwork of peaches and hung it in a vintage frame. I love how it turned out. I may eventually swap it out or do plates, but right now it gives it such a beautiful feel.
Pantry Dimensions
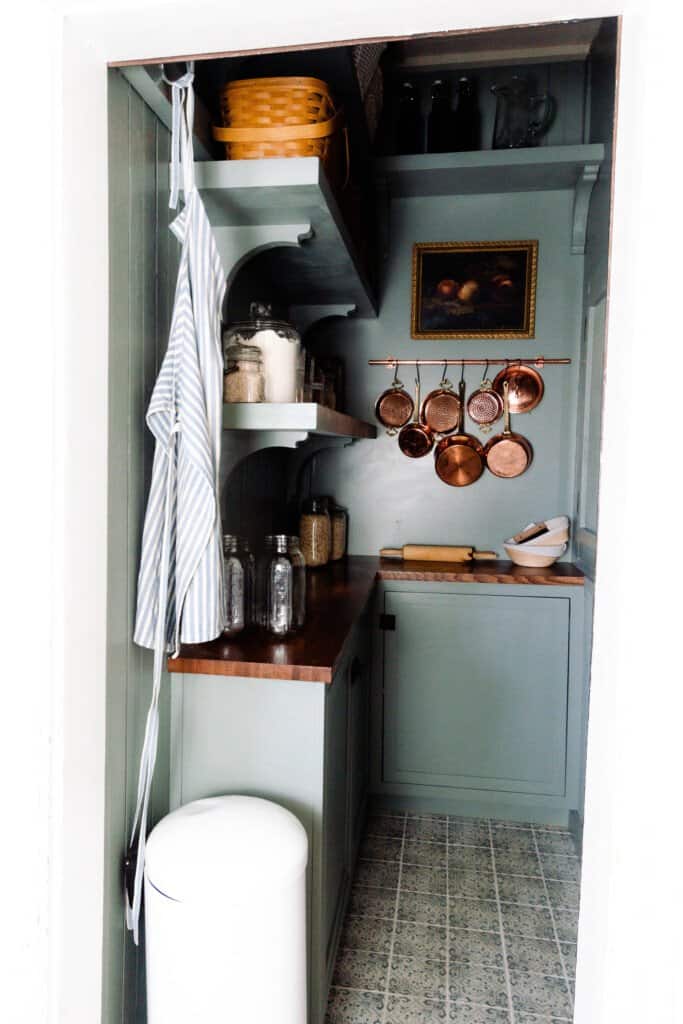
We had a pretty small space to work with for our farmhouse pantry. The entire space (not including the inset cabinet) is only 43″ wide by 75″ deep.
Tile:
This is something that I’ve been thinking about for years, and then it came down to needing to put in the tile before the cabinets were installed, so we just picked up whatever we could find at Lowe’s that we liked.
I actually love the tile, and it was super inexpensive. Luke layed it himself. We had to remove the old black and white linoleum, as it was peeling everywhere. Now it looks fresh, clean, and like it has always been there.
Beadboard And Trim:
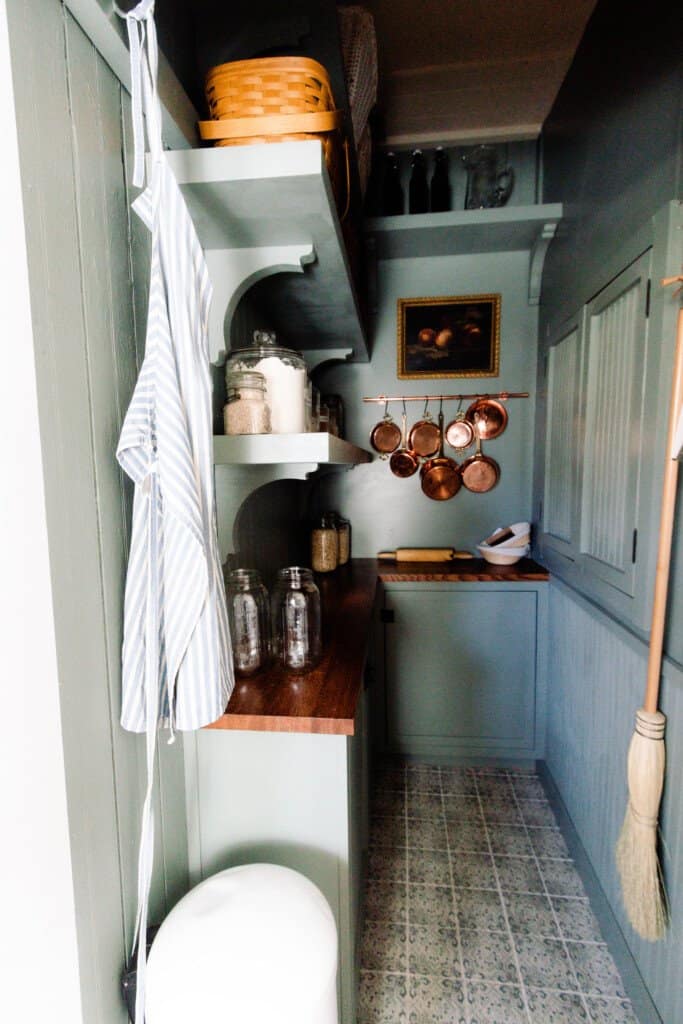
On the wall with the cupboard, the wall was very wonky and wavy. In old houses, we try to rip out as little as possible, so instead of taking out the old plaster, we added beadboard that we had out in the barn. Topping it off with some trim at the top, we painted it, and it fits in perfectly.
We already had the beadboard on the wall to the left when you walk into the pantry. Though it is the wider beadboard, like my friend Julie Blanner has in her kitchen beadboard backsplash, I still think it ties in beautifully with the scrap piece we had on hand.
We replaced the thin trim, that was probably installed in the 90’s, for something more substantial that fit in with the rest of the house. Since we didn’t need much, this was easy to find at a local salvage shop.
Well, there you have it. These are all the changes we made to make this farmhouse pantry reveal. We absolutely love how this turned out. Now our kitchen and dining areas are complete. Thanks for stopping by!




Beautiful. I love it!
This is my favorite project of yours to date! It’s beautiful!
Wow. This is beautiful and looks like it has always been there. You explained your thought process and choices SO well!
I think this is my favorite room! Such a nice look in your pantry.
Thank you so much, Marianne!
Fabulous transformation! You are creating a lovely forever home.
Thank you!
Lisa…The pantry is absolutely stunning. The color, cabinetry, the decor…I’m awestruck. Great job! 🌻🐝
Well thank you so much Tina!
Great job Lisa
Thank you!
Lisa, this is gorgeous! I love every bit of it.
Wonderfully done, absolutely beautiful!
I love this!! its so cool and nifty. I need to do things to my house like this!!!