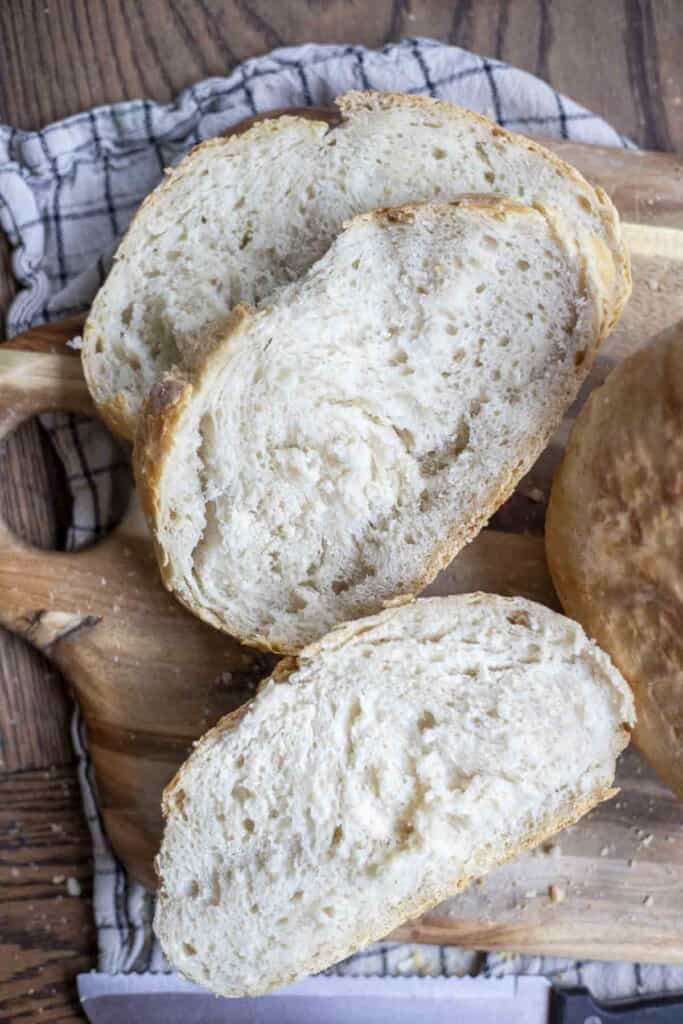
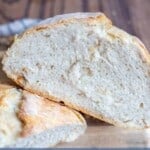
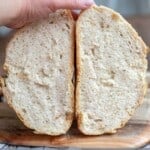
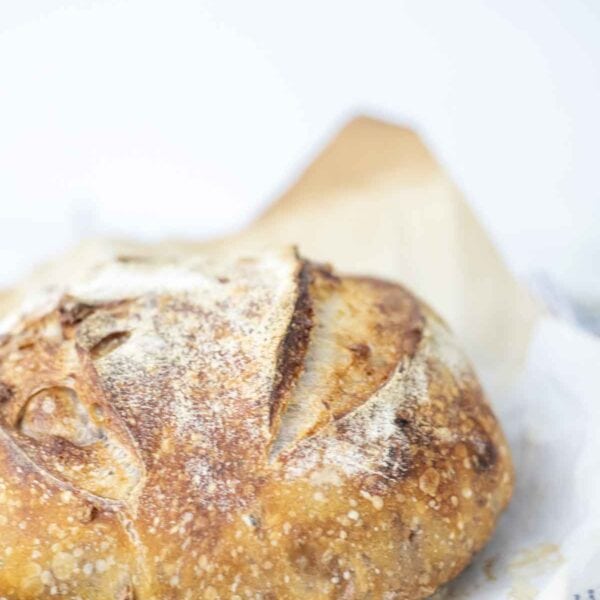
The easiest no fail, no-knead sourdough discard bread is mixed together the night before, fermented overnight, and baked in the morning. This recipe has a soft, chewy crumb with a crusty exterior, and that tangy sourdough taste – without all the work.
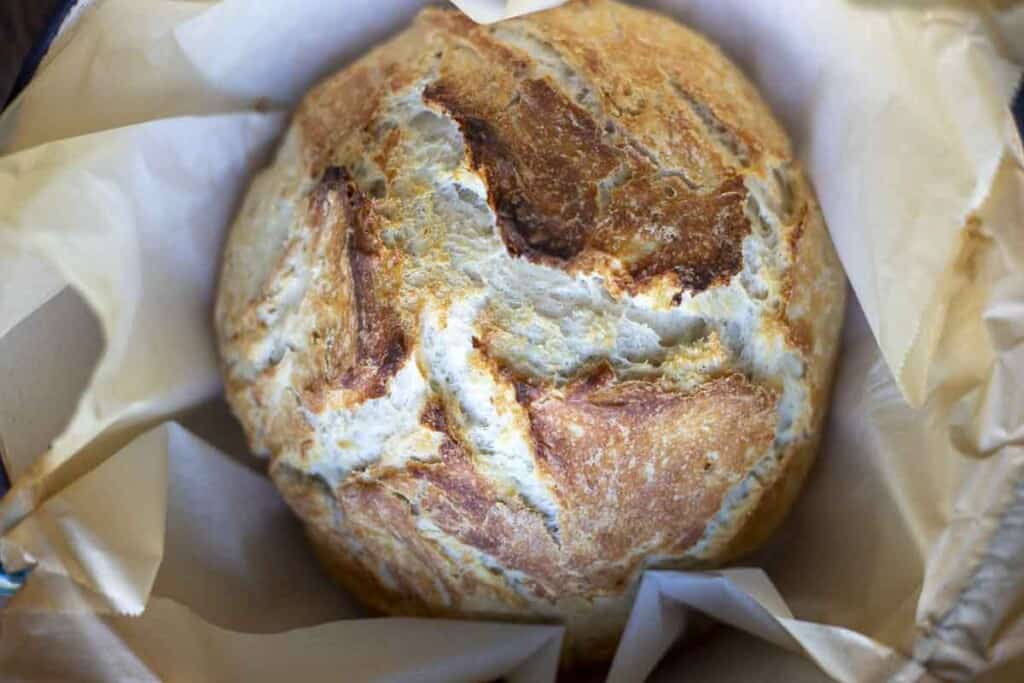
I know, I know, this recipe isn’t a true sourdough bread recipe. While it does contain sourdough discard, it also contains commercial yeast.
This does two things. It makes it a no-fail recipe as the yeast helps the bread rise whether or not your sourdough starter is active enough. Which then, in turn, allows you to forego the kneading (or stretch and folds) in this recipe.
Sourdough discard bread is the perfect way to use up that extra sourdough discard. Serve it alongside soup, your favorite pasta dish, or make a robust sandwich.
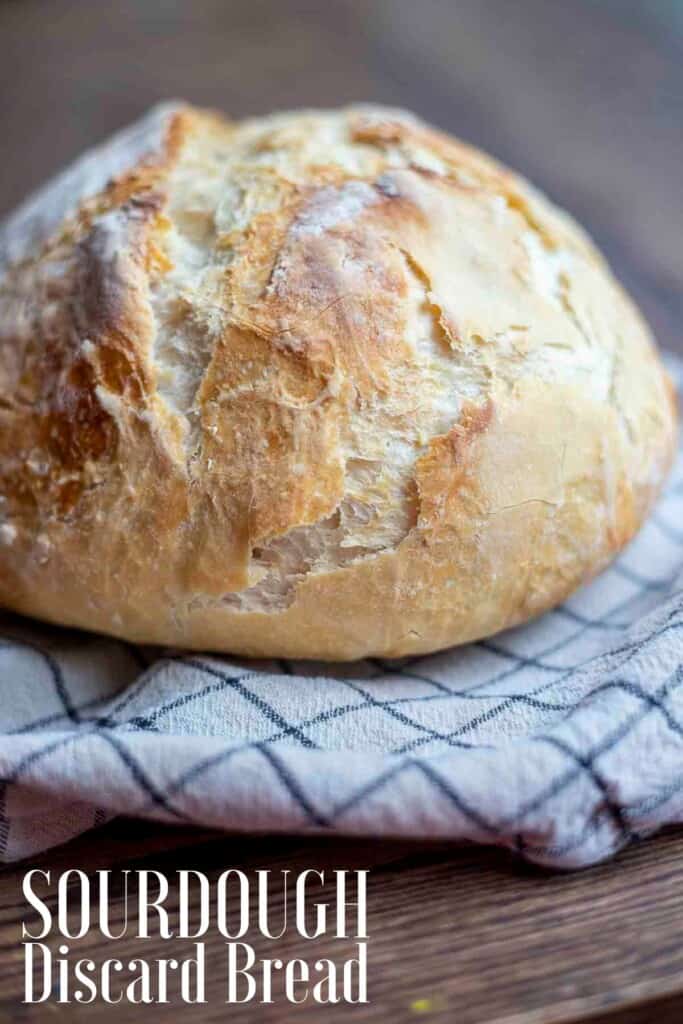
Why you will love this recipe:
Super easy: Mix it up, leave it overnight, shape and bake in the morning. About ten minutes of hands on time allows you to have the yummiest bread.
Delicious: That delicious sourdough tanginess, but without all the kneading and stretching.
Budget friendly: I’m always looking for healthy ways to stretch the grocery budget. This recipe is a great one, especially if you have a super busy schedule.
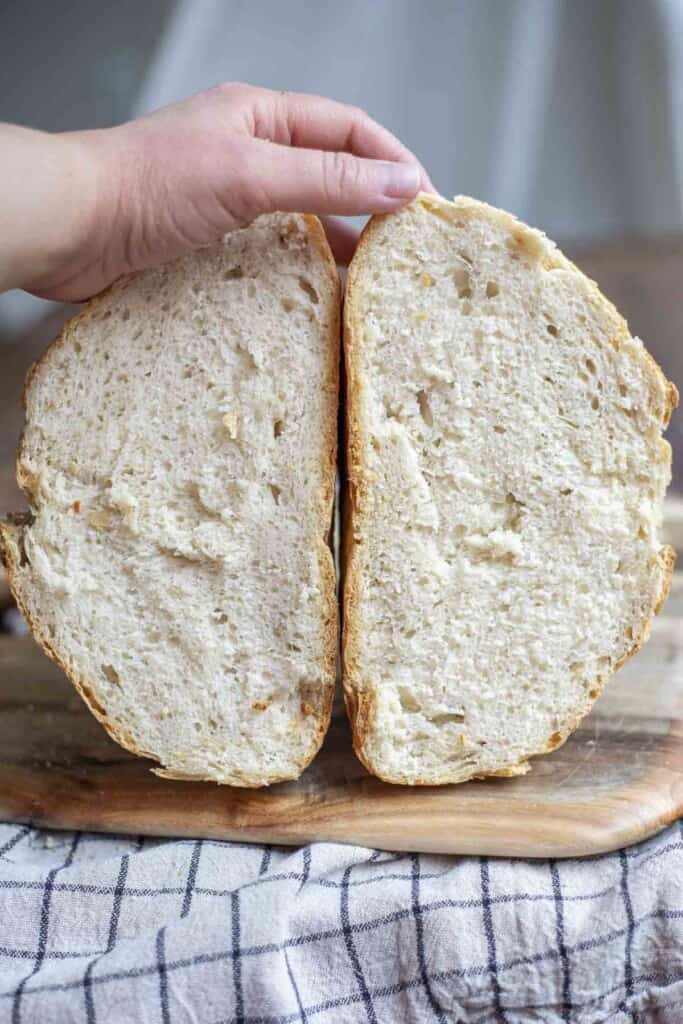
Tips For Making Sourdough Discard Bread:
- To make this bread fluffier and rise better, make sure not to skip adding tension to the dough when shaping. You can easily just plop it onto parchment paper and bake and still get a decent quality loaf, but taking an extra 2-3 minutes to pull the dough edges to the center and then cupping your hand and pulling the dough towards you on the countertop makes a huge difference.
- I like using active dry yeast for this recipe because it can have a slightly slower rise compared to instant yeast.When dissolving the yeast, make sure the water is around 110 degrees. Too hot and you run the risk of killing the yeast.
- To get that crusty exterior, you will need to bake the bread in a dutch oven.
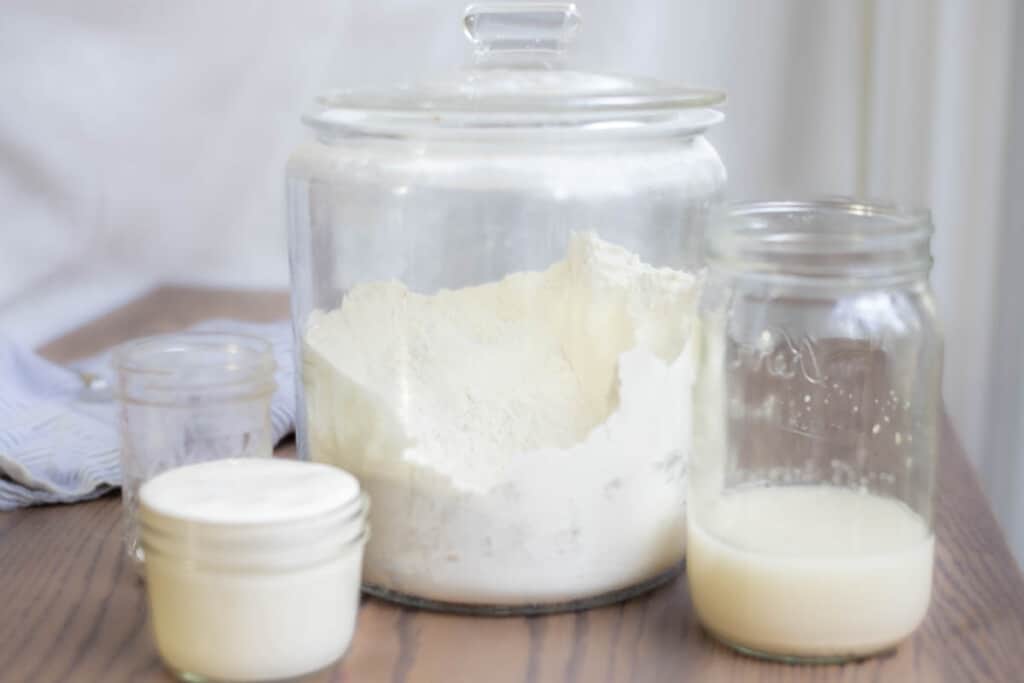
Ingredients:
All-purpose flour: If using freshly milled flour, choose hard, white wheat berries.
Active dry yeast
Sourdough discard: This is sourdough starter that hasn’t been fed in at least 12 hours. It is the portion you would typically just toss before feeding the starter. Active starter could also be used, but you will have a less tangy flavor.
Water: Preferably filtered.
Salt: I use sea salt.
This post contains affiliate links, which means I make a small commission at no extra cost to you. See my full disclosure here.
Tools you will need:
Large spoon or silicon spatula
Parchment paper
FAQ:
What can I use my sourdough discard for?
Sourdough discard is super versatile and can be used for so many recipes. Some options include muffins, quick breads (like pumpkin, banana, zucchini, etc.) pancakes, waffles, crackers, cakes, and more.
What is the difference between active sourdough and discard?
Active sourdough starter is starter that has been fed water and flour and allowed to sit until it is bubbly and about doubled in size. Sourdough discard is after the starter has peaked, and it has started to come down. It is the portion that you would typically throw away before feeding.
Although, at this point, I never throw away discard because it can be used in so many things.
How To Make Sourdough Discard Bread:
Warm water to about 110 degrees. Add active dry yeast and stir. Allow to sit for about five minutes until it gets nice and bubbly.
In a large bowl, whisk together salt and flour.
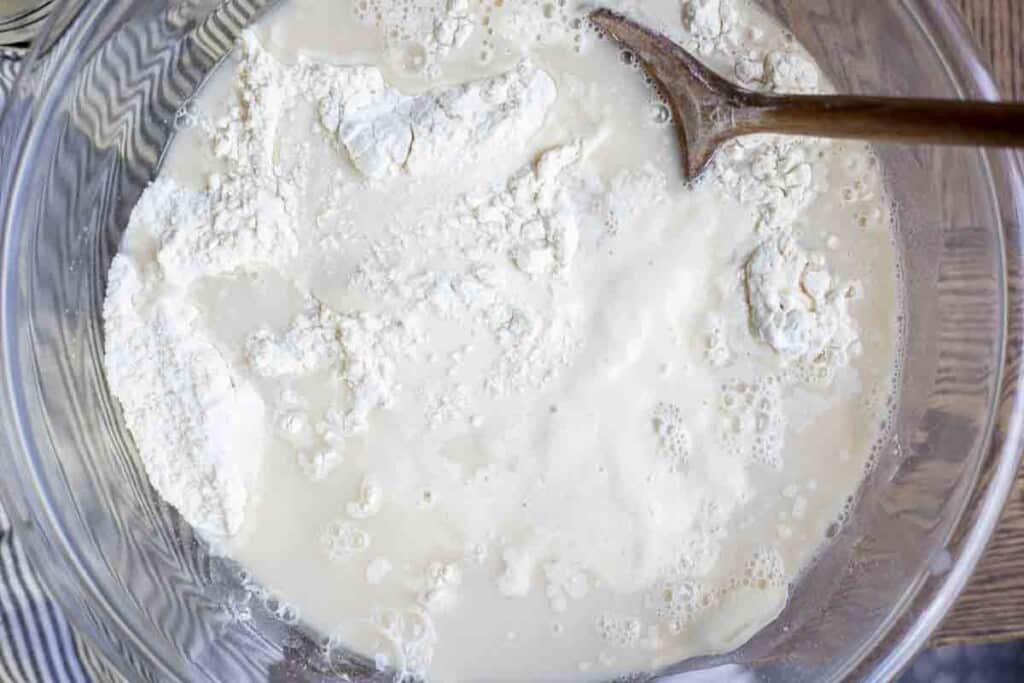
Add sourdough starter and yeast/water mixture.
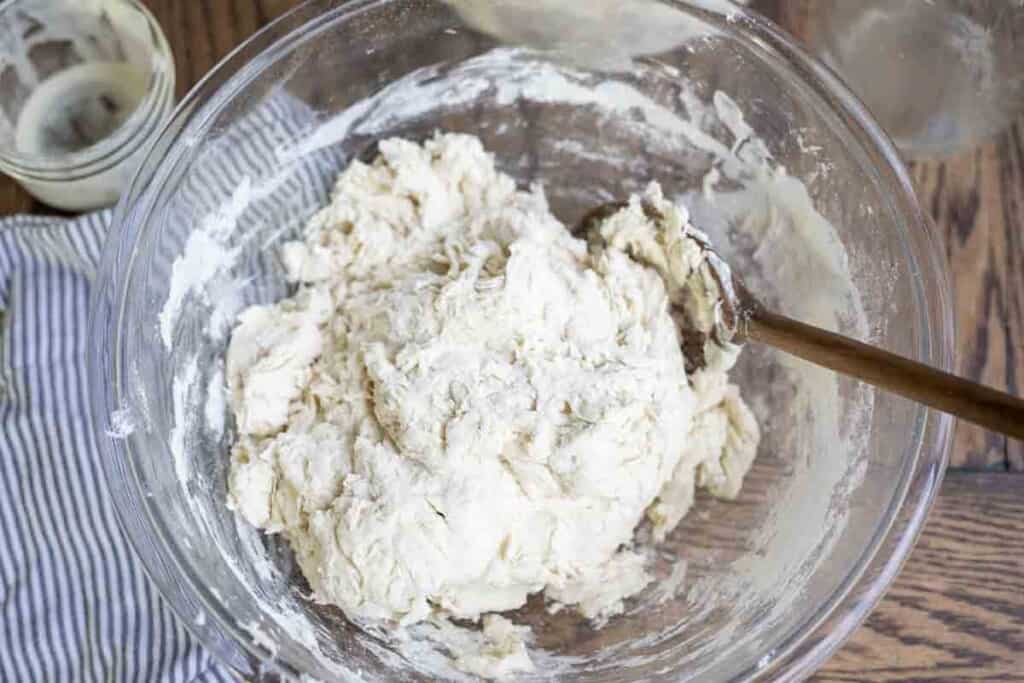
Mix well with a large spoon or silicon spatula. It will be a shaggy dough.
Cover with a lid or plastic wrap and leave at room temperature for around 12 hours.
The next day, preheat the oven to 450. Place your dutch oven and lid into the oven to preheat.
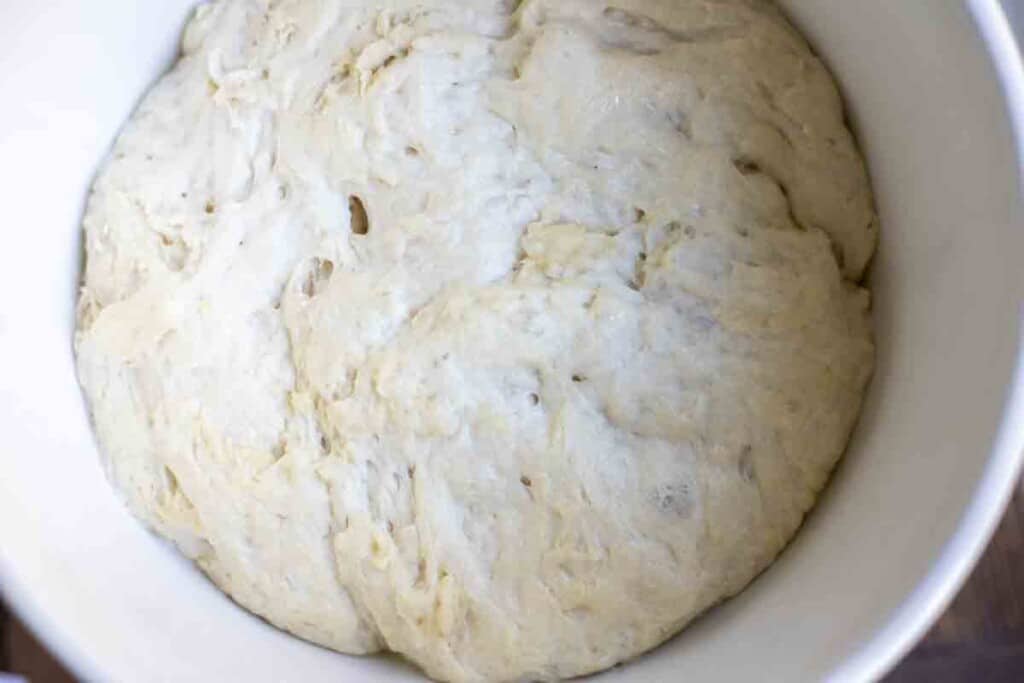
Turn the dough on a lightly floured surface. The dough will be pretty sticky.
Shape into a ball by pulling the sides and bringing them into the center. I do this about 4-6 times. Flip the ball over, seam side down.
Taking your hands, grab the dough and pull it towards you a few times. This adds tension (as does the last step) to the dough, which helps the dough rise more during baking.
Place the dough on parchment paper. Cover with a towel and allow to rise in a warm place for 30 minutes to an hour. The stove top works wonderfully for this as your oven preheats.
Slash with a lame or knife (if desired) and place the parchment paper and dough into the dutch oven and cover with a lid.
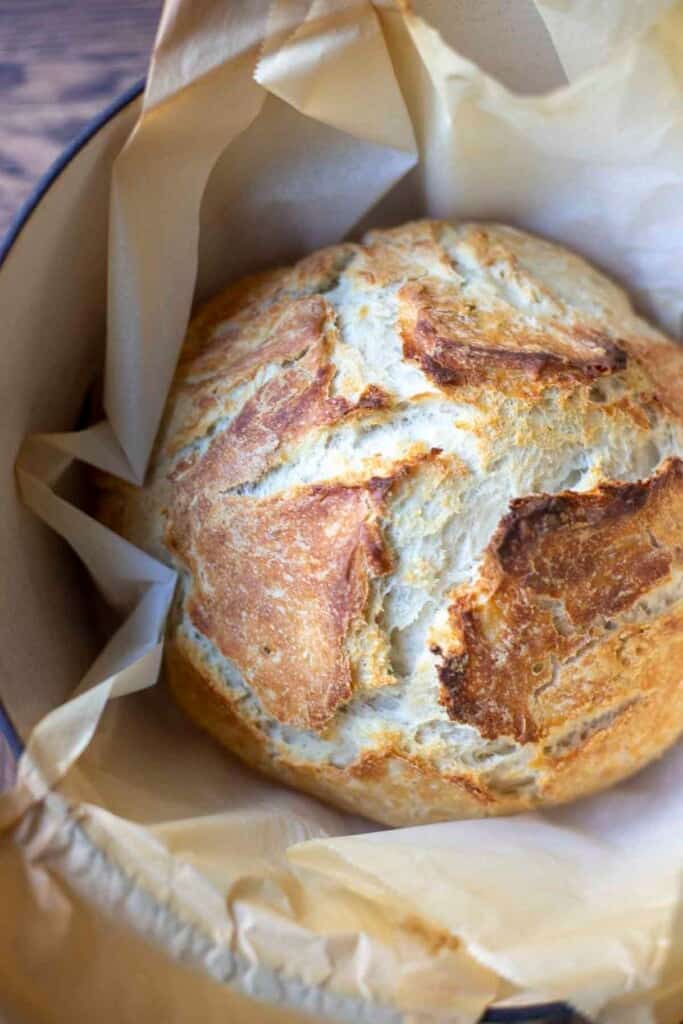
Place the dutch oven into the oven and turn the heat down to 400 degrees. Bake with the lid on for 30 minutes, then remove the lid and bake for about 20-30 minutes until golden brown.
Allow to cool completely before slicing. I usually just allow it to cool in the dutch oven.
Storage:
Store uncut bread in a paper or linen bag. Once cut, store cut side down on a cutting board lightly covered or in a storage bag. A zip-lock bag will also work.
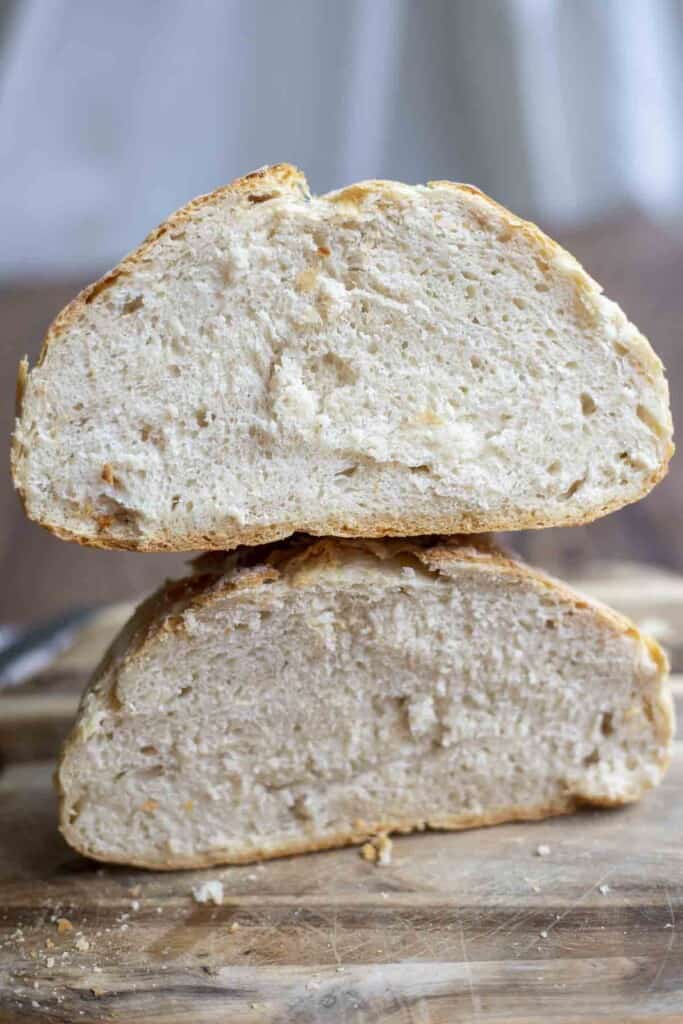
Baker’s Schedule
8 PM: Mix up the dough and cover. Leave at room temperature.
8 AM the next day: Preheat oven with dutch oven and lid inside. Turn dough out onto a lightly floured surface. Shape. Place on parchment paper and cover with a towel for 30 minutes.
9 AM: Bake, then allow to cool before slicing.
Find More Sourdough Recipes:
- Bread Machine Sourdough Bread Recipe
- Spelt Sourdough Bread
- Sourdough Rye Bread
- Sourdough Pumpkin Bread
- Pumpkin Sourdough Bread
If you try this recipe and love it, I would love if you could come back and give it 5 stars!
Sourdough Discard Bread
Ingredients
- 1 1/4 cup water, 295g
- 2 1/2 teaspoons yeast or one packet, 7g
- 2 teaspoons salt, 10g
- 1 cup sourdough discard, 255g
- 4 cups all-purpose flour, 575g
Instructions
- Warm water to about 110 degrees. Add active dry yeast and stir. Allow to sit for about five minutes until it gets nice and bubbly.
- In a large bowl, whisk together salt and flour.
- Add sourdough starter and yeast/water mixture.
- Mix well with a large spoon or silicon spatula. It will be a shaggy dough.
- Cover with a lid or plastic wrap and leave at room temperature for around 12 hours.
- The next day, preheat the oven to 450. Place your dutch oven and lid into the oven to preheat.
- Turn the dough on a lightly floured surface. The dough will be pretty sticky.
- Shape into a ball by pulling the sides and bringing them into the center. I do this about 4-6 times. Flip the ball over, seam side down.
- Taking your hands, grab the dough and pull it towards you a few times rotating the dough after each pull. This adds tension (as does the last step) to the dough, which helps the dough rise more during baking.
- Place the dough on parchment paper. Cover with a towel and allow to rise in a warm place for 30 minutes to an hour.
- Slash with a lame or knife (if desired) and place the parchment paper and dough into the dutch oven and cover with a lid.
- Place the dutch oven into the oven and turn the heat down to 400 degrees. Bake with the lid on for 30 minutes, then remove the lid and bake for about 20-30 minutes until golden brown.
- Allow to cool completely before slicing
Notes
- To make this bread fluffier and rise better, make sure not to skip adding tension to the dough when shaping. You can easily just plop it onto parchment paper and bake and still get a decent quality loaf, but taking an extra 2-3 minutes to pull the dough edges to the center and then cupping your hand and pulling the dough towards you on the countertop makes a huge difference.
- I like using active dry yeast for this recipe because it can have a slightly slower rise compared to instant yeast.
- When dissolving the yeast, make sure the water is around 110 degrees. Too hot and you run the risk of killing the yeast.
- To get that crusty exterior, you will need to bake the bread in a dutch oven.
Nutrition
Nutrition information is automatically calculated, so should only be used as an approximation.




This is my first attempt at sourdough bread.
I am finding it a little more difficult than I thought.
I have followed the recipe exactly but I think my flour is the problem.
I am using a ready mixed plain flour and I think it is soaking up the moisture too much.
I did have to add more water (distilled water) to the dough as it was too crumbly.
The dough was left in the kitchen (20oC) for 12 hours then I put it in the fridge overnight.
This morning everytime you move it the dough falls apart. I have ended up kneading it until it was pliable and it is sitting in the w armrest place with a towel over it (20oC).
I suspect that it will be a brick when baked. Is it the flour because my dough was nothing like sticky?
I’m not sure what plain flour is? Is it just all-purpose? It could be the flour or the the hydration of your starter if it is different than mine.
The recipe states to wait about 12 hours before moving on to shaping. Is it possible for that first ride to go more quickly? If so, how do you know it’s done proofing?
Possible, it depends on how warm the environment. As long as it has doubled it can be shaped, rest, and baked.
How much flour would you use with einkorn? I have an einkorn starter and only use einkorn flour. I’ve been using all purpose einkorn but it doesn’t rise much doesn’t at look like your picture!
You could use the same amount of flour, but the amount of liquid would need to be reduced since einkorn flour absorbs less than all-purpose. Since einkorn has less gluten than all-purpose it tends to rise less.
Great thank you! I used only one cup of water and it turned out way better!! And it was a hit at my moms group today, several of them want some of my starter to get their own sourdough going! I’ll be sending them to your blog for sure, it’s helped me so much 🙂 blessings to you!
That is so wonderful to hear!
Mine came out perfect!
Woohoo! Always good to hear! Enjoy!
Can I put this into the fridge immediately after mixing the dough instead of letting it sit at room temp for 12 hours? How long should I leave in the fridge and can it be baked straight from the fridge?
Possibly. I’ve never tried it so I’m not sure how long it would take to rise in there.
could you proof this in a banneton basket for the amount of time that it sits on the cupboard and would it make a difference in the shape of the bread if you did/could
I actually wouldn’t. This is because the dough is much wetter dough than typically breads and I feel like it would stick to the banneton.
Hi,
I was just wondering if I should add some more water if my dough is on the drier side? Or will it become more sticky as it sits out?
It will become more sticky as it sits out!
I’ve been making this bread about once a week for the last few months. We really like it! Over time I’ve slowly cut the yeast down a little (currently at 2tsp) and haven’t seen any change in the rising time. For me, the dough never takes more than ~5 hours to double. I make the dough first thing in the morning and then bake it in the afternoon of the same day.
Wow! You must have a super active sourdough starter.
I accidentally put bread in fridge overnight. How long should I let sit out before folding and moving on to next step. Also added mixins with bread will that hurt the outcome ?
Oops! Probably can just take it out and then move to the shaping stage. Mix-ins shouldn’t hurt anything.
I’m excited to try this recipe! Should the dough be doubled after the 12 hour ferment? I’m just wondering what visual cues I should be looking for to know when it is ready (my house is pretty warm so 12 hours might be too long). Thanks!
It should be about doubled before moving to the next stage. Good luck.