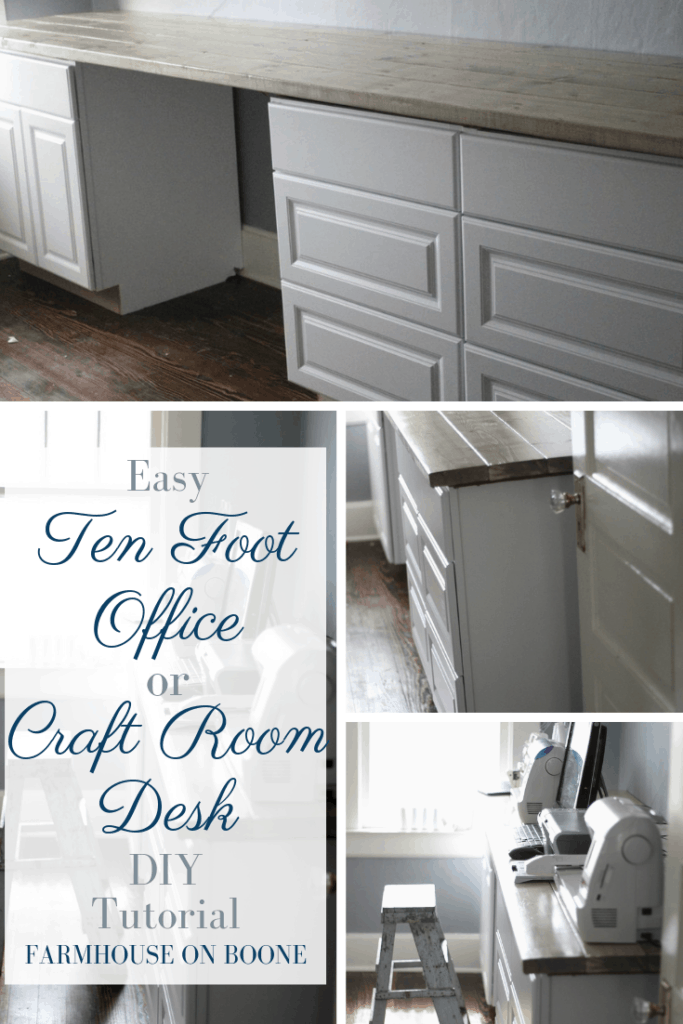
If you have been following along for a while now, you would know just how much I love to sew and do other crafts. I am so blessed to have a room in my home designated to craft making. However, my craft room needed a bit of organization to be functional. So, my husband built me a large desk to fit all my craft supplies and machines. This desk is also perfect for office supplies as well. Continue reading to learn how we transformed kitchen cabinets and a few pieces of wood into a functional office or craft room desk.
A Desk Craft Room Organizational Purposes
My craft room has always been the hardest room in the house to keep organized. It seems like every time anyone steps foot in the place it needs to be tidied for an hour afterward.
Organization has never been my strong suit. My go-to method to keep things tidy usually ends in a trip to the local thrift shop. In other words, the only way for me to keep it organized is to not own it all.
My younger sisters, on the other hand, are meticulously clean and organized. They have actually all been over to my house at some point throughout the years to help rescue me from my disheveled mess.
This time my youngest sister came to my aid.
It started when I was working in her orderly craft room. Every single thing had a place and I always knew where to find the right colored thread, seam ripper and stabilizer. I noticed how quickly I could get the job done because I wasn’t wasting time searching for the scissors for the fifth time in one day.
My Craft Room Before Desk
Here is a before shot of my craft room. Machines are scattered about on two different desks on each side of the room, the shelves are bursting at the seams with craft supplies and there is nowhere to hide piles of fabric and inventory.
I get stressed just looking at it. Productivity is very difficult in a space like that.
An Organized Solution
The first thing needed for project “Craft Room Reorganization” was a long desk that could accommodate all my machines, computer, and printer.
I also wanted to add as much storage as possible, because getting rid of everything isn’t conducive to running a crafting business. There is always going to be inventory, fabric, thread, tools, packaging, etc. etc.
We started by removing the bookshelves and desks.
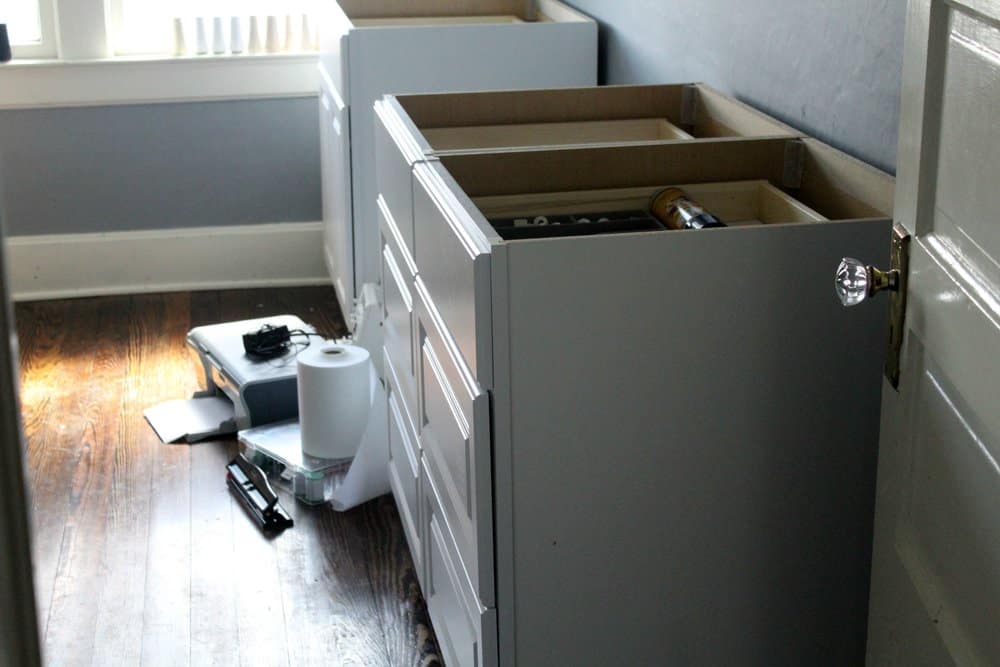
I found three brand new, still in the packaging, white cabinets for $200 on Craigslist.
I placed them along the wall where I wanted the desk.
In this room, we have something on every wall to keep us from putting in a wall to wall desk, unfortunately. This wall was the best choice, as we only had the door to contend with.
At first, I had them spaced evenly so there would be two different openings, but there just wasn’t enough room for the spaces to be wide enough. My sister suggested putting two of the cabinets together, so that’s just what we did.
Ten Foot Office or Craft Room Desk Instructions
The next step was to work on the desk top. I make it sound like this all happened on the same day, but the truth is it sat topless for at least a week.
Cutting the Boards to Size
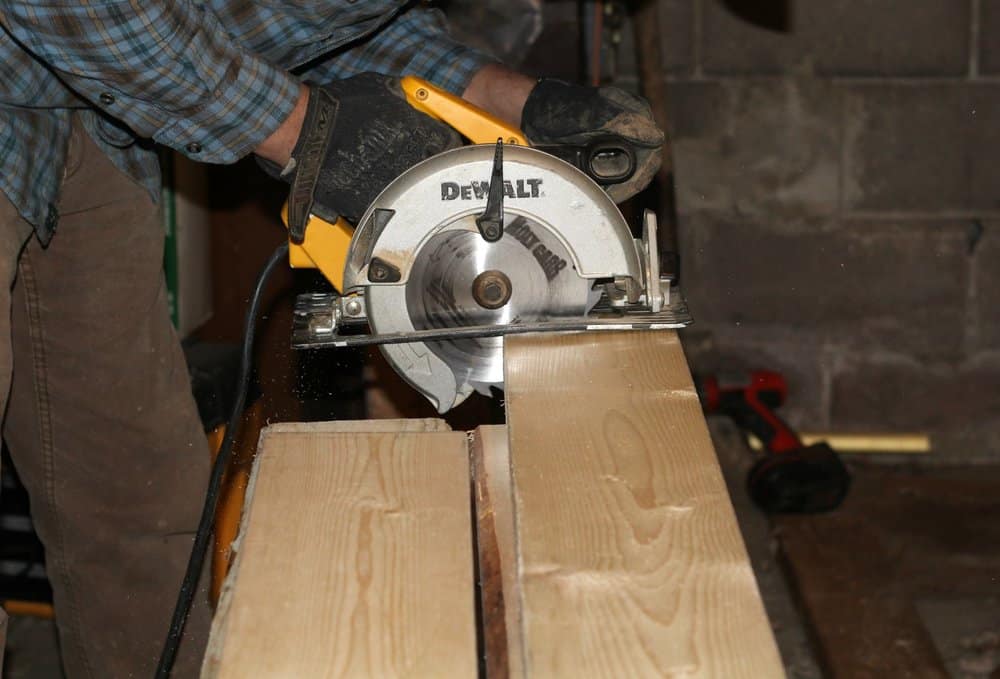
We bought five 2×6 pine boards and cut them down to the length we needed, which for this room was 116 inches.
We also cut a piece of plywood to 24×113″. This piece was just for the 2×6’s to be screwed into and needed to be just wide and long enough to sit on top of the cabinets. When I say we, I really mean just mean my husband. I watched and took pictures.
Finding the Straightest Ones to Go in Front
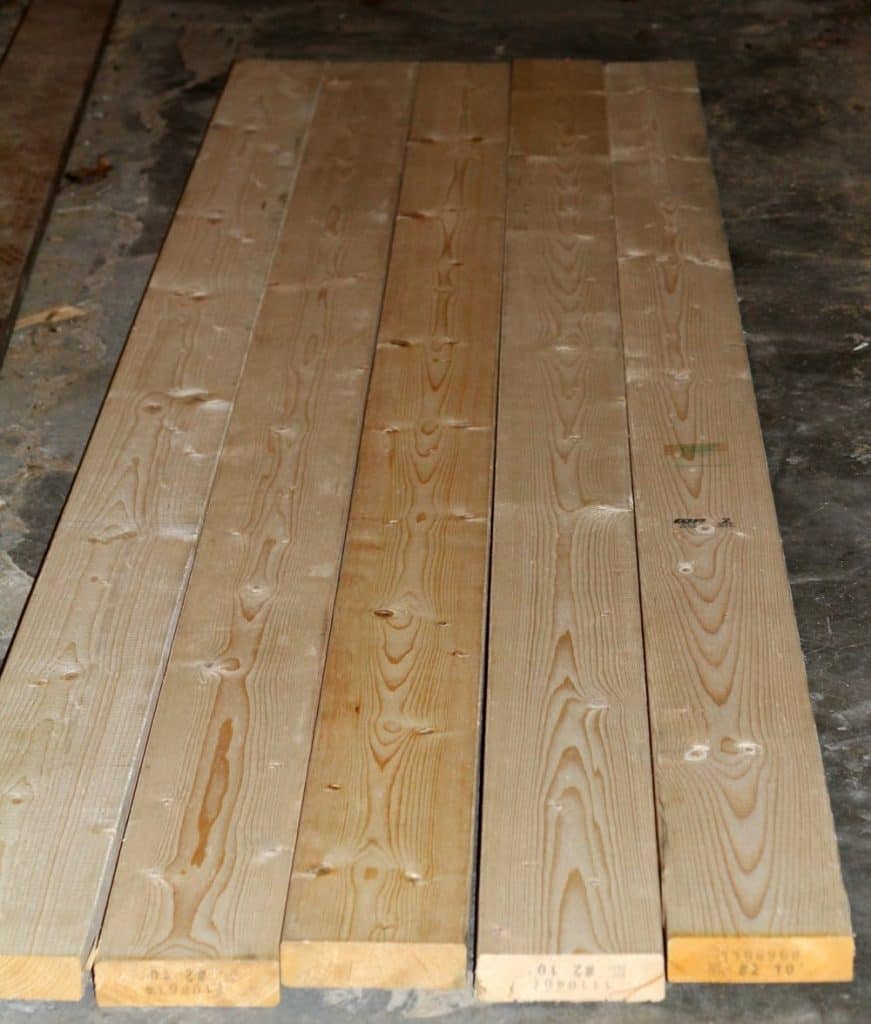
We set the boards out on the floor to see what order we wanted them in. I wanted the straightest boards in the front, so the place where my sewing machines sit would be the most level.
Sanding the Boards Smooth
He sanded the boards until they were smooth.
Staining the Boards
Next, my husband stained the boards with Minwax’s Weathered Oak, the same stain we used for our Farmhouse Table. We actually had enough leftover to not even need to buy more.
Adding Polycrylic
He then added two coats of Polycrylic.
Putting the Desktop Together
Next, we brought all the boards and plywood upstairs to our craft room. There was no way the top was going to fit up there after being built, so we had to actually build it in the room.
First, we made sure we had a good fit with the plywood.
Gluing on the Top of the Desk Top
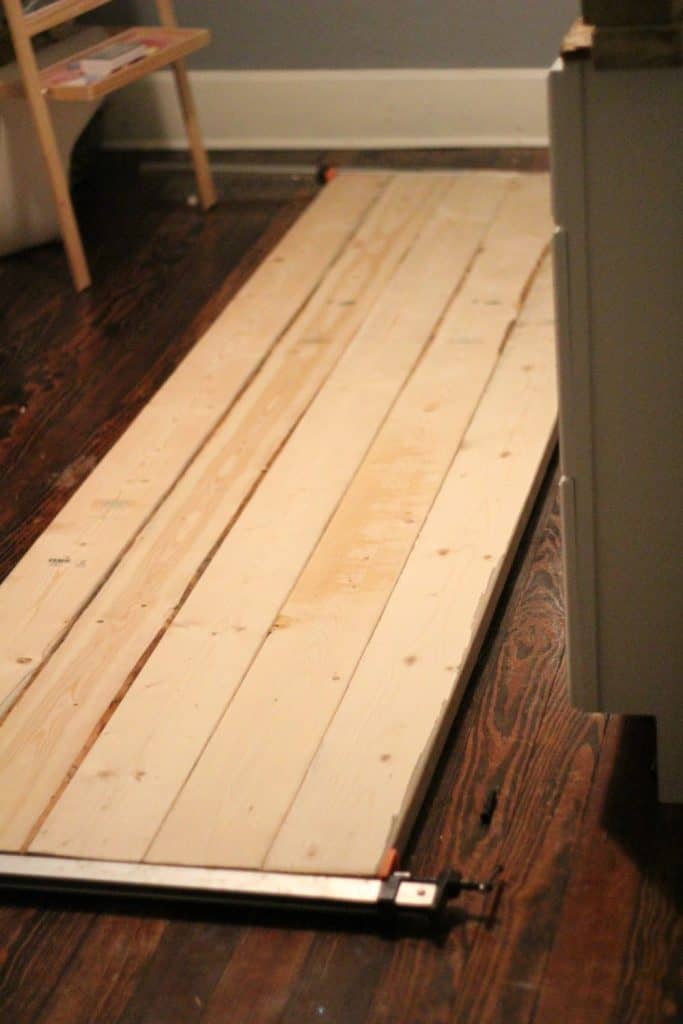
Then, we laid the boards out in order, but upside down. We clamped them together on both ends and in the middle.
This picture was taken before we added the third clamp. We were going to try to get by without it, but we just couldn’t get it level enough.
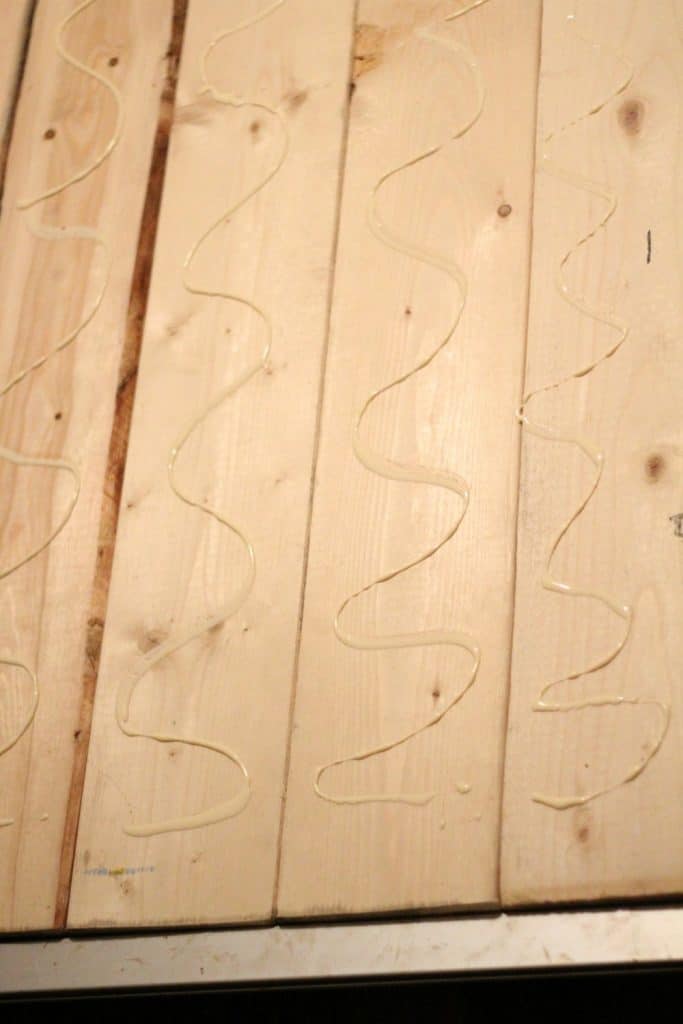
Next, we measured and marked where we wanted the plywood to be. We wanted more overhang in the front. so we glued the plywood down closer to the back than the front.
We added the glue and then laid the plywood down.
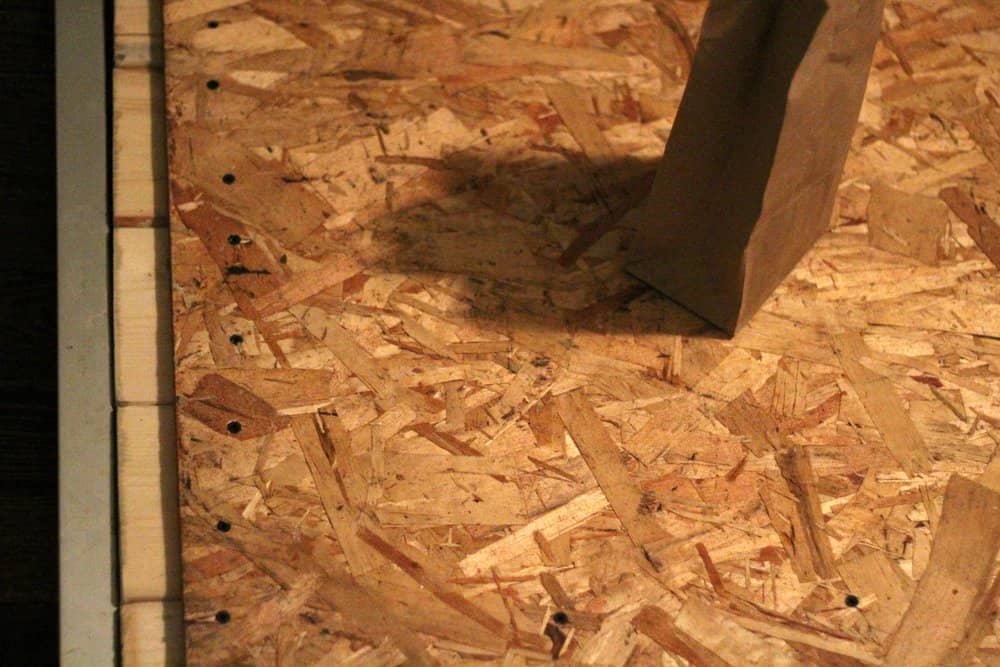
Next, my husband screwed in a half pound of drywall screws.
Putting it All Together
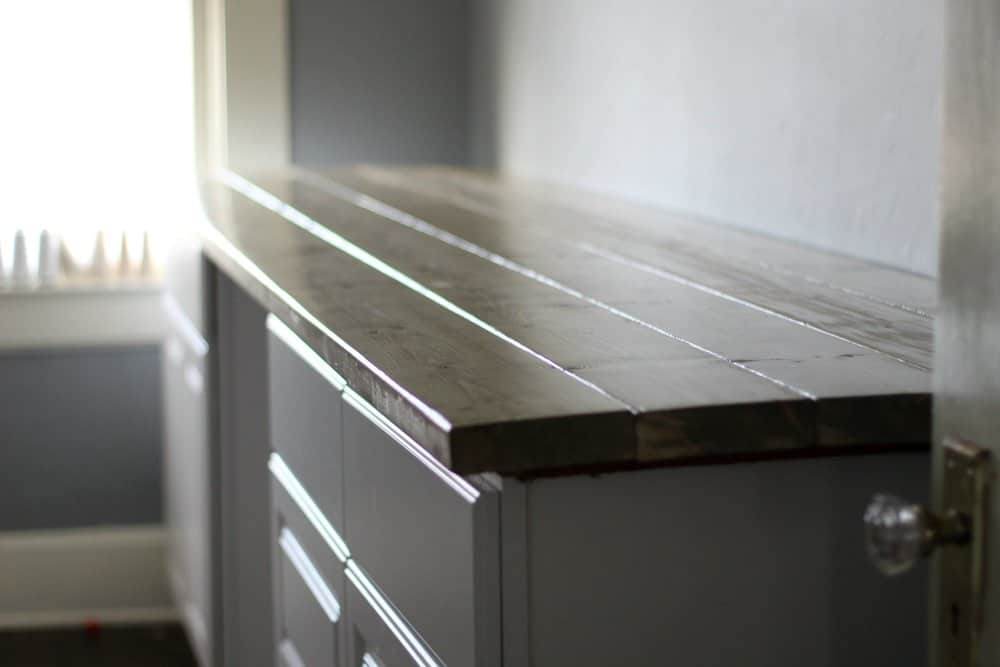
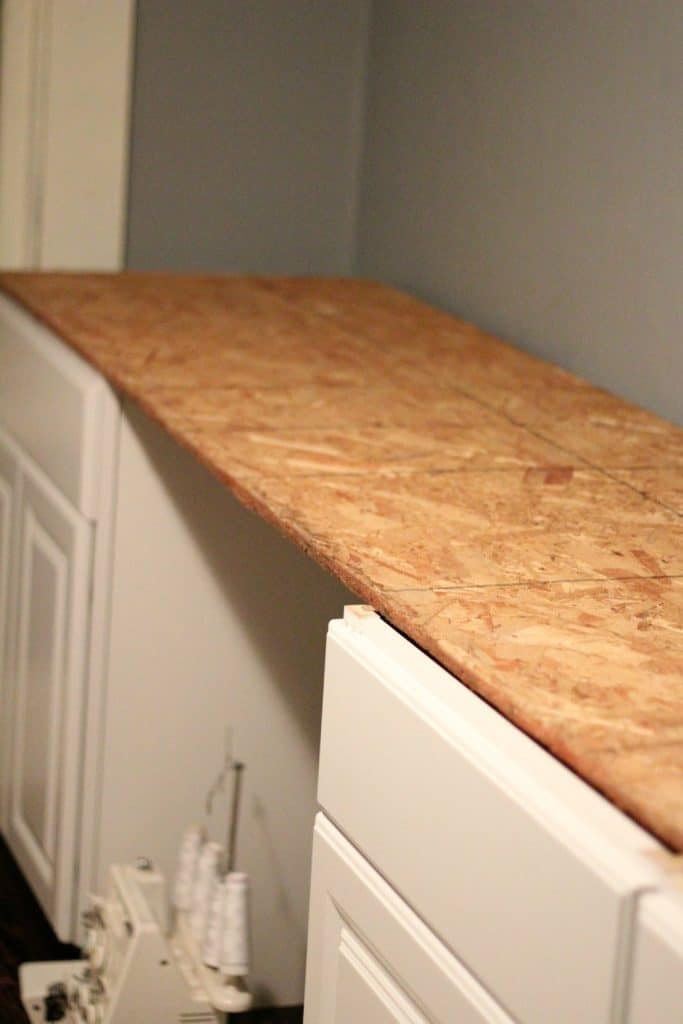
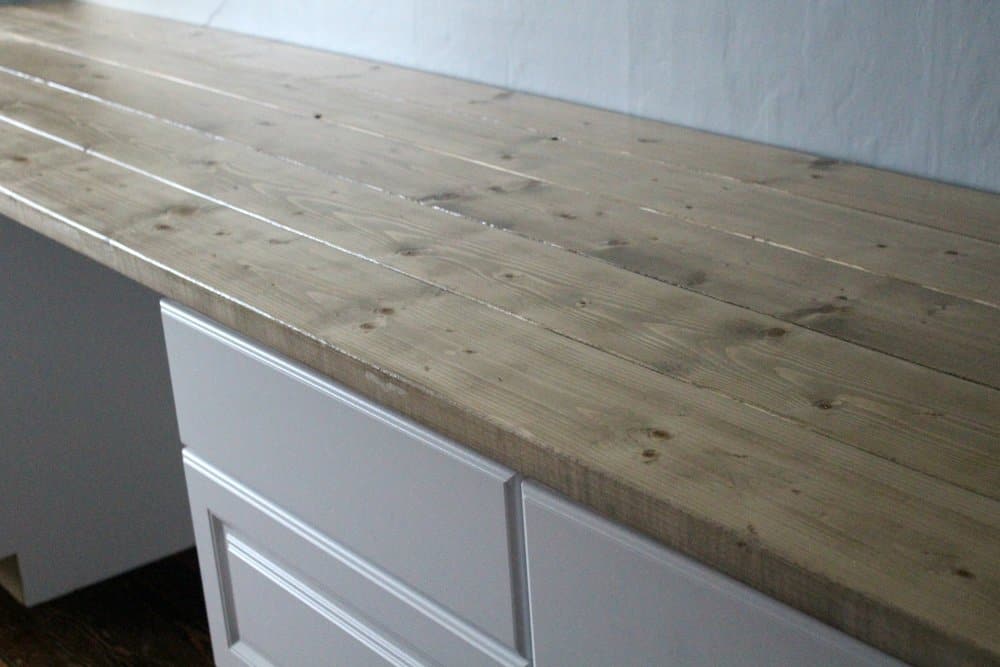
Finally, we heaved the heavy countertop onto the cabinets.
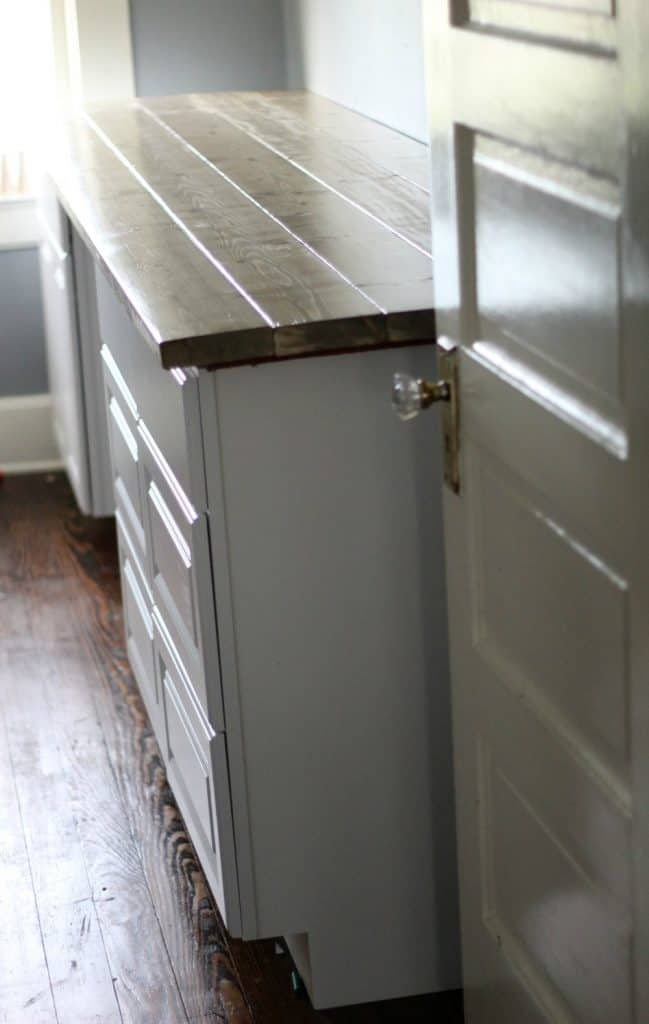
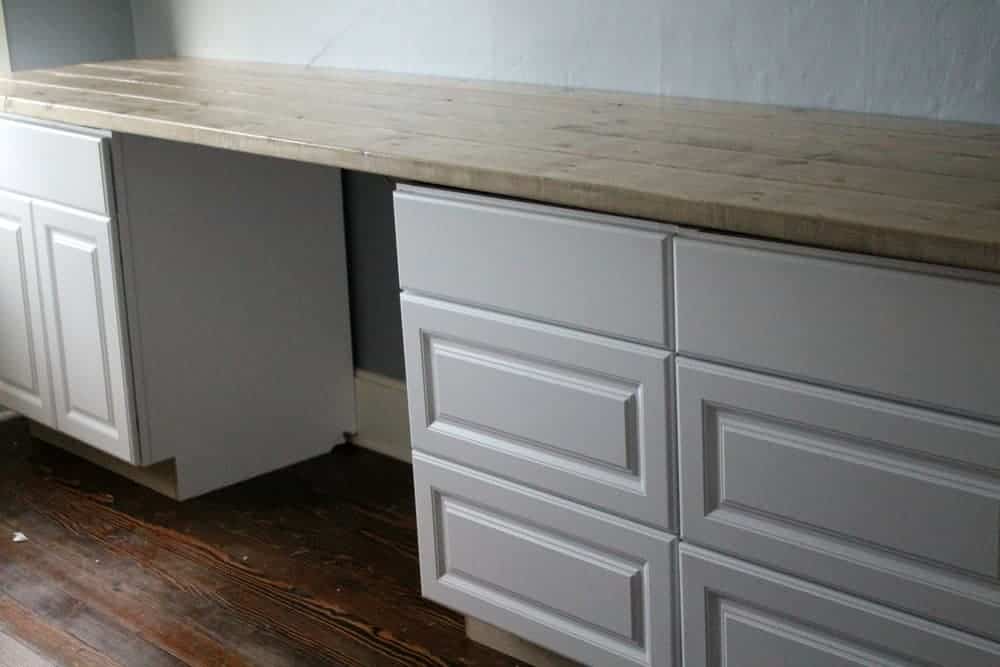
I still need to add a piece of trim to hide the plywood and all the spots where there is a gap because the room isn’t level. I guess that’s the character people are referring to in old houses, the “character” that shows up and makes sure no project is ever easy because nothing is ever square. I digress.
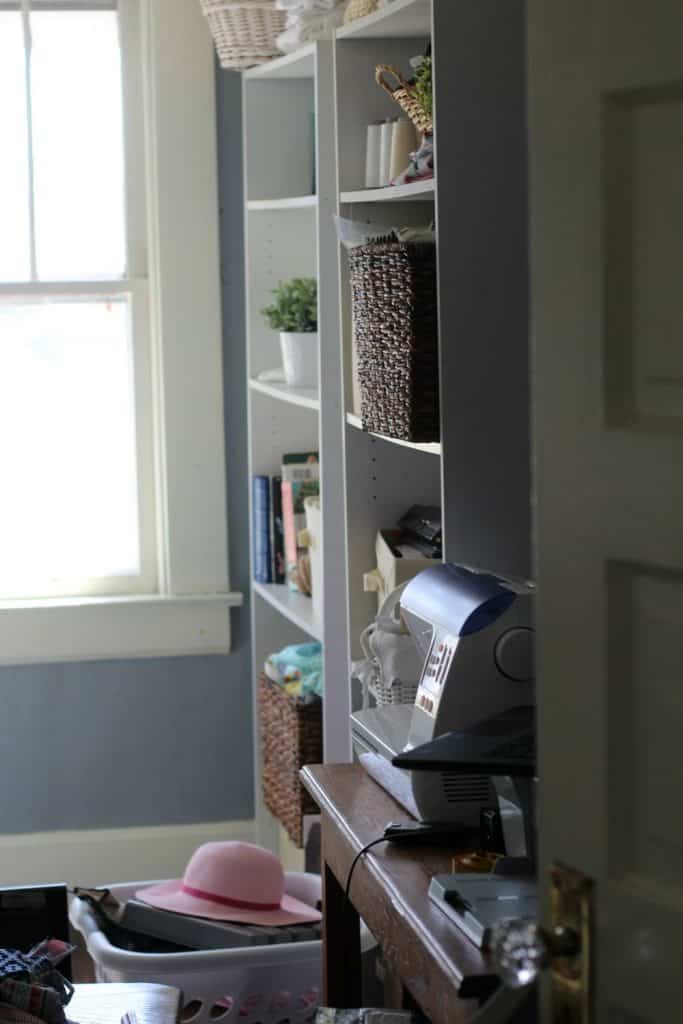
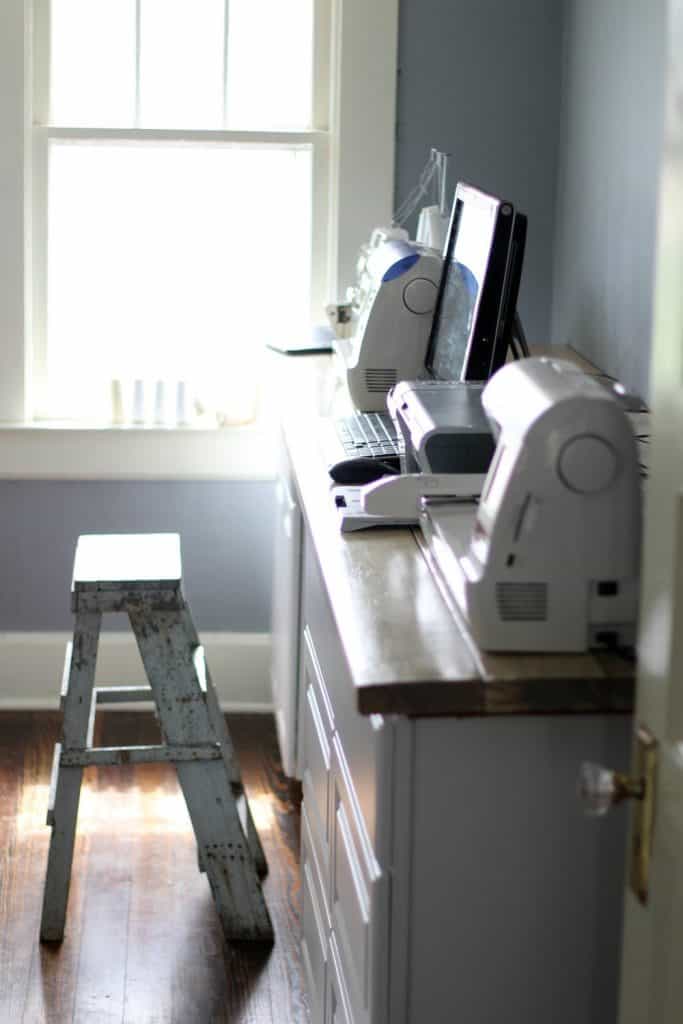
And here is how it looks with all my stuff.
The lineup:
- Brother serger
- Brother sewing machine
- Apple desktop computer
- Brother printer
- Brother embroidery machine
UPDATE: Recently, I just updated a few of my machines, so I also updated the links to my craft room equipment.
I brought a ladder from the kitchen upstairs, since I still haven’t found the right chair for it. It needs to be a bar stool height, yet comfortable. I’m open to suggestions.
I also haven’t decided on what I am going to do with the rest of the room. I’m thinking I am going to give it a couple of coats of Benjamin Moore Owl Gray and maybe a few shelves. I am also looking for an antique cabinet to hold the rest of my stuff.
I will keep you posted as the rest of the project comes along!


So beautiful Lisa. Your husband did a great job. Hope you find a perfect chair.
I purchased a office chair that height can be raised up and down. Works great. Just get chair without arms.
Love it! Question though. Two of my daughters (ages 16 and 13) are trying to start up a small embroidery business for our local farmers market. I already have a brother se270D and it’s okay embroidery wise, so that is what they are using. I also have a bunch of polyester maxi-lock thread. It’s great for regular sewing, but if the girls’ business takes off I’d like to invest in better thread. What do you use/suggest?
Hey Rachel! I use Isacord Polyester Embroidery Thread for my business. 🙂
Hey Lisa ~ Would you mind sharing with me all information about your embroidery machine. Such as make and style. What do you like least and most about it. Any information would be appreciated. .A big thank you for your time and energy in giving us a glimpse of your grace-filled life of family and home. May our Lord continue to bless you and your family in all endevours.
Tina Bartlett
228 Rozier Siding Rd.
St Paul’s, NC 28384
Bartltm1@hotmail.com
I have the Brother SB7900E Embroidery Machine. I really love it! I have had to get it cleaned and serviced several times because I use it so much for the business. It is pretty reasonably priced and I like the 5 by 7 hoop size. I don’t use the software it came with. I prefer the Embrilliance program.
I love this, Lisa.It is so neat that you have a craft room! Do you sell primarily through etsy?
You can shop directly on the farmhouseonboone.com website, the cushion covers are fabulous ?
Thanks Jo!
It turned out nice, Lisa!!