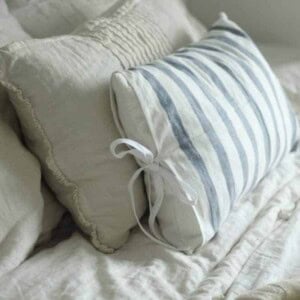
Learn how to make pillow covers from IKEA tea towels. These pillow covers are super simple and can be whipped up in less then 15 minutes.
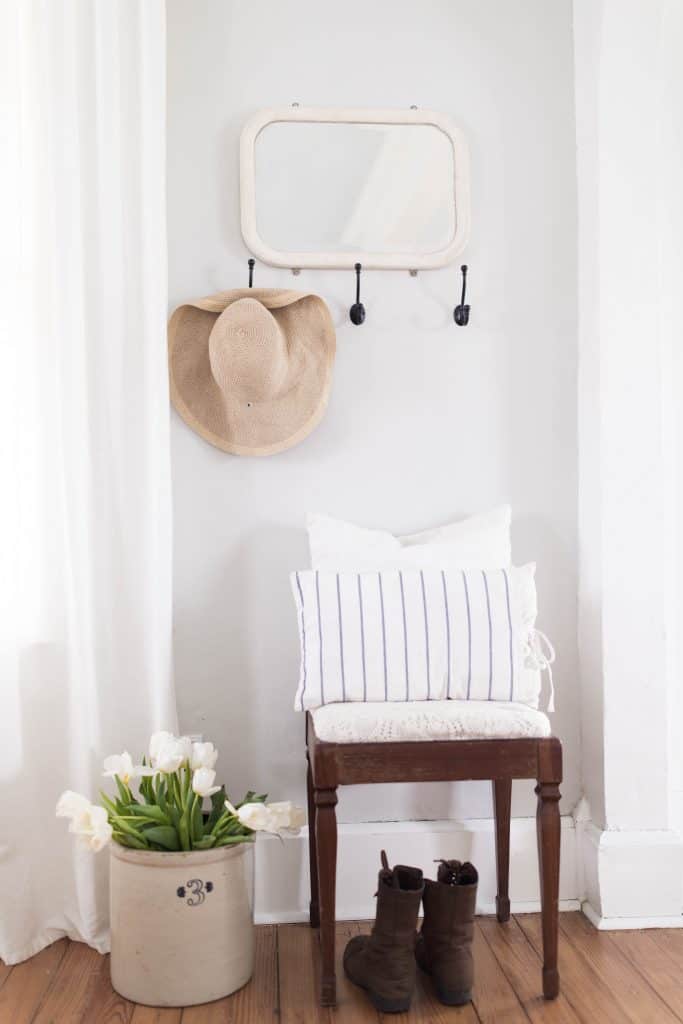
Table of Contents
Some links are affiliate links, which means I make a small commission at no extra cost to you.
An Easy and Quick Project
You know how sometimes you just need a little satisfaction of creating something, but have absolutely no extra time to do so?
That is what today’s tutorial is all about!
I love the IKEA Elly white and blue dish towels for their linen like look and perfect shade of blue.
Plus, I am always a sucker for stripes.
I knew when I first saw them that I would have to make something, other than a tea towel, from them.
With a $5 pack of these tea towels and one package of bias tape you can sew up four pillow covers in (way) less than an hour.
Pillow Cover Tutorial Supplies
If you don’t have an IKEA nearby you can also buy them for a pretty reasonable price on Amazon.
Since the tea towels already come with hems, half the work is already done!
Pillow Cover Instructions
First cut two 18″ pieces of white double fold bias tape.
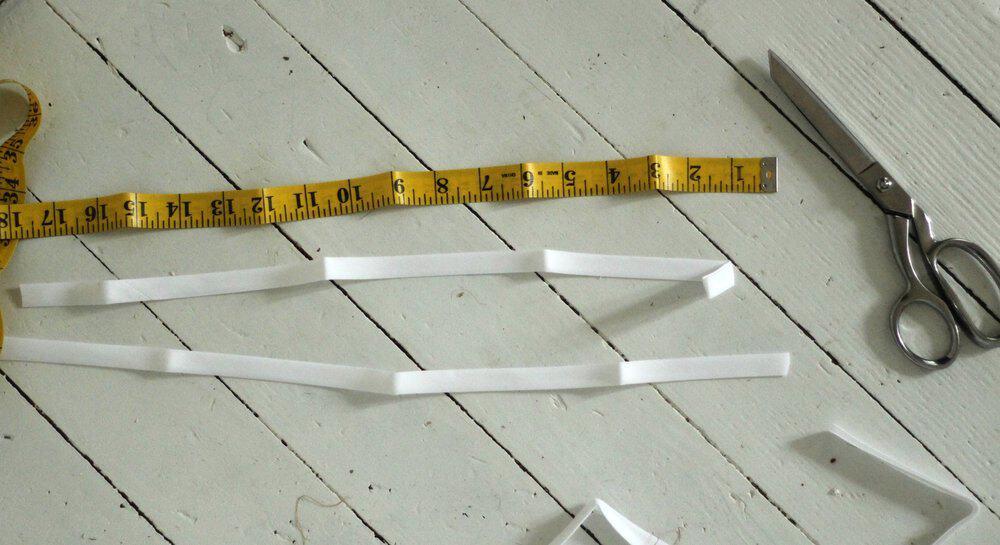
On one end, fold the top down a half inch.
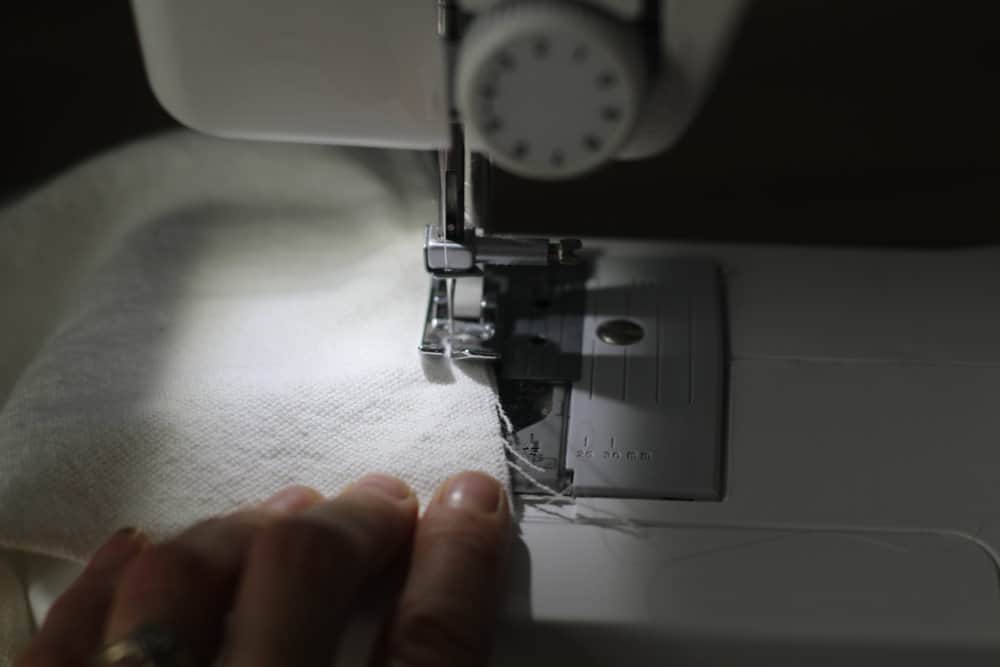
Then sew all the way around.
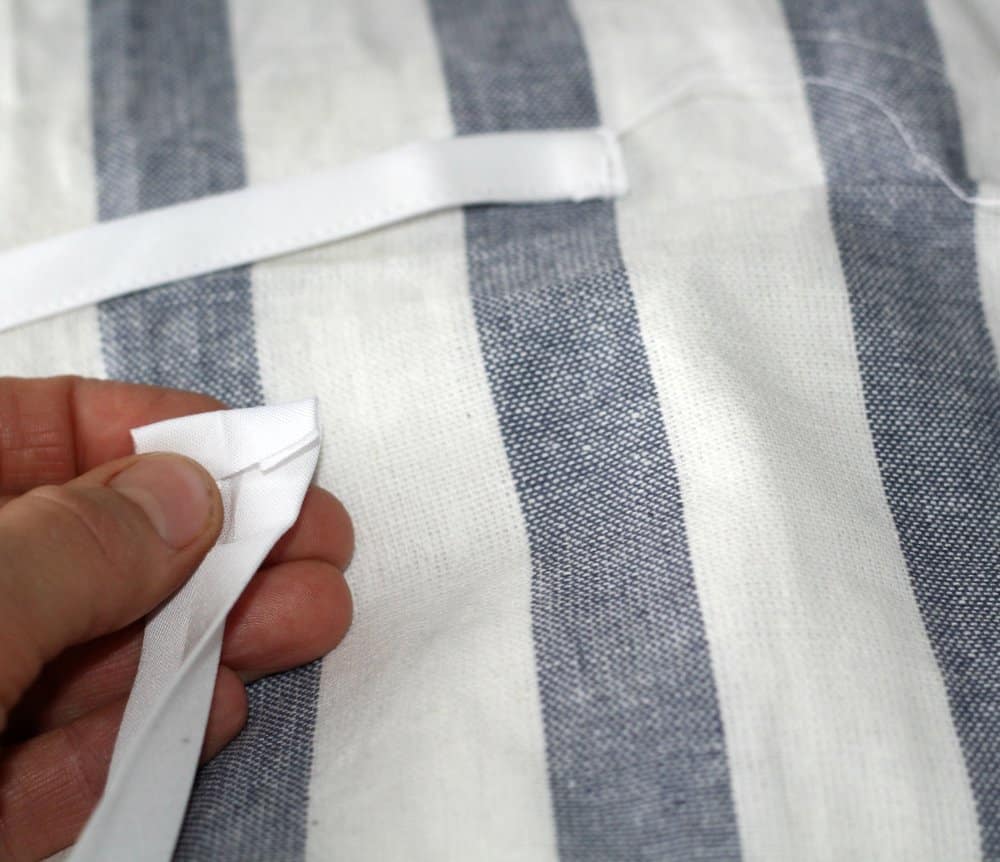
Repeat with the other piece of bias tape.
Next, fold your tea towel in half with right sides together.
Line up all the stripes and pin in place.
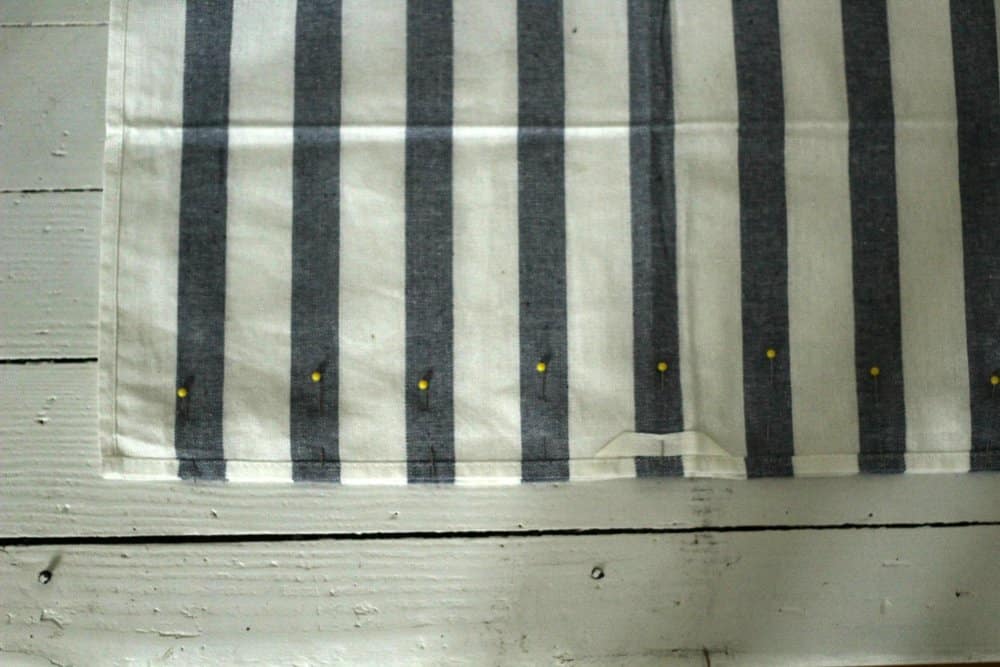
Sew 3/4 of the way around with a 1/4″ seam, leaving one short end open.
Before you turn the pillow right side out, make sure to clip the corners, as there is a lot of bulk there from the pre-made towel seams. Just be careful not to cut into your seam.
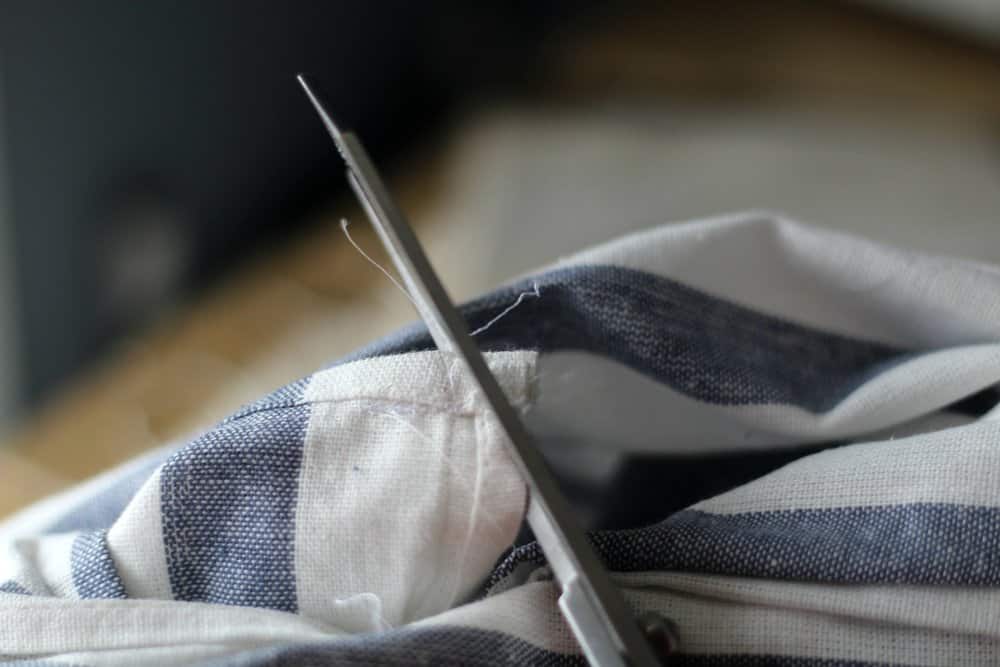
With any luck, all your stripes will line up when you turn it right side out.
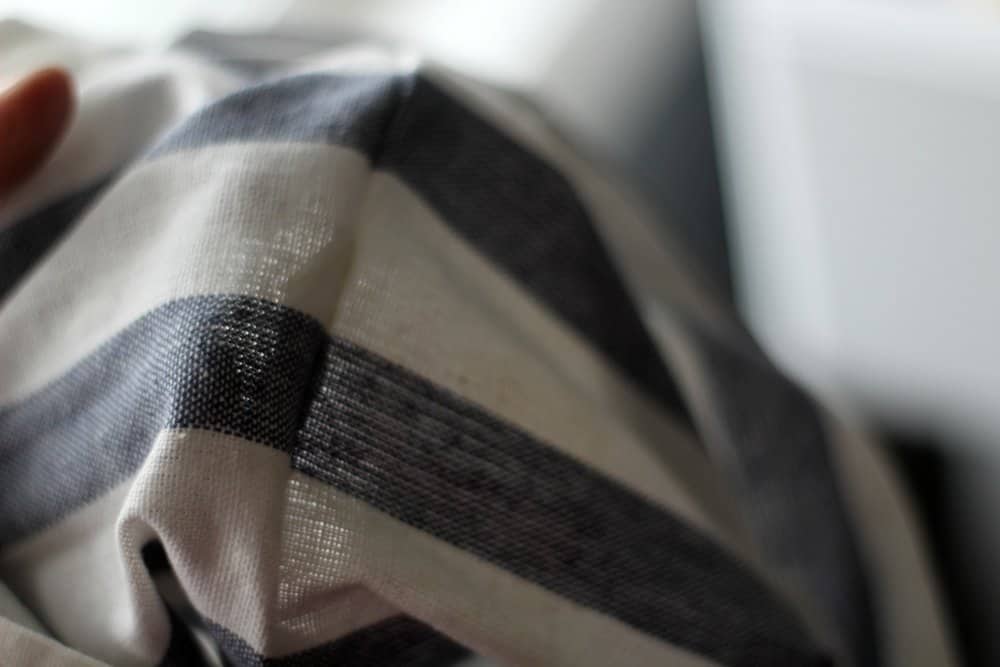
Find the middle by folding the pillow cover in half and adding a pin on both sides.
This is where you will want to put your ties, so they are centered.
Tuck the unfinished end of the bias tape under and sew on the inside of the finished pillow cover.
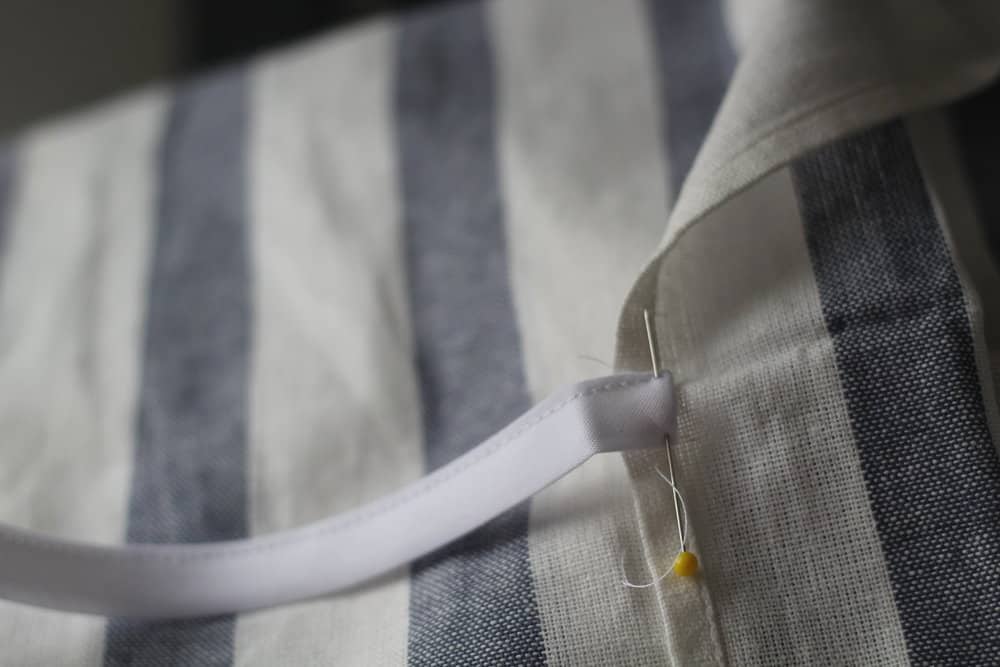
Repeat with the other piece of bias tape on the other side.
Slip an insert in and boom you are done!
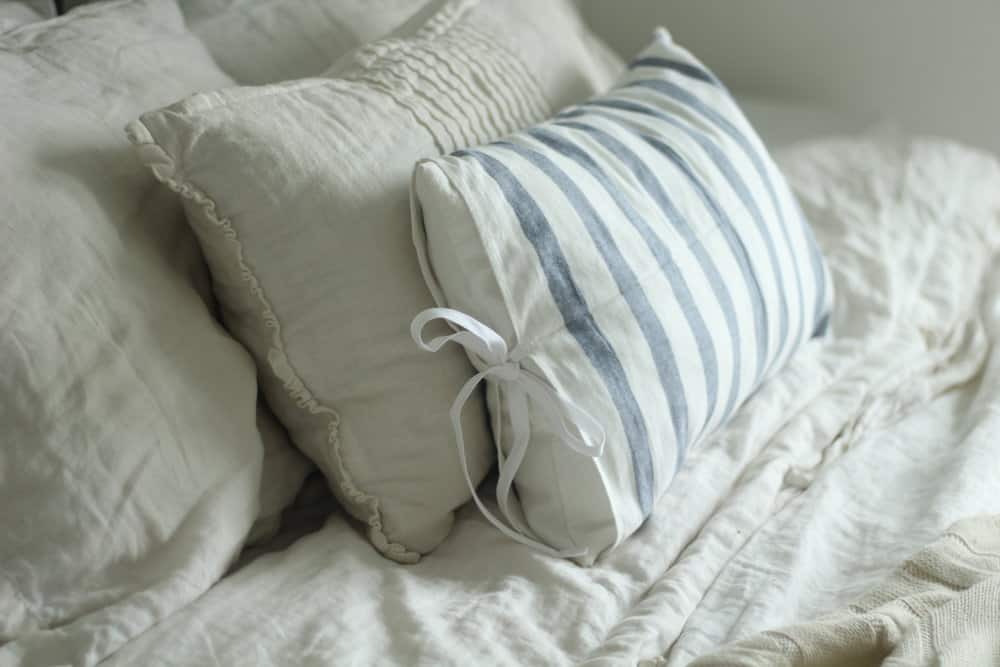
Repeat. Repeat. Repeat.
Although the perfect size insert is hard to find I did find this one here for $5 on Etsy.
OR you can make your own insert pretty quickly!
I actually like this option even better because I like the way the bleached drop cloth looks peeking out of the pillow cover. It has an almost linen look to it that I love!
Sew up two 13 by 20 inch pieces of bleached drop cloth, or other white cotton fabric, all the way around, leaving a 3 inch portion not sewn.
Turn it right side out and add stuffing.
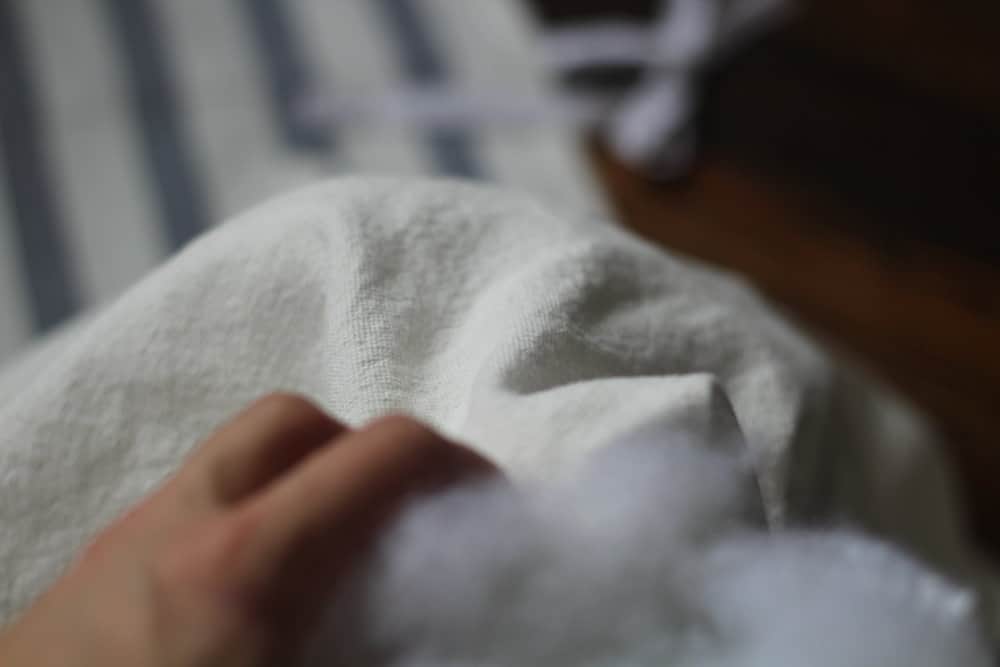
Stitch the 3″ spot that you left open shut.
When putting your insert into your new pillow cover, hide the 3″ spot you left open, since it will look a little messy, by putting that end first into your pillow cover. The nicely sewn edge should be the one peeking out.
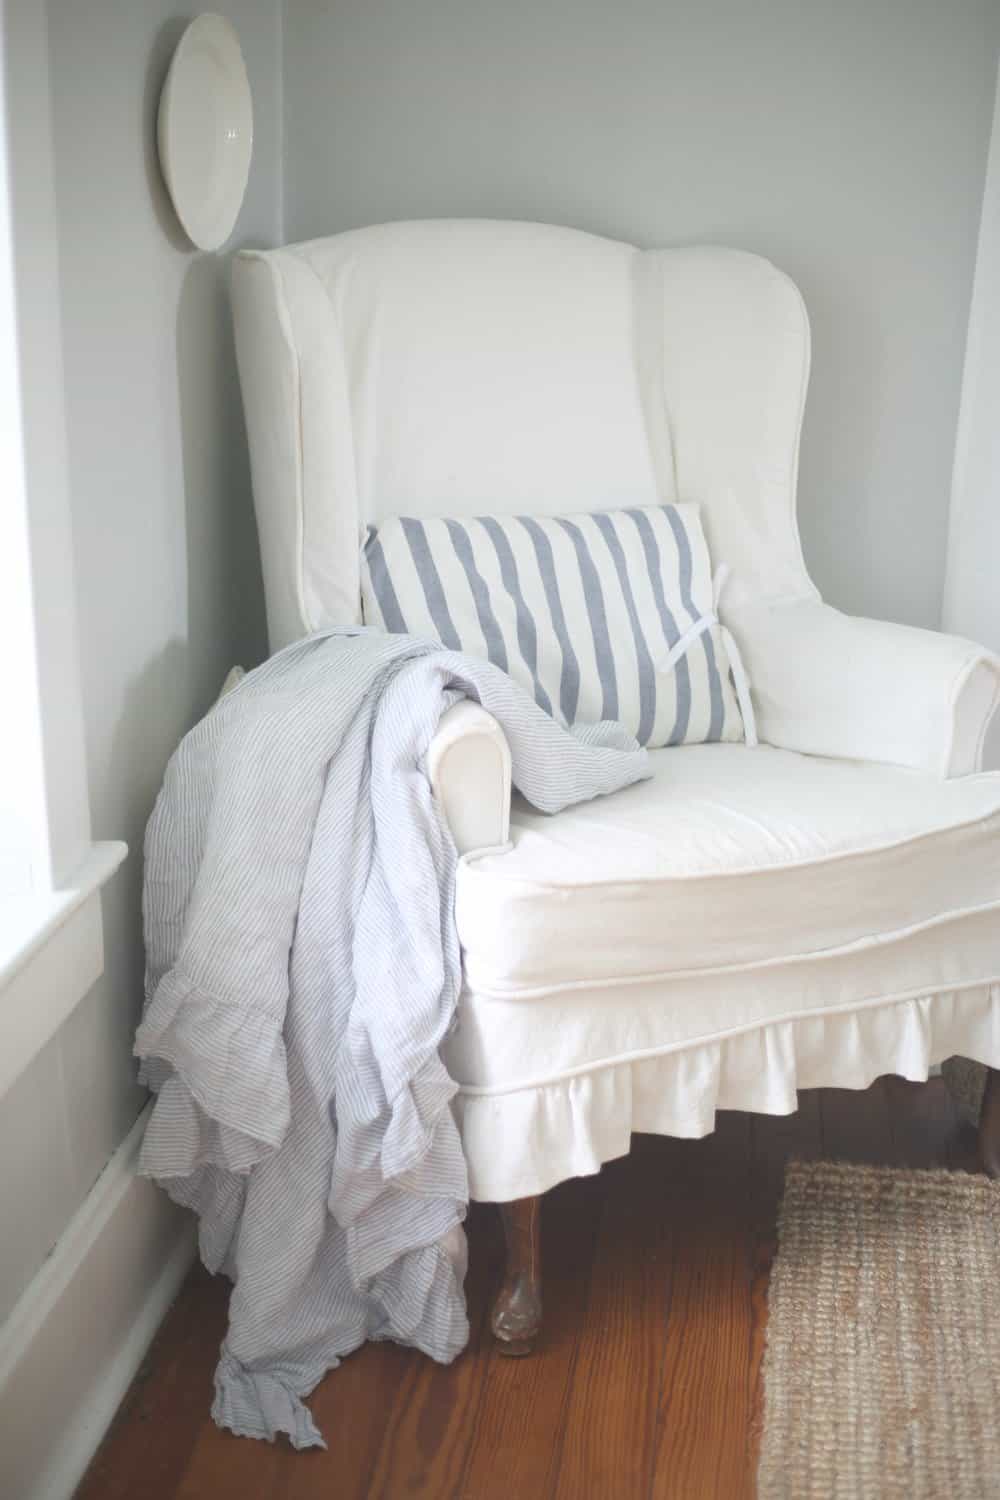
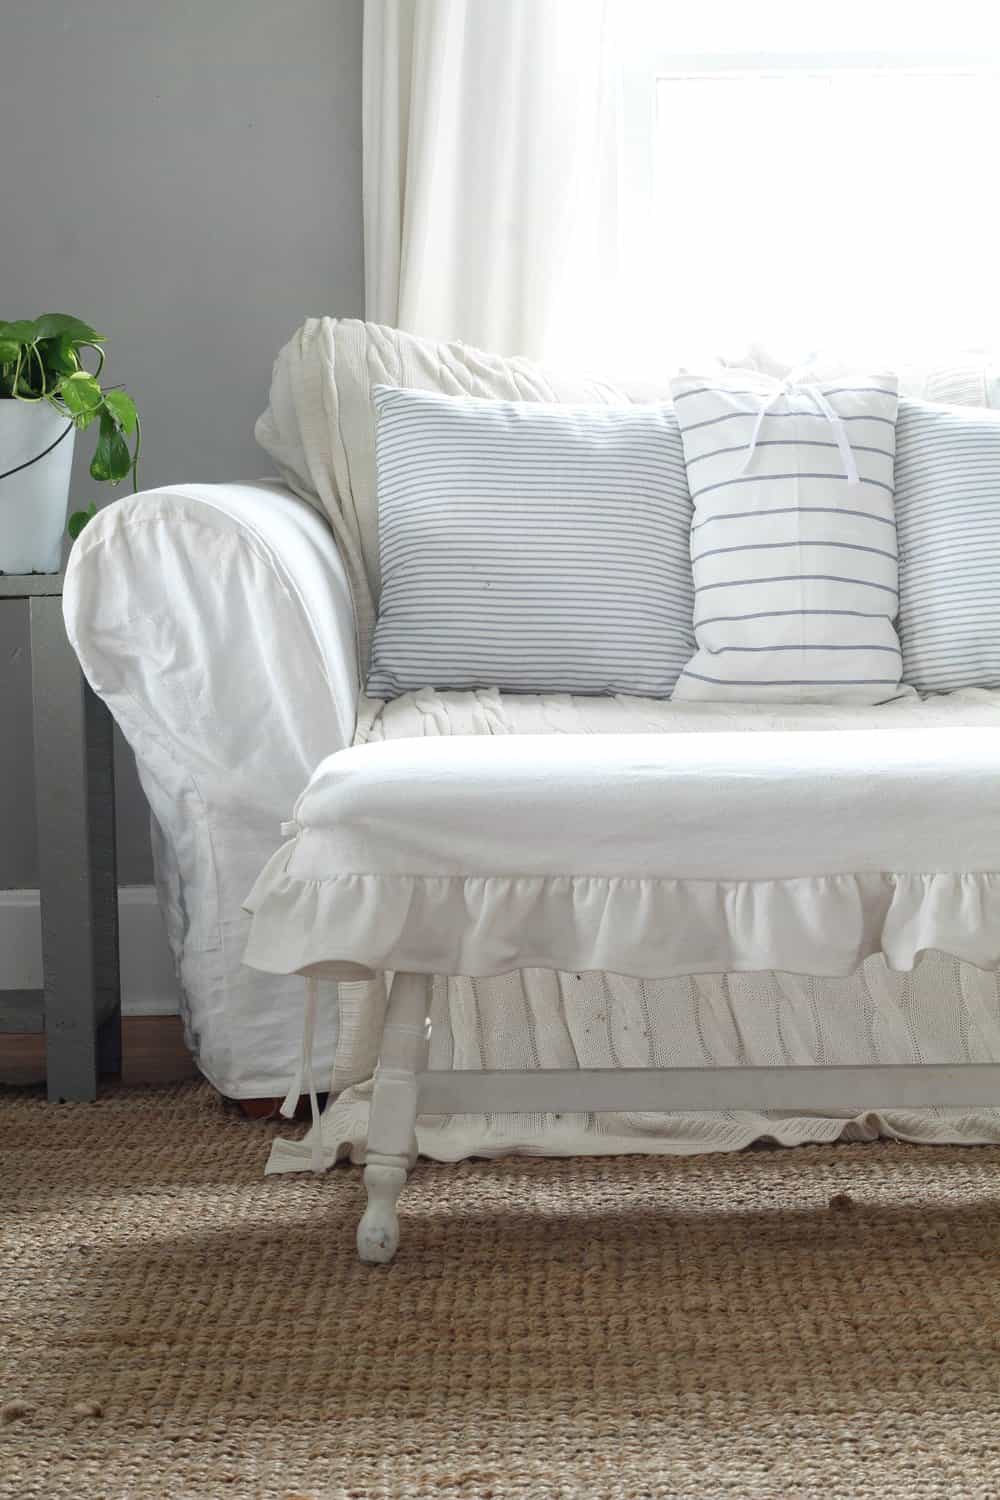
Now, keep repeating this process and you will have a bunch of little farmhouse pillows all over your house that only cost a couple bucks each!
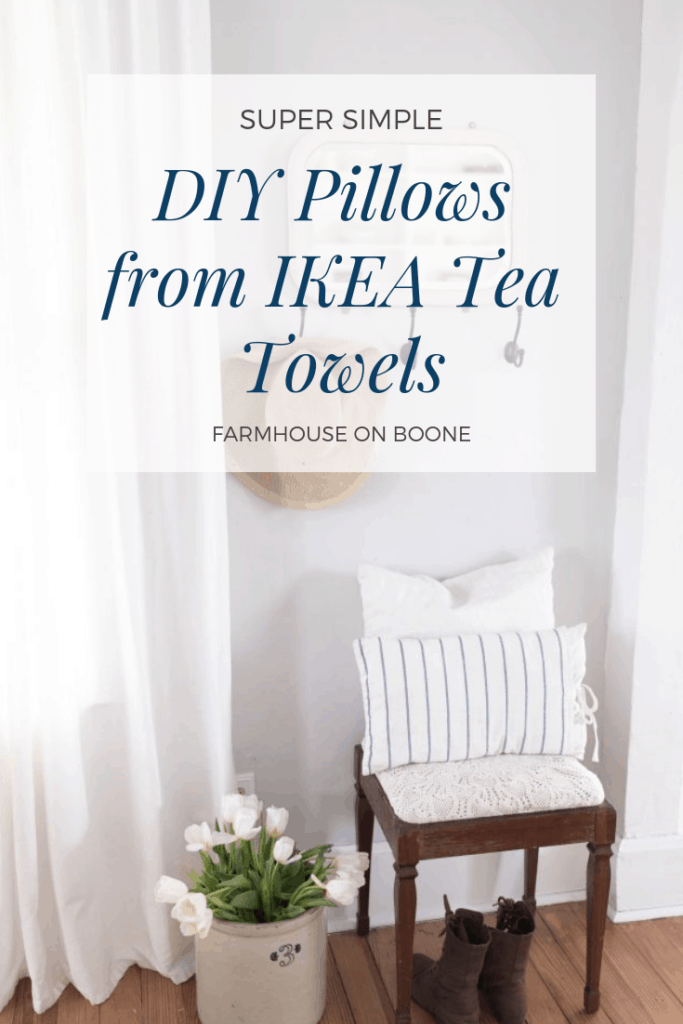
Super Simple DIY Pillows from IKEA Tea Towels
Video
Equipment
Ingredients
- IKEA tea towels
- sewing machine
- pins
- double fold bias tape
Instructions
- First cut two 18″ pieces of white double fold bias tape.
- On one end, fold the top down a half inch.
Then sew all the way around. - Repeat with the other piece of bias tape.Next, fold your tea towel in half with right sides together. Line up all the stripes and pin in place.
- Sew 3/4 of the way around with a 1/4″ seam, leaving one short end open.
Before you turn the pillow right side out, make sure to clip the corners, as there is a lot of bulk there from the pre-made towel seams. Just be careful not to cut into your seam. - With any luck, all your stripes will line up when you turn it right side out.
- Find the middle by folding the pillow cover in half and adding a pin on both sides. This is where you will want to put your ties, so they are centered.Tuck the unfinished end of the bias tape under and sew on the inside of the finished pillow cover.
- Repeat with the other piece of bias tape on the other side. Slip an insert in and boom you are done!
Notes
- Remember that you can use this technique to make any size!
Nutrition information is automatically calculated, so should only be used as an approximation.




This is really awesome! So easy to make! Thanks for the idea!
How do I see your blog or videos other then facebook
I have everything on here, farmhouseonboone.com. You could also subscribe to my Youtube channel, https://www.youtube.com/c/farmhouseonboone
Lisa, these are so perfect! I’d love to know where the rest of your bedding is from – the pillow cases behind the tea towel pillow, the gauzy sheets – so light and comfy!
My linen bedding is actually from IKEA too! 🙂
Thank you! We have an IKEA opening near us soon – can’t wait to shop it.
Seeing all the light fabrics in your home makes me wonder two things: how often do you launder it all and how do you keep it looking fresh and white? Seems like bi-weekly or monthly bleaching would take its toll on the linens. Any special tips?
And perhaps you’ve had a request like this before (or maybe you’ve done it!), but have you ever done a video on how to make up a bed in the warmer/cooler months? It’s beautiful how you layer and drape pillows/blankets/bedding. It would be inspiring to see how you intentionally put it together.
Thanks for your influential content!
These are so cute lisa!
Thank you so much Laura!