Learn all about sourdough scoring so you can make beautiful sourdough bread. Creating beautiful sourdough scoring designs is such a fun and artistic hobby, and I can’t wait to show you some of my favorite designs.
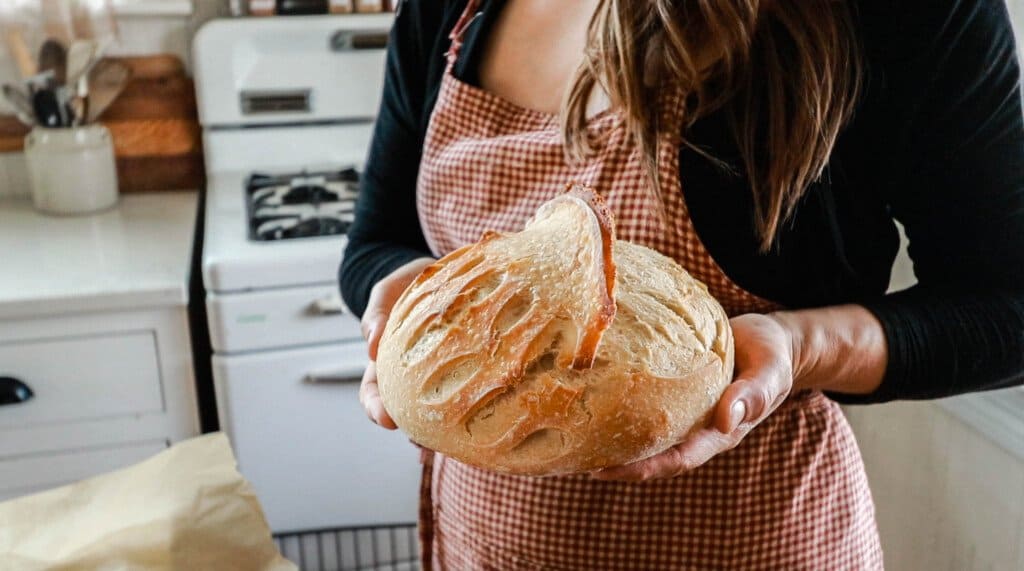
I have shared many sourdough bread recipes, and my no-knead sourdough recipe is probably my favorite, along with being the one that I get the best results with. I want to share with you how to make the bread actually beautiful.
Lots of questions come in about how to score loaves, with requests for tips to give bread that photographic, beautiful, Instagram type image.
Now, it doesn’t HAVE to be beautiful, because we are really just after sustenance. But I get it. It is so fun to put a creative and artistic spin on bread.
If nothing else, it is almost like a hobby. Even if you aren’t going to take any pictures of it, it’s still really fun to bring something out of the oven that is so beautiful. I absolutely love the whole process, and I think you will also.
So, today, I want to show you not only how to make some of my favorite sourdough scoring designs, but also how to make a successful loaf of sourdough bread to really bring the beautiful designs to life.
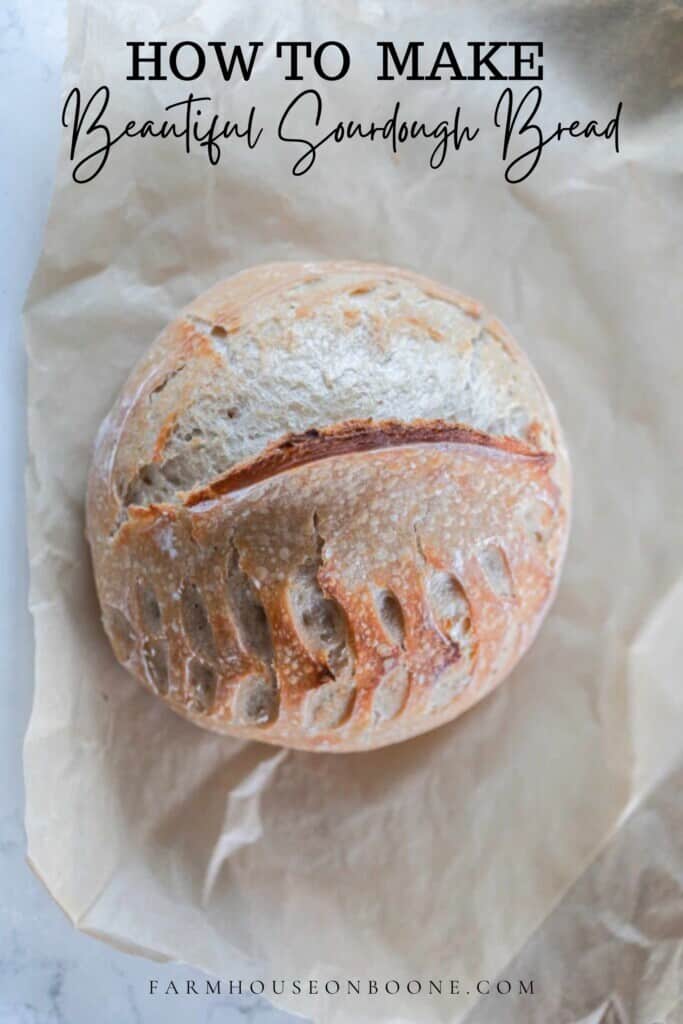
Pre-Baking And Sourdough Scoring Tips To Achieve Success
Have an active starter
Now this is something that only happens with time and lots of feedings. In order to achieve that beautiful oven spring – which is how the bread will rise while in the oven – and achieve a lovely bloom for those cuts that you score, you need to have an active starter.
How do you know if your sourdough starter is active? It should be really bubbly. It should double in size within 4-12 hours of feeding. You can also try the float test by taking a little bit of sourdough starter and placing it in a cup of water. If it floats, it should be ready to go.
It takes a lot of experimenting to really understand what an active starter is. You may end up with loaves that don’t rise well and aren’t as pretty as they could be, but still totally edible. Just make them into French toast casseroles or croutons!
This post contains affiliate links, which means I make a small commission at no extra cost to you. See my full disclosure here.
Refrigerate the dough overnight
This really allows you to score the sourdough bread without smashing the loaf. Whenever it has been refrigerated, it has more of that structure that you can slash into without damaging the loaf.
Refrigeration makes the cuts prettier and more even. I find that I can never make loaves as beautiful as ones I refrigerate overnight. Plus, it is pretty nice to get all the folding and stretching done one day, then the next day you get to do all the fun stuff.
Preheat the baking dish before scoring sourdough
You want to go straight from scoring to baking in a short amount of time. This helps them not flatten out, which ruins your beautiful work.
Use a Sharp Tool
Knives don’t typically work well unless they are super sharp. You will need a sharp razor blade, bread lame, or scissors. I find I have the best control with a razor in my hand. Order a pack of razors, because once they are dull, they just won’t work as well.
Add Flour To The Top Of The Loaf.
This is done before the scoring. It gives it that beautiful contrast and then when that design rises, it opens up and really stands out.
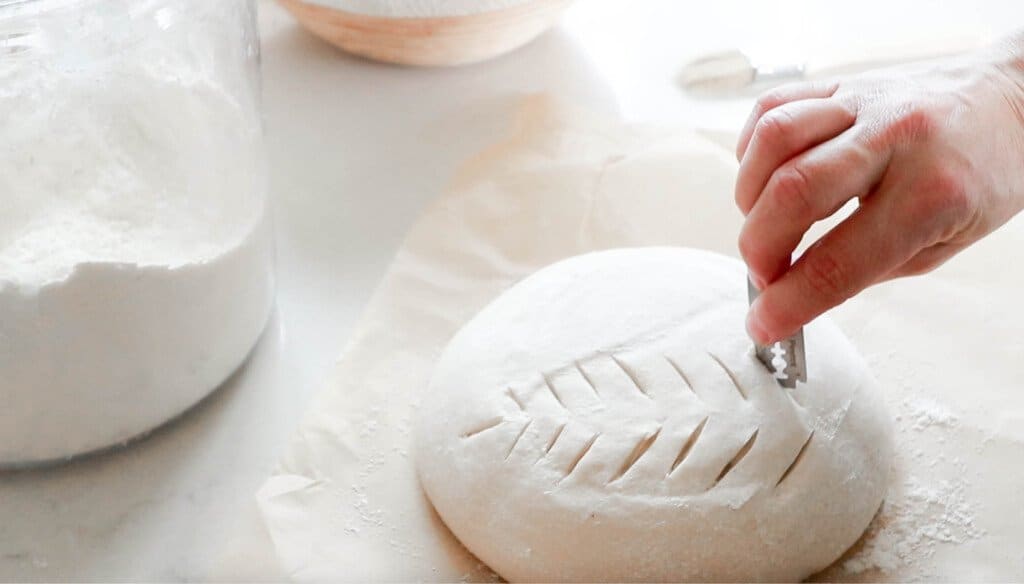
Types Of Scoring
Expansion score: Deeper scores that allow the bread to expand without blowing out in places you don’t really want them to. Examples of this would be a half moon slack, cross-hatch, or a cross.
Artistic scores: This just provides those pretty designs. These are not as deep as the expansion scores. You want to try your best to make sure you do them uniformly. For instance, if I’m creating the wheat, the mistake isn’t obvious in the pre-baked bread, but once it is all opened up, it is quite obvious.
Tools for scoring
Lame pronounced “lahm”
Scissors
Razor
FAQ
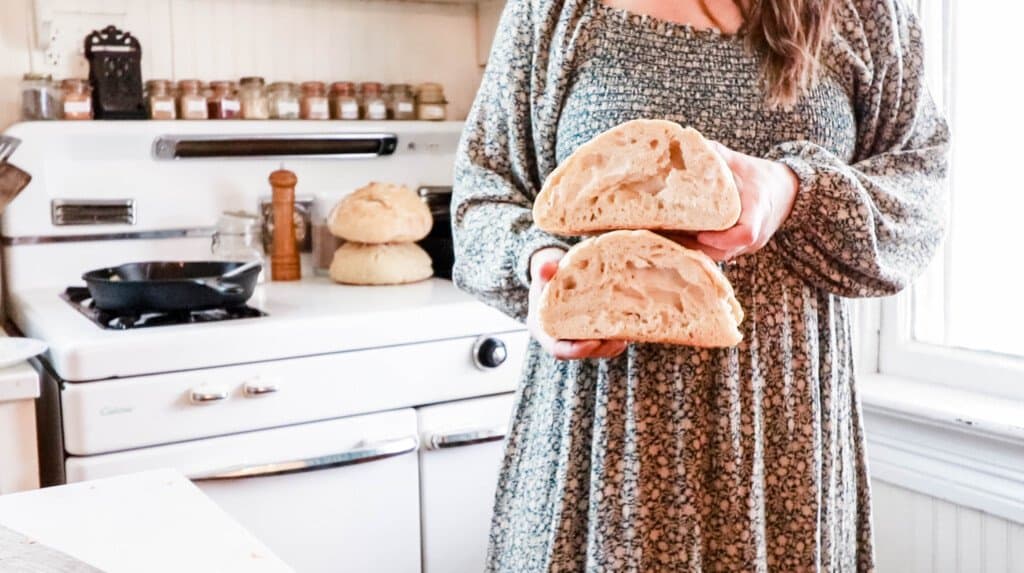
What should you score sourdough with?
A sharp razor, bread lame, or scissors work well. Knives tend to be too dull to get nice slices through the dough leaving the design less desirable.
When should I score my sourdough?
You should score before you place the dough into a hot dutch oven for baking. Don’t score and then allow the dough to rise. Slash and stick in the oven.
How deep should I score sourdough?
Artistic scores are usually around 1/4 inch deep, whereas expansion scores can be around 1/2 inch.
On the other hand, try not to score the bread too deep. Scoring it too deep won’t allow the steam to escape, lift the dough, and bloom.
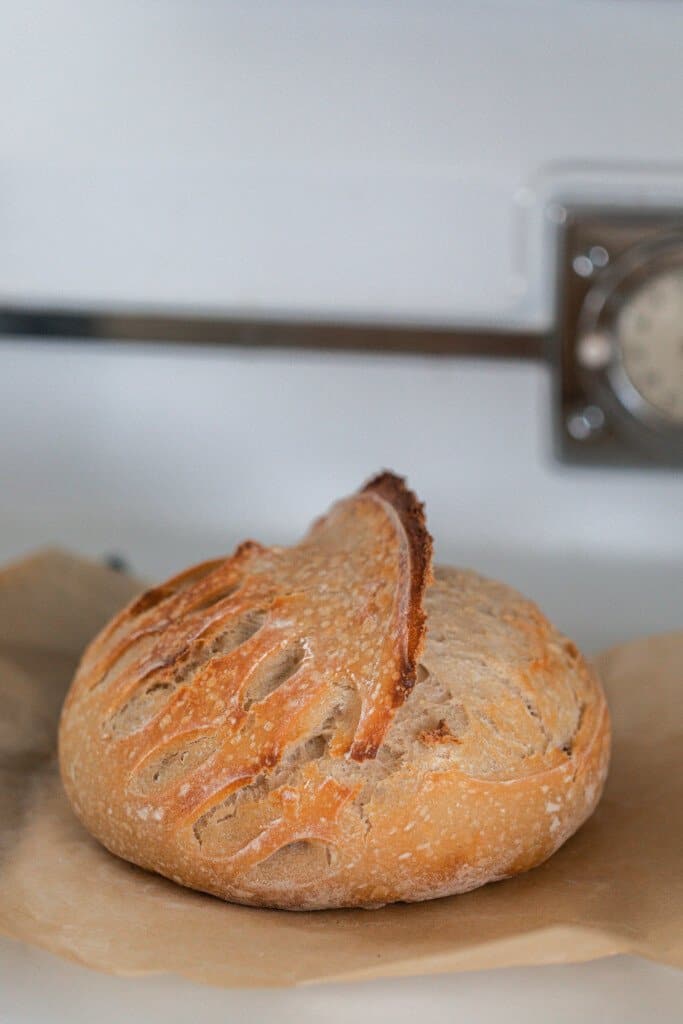
How To Score Sourdough Bread
Follow your favorite sourdough bread recipe. My no-knead sourdough bread recipe is my absolute favorite. I start this the day before, then allow it to bulk ferment overnight in the refrigerator.
Tip: Allowing your dough to ferment overnight in the refrigerator helps give the dough a firmer structure which makes scoring much easier and more defined. This really makes your sourdough scoring designs more beautiful.
Preheat the cast iron dutch oven in the oven for at least 30 minutes to an hour before pulling your bread from the fridge.
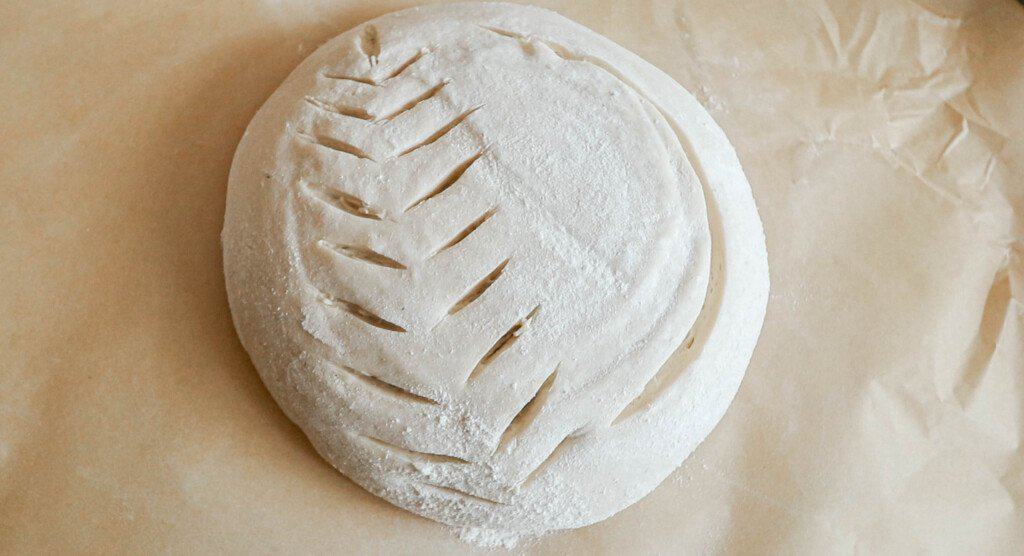
Using a lame or razor, score dough with artistic scores around 1/4 inch deep. You can use a variety of patterns and shapes (see the sourdough scoring designs below). Add at least one expansion score.
Place scored sourdough right into a hot dutch oven with a lid and place in the oven to bake according to the directions.
Remove the lid during baking (according to the directions) to finish the baking and give the crust a nice golden color.
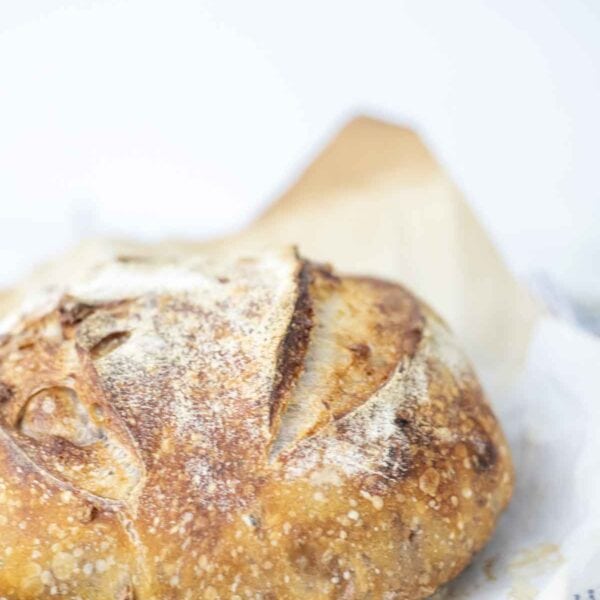
Once the bread is completely baked, you will see and enjoy your beautiful sourdough creation.
Sourdough Scoring Designs
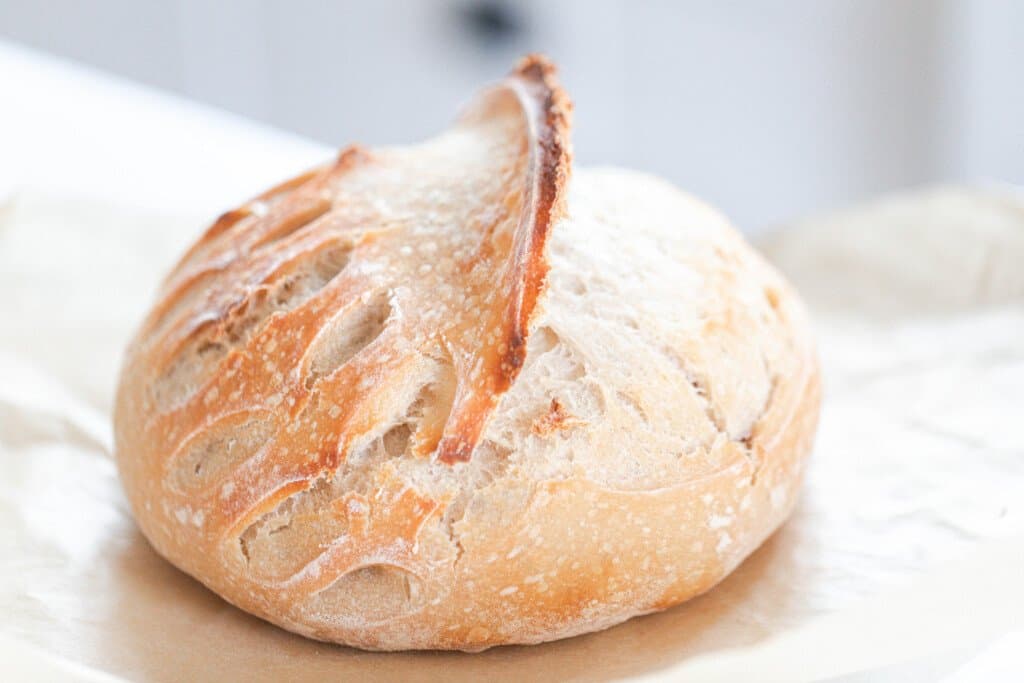
Wheat Pattern With Half Moon Expansion
Starting at the top, add one slash about 1/2 inch downwards, vertically. Then slice 1/2 inch slices on a diagonal on each side and continue doing diagonal 1/2 inch slashes down the dough until you hit the end. On the other side of the dough, add a half moon expansion by slashing a line along the side in a half circle shape.
Wheat Pattern With Square
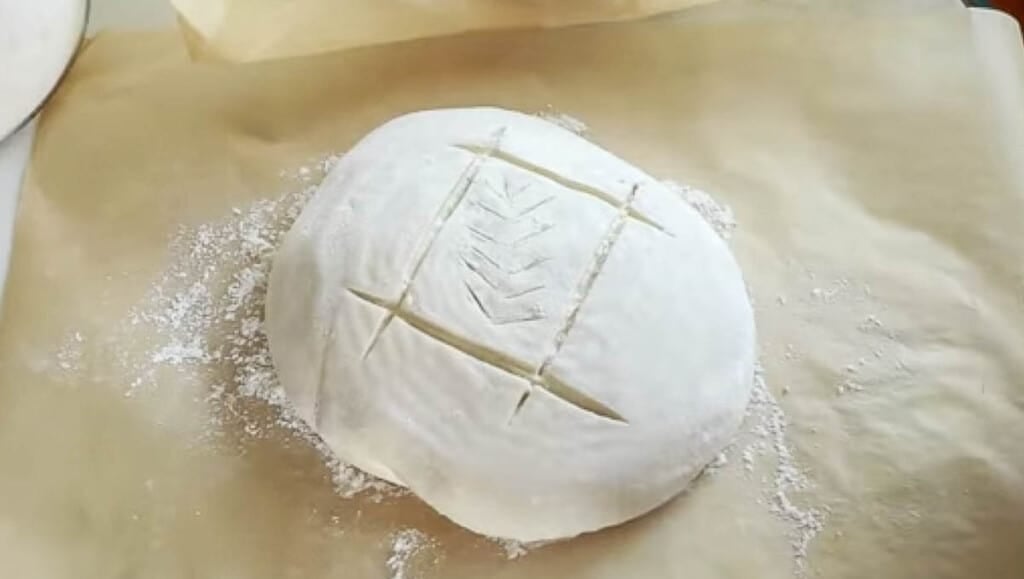
Start by creating the square hatch. Slash two lines about 4 inches long and about 4 inches apart. Add two more lines horizontally, starting about 1/2 inch from the top of the previous lines and 4 inches apart.
Add the wheat pattern to the middle of the square.
Simple Cross
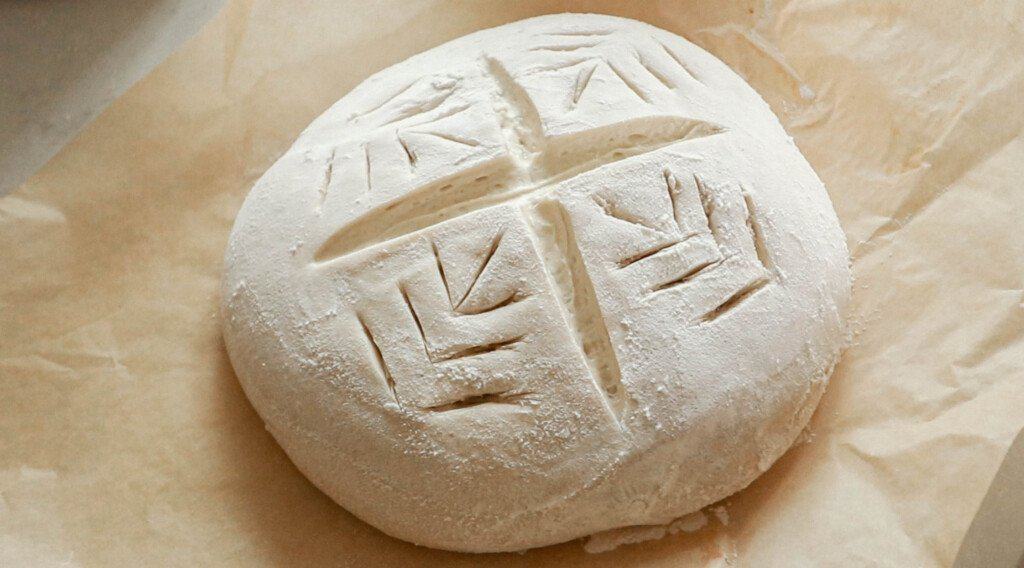
Add a 4-5 inch expansion score (the deeper one) line down the center of the dough.
Place another horizontal expansion score the same length across horizontally in the center. I find it actually works better if you make two lines, since cutting through the original line is a little tricky.
Go back and try to even out the expansion scores as best as you can.
Now you can leave it just like this, and it will be beautiful, but I like to add the wheat pattern down the four quarters.
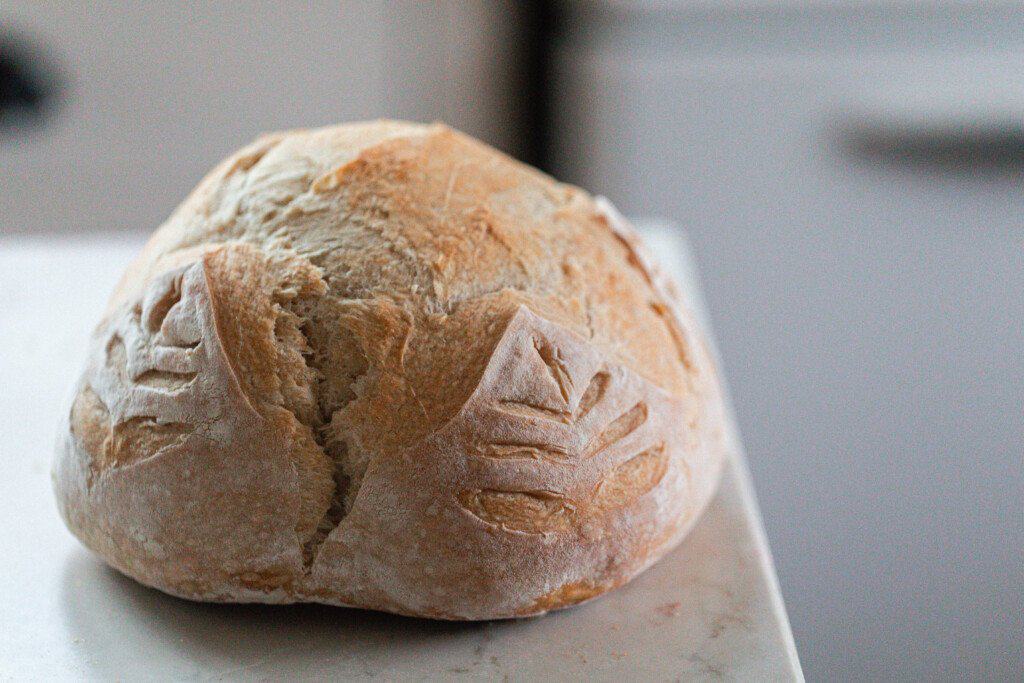
These are just a few ideas and really just the beginning of the designs you can create. It’s a starting point. Make sure to tag me on Instagram @farmhouseonboone if you create some beautiful bread designs!
A Few Mistakes When Making And Scoring Sourdough Bread
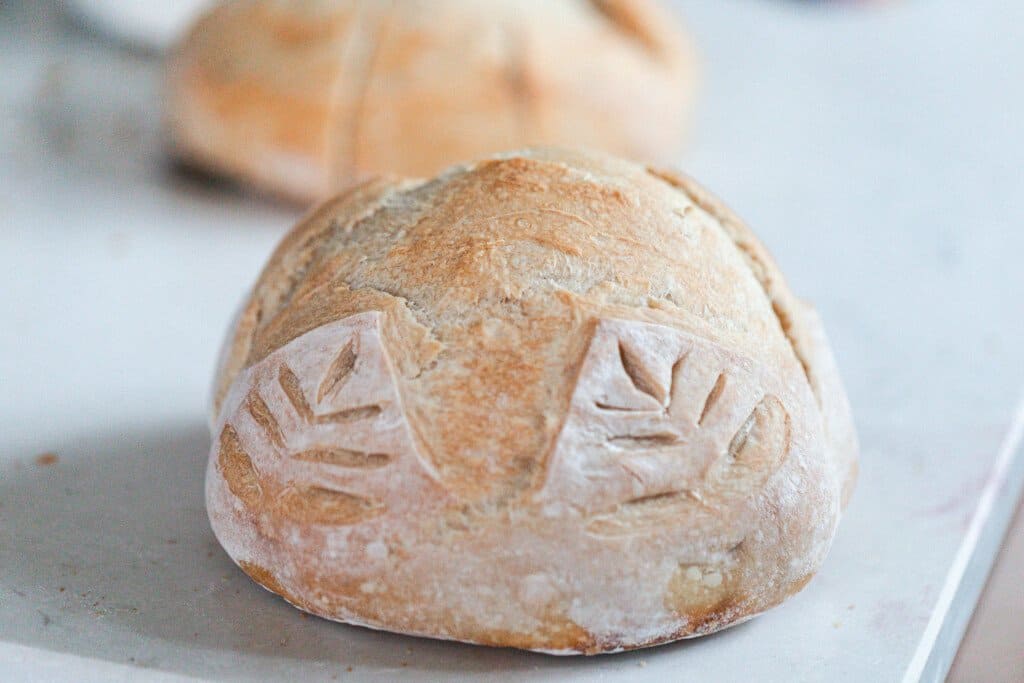
Over fermentation: This sounds counter intuitive. You would think the longer you would ferment the dough, the bigger and springier it would be. But rather, if it over ferments, it just turns flat and the dough is way too sticky.
Under fermentation: This could be a result of a starter that isn’t very active. It may just need a few more weeks or months of consistent feeding. It could also be that it is just too cold in your house, and it didn’t have enough time to rise properly. You want it to be around 80ish degrees. I usually put the dough near our wood burning stove on a chair.
Oven temperature is too high: Burned bottom, but not cooked all the way through? It could be that the oven temperature is too high. If this is happening, you may want to get an oven thermometer to double check the temperature.
Oven temperature is too cool: Yes, this sounds finicky, but I promise you, once you get into the groove, you will figure it all out.
Too much water or flour: The flour you are using, the hydration of the starter… there are so many factors here. And as you continue on your sourdough journey, you will become more and more sure of how your dough should look and feel.





I loved this post! Your tips on scoring really helped me improve the appearance of my sourdough loaves. I never realized how much of a difference it makes. Can’t wait to try out those designs you shared! Thank you for the inspiration!
I find cutting slices is really difficult and I just bought an expense serrated knife. Should the bread be that tough to cut?
It’s tough exterior, but not so tough you can’t cut it.
I’ve made several loaves using your refrigeration suggestion overnight, rather than the overnight bulk and although the loaves are easier to cut and decorate resulting in a prettier loaf, they’re terribly dense. I’ve tried baking at 450 for a tad longer time and also at 500 for the recommended time. So far all the bread is too dense and doesn’t get as many air pockets as the standard (overnight in the cabinet bulking) that I’ve been using. Do you have suggestions on how I can get a better rise from the dough? It appears that it doesn’t rise at all overnight in the fridge. My last attempt I made two loaves with the same ingredients using the refrigeration method for one and the cabinet method bulking for the other and the cabinet method rose higher vs the fridge method with no rise. The loaves rose in the oven but still the refrigerated loaf was too dense for my liking. Thank you!
Your recipe for high hydration sourdough was exactly what I was looking for. One loaf is done and I have learned already so much. Is it photo – worthy … no but it has everything else that I want; open crumb, beautiful brown crust and the crust doesn’t need a hacksaw to cut it. Plus I just tasted it and I must say it is one of the best loaves I have made yet! I am going to bake the next loaf now and already I can’t wait to practice again. Thank you for sharing this recipe.
Just learning the makings of Sour dough, and now want to make it look beautiful. Do you sell a book?
My cookbook will be released later this fall. 🙂
what would be my water ratio if I want to use ½ Einkorn and ½ bread flour
So for example a recipe that requires bulk fermentation and then proofing before baking(ex. Easy artisian loaf) .. would the proofing be time in fridge overnight? Then since it is cold, you can immediately score and bake it?
Yes. That is usually how I do it.
The cold dough is definitely key! I also prefer to just use a razor blade without the stick attachment…seems awkward for me anyway. Happy baking!
Thank you for these tips. Unfortunately, even when I turn my boule over from the fridge onto parchment, it spreads out, flattening somewhat. So when I score it, the scores just spread and the dough doesn’t retain the marks. I just don’t know what to do anymore.
Hi! I’m no expert but had this issue quite a bit. I realized 2 things — my starter wasn’t as active as it should’ve been AND I wasn’t using enough flour in the initial mix. I’ve had my best results by adding a little more flour than any recipe calls for. So that the initial mix isn’t super sticky and doesn’t have a super sticky dough. I also build lots of tension in the dough once forming it into the loaf, whether the recipe calls for that or not. Adding the little bit of extra flour to prevent it from being super sticky (and making sure the starter was in prime active state) was definitely the game changer!
This is very helpful as iv had the same problem, but I have a question that hopefully someone can help me with.
When you take the cold dough out of the fridge, do you turn it out into a flat surface and give it a gentle knead and form it into a ball before placing into the hot Dutch oven?
Or do you just tip it straight into the hot Dutch oven?
You take it right out of the fridge, transfer to the parchment paper, score and bake in the hot dutch oven. You don’t want to shape the dough before baking, it will lose the rise.
These are such helpful tips for scoring sourdough. I have been working on “perfecting” a few designs as I was getting frustrated with how some of mine were turning out. These tips are so helpful though, especially the way you explained the artistic vs expansion scores! I never thought of that! Thank you so much for sharing.