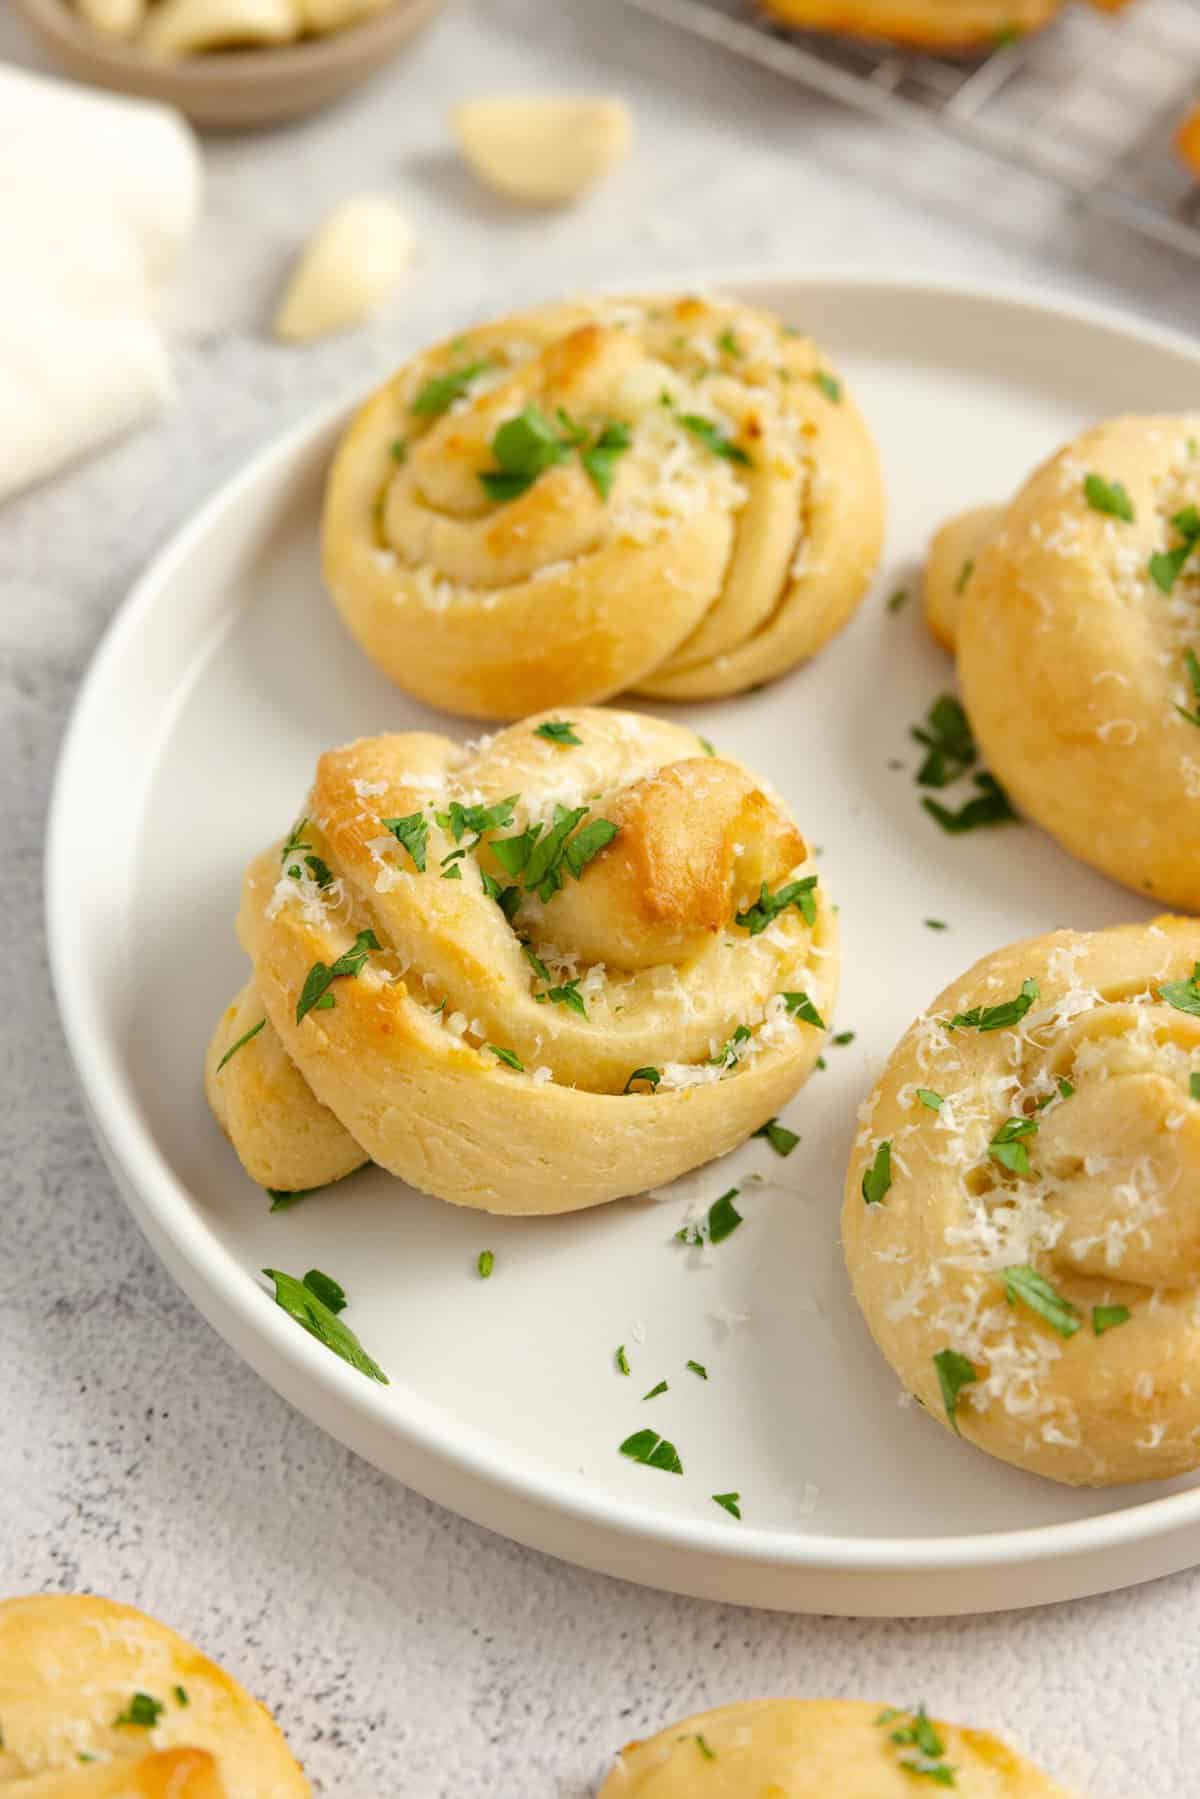
Homemade sourdough garlic knots are tender, pull-apart rolls, slathered with garlic butter before baking, then brushed with garlic butter fresh out of the oven. With a salty smack and savory sourdough tang, these knots elevate pizza night, Italian night, or any night.

This post contains affiliate links, which means I make a small commission at no extra cost to you. See my full affiliate link disclosure here.
We love rolls around here. If you’ve been around for very long, you’ll start to pick up on this theme.
From the sweetness of quick sourdough discard cinnamon rolls and sourdough chocolate rolls, to the savory world of sourdough ham and cheese rolls, herb and cheese rolls, and dinner rolls, there’s a sourdough roll for every occasion.
And they are easily one of our favorite sides.
Sourdough garlic knots are so soft and fluffy, full of garlic flavor, and irresistibly buttery. This recipe is uncomplicated and easily serves a large family, making it a great option for a weeknight family dinner or a special occasion.
Why You’ll Love Sourdough Garlic Knots
Incredibly delicious: These are the type of salty, savory, garlicky rolls that are easy to overeat. When brushed with garlic butter and topped with cheese, they are impossible to resist!
Easy to make: The ingredients are pretty basic, and the recipe itself is not at all difficult. After some mixing and proofing, the garlic knot dough is ready to bake. Mixing them up for the same day is no problem.
A great side or appetizer: Sourdough garlic knots always receive a lot of praise. They are an easy crowd-pleaser and go well alongside fresh pasta, pizza, salads, soups (like tomato soup), or even as an appetizer with marinara sauce or a cheesy, creamy gnocchi sauce.
Ingredients
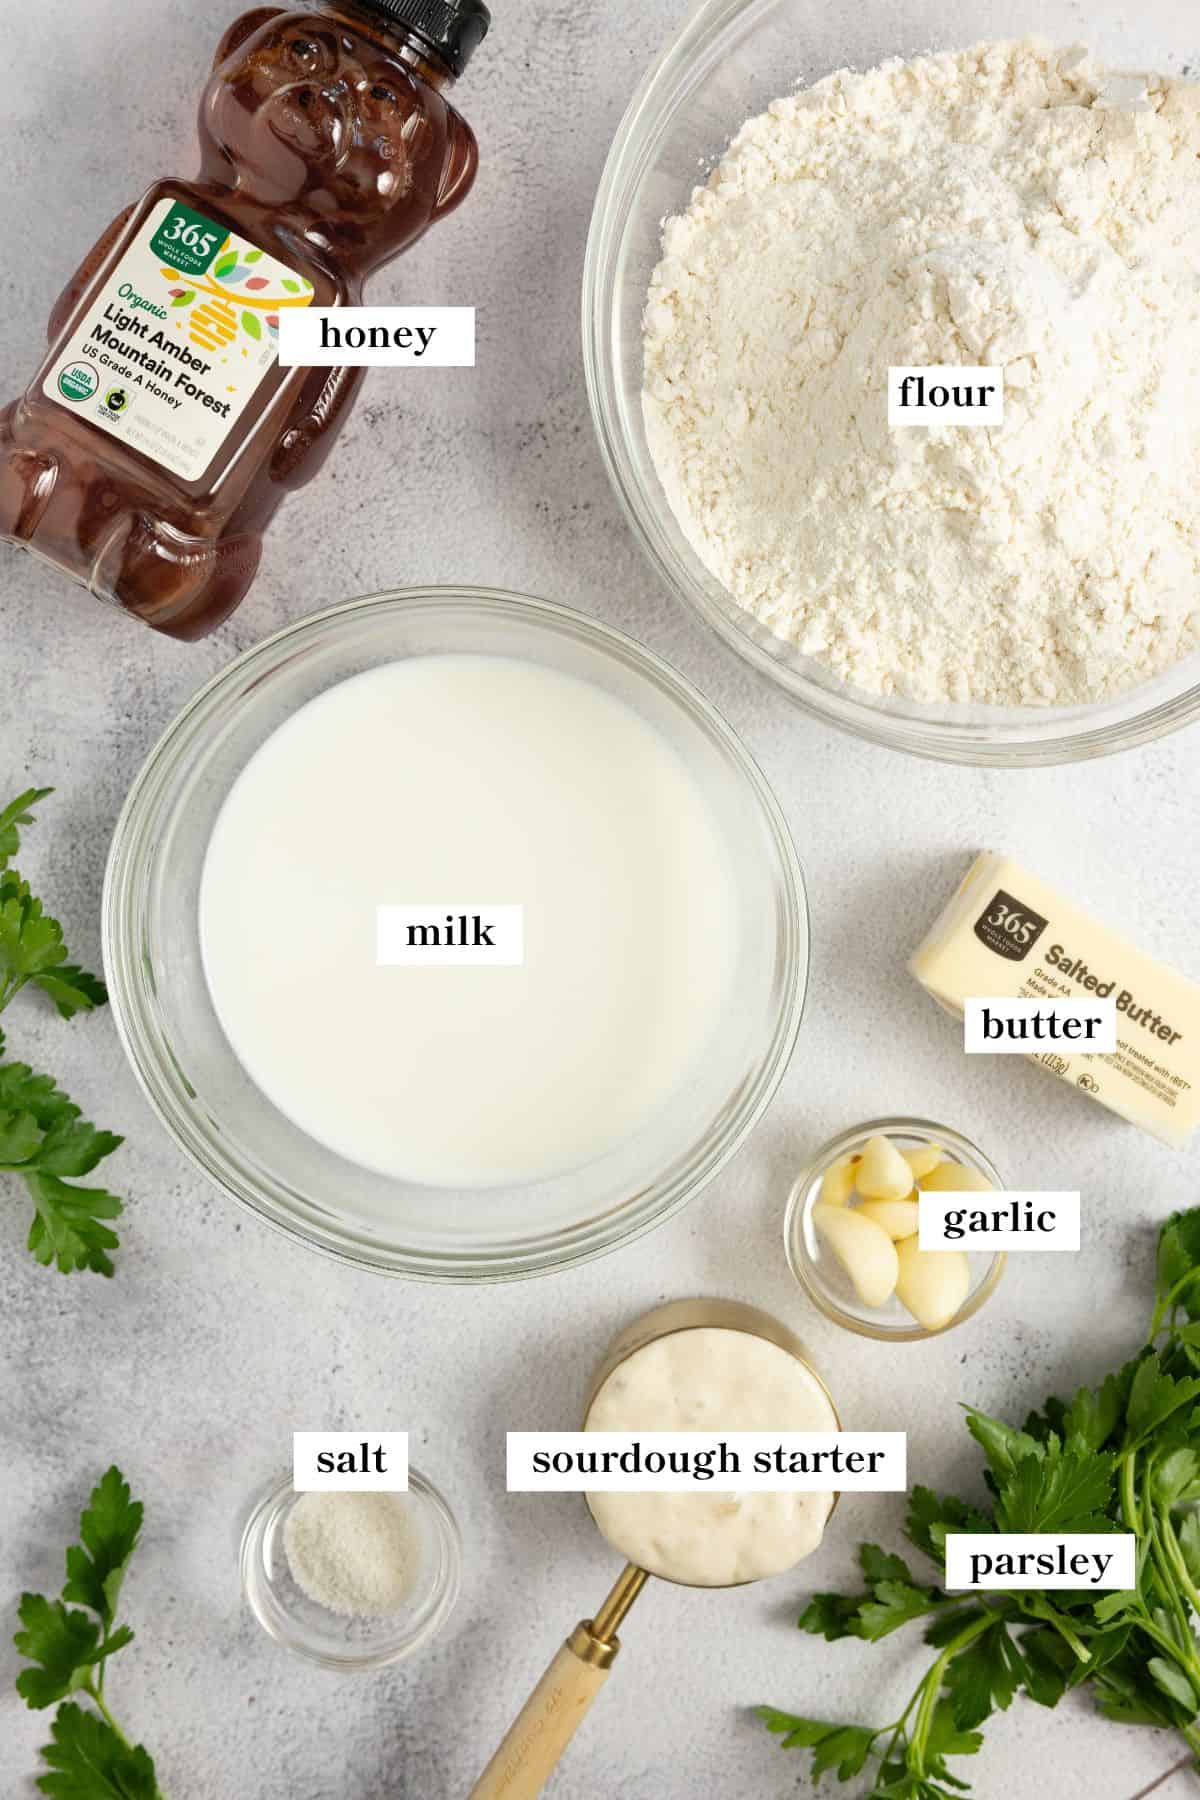
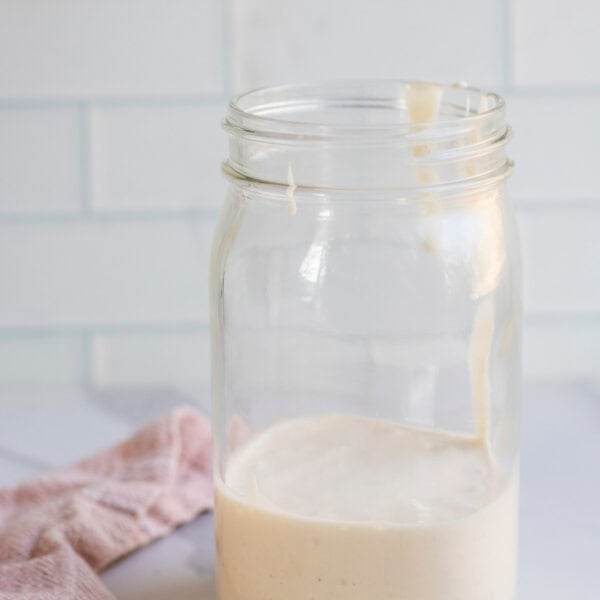
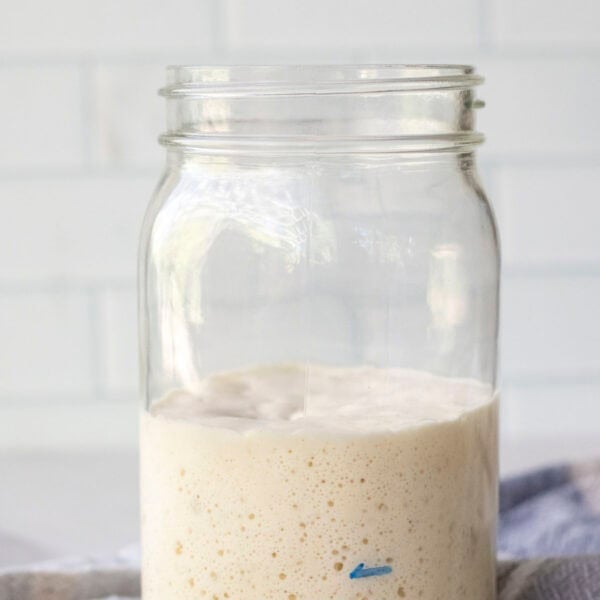
Sourdough starter: Use an active starter that you’ve recently fed, as there is no other leavening agent. Learn how to make a sourdough starter.
Flour: All-purpose flour gives consistent results and a soft texture to the rolls.
Honey: This adds a touch of sweetness to balance the savory, as well as adding more golden color to the finished product. Could also swap out honey with maple syrup.
A full ingredient list with exact amounts can be found in the recipe card below.
Tools You May Need
Stand mixer – If you don’t have a stand mixer, there are stretch and fold instructions, as well.
How to Make Sourdough Garlic Knots
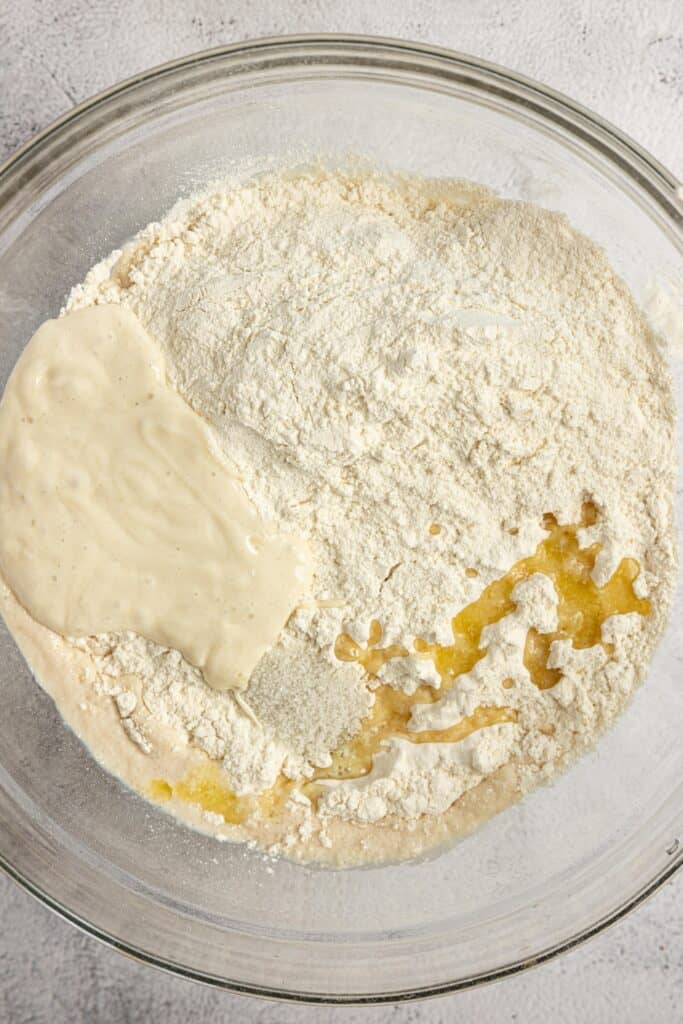
Step 1: Add the milk, honey, sourdough starter, butter, salt, and flour to the bowl of a stand mixer fitted with a dough hook attachment. Knead on medium for about five minutes, or until the dough is smooth and glossy.
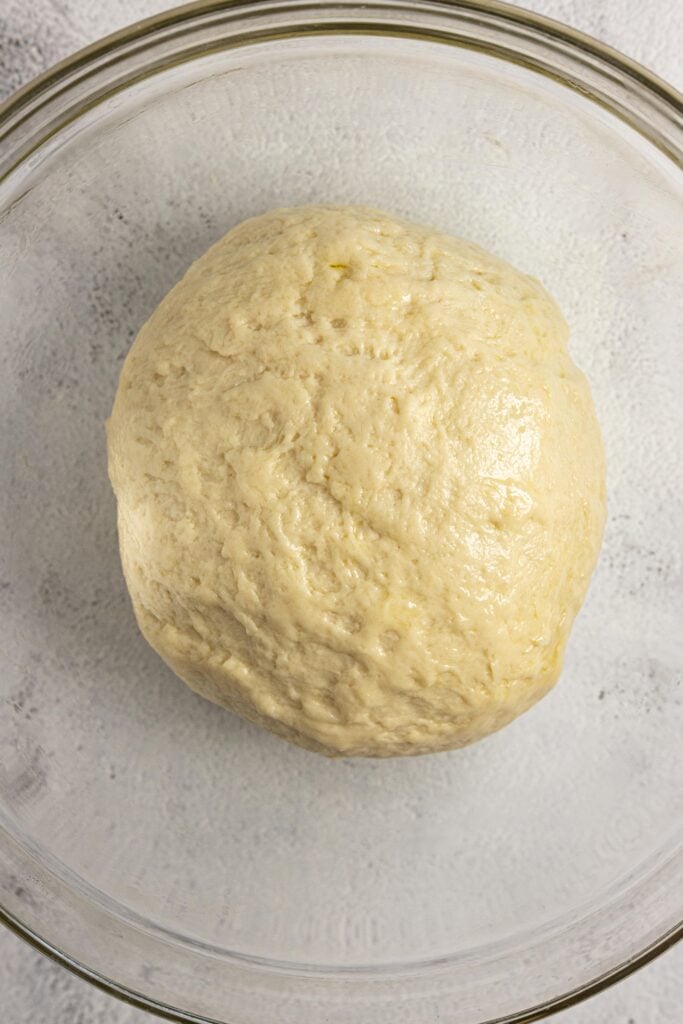
Step 2: Place the dough into a lightly greased bowl, cover it with a tea towel or plastic wrap, then let rise in a warm area for about eight hours or until doubled in size.
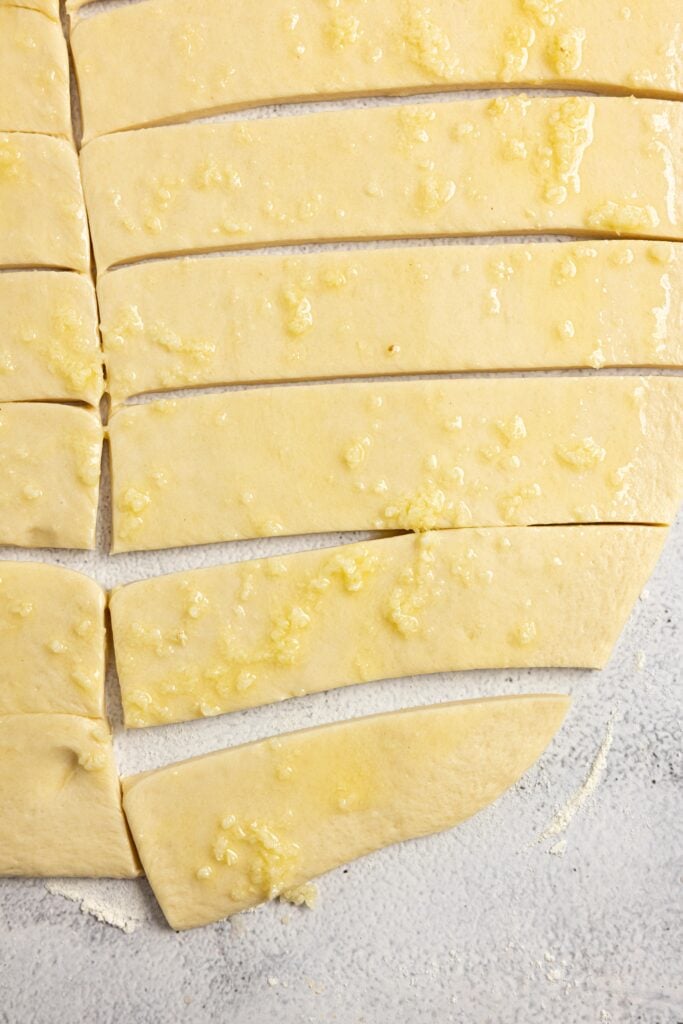
Step 3: Make the garlic butter by melting the butter in a small bowl. Add minced garlic and stir. On a lightly floured surface, roll the dough into a rectangle until it’s about ¼ -½ “ thick. Spread a spoonful or two of the garlic butter over the dough with a pastry brush, then cut into 18 rectangular pieces. I aim for equal pieces, but they don’t have to be perfect.
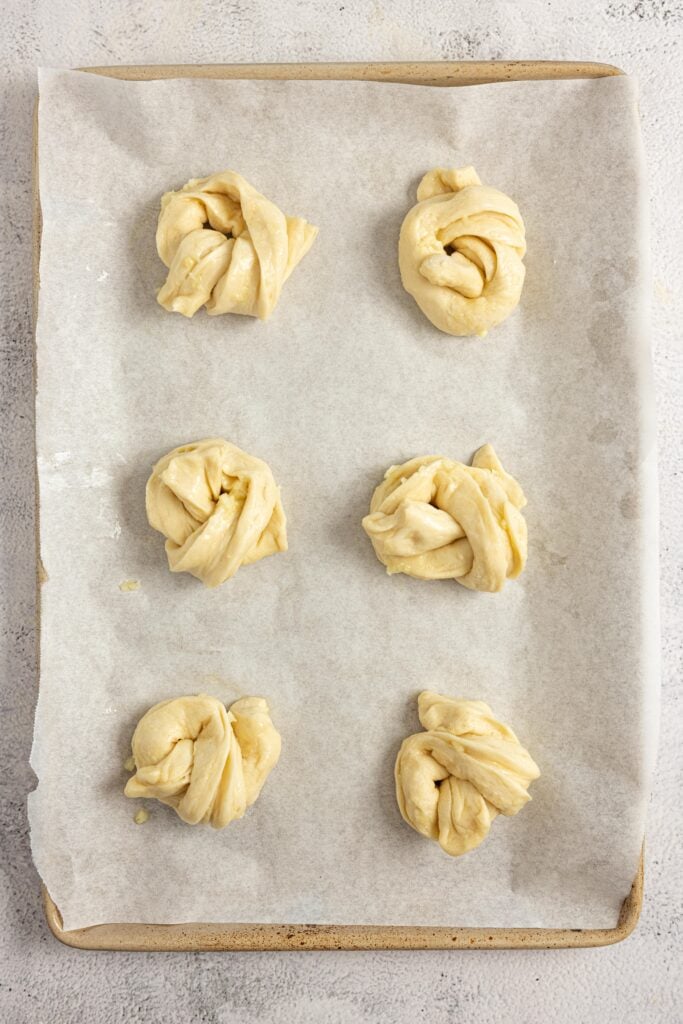
Step 4: Form each piece into a knot by twisting each rectangle and then tying into a knot. Tuck the ends underneath.
Place on a parchment-lined baking sheet. Cover with a towel and let rise in a warm place for another 1-2 hours until puffy and nearly doubled. Preheat the oven to 350 degrees Fahrenheit about halfway through the rise.
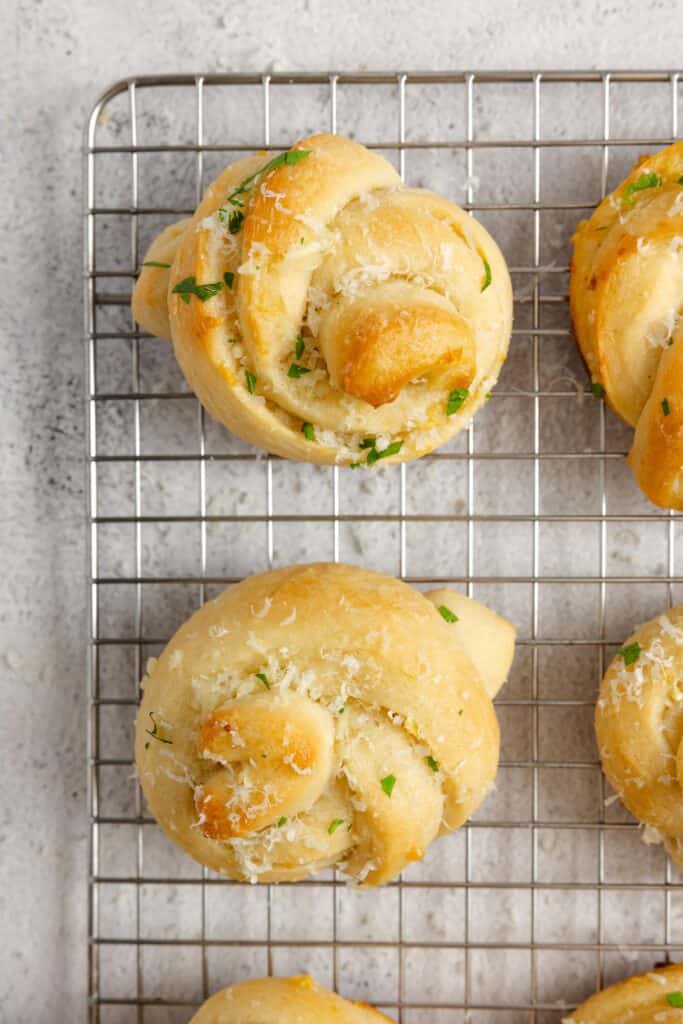
Step 5: Bake the rolls for 12-15 minutes or until lightly golden. Immediately brush more of the garlic butter over the top, followed by freshly chopped parsley. If you plan to add parmesan, go ahead and grate it over the top now, followed by a pinch of flaky sea salt. Enjoy!
Stretch and Fold Method
- Add milk, honey, sourdough starter, butter, salt, and flour to a large bowl. Mix until a shaggy dough forms, then allow to rest for 20 minutes, loosely covered.
- While still in the bowl, grab the edge of the dough and stretch it outward as you pull upwards. Fold the dough that is in your hands back into the center of the bowl and press. Turn the bowl about a quarter turn and complete another stretch and fold. Repeat two more times. This is considered one set of stretch and folds.
- Cover with plastic wrap or a damp towel and let the dough rest for 20 minutes. Complete two more rounds, 20 minutes apart.
- Let the dough rise in a warm place covered with a damp tea towel until it has doubled in size. Depending on the temperature of your kitchen and the maturity of your starter, this may take around eight hours.
- Pick up on Step 3 of How to Make Garlic Knots.
Tips
- Make sure your starter is active before beginning the recipe.
- Over-proofing can cause your dough to collapse, so just proof until doubled.
- Preheat the oven while your knots are on their second rise, ensuring a nice hot bake right from the start.
Recipe FAQ
They are traditionally made from pizza dough that is formed into knots, baked, and slathered in garlic butter and parsley.
They store well in an airtight container at room temperature for several days.
Garlic knots originated in New York City and nearby areas. They are mainly found in pizzerias, perhaps beginning as a solution to extra pizza dough.
Sourdough breads have been fermented, a process that breaks down the phytic acid of grains, making them more easily digested and more nutritious. Sourdough not only has incredible flavor, but the gluten proteins are broken down and sugars are consumed by the wild yeasts lowering the overall sugar content. There are also prebiotics in sourdough bread, which are beneficial for gut health.
More Sourdough Recipes from the Farmhouse
- Easy Sourdough Discard Hamburger Buns
- Sourdough Discard Naan
- Easy Sourdough Pretzel Buns
- Sourdough Cinnamon Crunch Bagels
- Sourdough Beer Bread Recipe
- Sourdough Granola
If you try this recipe and love it, I would love it if you could come back and give it 5 stars! Tag me on Instagram @farmhouseonboone.
Sourdough Garlic Knots

Equipment
Ingredients
- 1 ¼ cup whole milk, 305 g
- 3 tablespoons honey, 63 g
- ½ cup sourdough starter, active and bubbly 113 g
- 2 tablespoons unsalted butter, room temperature 28 g
- 1 teaspoon salt, 5g
- 3 ¼ cup all-purpose flour, 455 g
- minced parsley, to garnish
- grated parmesan, to garnish – optional
- flaky salt, to garnish – optional
Garlic Butter
- ½ cup salted butter, melted and cooled 113 g
- 1 tablespoon freshly minced garlic
Instructions
- Add the milk, honey, sourdough starter, butter, salt, and flour to the bowl of a stand mixer fitted with a dough hook attachment. Knead on medium for about five minutes, or until the dough is smooth and glossy.
- Place the dough into a lightly greased bowl, cover it with a tea towel or plastic wrap, then let rise in a warm area for about eight hours or until doubled in size.
- Make the garlic butter by melting the butter in a small bowl. Add minced garlic and stir. Set aside.
- On a lightly floured surface, roll the dough into a rectangle until it’s about ¼ -½ “ thick.
- Spread a spoonful or two of the garlic butter over the dough with a pastry brush, then cut into 18 rectangular pieces. I aim for equal pieces, but they don't have to be perfect.
- Form each piece into a knot by twisting each rectangle and then tying into a knot. Tuck the ends underneath. Place on a parchment-lined baking sheet.
- Cover with a towel and let rise in a warm place for another 1-2 hours until puffy and nearly doubled. Preheat the oven to 350 degrees Fahrenheit about halfway through the rise.
- Bake the rolls for 12-15 minutes or until lightly golden.
- Immediately brush more of the garlic butter over the top, followed by freshly chopped parsley. If you plan to add parmesan, go ahead and grate it over the top now, followed by a pinch of flaky sea salt. Enjoy!
Notes
- Make sure your starter is active before beginning the recipe.
- Over-proofing can cause your dough to collapse, so just proof until doubled.
- Preheat the oven while your knots are on their second rise, ensuring a nice hot bake right from the start.
Nutrition
Nutrition information is automatically calculated, so should only be used as an approximation.






Fluffy and delightful! Recipe worked perfectly, thank-you!
Hey! I want to make these for a thanksgiving lunch on saturday. I am wondering if I can re4fridgerqate the dough after the bulk ferment and then shape the knots in the morning??
Yes.
I mixed all the ingredients by weight with a stand mixer but the dough never got elastic and never pulled away from the mixing bowl. It was very sticky which didn’t improve after the proof. When i tried to roll out the dough it required a lot more added flour to do so. Can you explain why this might have happened? Should i have continued adding flour to the mixing process til the dough pulled away from the sides of the bowl?
I’ve learned with a lot of these recipes you just mix and add a tbsp or two of flour every 2 minutes until you get to windowpane. There are a lot of variables like temperature and humidity of your kitchen, type of flour, temperature of water, etc that will make it necessary to add more flour or less! For some reasons it has taken me at least 4-8 tbsp extra of flour to achieve windowpane when I use my stand mixer!
Could I put the dough in the fridge after the first rise so that it can ferment longer but not over-proof?
These were amazing
Delicious, a definite make again!
Just baked these this morning, they are delicious! I definitely be making these on a regular basis.
Lisa your garlic knots…..ARE FANTASTIC,,,,YOU ARE FANTASTIC
Delicious! This came at the perfect timing, as I planned on making garlic knots for my husband’s birthday. I had never made this recipe before, but Lisa’s recipes are so consistent and easy to follow, I knew they would turn out great. They were a hit! Delicious, soft, and decadent. Also, I was not precise with the size and shape of the knots since I was in a rush, and they still all baked consistently well.
Cannot wait to try this! What is the trick for having active bubbly starter to use in the morning? If I feed the night before, it’s peaked by the time I’m awake and able to start mixing.
Can you move it to a colder area in your home? That will slow the fermentation process a bit.
I bake sourdough at least once a week. After I bake I feed my starter and let it rise until I can see it growing usually less than 2 hours. Most sourdough recipes have a long enough ferment to do overnight. So when I’m going to bake within 7 days from the last feed I like to do it in the afternoon. I take my starter out and sit it on the counter and it doubles(or almost) and gets all bubbly. Then I make the dough and let it ferment overnight and am ready to shape,2nd rise and bake in the morning. Then I feed my starter and let it start rising and return it to the fridge for next week. Hope this helps!
Eva, You said, “I take my starter out and sit it on the counter and it doubles (or almost) and gets all bubbly.” Are you saying that you take your starter out of the fridge and do not feed it then? You only feed it AFTER making bread, lettingit rise a little bit before putting it in the fridge to wait until the next week?
Yes. I take it out of the fridge and it rises on the counter. Then I make the dough. Then I feed the starter and let start to rise(usually not more than an inch) and return it to the fridge. This consistently works for me. Don’t leave it in the fridge more than 7 days before using it. On day 7 it may not double but will rise and be all bubbly.
Wow I’ve never heard of that. I’m going to try that. I always feed mine after baking and then let it rise and fall. But it seems like such a waste to do that process and not use it while bubbly.