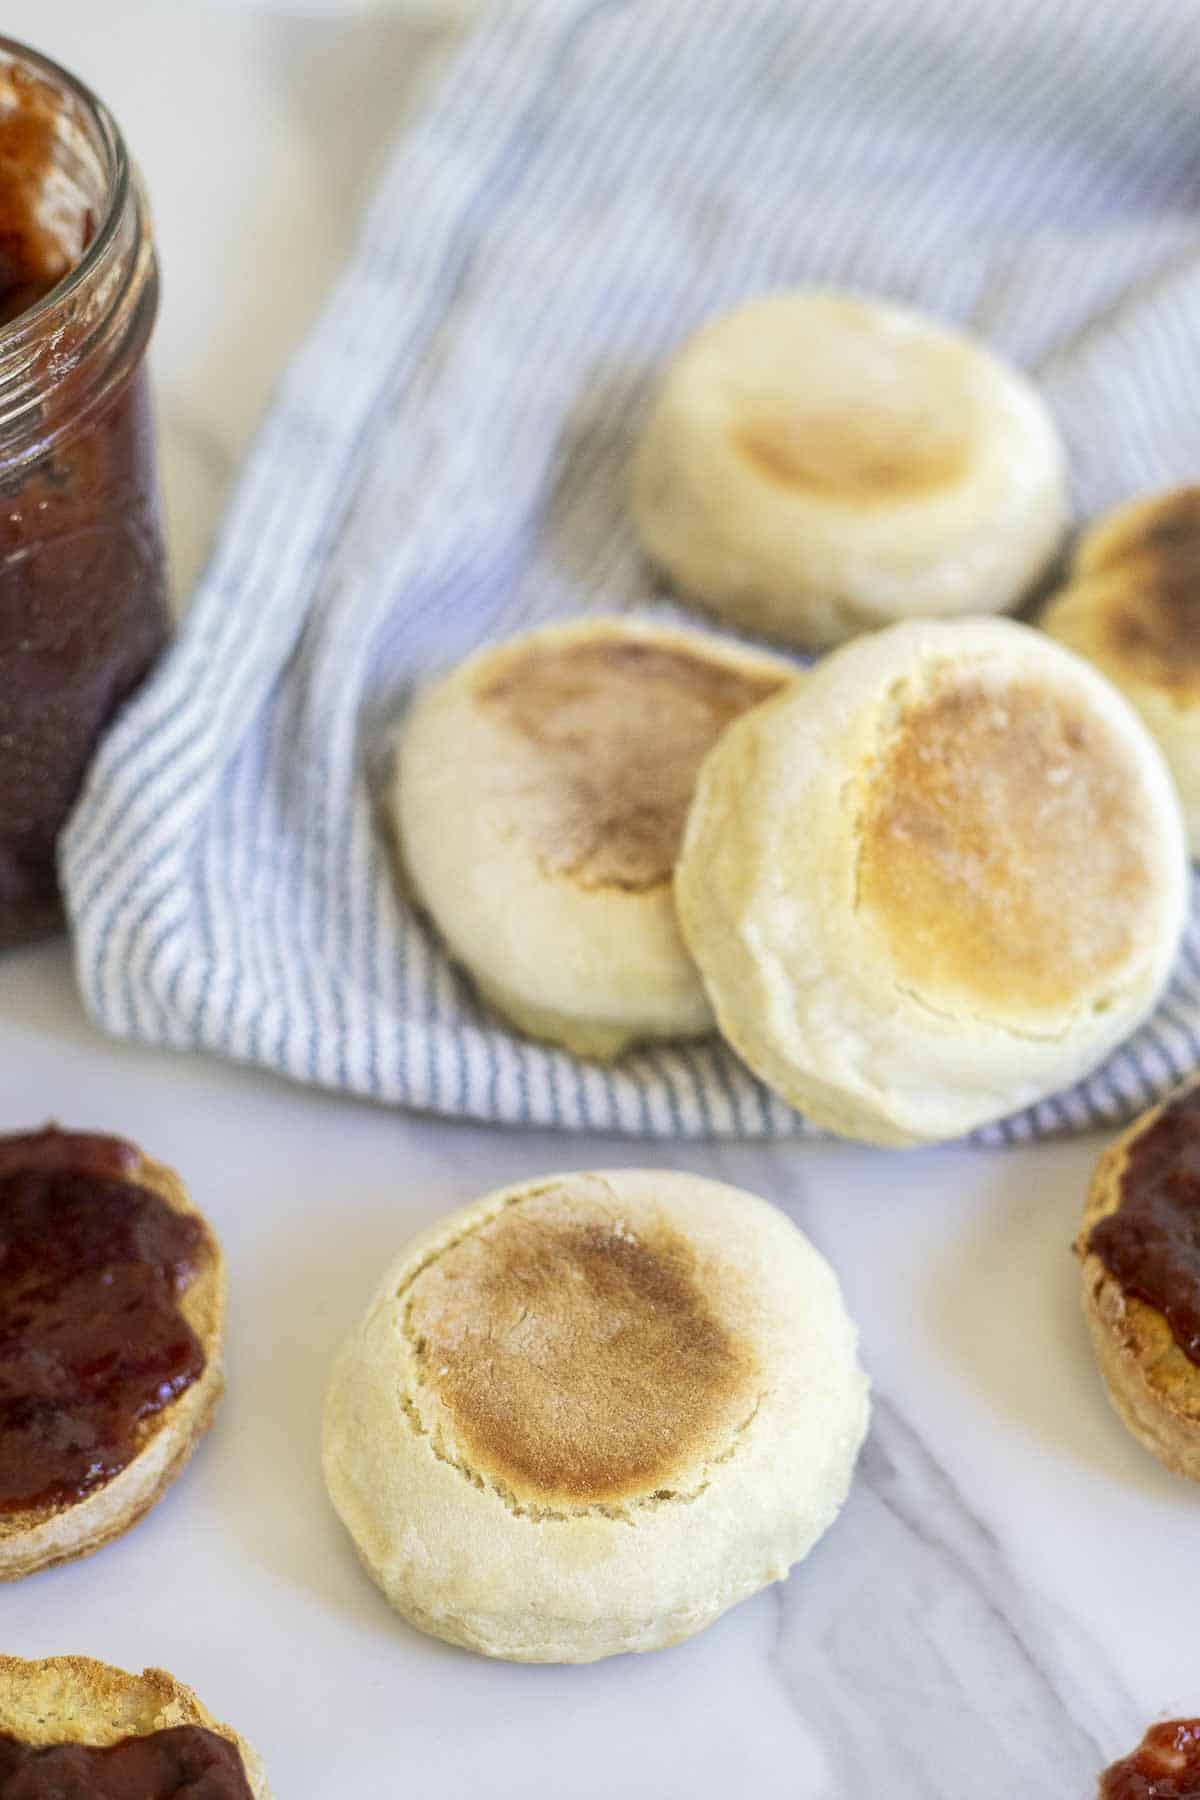
All you need is a few simple ingredients to make these delicious and soft sourdough discard English muffins. Delightfully chewy, this recipe makes the perfect breakfast, brunch, or even use them in place of bread in sandwiches.
This post contains affiliate links, which means I make a small commission at no extra cost to you. See my full disclosure here.
The original version of my sourdough English muffins were one of my very first sourdough recipes on the blog. They are a staple in our house. They are super simple to make, they come together quickly, and you can use them in just about a thousand ways.
Most of the ingredients you probably already have in your pantry, and if you are new to sourdough baking, this is for you.
Sourdough bread can be intimidating. You worry about the timing, and about feeding your starter so it is active when you are ready to start the dough. It’s one reason many people don’t even try. They are overwhelmed with all the new things they may have to learn.
If that is you, I want to encourage you to keep going. Start with sourdough discard recipes, like double chocolate sourdough bread, and once you get your feel for it, move on to some active starter fermentations.
Why You’ll Love This Recipe
Great way to use discard: No, you don’t need an active sourdough starter for this recipe (although that will work). Discard will work just fine because the dough is risen by baking soda rather than the wild yeast in the active starter.
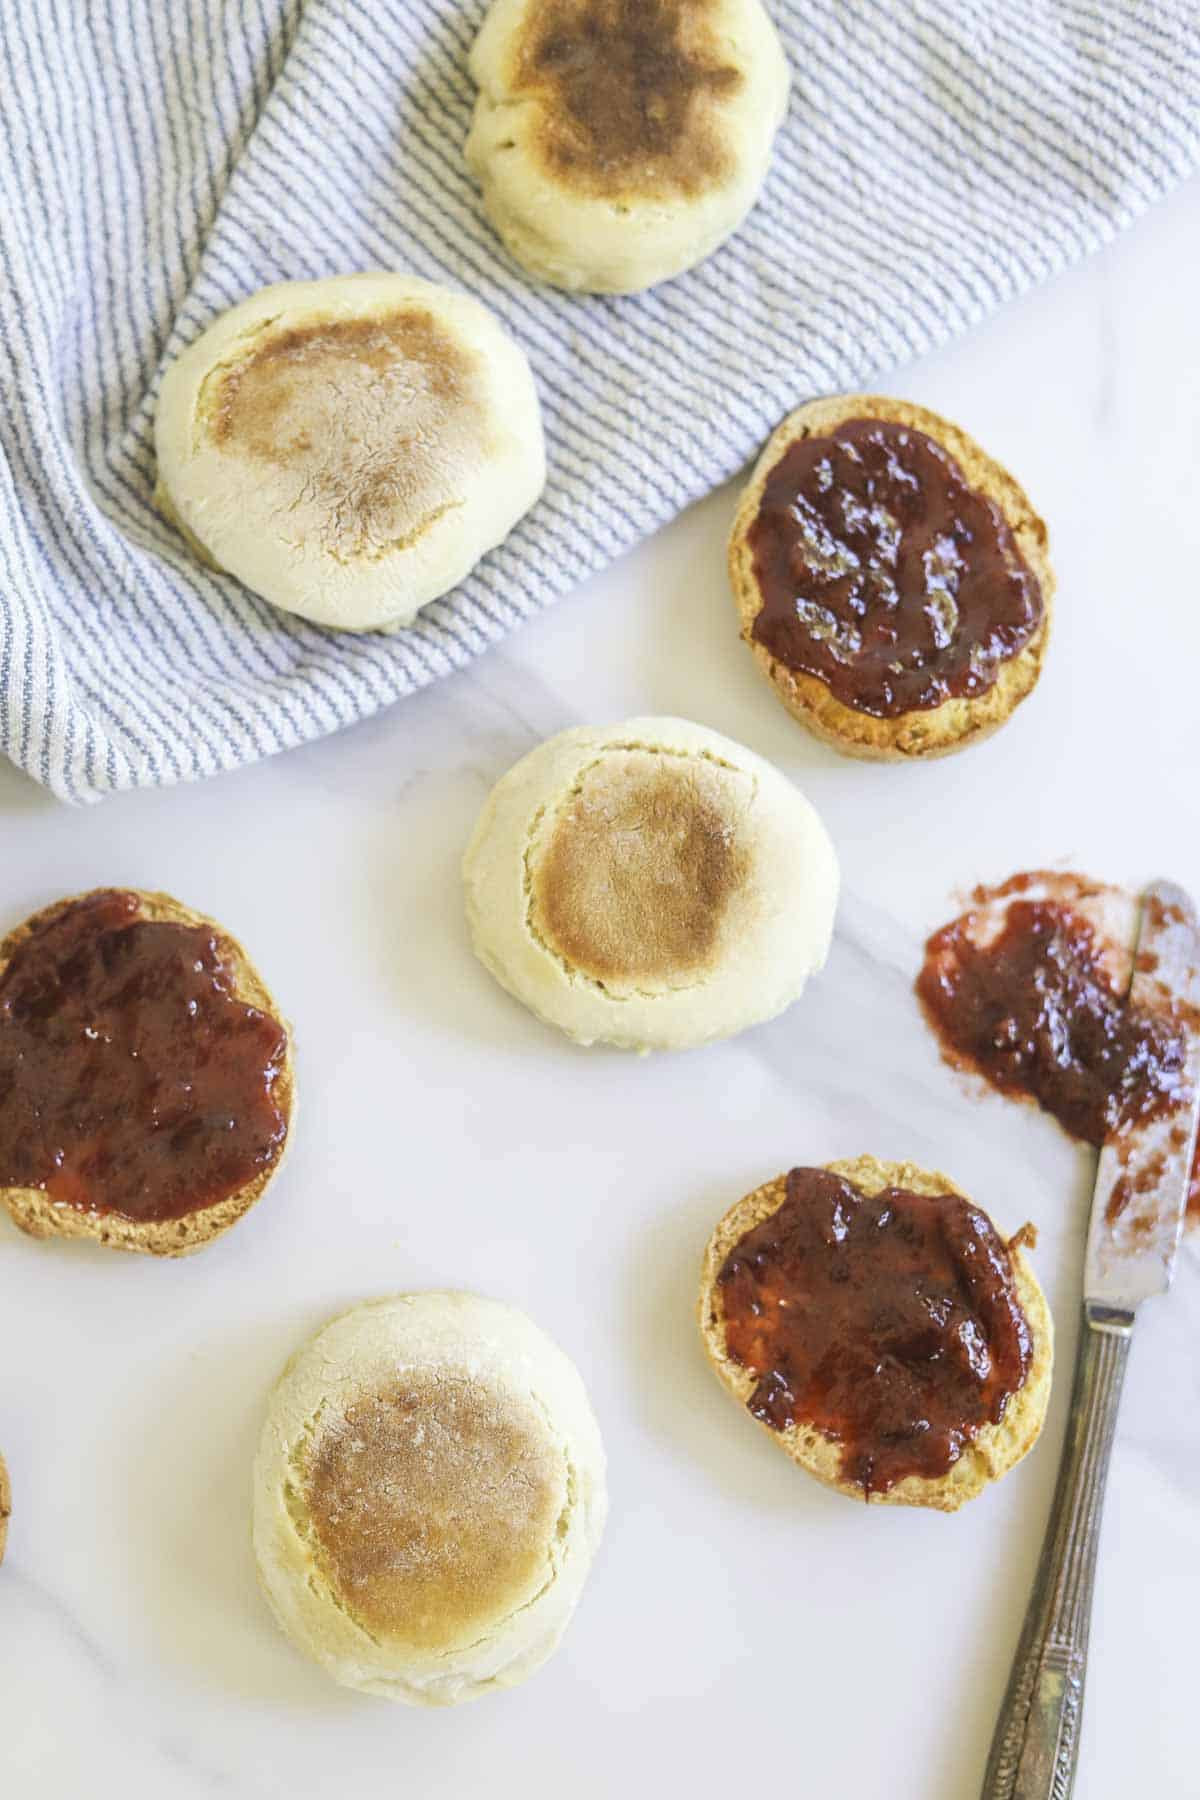
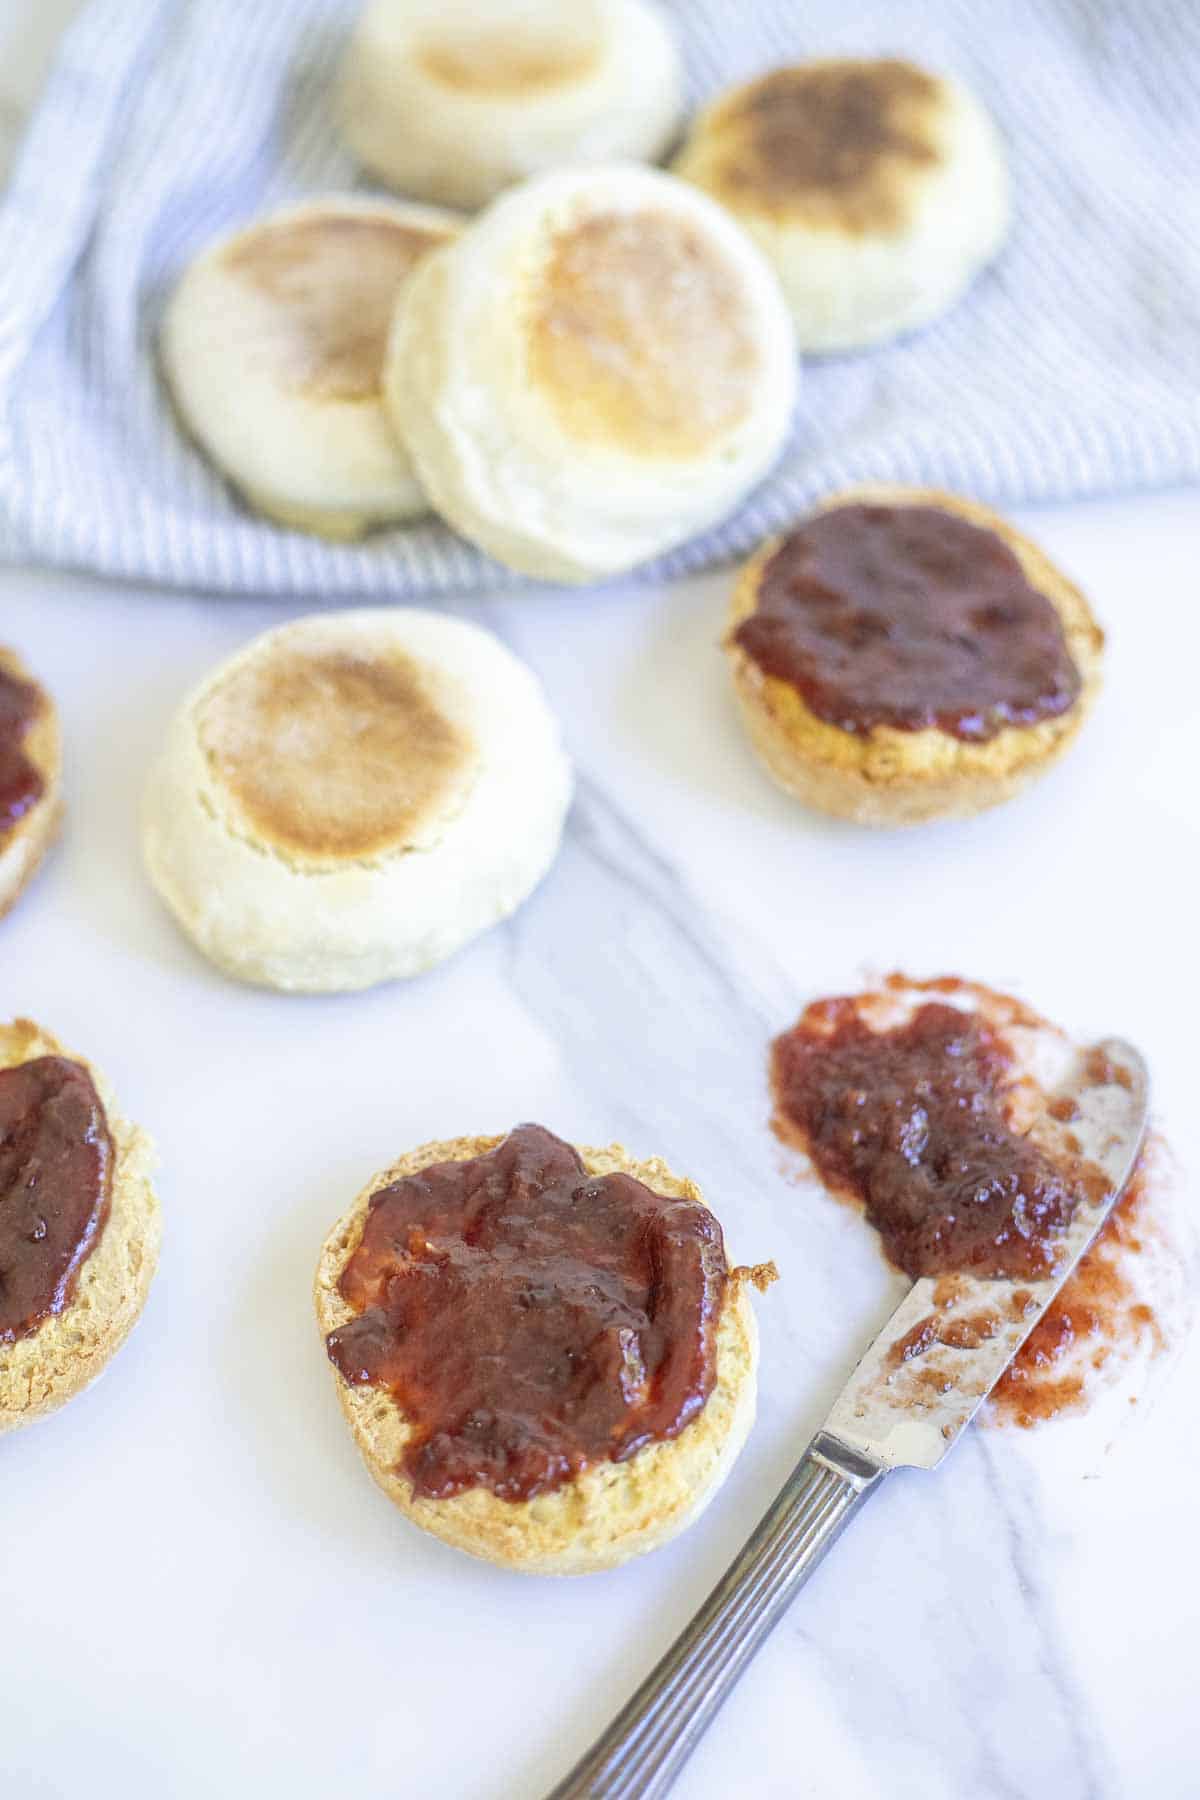
Versatile: English muffins can be used in a variety of ways– no need to stick to just breakfast. I use them for sandwiches or even as a side instead of biscuits. Slather on some homemade strawberry jam or cream cheese and everyone will be happy.
Super simple: They can be made quickly or long-fermented for the added health benefits.
Ingredients
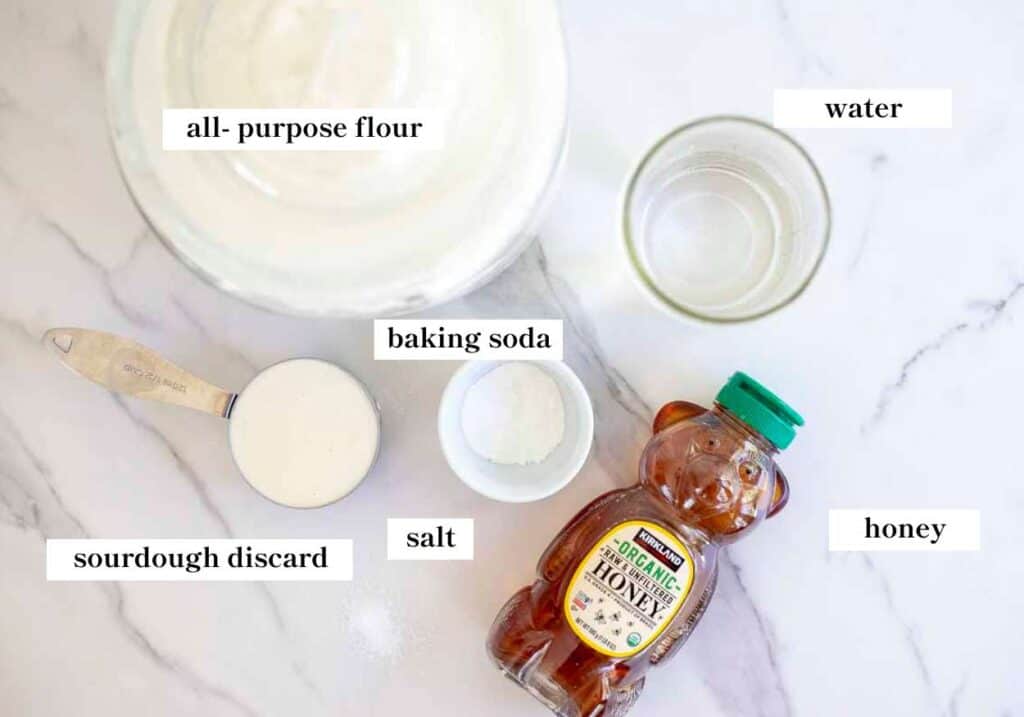
Sourdough discard: The star of the show. This is an unfed sourdough starter. Active starter will also work, but it’s not a requirement. Discard also adds a lovely tanginess to the dough. Learn how to make a sourdough starter.
Honey: You could also use maple syrup or even sugar. You may need to add a little water if using sugar.
Baking soda: This gives the dough its rise.
Tools You May Need
Cast iron skillet
English muffin rings, biscuit cutter, round cookie cutter, or even just a mason jar ring
How to Make Sourdough Discard English Muffins
The Quick Version
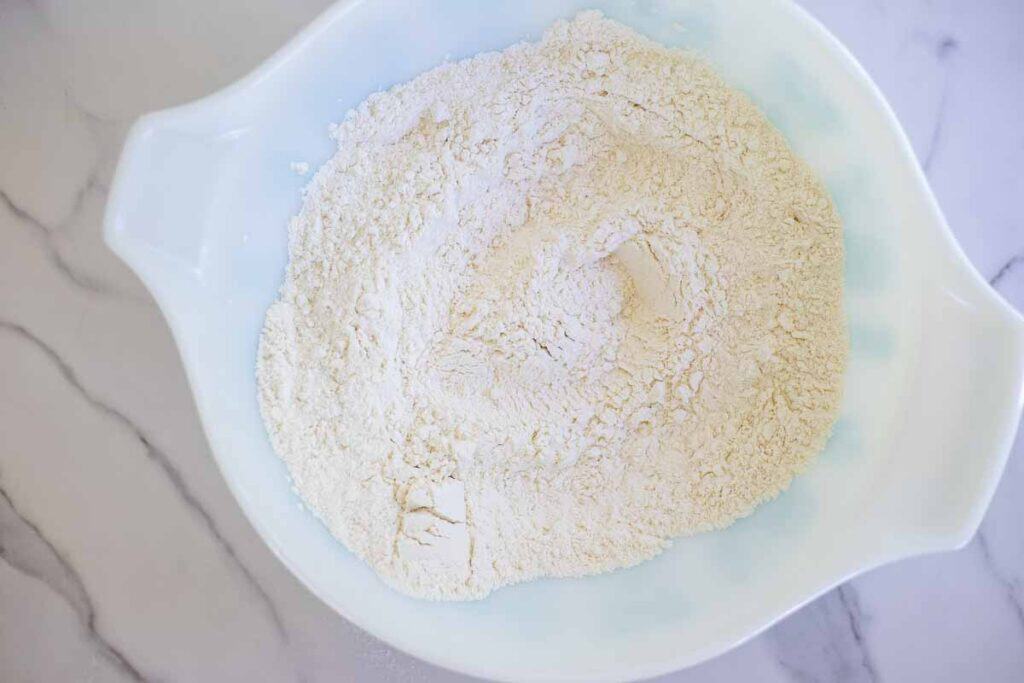
Step 1: Heat a large cast iron skillet over medium-low heat. Add flour, salt, and baking soda to a large bowl. Whisk together well.
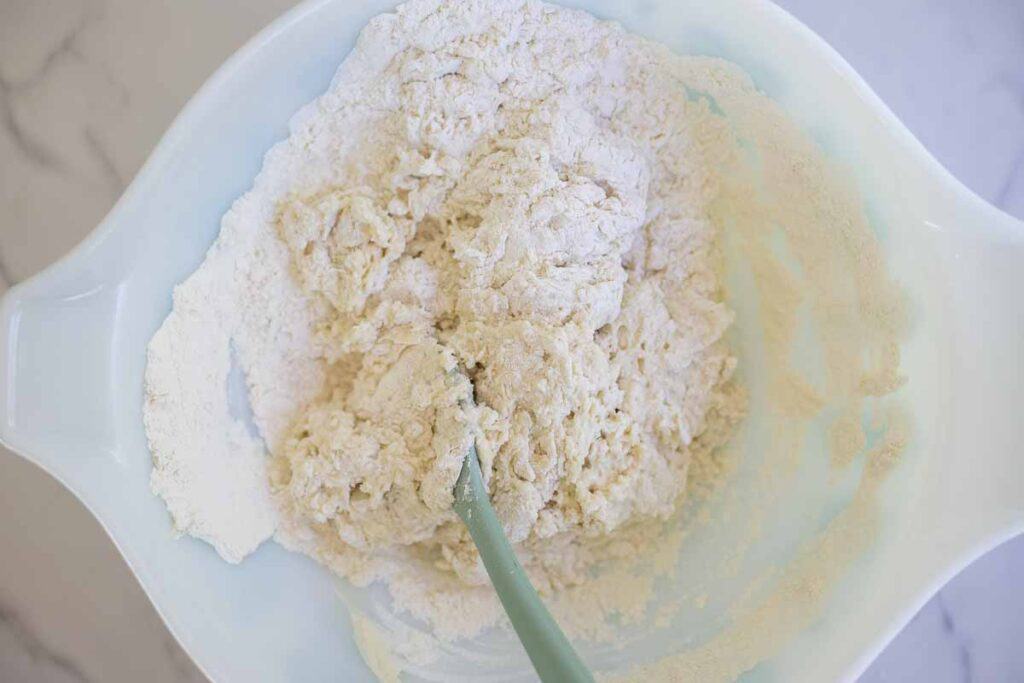
Step 2: Add in water and sourdough starter discard. Mix until it comes together. You could use a stand mixer if you prefer.
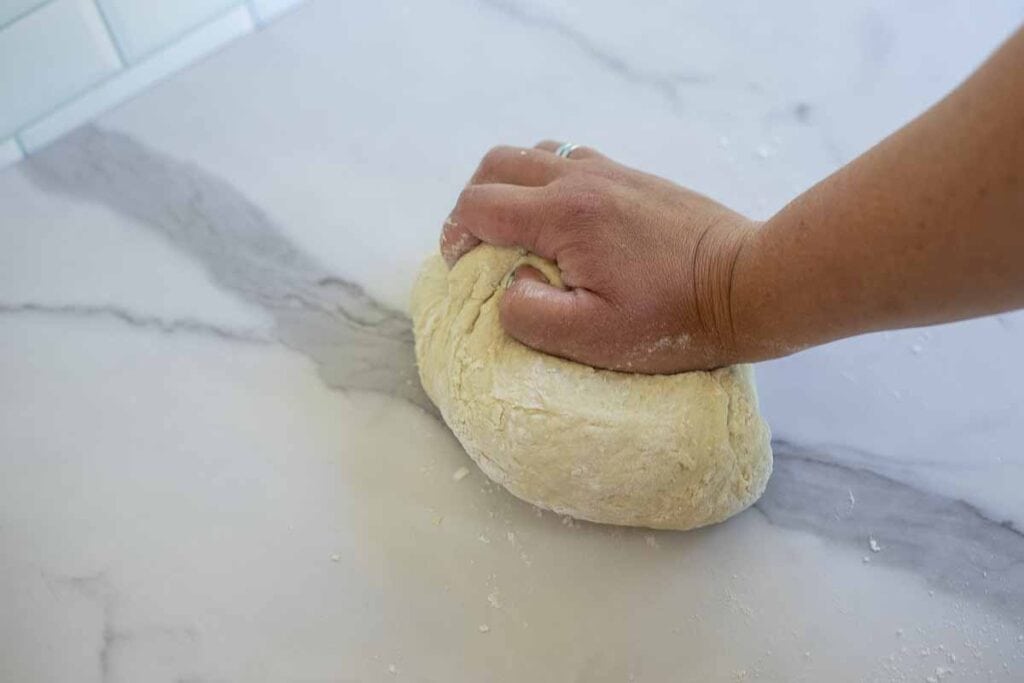
Step 3: Knead the dough for a few minutes to help develop the gluten strands.
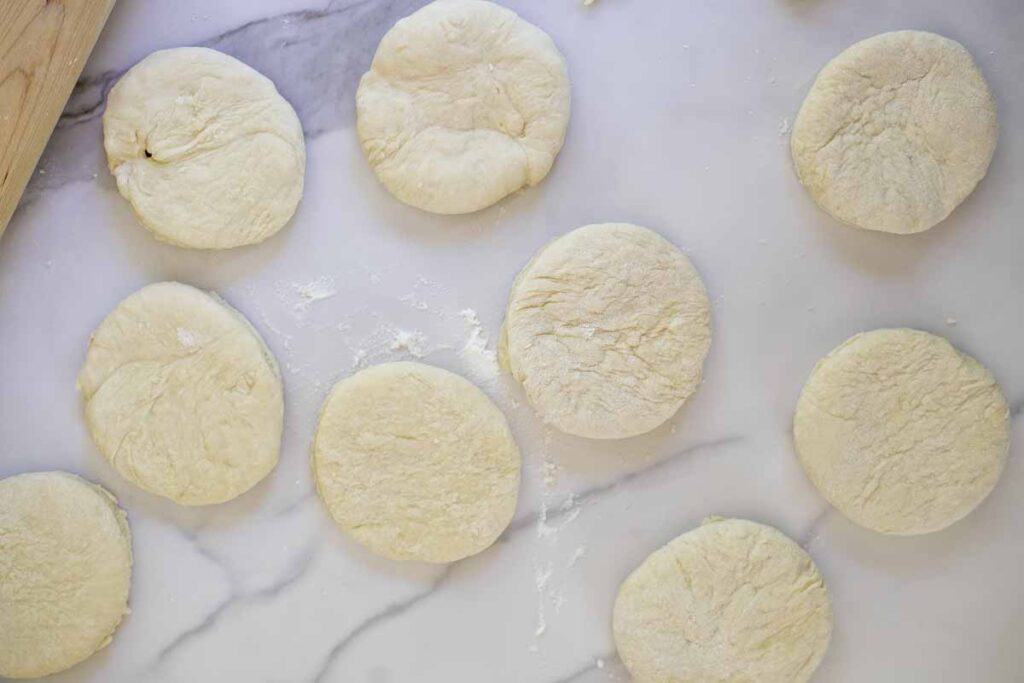
Step 4: Roll dough out on a lightly floured surface about 1/2 inch thick with a rolling pin. Use an English muffin cutter and cut out the dough. Continue rolling out and cutting dough until all the dough is used up.
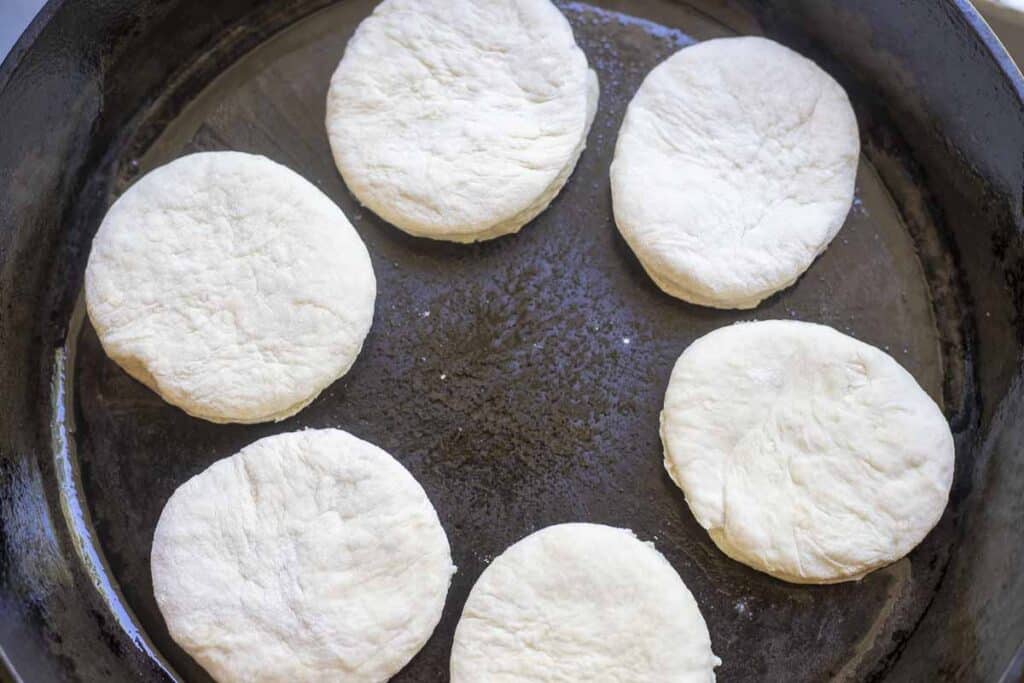
Step 5: Add a little oil to the cast iron skillet. Place English muffins in the pan. Allow to cook for about 5-6 minutes on one side.
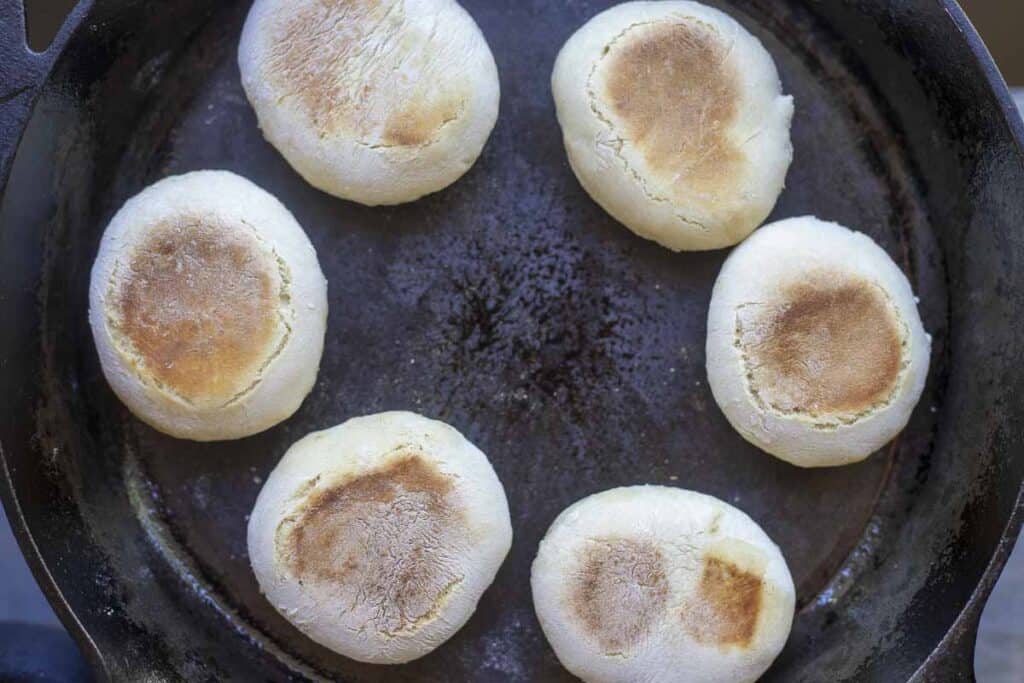
Step 6: Flip and continue cooking for another 5-6 minutes. Allow to cool, then serve. If they have not cooked all the way through, place them in a 350 degree oven for a few minutes.
The Long-Fermented Version
Step 1: In a large bowl, mix all of the ingredients minus the baking soda. Knead together for a few minutes. Cover with plastic wrap or a lid and allow to sit at room temperature for 8-12 hours.
Step 2: The next day, add baking soda to the fermented dough and knead well, making sure it’s all incorporated. Roll the dough and cut out. Preheat the skillet on medium-low heat.
Step 3: Add the English muffins to the cast iron skillet. Cook for about 5-6 minutes on one side, then flip and continue cooking for another 5-6 minutes. Allow to cool, then serve.
Tips
- If your dough is too dry, you may need to add a little more water. The hydration of your starter will play a big part in this.
- If you find that the homemade English muffins are not cooking all the way through, you may need to pop them into a 350-degree Fahrenheit oven and allow them to finish cooking.
- Make sure to use fresh baking soda for best results. Old baking soda may not give these muffins the desired rise.
- If making the long-fermented version, the dough may not rise at all during the fermentation period and that is totally fine. Nothing to worry about!
Recipe FAQ
Yes. They are made with a few basic ingredients and can be a healthy part of your diet. Long-ferment them for even more health benefits.
Yes. It is an active living food with fermented grains and healthy yeasts and bacteria.
Using sourdough discard can be a great way to reduce food waste rather than just tossing it out. It can also ferment grains just like an active starter, it just may not rise the dough.
Once your sourdough starter is established and you are using it frequently, you don’t need to discard every time. But if you find that you have too much starter, I would recommend discarding it to keep it a healthy and manageable size.
Storage
Store in an air-tight container for up to five days. Freeze for up to 3 months.
Pair this recipe with:
- Zucchini Frittata
- Over-hard Eggs
- Peach Preserves
- Homemade Ricotta or Kefir Cheese
- Ham and Cheese Frittata
- Or turn them into Sourdough Breakfast Sandwiches
- Sourdough Beignets
If you make this recipe and love it, I would love if you gave it 5 stars! Tag me on Instagram @farmhouseonboone with your delicious creation.
Sourdough Discard English Muffins

Ingredients
- 2 1/2 cups flour, 350 g
- 1 cup water, 236 g
- 1/2 cup sourdough discard, 125 g
- 1 tablespoon honey, 21 g
- 1 teaspoon salt, 5 g
- 1 teaspoon baking soda
Instructions
- Heat a large cast iron skillet over medium-low heat.
- Add flour, salt, and baking soda to a large bowl. Whisk together well.
- Add in water, sourdough starter discard, and honey. Mix until it comes together. You could use a stand mixer if you prefer.
- Knead the dough for a few minutes to help develop the gluten strands.
- Roll dough out on a lightly floured surface about 1/2 inch thick with a rolling pin.
- Use an English muffin cutter and cut out the dough. Continue rolling out and cutting dough until all the dough is used up.
- Add a little oil to the cast iron skillet. Place English muffins in the pan. Allow to cook for about 5-6 minutes on one side, then flip and continue cooking for another 5-6 minutes. Allow to cool, then serve.
Notes
- If your dough is too dry, you may need to add a little more water. The hydration of your starter will play a big part in this.
- If the English muffins are not cooking all the way through, you may need to pop them into a 350-degree Fahrenheit oven and allow them to finish cooking.
- Make sure to use fresh baking soda for best results. Old baking soda may not give these muffins the desired rise.
- If making the long-fermented version, the dough may not rise at all during the fermentation period and that is totally fine. Nothing to worry about!
- See post for long fermentation directions.
Nutrition
Nutrition information is automatically calculated, so should only be used as an approximation.



I love your recipes, but the room the header, footer, and ads take up is very frustrating. Don’t know if you can do anything about it, but I will keep coming back to your recipes if that gets fixed. On the iphone, the content constantly jumps and I have to constantly search for where I was.
I’ve made these muffins twice and love them.
I agree with you on the ads and the jumping! It is hard to use them on my phone! Though I still do, Lisa, because I love your recipes.
I have found that putting my dutch oven lid over my cast iron pan while cooking them bakes the interior while also helping trap steam and get more of a rise and bubbles from my dough. Definitely recommend the slow process, worth the wait! Already made these three days in a row now, very delicious!!
I have found that putting my dutch oven lid over my cast iron pan while cooking them bakes the interior while also helping trap steam and get more of a rise and bubbles from my dough. Definitely recommend the slow process, worth the wait! Already made these three days in a row now, very delicious!
I’m new to sourdough and this was the first recipe I’ve tried. They came out really tasty even though my cast iron was way too warm and made them a little crispier than I wanted. Can’t wait to make them again. Thanks for all your helpful info on this page. I’m looking forward to trying out lots and lots of your recipes as I begin this journey with sourdough!
Easy to make, and turns out great. I don’t know why I’ve been buying English muffins all these years. Thank you for a yummy recipe.
Hey, so I made these twice, in a stand mixer by the short method. Yes i’ve reread several times, according to the instructions it should have worked, but both times they didn’t rise at all on the griddle, and they came out super dense. Any thoughts? or do I have unrealistic expectations of what is normal?
Are you using fresh baking soda? The baking soda is what causes the dough to rise, so I would check that first!
I’m excited to try these and I have loved so many of your recipe! I just got into milling my own flour, and right now all I have is soft white wheat. Would I be able to replace the flour in this recipe with freshly milled whole wheat flour? Or could I replace part of flour with whole wheat? If I don’t see a response I will try just subbing a little bit with whole wheat and I can let you know how it tastes☺️
Yes, you can!
Yummy, even if I let the tops get too brown-my big burner gets way too hot and the cast iron pan takes a long time to cool down. I put them in the oven for a bit as the middles weren’t done. Next time I’ll turn the heat way down so they aren’t so crispy. The insides were delicious.
My second attempt at these came out great! I did the long ferment. The dough was really sticky, so I did add a good bit of flour just to make it workable, but they still were trying to stick to everything. I just kept lightly dusting my board with flour and they worked out. The flavor and texture was super though! The first time I just hadn’t learned enough about handling this dough, so I’m sure I’ll make these again!
I love the recipe. We have made it time and time again. The muffins always come out perfect!