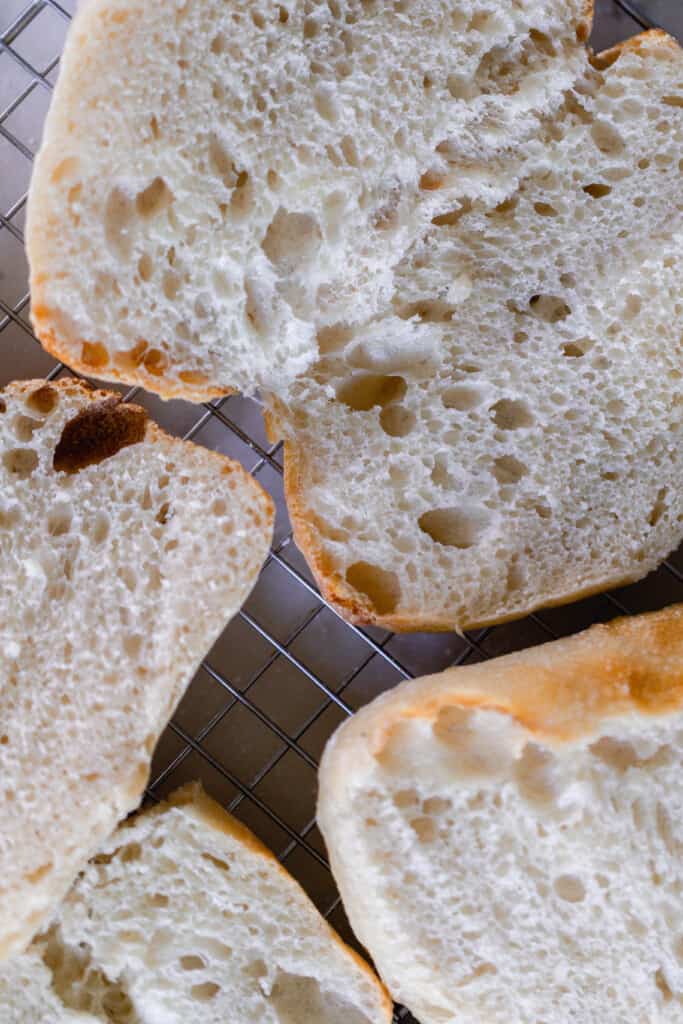
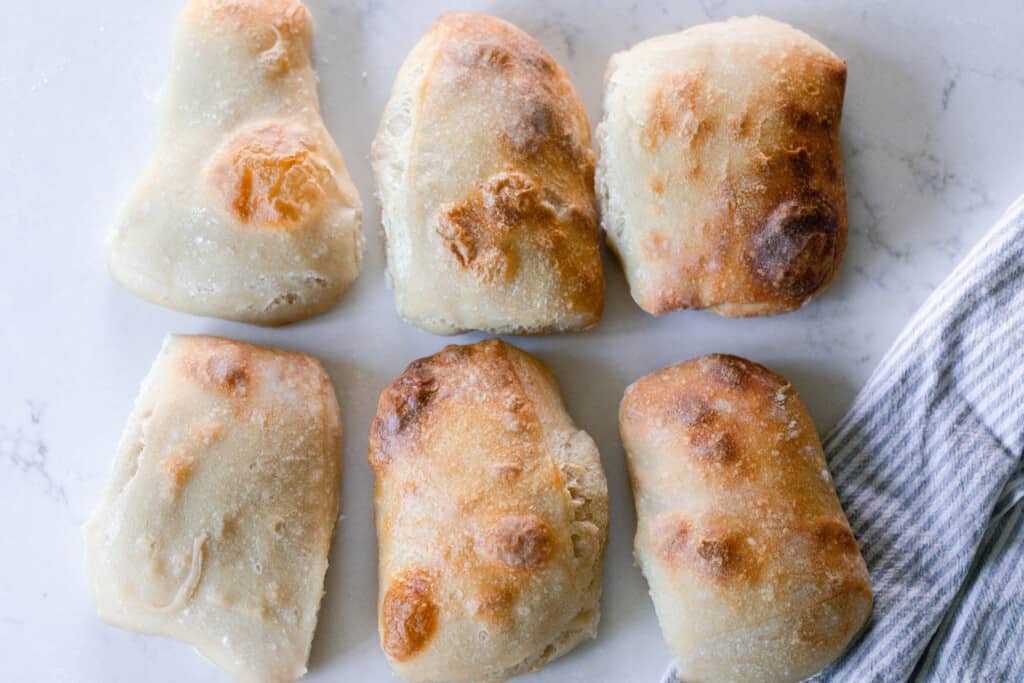
Irresistibly chewy, this sourdough ciabatta bread recipe has a deliciously addicting open crumb texture on the inside with a gently crisped outside. Dip in oil as an appetizer, or use this bread for your next sandwich lunch.
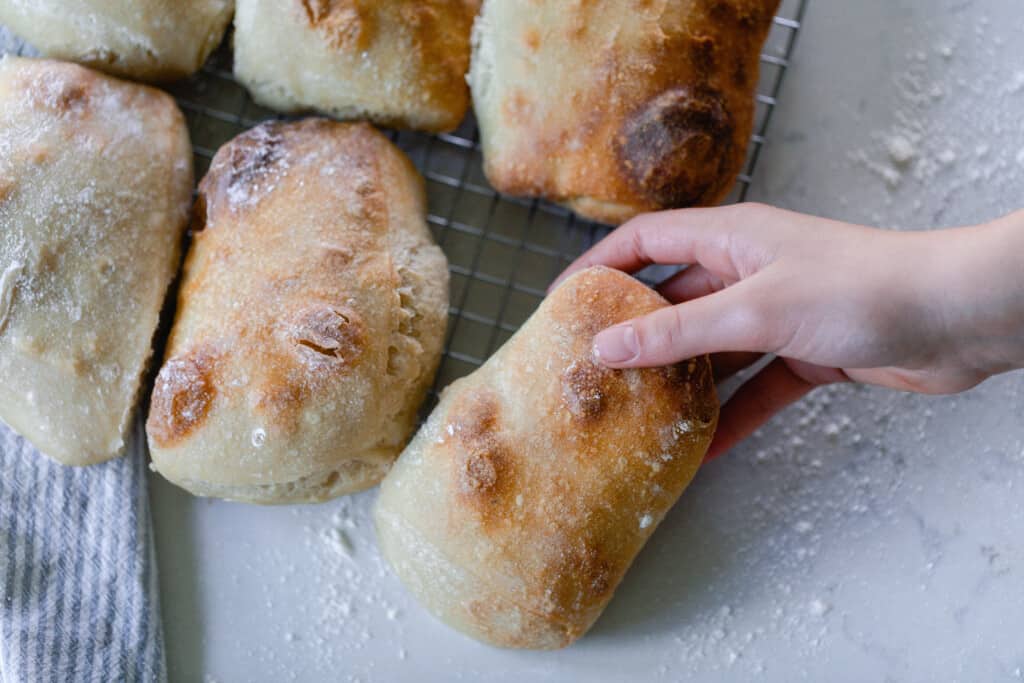
This recipe is so yummy. There is nothing like fresh baked bread, in my opinion.
There may be a little work in the beginning, but it is so worth it.
Honestly, this great recipe is really easy. You simply have to be patient as you painstakingly wait for the natural, wild yeast to do its magic.
I’ve come to love crafting and kneading artisan bread. Truly, there’s nothing like making real food with your own two hands.
As we continue to grow and cultivate our homestead, it’s truly a long-awaited dream come true.
Making homemade bread while staring out over the lush garden, with our white, 1800’s, antique barn – complete with chickens and cows foraging the land… there is truly nothing like it.
It’s a calming and breathtaking sight, and I’m thankful that after many years and many sacrifices (you can see how we paid off our house here and bought our new one with cash), we get to call our farm home.
Back to baking … Let’s make some delicious sourdough ciabatta bread.
Tips:
- If you struggle with gluten sensitivity, try fermenting the dough for at least 12 hours. The longer fermentation time allows the wild yeast to break down the gluten more. Also, I would suggest dusting the top with einkorn flour during the last step before baking. Einkorn is much easier to digest than regular wheat.
- Using a stand mixer to knead the dough will make the process so much easier. You can hand-knead, but it will take about twice as long. Stretching and folding the dough is a great alternative, but requires you to be home during the first few hours of the process.
- Placing a cast iron skillet filled with water in the oven while the bread is baking will help keep enough moisture in the oven.
- If you want to use whole wheat in this recipe, I would suggest substituting up to 1/2 of the all-purpose flour for whole wheat flour.
FAQ:
What makes ciabatta bread different?
It is a fermented Italian bread that develops a chewy texture. Ciabatta means “slipper”, deriving from the process of forming and baking two loaves without a mold or bread pan.
Is ciabatta bread healthy?
We love sourdough in our house, and for good reason (you can learn how to make a sourdough starter here). This ciabatta bread is a great and healthy way to eat grains.
Basically, the phytic acid that is found in grains, beans, and nuts is an anti-nutrient that interferes with the absorption of certain nutrients. Phytic acid is present on grains to keep them from spoiling.
The evidence presents that our bodies weren’t meant to handle them.
Proper preparation of grains, like fermentation with sourdough, eliminates much of the phytic acid that is present and makes them more digestible.
Many people that can’t tolerate regular grains can tolerate long-fermented grains.
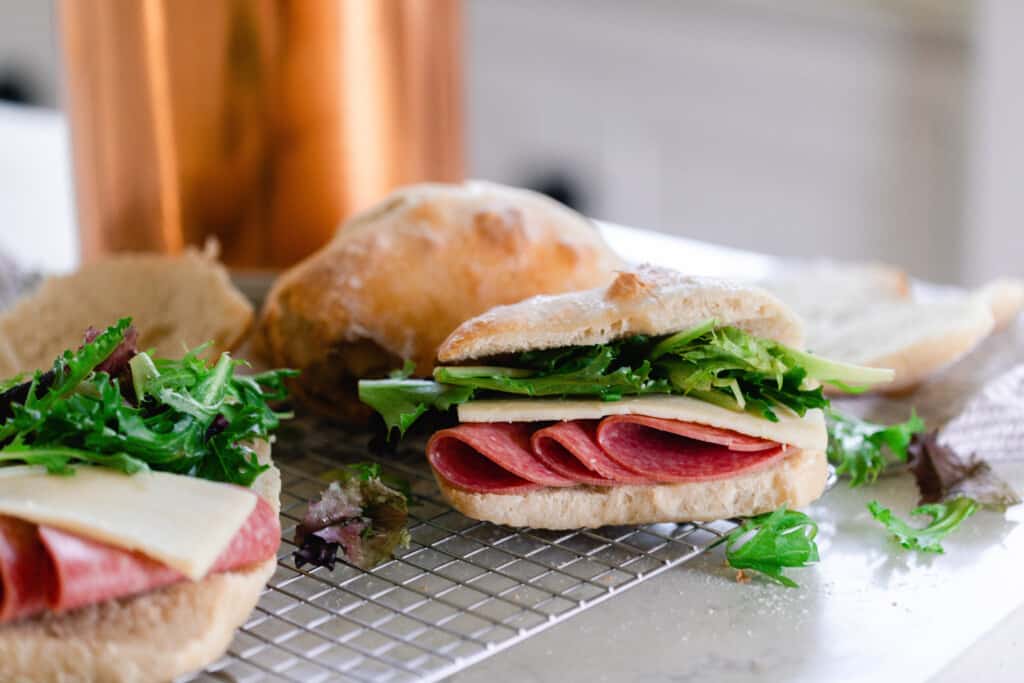
What do you eat ciabatta bread with?
This is the perfect bread for sandwiches. Alternatively, you can serve it with a small dish of olive oil, Parmesan, salt and pepper for dipping.
How do you shape ciabatta?
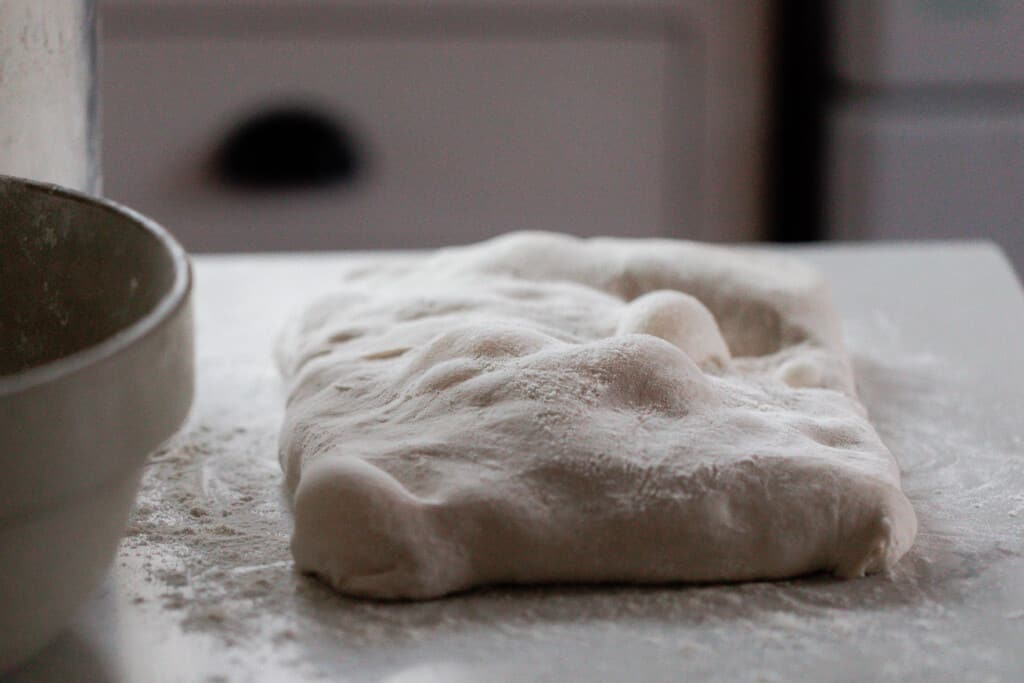
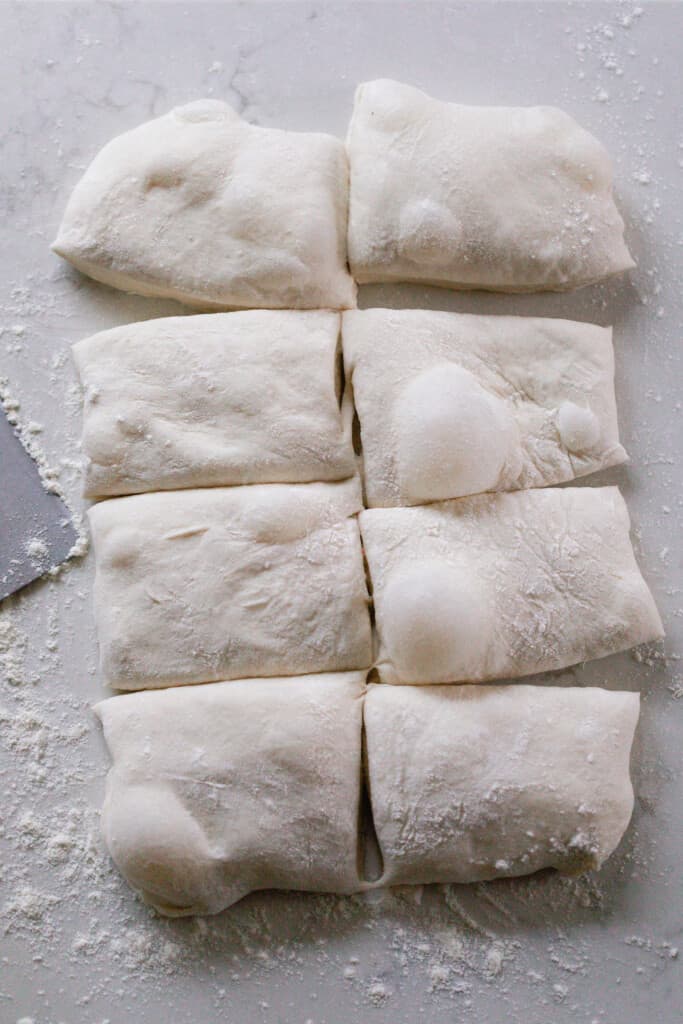
After the bulk refrigerator ferment, gently flatten the dough into a rectangle. Be careful not to deflate any of those beautiful bubbles. Use a bench scraper, or sharp knife, to cut the dough down the middle and then into four equal sections on both halves. You don’t need to worry about this being too precise! I love the rustic quality of homemade sourdough ciabatta.
This post contains affiliate links, which means I make a small commission at no extra cost to you. See my full disclosure here.
Tools you may need:
Baking stone: (You could also use a sheet pan if you don’t have a pizza stone.)
Parchment paper or baker’s couches
Large bowl
Bench scraper (optional)
Sourdough Ciabatta Ingredients:
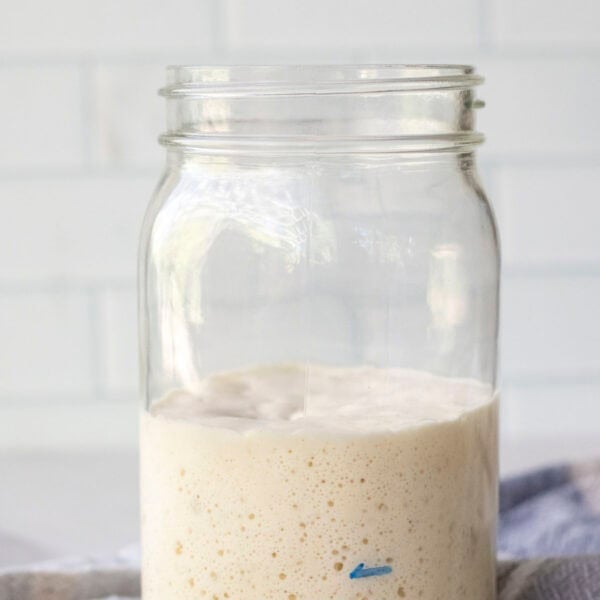
Active sourdough starter – Also known as a ripe sourdough starter. This is sourdough starter that has been fed within 4-12 hours, has about doubled in size, and is nice and bubbly. I use a 100% hydration starter.
Room temperature water – Preferably filtered. Chlorine in water may inhibit the natural yeasts.
Salt
Bread flour – I prefer to use bread flour for this recipe, but regular ol’ white flour works perfectly fine as well. It can hold the structure to give those nice big holes.
How to Make Sourdough Ciabatta Bread
Feed sourdough starter 4-12 hours before starting the sourdough ciabatta dough.
Stretch and fold method
This is my preferred method, especially if I am going to be home to tend to it.
Gently combine the starter, water, salt and flour in a large mixing bowl. Allow the dough to rest for 30 minutes to autolyse.
Perform three series of stretch and folds each 30 minutes apart. (Make sure to cover the bowl with plastic wrap, foil, or a damp tea towel in between so the dough doesn’t dry out.)
To do this, first stretch the dough up about 6 -12 inches on one side, and then push it in to the center of the dough. Turn the bowl a quarter turn, and repeat the process, turn a quarter turn, repeat the stretch and fold.
Kneading method
Add starter, water, salt, and flour to a stand mixer.
Knead for about 10 minutes or so on the medium setting until the windowpane test is passed. It should be a smooth and elastic dough. This is a high hydration dough (aka its a sticky dough) and should be really stretchy when proper gluten development has happened.
The first rise
Cover the bowl with a damp tea towel, and allow it to rise until doubled. The time this takes will depend on the temperature of your house and how active your starter is. For me, this usually takes about 4 hours.
Bulk Fermentation
Transfer the dough to the refrigerator and allow it to ferment for 12-24 hours.
The next day, slide the dough out of the bowl and onto a floured work surface. Be careful not to deflate the bubbles.
Gently shape the dough into a rectangular shape, and dust the top with flour
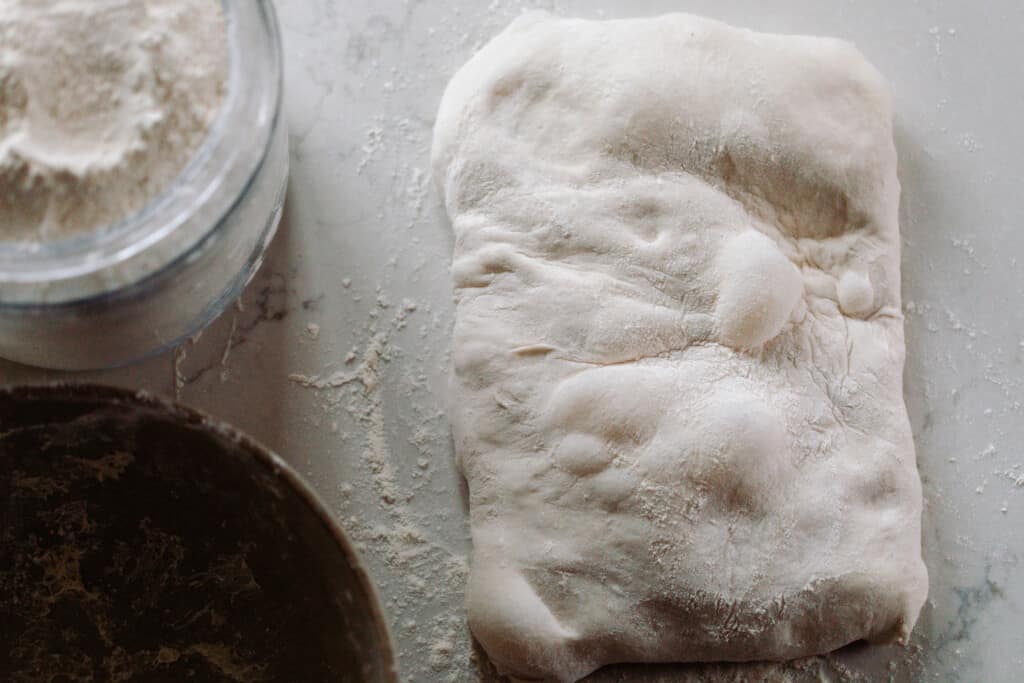
Divide the dough into 8 equal pieces by cutting it down the middle lengthwise and then making three cuts on each side.
Use the bench scraper to gently transfer the rolls to parchment paper.
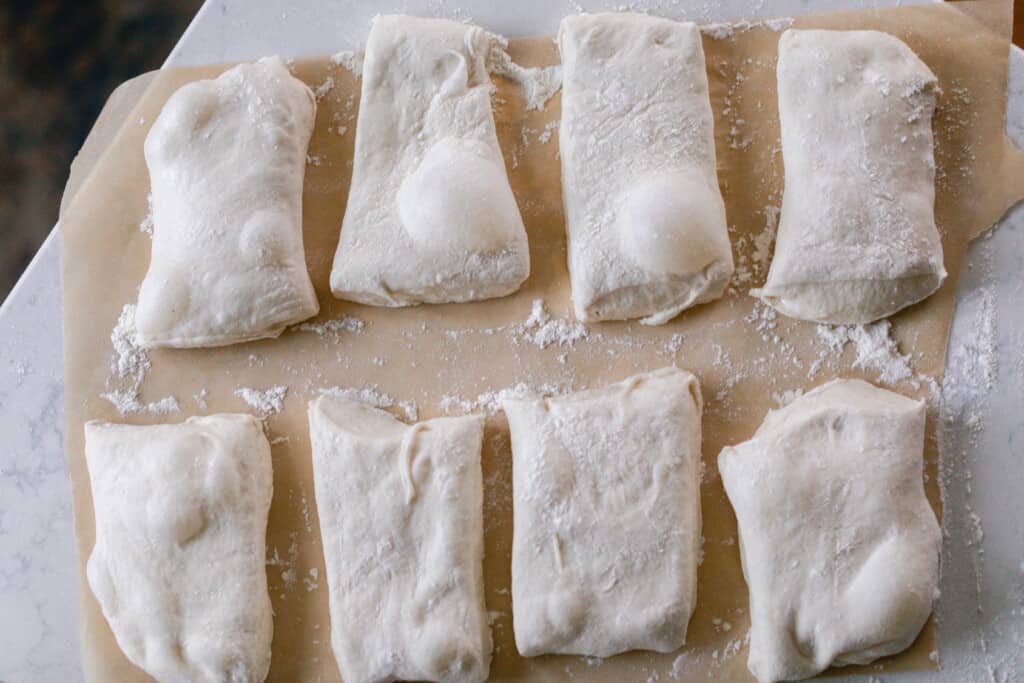
Cover with a tea towel and allow to rise 1-2 hours.
Baking Sourdough Ciabatta
Preheat pizza stone at 475 and put a cast iron skillet on the bottom rack.
Add a bit of water to the cast iron skillet on the bottom rack for steam (this helps the crust to develop a golden color and give it an extra-crusty crust).
Slide the loaves onto the pizza stone (with the parchment paper) or a large baking sheet, and place into the hot oven.
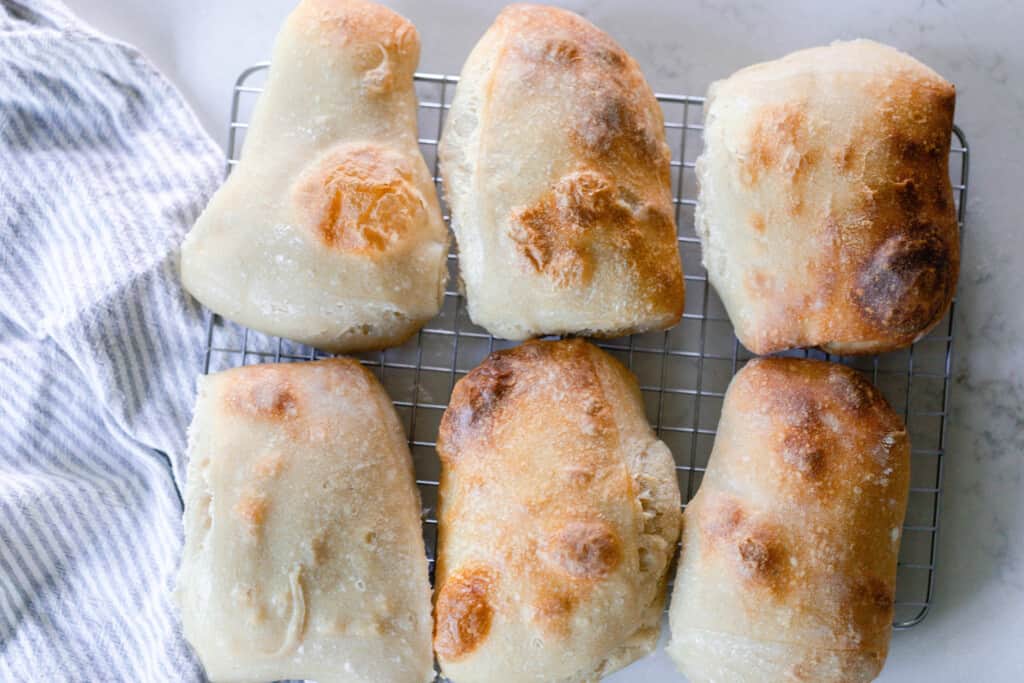
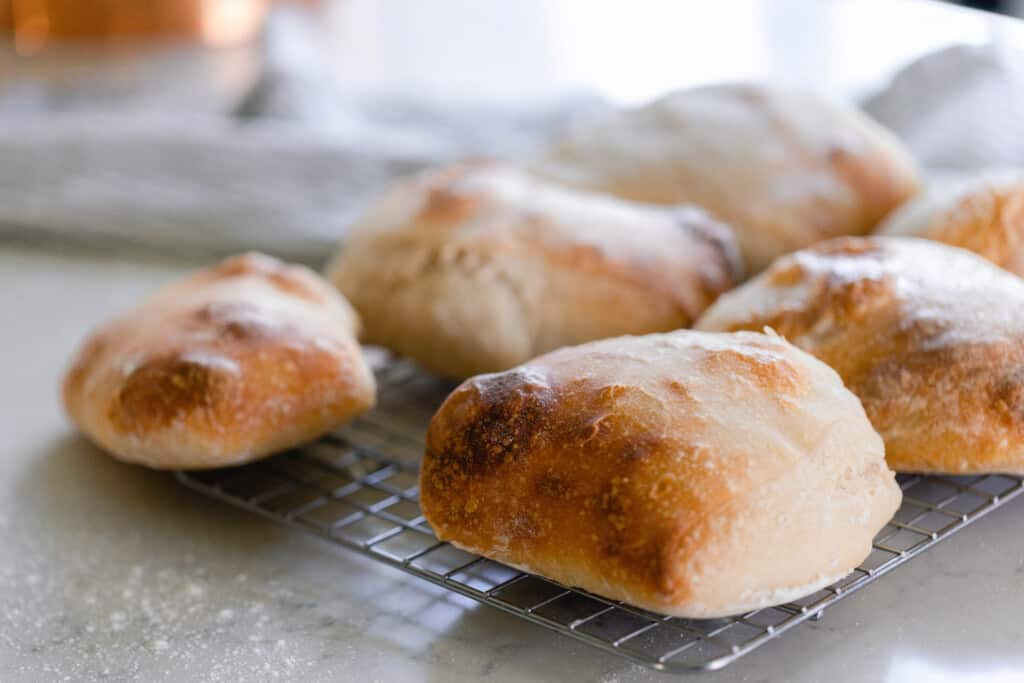
Bake for 25 minutes or until the crust is golden.
Move to a cooling rack to cool.
Storage:
Store fresh loaves in a paper bag or a thin tea towel. Once cut, store in an airtight container. They also freezes incredibly well.
Baker’s Schedule:
8 am: Feed sourdough starter with flour and water. Depending on how active your sourdough starter is, it could take between 4-12 hours for it to be active enough to bake a loaf of bread.
4 pm: If the sourdough starter is nice and bubbly, then proceed to creating the dough.
Cover with a lid or plastic wrap and allow the dough to rise until doubled.
8 pm: Place the covered bowl in the refrigerator.
The Next Day
8:00 am (may be sooner or later): Turn the dough out onto a flour surface and cut into eight equal pieces.
Dust the top of the dough with flour. Allow to rise 1-2 hours.
10:00 am: Preheat the oven to 475. Then bake.
Find More Sourdough Bread Recipes:
- Sourdough Potato Bread
- Sourdough Chocolate Bread
- Rosemary Sourdough Bread Recipe
- Sourdough Brioche
- No-Knead Sourdough Bread
If you make this recipe and love it, I would love if you gave it 5 stars! Tag me on Instagram @farmhouseonboone with your delicious creation.
Sourdough Ciabatta

Ingredients
- 1 cup bubbly and active sourdough starter, 227 grams
- 2 cups water, 472 grams
- 1 tablespoon salt, 17 grams
- 4 ½ cups bread flour, 630 grams
Instructions
- Feed sourdough starter 4-12 hours before starting the sourdough ciabatta dough.
- Gently combine the starter, water, salt and flour in a large mixing bowl. Allow the dough to rest for 30 minutes to autolyse.
- Perform three series of stretch and folds each 30 minutes apart. (Make sure to cover the bowl with plastic wrap, foil, or a damp tea towel in between so the dough doesn’t dry out.)
- To do this, first stretch the dough up about 6 -12 inches on one side, and then push it in to the center of the dough. Turn the bowl a quarter turn, and repeat the process, turn a quarter turn, repeat the stretch and fold.
- Cover the bowl with a damp tea towel, and allow it to rise until doubled. The time this takes will depend on the temperature of your house and how active your starter is. For me, this usually takes about 4 hours.
- Transfer the dough to the refrigerator and allow it to ferment for 12-24 hours.
- The next day, slide the dough out of the bowl and onto a floured work surface. Be careful not to deflate the bubbles.
- Gently shape the dough into a rectangular shape, and dust the top with flour.
- Divide the dough into 8 equal pieces by cutting it down the middle lengthwise and then making three cuts on each side.
- Use the bench scraper to gently transfer the rolls to parchment paper.
- Cover with a tea towel and allow to rise 1-2 hours.
- Preheat pizza stone at 475 and put a cast iron skillet on the bottom rack.
- Add a bit of water to the cast iron skillet on the bottom rack for steam (this helps the crust to develop a golden color and give it an extra-crusty crust).
- Slide the loaves onto the pizza stone (with the parchment paper) or a large baking sheet, and place into the hot oven.
- Bake for 25 minutes or until the crust is golden.
- Move to a cooling rack to cool.
Notes
- If you struggle with gluten sensitivity, try fermenting the dough for at least 12 hours. The longer fermentation time allows the wild yeast to break down the gluten more. Also, I would suggest dusting the top with einkorn flour during the last step before baking. Einkorn is much easier to digest than regular wheat.
Nutrition
Nutrition information is automatically calculated, so should only be used as an approximation.


Question about the bread flour for this recipe. I mill my own grains, what would be the best grain to use?
Hard white wheat berries will work best.
Loved this! I fermented about 48 hours and it was amazing.
So glad you enjoyed it!
Hi. I really struggled with this recipe. It was impossible to keep it from deflating because it was o sticky/stretchy. Any suggestions? I couldn’t even mold it I
Or cut it into 2!
Thank you.
I had the same issue and just finished scraping mine into loaf pans for the second rise to try and salvage it. The consistency was one step away from batter-like after it deflated.
Had the same problem. Any tips for fixing it?
Sounds like the dough over fermented. Recipe times are guidelines, not guarantees. You can still bake it but I would recommend making a single loaf if you’re having trouble dividing and/or shaping. It is probably still edible (I’ve never had to throw out dough or bread, even when over fermented) but you might prefer to use it in a baked French toast casserole or for croutons. It’s also possible that your hydration levels require adjusting.
These turned out great! I tried this after the artisan sourdough and I have to say, I like the way these turned out better! The only thing was that where the loaves where bumped up against each other on the stone didn’t crisp/brown like the rest. Maybe I need a bigger stone because there wasn’t enough room for them not to touch each other. Either way, delicious and will make again!
Side note: I was convinced these weren’t gonna turn out because the dough was insanely sticky. If this happens to you, keep going!
Everything was going so well….my dough after 9 hours was beautiful with lots of holes, had risen to top of the bowl it was in. When i turned it out onto parchment, was so wet that it just ran like a puddle. I sprinkled with flour to try to gather gently and it fell through my fingers.Is there a video somewhere of this process? I’m such a visual learner and want to know what I did wrong. I have it “gathered” into semi loaf looking items in a couche right now but not sure it will even make it to the oven at this point. I always measure twice, so am sure my measurements were correct. Any thoughts?,
Hello Lisa, thank you for all your awesome recipes! 🙂 do you think I can add olives in this ciabatta? And if yes, when would be the best time? Thank you! Ronja
Hello, I successfully make this recipe with whole wheat einkorn flour?
I made this yesterday and my husband says it was the best bread I’ve made yet. I’ve been trying for a while 🙂 I cut it down to make buns for Our Oily House Paleo meatballs and chili sauce. My kids inhaled everything 🙂
Sorry my question should contain gluten free sourdough starter.
Looks delicious! Can this bread be made using your sourdough starter recipe? Love your blog and you tube channel.
This recipe is amazing! I made it sweet. Added about 1/4 cup of coconut sugar and some cinnamon. Tasted just like cinnamon raisin bread – the raisins. Thank you for the recipe!
So glad you liked it!