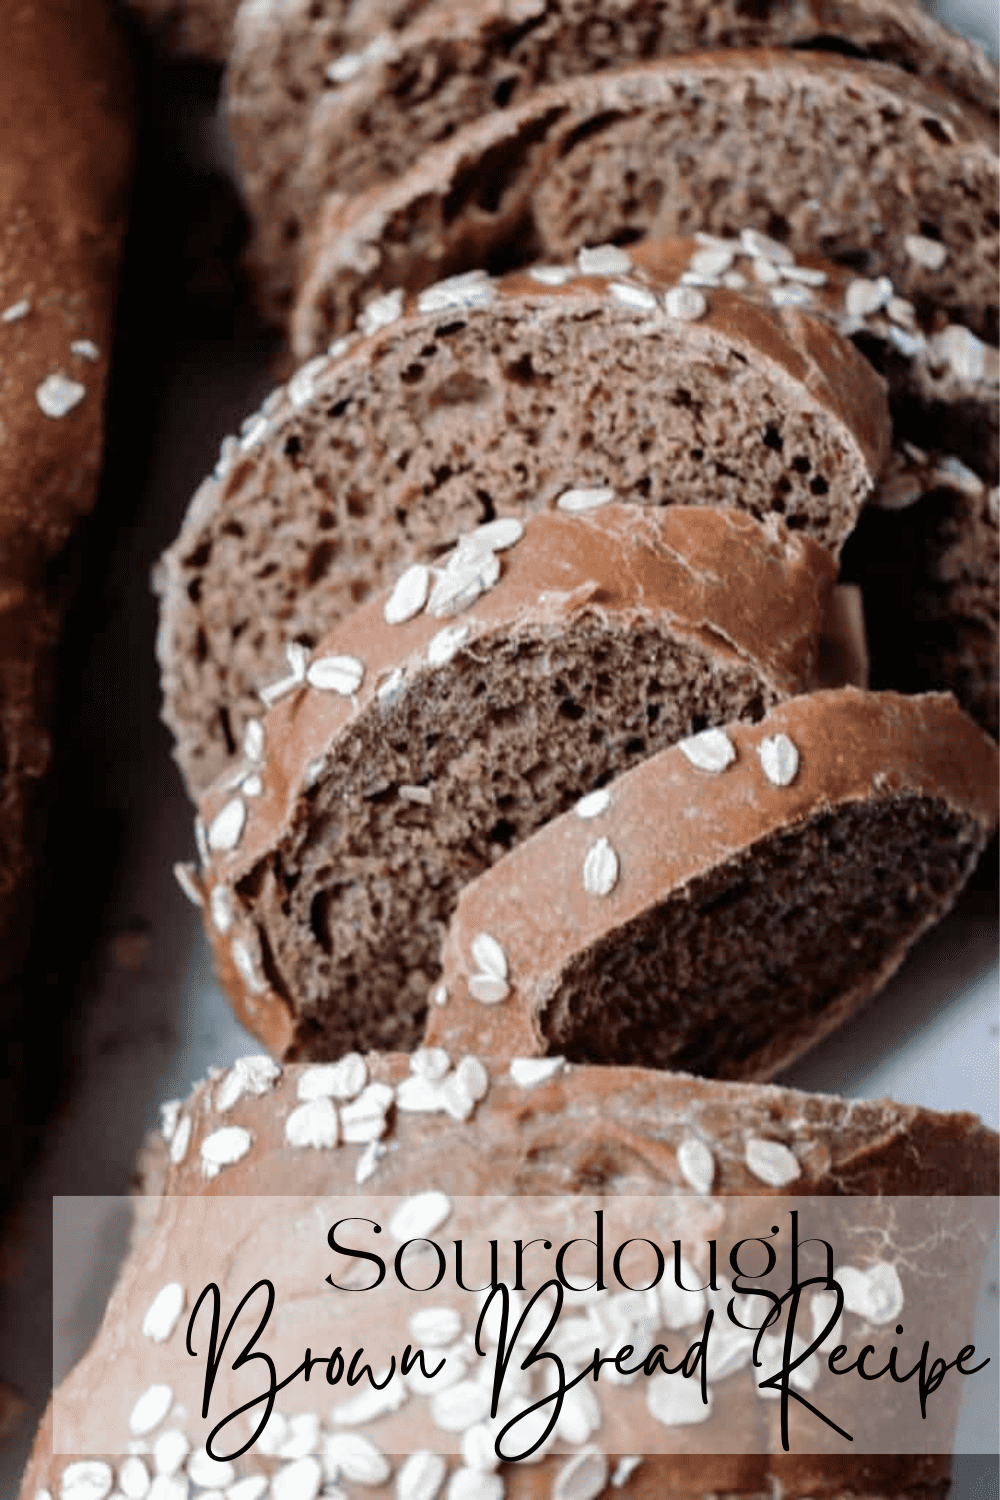
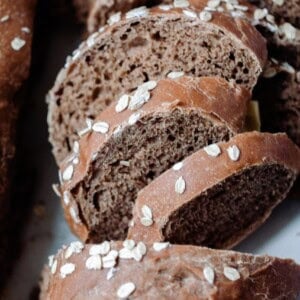
Sourdough brown bread is hearty and soft, packed with nutrition and flavor, excellent toasted with butter or piled high with sandwich toppings. Read along to add this gorgeous sourdough loaf to your repertoire of wonderful bakes.
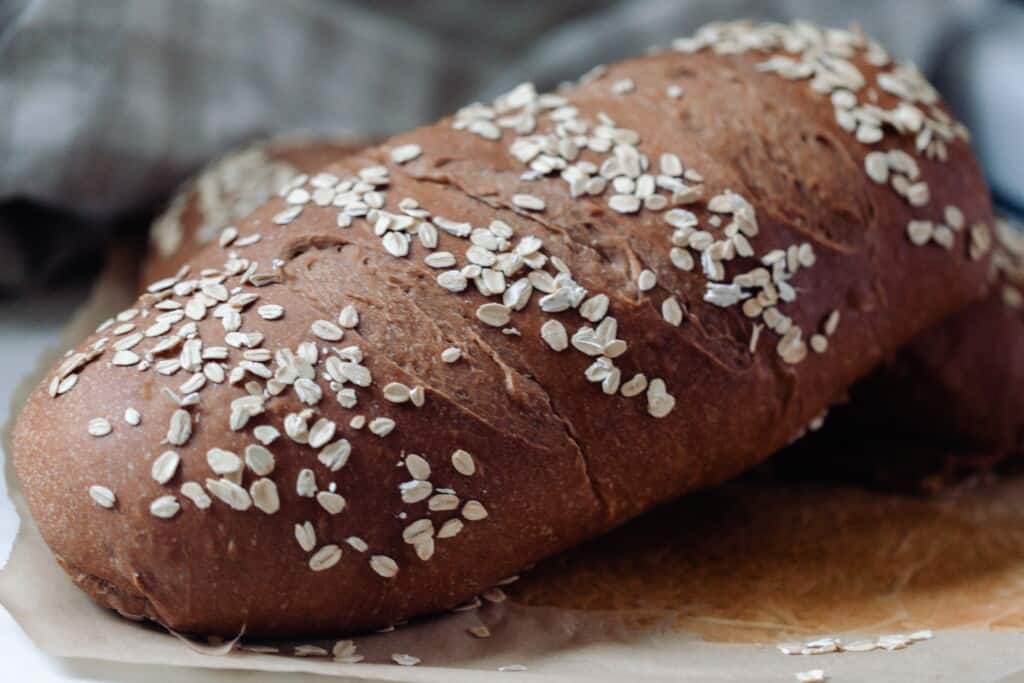
Clearly we’re believers in bread, particularly sourdough in all its varieties.
Fresh sourdough is far superior to other breads, and brown bread is one of my favorite whole wheat recipes. I won’t say this is a quick recipe, because like most sourdough breads, there is a process to follow, steps to complete, and a decent amount of energy and time must be devoted.
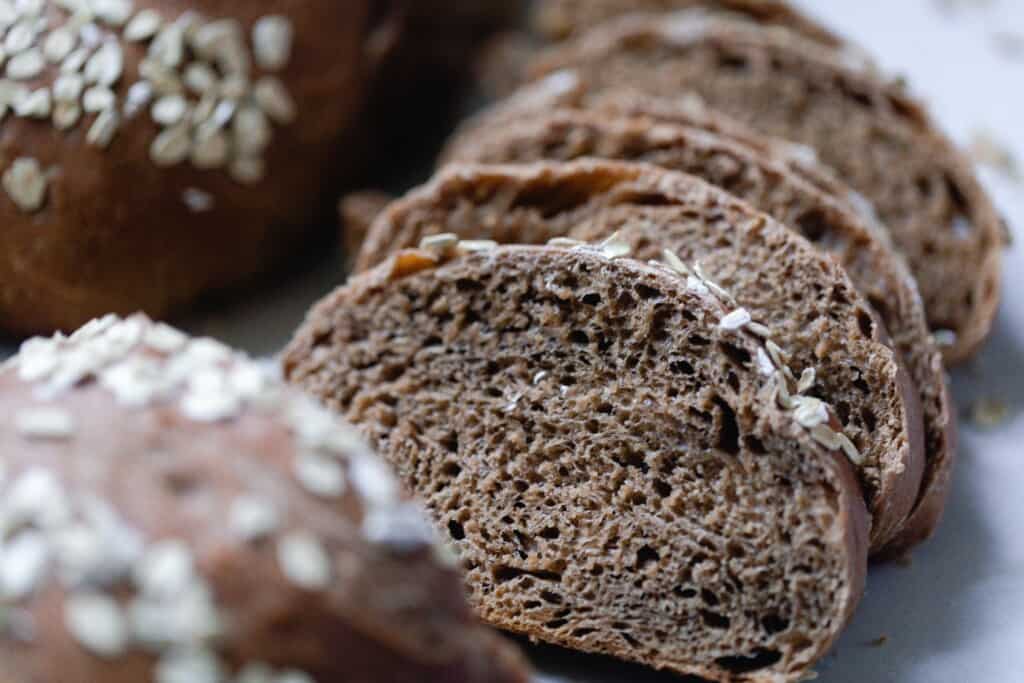
The result is a luxuriously soft and tender, richly flavored, whole wheat bread.
It’s completely worth the time.
While I bake all year long, I especially love to bake in the wintertime. I don’t worry about the oven heating up the house like in the hot summer months. Instead, we have a cozy, warm kitchen with the aroma of baking bread to cheer us up after the holidays are gone.
Diving back into our regular routine feels like coming back to center. There’s always so much to do, and I’m thankful to do it.
There’s the cleaning routines, the baking, the laundry, and we’re back to school.
There’s nothing quite so satisfying as diving into my tasks knowing they will benefit the family that I love so much. It’s been a process of learning: learning to cook, to bake, to keep sourdough starter alive, to grow vegetables, to raise chickens, to rear children.
It’s messy work.
Yet all of this learning spills over into beautiful things, like sourdough brown bread that nourishes my family for breakfast, lunch, and dinner.
Through it all, learning to be grateful has proven the most important and the most useful.
But baking bread is also very useful.
So, less sappy now and more practical, I just love this bread toasted and spread with soft butter and a spoonful of my homemade strawberry jam, plated with a couple of soft boiled, farm-fresh eggs.
It’s the epitome of a cozy, winter breakfast, and another of my favorite recipes. It pairs so well with hot coffee and gray skies in the cold months.
Why I Love This Recipe
Depth of flavor: Between the sourdough tang, the earthy sweet flavor of whole wheat, and the pleasantly bitter, smokey notes of molasses, brown bread is a wonderful experience.
Healthy and filling: Fermented grains are more easily digestible, provide beneficial bacteria, and promote better gut health to boost immunity and heart health, among other benefits. With natural sweeteners and whole grains, sourdough brown bread helps you feel full longer with whole food ingredients that are actually good for you.
Versatile: This bread has so much delicious potential. Enjoy it sliced, toasted, and buttered for breakfast or snack; use it as a hearty sandwich bread, topped with smoked ham, cheese, and loads of vegetables; a side to soups; diced for croutons; folded with eggs and cream for a unique bread pudding.
Tips
- Consider the temperature of your home when determining your rise times: cooler home typically means a longer rise.
- As with all sourdough recipes, the fermentation process is absolutely necessary for consistently positive results. Don’t skimp on rise times.
- Use a very active sourdough starter, recently fed, for good results. This is not a sourdough discard recipe.
- The type of flour you use will have a significant impact on your dough and end results. Rye flour is a common flour used in brown bread.
- Try subbing some of the water for black coffee or black tea for a deep, unique flavor!
- The honey may be replaced with maple syrup, if preferred. Keep in mind that honey is sweeter, so you may need to adjust the maple syrup amounts to achieve the desired sweetness.
- The dough may be sticky, but don’t add too much flour, as the kneading process and gluten development will resolve the stickiness.
- No commercial yeast needed. This recipe uses the wild yeast in the sourdough starter.
This post contains affiliate links, which means I make a small commission at no extra cost to you. See my full disclosure here.
Ingredients
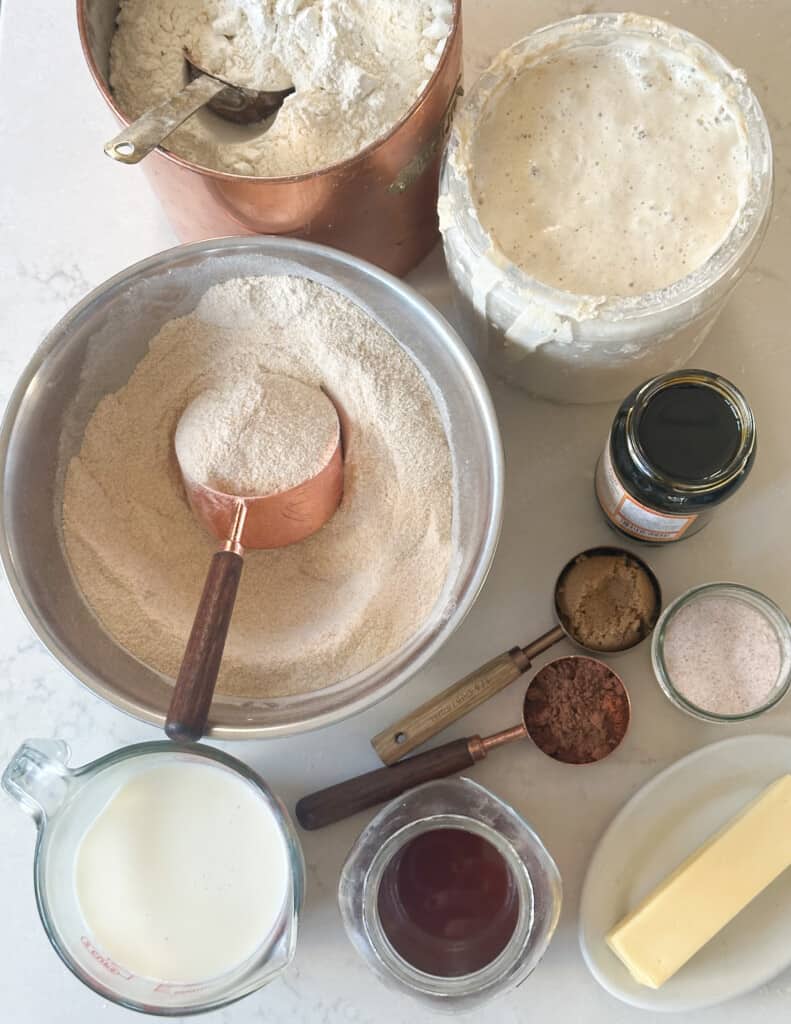
Sourdough starter – Bubbly and active, recently fed starter.
Whole wheat flour – I usually use fresh milled flour, particularly hard red wheat, but King Arthur whole wheat flour is a great option, too.
All purpose flour – Use your favorite! I go for unbleached, preferably unenriched.
Brown sugar – Sugar, but paired with molasses – yum.
Molasses – This adds a deep, rich sweetness to the bread, while also contributing to that beautiful brown color.
Cocoa powder – Cocoa powder adds depth and a complexity, while also richness of color.
Filtered water – Important for more than just taste, good water filters remove harmful chemicals like chlorine and heavy metals such as lead.
Honey – Raw and unfiltered are great, and if you can find it local – score!
Butter, softened – Raw butter is actually very nutritious and so much more delicious.
Salt – Sea salt is your best option.
Rolled oats – For sprinkling on top (optional)
Tools You May Need
Bench scraper
Plastic wrap or tea towel
Dutch oven or loaf pan
How To Make Sourdough Brown Bread
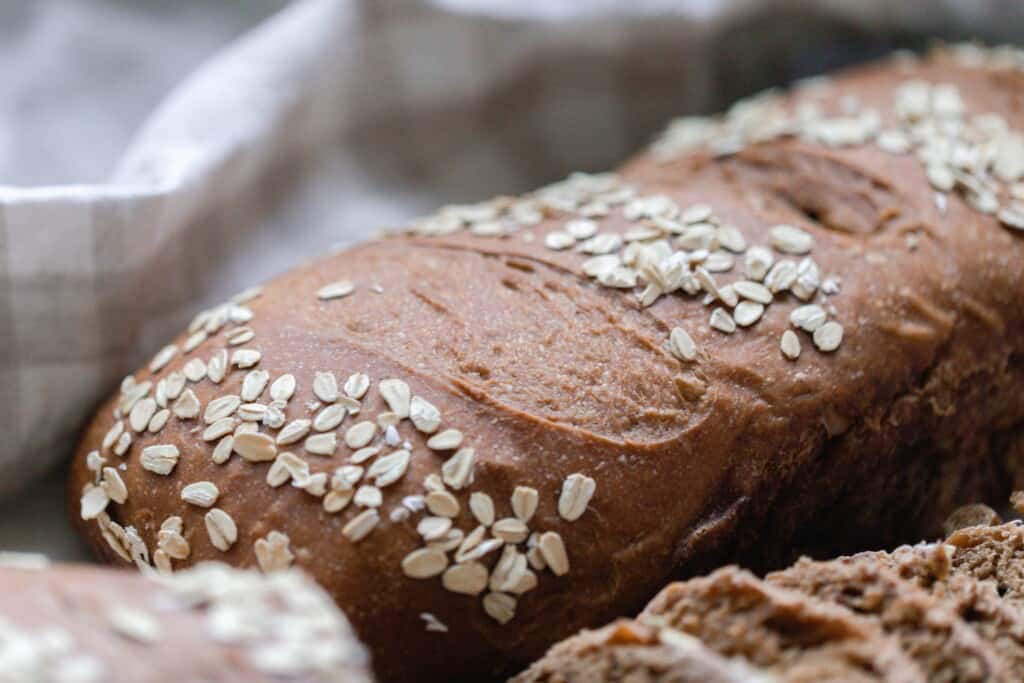
Begin by feeding your starter, allowing ample time for an active, bubbly little helper. You’ll know your starter is ready when it has grown significantly and is bursting with bubbles.
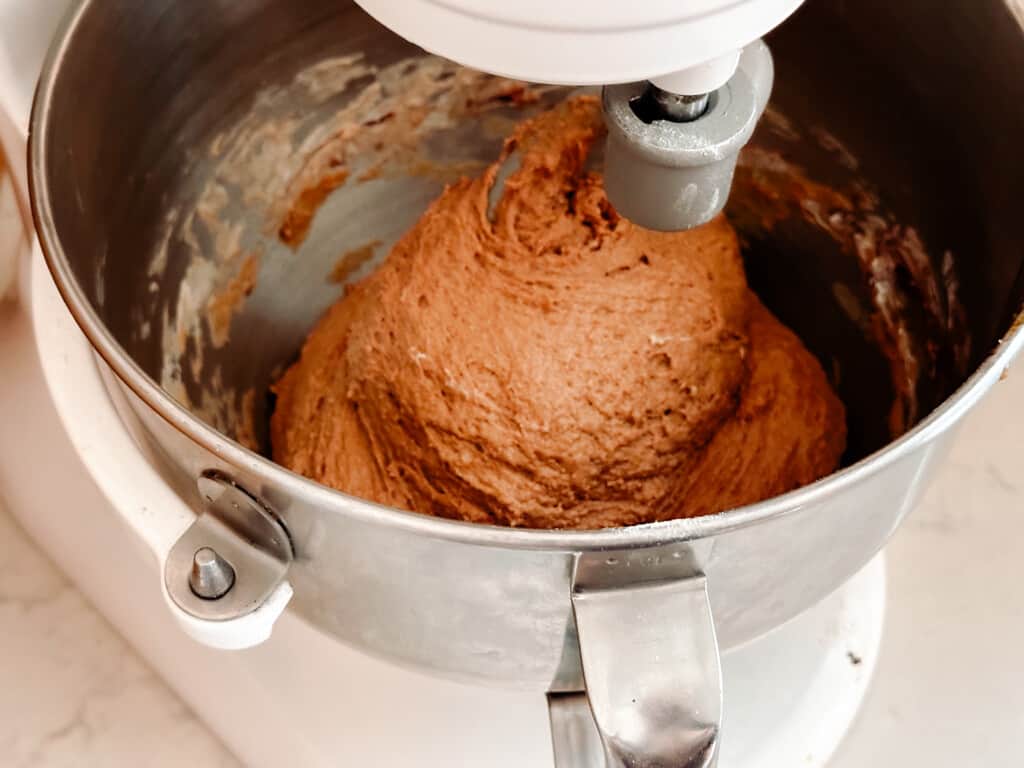
Add all ingredients (except for rolled oats) to a stand mixer and mix with your dough hook for 2-3 minutes on low until everything comes together.
Once the bread dough is formed, increase the speed and work for another 4-5 minutes until the gluten has developed, pulling away from the sides of the bowl and passing the windowpane test.
As a reminder, the windowpane test involves a small sample of your dough, shaped roughly into a small square, and gently stretched apart to achieve a transparent or see-through windowpane effect where light can pass through.
If the dough tears, the gluten needs more time and work to develop. If light passes through your little windowpane of dough, the gluten has developed properly and is ready to go.
Bulk Fermentation
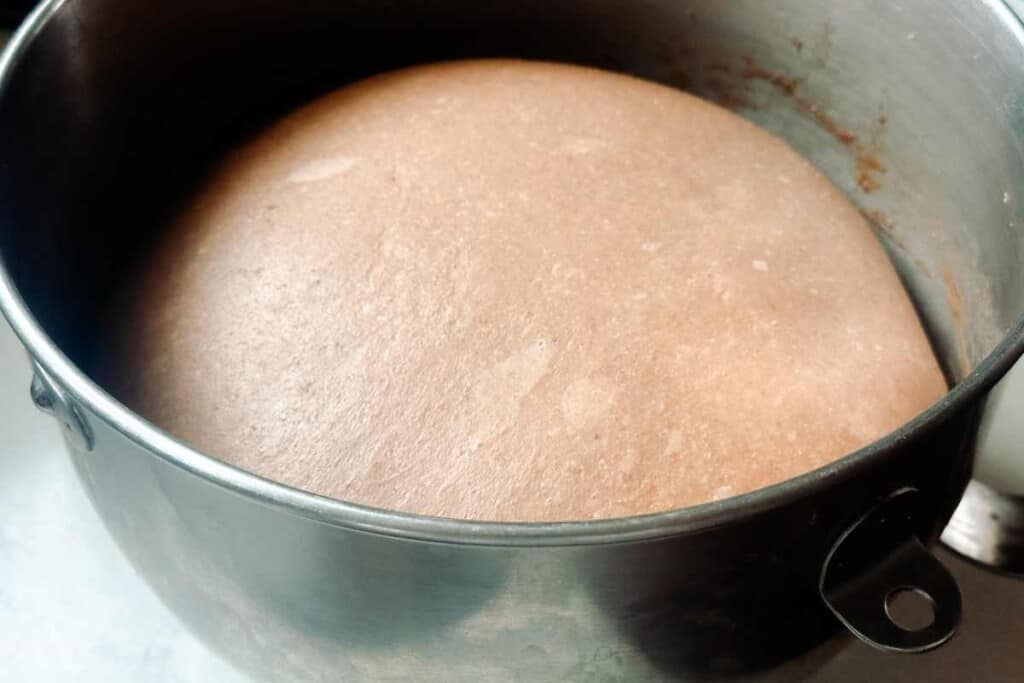
Place the dough in a lightly oiled bowl. Cover with a lid or plastic wrap. Place in a warm place for about 8-12 hours or until doubled in size.
Notes: Bulk fermentation time is contingent upon your home temperature. In the winter, this could take 12 hours or more, while only 4 hours in the summer. Aim for around 8, or until the dough has doubled in size.
A warm place in your home can make a big difference, whether it’s near a wood burner, on the counter above the running dishwasher, or in a sunny window seat.
Shape
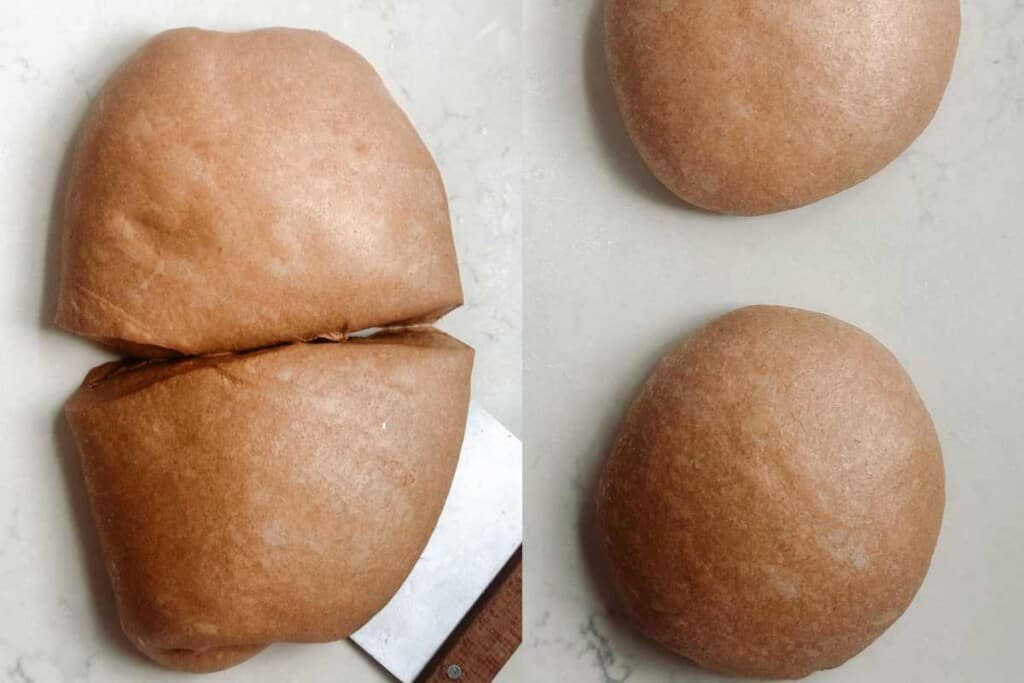
After the bulk ferment, divide the dough into two equal parts and prepare a roomy work surface.
Pre-shape by providing slight tension and creating a ball with each piece of dough. Then allow them to bench rest for about 20 minutes on the counter, covered with a damp tea towel so the dough doesn’t dry out.
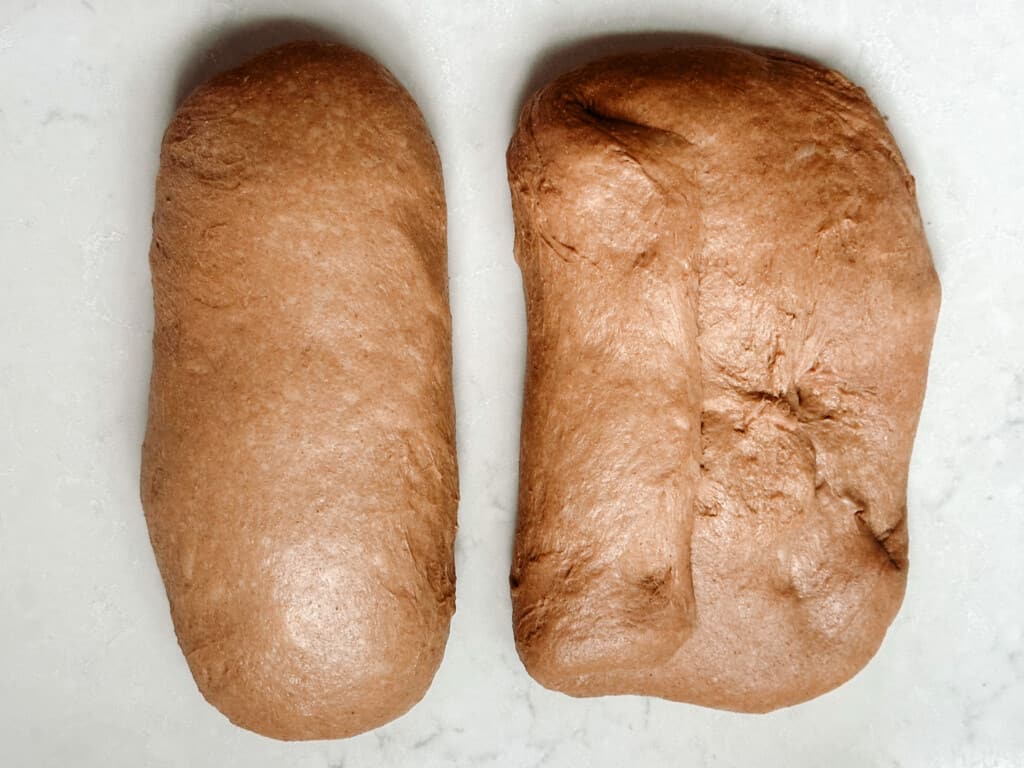
Shape each piece of dough by gently stretching the dough out into a rectangle about 8” long by 5” wide.
Fold one long side into the middle, pressing your fingers into the seam all the way down to seal it. Repeat with the other long edge, so that there is one seam in the middle where the two sides meet.
Roll the dough over so that it is seam side down, then gently create tension along the seam by pulling it against the counter. This will also elongate the shape as you continue to pull the dough. I like mine to be about 10” for their final shape. Repeat for the other ball of dough.
Place your shaped dough onto a parchment lined baking sheet or baking stone about 3-4 inches apart so they don’t stick together.
Second Rise
Cover with a damp tea towel or oiled plastic wrap (so it doesn’t stick to the dough) until they have risen to almost double. This will take about 2-4 hours depending on the room temperature.
Once the loaves are almost proofed, set your oven temperature to 375.
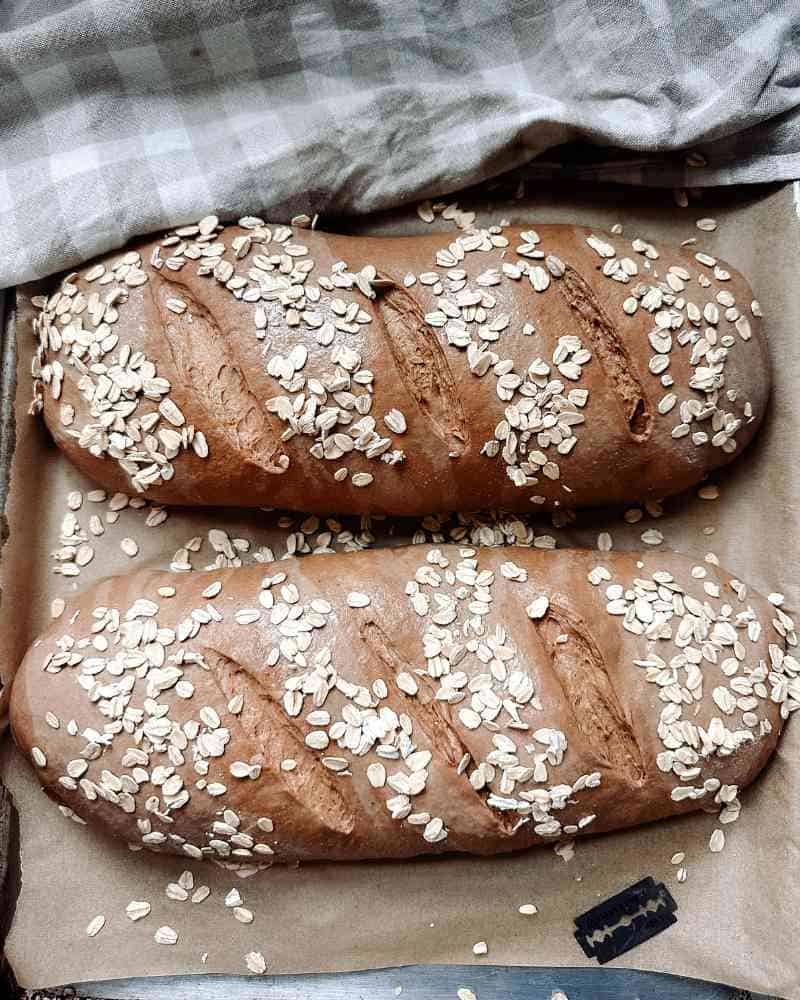
With a razor blade, score a few horizontal slashes across the top of the dough.
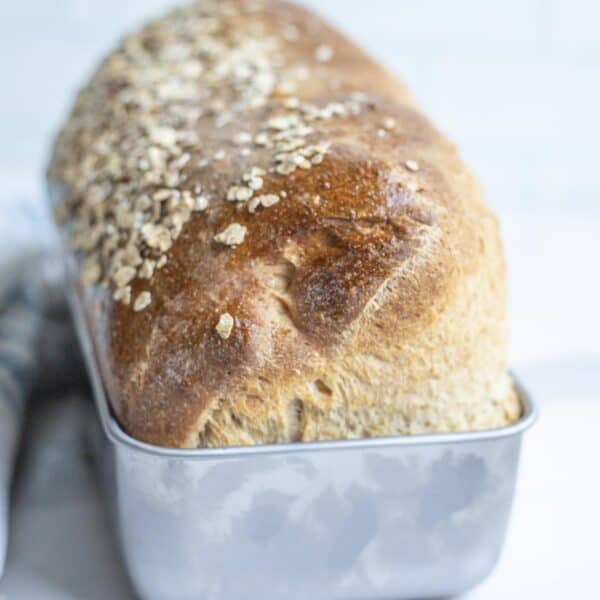
Brush the tops of the loaves with water and sprinkle with oats.
Bake 25-30 minutes.
Allow the bread to cool on a wire rack before cutting.
Baking Schedule
Night before:
8 pm: Feed starter.
Following morning:
8 am: Make dough, then proof for 8 hours. Let dough rise longer, if necessary.
4 pm: Pre-shape dough. Let dough rest for 20 minutes.
4:20 pm: Final dough shaping.
6:20 pm: Preheat oven, score, and bake.
Storage
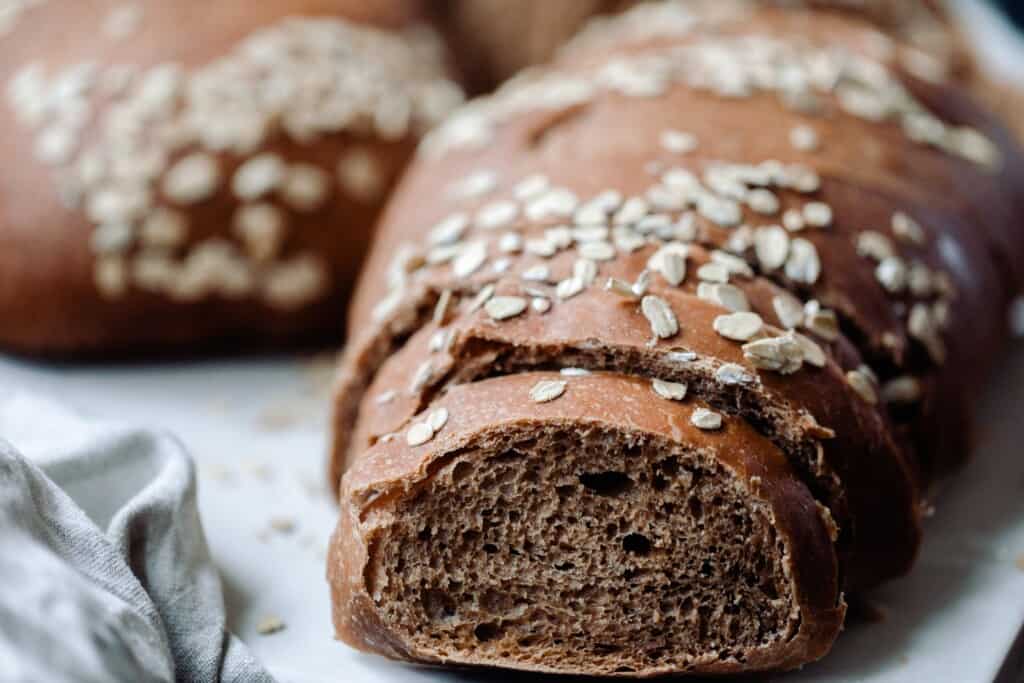
You can easily store your loaves in an airtight container on the counter or refrigerator for several days. In the freezer, if wrapped tightly, homemade sourdough will keep for 2-3 months. Simply thaw at room temperature before use. Find out how to freeze sourdough bread here.
FAQ
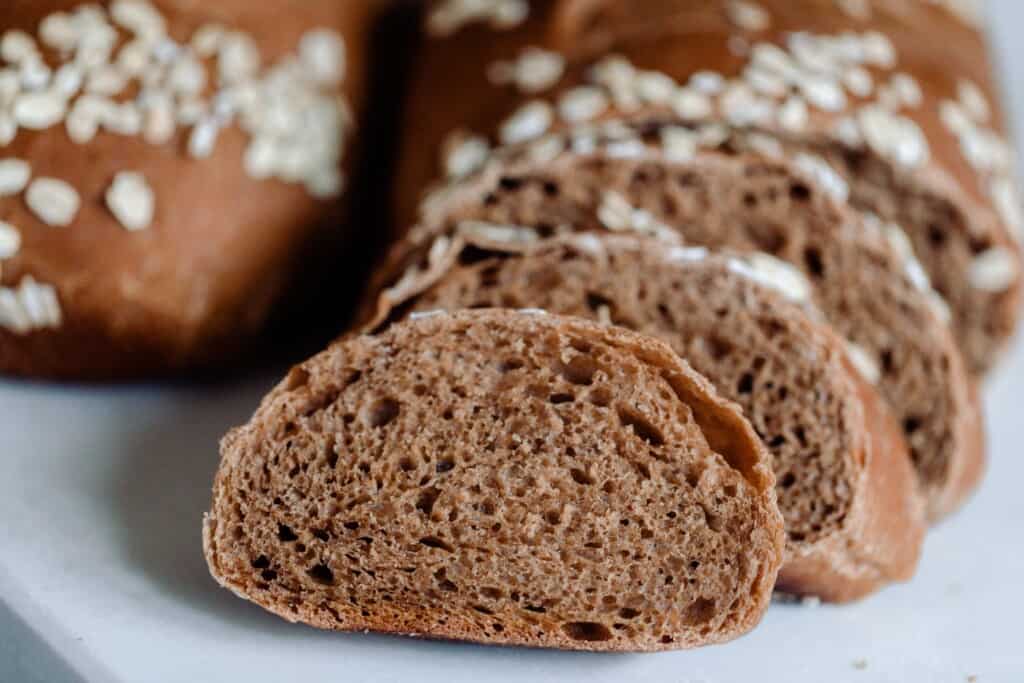
Is sourdough brown bread healthy?
Yes! It has fermented grains, protein, fiber, and iron, all great choices for gut health, heart health, and energy. This recipe avoids refined sugars, which are known to contribute to obesity and chronic disease.
What is the difference between brown bread and sourdough bread?
Brown bread is a whole wheat bread, earning the lovely brown color from the darker ingredients, like molasses and cocoa powder.
Sourdough bread refers to many different kinds of bread that are risen via wild yeast. Sourdough breads require longer rises to allow the wild, natural yeast to work and the gluten to develop, yielding a signature tanginess that we love.
Why is it called brown bread?
Brown bread earns its name due to its color and the use of whole wheat flour. Whole wheat flour retains its bran, which is processed out of white flours, and gives whole wheat flour its color. Along with the type of flour, brown bread also gets its color from the molasses and cocoa powder traditionally used.
What is the healthiest sourdough?
While this is certainly up for debate, I would say the healthiest sourdough bread would include whole wheat or whole grain flours, providing higher fiber content and more nutrients than their processed counterparts.
Which is healthier: white or brown sourdough bread?
While both are great options, whole grain and whole wheat flours are packed with micronutrients and fiber, but all sourdough breads boast the benefits of fermentation for gut health and easier digestibility.
More Sourdough Bread Favorites
- Mini Sourdough Loaves
- Sourdough Discard Sandwich Bread
- Easy Buttermilk Sourdough Bread
- No Knead Sourdough Bread
- Sourdough Beer Bread
If you try this recipe and love it, I would love if you gave it 5 stars! Also, tag me on Instagram @farmhouseonboone.
Sourdough Brown Bread
Ingredients
- 1/2 cup sourdough starter, bubbly and active (113 grams)
- 2 cups whole wheat flour, 300 grams
- 2 1/2 cups all purpose flour, 350 grams
- 2 tablespoons brown sugar, 26 grams
- 1/4 cup molasses, 68 grams
- 2 tablespoons cocoa powder, 16 grams
- 1/4 cup honey, 84 grams
- 1/4 cup butter, softened (57 grams)
- 1 1/2 teaspoons salt, 8 grams
- 1 3/4 cup water, 413 grams
- Rolled oats, for sprinkling on top
Instructions
- Add all ingredients (except for rolled oats) to a stand mixer and mix with dough hook for 2-3 minutes on low until everything comes together and the dough forms. Then increase the speed and work for another 4-5 minutes until the gluten is developed and passes the windowpane test.
- Bulk ferment: Allow to ferment at room temperature until doubled. In the winter this could take 12 hours or more but only 4 in the summer. Aim for about 8.
- After the bulk ferment, divide the dough into two equal parts.
- Pre-shape by providing slight tension and creating a ball with each piece of dough and allow to bench rest for about 20 minutes on the counter, covered with a damp tea towel do the dough doesn’t dry out.
- Shape each piece of dough by gently stretching the dough out into a rectangle about 8” long by 5” wide.
- Fold one long side into the middle and press your fingers into the seam all the way down it to seal it. Repeat with the other long edge, so that there is one seam in the middle where the two sides meet.
- Roll the dough over, so that it is seam side down, and gently create tension along the seam by pulling it against the counter. This will also elongate the shape as you continue to pull the dough. I like mine to be about 10” for a final length.
- Repeat for the other piece of dough.
- Place your shaped dough onto a parchment lined baking sheet about 3-4 inches apart so they don’t stick together
- Cover with a damp tea towel or oiled plastic wrap (so it doesn’t stick to the dough) until they have risen to almost double. This will take about 2-4 hours depending on the temperature.
- Once the loaves are almost proofed, preheat the oven to 375.
- Score a few times with horizontal slashes across the top of the dough.
- Brush the tops of the loaves with water and sprinkle with oats.
- Bake 25- 30 minutes
- Cool before cutting
Notes
- Consider the temperature of your home when determining your rise times: cooler home typically means a longer rise.
- As with all sourdough recipes, the fermentation process is absolutely necessary for consistently positive results. Don't skimp on rise times.
- Use a very active sourdough starter, recently fed, for good results. This is not a sourdough discard recipe.
- The type of flour you use will have a significant impact on your dough and end results. Rye flour is a common flour used in brown bread.
- Try subbing some of the water for black coffee or black tea for a deep, unique flavor!
- The honey may be replaced with maple syrup, if preferred. Keep in mind that honey is sweeter, so you may need to adjust the maple syrup amounts to achieve the desired sweetness.
- The dough may be sticky, but don't add too much flour, as the kneading process and gluten development will resolve the stickiness.
Nutrition
Nutrition information is automatically calculated, so should only be used as an approximation.


I made this today and the dough was so sticky and I couldn’t get it to shape (which I had seen in other’s reviews). I also rushed it a little bit to make the timing work with dinner. I was SO pleasantly surprised. It was perfect and delicious. I just ate a large portion of one loaf before bed and had to tell you thank you for your delicious recipes.
Looks delicious however when I made this dough tonight it was crazy sticky! I had to add atleast a half cup of flour. It will proof tonight & I’m hoping for the best tomorrow!
I didn’t know which flour to add but used AP. Lisa-I noticed a lot of people are having same issue. Perhaps could add a tip in the recipe?! That would be super helpful.
It is a stickier loaf due to the molasses in the recipe.
I had the same problem with it being a really wet dough. I added at least a cup of more flour and it finally came together. It was still very sticky with a somewhat pass on the window pane. I went ahead a did an 8 hour bulk fermentation then shape rest and 2nd rise. It came out beautifully. My family loved it. I don’t know if weather has something to do with it. I used the measuring cup method of making it. I will try weighing it next time.
This recipe is lovely! It is a sticky dough at first but don’t be scared of it, it comes together! I don’t have a mixer so I mixed by hand and did 3 sets coil folds every 30 minutes. I shaped then let them rest in the fridge overnight like regular sourdough. I will be making again!
My family and I love it! It is our absolute favorite bread right now. Thank you for the recipe!
This dough’s personality is something to get use to. It’s a very wet dough but it doesn’t mean it’s not worth your time! It was a delightful bread! A crowed pleaser. I did have to add more flour and I did have to knead it longer. I didn’t add much flour and with the kneading in my kitchen aid I went back and forth with high and low… always giving it time to rest and I could also check for the window pane effect which I feel and the recipe does a good job in saying it’s important to see in this dough. Good luck
This made a really delicious bread. I added espresso powder because I didn’t have any coffee made. But the dough was SO sticky that it stuck to my fingers and the table, so I added at least ½ C whole wheat flour and it was still very sticky. Next time should I add the flour or reduce the water? (I followed the instructions and ingredients.)
This bread is a stickier dough!
How sticky? How to pass window pane test if its so sticky? Im having the same issues..
The molasses makes it more sticky. You can add a little bit of flour if needed.
Thank you Lisa! I started making it and when the dough didnt change and it was just sticky I freaked out and came to read comments and further instructions. (I had to add more flour to another bread recipe I made that day, maybe my starter was more hydrates than I thought). But the with between 1/2 and 1 cup of flour added, the dough passes the test. I have baked it and it is delicious! The whole family loves it!!!
Unfortunately this dough was so sticky, I was never able to shape it into anything. Proofed overnight, then turned out and followed the instructions. In 4 more hours, it had just became a melted dough blob on my parchment. Plopped it into loaf pans. Didn’t need any extra water for the top for oats.
Oh no! Did you weigh all the ingredients or use measuring cups?
I have the same problem. Tried it twice. First time used measuring cups. Second time used grams. Made sure my starter was nice and light and bubbly.
Could I use fresh milled hard wheat and rye flour? Instead of all purpose. Or would it make the dough different?
I would start by substituting 1/3 to 1/2 of the flour in the recipe and go from there!
I was initially worried with how wet and droopy the dough was, despite passing the windowpane test. Definitely did not look like the pictures you’ve posted. But I’m excited to say that it came out light and fluffy, and absolutely delicious- especially with a smear of some honey/cinnamon butter! Definitely making this again!
Great!