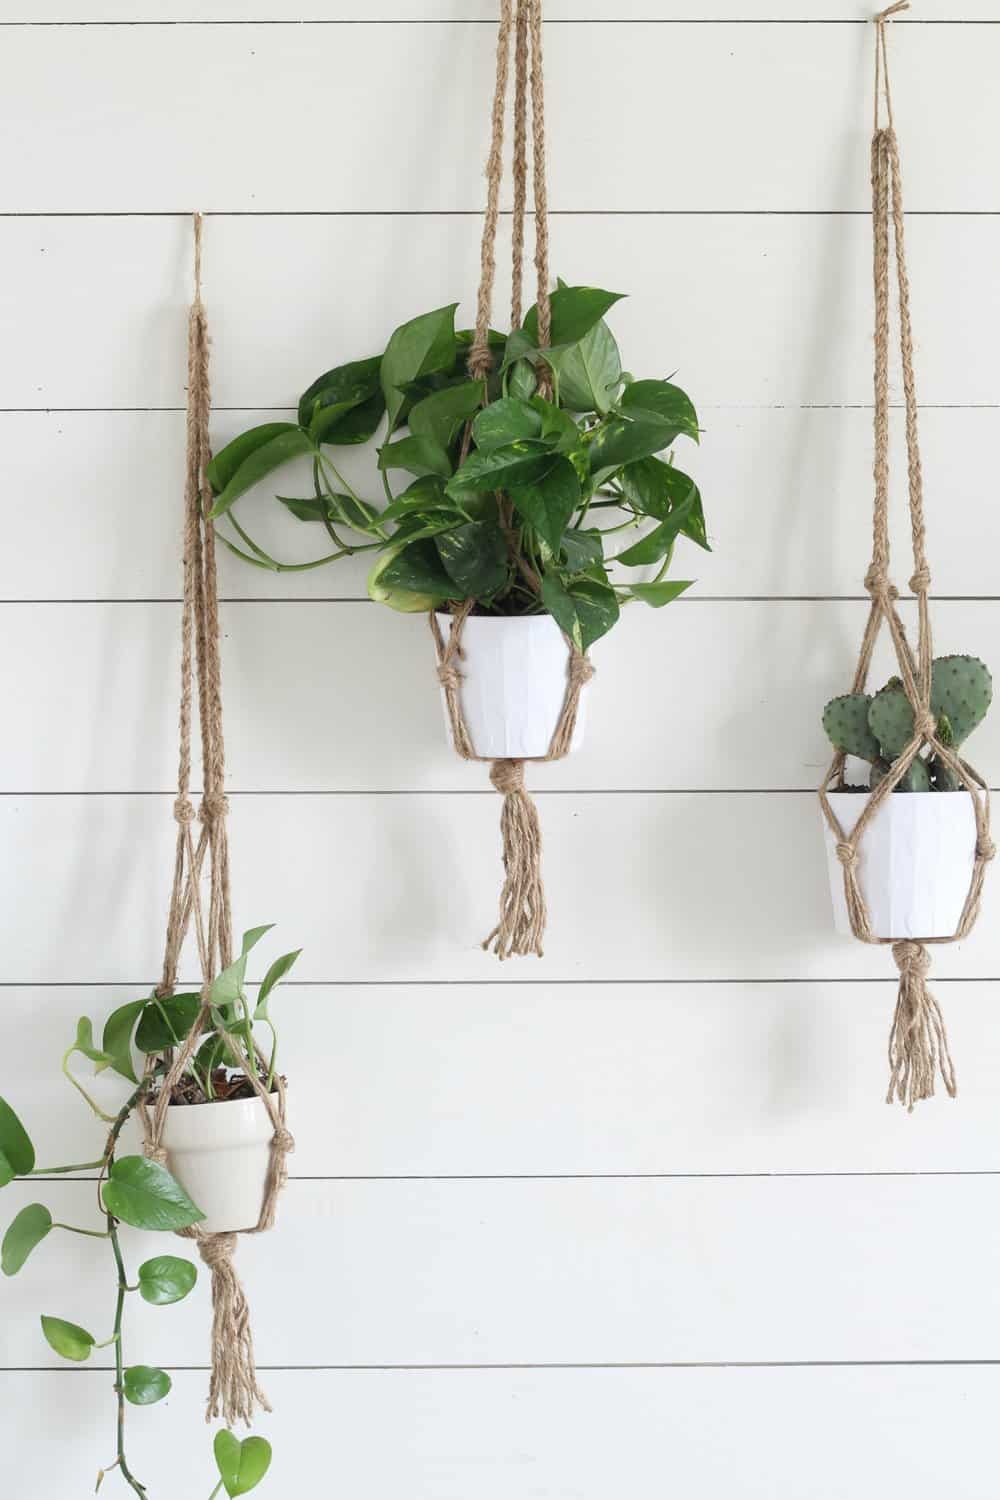
I love this project for the ease and simplicity of it. You could easily whip out three of these babies in 30 minutes once you get the hang of it.
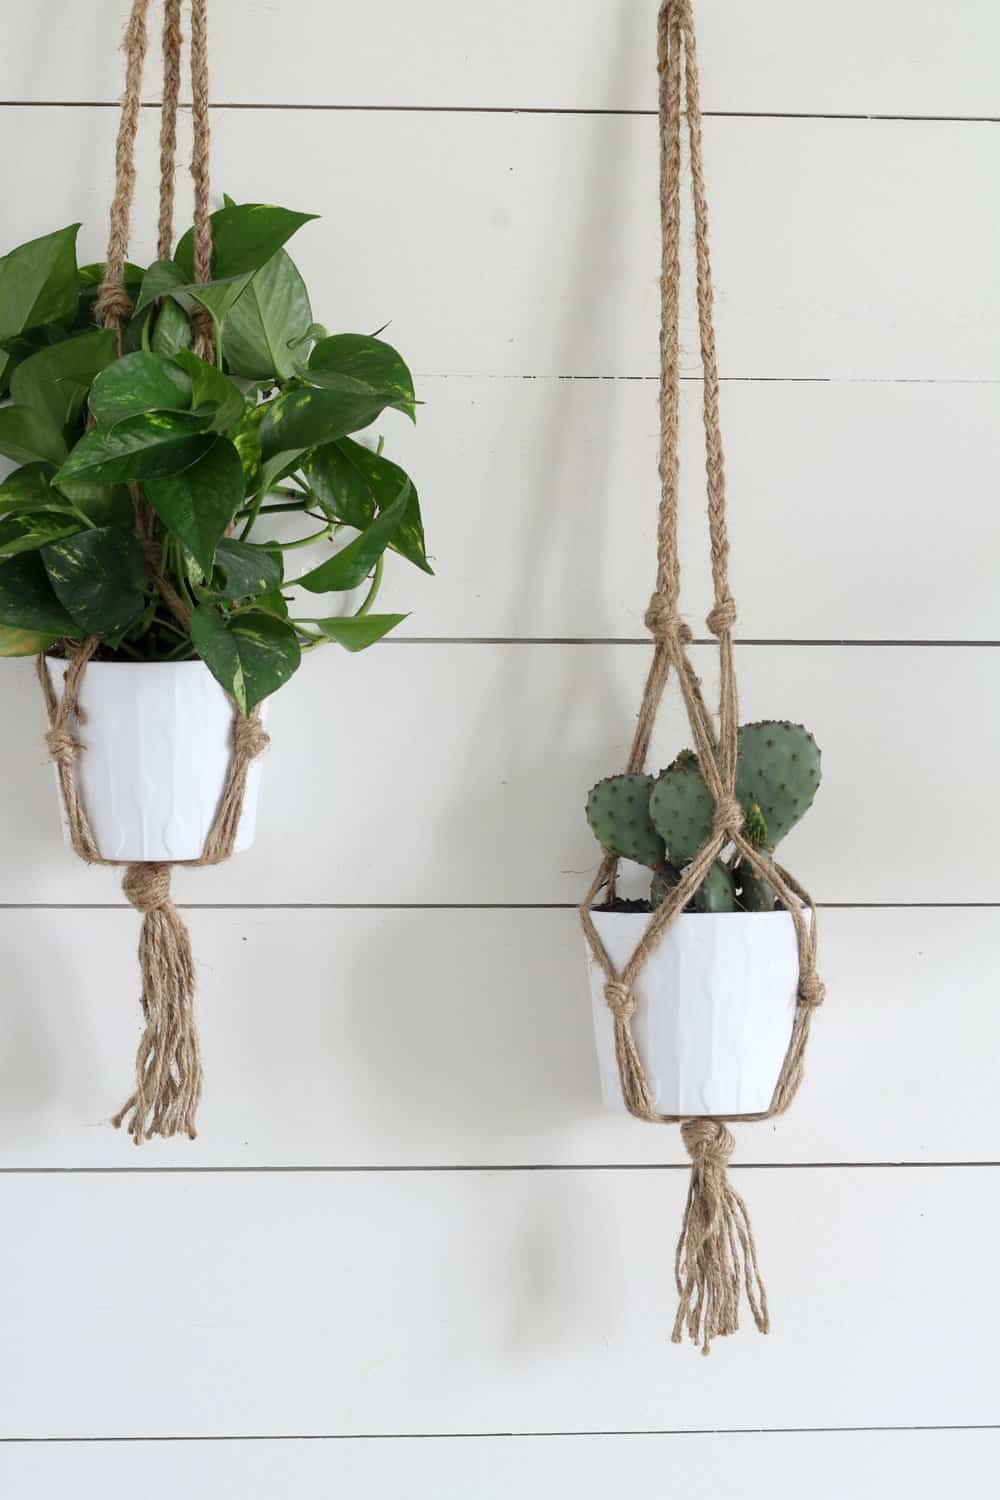
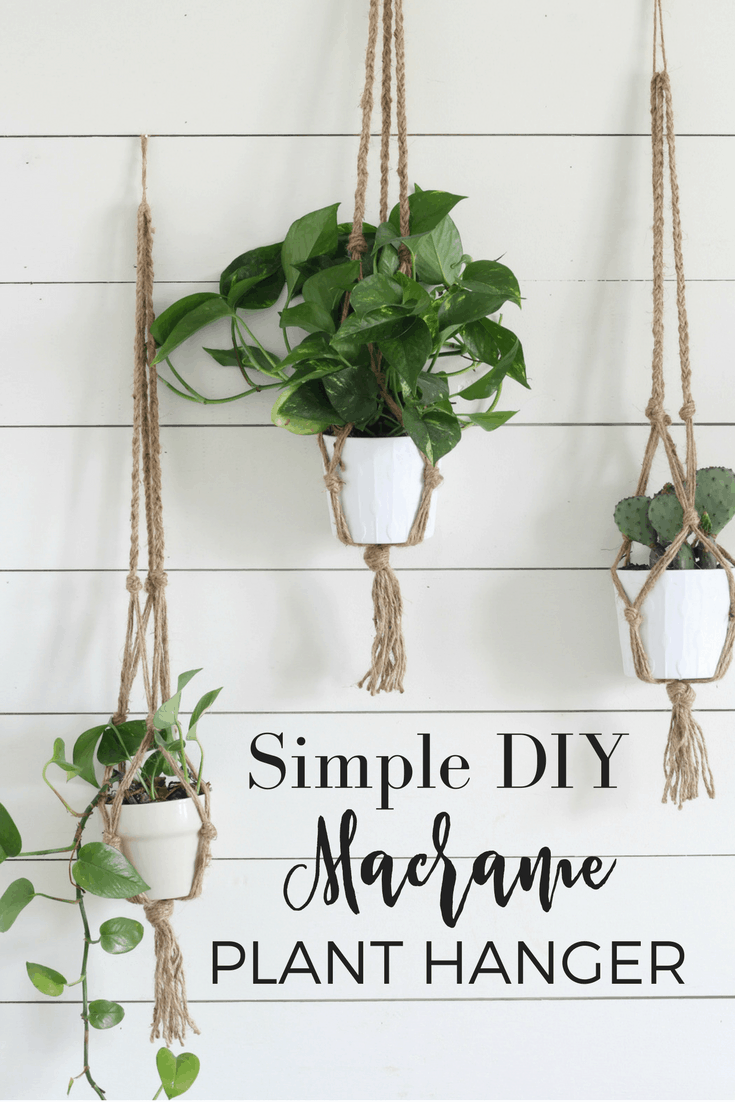
Now, before anyone gets too upset, I know this isn’t actually macrame. This is just my super simple way to make a jute plant hanger that mimics the macrame style.
I love having plants around the house. They reduce carbon dioxide levels and other air pollutants, and they just look so beautiful and fresh.
So, for this project I cut 9 jute strings 100″ long.
I also cut one piece 6″ long. I used this for the top loop that I hang the whole thing from.
I started by folding my 6″ piece in half and tying a knot.
I then took my 9 long strings and put them through my 6″ loop, making sure the ends were all even. You will trim the bottom at the end, so it’s ok if it isn’t perfect, but you do want them pretty even.
Next, I divided my 18 pieces (9 strings looped through in half) into three sections to make the braids. Each braid will have six strings, so two pieces in each of the three braid components. (I’m making this sound way more complicated than it actually is. This is why I included a video)
I then made three 14″ long braids and ended each of them with knots. It is important to make sure everything is even at this point. All three knots should line up and be the same length.
Next, I went down 6″ from the braids to start tying my next row of knots.
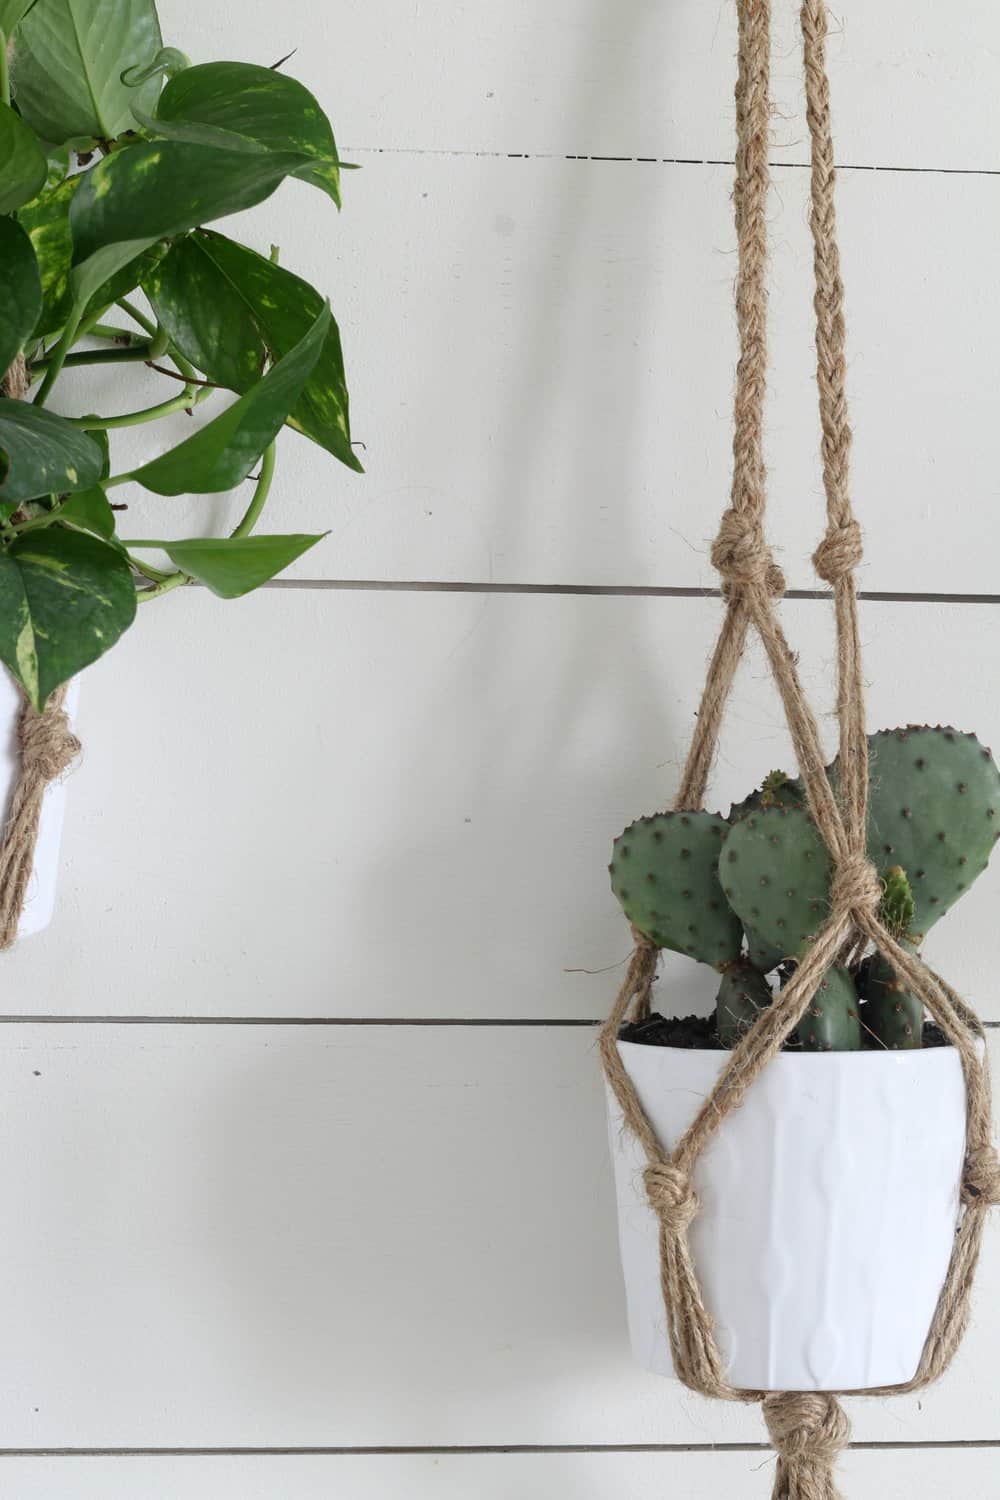
So, basically, I just divided each of the strings below the braids into two sections, with three strings in each section. I then tied three from one braid to three from the next and made a big knot. I repeated this around the circle until each braid was connected to the next.
I went down another 6″ and repeated the process.
Finally, I went down another 6″ and tied one giant with all 18 strings.
I trimmed the ends, so they were all even.
That’s it!
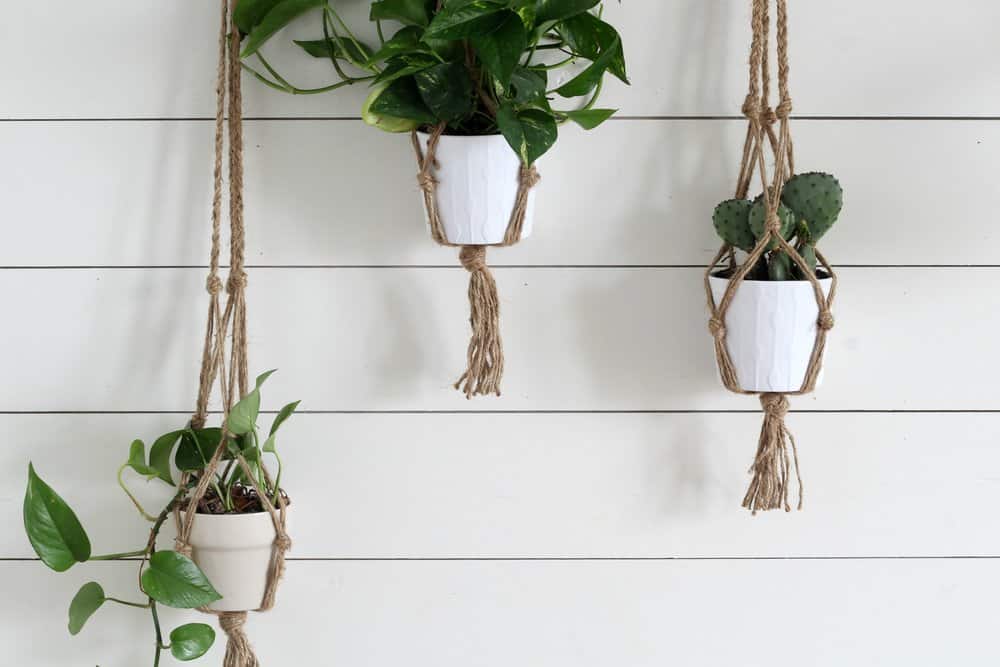
You could make so many variations of this same project!
You could make the braid and spaces smaller to accommodate smaller pots and plants, like a tiny succulent planter.
You could make the whole thing longer, and repeat the process, to make a vertical planter.
You could use thinner string or different colors. The possibilities are endless!
Save it for later on Pinterest!
Simple DIY Macrame Plant Hanger with Video Tutorial
Video
Equipment
- Scissors
Ingredients
- Jute string
Instructions
- For this project I cut 9 jute strings 100″ long each.
- I also cut one piece 6″ long. I used this for the top loop that I hang the whole thing from.
- I started by folding my 6″ piece in half and tying a knot.
- I then took my 9 long strings and put them through my 6″ loop, making sure the ends were all even. You will trim the bottom at the end, so it’s ok if it isn’t perfect, but you do want them pretty even.
- Next, I divided my 18 pieces (9 strings looped through in half) into three sections to make the braids. Each braid will have six strings, so two pieces in each of the three braid components. (I’m making this sound way more complicated than it actually is. This is why I included a video)
- I then made three 14″ long braids and ended each of them with knots. It is important to make sure everything is even at this point. All three knots should line up and be the same length.
- Next, I went down 6″ from the braids to start tying my next row of knots.
- So, basically, I just divided each of the strings below the braids into two sections, with three strings in each section. I then tied three from one braid to three from the next and made a big knot. I repeated this around the circle until each braid was connected to the next.
- I went down another 6″ and repeated the process.
- Finally, I went down another 6″ and tied one giant knot with all 18 strings.
- I trimmed the ends, so they were all even.
Notes
- You could make so many variations of this same project!
- You could make the braid and spaces smaller to accommodate smaller pots and plants, like a tiny succulent planter.
- You could make the whole thing longer, and repeat the process, to make a vertical planter.
- You could use thinner string or different colors. The possibilities are endless!
Nutrition information is automatically calculated, so should only be used as an approximation.



thank you for sharing
Thank you so much for sharing this fun project! I am so excited to try it! One question I have is how big of a pot you used and if the size really changes how big the holder needs to be? Thank you so much!
This is such a great project! So easy and makes a great decorative way to show off my favorite plants!
LOVE this! So gorgeous and can’t believe it’s DIY. I have just one question – how do you water the plant so that it’s not dripping all over the floor?
Thank you!! You just have to use less water and water more often! 🙂
Love this tutorial! Thanks so much!
I love these! I purchased some twine about a year back to attempt some myself, but I chickened out. Now I’m going to HAVE to try it! Thanks for sharing with us at The Creative Circle Link Party! I’m featuring this on my blog this week! 🙂
Awesome!! You should totally try it! 😉
These are so cool Lisa, I might try to make them! Loved the tutorial!
Thank you so much Crystal! They are super easy. you should give it a try!