In this post, we’ll look at how to make a rye sourdough starter. All you need is a combination of rye flour, filtered water, and time.
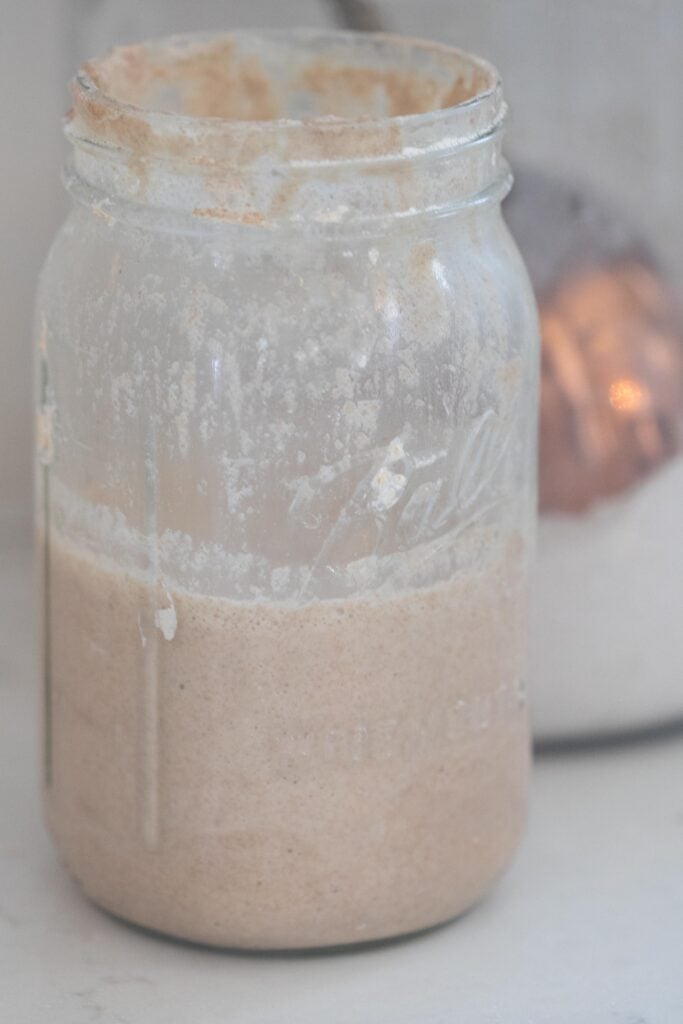
If you’re new to sourdough, you’ll be asking the question what is a starter?
Sourdough starter is a living organism. It’s a culture of wild yeast and beneficial bacteria, captured from the environment in a fermenting mixture of flour and water.
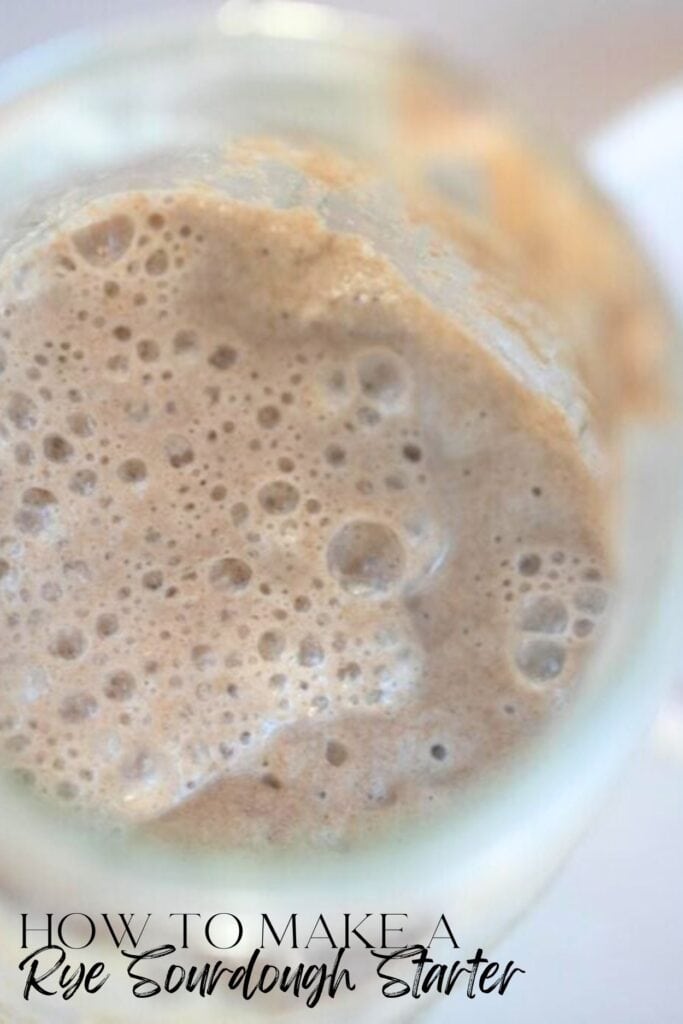
First and foremost, sourdough starter takes the place of store-bought yeast to rise breads. The process of the yeasts consuming the sugars produces carbon dioxide, little bubbles that appear scattered throughout an active sourdough starter.
This fermentation process also breaks down anti-nutrients in the grains and lowers the gluten content, making nutrients more bioavailable and grains more digestible.
This works together to create a signature chewy texture, as well as a complex flavor that is most easily described as sour, hence the name: sourdough.
Its pleasant texture and popular sour taste are arguably the primary qualities that win over and keep sourdough enthusiasts.
Sourdough starters are not difficult to come by – you can buy one online or in some local shops or even ask around and see if you have a friend willing to part with some.
But it’s also incredibly simple to make your own. It’s also wonderfully satisfying and a good learning experience.
Continue on below for step-by-step instructions.
Why A Rye Sourdough Starter?
Rye flour is a processed form of rye kernels, a grain similar to wheat. Historically, rye was very commonly used.
In later years, it was pretty widely displaced by the availability of wheat, a flour that generally proved easier to work with.
However, rye is a nutritious, incredibly flavorful grain – with sweet, dark, fruity notes often compared to molasses or malt.
It is available in darker and lighter forms. Dark rye flour is a whole-grain form that includes all parts of the grain – bran, endosperm, and germ.
On the other hand, light rye has been processed to include only the endosperm, resulting in a lighter flour – in color and consistency.
Accelerated activity:
A sourdough starter fed with whole-grain rye flour will reach peak activity more quickly because of its higher nutrient and wild yeast content. Essentially there is more yeast and more for the yeast to consume.
Wild yeast being typically present on the exterior of the grain is largely preserved in whole-grain flours because the bran is not removed. Processed flours which are primarily made up of the endosperm have some yeast content, but not as much.
Resilient:
Starters in general are resilient, but starters made with rye flour seem to bounce back even better.
This is probably because of the increased presence of good bacteria and yeasts as explained above, so the quick turnaround from inactive starter to foamy, bubbly starter makes rye starter seem invincible.
Flavorful:
Rye flour has a unique flavor, one that is both sweet, nutty, and tangy. You can use rye starter in all kinds of bread, not just rye bread.
When using rye starter in bread made with white flour or whole wheat flour, you’ll usually find those molasses-like notes of the rye have carried over, even minimally.
Lower gluten:
Having less gluten makes rye flour a good choice for low-gluten dietary needs. Long-fermented with whole grains or gluten-free flour makes for a great option for those with minor gluten sensitivities.
The lower gluten content also affects the texture and consistency of the starter, producing less of a sticky, gummy feel. Instead, it’s rather loose and easy to stir and clean up.
Tips
- Don’t actually discard your sourdough discard – use it in a discard-specific recipe! Check out my list of 35+ Sourdough Discard Recipes ranging from dinner to breakfast, snacks to desserts – it is a great way to reduce waste and add some signature sourdough tang.
- If you don’t have access to a filter and need to use tap water, just leave the water uncovered on the countertop overnight to allow any chlorine time to evaporate. You can also boil and cool tap water before using in sourdough starter.
- Aim for a pancake batter consistency. You may need to adjust your flour or water to achieve this.
- Notice that there are different types of rye: whole grain rye flour, which includes the bran, and is sometimes called dark rye flour, as well as medium to light ryes which vary according to how much bran remains.
- Don’t use an airtight container for your sourdough starter – just a loose covering to keep stuff out while allowing it to breathe.
- The fermentation process is greatly affected by the temperature of your home. Warmer temperatures lend to a quicker rise, while cooler temperatures slow fermentation down significantly. If you need to speed things up, leave your starter in a warm place, like near a heat source, on top of the fridge or cabinet, or in a pantry or small room that traps warm air.
- You can also feed your starter with mildly warm water rather than cool, as this will encourage quicker activation.
- Find more information about sourdough maintenance here: Maintaining and Feeding a Sourdough Starter
This post contains affiliate links, which means I make a small commission at no extra cost to you. See my full disclosure here.
Tools You May Need:
Glass bowl – This will hold your starter for the several days of startup. A non-porous container like glass works best.
Wooden spoon – Wood or silicone utensils are recommended. Some reactive metals may interfere with your starter, though stainless steel is known to be fine.
Measuring cup – A food scale is another option.
Tea towel – This lets the starter breathe while keeping unwanted particles out.
Glass jar – To store your starter after you’ve gotten it established.
Ingredients
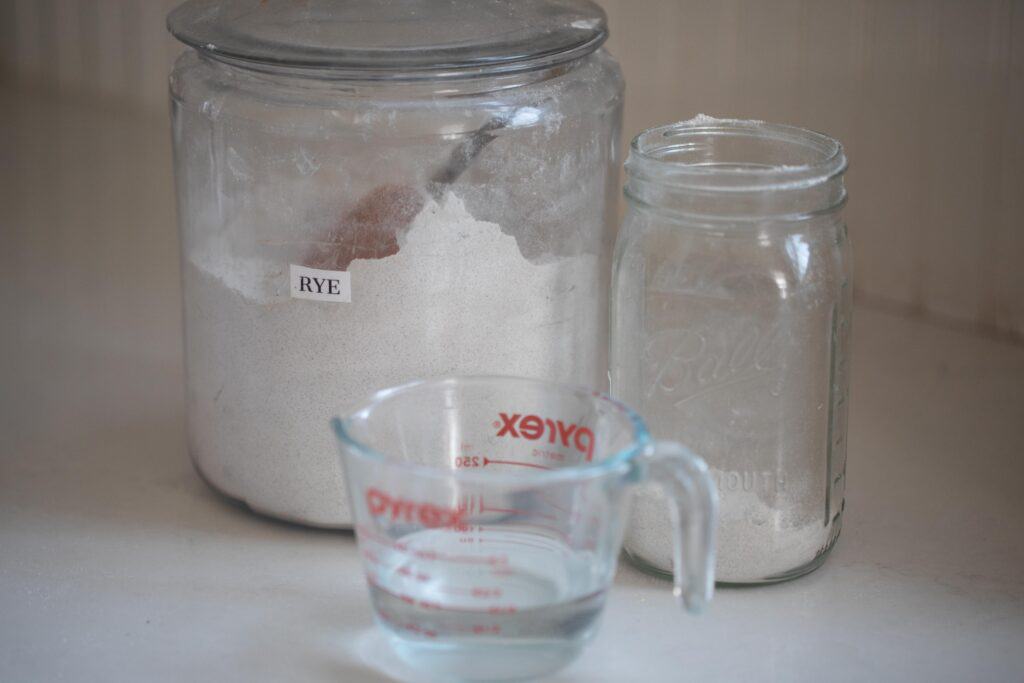
Rye flour – Store-bought or fresh-milled.
Water – I only use filtered water for my starters and baking.
How To Make A Rye Sourdough Starter
Day 1
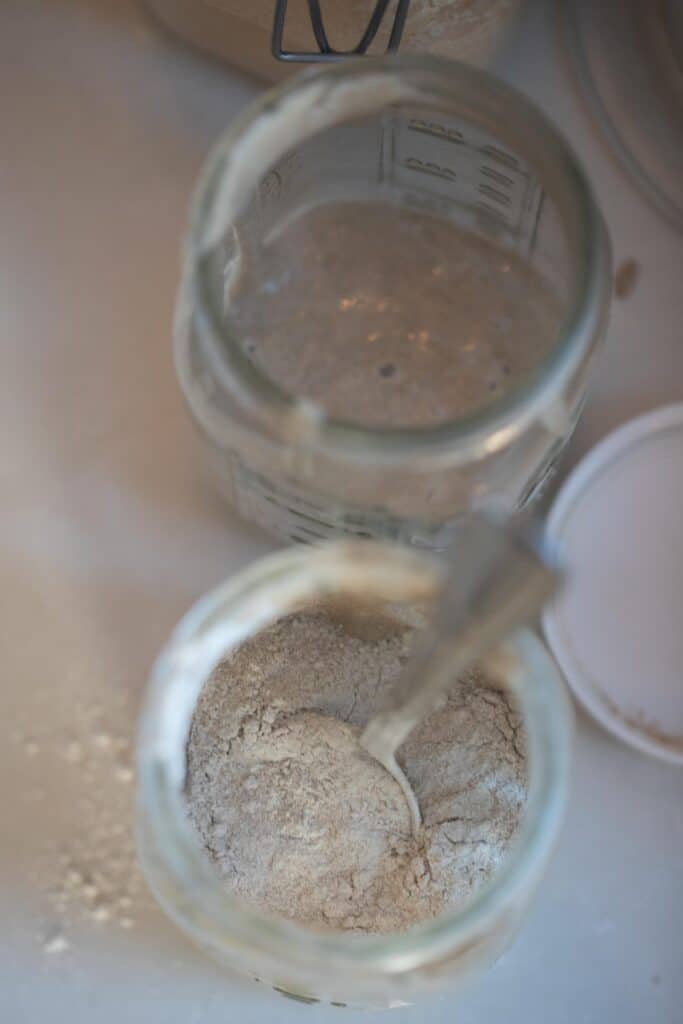
The first step is to combine one cup of rye flour with one cup of filtered water in your glass bowl. Give it a good stir, scraping the sides of the bowl to fully incorporate the flour and water.
Cover with a clean tea towel and let it sit at room temperature for 24 hours. I like to keep mine in a warm spot in the kitchen, such as next to the stove. Starters are happiest when warm and fed.
Day 2
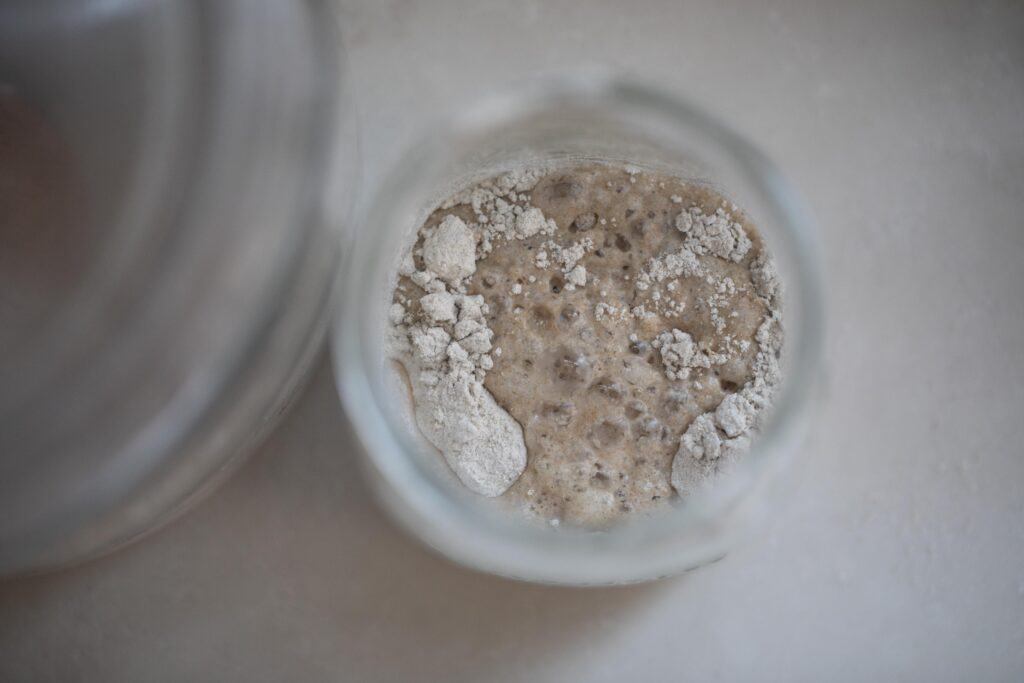
Discard half of the mixture, then repeat the feeding from the day before. Stir and cover.
Days 3-5
Repeat instructions from Day 2. Discard, feed, stir, and cover, waiting 24 hours for feedings.
Days 6-7
Repeat instructions from Days 3-5, but reduce the wait time to 12 hours between feedings.
Day 7
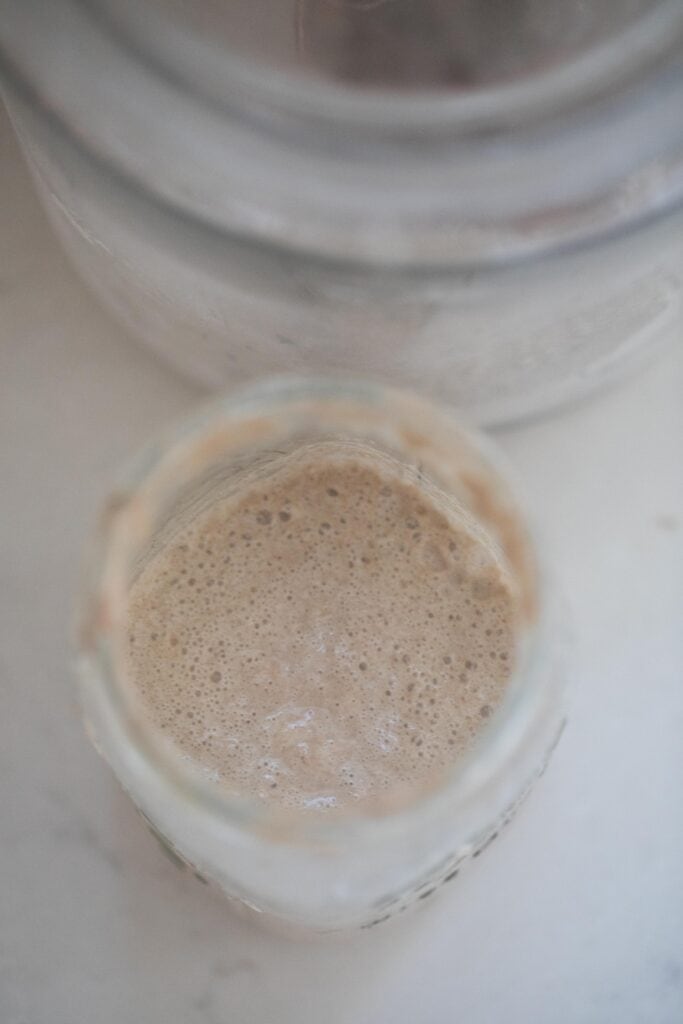
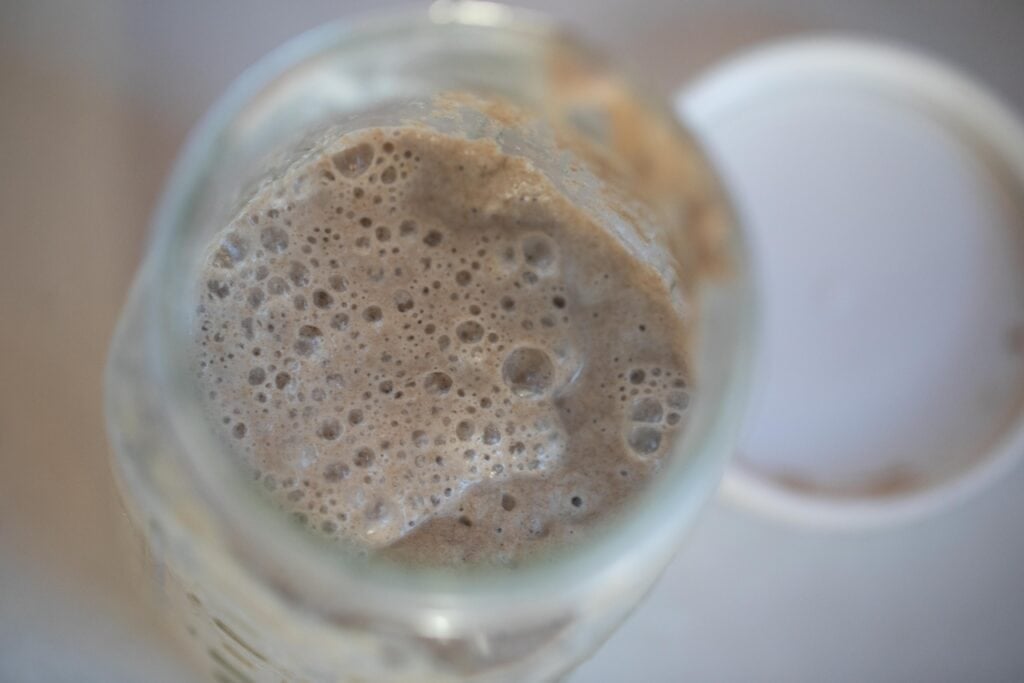
By the end of the week, you should be seeing signs of activity in your starter. Look for foaminess, bubbles or doubling in size. Really, all three should be present, with the emphasis on the bubbles throughout.
Now that you’ve made your own rye sourdough starter, you can transfer it to a glass jar or similar non-porous container with a loose-fitting lid or cover.
Bake!
Your starter should now be ready for baking. Although it may not be ready to bake bread, you can use it to make discard recipes.
If you don’t intend on daily use, you can store it in the refrigerator. In the fridge, feed your starter once a week. If at room temperature, feed every 12-24 hours.
How do I know my starter is ready to bake?
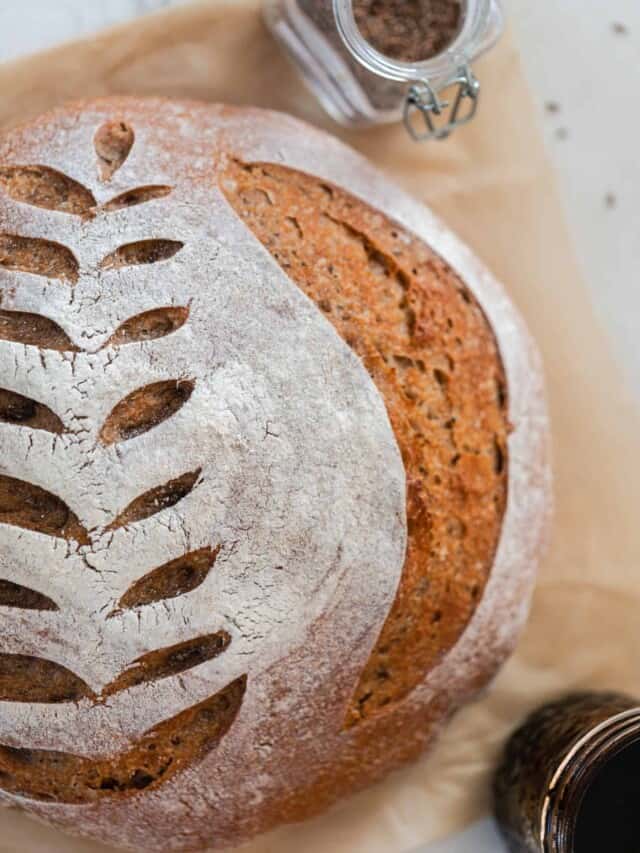
After creating your own starter, you’ll want some evidence that it is mature enough to successfully bake. Here are some cues and tips to determine readiness.
- Look for visible signs of activity, such as foam on top, bubbles on top and throughout the starter, as well as an increase in volume. These are all strong indicators that your starter is ready to go.
- Measure the increase in volume by placing a rubber band on the outside of your jar at its level just before feeding. Observe when the starter reaches its peak. If it remains flat or runny, it may be underfed or not yet strong enough for baking. If this is the case, continue discards and feedings and observe.
- A popular method of testing sourdough starter is called the float test. You take a small amount of starter and gently drop it into a glass of water. If it floats, we can assume it has the necessary amount of carbon dioxide bubbles to bring about a rise. If it floats, we will assume it does not and requires more time to ferment and strengthen. However, rye has a loose consistency compared to other flours because of its low gluten content. Therefore, a rye starter does not trap the bubbles as strongly, and will most likely fail the float test. You can easily find yourself with a false negative on a starter that may actually give a nice rise. For this reason, I don’t recommend the float test for low-gluten starters.
Storage
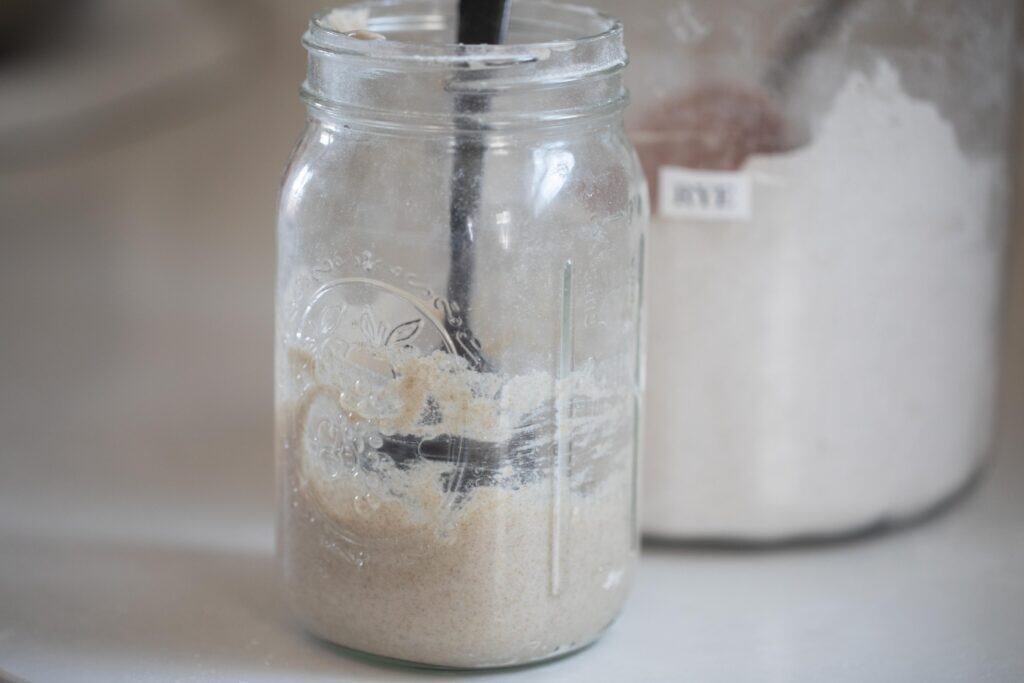
First, ask yourself how often you plan to bake with your sourdough starter. This will determine how to store your starter.
For baking every day:
If you own a bakeshop, sell loaves to friends or family, or simply go through lots of bread, you’ll want to keep your starter at room temperature.
At room temperature, your starter will need daily discarding and feeding. As mentioned above, keep your discard for other discard-specific recipes.
While you may wonder why you need to discard every day, it’s twofold.
One, without discarding, your starter will increase over and over, requiring increasing amounts of flour and water, which can end up being an extra cost.
Secondly, without discarding, your starter may run more sour, which is certainly a case of preference.
For baking once a week or less:
If you know you’ll only be baking occasionally, it’s a good idea to keep your starter in the fridge. This slows down fermentation, which keeps your starter at a manageable size.
Slower fermentation also means less feeding, which is more efficient when you’ll only be bringing your starter out once a week or so.
This is also the best option for when you’re preparing to go on vacation – unless, of course, you decide to bring your starter along. Yes, this actually happens quite frequently in the sourdough community.
The day before you’re preparing to bake, set your refrigerated starter at room temperature, discard, and feed. Keep a loose cover on top and allow it to rest.
It may need more than one feeding to perk back up, but a combination of warm water, fresh rye flour, and a warm location works wonders.
Watch for those signs of activity when you’re waking up a sleepy starter: foam, bubbles, and rise.
FAQ
Yes! Beginning with an active, bubbly starter, place half of the starter in a clean jar in the fridge as a backup. It will need to be fed roughly once a week to keep it happy.
To the remaining starter, begin daily feedings of equal amounts of new flour and filtered water, leaving this starter at room temperature. Discard and feed for several days. Within 3 to 4 days, your new starter will be converted.
Whole grain starters tend to have a more pungent aroma. However, if you notice an overpowering smell like acetone or vinegar, this is an indication that your starter needs fed.
Yes, you certainly can. A healthy rye starter will work well in any sourdough recipe, though you should keep in mind that there may be a carryover of rye flavor. This makes a great rye bread, but could be unwanted for something like a sourdough vanilla cake or banana muffins.
Rye flour in general requires more water in recipes because of its higher absorption capability. However, for this starter, we use a 1:1:1 ratio. Beginning with one part flour and one part water, we will discard after the initial 24 hours and start the schedule of one part starter, one part flour, and one part water which will continue. However, if you find your consistency is off, adjust with small amounts of flour or water to find the right consistency for you.
You should stir your starter each day, particularly after feedings. This provides a more even distribution.
Self-Paced Online Course
Simple Sourdough

What’s in this course?
- Make your own robust starter
- Bake your first loaves of sourdough bread
- Understand sourdough better
- Expand your sourdough bread repertoire
- Download my Complete Recipe Book
Check out these great recipes from Farmhouse on Boone:
- Seeded Sourdough Bread
- Sourdough Brown Bread
- The Best Sourdough Dinner Rolls
- Sourdough Pizza Dough
- Sourdough Pretzel Buns
If you try this recipe and love it, I would love if you could come back and give it 5 stars! Tag me on Instagram @farmhouseonboone.
Rye Sourdough Starter

Equipment
- Glass bowl
- Spoon
- Measuring cups
Ingredients
- rye flower, Whole grain wheat, unbleached all purpose, and einkorn are all great choices.
- Filtered Water
Instructions
- The first step is to combine one cup of rye flour with one cup of filtered water in your glass bowl. Give it a good stir, scraping the sides of the bowl to fully incorporate the flour and water. Cover with a clean tea towel and let it sit at room temperature for 24 hours. I like to keep mine in a warm spot in the kitchen, such as next to the stove. Starters are happiest when warm and fed.
- Discard half of the mixture, then repeat the feeding from the day before. Stir and cover.
- Day 3-5: Repeat instructions from Day 2. Discard, feed, stir, and cover, waiting 24 hours for feedings.
- On days six and seven, repeat instructions from Days 3-5, but reduce the wait time to 12 hours between feedings.
- Day 7: By the end of the week, you should be seeing signs of activity in your starter. Look for foaminess, bubbles or doubling in size. Really, all three should be present, with the emphasis on the bubbles throughout.
Notes
- Don’t actually discard your sourdough discard – use it in a discard-specific recipe! Check out my list of 35+ Sourdough Discard Recipes ranging from dinner to breakfast, snacks to desserts – it is a great way to reduce waste and add some signature sourdough tang.
- If you don’t have access to a filter and need to use tap water, just leave the water uncovered on the countertop overnight to allow any chlorine time to evaporate. You can also boil and cool tap water before using in sourdough starter.
- Aim for a pancake batter consistency. You may need to adjust your flour or water to achieve this.
- Don’t use an airtight container for your sourdough starter – just a loose covering to keep stuff out while allowing it to breathe.
- The fermentation process is greatly affected by the temperature of your home. Warmer temperatures lend to a quicker rise, while cooler temperatures slow fermentation down significantly. If you need to speed things up, leave your starter in a warm place, like near a heat source, on top of the fridge or cabinet, or in a pantry or small room that traps warm air.
- You can also feed your starter with mildly warm water rather than cool, as this will encourage quicker activation.
Nutrition information is automatically calculated, so should only be used as an approximation.


I’m curious… By day 7, how many cups of starter should I have?
1 because you are discarding each day.
When you store it in the fridge, do you need to put an airtight lid on the jar or just leave it open?
Thanks!
Air tight lid when in the fridge!
Is it possible that my starter could active after 4 days of feeding? I fed about 3 hours ago and it has grown as much as my 18 month old starter would i.e, more than doubled and very bubbly.
Yes, you will see activity before the seven days. Keep feeding until day 7.
I was about to give up, but tried this recipe and am thrilled with the result, finally I am getting beautiful loaves! Thank you
The recipe I found called for wheat bread been 4 days making starter. Do I take out cup of starter today. Cuz I added the 1/2 cup of water to cup of flour.
In these directions it says use wheat flour day one and regular the rest of days
Yes, you want to be discarding daily when you’re making the starter.
So now I have a solid rye starter. Even made really good rye bread with it last week. But now what? Could I incorporate rye with all your recipes? Instead of sourdough starter, would rye starter work just the same? How would the taste be affected?
If you don’t know that’s okay. I’ll give it a try and let you know how it goes!
I use a sourdough rye starter in all my soughdough recipes…even cinnamon rolls. I find I can’t even taste the rye when combined with wheat flours.
Can I add rye flour to a sour dough starter , if so…what ratios?
Yes, you can. You could do 1/2 all purpose and 1/2 rye and slowly transition it to a rye starter.
Can you start with rye flour and transition to all purpose?
Thank you for these instructions. I need a little clarification, though. So you start with 1C of flour and 1C of water. The next day you discard half, and then add 1C flour & 1C water (and stir)? On Days 3-5, again discard half, and then add 1C flour & 1C water, each day? For Days 6-7, discard half and feed 1C flour and 1C water every 12 hours each day?
Yes, that’s correct.