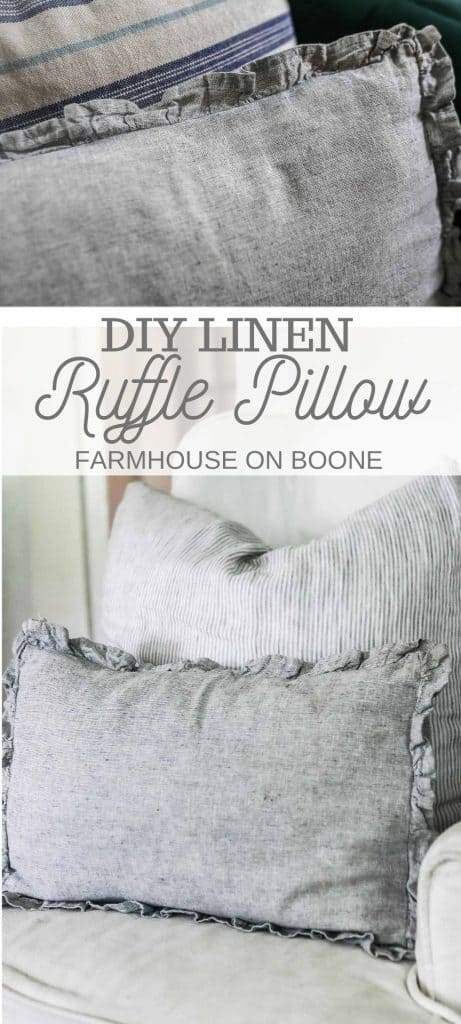
Add a beautiful and cozy touch with this DIY ruffle linen pillow. For this variation on the classic pillow cover, we are going to pretty it up with a delicate ruffle that goes all the way around the edge.
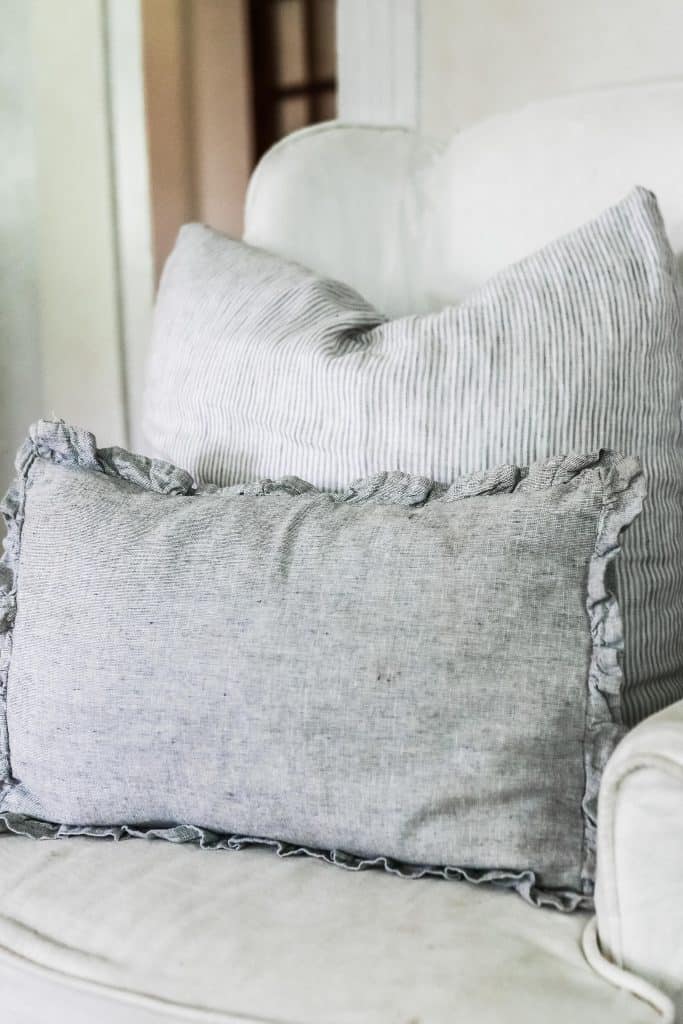
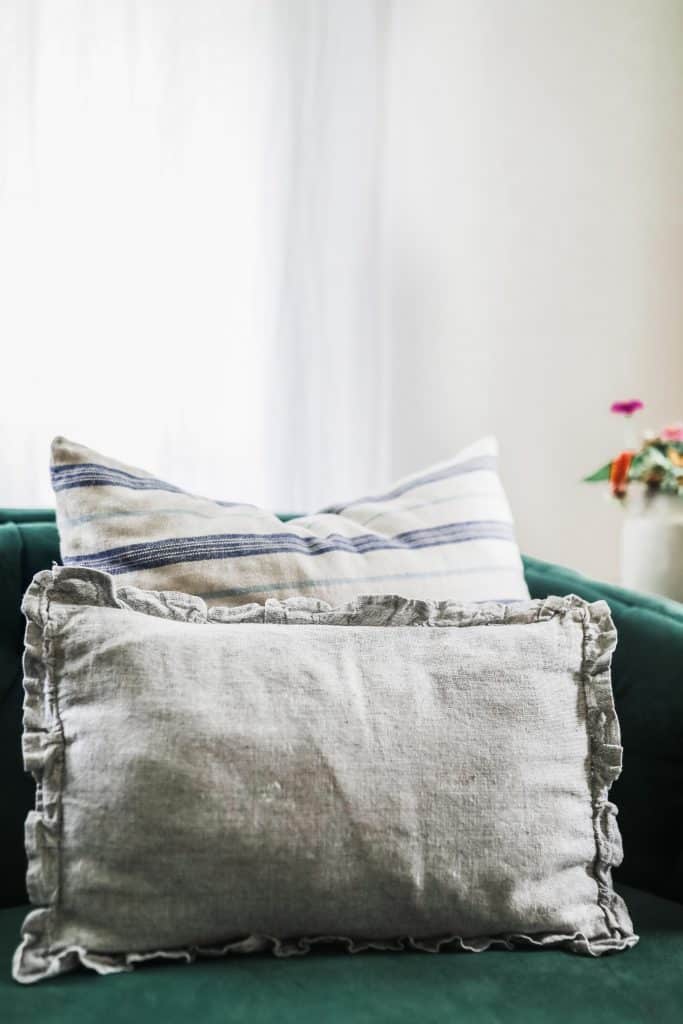
I love having several of these smaller throw pillows to place in front of larger pillows. The variation adds coziness, color, and texture.
My all-time favorite fabric, linen, makes an appearance again in this project, but you can use any light-to-medium weight fabric you have on hand.
Ruffles are one of my favorite things to add to sewing projects and add such a pretty, feminine touch to pieces. I love adding them to blankets, dresses, even bench covers and slipcovers.
The added delicate texture makes these pillows feel so cozy. It really adds that ‘homey’ feel to any space.
Today, I’m going to show you how to make this easy DIY ruffle pillow cover.
This post contains affiliate links, which means I make a small commission at no extra cost to you. See my full disclosure here.
Tips For Making A Ruffle Pillow Cover:
- If you are totally new to sewing, make sure to check out my simple sewing series where I walk you through all the basics.
- Ruffles may seem intimidating, but I promise they are pretty easy. If you want more detailed instructions and a video showing you how to do it, you can find how to sew a ruffle here.
- Want more beautiful projects? Make sure to check out my new book, Simple Farmhouse Life.
- Pair this with these simple Pillow Covers to make the perfect pillow arrangement.
Materials And Tools You Will Need:
½ yard linen, linen blend, or cotton fabric Finished Dimensions: – 18 inches wide by 12 inches tall
Measuring tape
Sewing scissors
Pins
Serger (optional, you could also use a zigzag stitch on the edge)
How to Make a Ruffle Pillow Cover
Prepare The Two Back Pieces.
- Take one of the 12″ by 13″ pieces and fold it over ½” on the 12″ side. Iron it in place.
- Fold over the 12″ side another ½” and iron in place, hiding the raw edge inside. Repeat for the other 12” by 13” piece. Stitch the hems all the way down with a ⅜” seam.
Prepare The Ruffle Piece.
- Fold the ruffle in half, and stitch the two short ends together, so that you have a large loop of fabric.
- Use a serger or zigzag stitch to finish off the raw seam.
- Create a narrow hem by pressing one raw edge over ¼” and then another ¼”.
- Stitch all the way around the ruffle piece.
- Put a gathering stitch in the unfinished side of the ruffle piece. Refer to the ruffle instructions here.
Put The Ruffle Pillow Cover Together.
- Sew the two back pieces to the front piece, with the ruffle sandwiched in between.
- Put the 19” by 13” main piece down with the right side of the fabric facing up.
- Lay the two back pieces on the main front piece, with right sides together. Overlap the two back pieces, so that all the raw edges are lined up. The two hemmed sides of the back pieces should be in the middle.
- Gently pull the gathering stitches on the ruffle piece until its length matches the size of the outside of the pillow cover.
- Sandwich the ruffle in between the front and back pieces, with the raw edge lined up with outside raw edges of the pillow cover pieces.
- Make sure the back of the ruffle hem is facing the back pieces of the pillow cover, so that when you turn the pillow cover out, the hem will be facing the back.
Pin Everything In Place And Sew.
- Stitch all the way around the pillow cover with a ½” seam.
- Go around the pillow cover with a zigzag stitch to finish off the raw edges.
- Turn the pillow cover right side out, making sure to push out the corners.
- Insert pillow, or stuff with fluff.
Find More Farmhouse Sewing Projects
- DIY Ticking Stripe Curtain Sewing Tutorial
- DIY Tank Top – How to Sew a Tank Top
- How to Sew Girl Pajamas from Vintage Sheets
- How To Make Curtains – Tie-Top Curtain Tutorial
- Simple Fall Peasant Dress for Girls
- Simple DIY – Buffalo Check Pillow Covers
DIY Ruffle Pillow Cover
If you try this tutorial and love it, make sure to come back and give it 5 stars! Please and thank you.
Ruffle Linen Pillow Cover Sewing Pattern

Equipment
- Sewing machine
- Serger (optional)
- Pins
- Sewing scissors
- Measuring tape
Ingredients
- ½ yard linen, linen blend, or cotton fabric
- Coordinating thread
Instructions
- Measure and cut the main piece 19 inches wide by 13 inches tall (cut one), back pieces 12 inches wide by 13 inches tall (cut two 2), and ruffle piece 2.5” by 90” long.Take one of the 12″ by 13″ pieces and fold it over ½” on the 12″ side. Iron it in place.
- Fold over the 12″ side another ½” and iron in place, hiding the raw edge inside. Repeat for the other 12” by 13” piece. Stitch the hems all the way down with a ⅜” seam.
- Fold the ruffle in half, and stitch the two short ends together, so that you have a large loop of fabric. Use a serger or zigzag stitch to finish off the raw seam.
- Create a narrow hem by pressing one raw edge over ¼” and then another ¼”. Stitch all the way around the ruffle piece. Put a gathering stitch in the unfinished side of the ruffle piece. Refer to the ruffle instructions here.
- Sew the two back pieces to the front piece, with the ruffle sandwiched in between. Put the 19” by 13” main piece down with the right side of the fabric facing up.
- Lay the two back pieces on the main front piece, with right sides together. Overlap the two back pieces, so that all the raw edges are lined up. The two hemmed sides of the back pieces should be in the middle.
- Gently pull the gathering stitches on the ruffle piece until its length matches the diameter of the outside of the pillow cover. Sandwich the ruffle in between the front and back pieces, with the raw edge lined up with outside raw edges of the pillow cover pieces.
- Make sure the back of the ruffle hem is facing the back pieces of the pillow cover, so that when you turn the pillow cover out, the hem will be facing the back.
- Pin everything in place. Stitch all the way around the pillow cover with a ½” seam. Go around the pillow cover with a zigzag stitch to finish off the raw edges.
- Turn the pillow cover right side out, making sure to push out the corners. Insert pillow or stuff with fluff.
Notes
- If you are totally new to sewing, make sure to check out my simple sewing series where I walk you through all the basics.
- Ruffles may seem intimidating, but I promise they are pretty easy. If you want more detailed instructions and a video showing you how to do it, you can find how to sew a ruffle here.
- Want more beautiful projects? Make sure to check out my new book, Simple Farmhouse Life.
- Pair this with these simple Pillow Covers to make the perfect pillow arrangement.
Nutrition information is automatically calculated, so should only be used as an approximation.




Hi. I’m new to sewing and purchased a ready made length of ruffle to attach to a pillow case that I plan to sew. I’ve watched numerous how to videos but they all just skip over the way to finish the edges of the ruffle. How to sew it together. Before sewing it onto the front of the pillow case. It’s always just poof, it’s in a loop. No instructions in how to sew it together. How to make it look finished without the edges having the 2 pieces of seam flapping open. No serger. I know it’s probably really simple once it’s shown, but I wish someone would just show us newbies how to do that one step. Thanks.
That’s a great observation – if you don’t have a serger, I would suggest a french seam for a clean, finished look that will not fray! Super easy to do – sew the end of the ruffle together WRONG sides together using a narrow seam allowance 1/4″. Trim the seam allowance and than turn the fabric right sides together and sew again using a narrow seam allowance 1/4″. Press. In this way you are enclosing all of the raw edges and creating a strong, beautiful seam for your ruffle.
Where do you purchase your linen fabric?
These look adorable! I may have to give this pattern a test when it comes time to replace my pillow cases again <3 Thank you for sharing the instructions!