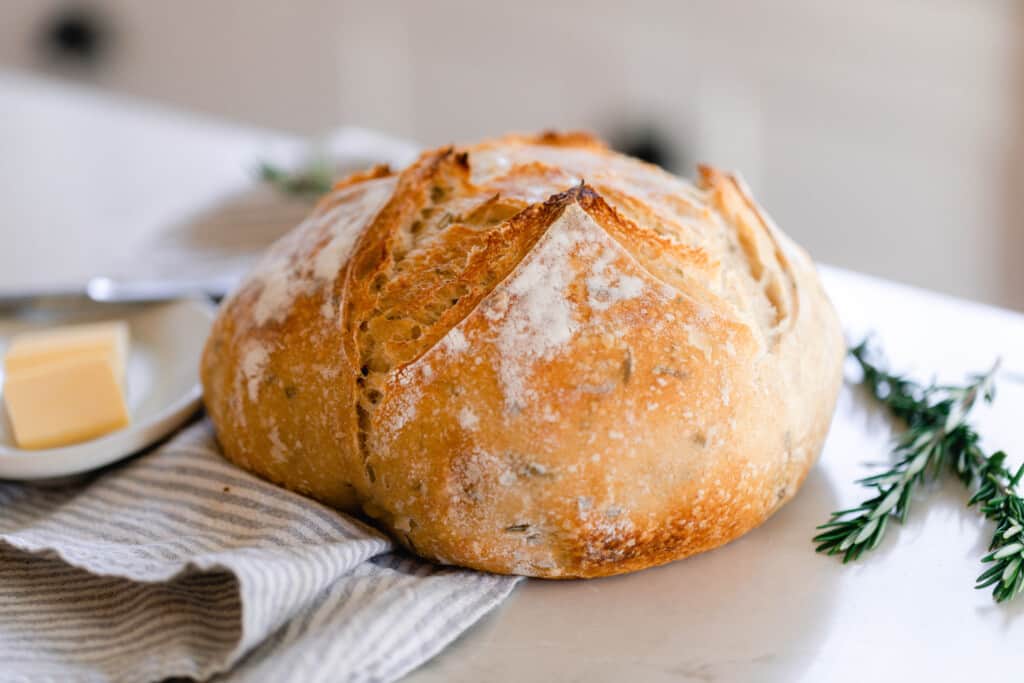
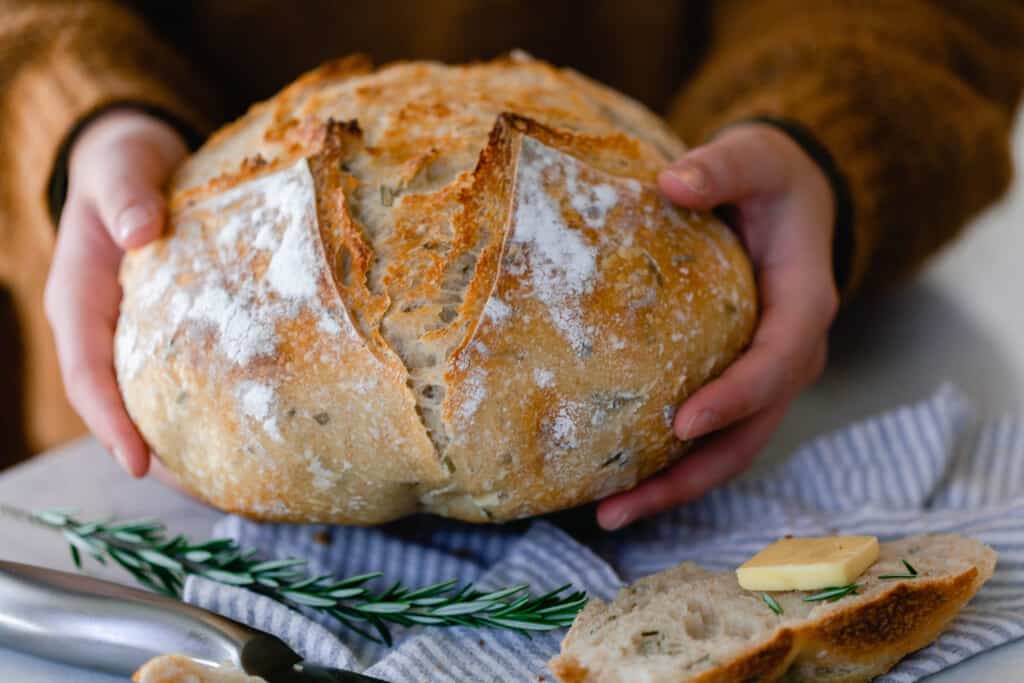
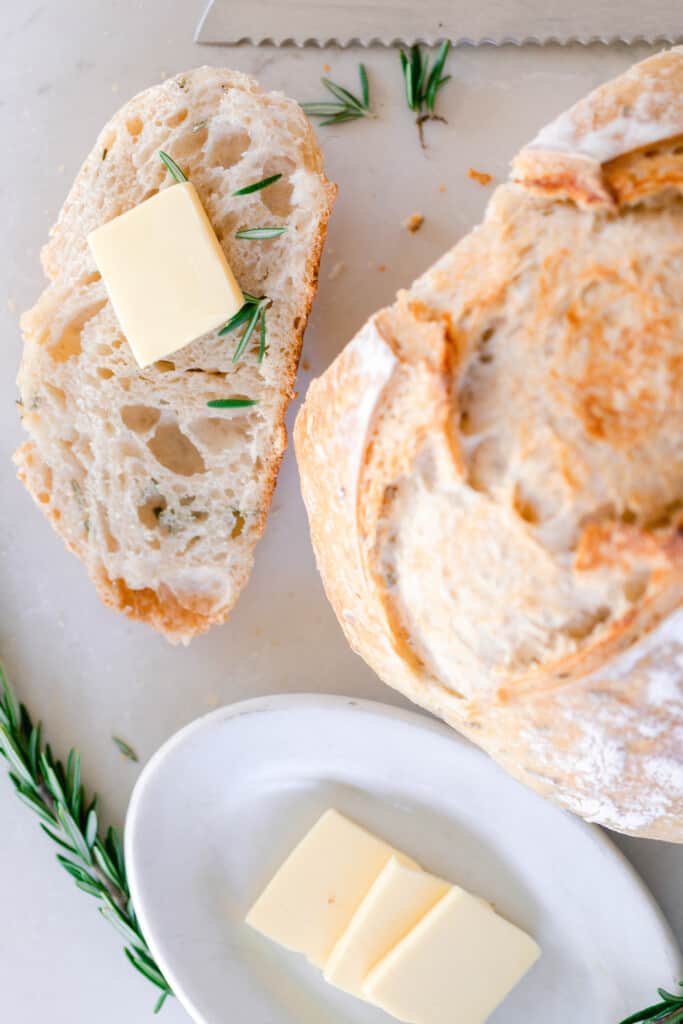
This rosemary sourdough bread recipe is crusty on the outside, chewy on the inside and packed full of rosemary flavor. Fragrant herbs are baked into this glorious round loaf.
This is one of those recipes that makes the home baker look like they have been mastering their craft for years. An absolutely beautiful sourdough loaf full of delicious flavors, that will take any drab sandwich up 10 notches or on the side of a bowl of soup.
While I love sourdough sandwich bread and these buttery rolls, some people don’t have a stand mixer and need an easy recipe without one.
This is a no-knead sourdough loaf of bread that utilizes sets of stretch and folds. So all you really need is a large bowl and some hands.
The rosemary adds the best flavor. Woodsy and warm. Always reminds me of winter and the holidays.
Why you will love this recipe:
No-Knead Recipe: No special equipment needed. Stretching and folding is used rather than kneading.
Packed full of rosemary flavor: Rosemary adds so much extra flavor. It is so yummy.
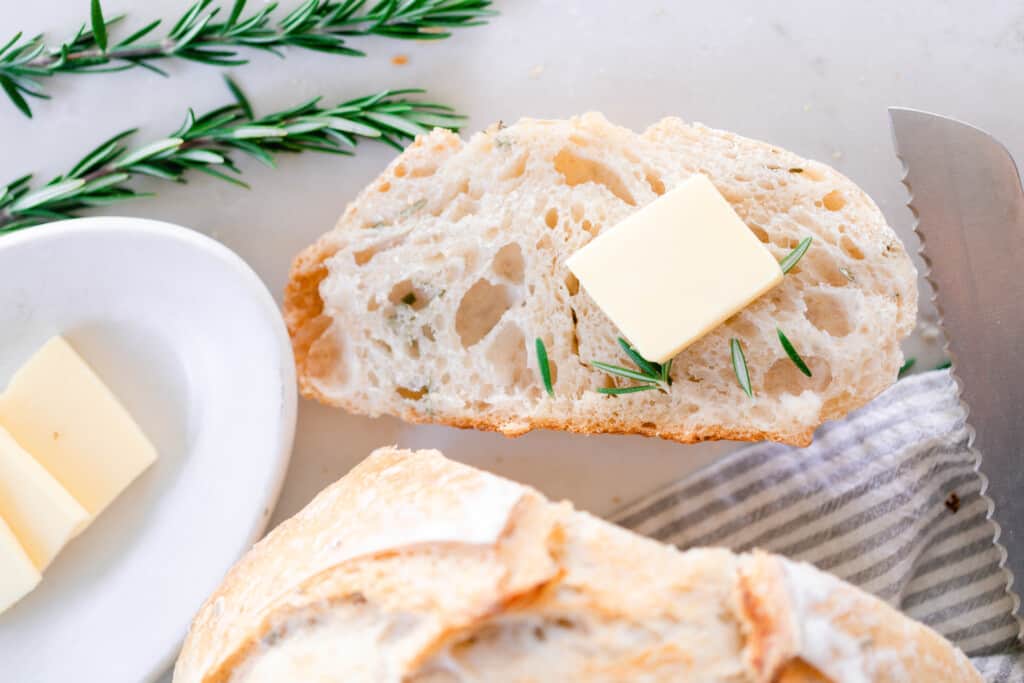
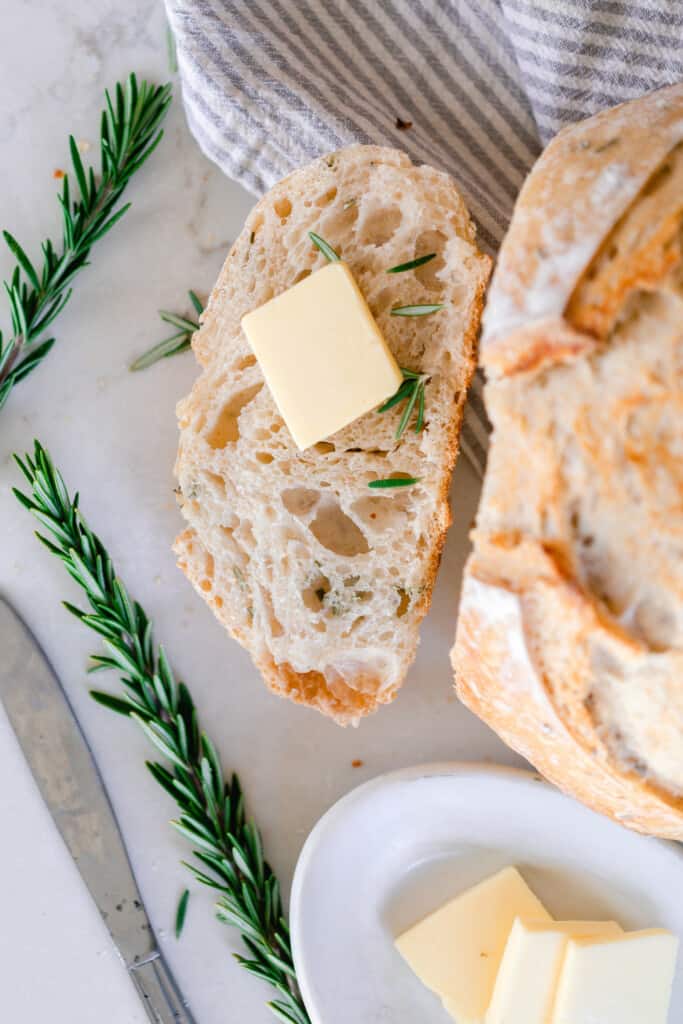
Delicious: Not only does the rosemary add flavor, but also has a subtle delicious nutty flavor from the whole grains. Crusty exterior with a chewy with lots of holes.
Tips:
- Make sure you have a nice and active sourdough starter. If you are new to your sourdough journey make sure to check out how to make a sourdough starter and how to care for one.
- To avoid a not so pleasant crust from developing, cover the dough with a damp towel, beeswax wrap, a lid or plastic wrap.
- The amount of time it takes for your dough to double can be determined by many factors, such as the temperature in your home, the maturity of your starter, and the hydration status of the loaf. The dough may double in 8 hours while some may take a lot of time longer.
- The most accurate way to get the best loaves of bread each time is to measure your ingredients with a kitchen scale.
This post contains affiliate links, which means I make a small commission at no extra cost to you. See my full disclosure here.
Ingredients:
Unbleached all purpose flour
Whole wheat flour – I usually use freshly milled hard white.
Bread flour – (can omit and substitute with unbleached all-purpose)
Active sourdough starter (active and bubbly)
Water – Preferably filtered.
Salt – I like using sea salt or pink Himalayan salt.
Fresh rosemary – All you need is a little bit to really add so much delicious flavor. Can also substitute with dried rosemary.
Tools you may need to make this recipe:
Large bowl
Kitchen scale
Banneton (optional)
Lame, razor blade, or sharp knife
FAQ:
Why is sourdough the healthiest bread?
Sourdough is one of the healthiest bread choices because of the wild yeast and bacteria present in the sourdough starter. The fermentation process breaks down the phytic acid present in the grain. Phytic acid is an anti-nutrient that inhibits the absorption of vitamins and minerals.
Fermented bread also contains less gluten making it easier to digest that standard bread.
Can sourdough bread heal your gut?
Sourdough bread is better for your gut due to the fermentation process which increases the prebiotic and probiotic properties. While it may not heal your gut, it can help improve gut health.
What is the healthiest flour to make sourdough bread?
Sourdough can be made out of a variety of flours. The healthiest flours are heirloom wheats like einkorn, kamut, etc. Freshly milled whole grains are also a very healthy option full of nutrients and fiber.
How To Make Sourdough Rosemary Bread:
Feed a sourdough starter 4-12 hours before starting the bread, ensuring it is active and bubbly. The active starter should be able to pass the float test. Take a small dollop of starter and place it in room temperature water. If it floats it is ready to make flour.
In a large mixing bowl, combine warm water, flour, sourdough starter, and salt with your hands, a wooden spoon, or dough whisk. Allow the dough to rest for 30 minutes for the water to hydrate the flour. This process is called autolyse, which allows all the flours to become hydrated.
Add chopped rosemary before performing the stretch and fold technique.
Stretch And Folds
This is a no-knead recipe. Instead of kneading the dough, stretch and folds are performed.
Stretch and folds are accomplished by grabbing the edge of the dough and pulling it up, gently shaking it as it stretches upwards. Next, push the stretched dough back into the center. Turn the bowl about a quarter turn and do this process again, turn the bowl and repeat. Complete the stretch and fold a total of 3-4 times. This is considered one round, repeat for a total of 6 rounds.
First 3 stretch and folds – every 15 minutes.
Last 3 stretch and folds – every 30 minutes.
Cover with a lid or plastic wrap and allow the dough to rise until doubled in a warm place. This is called bulk ferment.
Place dough on a clean work surface.
Split the dough in half down the middle with a bench scraper. Try to be careful not to break any of the bubbles.
Shape into a ball by gently spinning it toward you in a circular motion. This tension really helps give it that oven spring and rise.
Set out 15-20 minutes uncovered. This allows a skin to develop.
Turn over and shape.
Transfer to floured banneton or a bowl lined with a tea towel (I like to use rice flour). Another option is an oiled bowl (I usually use olive oil for this). Cover with plastic and proof for 12-15 hours in the refrigerator. This is the second rise.
Baking
The next morning, preheat the dutch oven on 500 for 1 hour.
Remove dough from the fridge immediately before scoring and baking.
Dust with flour on top to make the scoring pattern stand out more.
Score the top of the dough with a razor or lame. Place the dough on a piece of parchment paper for best results and transfer to the dutch oven. Careful it is hot. Some people use cornmeal as well. I’ve really only had luck with putting down a sheet of parchment paper.
Bake for 20 minutes at 500 with the lid on.
Turn the oven temperature down to 475, remove the lid, and bake an additional 25 minutes or until browned.
Storage:
Store fresh loaves in a paper bag or a thin tea towel. Once cut, store in an air-tight container. Bread also freezes incredibly well.
Baker’s Schedule
8:00 am: Feed sourdough starter with flour and water. Depending on how active your sourdough starter is, it could take between 4-12 hours for it to be active enough to bake a loaf of bread.
12:00 pm: If the sourdough starter is nice and bubbly, then proceed to creating the dough.
12:30ish pm: Start the stretch and fold.
Cover with a lid or plastic wrap and allow the dough to bulk ferment until doubled.
8:00pm (may be sooner or later): Split the dough in half down the middle with a dough scraper.
Shape dough.
Sit out 15-20 minutes, uncovered before the final shaping.
Turn over and shape.
8:30pm: Transfer to flour banneton or bowl with tea towel and cover with plastic. Place in the refrigerator for 12-15 hours.
The Next Day
9:00am: Preheat the dutch oven on 500 for 1 hour.
Take dough out of the fridge, dust with flour, and score.
10:00am: Bake the sourdough bread and let it cool.
Find More Of My Favorite Sourdough Recipes:
- Sourdough Potato Bread
- Sourdough Bread Pudding
- The Easiest No-Knead Sourdough Discard Bread
- Easy Sourdough Focaccia
- Sourdough Sugar Cookies
Rosemary Sourdough Bread

Ingredients
- 500 grams unbleached all purpose
- 200 grams freshly ground whole wheat
- 250 grams bread flour, can omit and just add more to the unbleached all purpose
- 200 grams mature starter, active and bubbly
- 650 grams water
- 20 grams salt
- 1 tablespoon fresh rosemary, chopped
Instructions
- Feed a sourdough starter 4-12 hours before starting the bread, ensuring it is active and bubbly.
- In a large mixing bowl, combine warm water, flour, sourdough starter, and salt with your hands, a wooden spoon, or dough whisk.
- Cover with plastic wrap or damp towel and let the dough rest for 30 minutes.
- Add chopped rosemary before performing the stretch and fold technique.
- Stretch And Folds
- Stretch and folds are accomplished by grabbing the edge of the dough and pulling it up, gently shaking it as it stretches upwards. Next, push the stretched dough back into the center. Turn the bowl about a quarter turn and do this process again, turn the bowl and repeat. Complete the stretch and fold a total of 3-4 times. This is considered one round, repeat for a total of 6 rounds.
First 3 stretch and folds – every 15 minutes.
Last 3 stretch and folds – every 30 minutes. - Cover with a lid or plastic wrap and allow the dough to rise until doubled in a warm place.
- Place dough on a clean work surface.
- Split the dough in half down the middle with a bench scraper. Try to be careful not to break any of the bubbles.
- Shape into a ball by gently spinning it toward you in a circular motion.
- Set out 15-20 minutes uncovered. This allows a skin to develop.
- Turn over and shape.
- Transfer to floured banneton or a bowl lined with a tea towel (I like to use rice flour). Another option is an oiled bowl. Cover with plastic and proof for 12-15 hours in the refrigerator.
- The next morning, preheat the dutch oven on 500 for 1 hour.
- Remove dough from the fridge immediately before scoring and baking.
- Dust with flour on top to make the scoring pattern stand out more.
- Score the top of the dough with a razor or lame. Place the dough on a piece of parchment paper for best results and transfer to the dutch oven. Careful it is hot.
- Bake for 20 minutes at 500 with the lid on.
- Turn the oven temperature down to 475, remove the lid, and bake an additional 25 minutes or until browned.
Notes
- To avoid a not so pleasant crust from developing, cover the dough with a damp towel, beeswax wrap, a lid or plastic wrap.
- The amount of time it takes for your dough to double can be determined by many factors, such as the temperature in your home, the maturity of your starter, and the hydration status of the loaf. The dough may double in 8 hours while some may take a lot of time longer.
- Store fresh loaves in a paper bag or a thin tea towel. Once cut, store in an air-tight container. Bread also freezes incredibly well.
Nutrition
Nutrition information is automatically calculated, so should only be used as an approximation.








Started step 10 and there is no way for it to hold its shape-too sticky. I have had the same problem with the cheddar jalepeno. At least tonight before going into the fridge, one loaf had bubbles. I don’t know why after it doubles it is too sticky to work.
Oh no! That sounds like your dough could have over fermented. When that happens, it loses its shape and becomes a big sticky mess. Your home may be an environment where your dough rises really well during fermentation and may not need to sit out that long.
This happened to mine (first time making this recipe). I’m baking it anyway and hope that it tastes good, even if it doesn’t look nice!
My oven is a wimp… I can’t bake over 450 without issues. Is there a good way to adjust this recipe for a lower baking temperature?
Yes, just bake it for a little bit longer.
I am making 3 loaves from this recipe for an Alzheimer’s bake sale fundraiser. Any idea how long to bake on each temp in my dutch oven? I love your recipes – started using sour dough starter about three months ago and am addicted!
Three loaves of the same Rosemary Sourdough? You can typically keep it on the same temperature and same time. Just monitor and adjust as needed. I’ve baked two loaves at the same time and haven’t had an issue with them being undercooked. Hope this helps!
This was my first sourdough ever, and while I felt scared and intimidated throughout the process, my loaf came out perfectly. I added some garlic to it as well which made it even better for our house. It makes a large batch, so I took the dough and halved it to make rosemary-garlic and jalapeno-cheddar.
Making this now! I see you cut the dough in half before shaping…so this recipe makes 2 loaves, correct? Can’t wait to have this with our pasta night this weekend.
Yes!
So will everything work out accordingly if I half the recipe for one loaf?
Yes.
That is what I was trying to figure out because no where does the recipe say this makes two loaves. I was trying to understand why to cut it as a scoring or actually cut into two pieces. The recipe wasn’t clear. But I only have one dutch oven. Can I allow the other half to stay in the frig longer?
The other half can stay in the fridge longer.
After the final shaping, how long can I leave this to proof in the fridge? Would 2 days be too long?
No, it can actually go up to 5 days!
After the final shaping, how long can I leave this in the fridge before baking? Would two days be too long?
No that would be fine!
Have you used dried rosemary? If so, how much would you use?
You could use around 1/4-1/2 tsp.
What time and temperature for baking if just using a cookie sheet?
Here’s a guide on how to cook without a dutch oven.
Have you tried this recipe in the stand mixer instead of using the stretch and fold method?
I would not replace the stretch and folds for a stand mixer. The stretch and folds help to give the dough structure and strength and ultimately effect the crumb.