Do you have an old clawfoot tub laying around that needs a little love? Read about how we transformed this outdated clawfoot, and brought it back to its antique beauty

Wanting a Clawfoot Tub
We just recently finished our farmhouse bathroom remodel, but the plans have been in my little head for a few years now.
Ever since I started dreaming about swapping out our blue tile for white, and removing our old vinyl shower insert, I knew I wanted a clawfoot tub.
I browsed the web to price new ones, but it only took a few minutes to convince me we would be going the fixer-upper, antique, route.
Most of the new ones are made of acrylic, not cast iron, and they come with a pretty heft price tag.
A Craigslist Purchase
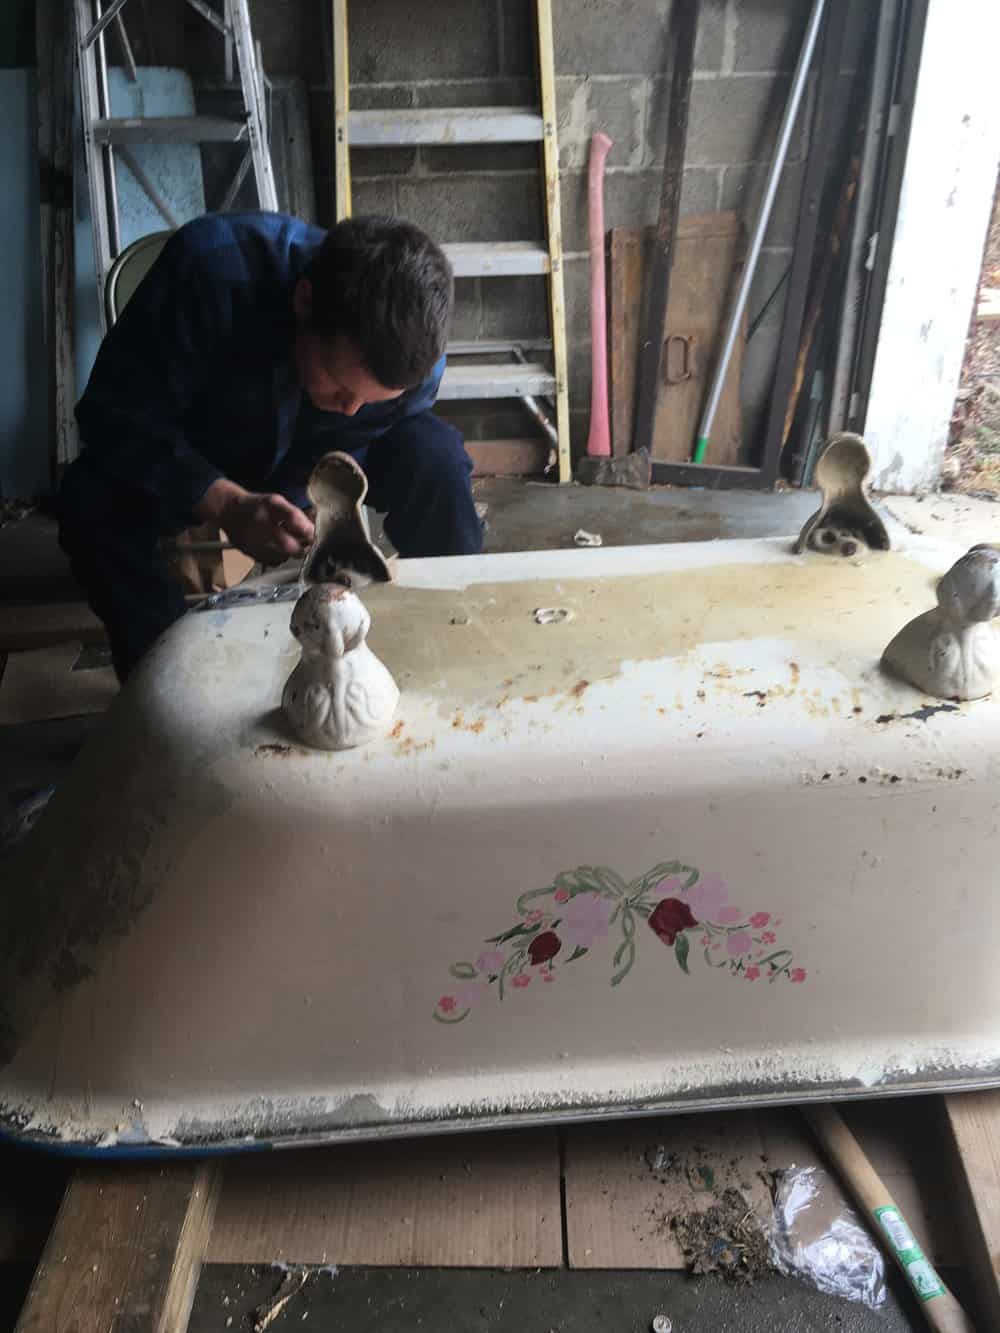
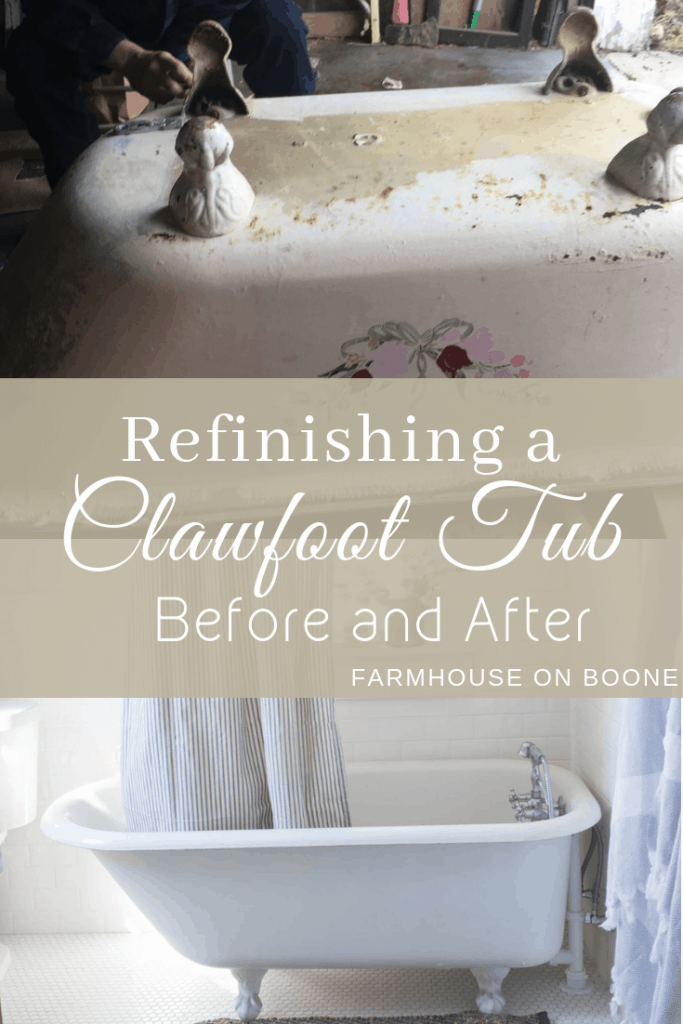
We snagged this little gem on Craigslist for $275, painted flowers included.
I’ve seen some on buy, sell, trade sites even cheaper, but this one came with the old shower ring and, more importantly, didn’t need refinishing on the inside.
The interior had quite a bit of old paint, and some old stains, but those came off with some good old fashioned elbow grease and a really strong cleaner.
The original finish on the inside was so strong that I could actually scrape the old paint off, without damaging it.
Now the exterior was another story, entirely.
Apparently clawfoot tubs used to come in the raw cast iron, and then new owners would paint them to match the bathroom wall color.
So, I guess the original owners of this tub brought it home to some beigey bathroom with rose accents. Not exactly the look I was going for.
Removing the Paint
We started the job with paint stripper.
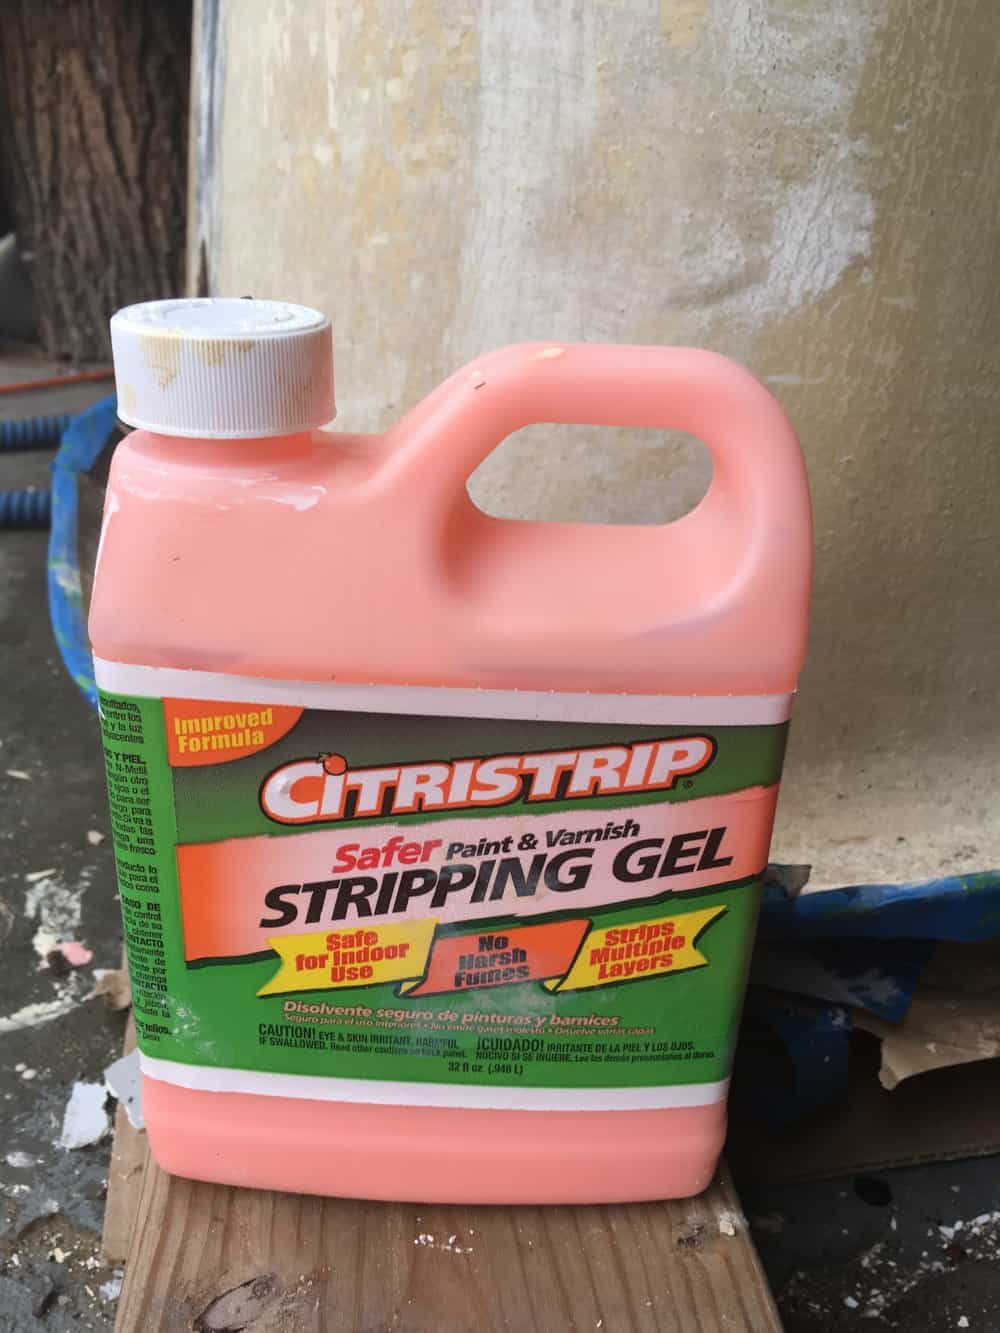
We did this whole process out in the garage. The bottle says “safe for indoor use,” but I’m skeptical of a product that removes paint.
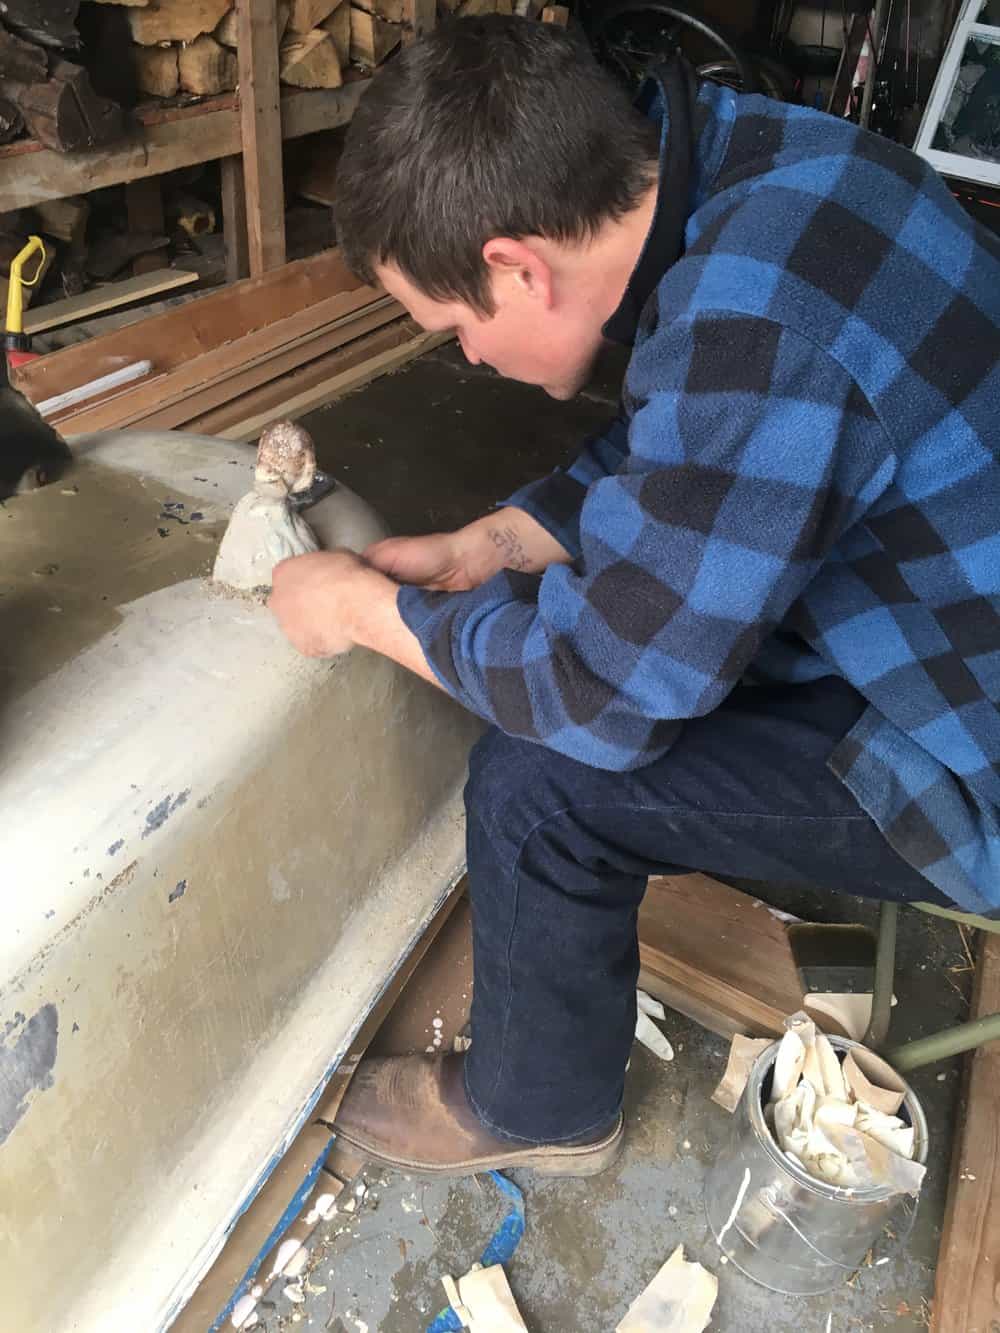
My husband applied the paint stripper, and let it sit on the surface for 15 minutes. He then scraped it off with a putty knife and razor blade.
Then he repeated that, because it didn’t remove as much the first time as we had hoped.
Sanding
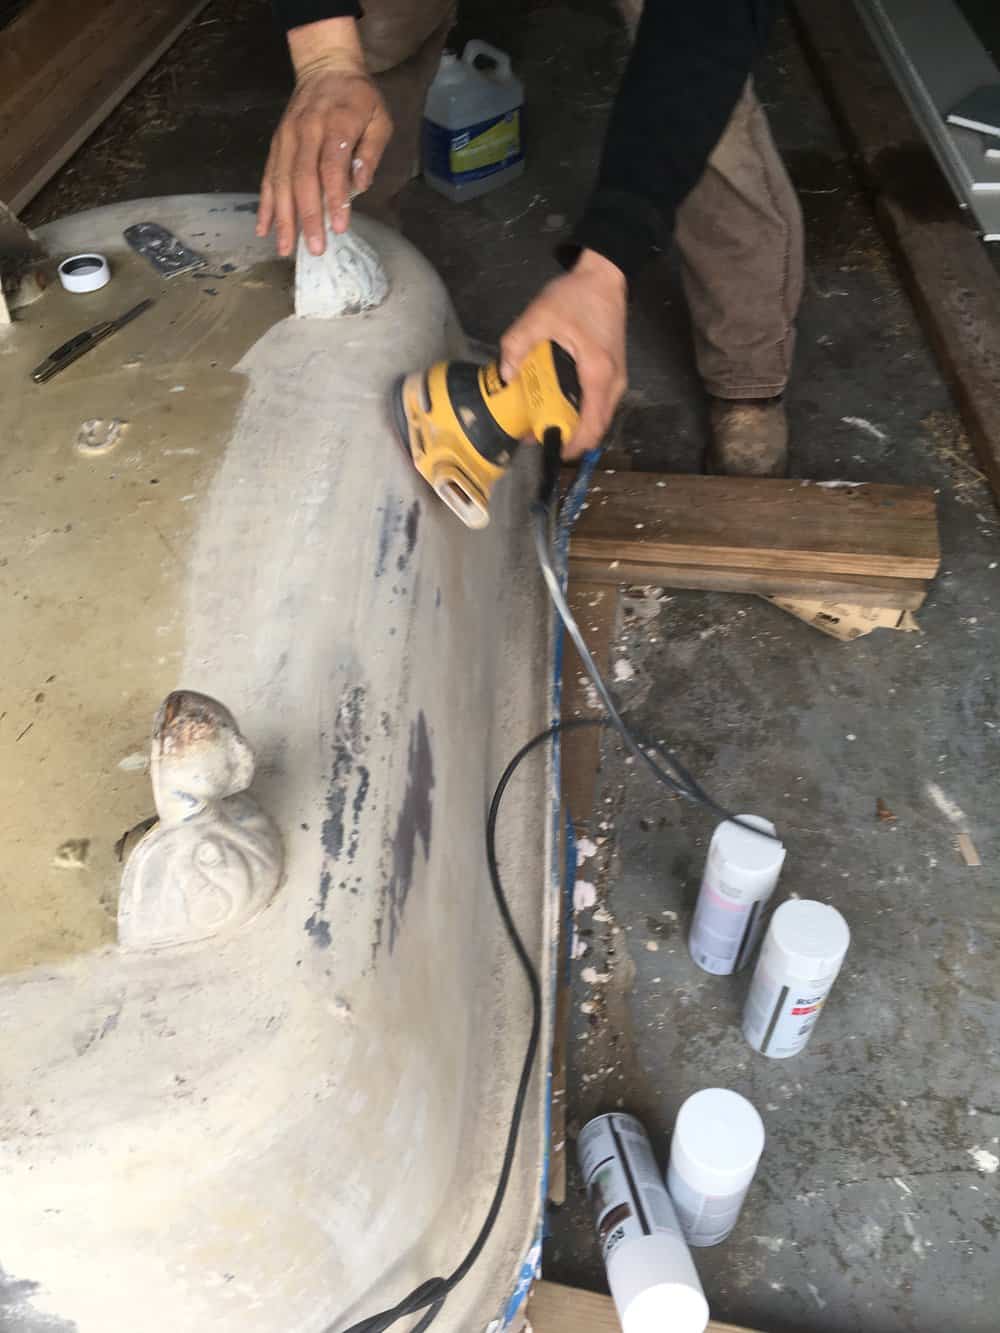
After a few rounds of the paint stripper and scraping, he went at it with a sander.
Although all the paint didn’t need to be removed, we wanted to be sure there wouldn’t be any bumpy or peeling paint.
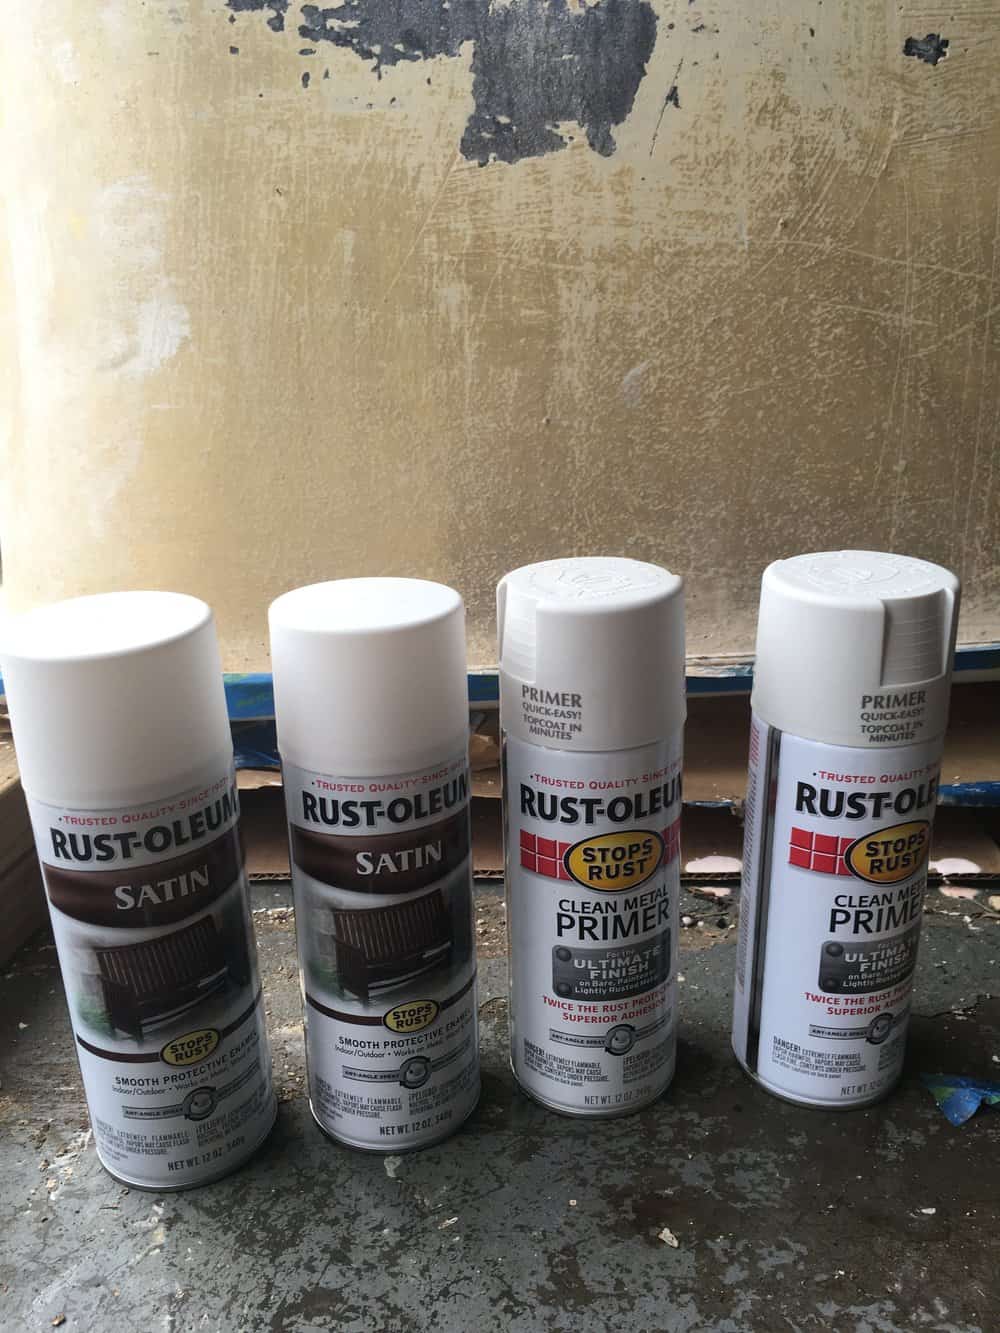
Painting the Tub
Next, came the paint!
We used painter tape around the rim of the tub, to be sure we wouldn’t get any on the interior.
We hit it with two coats of primer spray paint, and then two coats of white Rustolem spray paint, in a satin finish.
I didn’t want the outside to be super shiny, but I did want it to be wipeable.
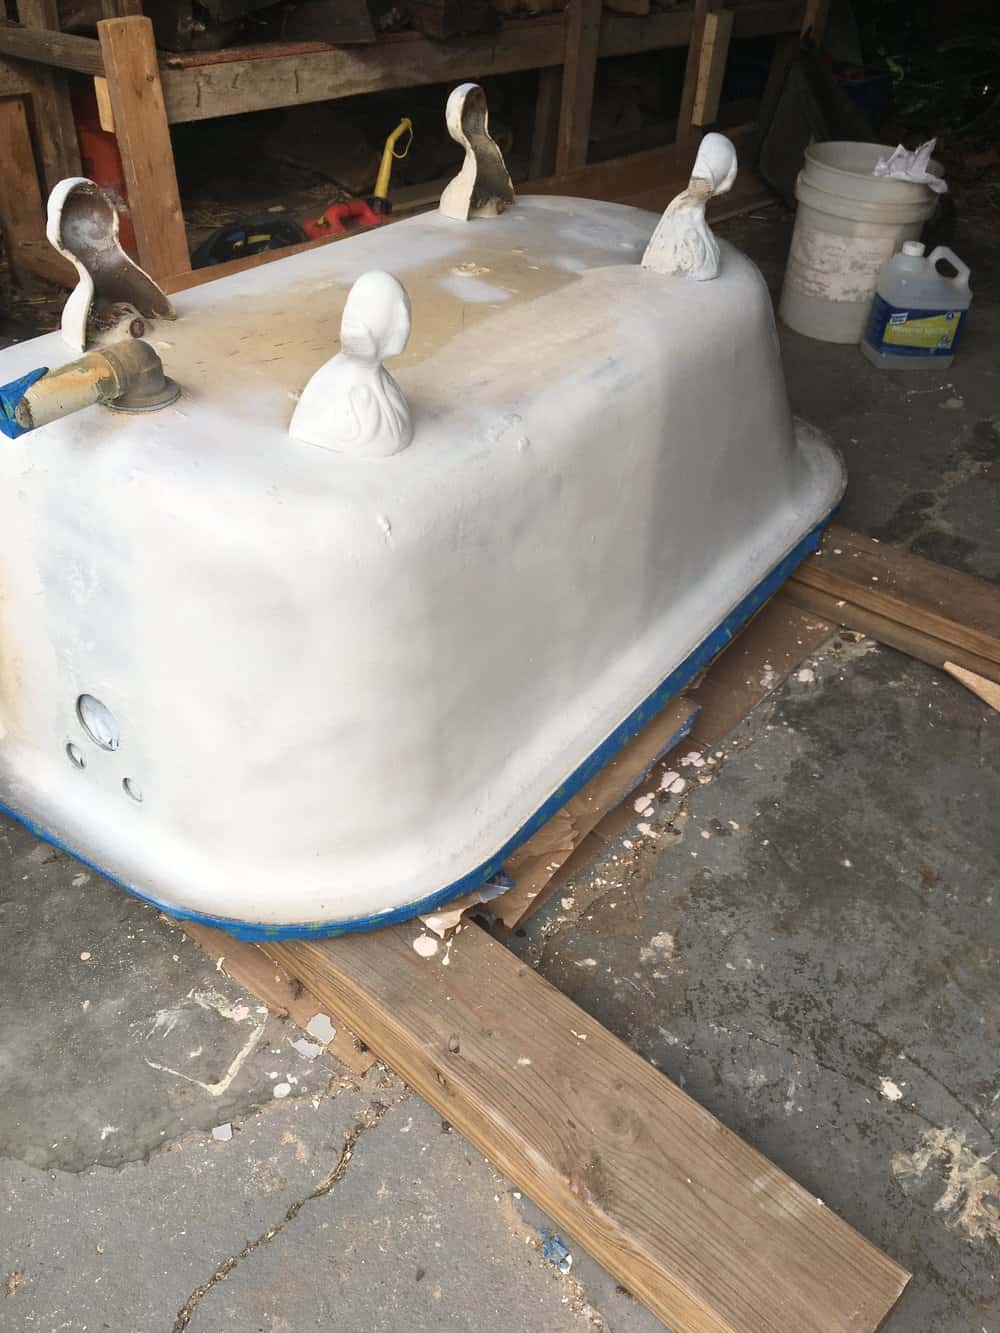
After the first couple of coats, it wasn’t looking too promising, but after the top two coats none of the original paint was visible at all.
This thing was super heavy and difficult to get in here.
Imagine the heaviness of a cast iron skillet the size of a bathtub, because that’s what we’re working with.
These things are super heavy duty!
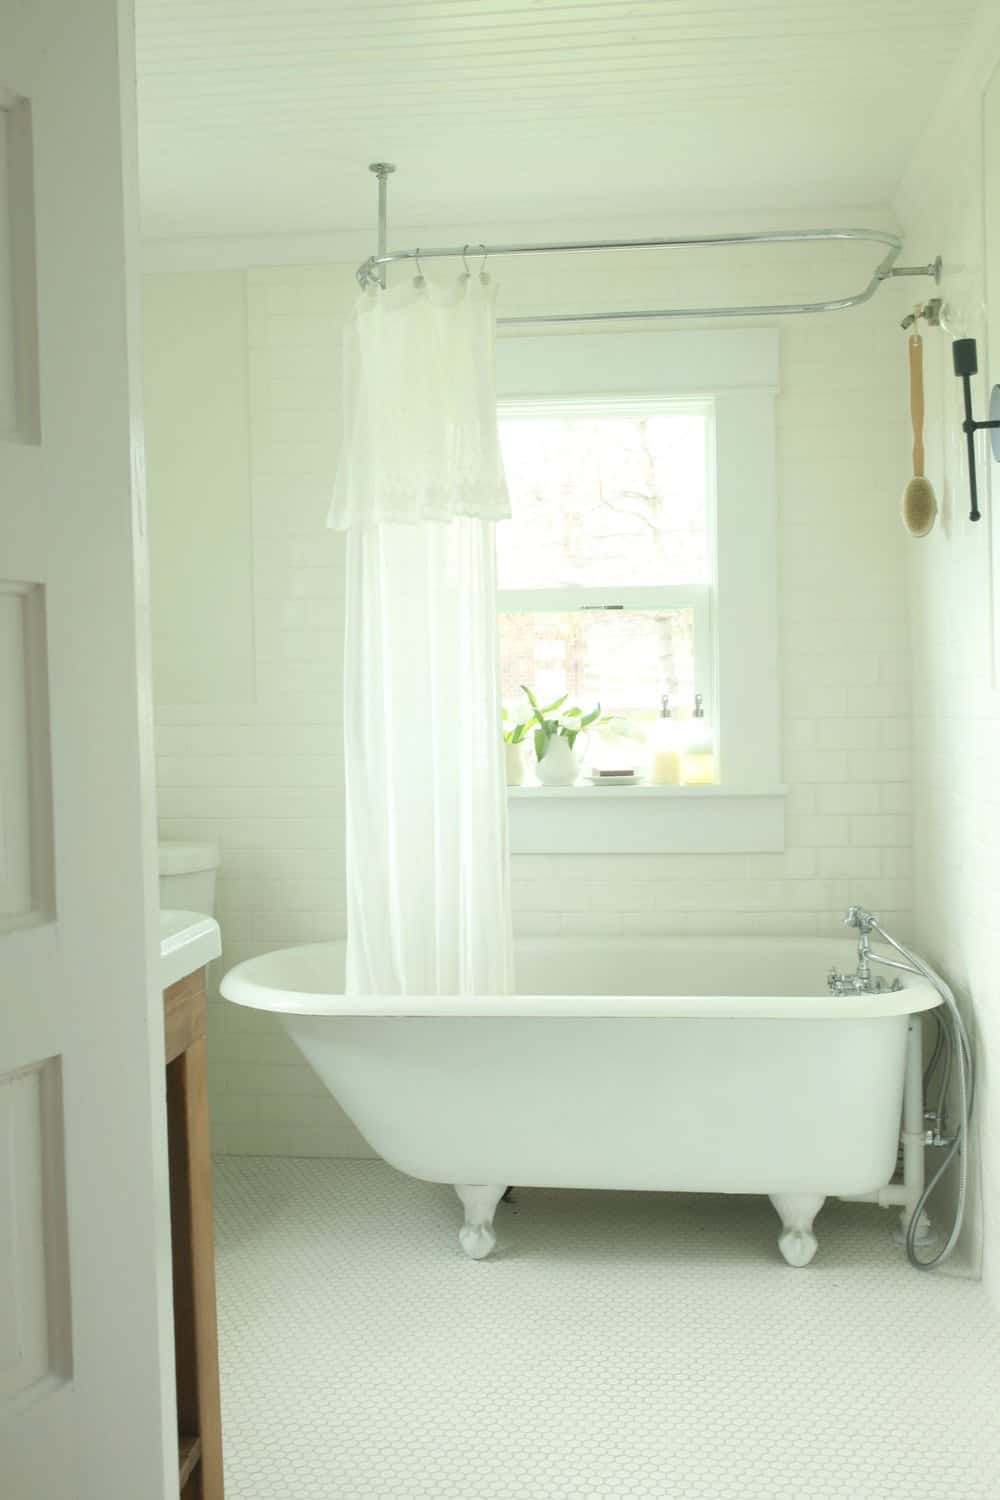
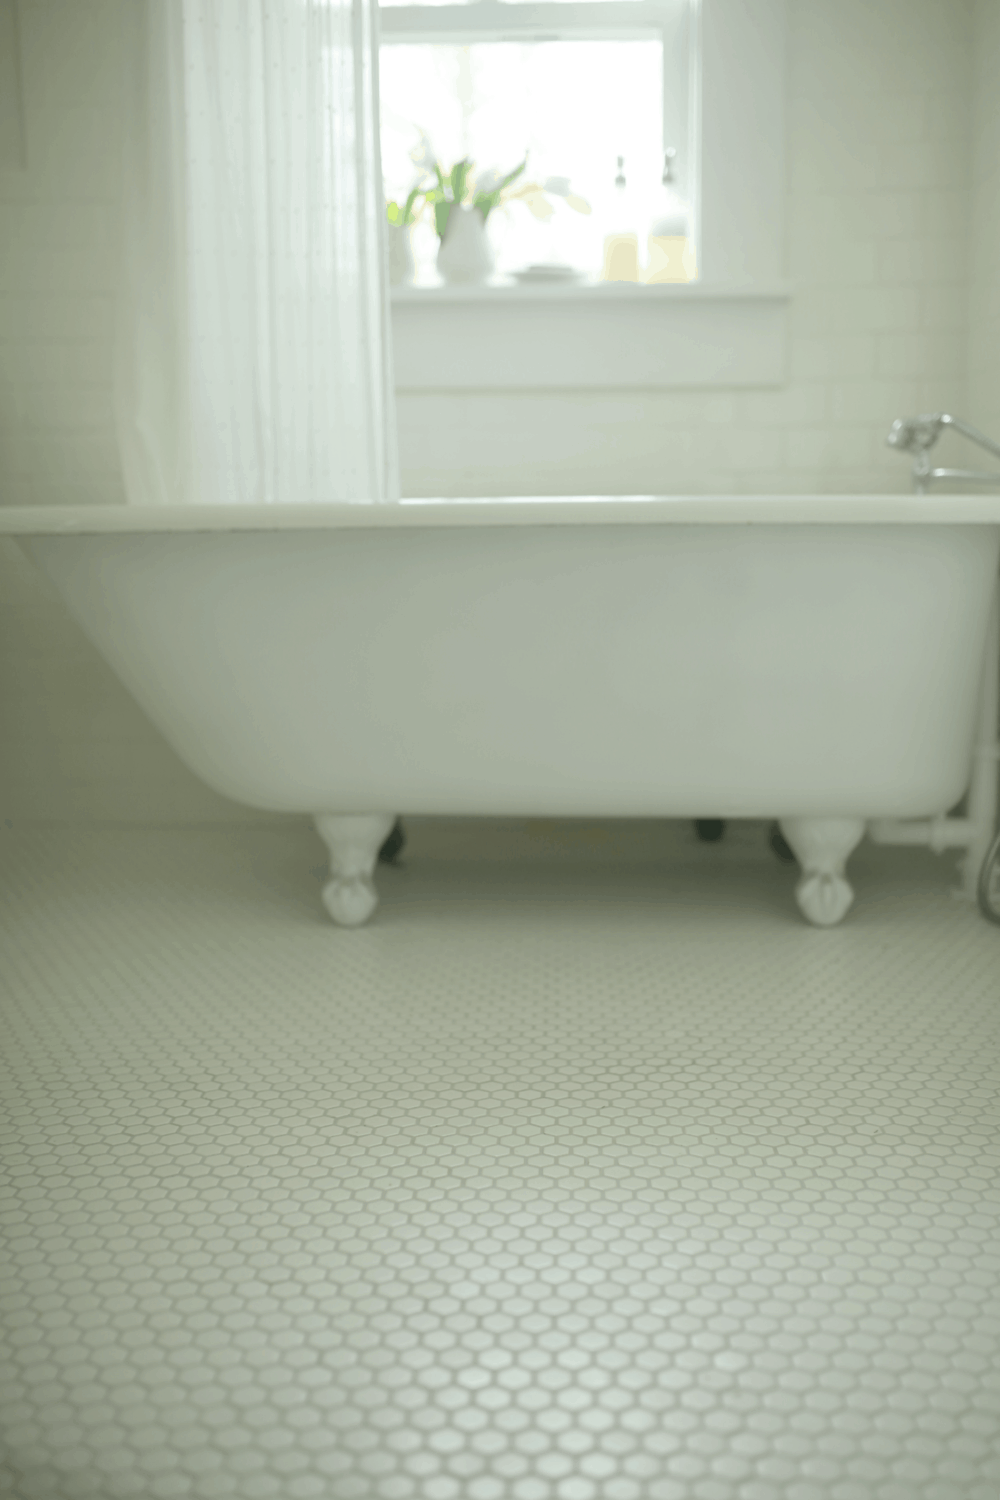
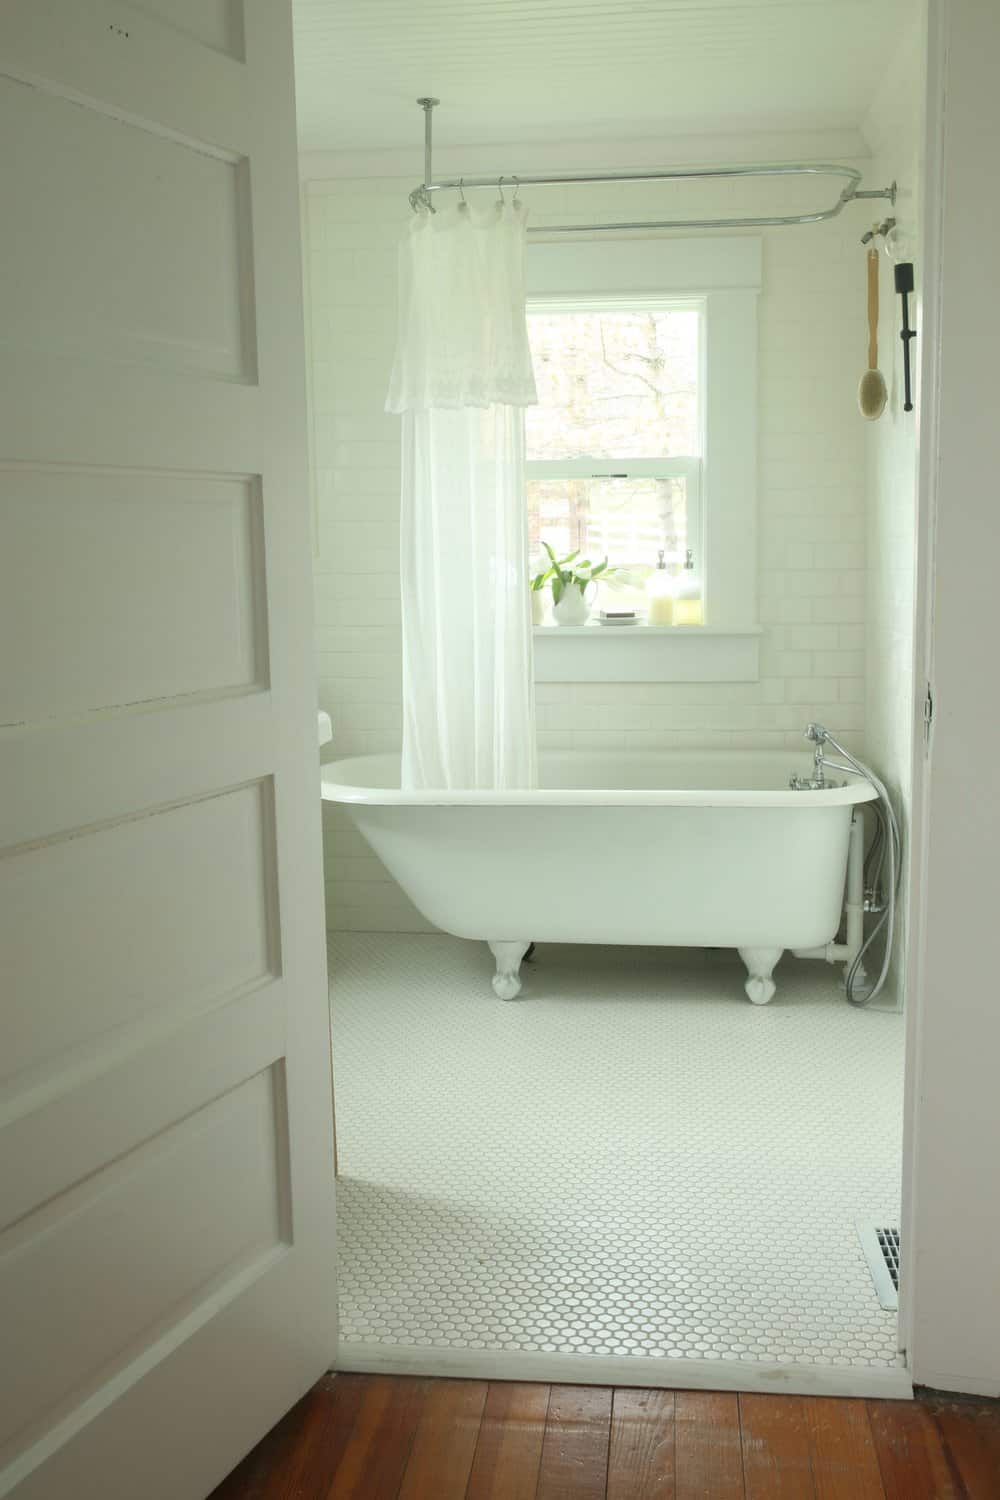
I love the way our pretty white tub turned out!
Having an antique piece like this is a focal point when you look into the room.
It adds so much history and character.
Thanks for stopping by, friends!
Pin it for later


Do you have a link for your faucet fixture? We have a clawfoot that we tried to put a shower head on, but my husband hasn’t been able to get one attached without it leaking. I think maybe just having an attachment like you have would be a good solution. It would be nice to at least be able to spray kids off. 🙂
I’m not sure I do! If I did, it would have been linked in the blog post.