Do you have an old clawfoot tub laying around that needs a little love? Read about how we transformed this outdated clawfoot, and brought it back to its antique beauty

Wanting a Clawfoot Tub
We just recently finished our farmhouse bathroom remodel, but the plans have been in my little head for a few years now.
Ever since I started dreaming about swapping out our blue tile for white, and removing our old vinyl shower insert, I knew I wanted a clawfoot tub.
I browsed the web to price new ones, but it only took a few minutes to convince me we would be going the fixer-upper, antique, route.
Most of the new ones are made of acrylic, not cast iron, and they come with a pretty heft price tag.
A Craigslist Purchase
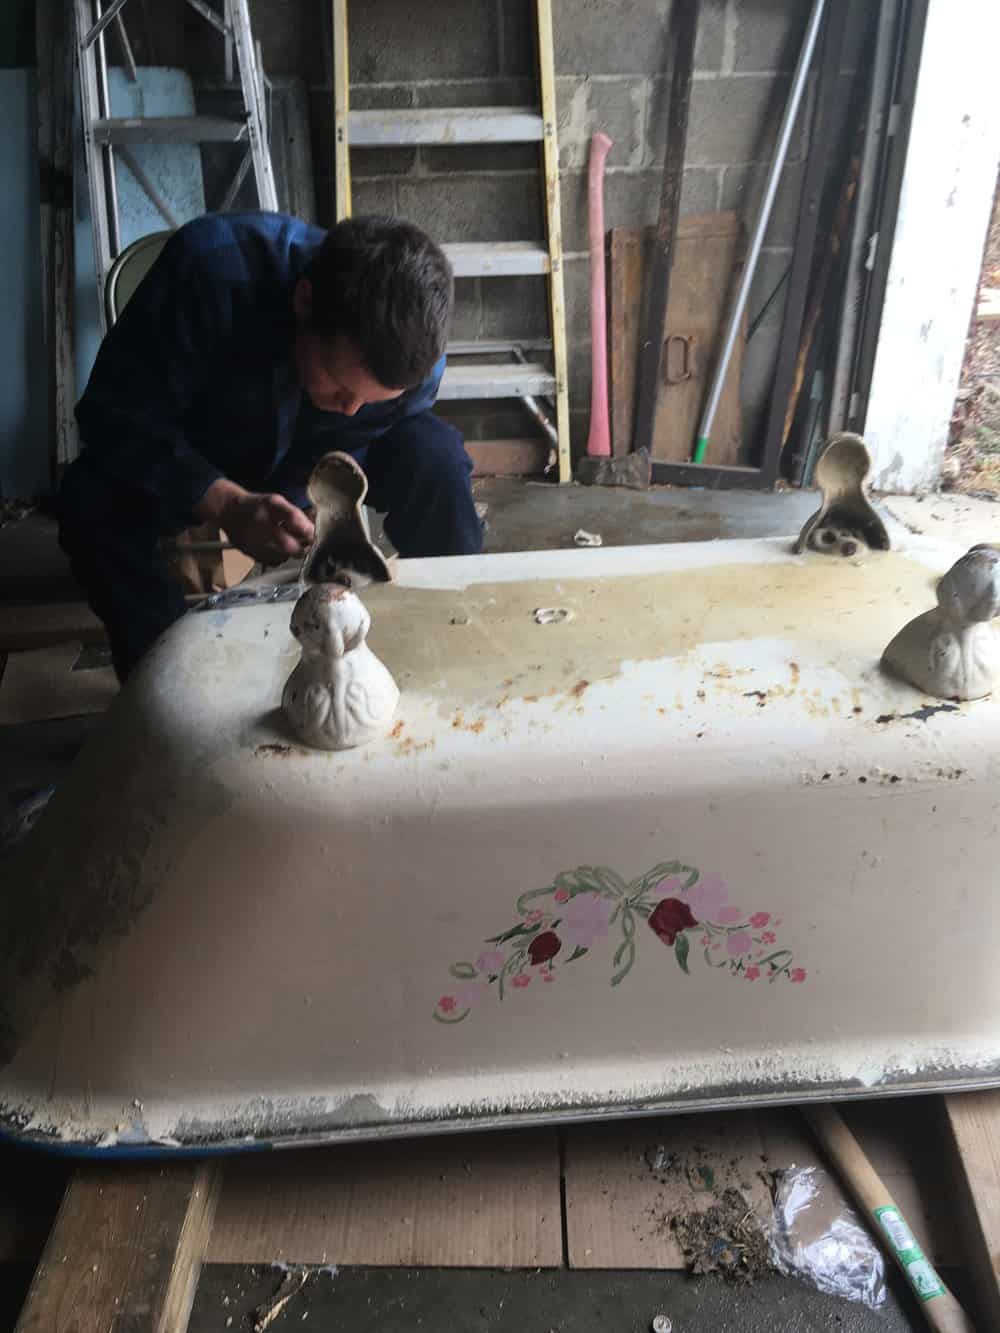
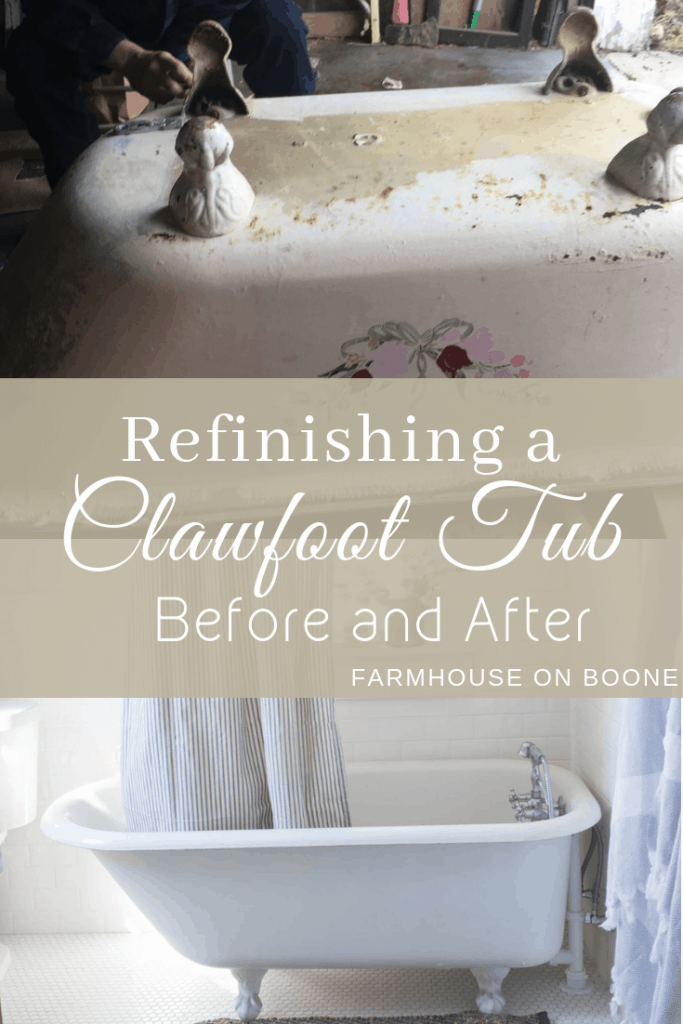
We snagged this little gem on Craigslist for $275, painted flowers included.
I’ve seen some on buy, sell, trade sites even cheaper, but this one came with the old shower ring and, more importantly, didn’t need refinishing on the inside.
The interior had quite a bit of old paint, and some old stains, but those came off with some good old fashioned elbow grease and a really strong cleaner.
The original finish on the inside was so strong that I could actually scrape the old paint off, without damaging it.
Now the exterior was another story, entirely.
Apparently clawfoot tubs used to come in the raw cast iron, and then new owners would paint them to match the bathroom wall color.
So, I guess the original owners of this tub brought it home to some beigey bathroom with rose accents. Not exactly the look I was going for.
Removing the Paint
We started the job with paint stripper.
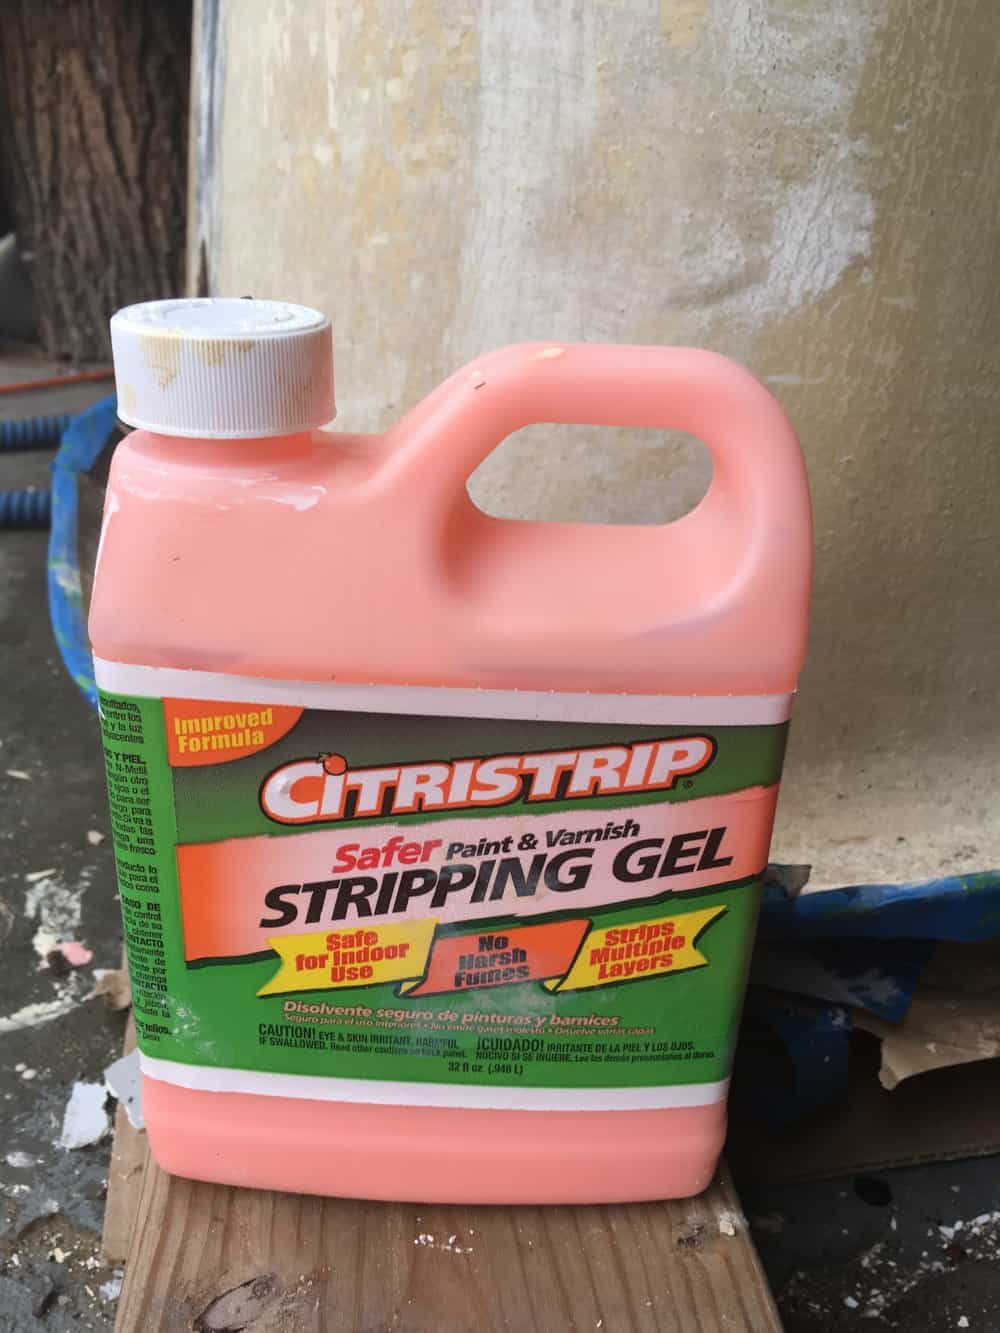
We did this whole process out in the garage. The bottle says “safe for indoor use,” but I’m skeptical of a product that removes paint.
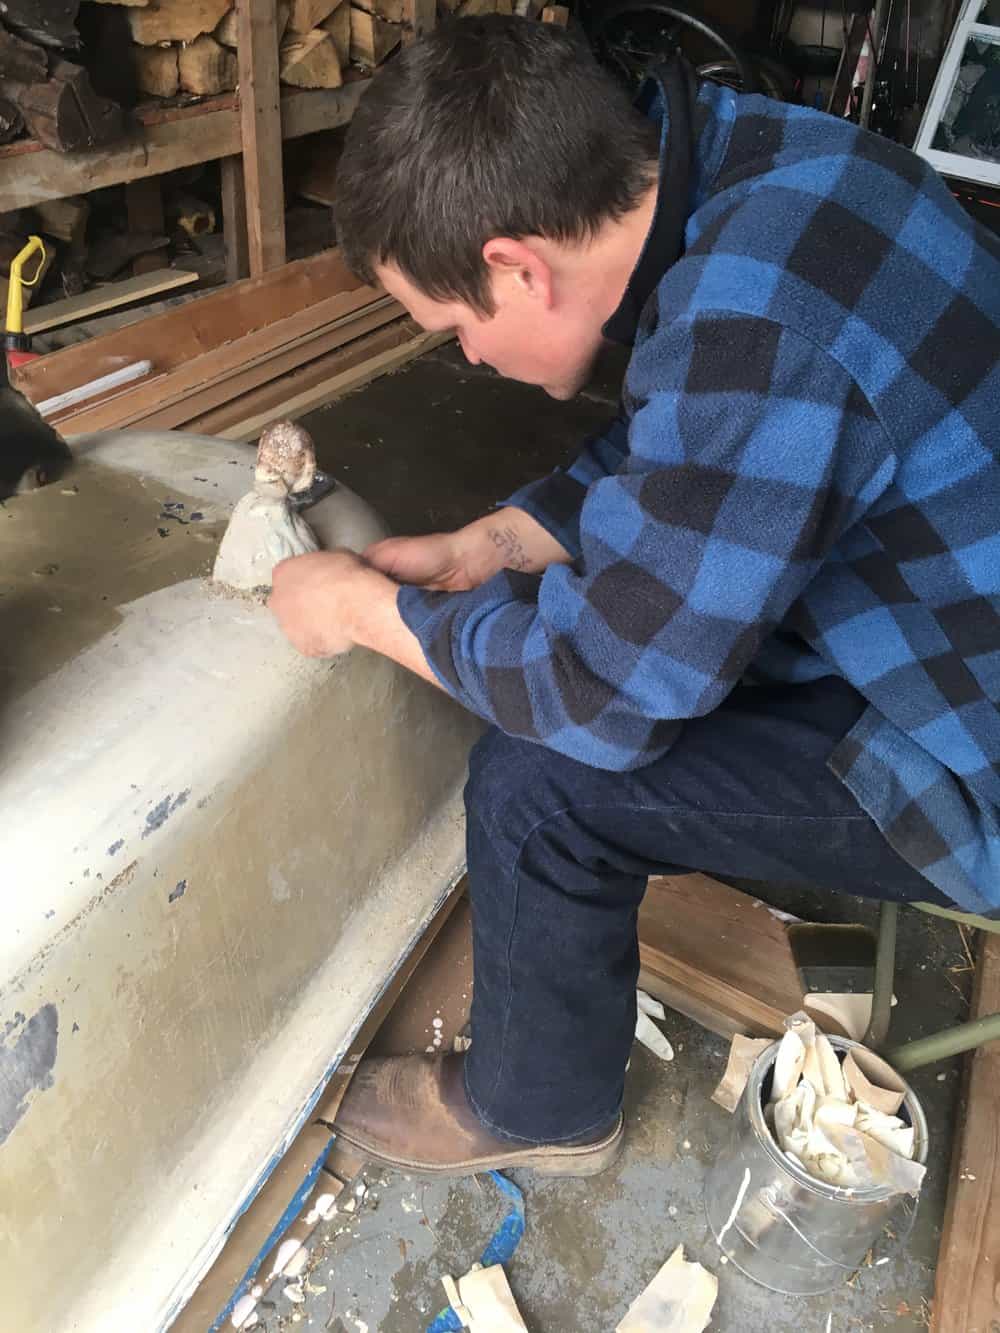
My husband applied the paint stripper, and let it sit on the surface for 15 minutes. He then scraped it off with a putty knife and razor blade.
Then he repeated that, because it didn’t remove as much the first time as we had hoped.
Sanding
After a few rounds of the paint stripper and scraping, he went at it with a sander.
Although all the paint didn’t need to be removed, we wanted to be sure there wouldn’t be any bumpy or peeling paint.
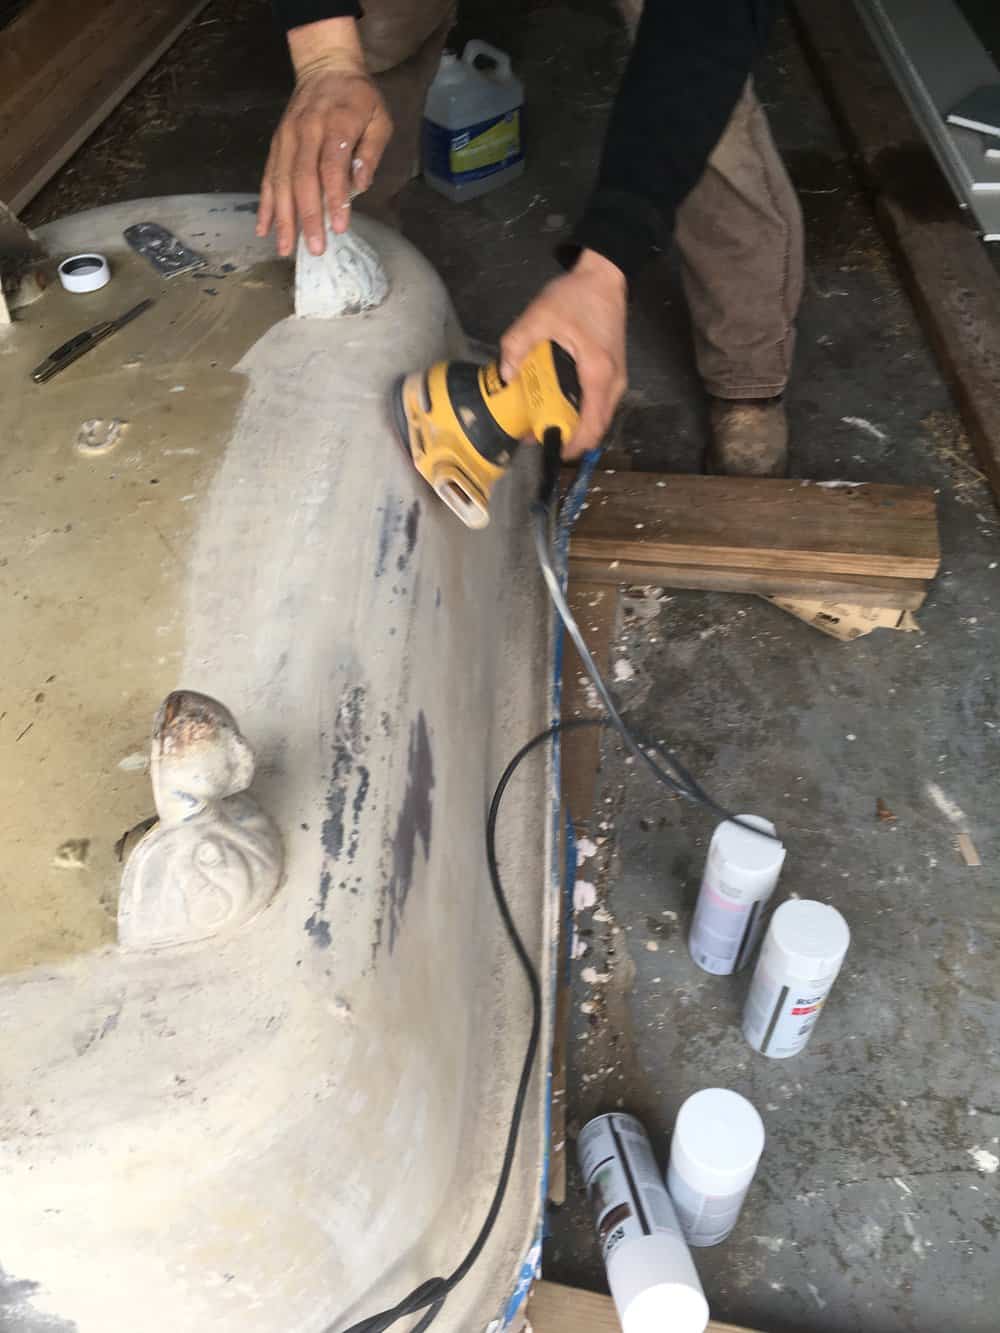
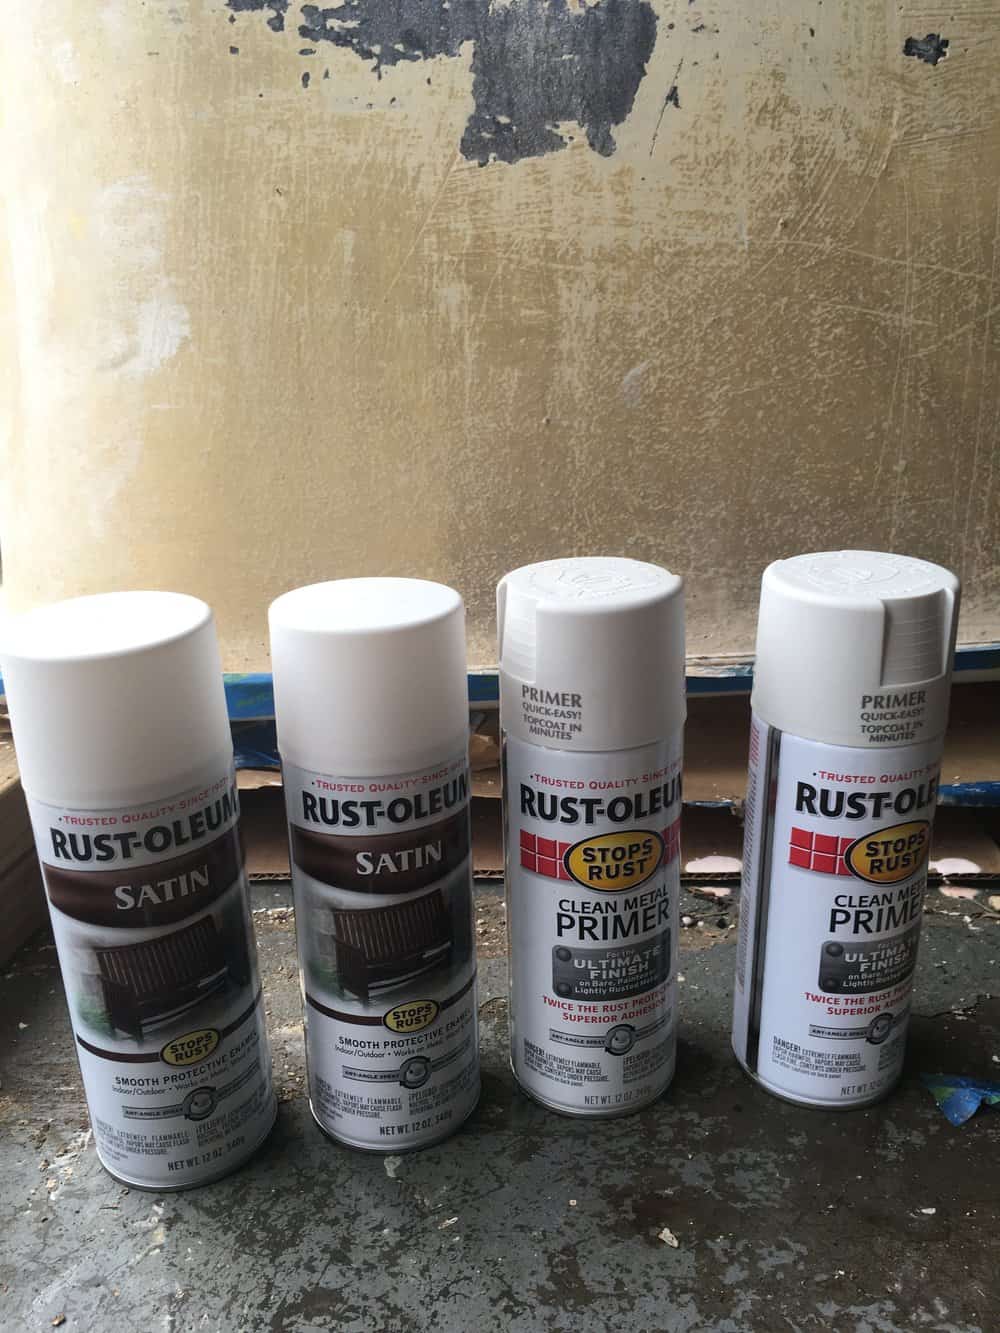
Painting the Tub
Next, came the paint!
We used painter tape around the rim of the tub, to be sure we wouldn’t get any on the interior.
We hit it with two coats of primer spray paint, and then two coats of white Rustolem spray paint, in a satin finish.
I didn’t want the outside to be super shiny, but I did want it to be wipeable.
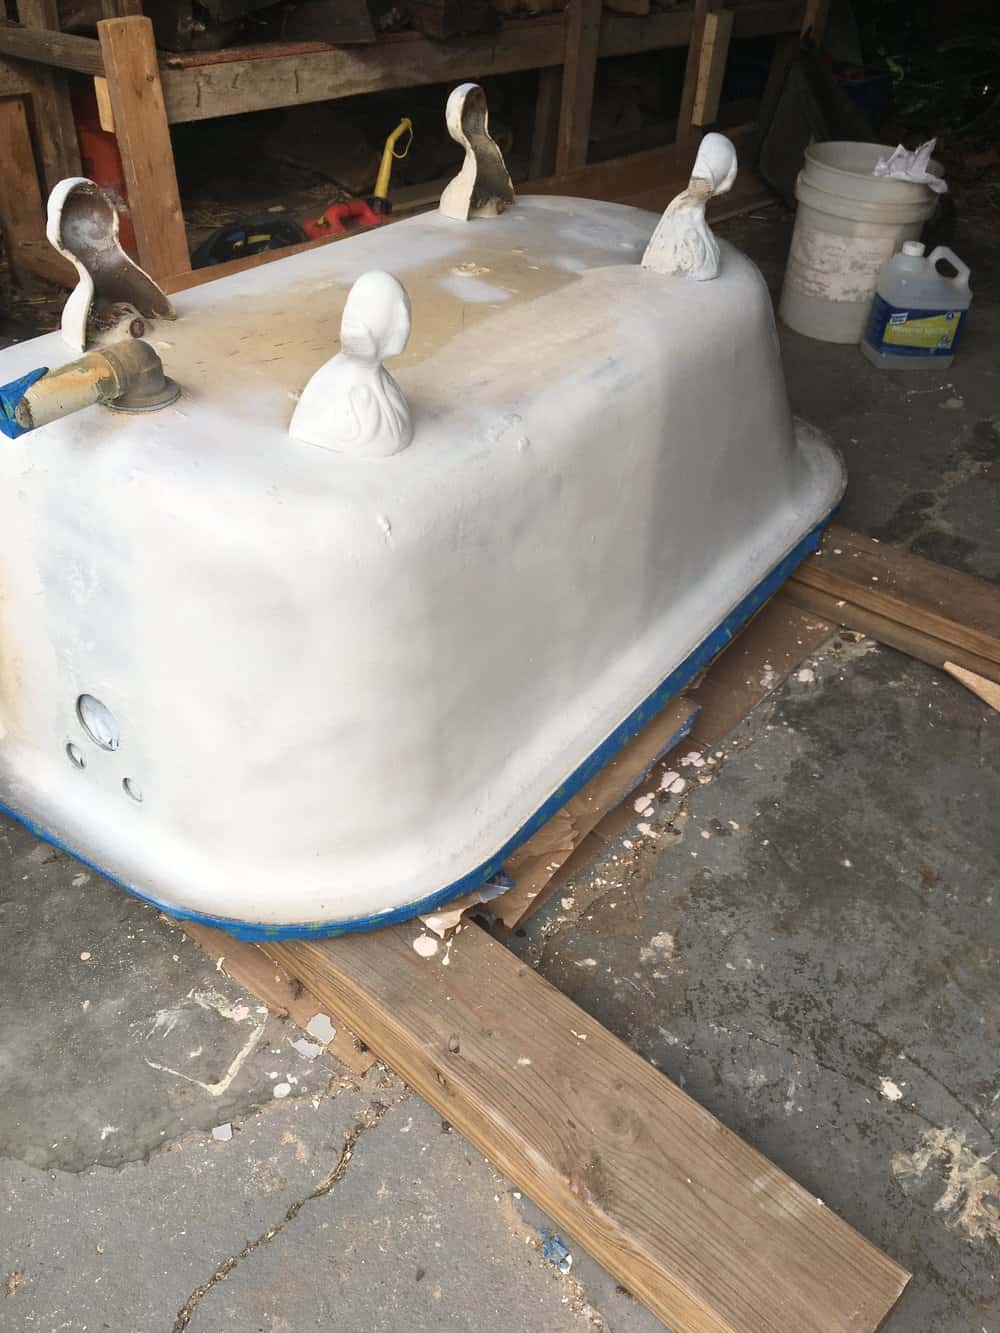
After the first couple of coats, it wasn’t looking too promising, but after the top two coats none of the original paint was visible at all.
This thing was super heavy and difficult to get in here.
Imagine the heaviness of a cast iron skillet the size of a bathtub, because that’s what we’re working with.
These things are super heavy duty!
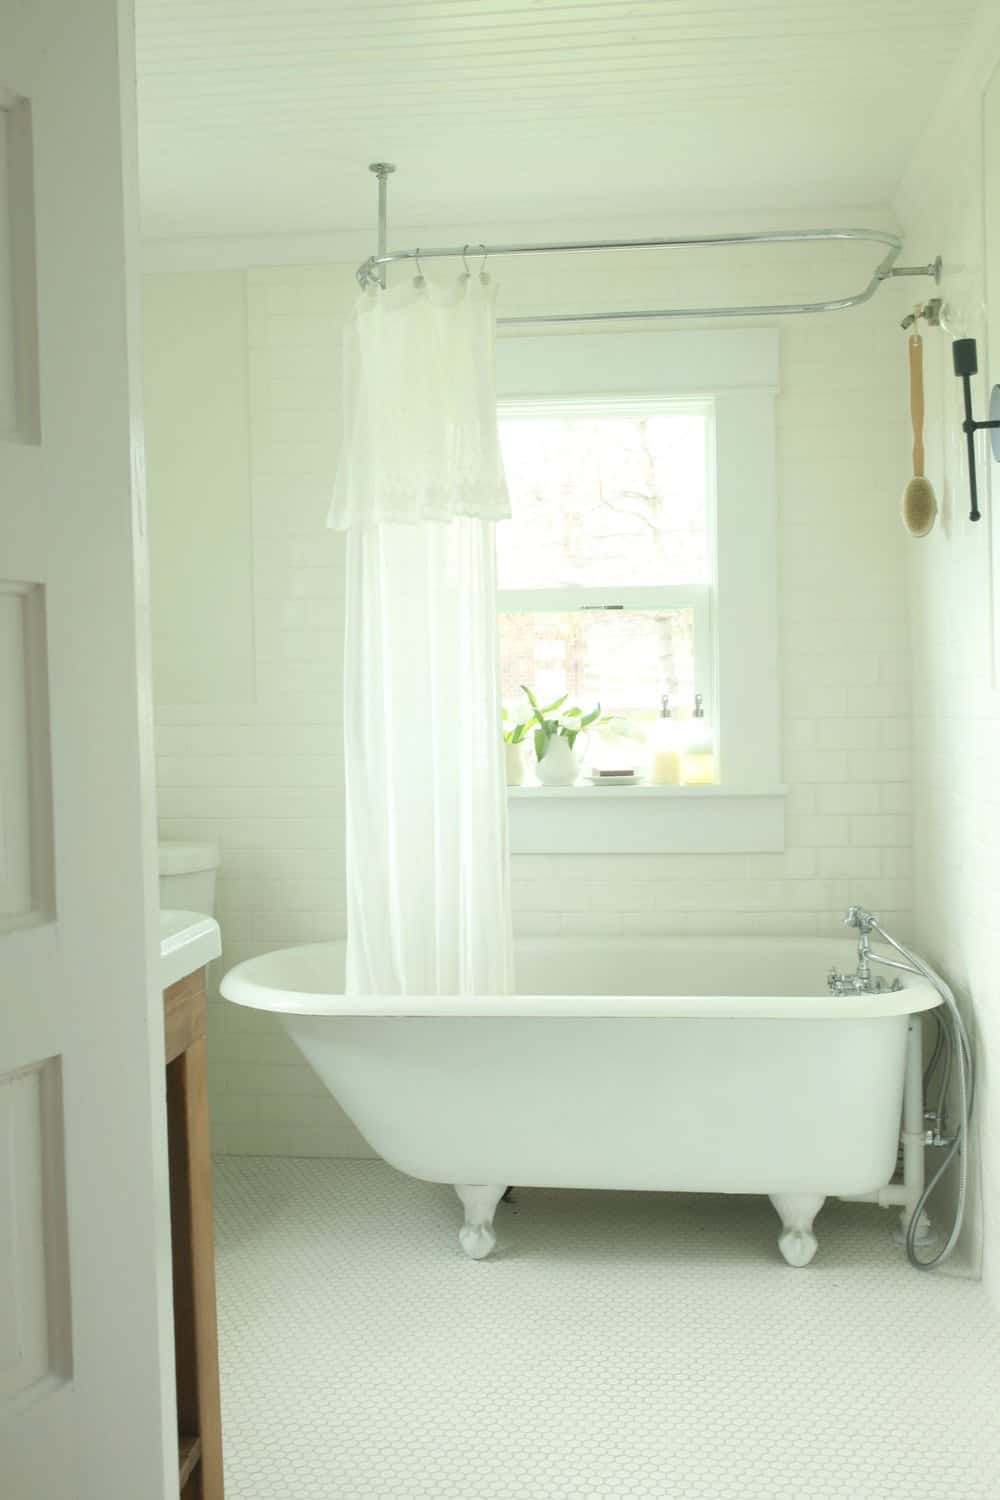
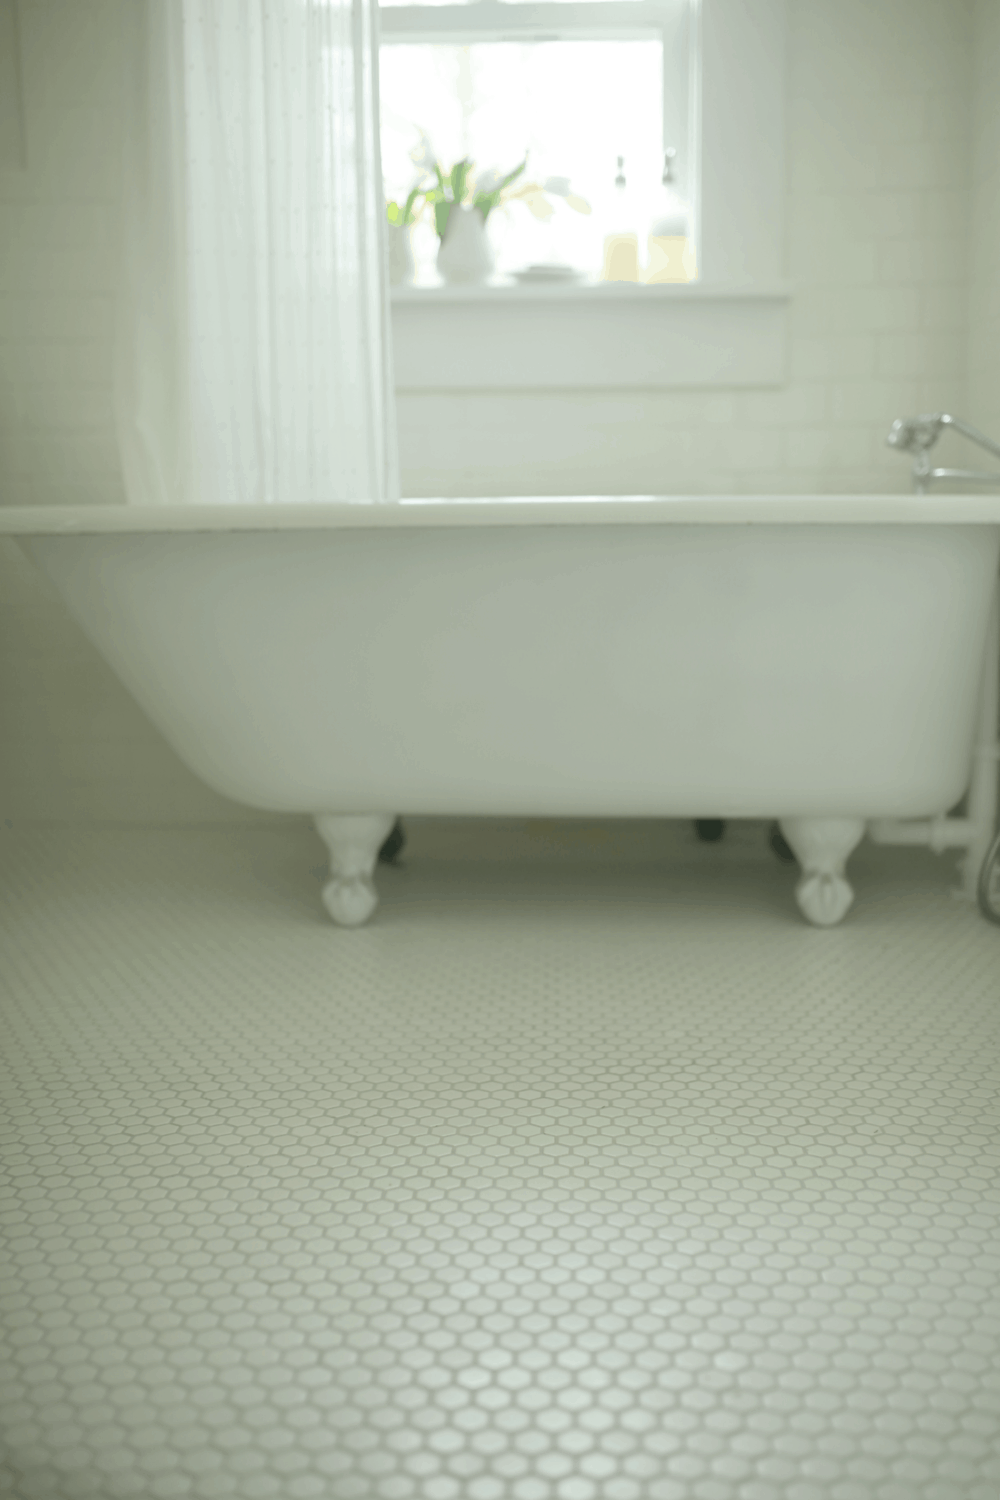
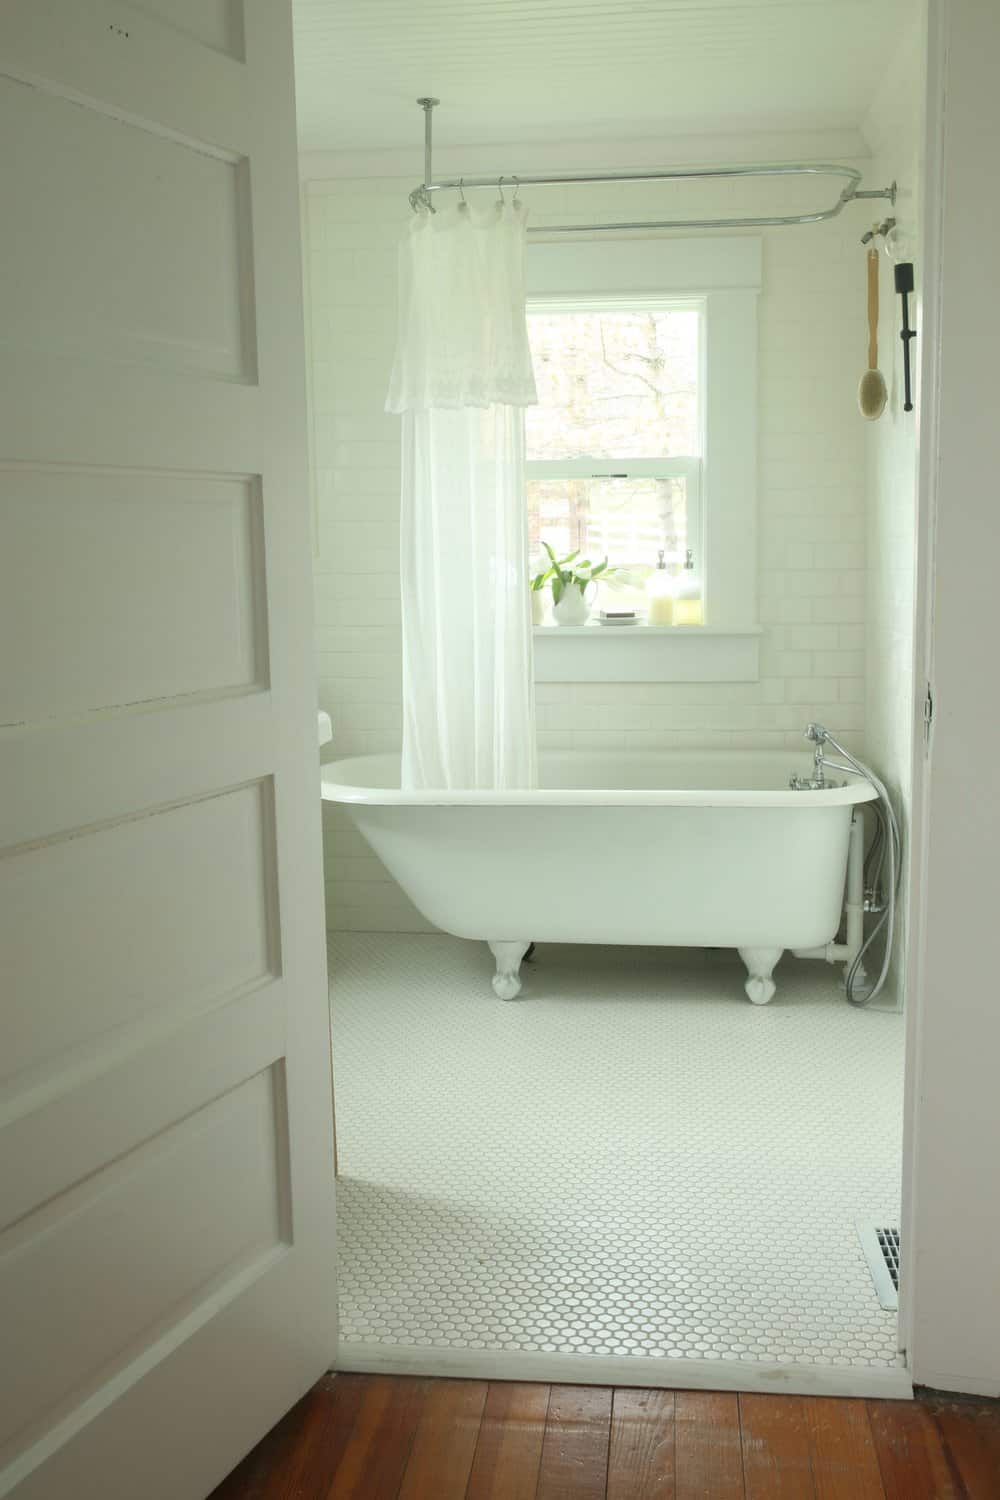
I love the way our pretty white tub turned out!
Having an antique piece like this is a focal point when you look into the room.
It adds so much history and character.
Thanks for stopping by, friends!
Pin it for later


Where is shower curtain from
Our Victorian came with a clawfoot tub in usable condition, already plumbed! I’m redecorating and love your shower curtains! Are they waterproof for a shower in the tub? Please share a link!
How did the paint hold up? I assume this is in your “Boone” house… Do you have an update on how the tub condition was before you moved?
I own a old farm house that my grama owned from the30’s and l have a old case iron sink that needs to be refinished.How can l redo it? Do l use the same primer?and sand it down to get it smooth or use a different type of finish all together
All I can think of is lead poisoning! Please into it for safety of your family. It’s a lot more dangerous than a paint stripper.
I immediate thought the same thing. We had the county come out and test for lead in our old house and the exterior paint and our clawfoot tub were big fails. A neighbor’s children were poisoned and she was really offended by the tester’s joke to just not lick the tub. Old clawfoot tubs (maybe new too) are lead filled. And that vintage paint?! Please don’t stand it to remove the paint! The dust is the biggest health hazard. I wouldn’t want readers to not take major precautions when dealing with leaded items like a clawfoot tub and old paint, especially with their children’s health at stake. Please wear a mask rated for lead safety at the least when stripping it. Really you should never sand lead items or lead paint. Omg, all that lead dust in the air ? so hazardous!!!
Love how the tub turned out! Cast iron tubs are the only route to go! Good for you!
Thank you for the pictures of a before and after refinishing of a clawfoot bathtub. The after picture looks a million times better and looks almost modern in the all-white bathroom. I assume refinishing a tub involves strong chemicals so I’d prefer not to do it myself. I wonder how much it typically costs for something like this. My tub doesn’t need this much work but I’m trying to sell the home and think refinishing the tub is a good way to add value.
I have a claw foot tub that’s been in my backyard for years with the thought of restoring and using it in our master someday. Two of the legs are off and it too has been painted. I have found a place that will refinish it inexpensively, but I’m not sure how to go about the feet. Any suggestions? And thank you for the essential oil posts, I have been cleaning with them for years, but love the new recipes you shared, especially the bathroom paste.
Does the inside need to be refinished also, or just the outside? We just spray painted the feet. We tried to remove some of the paint prior to the, but they had quite a few grooves in them. I’m so glad you have been enjoying the EO posts! 🙂
I adore clawfoot tubs, and you and your husband did an amazing job with yours! 🙂
I’d like to invite you to share this at the brand-new Farmhouse Friday Link Party! To celebrate the kick-off of this party, I am giving away a $50 Amazon gift card. I will also share your linkup on DIY Farmhouse Style Facebook group where I admin, which at this writing has over 130k members!
I hope to see you there! 🙂
Michelle
The Painted Hinge
http://www.thepaintedhinge.com
Thank you so much Michelle! I will stop by the link party. 🙂
I am SO glad you posted this! I have access to a clawfoot tub that’s in one of my grandfathers old properties and I’ve been debating if it’s worth salvaging bc it is also a beige color and I couldn’t find any tutorials on how to refinish it! Now I’ve found one thanks to you!
Oh yay! I love it when this happens! So glad you will be able to bring back some life to a lovely old antique.