Learn how to make a sourdough starter recipe from scratch with just flour and water. This versatile ingredient can be used to make breads, cakes, cookies, and so much more.
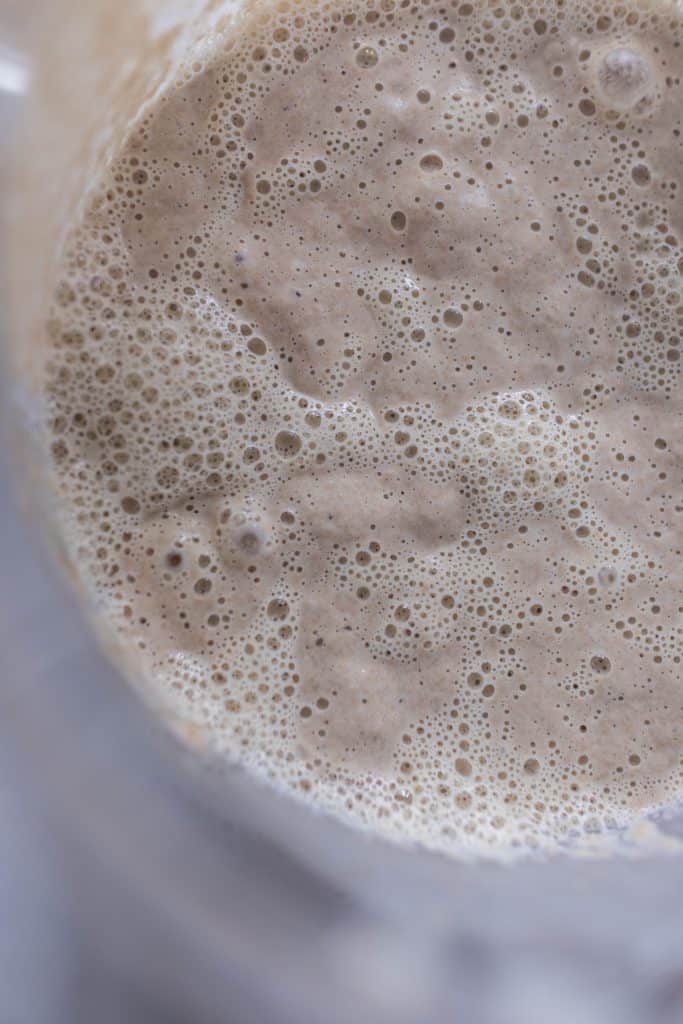
If you hang around the traditional foods community, chances are you have heard of making homemade sourdough starter from scratch.
I have had my homemade starter for over six years now. It is vital in my traditional food kitchen.
What Is A Sourdough Starter?
A sourdough starter is a live active culture made of fermented flour and water that is full of beneficial bacteria and yeasts.
It is used as a way to ferment recipes and naturally rise bread.
Why You Will Love Sourdough:
If you are unfamiliar, let me fill you in on all the reasons why crazy folks, like me, go through the effort of handcrafting, and maintaining, a beneficial colony of yeasts and bacteria in their kitchens.
Before yeast was isolated and sold in little packets, sourdough starter was a valuable commodity in homes and families, passed down for generations.
Health Benefits
Have you ever heard of phytic acid? Basically, it’s an antinutrient found in grains, beans, and nuts that interferes with the absorption of certain nutrients. They are present on grains to keep them from spoiling.
There is a reason they are there, but there is also good evidence that our bodies weren’t meant to handle them. Proper preparation of grains eliminates most, if not all, of the phytic acid in offending foods.
This is the very reason traditional cultures soaked and fermented their grains, seeds, and beans. These days, we’ve lost that art. And what have we found? People can’t handle grains anymore.
Instead of using instant yeast packets, people in traditional cultures leavened their bread with a fermented starter that captured all the yeasts in the environment.
AKA Sourdough starter
How on earth do we capture native yeasts? Read on, because I explain how to make your very own starter.
Because I love good food
I already confessed my foodie tendencies with you all. I reckon it’s the same inclination that led me into the world of homemade sourdough.
Locally made sourdough starter, with the native yeasts of the area present, is certainly the thing a foodie’s dreams are made of. A jar of healthy, productive starter is teaming with life, as evidenced by all the bubbles you will see rising to the surface.
Once you’ve experienced homemade sourdough baked goods, store-bought breads and pancakes simply don’t cut it. Sourdough has a depth of flavor that just can’t be found in something made quickly with a packet of instant yeast.
This post contains affiliate links, which means I make a small commission at no extra cost to you. See my full disclosure here.
FAQ:
How long does it take to make sourdough starter?
It takes about a week to create an active sourdough starter, but sometimes it can take about two weeks to make a starter ready to bake bread.
Do you have to discard sourdough starter every time you feed it?
When you are first creating your sourdough starter, yes. If you don’t discard you will have so much starter that it will be hard to keep healthy. This is because the more starter you have the more flour and water you will need to add for the yeasts and bacteria to feed on.
After having a starter for a while rather than discarding you can just use it in discard recipes. This is a much more useful way of removing some of the starter rather than throwing it in the trash.
How do you know your sourdough starter is ready to use?
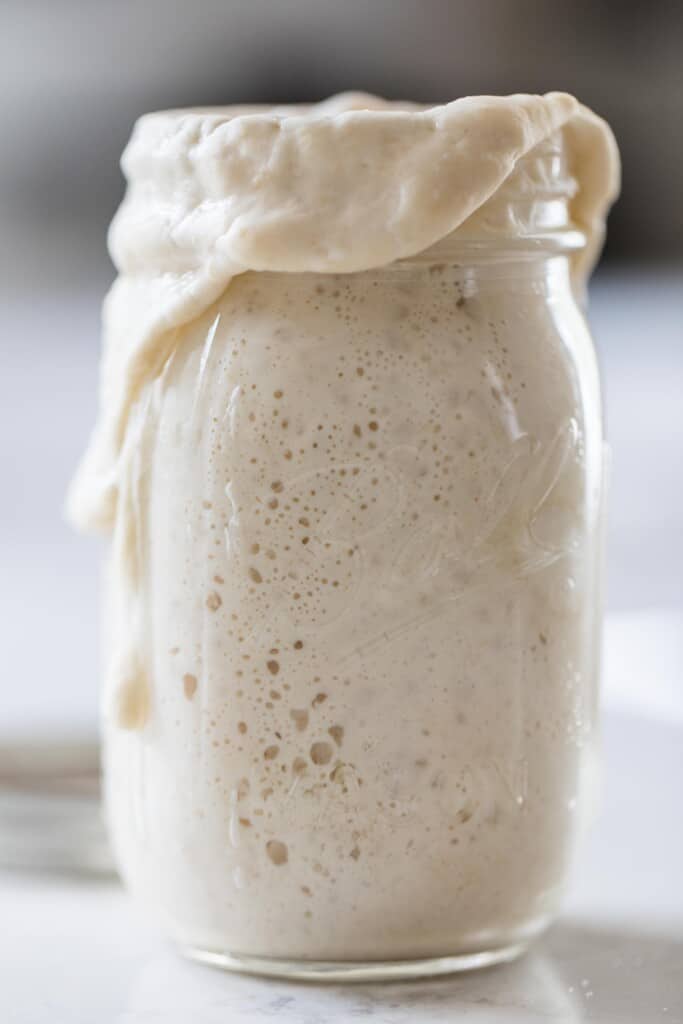
You will know your sourdough starter is read to use when you feed it and after 4-12 hours it doubles in size and is super bubbly. A good way to be able to determine this, is to place a rubber band where the top of the starter is after you feed it. Then after a few hours have passed you can see just how high it has grown.
Another way is to perform the float test. Take a small glass of room temperature water. Add a quarter sized dollop of active starter. If it floats, it is ready to bake with. If it doesn’t it is not active enough.
Sourdough Starter Recipe:
By now, you know why you want to have a bowl of sourdough starter bubbling away in your kitchen, but how the heck do you make one?
Ingredients
Flour (Whole grain wheat, unbleached all-purpose, and einkorn are all great choices.)
Filtered water (I use a Berkey water filter. We have the Royal size for our family of 7. You can find my full Berkey review HERE.)
Tools
Glass bowl (Metal can react with beneficial bacteria and yeasts.)
Tea towel
How To Make Sourdough Starter
Day 1:
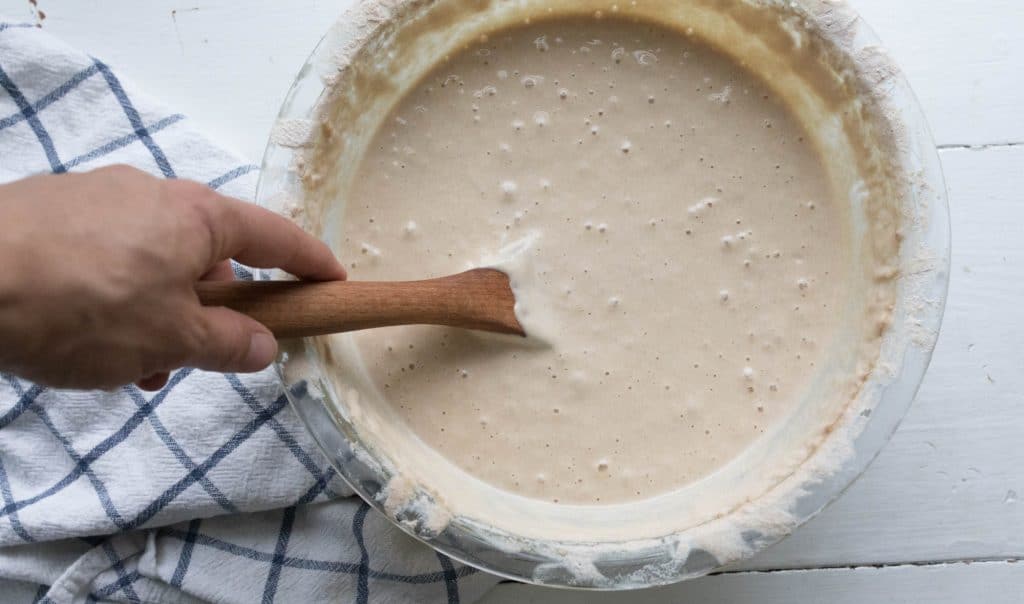
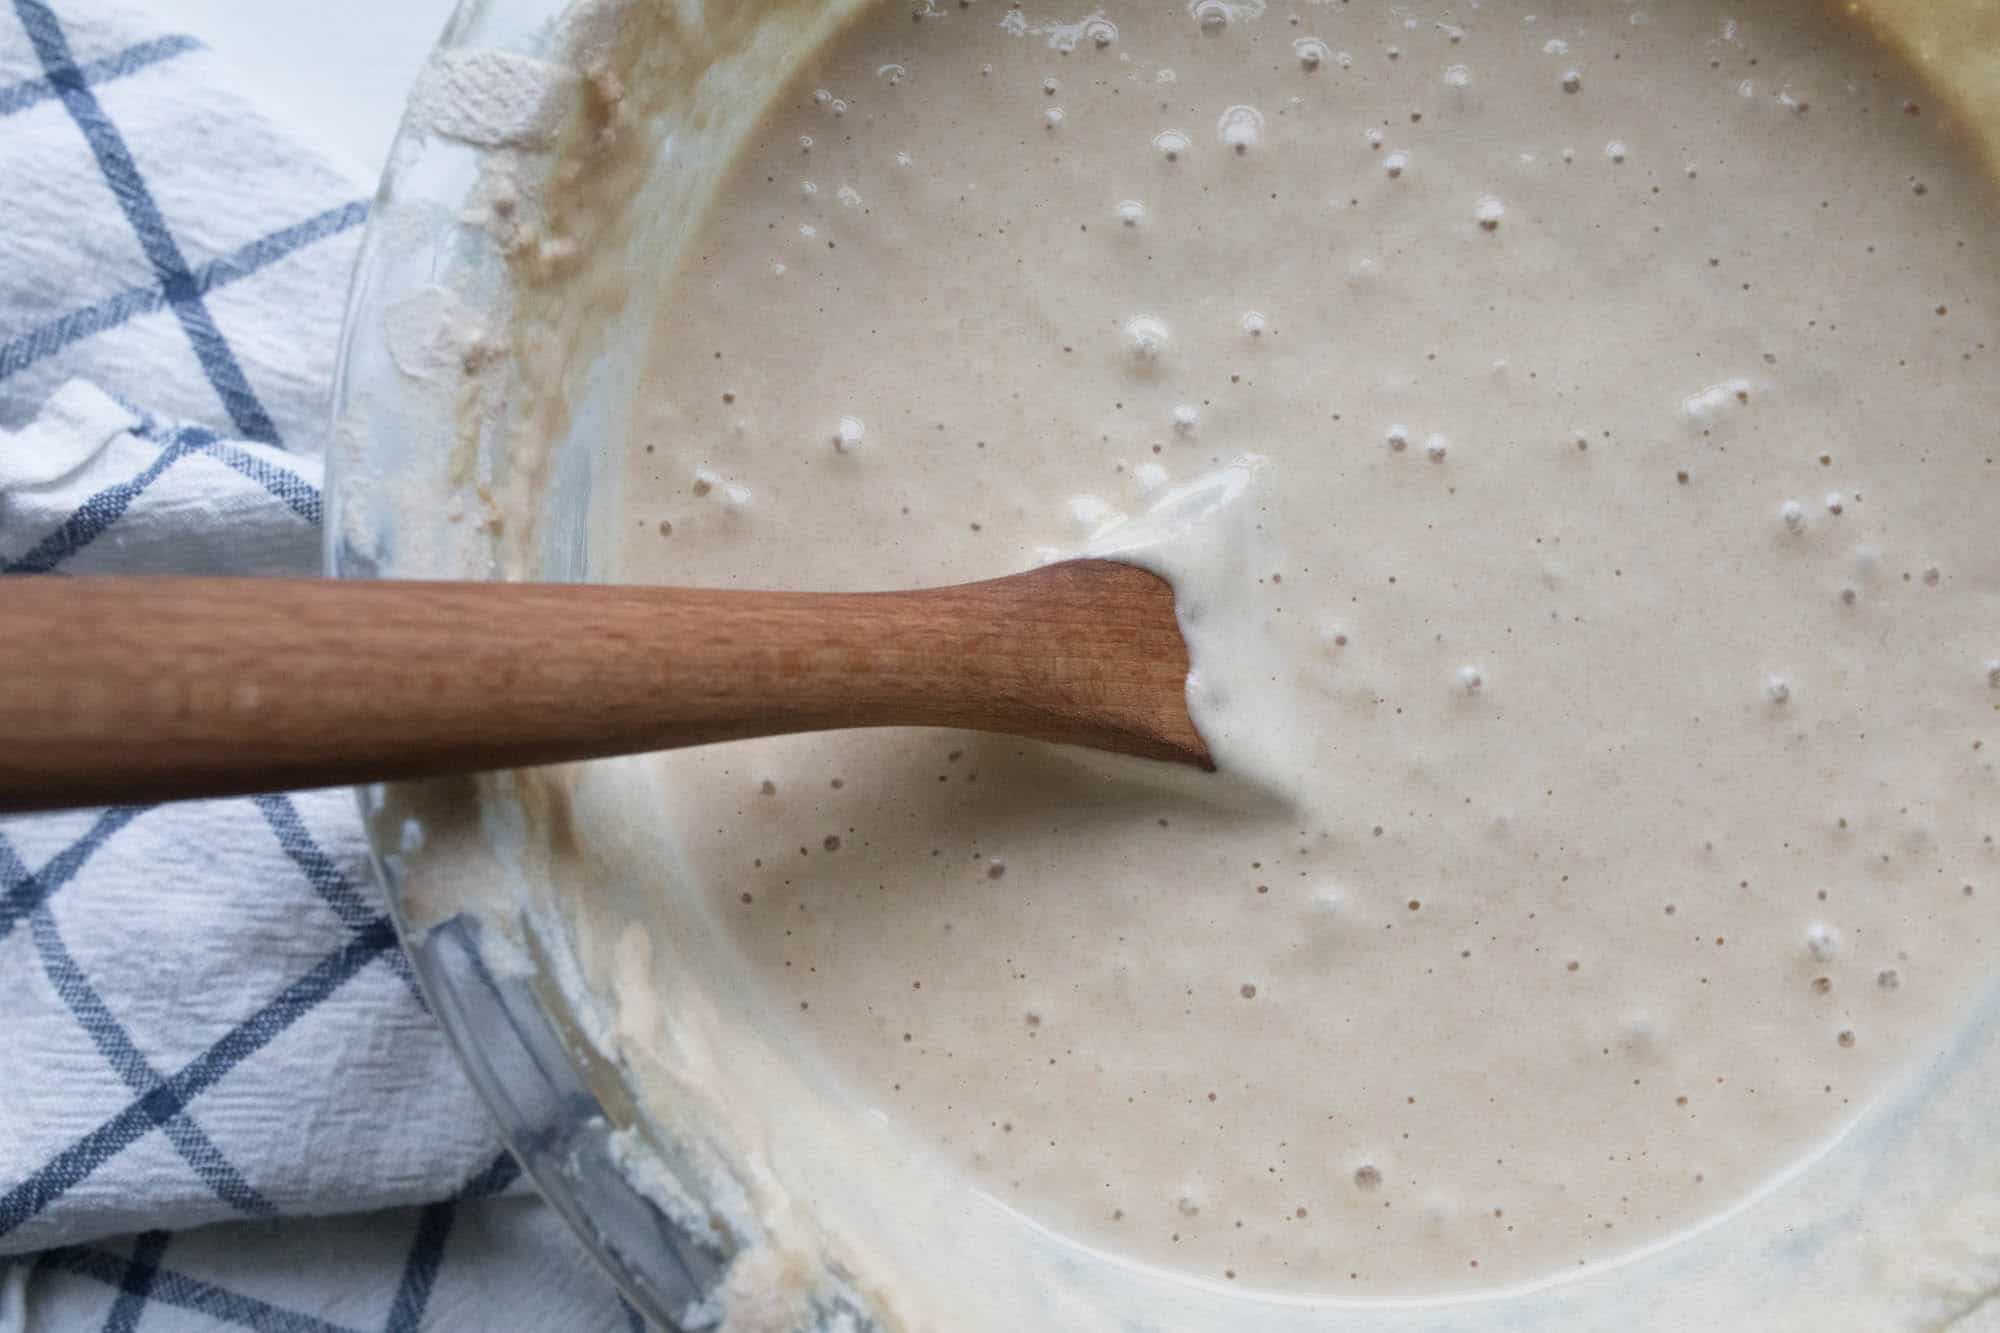
On day one, mix one cup of flour and one cup filtered water. Stir vigorously, making sure to scrape down the sides and incorporate everything. Place a clean tea towel over the bowl and set aside. Allow it to sit for 24 hours.
Day 2:
On day two, discard half of the mixture and repeat the process. Add one cup flour, one cup water, stir vigorously, and cover.
Why do you have to remove half the mixture? By day four, you would have sourdough starter overflowing from your bowl. Also, removing half ensures that the right amount of flour and water is feeding the growing colony of beneficial yeast. If you weren’t discarding half, the cup of flour wouldn’t be enough to feed them on days three and four. Basically, you would end up with a lot of extra starter by the end of the process, and none of it would be mature.
Day 3-5
Repeat the day two instructions for days three, four, and five.
Day 6-7
On days six and seven, do the same but feed it every 12 hours, instead of every 24.
By day seven, there should be enough beneficial bacteria and yeast present to bake sourdough bread and other fermented sourdough goodies, like pancakes and english muffins.
You will know it’s working if it bubbles, and doubles in size.
Sourdough Starter Maintenance
Once your sourdough starter is alive and active, there will be some maintenance to keep it going for years and years.
In the refrigerator for occasional use
Storing it in the refrigerator slows down the fermentation process, so one feeding per week, or every other week, is sufficient.
I usually use my starter a couple times per week. If I plan to make pancakes Saturday morning, for example, I will pull my starter out of the fridge Friday morning and add flour and water. By Saturday morning it is bubbly and ready to go.
I remove the two cups of starter needed for my pancake recipe, and put the “master starter” back in the fridge. Since it was fed the day before, it is good to go for another week, or whenever I need it next.
On the counter for daily use
Since the “little guys”, as my kids like to call the bacteria in the starter, are active at room temperature, they will have to be fed more often if keep it in this state.
If you leave your starter out on the counter, you will need to add flour and water every day. You will also have to be baking every day to use up all that starter.
Most people probably won’t use the starter quite so much, unless you own and operate a bakery. I would recommend storing it in the refrigerator between uses.
Helpful Resources
Every day I get loads of questions about sourdough starter, so I devoted a whole post called, How to Care for Sourdough Starter filled with your questions and my answers. You can use this post a reference guide.
Thank you so much for stopping by the farmhouse! I hope this is just the beginning of our sourdough journey.
Check out my other sourdough recipes and posts
- Sourdough English Muffins
- Sourdough Pizza Crust
- Healthy One Pot Meal- Sourdough Skillet
- Sourdough Tortillas
- Easy Sourdough Focaccia
- Dry Sourdough Starter
If you try this recipe and love it, I would love if you gave it 5 stars! Also, tag me on Instagram @farmhouseonboone.
Sourdough Starter
Ingredients
- Flour, Whole grain wheat, unbleached all purpose, and einkorn are all great choices.
- Filtered water
Instructions
- On day one, mix one cup of flour and one cup filtered water. Stir vigorously, making sure to scrape down the sides and incorporate everything. Place a clean tea towel over the bowl and set aside. Allow it to sit for 24 hours.
- On day two, discard half of the mixture and repeat the process. Add one cup flour, one cup water, stir vigorously, and cover.
- Repeat the day two instructions for days three, four, and five.
- On days six and seven, do the same but feed it every 12 hours, instead of every 24.
- By day seven, there should be enough beneficial bacteria and yeast present to bake sourdough bread and other fermented sourdough goodies, like pancakes and english muffins. You will know it’s working if it bubbles, and doubles in size.
Notes
Sourdough Starter Maintenance
- Once your sourdough starter is alive and active, there will be some maintenance to keep it going for years and years.
In The Refrigerator For Occasional Use
- Storing it in the refrigerator slows down the fermentation process, so one feeding every week, or every other week, is sufficient.
- I usually use my starter a couple times per week. If I plan to make pancakes Saturday morning, for example, I pull my starter out of the fridge Friday morning and add flour and water. By Saturday morning it is bubbly and ready to go. I remove the two cups of starter needed for my pancake recipe and put the “master starter” back in the fridge. Since it was fed the day before, it is good to go for another week, or whenever I need it next.
On The Counter For Daily Use
- Since the “little guys”, as my kids like to call the bacteria in the starter, are active at room temperature, they will have to be fed more often if kept in this state.
- If you leave your starter out on the counter, you will need to add flour and water every day. You will also have to be baking daily to use up all that starter.
- Most people probably won’t use the starter quite so much, unless you own and operate a bakery. I would recommend storing it in the refrigerator between uses.
Nutrition information is automatically calculated, so should only be used as an approximation.




Hello, so when you go and use the 2 cups of starter for your recipe. What do we do with the left over starter in the jar? If we had to it won’t it be ruined or do I save it for another recipe
Just put it back in the fridge until next time! You will feed it again before using it.
It’s been a week and my starter hasn’t doubled in size, what am I doing wrong?
Keep feeding it and place it somewhere warm. Likely, it is colder in your home right now and that is the cause of it not rising.
If you use 50 g of starter with 100% hydration can you make two loaves of sourdough OR do I need to double the feed & start with 100 g of starter?!
Whenever your starter is ready, you will want to feed it enough flour and water to equal 1/2 cup (113 grams) PER loaf.
Great step by step instructions with explanations!
Thank you for the instructions on how to begin a starter. I am very much interested in baking sour dough bread and also using discard in additional recipes. I saw my question asked in the comments but did not find an answer. It is, on Days 6 & 7, do you discard every 12 hours with the feeding? In addition, do you leave your starter out when you are ready to bake and are feeding the day prior to baking? I have ordered the Sour Dough cookbook and am excited and waiting for it to get here.
I was never sure that I could make my own starter but following your tutorial, I have a bubbly healthy sour dough starter which has improved my sour dough bread baking so much. Many thanks for the recipe and the confidence to try, I’m off to have a good at your sourdough fruit bread now
I’m on day three my starter has been very active since day one in terms of rising and bubbling but has a significant liquid separation throughout the starter not at the top and is very runny. Do I need to start again or am I right to just keep going and reduce the water I put in it.
Stir your starter really well and discard 1/2. Then feed it again.
I start with 1/8 cup flour 1/8 cup water for 8 days. I never throw out or waist starter.
I’m on day 7 of my starter but it only small bubbles and hasn’t doubled at all. Do I just keeping discarding and feeding every 12 hours until it bubbles a lot and doubles?
Yes. Does it pass the float test? If not, I would try feeding it 1 cup flour to 3/4 cup water and placing it in a warmer location.
geweldige informatie en duidelijke uitleg, ik be 69 en nog niet zo heel lang met pensioen.
het was altijd mijn voornemen om zelf brood te bakken Weet je waarom? Omdat ik op de visserij naast de gewone werkzaamheden ook nog voor het dagelijkse eten moest zorgen, al kreeg ik niks extra maar ik vond het wel leuk.
Wanneer wij meer als 4a5 dagen op zee waren werd het meegenomen brood niet meer goed voor de geiten (en die eten alles) dus ben ik begonnen om zelf brood te bakken, deeg laten rijzen in de machinekamer(zeer warm en de pan met deeg met een touwtje vastgebonden ergens aan voor het slingeren van het schip.
Resultaat was zakken i.p.v. rijzen van deeg , kon je een kabeljauw mee doodslaan naderhand.
Begrijp je ne nouw?😂
Na meestal 3 a 4 weken weg ,vond je brood an de wal lekkerder als taart ,
Ps. ong. 25% van de bemanning leeft nu nog gelukkig, maar toch!!😳
Vr.groet en ik ga gauw beginnen om lekker!! brood te bakken.
I really appreciate this recipe. It goes into detail about how to tell when it’s ready, for ex. It doesn’t just say:
Mix ingredients together. Bake.
I actually have a family recipe like that. Ha ha.
This gives me the tools I need to be successful. Thank you.