Make the best Instant Pot bone broth with this simple tutorial! Bone broth is nourishing, gut healing, and the perfect liquid in which to simmer vegetables and meat into a delicious homemade soup.
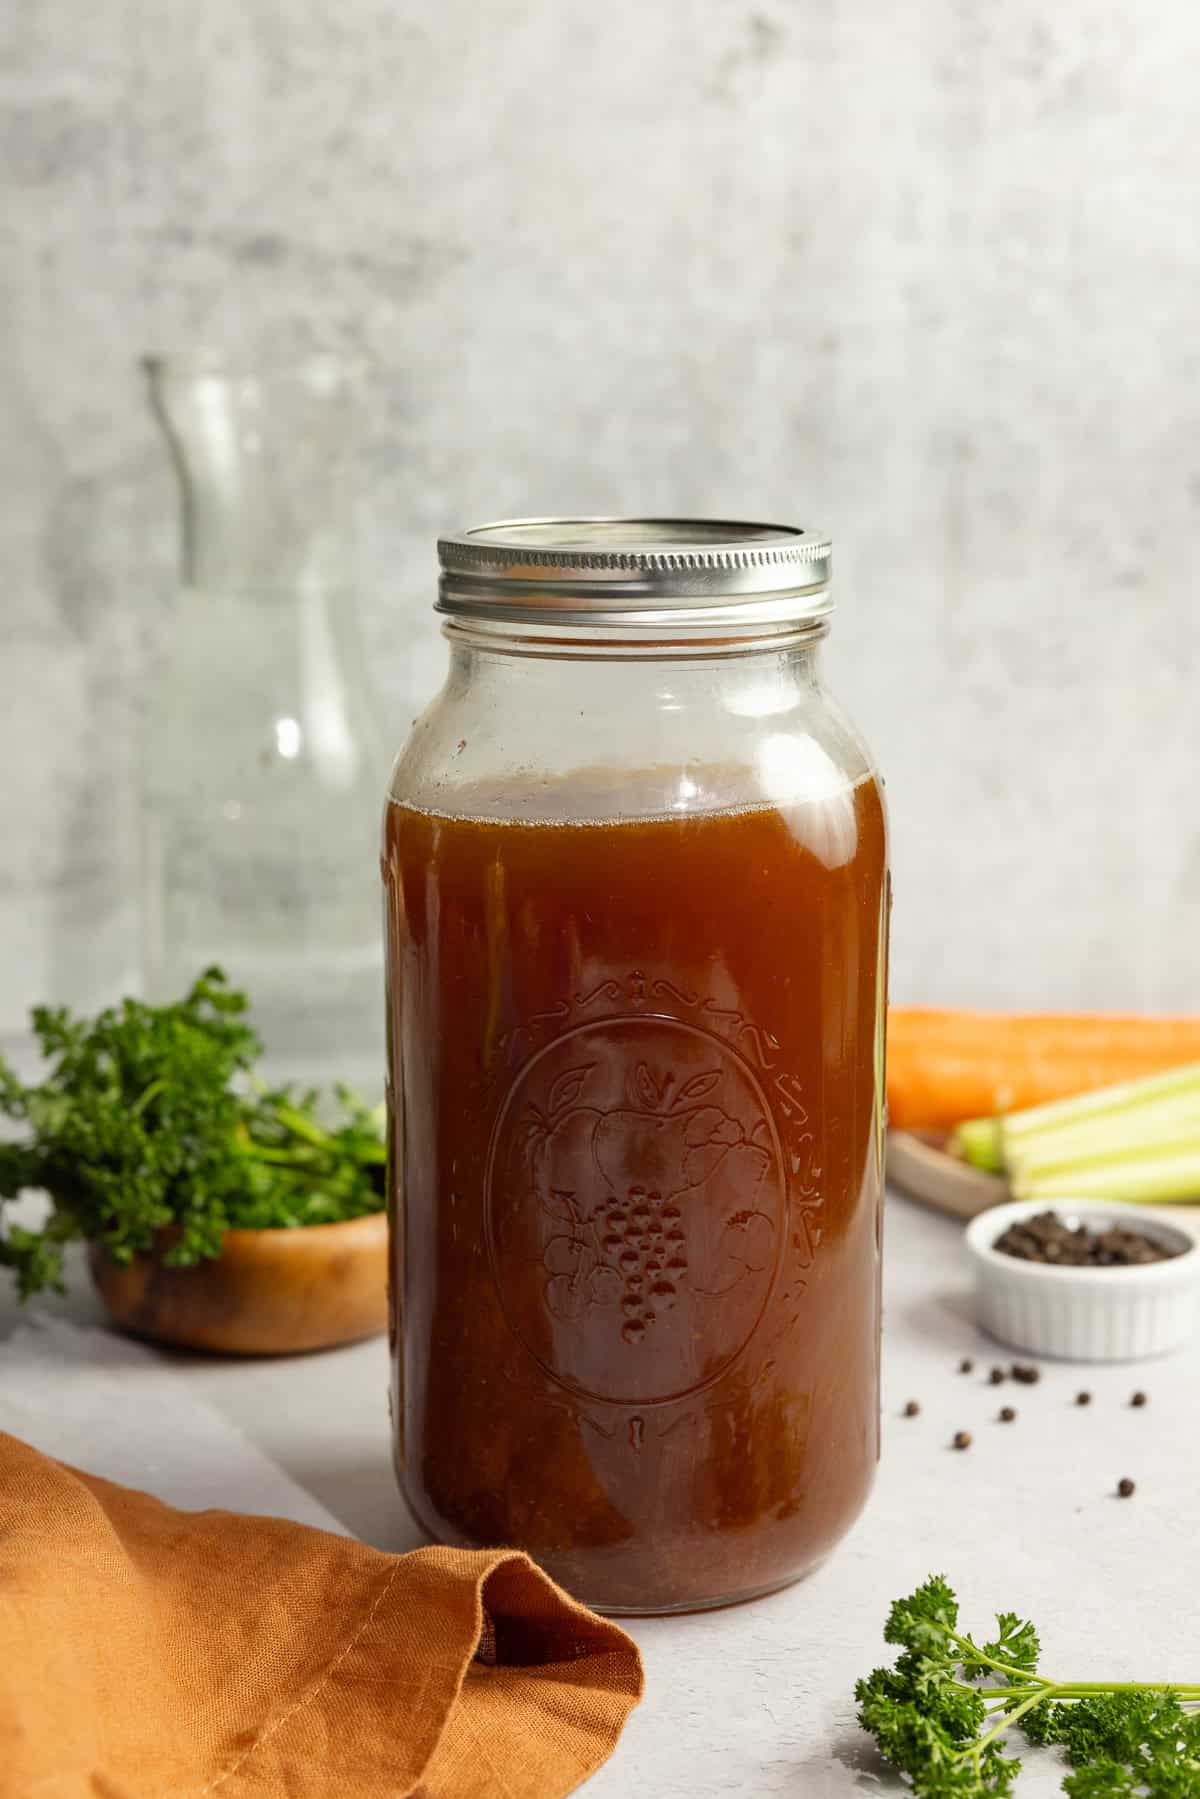
I have been making chicken broth on the stove top for many years. The process is simple – simmer bones in water for at least 24 hours.
But for most of us, it just isn’t practical to have one large stock pot and burner constantly occupied with simmering broth. We need that precious stove top space! And no one wants to leave the house with a burner still on. Talk about a fire hazard!
That’s why I decided to make the same 24-hour broth with a much simpler process.
This easy recipe is amazing for many reasons. When made properly, bone broth has a thick consistency that is chock full of amazing nutrients that the grocery store stuff just doesn’t have.
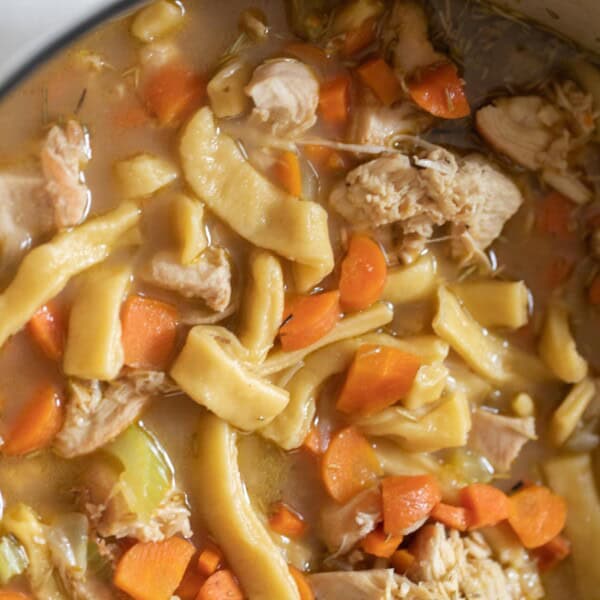
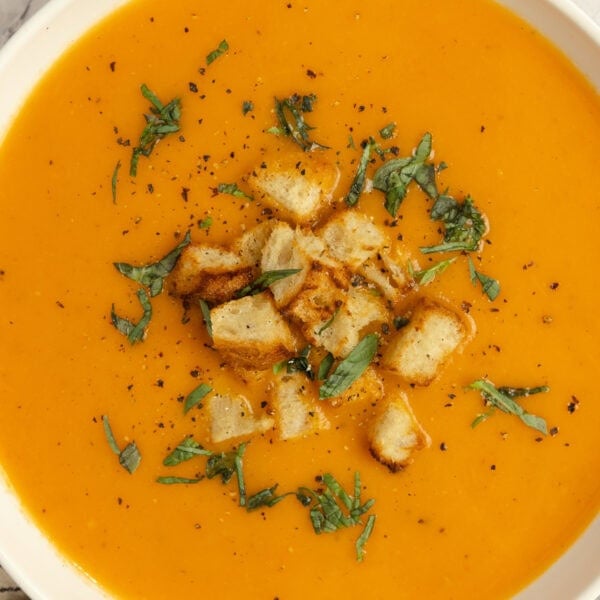
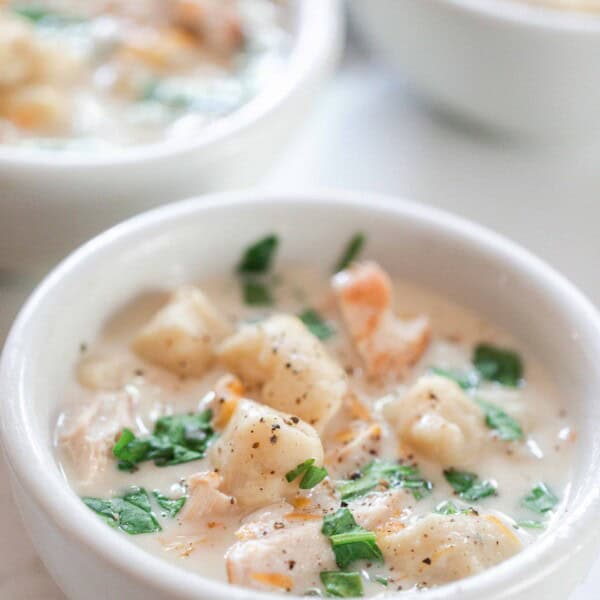
This homemade bone broth is a great base for immune-boosting soups and warm recipes – from cheeseburger soup, to roasted pumpkin soup, roasted red pepper and tomato soup, and much more.
Why You’ll Love This Recipe
Health benefits – Bone broth has some amazing health benefits, especially when combined with fresh herbs and vegetables. It can help reduce joint pain and inflammation, supports the immune system, and boosts gut health. The collagen can also help with skin elasticity. It is very nutritious and full of vitamins, minerals, and amino acids. Each batch will vary on how much nutrients are in it.
Easy process – The process is really quite easy! All you need are veggies, bones, water, and an Instant Pot (or pressure cooker) to make your own bone broth.
Less waste – You get the most out of your whole chicken when you roast one. This means even more when you’re buying organic, pasture raised chickens and don’t toss out the leftover bits of meat and bones that are still packed with nutrition.
Ingredients
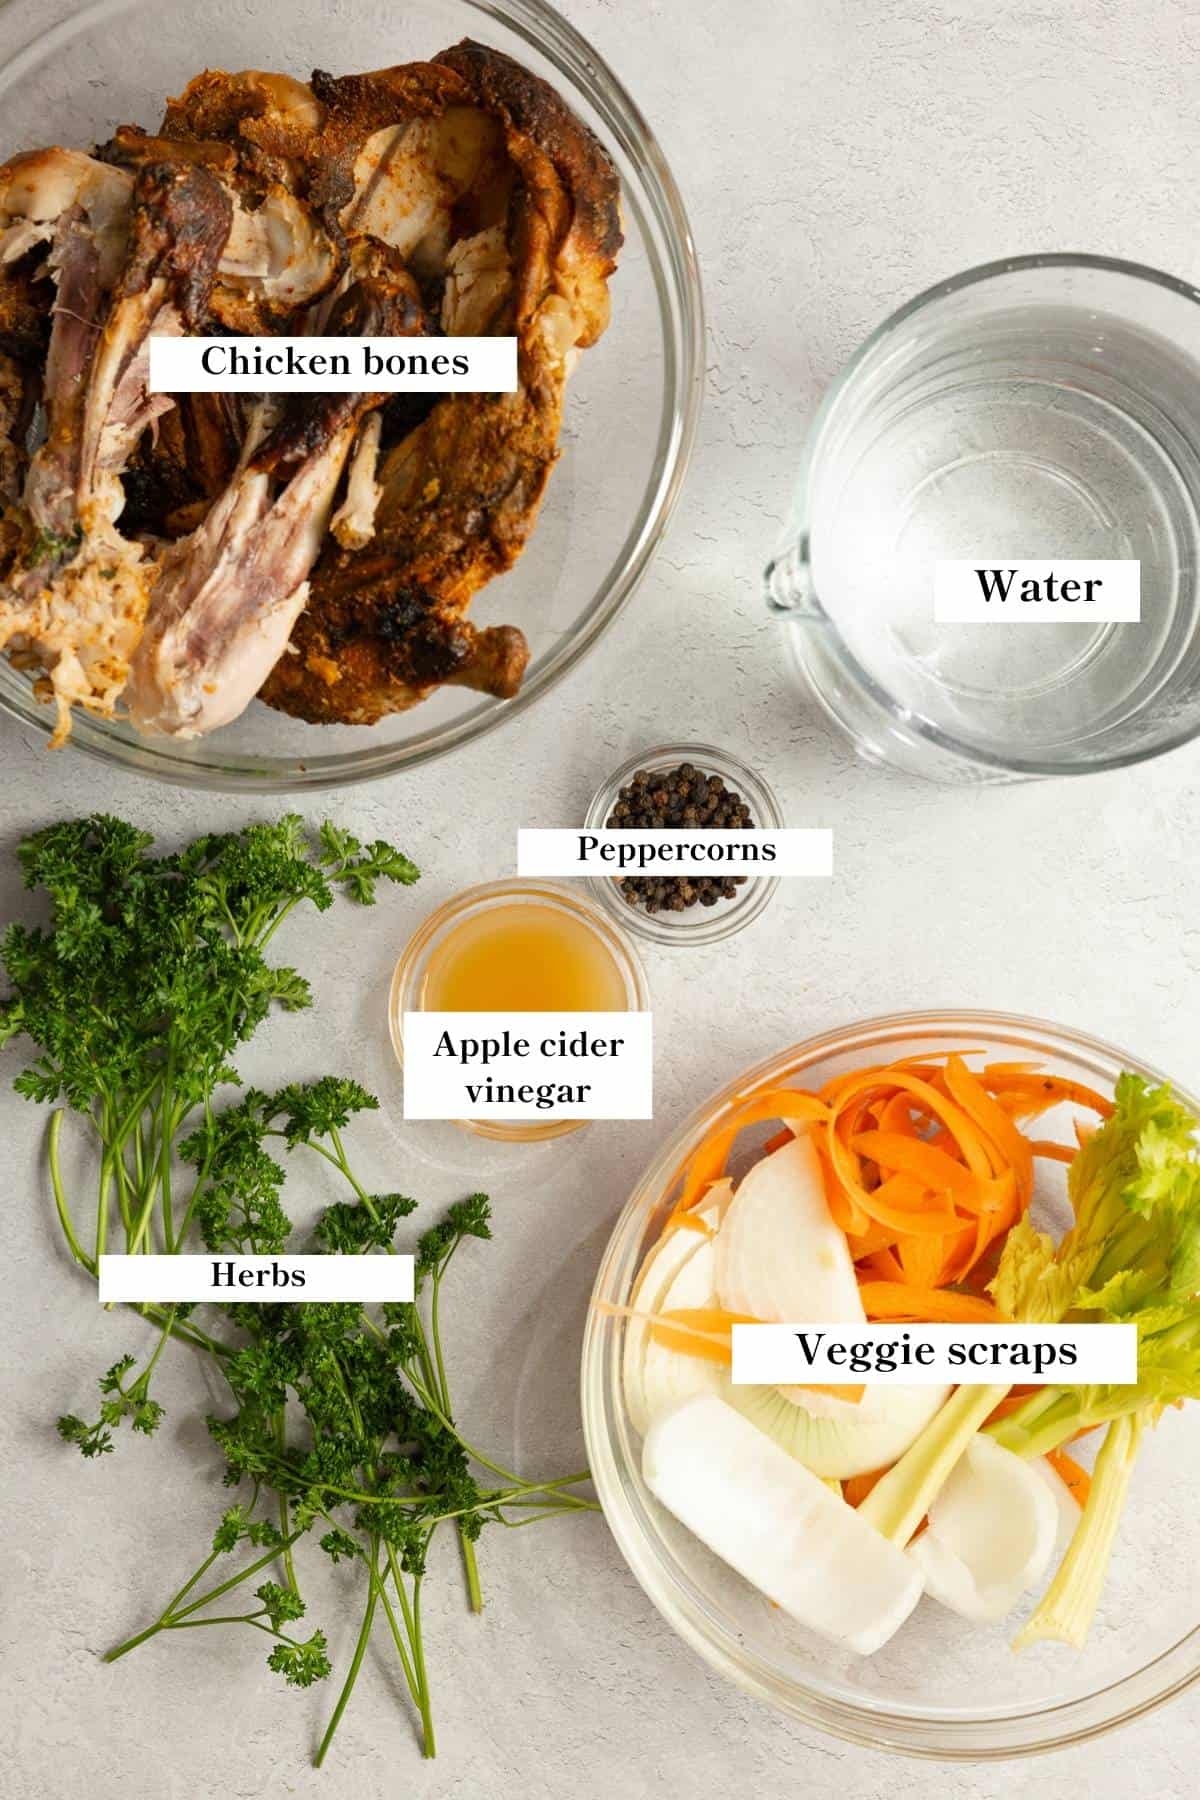
Chicken or Beef Bones – I prefer to use chicken bones since they are easier to come by. Throw the leftover bones (especially if they still have a little meat!) from a whole baked chicken, bbq chicken legs, thighs, rotisserie chicken, etc. in a Ziplock bag and into the freezer after eating and use those! Beef bones, chicken bones, even pork bones can be used to make homemade broth. Beef soup bones usually have more fat, so there will be a thick layer of tallow at the top of the jar after it is refrigerated. You can also mix bones from different animals in the same pot. You can even use chicken feet! I typically use two chicken carcasses when I make a batch of instant pot bone broth.
Apple cider vinegar – This is optional, but it adds flavor and helps draw out the minerals in the bones.
Vegetable scraps – I use celery leaves and carrot peels. These veggie scraps are optional but add flavor, color, and more nutrients to the stock. When you are chopping veggies for other meals, place the bottoms, tops, and peelings of the veggies that you would normally trash into a zip-lock bag and place in the freezer. When you go to make broth you have veggies to use!
A full ingredient list with exact amounts can be found in the recipe card below.
Tools You Will Need
Instant Pot – Any electric pressure cooker will work. I have the Instant Pot brand, but another brand will work just fine.
How To Make The Best Instant Pot Bone Broth
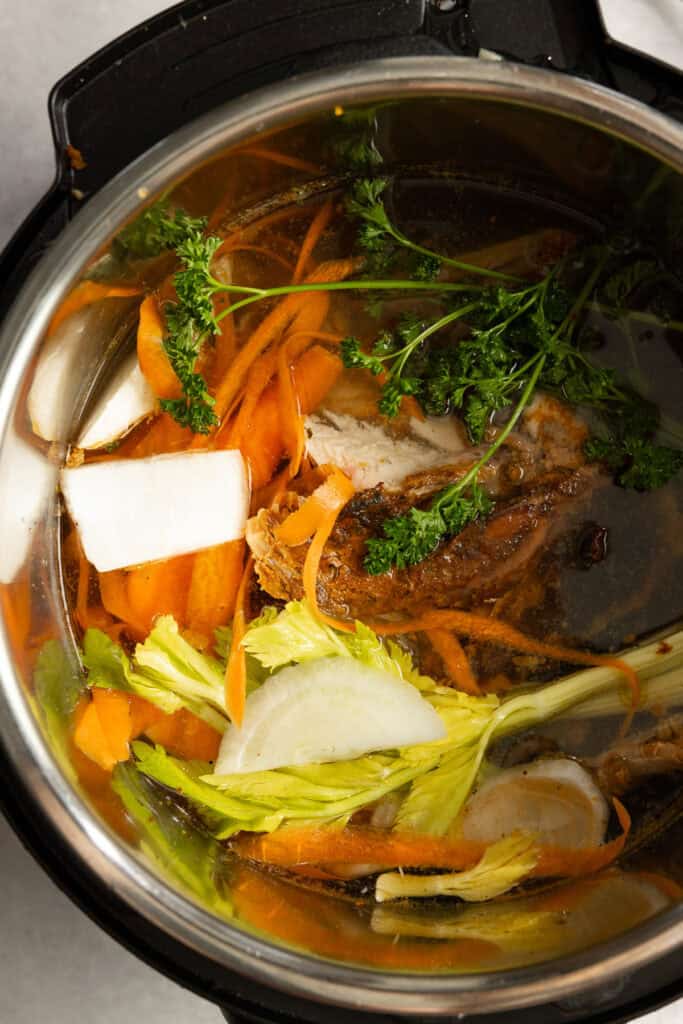
Step 1: Fill the Instant Pot with your bones of choice, about 3/4 of the way to the top, then add enough water to just cover the bones. For the broth to gel, it is important to have a water to bone ratio that isn’t too high. Watch the video to see how many bones and water I add for bone broth that effectively gels. Add a few tablespoons of apple cider vinegar, and set your Instant Pot.
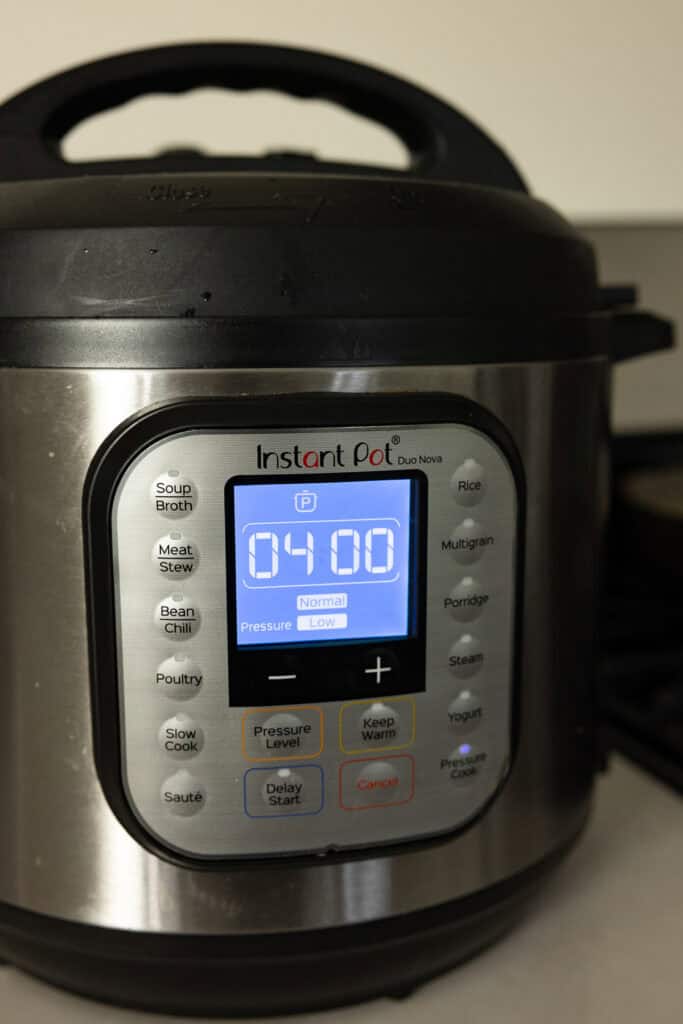
Step 2: Press the soup button on the Instant Pot. Set it to low pressure and the maximum cooking time of 120 minutes or as many hours as your Instant Pot allows. Repeat this process three times or more for a total cook time of 6-8 hours. Sometimes I will repeat this step even longer. This allows the broth to gel, which is what we want! If you can’t get to it immediately, it will just sit on warm until you can. This is fine!
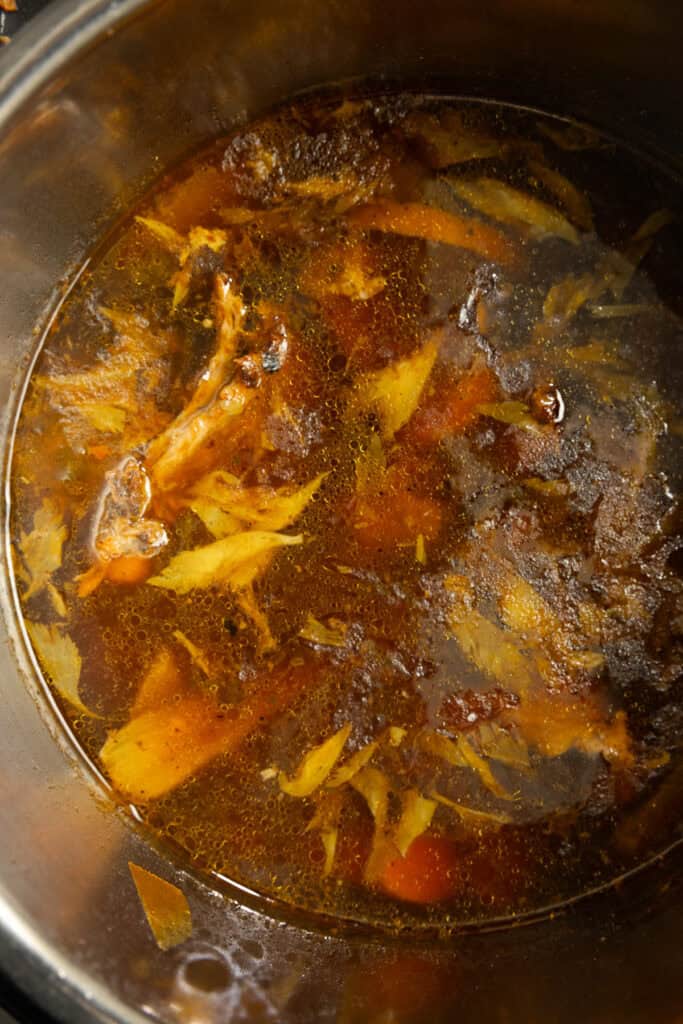
Step 3: Once finished, press the cancel button to turn it off, allow the Instant Pot to naturally release for about 10 minutes and then switch to venting.
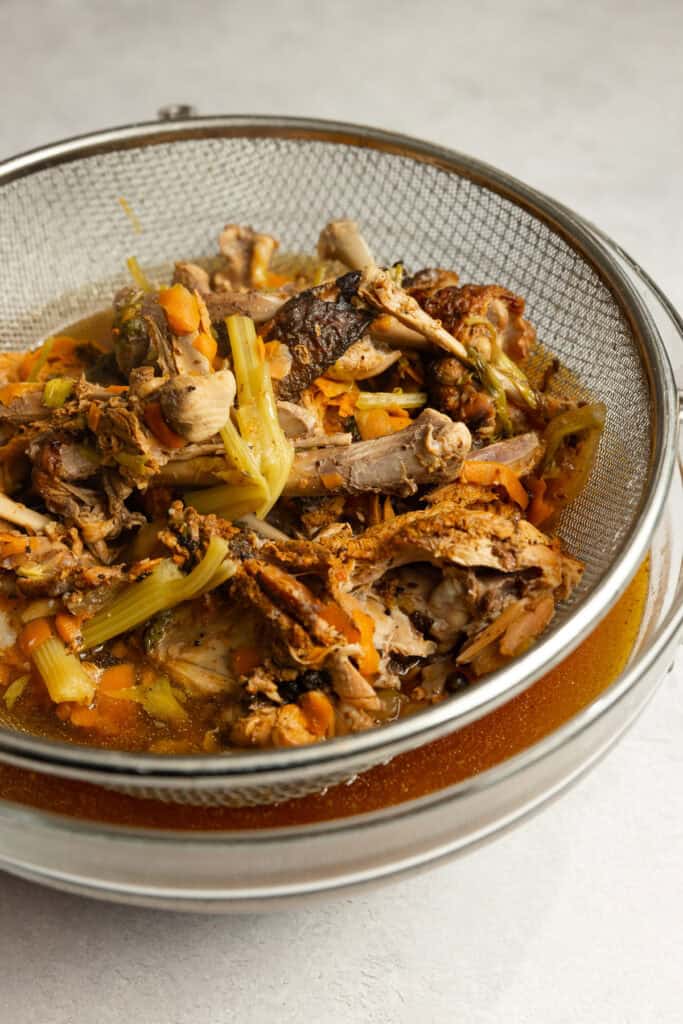
Step 4: Allow the broth to cool slightly, then place a stainless steel fine mesh strainer over a large bowl. Strain off the bones and pour the broth into half gallon mason jars (I find a funnel is helpful for this). Store them in the refrigerator for up to one week.
Tips
- Keep leftover bones and vegetable scraps in a freezer container until you are ready to make homemade broth with them. This will save you money and help you use all parts of the chicken or beef bones.
- Freeze any leftover broth as desired in an airtight container. After the broth cooled, freeze it in ice cube trays (great for small portions!), a plastic bag, or a quart size mason jar. If using a mason jar, leave a few inches of headroom to allow for expansion. If you don’t leave any space at the top, your mason jar will likely break.
- If you do not eat enough meat on the bone, you can always ask local farmers what they do with the extra bones that people don’t want. They will likely sell them to you for a low price.
Recipe FAQ’s
Yes. After the broth has cooked, set it on warm for 10 hours. I will frequently let the broth cook during the day. When it’s finished, I set the pressure cooked to warm for 10 hours. Then I can strain and store the broth the next day if needed, or when I have more time.
The most important aspect to homemade broth is to get the broth to gel. (This is where all the health benefits are!) So whether you use a slow cooker or electric pressure cooker to make your broth, you want it to gel for the most health benefits.
A conventional slow cooker can accommodate more bones, but it loses more liquid in the cooking process. Slow cookers can contain toxic substances like lead (this is more likely in older models).
I prefer the electric pressure cooker because you set it and forget it. Plus, its made from non-toxic stainless steal, and it gives you amazing bone broth.
Bone broth is full of vitamins, minerals, natural collagen, and amino acids. It has many health benefits making it a delicious choice, good for everyday consumption! I like to have a warm mug of homemade broth first thing in the morning to support gut health.
Adding broth to dishes helps boost flavor and nutritional value. Some of my favorite ways to use it in cooking include:
Use as a base for a delicious and nutritious soup
Add to stews
Cook rice, couscous, risotto, quinoa, etc. in bone broth instead of water for added flavor and nutrients
Baste a chicken or turkey in homemade broth
Use it in place of water in savory Instant Pot or Crock-Pot dishes
Make our families’ favorite Sourdough Stuffing or Chicken Pot Pie
This is up to your preference, but the fat is healthy and delicious. While some people recommend skimming off the fat for flavor purposes, I like to leave mine to add extra nutrients. You could also skim it off to use the fat and save it to use for cooking. Use it for pan frying, sautéing, or just leave it in when making soups.
Find Delicious Recipes With Broth
- Easy Zuppa Toscana Soup
- Split Pea Soup
- Tomato Soup From Scratch
- Homemade Creamy Chicken And Gnocchi Soup
- Chicken Marsala Soup
- Sausage Sauerkraut Soup
- Creamy Chicken And Wild Rice Soup
If you try this recipe and love it, I would love it if you could come back and give it 5 stars! Tag me on Instagram @farmhouseonboone.
Instant Pot Bone Broth
Equipment
Ingredients
- 2 lbs chicken bones
- 1/2 gallon water
- Veggie scraps, onions, celery, carrots, etc.
- Herbs, parsley, thyme, basil, etc.
- 1/2 tablespoon Peppercorns
- 1-2 tablespoons apple cider vinegar
Instructions
- Place the chicken bones into the Instant Pot and pour over water with veggie scraps and apple cider vinegar.
- Add lid and set to seal.
- Set to low pressure for 240 minutes.
- Once the time is up, set it again for 240 minutes.
- When it is done cooking, you can either allow it to naturally release or flip the valve to venting.
- Strain off the broth using a fine mesh strainer and store broth in the fridge.
Notes
- Keep leftover bones and vegetable scraps from other meals in a freezer container until you are ready to make homemade broth with them.
- Any bones will work, but I typically use chicken because we like the taste of the broth. You can also mix bones from different animals.
- This will store for up to a week in the refrigerator. Or you can freeze for up to 6 months.
Nutrition
Nutrition information is automatically calculated, so should only be used as an approximation.


Hi Lisa!
Thanks for the recipe. Just needed clarification on cooking time. The recipe says 240 minutes, two times but the video says 120 minutes, three times. Which do you use currently?
Honestly, either one works. You could even go longer if you want. If there is ever a difference between the video and the recipe card, always go with the recipe card. Once videos are published I can’t edit them, but I can with blog posts.
New to using an Instant Pot, so I’m in the learning phase. What’s the difference between doing this recipe on high vs low pressure? I skimmed the article, following the directions, and didn’t look down at the recipe until my 6 hours were up and realized I’d missed that this was supposed to be on low pressure. I did it for 6 hours on high. It isn’t gel yet, so I’m doing another 2 hours on low this time.
Still didn’t gel. Oh well.
It won’t gel until after it cools. It actually not a huge deal using high pressure vs low pressure. I’ve done both.
Hi, Lisa!
What a great post, right? People have been loving it and commenting for years!
I moved to Honduras almost two years ago, and my Instant Pot was one piece of kitchen equipment that made the trip with me. When I finally got brave enough to buy whole chickens here, I started pressure cooking for 70 minutes a whole five-pound frozen chicken by placing it in a steamer made for the IP. I remove the cooked chicken to a tray (to pick apart, meal prep, etc.) and put the steamer basket full of bones and skin back in the IP with water, some added vegetable pieces, and a dash of ACV.
That pressure cooks on high for 120 minutes. Gels every time, and SO easy to lift that steamer basket out, leaving just the broth behind. I do strain the broth one last time before cooling and refrigerating it.
Your website is on my One Tab with everything I open each morning to begin my day. Today I am making your dumpling recipe, and I can hardly wait! Oh, I should mention that I am 66 years old and still learning! Thank you for all you do.
Thank you for sharing that Cathy. I haven’t tried that with the steamer trays. What a great idea! Happy you are here!
Here is the one I use (URL is for an eight qt IP): https://tinyurl.com/IP-Steamer-Basket.
Thank you Cathy!
Post the recipe for bone broth cooked on the stove. I have electric stove 😓 Thank you
Here is a great blog with the various ways to make your bone broth, including on the stove top. Hope this helps! https://www.clovermeadowsbeef.com/bone-broth/#recipe
Hello! I made this broth about six days ago. It has been in my fridge and now I got some supplies to put it in the freezer. However, I now want to make some chili with it. Does that mean my chili will only be good for one day? And when I use the broth from the freezer, will it only be good for a day? Hoping this makes sense!
My pressure cooker only does High pressure, slow cook and sear. Should I do less time?
You can do it the same amount of time on high pressure.
Can this be pressure canned?
QUESTION: I made a whole (locally grown chicken) and then I was going to make broth with the water, salt, herb, I put in to cook the chicken. When I took out my chicken the liquid didn’t have a really nice taste. There was a lot of gelatin but I just didn’t care for the fatty aspect of it. So gave this to the dog and started over w/ bones and veggies. Do you add veggies into your chicken broth? Salt
My broth came out a lot darker than the picture. Can you cook it too long? It has a brownish tint vs yellow. I would hate to go through making a dish to find out this is wrong.
I’ve been making bone broth in my instant pot for awhile but rarely get it to get and couldnt figure out way….thanks for mentioning the water/bones ratio. Hopefully I’ll have a gellier broth next time!