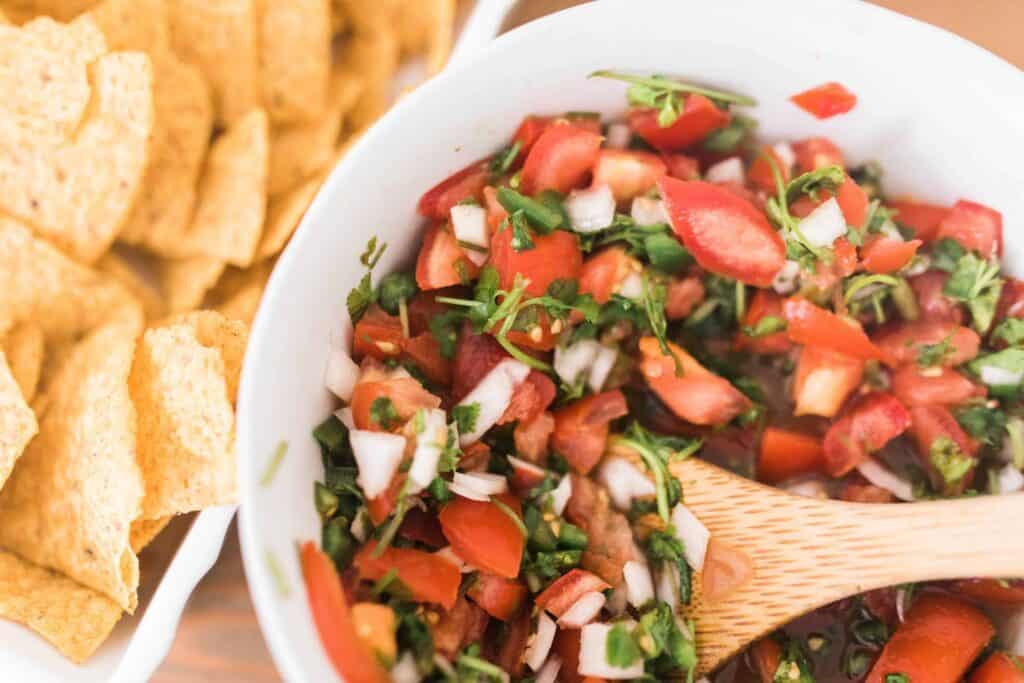
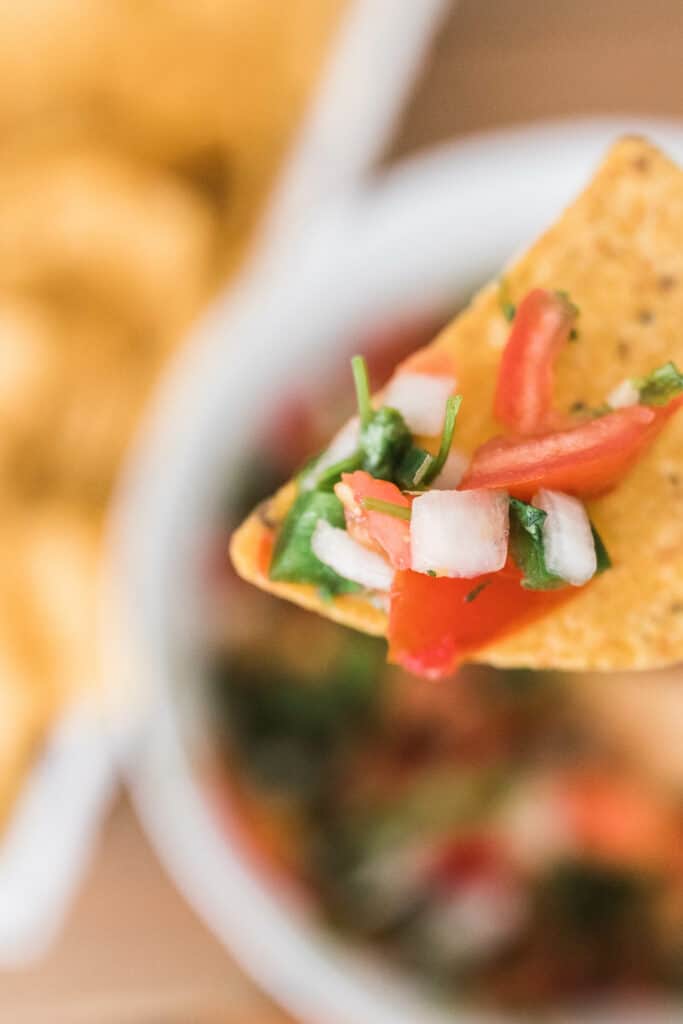
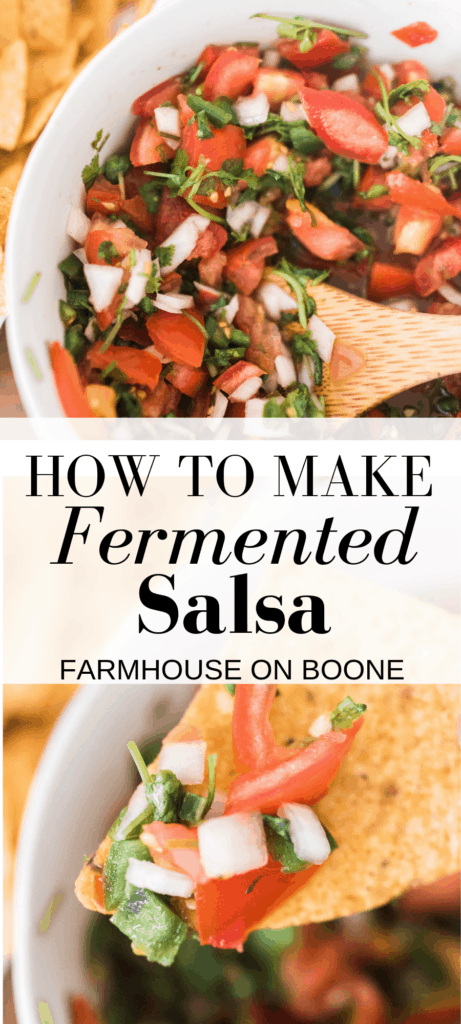
This easy fermented salsa recipe is a delicious and healthy way to preserve the harvest and add probiotics to your diet. Tangy, fresh tomatoes, paired with veggies and zippy lime, make this fermented salsa the perfect accompaniment to your favorite Mexican dishes, or to eat straight up with chips.
Fermented Salsa = Preserving Summer
Summer is in full swing, and if you put in a garden, you are probably starting to get fresh tomatoes and herbs, which is perfect time for salsa.
I’ve shown you how to make fermented pickles, sauerkraut, and jalapeños. We’ll follow the same process of making those fermented foods to make fermented salsa.
It is so not complicated. It is a process I put off for a long time because I thought it would be really difficult to ferment my own vegetables. But it is really as simple as adding salt water to vegetables, and then keeping them submerged below the brine. Plus a little time. That is essentially all it is.
Eating foods that have been fermented is a great way to add gut-healthy probiotics to your diet; it’s basically like taking a probiotic pill, but instead, you are making it yourself so your body can recognize it and use it. Healthy gut bacteria has been shown to help your immune system, decrease inflammation, and can help decrease the incidence of certain diseases. (source)
But making fermenting foods isn’t just amazing for your health. It is also good for preserving the harvest. There’s nothing like canning, which can keep food for years, but fermenting foods will keep them for the winter.
If you have a bumper crop of tomatoes, you can ferment them, and they will keep 3 months.
So, let’s say you have a huge harvest of tomatoes in August, and decide to make several jars of this homemade fermented salsa. Following this timeline, it will keep until November or early December.
If you were to make fresh salsa and didn’t ferment it first, you wouldn’t be able to do that. So this is a good way to preserve the goodness of your garden.
Tips for making fermented salsa:
This post contains affiliate links, which means I make a small commission at no extra cost to you. See my full disclosure here.
- You can use a starter from a previous batch of ferments; usually, I just use the straight salt water and allow the process to happen naturally.
- For this recipe I’m using salt, but you could use whey straight off of kefir or yogurt, water kefir, or a little juice from a previous ferment.
- If you don’t have weights, you could use a skin of an onion or a large slice of bell pepper to top the salsa and then pressing the salsa down well and submerging it below the brine.
- Add a few tsp of previous batch of ferments to your salsa to give it a probiotic boost, basically like a starter.
How does the fermentation process work?
Basically, you are allowing the good bacteria that is already present on vegetables to take over, while the salt inhibits the bad bacteria. The good bacteria then grow with a little time at room temperature.
After the good bacteria have grown (you can usually tell this by the vegetables tasting tangy – almost a little zippy), then you store it in a cool place to stall the good bacteria growth.
How long do fermented foods last?
Fermented foods that are properly prepared and stored in a cool, dark place (like the refrigerator) can last at least 4-18 months. This fermented salsa should last 3-4 months or longer. Look for any signs of mold, an even color throughout, and it still looks edible.
Use your nose to see if it still smells as it should, and doesn’t have a bad smell. Check to make sure the texture is still good, and not mushy. You can always taste it to make sure it tastes good.
Tools you will need:
Mason jar – I like the wide mouth mason jars for fermenting. This recipe uses a 24 oz wide mouth jar.
Fermentation lid – I like these silicone ones
Weight – These glass ones are my favorite.
Large bowl
Cutting board
Knife
Measuring spoon
Ingredients:
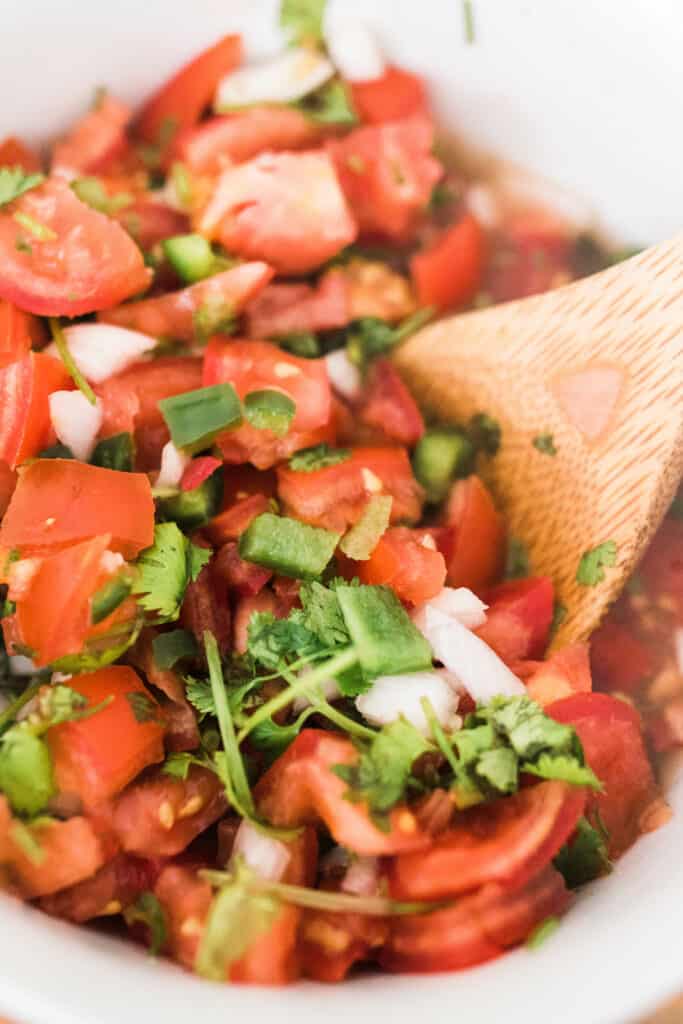
- 4 small tomatoes, around 2 cups – of course, this depends on the variety you grew. You could use two large tomatoes, or a bunch of cherry tomatoes.
- 1 bell pepper
- 1/2 white onion
- 1/2 lemon or lime – lime is more ideal.
- 1-2 cloves of garlic, depending on preference.
- 1 jalapeno – you can leave this out if you are making this for the kids.
- 1/4 cup chopped fresh cilantro
- 2 tsp salt
How To Make Fermented Salsa Video
How To Make Fermented Salsa
- Dice tomatoes- try to get as much of the juice in the bowl as possible. This will just help create more brine, which is important, since we want to keep the salsa submerged below the brine. If your tomatoes aren’t that juicy, you could always add water later.
- Chop remaining vegetables and add to the bowl.
- Squeeze in lemon/lime juice.
- Add 2 tsp salt and mix well.
- Add salsa to a wide mouth mason jar and place weight on top, making sure the vegetables are submerged under the brine. I like to push the weight down really hard to make sure.
- Cover jar with fermentation lid or a loose lid. You want the gases to be able to escape without allowing anything in, like gnats.
- Leave on the counter at room temperature for 2 days to allow the good bacteria to take over. Other ferments you leave out to ferment for a lot longer, but salsa only takes about 2 days to get that sour, tangy taste you are looking for. If your house is really warm, it may only take one day to ferment.
- Throughout the fermentation process, it is good to check your vegetables and make sure they are still submerged under the brine. Things will mold if they go above the brine or if there is not liquid at the top. If you find that you are losing liquid, or there wasn’t much to begin with, just add a little water, and keep an eye on it to make sure that the vegetables are staying submerged.
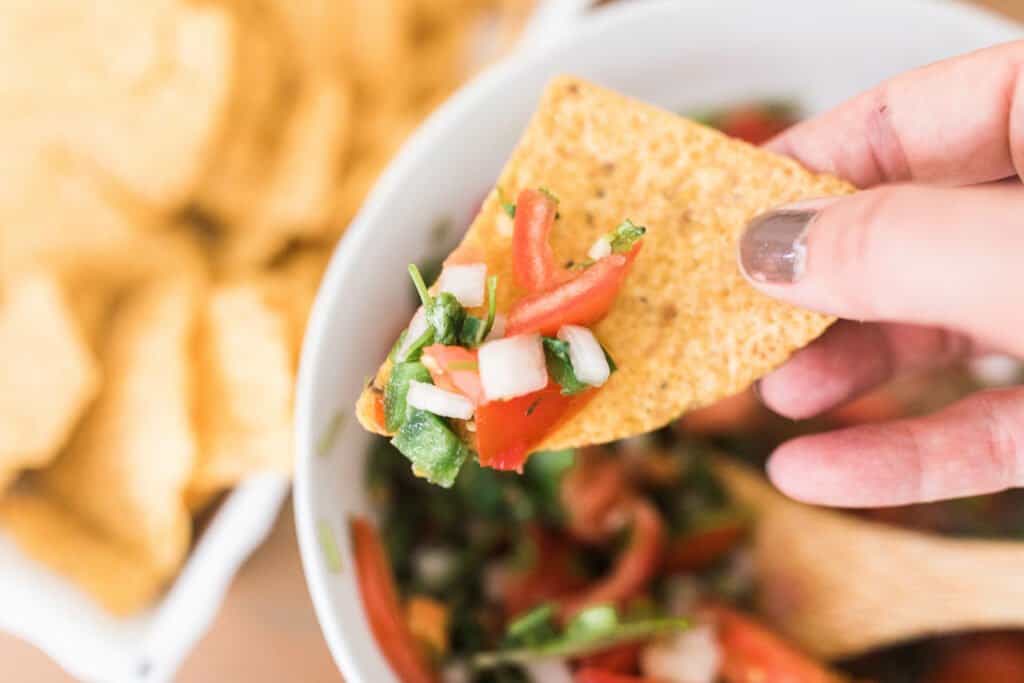
- Serve with chips, tacos, Mexican inspired dish. (i.e Mexican Hash with Avocado Crema, Pumpkin Sheet Pan Nachos, Healthy Quinoa Nachos Without Chips, etc)
Other ways to create a probiotic-rich brine for salsa:
Just pick one of these options. These are totally optional, and I really like to keep things simple, but there are a few other ways to create a brine. Personally, I like to just use salt for the sake of simplicity.
If you make your own yogurt or kefir, if you put it through a really tight cheese cloth and hang it up, the yellow liquid that comes out is called whey. You could also add that to your salsa to give it a good probiotic start.
Add a few tsp of water kefir.
Use a few tsp of a previous batch of ferments, like from homemade pickles.
Check out more from scratch recipes from our family’s farmhouse
How To Make A Whole Chicken In The Instant Pot
Raw Milk Sour Cream Recipe
How to Make Raw Milk Butter in a Blender
How to Make Wheat Flour at Home
Fermented Salsa Recipe Card
Lacto Fermented Salsa Recipe
Ingredients
- 4 small tomatoes, around 2 cups - of course, this depends on the variety you grew. You could use two large tomatoes, or a bunch of cherry tomatoes.
- 1 bell pepper
- 1/2 white onion
- 1/2 lemon or lime, lime is more ideal
- 1-2 cloves garlic, depending on preference
- 1 jalapeno, you can leave this out if you are making this for the kids
- 1/4 cup chopped fresh cilantro
- 2 teaspoons salt
Instructions
- Dice tomatoes- try to get as much of the juice in the bowl as possible. If your tomatoes aren't that juicy, you could always add water later.
- Chop remaining vegetables and add to the bowl.
- Squeeze in lemon/lime juice.
- Add 2 tsp salt and mix well.
- Add salsa to a wide mouth mason jar and place weight on top, pushing down well, making sure the vegetables are submerged under the brine.
- Cover jar with fermentation lid or a loose lid. You want the gases to be able to escape without allowing anything in, like gnats.
- Leave on the counter at room temperature for 2 days to allow the good bacteria to take over. If your house is really warm, it may only take one day to ferment.
- Throughout the fermentation process, it is good to check your vegetables and make sure they are still submerged under the brine.
- Once, it is fermented to your liking, enjoy and keep stored place in the fridge for 3-4 months.
Notes
- You can use a starter from a previous batch of ferments; usually, I just use the straight salt water and allow the process to happen naturally.
- For this recipe I’m using salt, but you could use whey straight off of kefir or yogurt, water kefir, or a little juice from a previous ferment.
- If you don’t have weights, you could use a skin of an onion or a large slice of bell pepper to top the salsa and then pressing the salsa down well and submerging it below the brine.
- Add a few tsp of previous batch of ferments to your salsa to give it a probiotic boost, basically like a starter.
Nutrition
Nutrition information is automatically calculated, so should only be used as an approximation.
Let me know in the comments below what your favorite ferments are.





Ahhh this is such a lovely recipe, and so versatile. I like to get creative and add fresh herbs from my garden this time of year. Another thing I have started to do is to add basil and oregano, omit the bell pepper and jalapenos and it turns into a a vegan bruschetta—oh yum!!! That on top of sourdough bread toasted crispy, or your sourdough English muffins is amazing! =)
I’ve been having a lot of fermentation with vegetables . They don’t seem to bubble up and have any fizz to them. I follow directions to the letter , and even kimchi with fair or poor results. What am I doing wrong?
They might not taste fizzy in the way soda tastes fizzy buy use should see little bubbles in your jar around the veggies after a couple days and when you unscrew your jar it should sound like when you open a soda bottle (unless you use a fermentation top that lets the gasses escape)
Bill how long do you let your kimchi ferment , I do mine for 5 or 6 days on the kitchen counter. I also seem to have better fermentation with Celtics salt in my kimchi , little more pricey but I like it better.
I made this to use up some tomatoes from my garden and also because it sounded delicious! It’s perfect! I made it with 1 jalapeno and it’s mild enough for my kids to eat. I might try it again and add more jalapenos. I had to buy a whole bag of jalapenos so now I can make some fermented jalapenos too.
Hi Lisa! I’ve been following you on YouTube and here on the blog for a couple of years now. I was wondering if I would be able to make my own salsa and just lacto ferment the way you showed in your fermenting video. I have a HEAVENLY salsa recipe and I’d really like to try it fermented. I think it would be really yummy. Please let me know your thoughts 🙂
Cyndee to know its finished, it will be bubbly and just the right amt of tang. The salt is to keep it crisp instead of turning to mush. The good microbes are continuing to eat it and it will break down over time but should last in the fridge for months. I have a red cabbage kraut going on 9 months in the fridge. It is anaerobic (without air) if it stays under the brine. Lacto fermentation is how they preserved food before refridgeration. Fortunately I use it today for an abundance of vitamins and minerals as well as all the other gut balancing benefits.
Will you create links for the equipment you use to ferment salsa? Thank you much.
How do you know when it is finished fermenting?
Cyndee to know its finished, it will be bubbly and just the right amt of tang. The salt is to keep it crisp instead of turning to mush. The good microbes are continuing to eat it and it will break down over time but should last in the fridge for months. I have a red cabbage kraut going on 9 months in the fridge. It is anaerobic (without air) if it stays under the brine. Lacto fermentation is how they preserved food before refridgeration. Fortunately I use it today for an abundance of vitamins and minerals as well as all the other gut balancing benefits.
Do you store your fermented salsa in the fridge ? And do you leave the fermenting lid on to store the salsa ? Or replace it with a regular canning lid?
Thank you for this recipe. I tried it out for the first time thanks to you!
I used Himalayan salt and it turned way too salty. I saw another recipe on the web that uses the same quantity of produces but half the salt, I will cut back on the salt for my next batch.
Hi Lisa!
Thank you soo much for your work. About ten years ago I read sally fallon’s book nourishing traditions. I have since wanted so much to ferment veggies but became overwhelmed! You have inspired me and right now I have carrots fermenting and a second water Kefir going. I have cabbage in my fridge waiting to be cut up and put in a jar. My next thing is to try milk kefir. My kiddos can’t do Casein but can tolerate goat milk. I just found a local source for goat milk so I hope to try goat yogurt and Kefir. Then I plan on working my way around sourdough bread only we are gluten free – so I will be using brown rice flour. Wish me luck! Thanks again for your work – you are super inspiring and I so appreciate your authenticity! I am hoping to take your blog class in August! July was dedicated to getting our 2019-2020 homeschool curricula (we have a 9th grader this fall) so I am hoping to make your class happen in August! – thanks again – you are awesome! Sincerely, Kathlene
My husband is gluten intolerant and I am using Bob’s Red Mill One to One which is gluten free to make bread in my bread machine. Let me know if the brown rice flour works for you. The One to One is a combo of several different gluten free flours that are supposed to be a balanced substitute for wheat flour when baking. So far, we like it.
Yum!!! I’ll have to try this! Great post!