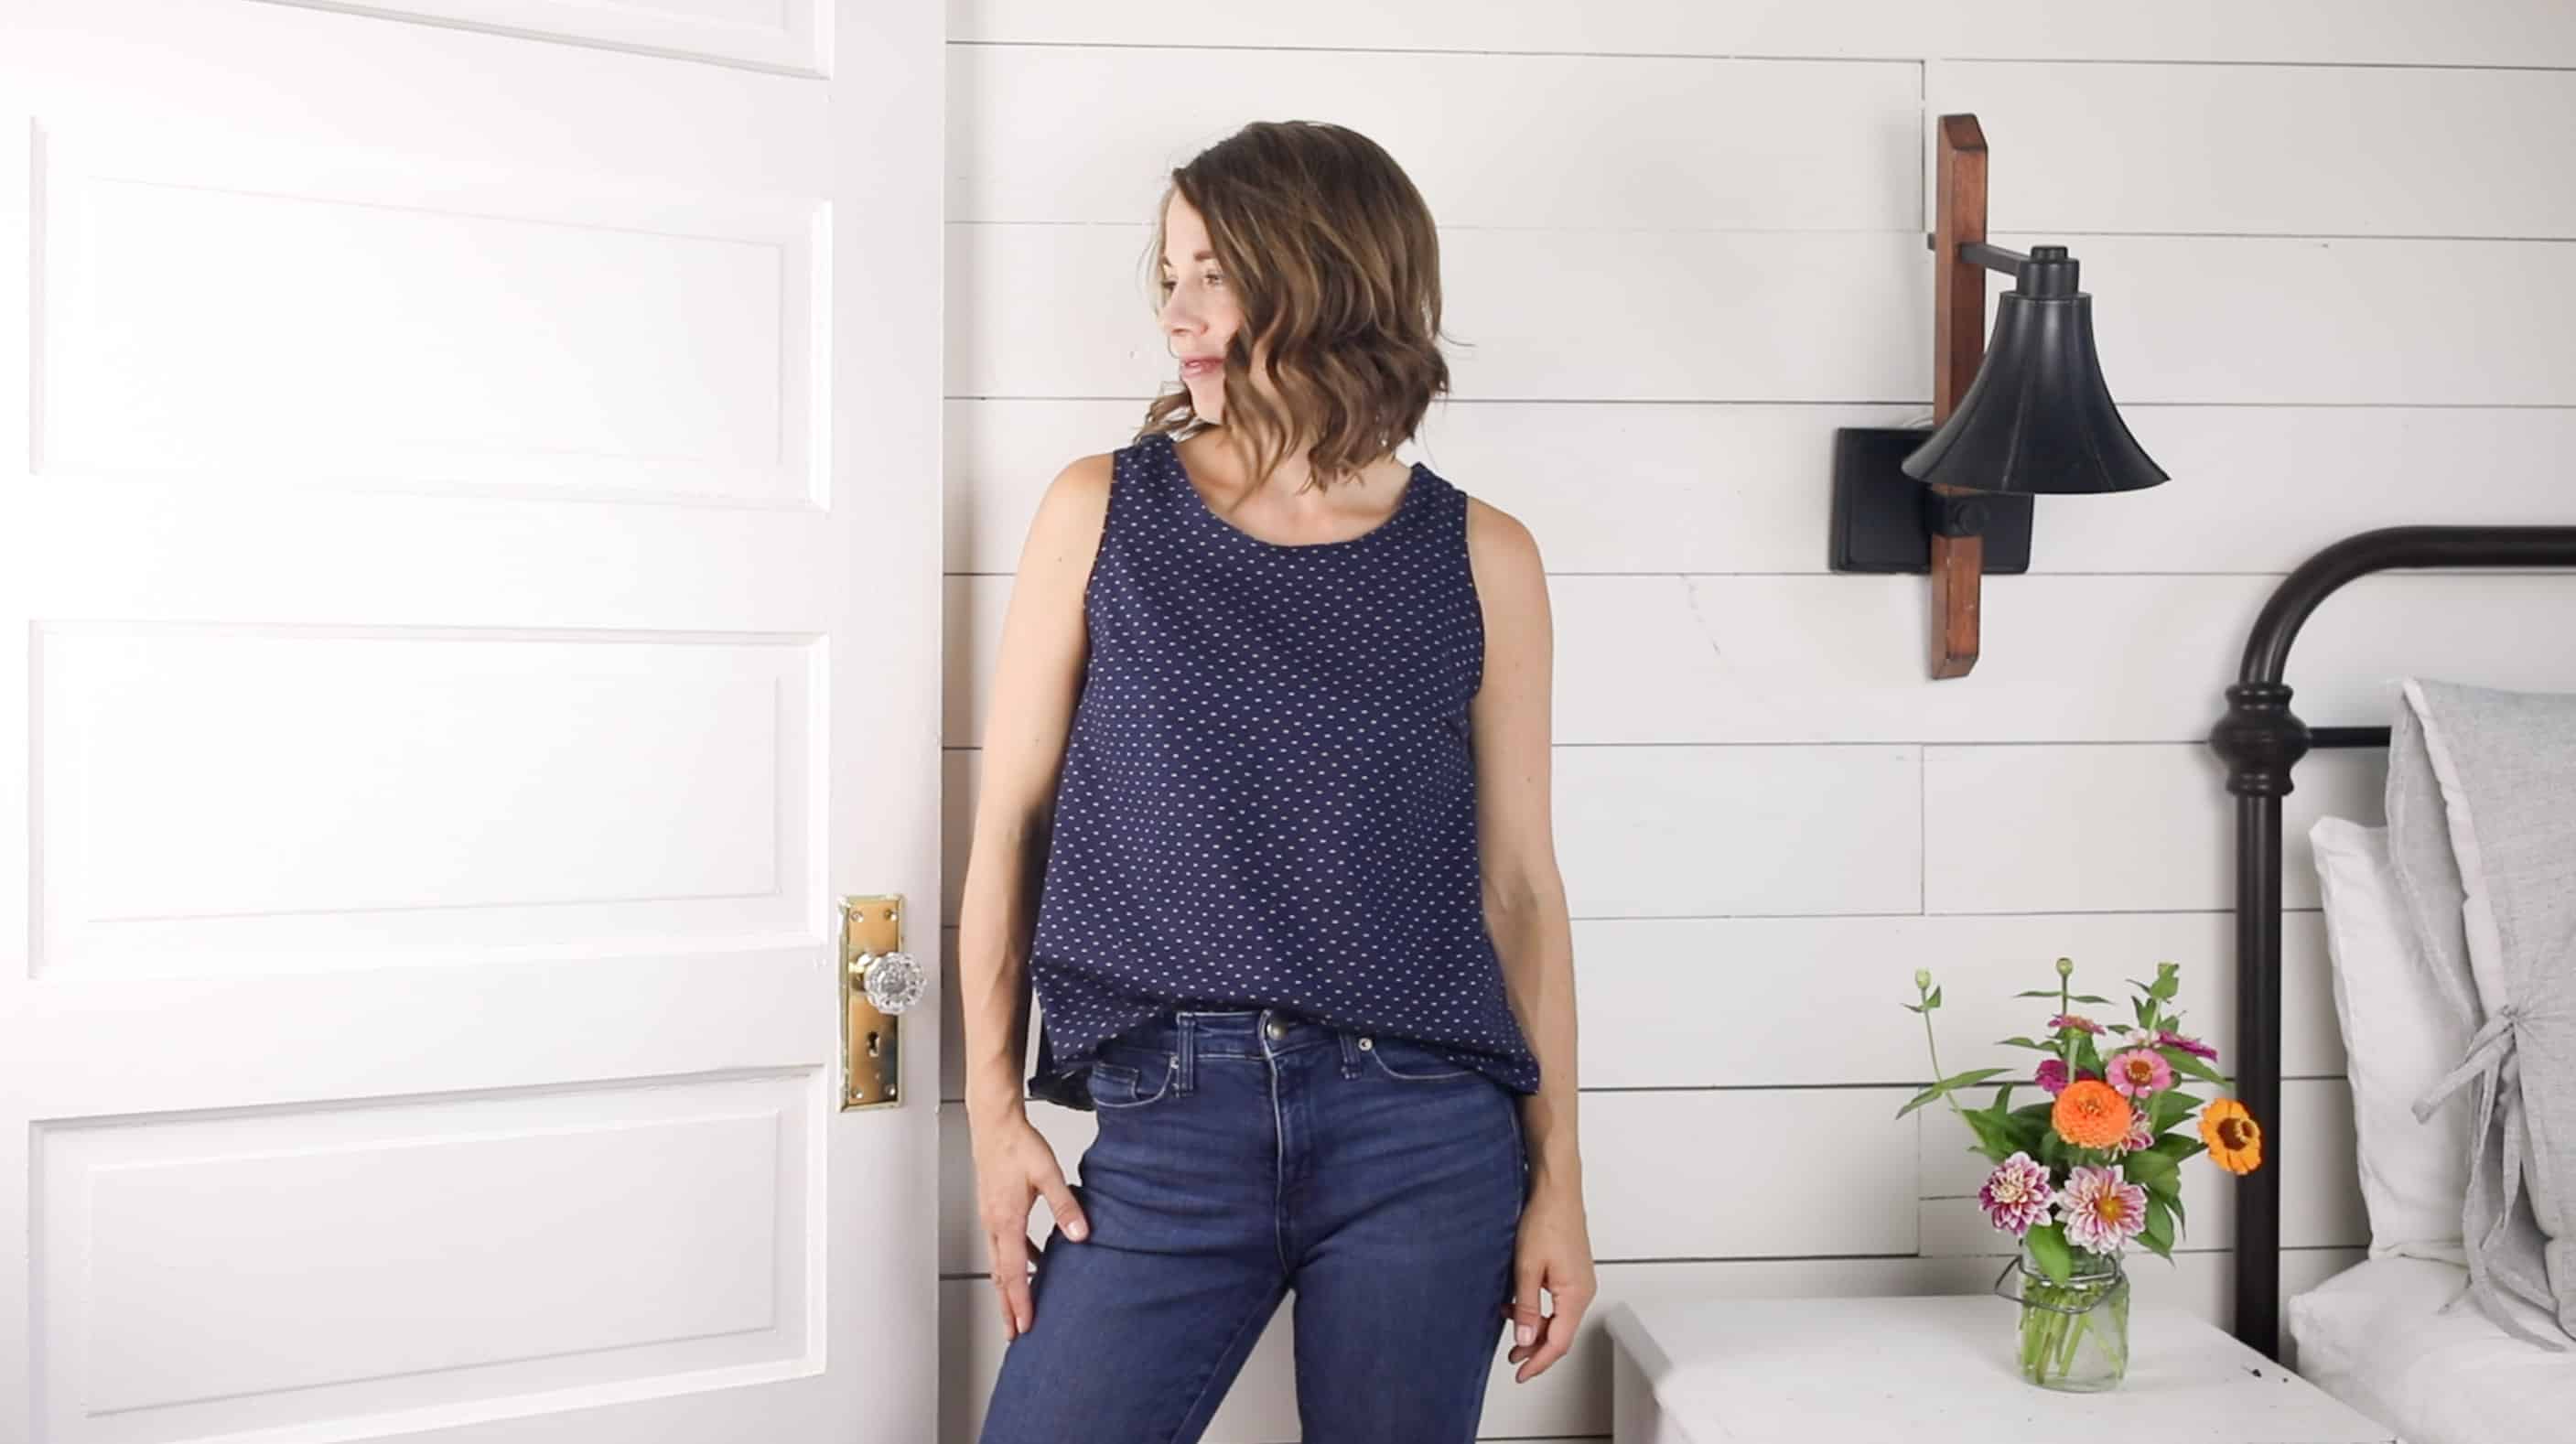
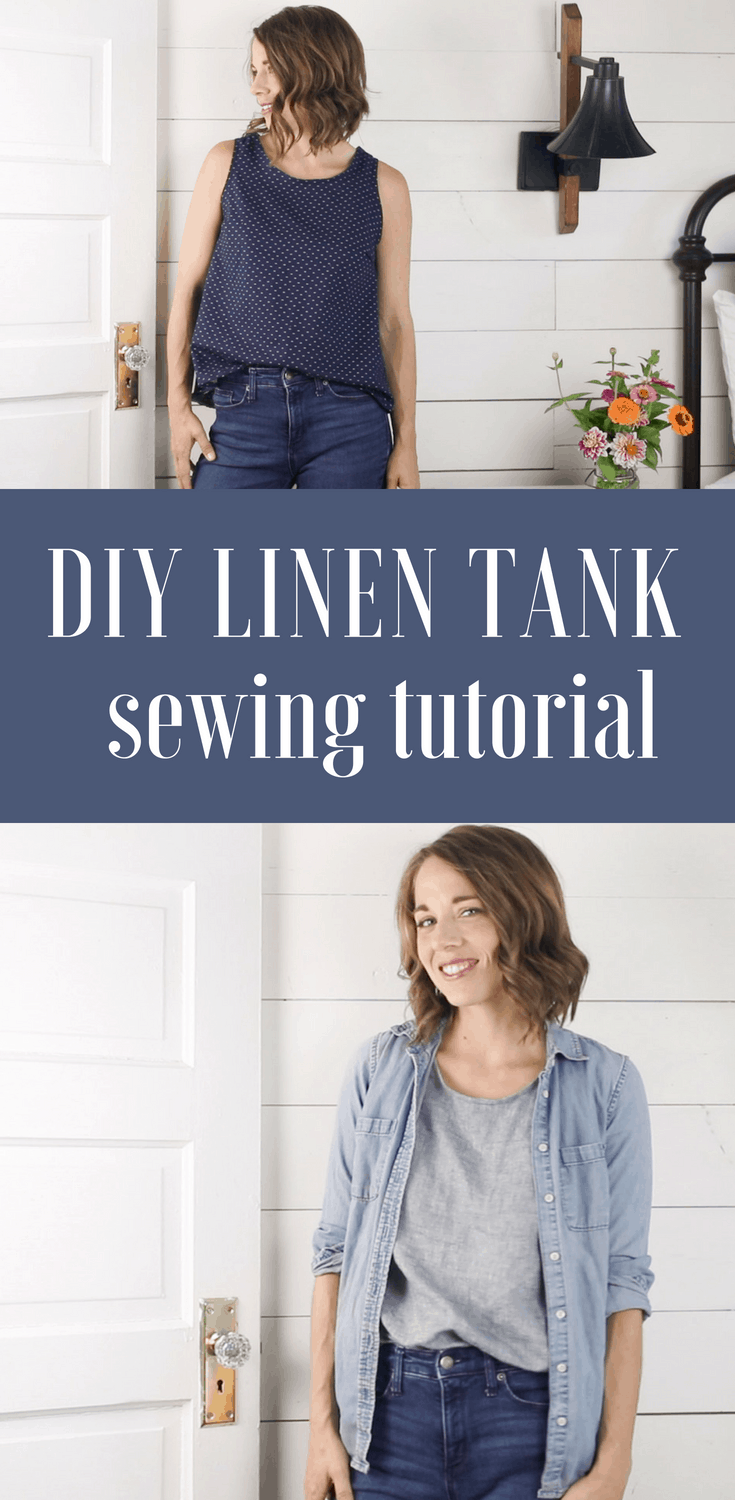
Learn how to sew a tank top in this simple sewing tutorial for beginners. Just some basic sewing skills and a yard and half of fabric are all you need to start making your own DIY tank top.
This post contains affiliate links. See my full disclosure here.
I have been meaning to whip up a couple summer tanks for several weeks now, but I never got around to it.
Well, the other day we stopped by the local thrift shop to drop off our regular round of donations. (Because somehow we accumulate so much crud in our house that I have to bring another trash bag of stuff up there like every other week!)
Aaand while we were there, we decided to actually go in. You know, because we need to look more stuff right after we’re dropping off our household clutter. Haha.
It turned out to be a good decision, because I spotted the perfect fabric for this tutorial.
Circa 1982. Navy blue. Subtle pattern. At least two continuous yards.
I swooped it up without a second thought.
It was just the push I needed to whip up a few tanks for summer.
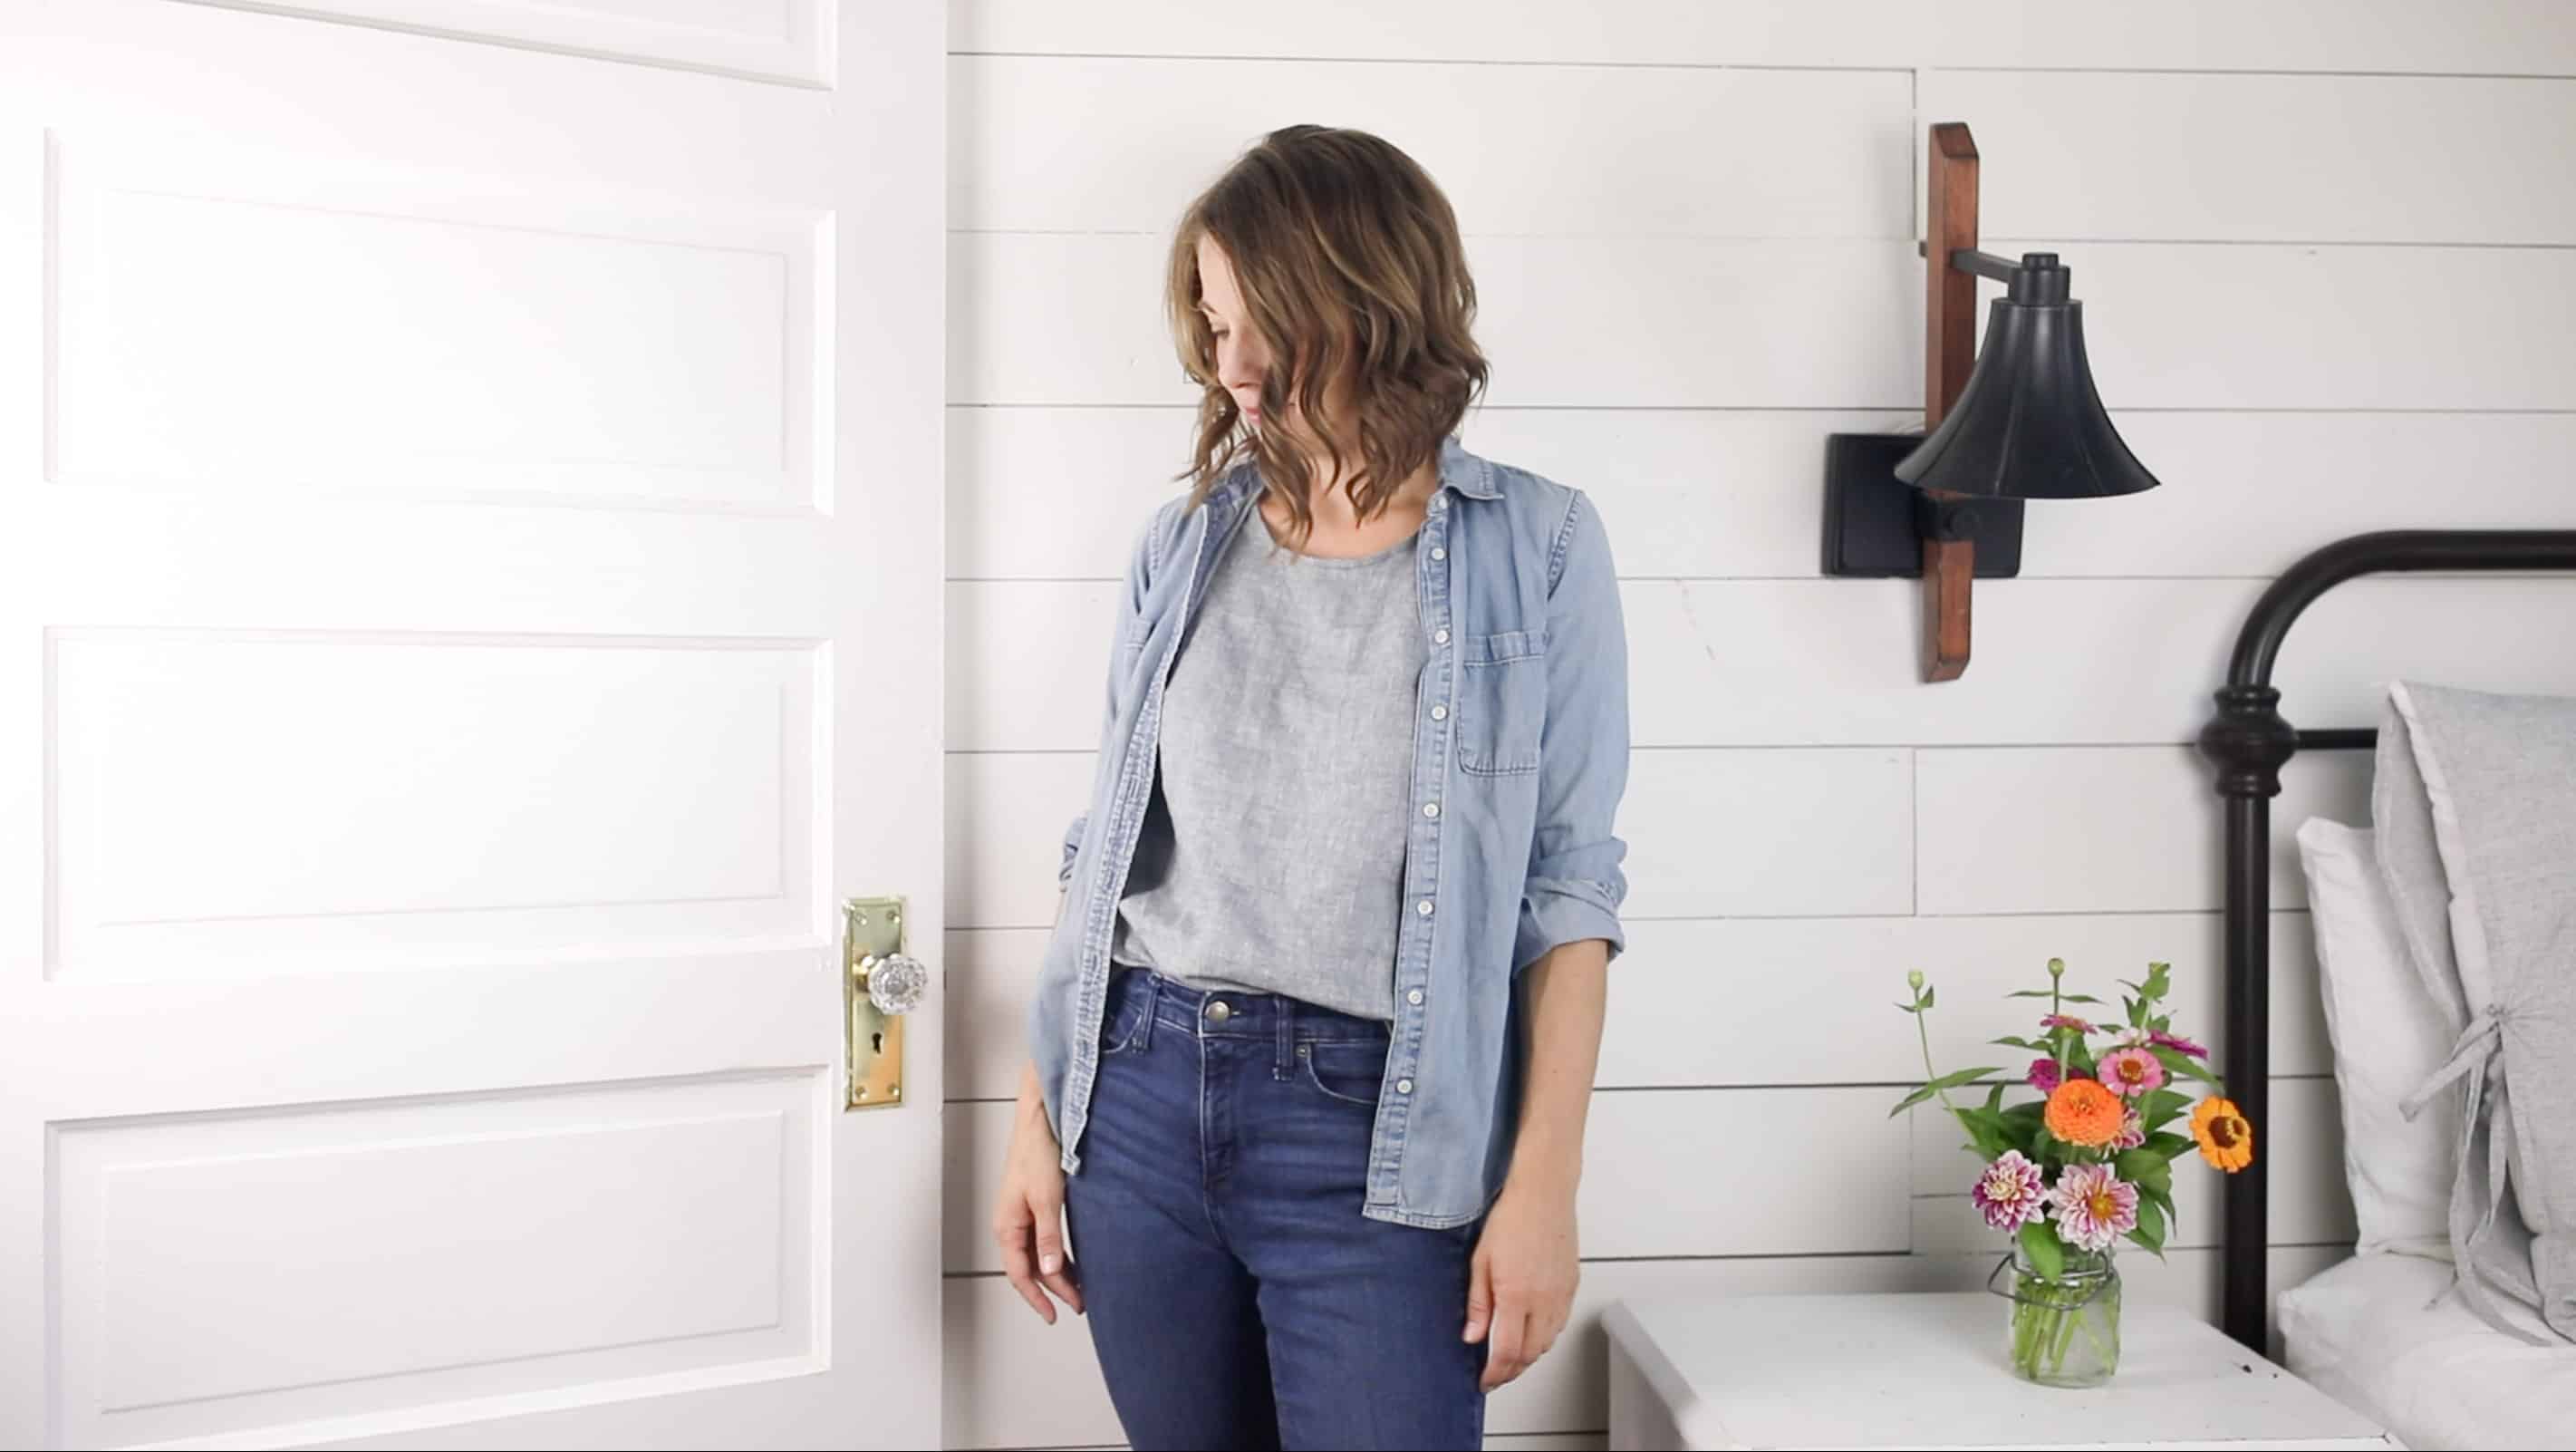
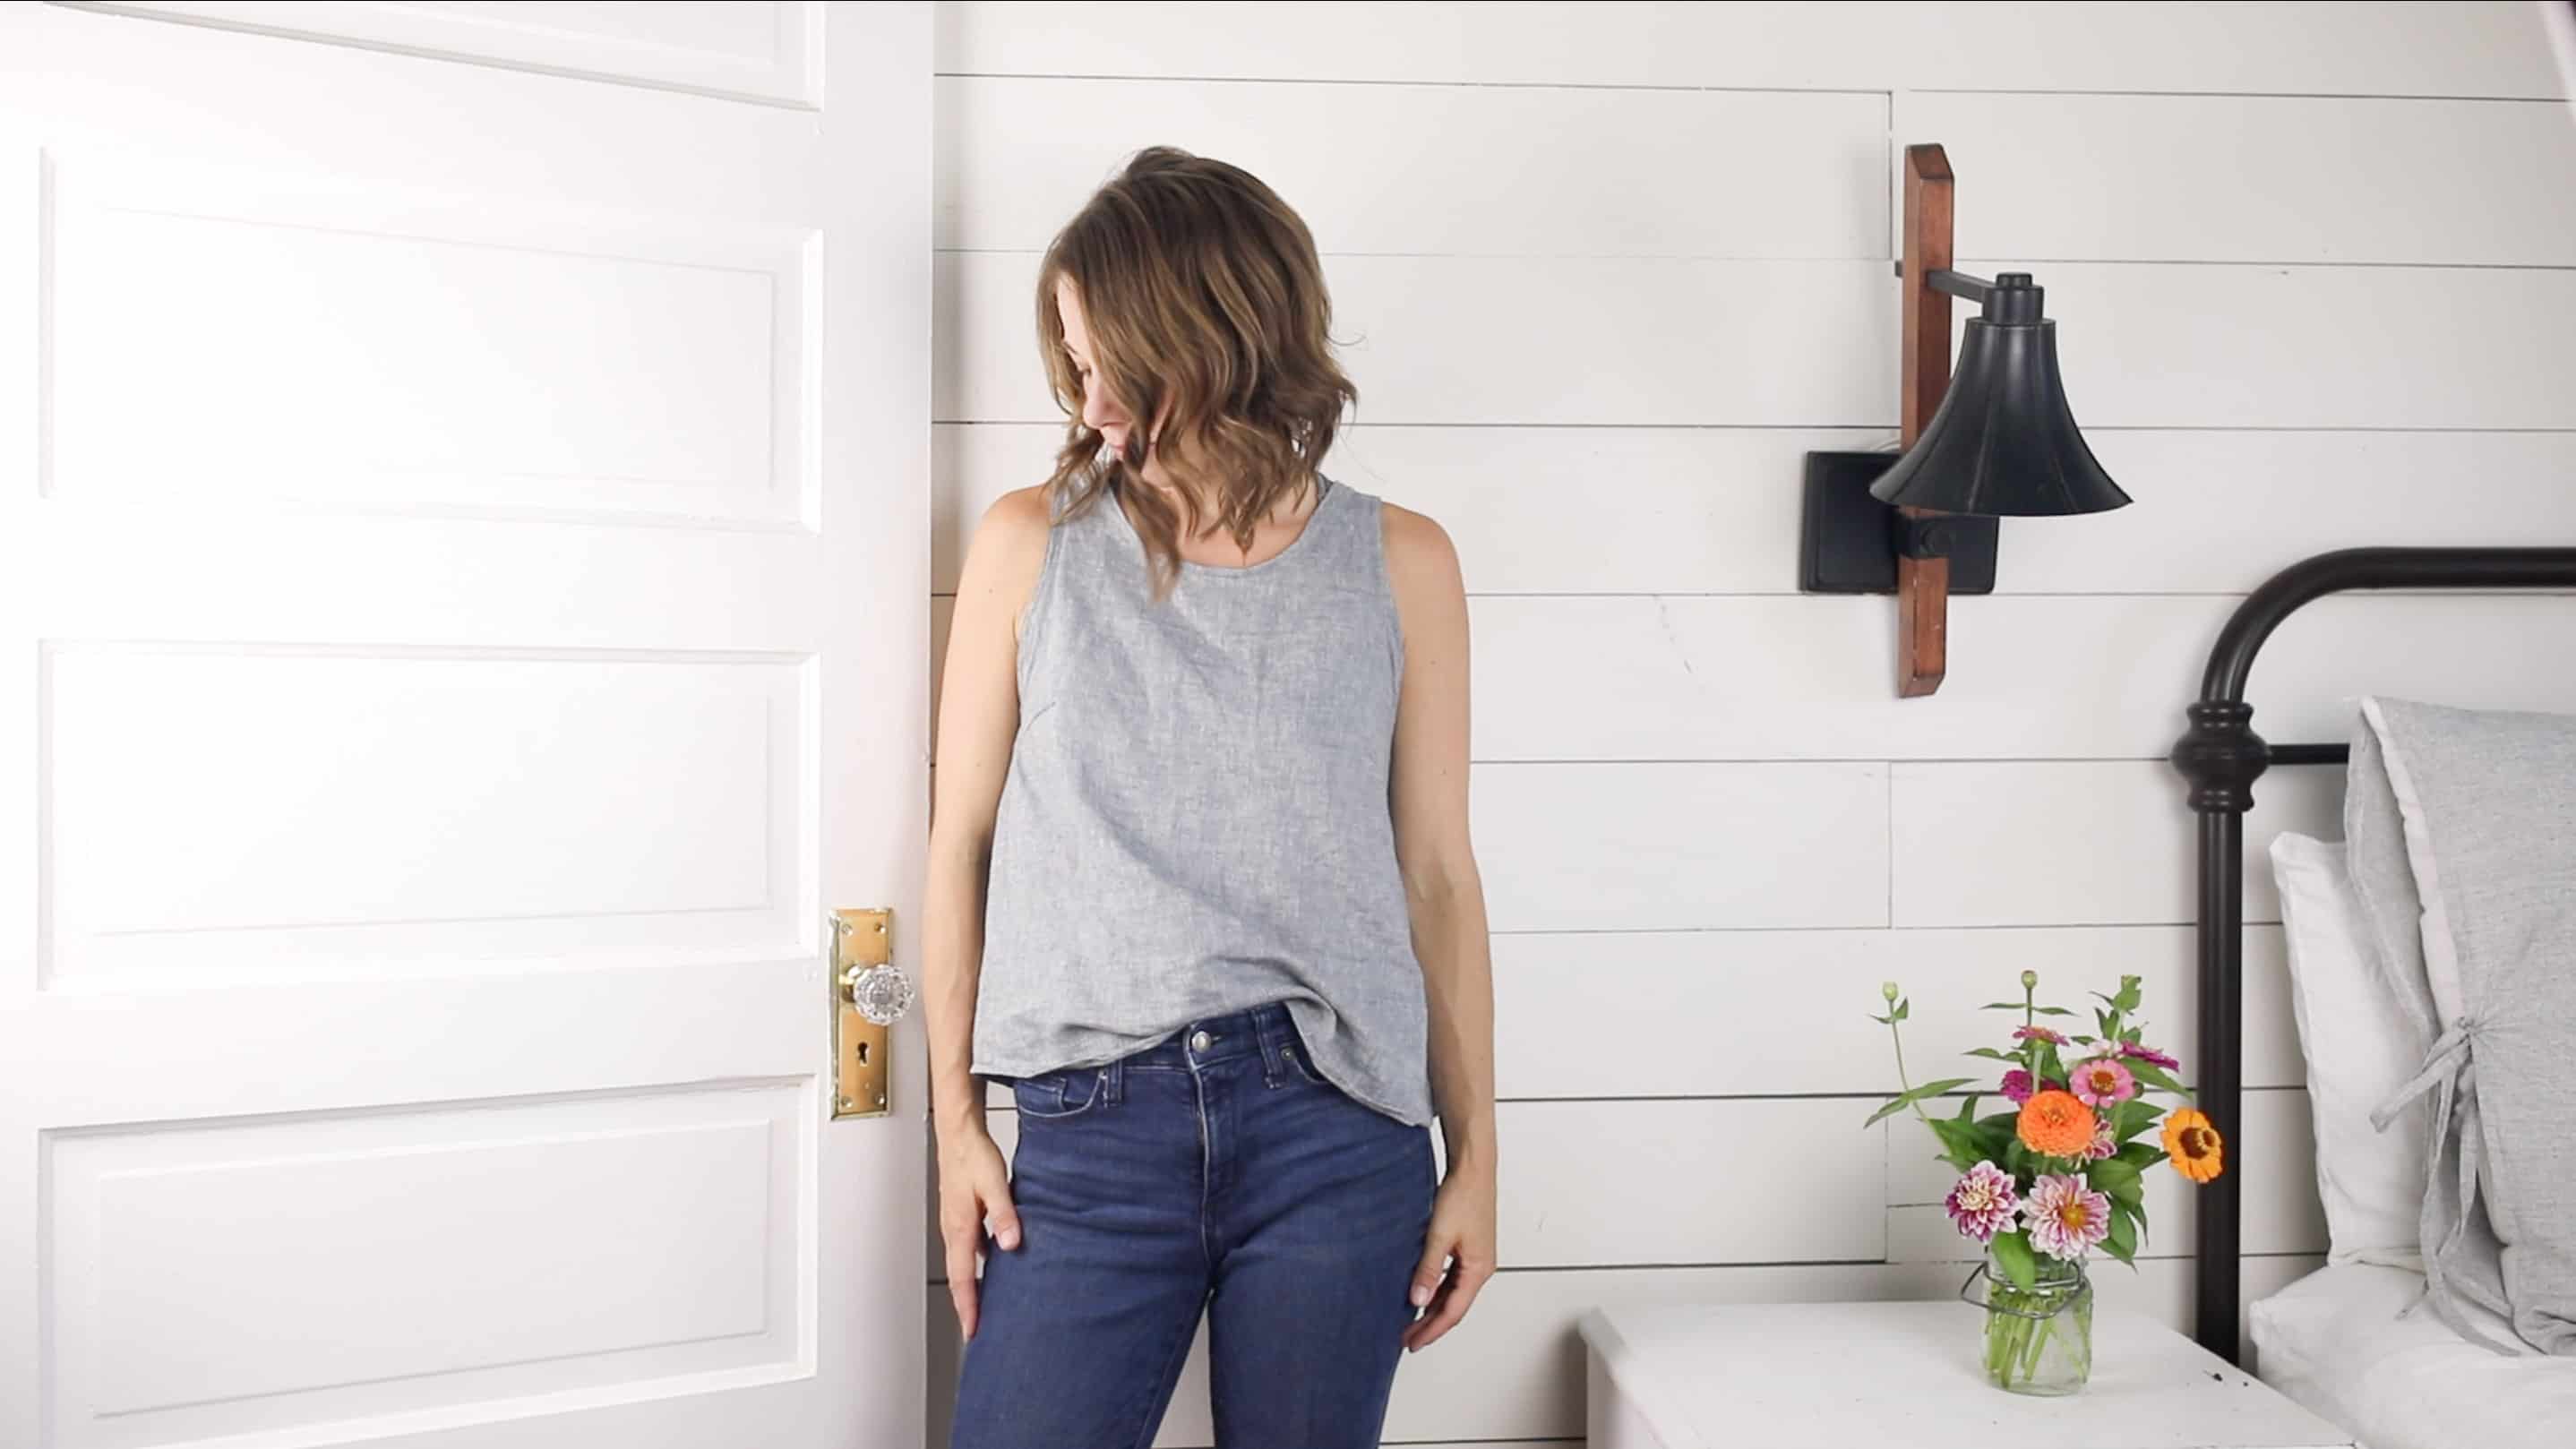
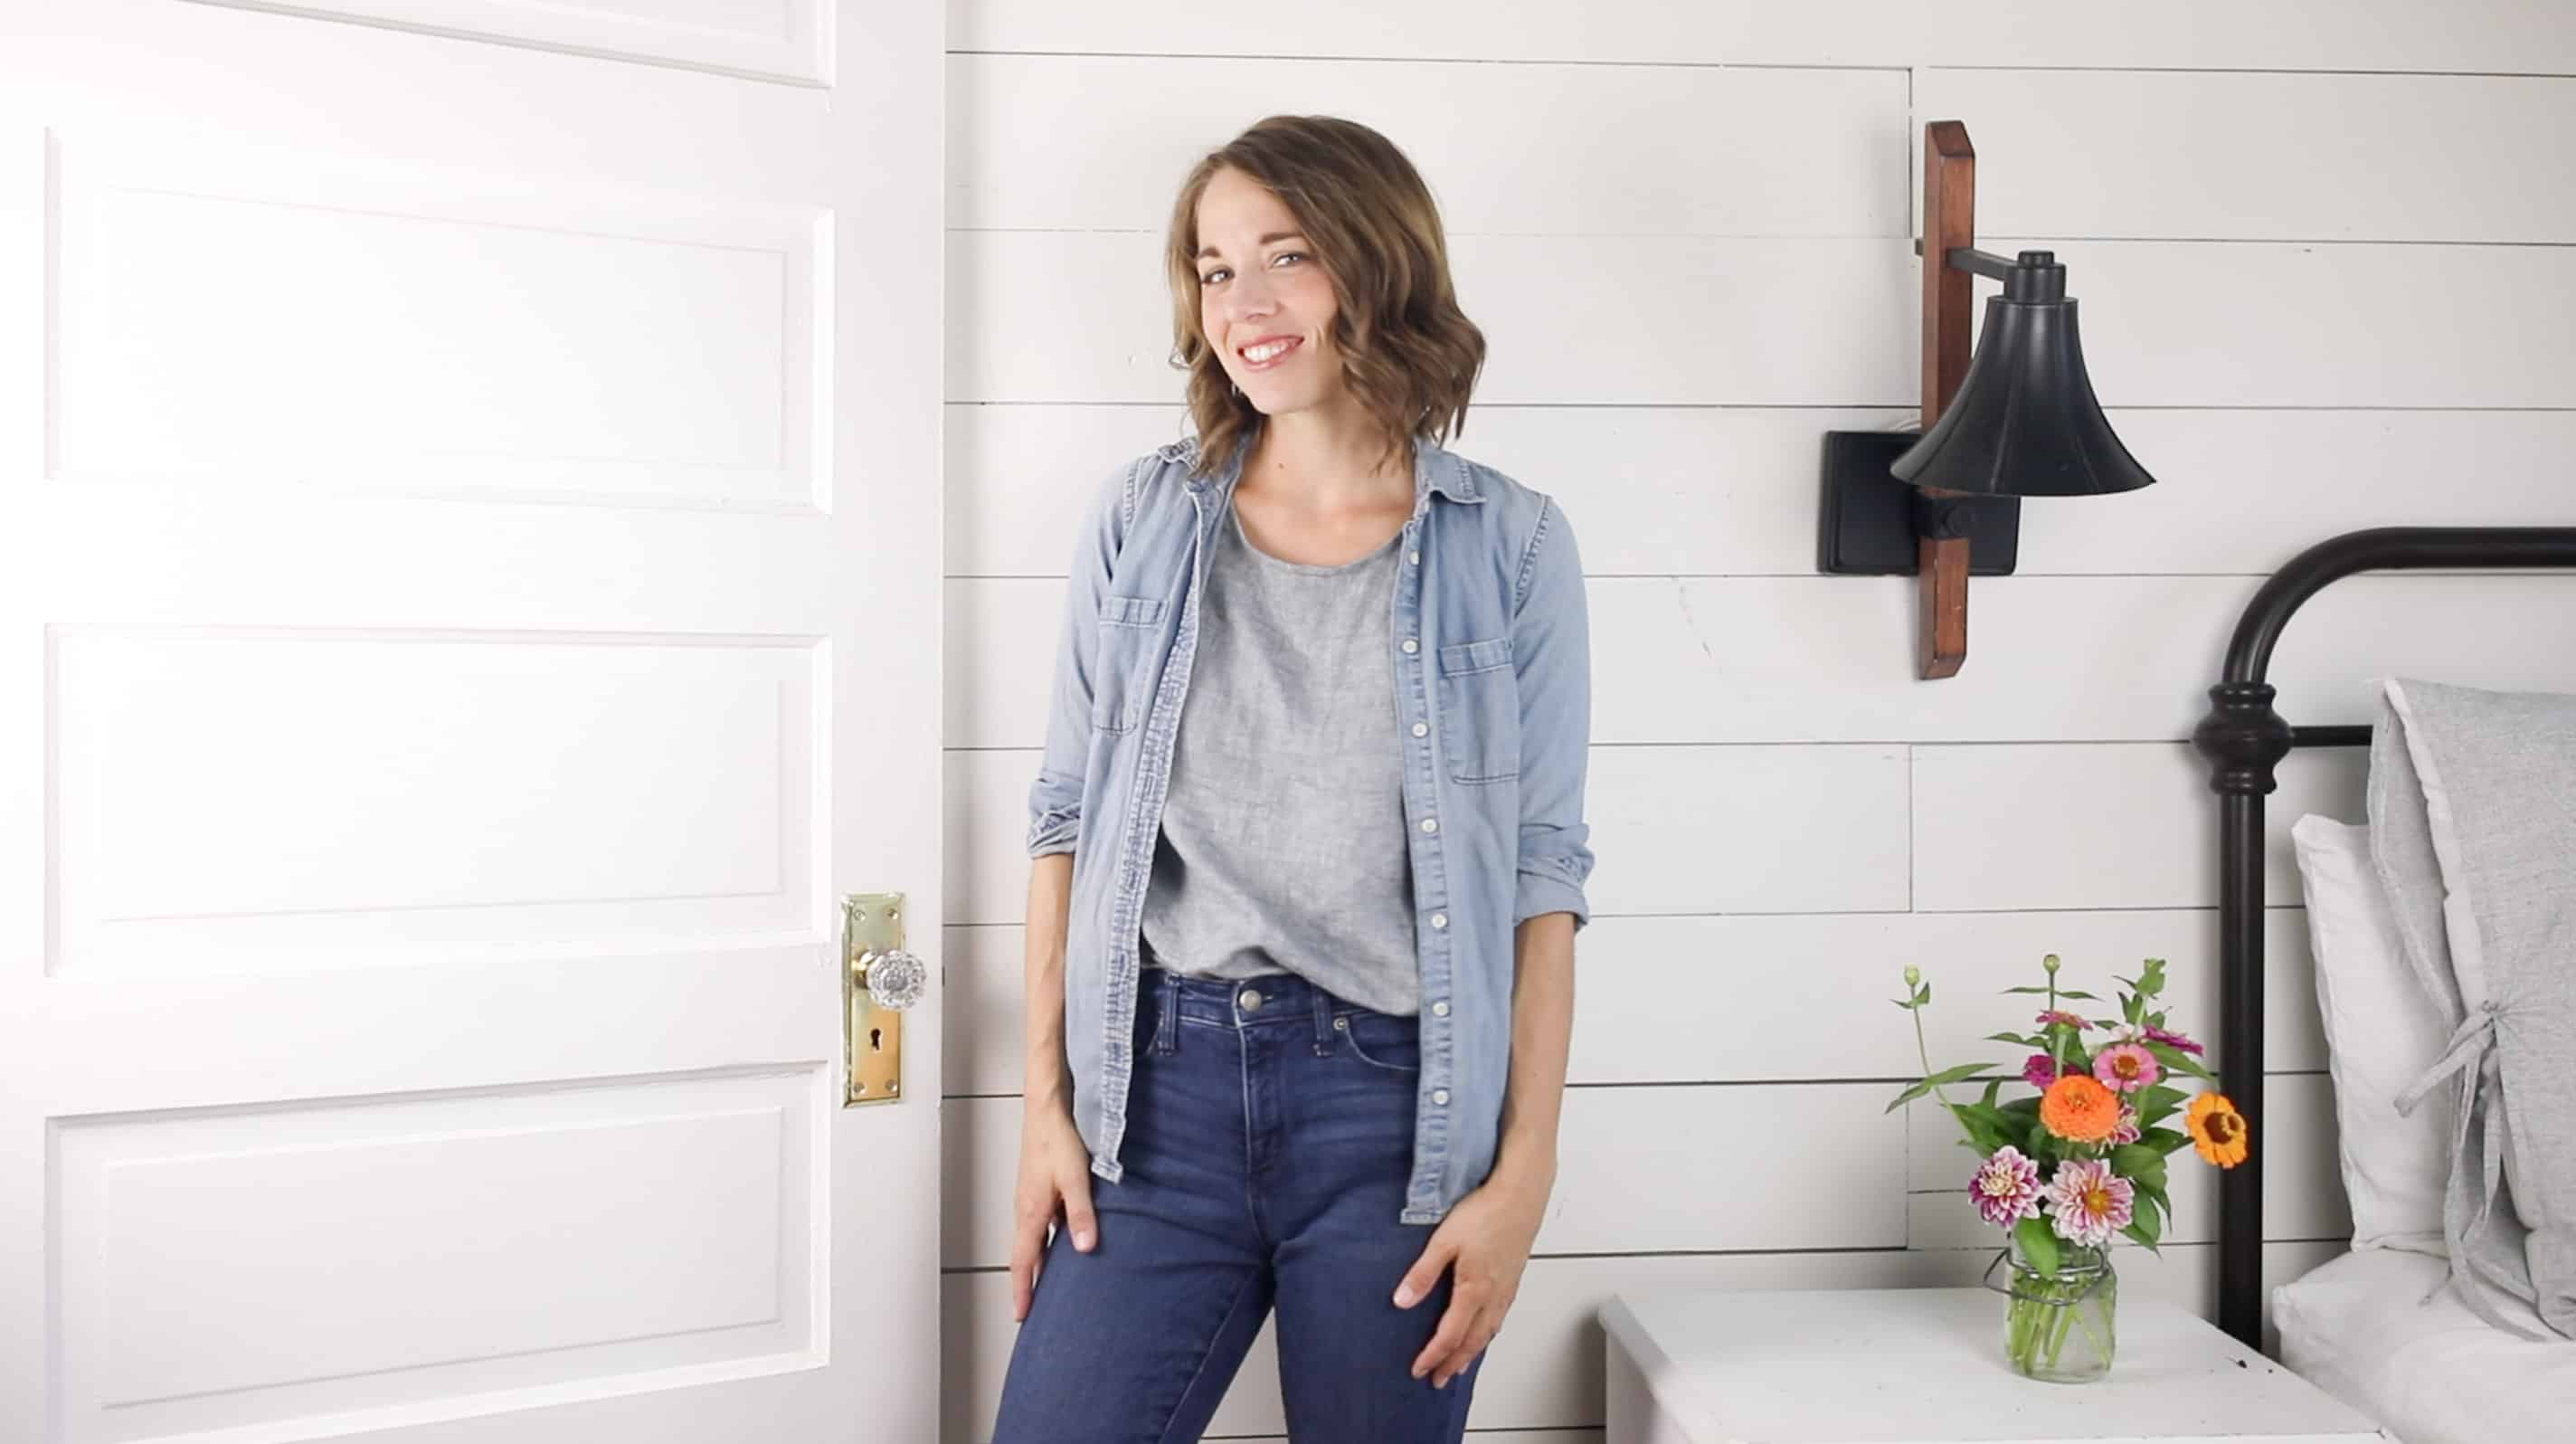
They look great with a button down denim top. So, I will be rocking these in the fall and winter also!
If you are new to sewing, make sure to check out my Simple Sewing Series where I show you all the basics you will need to know to start sewing.
DIY Tank Top Tips
- Use natural fabrics like cotton or linen for a beautiful and breathable material.
- Add darts for a better fit. See below how to do that.
- Always make sure to try on your tank top and adjust as needed.
- Check out my sewing page for lots of other ideas and basic instructions.
DIY Tank Top – How to Sew a Tank Top Sewing Tutorial for Beginners video tutorial
DIY Tank Top Supplies
1.5 yards cotton, linen, or linen/cotton blend
Matching, or coordinating, thread
Sewing machine – I love this basic one.
Measuring Tape
Here are some great fabric options that I have used before:
- Yarn Dyed Linen in Black
- Yarn Dyed Linen in Flax
- Linen with Stripes
- Linen Blend Fabric in Denim
- Cotton Chambray Washed Denim
- Yarn Dyed Linen Blend Charcoal
DIY Tank Top – How to Sew a Tank Top Sewing Tutorial for Beginners Instructions
Create a DIY tank top pattern
Draft a pattern by tracing around a tank top you already have that fits well. I chose to use a striped linen tank that I have been wearing all summer long.
The front and back pieces of your tank will essentially be the exact same size/shape. The only difference is the front neckline will plunge quite a bit lower than the back.
On my tank I added an opening in the back and a button loop/button. However, I have been wearing a tank this shape all summer long and I’ve never unbuttoned it. It goes on just fine without it. I like the detail it adds, but it is totally fine if you just want to omit it and make the tank straight across the back. Honestly, I will probably do this next time just because it will be so much easier/faster to make.
Make a master pattern copy
Cut the first draft out on a piece of fabric you don’t really care if you mess up. This way you can make sure the shape is right before you go hacking into expensive linen.
Copy the pattern pieces you made onto another piece of fabric you don’t care about. I used an old sheet.
The reason for this is, you’re going to make the first draft to make sure the shape is right. But, if it is, you won’t have another pattern piece to repeat the right-ness. If the first draft is a bit off, you can adjust from the “copy” you made.
This sounds like a hole lot of rigamarole, I know, but once you get that perfect shape, you’re going to want to save the master pattern copy so you can repeat repeat repeat.
You wanna know how many times I have made the mistake of not keeping a “master pattern” for the things I’ve created in my sewing career? A LOT. I should literally have a dress pattern for every size girls’ dress from newborn through size 8/10. And, do I? No, I do not. Because I was too dang lazy to cut out the extra pattern piece. SMH. Learn from my mistakes, friends.
Add Darts
- Darts are folds in the fabric that give a little more shape around curvy parts, such as the bust.
- Again, optional. These make the piece a little more curvy, but the loose fit totally allows you to skip this step.
- To make them, on one side of the front pattern piece, go down from the armpit about two inches and create a 3/4″ fold. Taper the fold in so that it ends about 4″ in from the side seam. (If this sounds like jibberish, make sure to watch the video above. Its way more clear in visual demonstration.)
- Press it in place, and then sew it in place.
- Sewing the darts will create a little area where the fabric sticks out a bit from the side of the front piece. Trim that area down so that you have nice straight lines.
Put the tank together
- With right sides together, put the front piece on top of the back piece. Make sure the straps, armpit area, and side seams are all lined up.
- Sew a 1/4″ seam down both sides and at the top of each strap.
Try it on for fit
Try the tank on to make sure it is fitting correctly so far.
At this point, it is still very possible to take it in on the sides, adjust the length, and create a deeper plunge in the front neckline. After the next couple steps, that will no longer be the case.
If it feels awkward, try adjusting the strap length, neckline, and curve around the bottom.
If it is so wonky that you can’t get a good fit, abort the mission and try again with new pattern pieces.
This is why its an excellent idea to make a copy of the original pattern piece. You can easily troubleshoot to find out why the fit is off. Once you get it just right, you will be so glad you have a copy. 😉
Finish all the raw edges
- Once you like the way the tank is fitting, its time to finish off all the raw edges.
- Cut a super long strip of fabric that is 1″ wide.
- Line the fabric strip up with the neckline, leaving about 1″ of overlap on either side of the neckline. You will use this later to cover up the raw edges from the trip that you use to finish off the opening in the back.
- With right sides together, sew a very narrow seam with the fabric strip and neckline.
- Once you’ve gone all the way around, press the strip toward the inside of the tank.
- Fold the raw edge of the 1″ strip in toward the tank, and then fold it again, so that the raw edges are hidden inside.
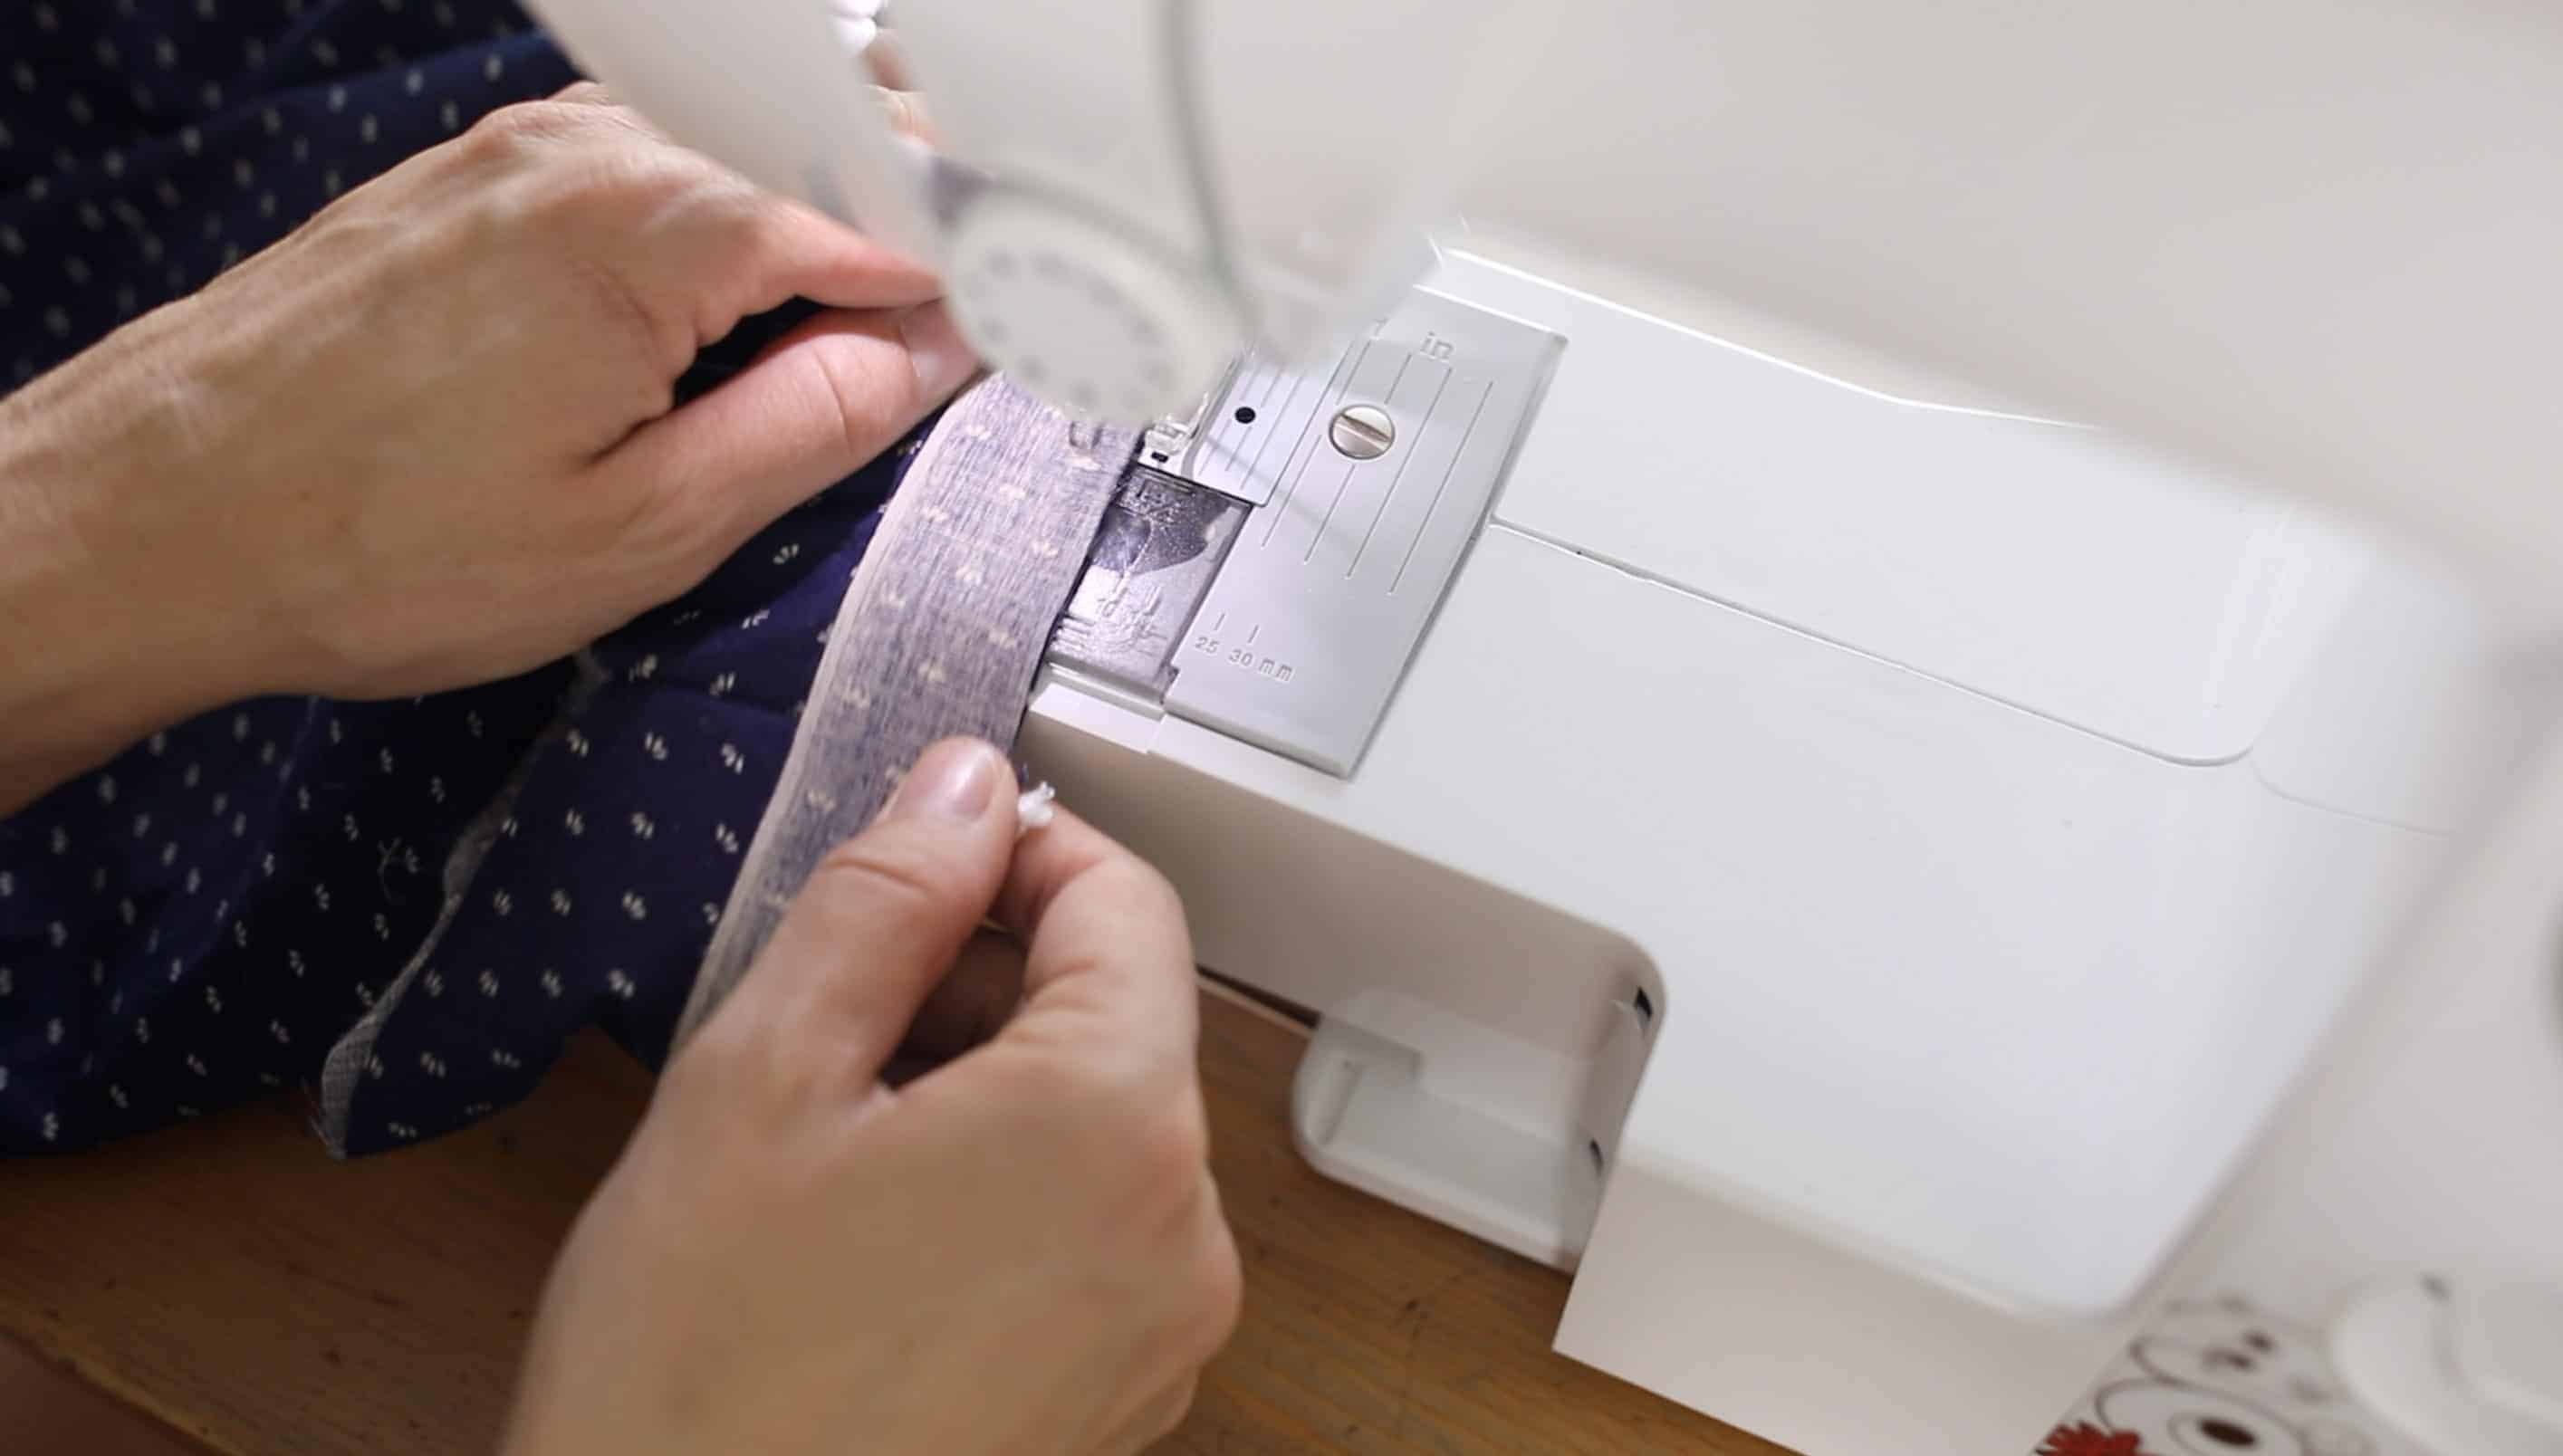
- Sew all the way around the pressed edge, and all the way around the folded edge. This will hide all raw edges inside, and nicely finish off the neckline.
- If you aren’t making the button opening in the back, make sure to overlap the strip. If you are making it, leave a little overhang to cover up the strip in the next step.
Finish the opening in the back
- If you chose to include the opening in the back, finish the raw edges off with a 1″ strip of fabric in the exact same way that you did the neckline.
- Create a button loop by taking a 3″ portion of the 1″ strip and folding the raw edges inward to create a tiny little strip. Sew it in place, while you’re attaching the strip to finish off the opening.
- Cover up the top of the strip, that you used to finish the opening, with the overhang from the strip finishing the neckline in the previous step.
Finish the arm holes
Just like with the neckline, and the opening in the back of the tank, use a 1″ strip of fabric to finish off the armholes.
These need to be attached in a circular fashion, so I like to leave the ends near the side seam and attach them right sides together.
Sew the hem
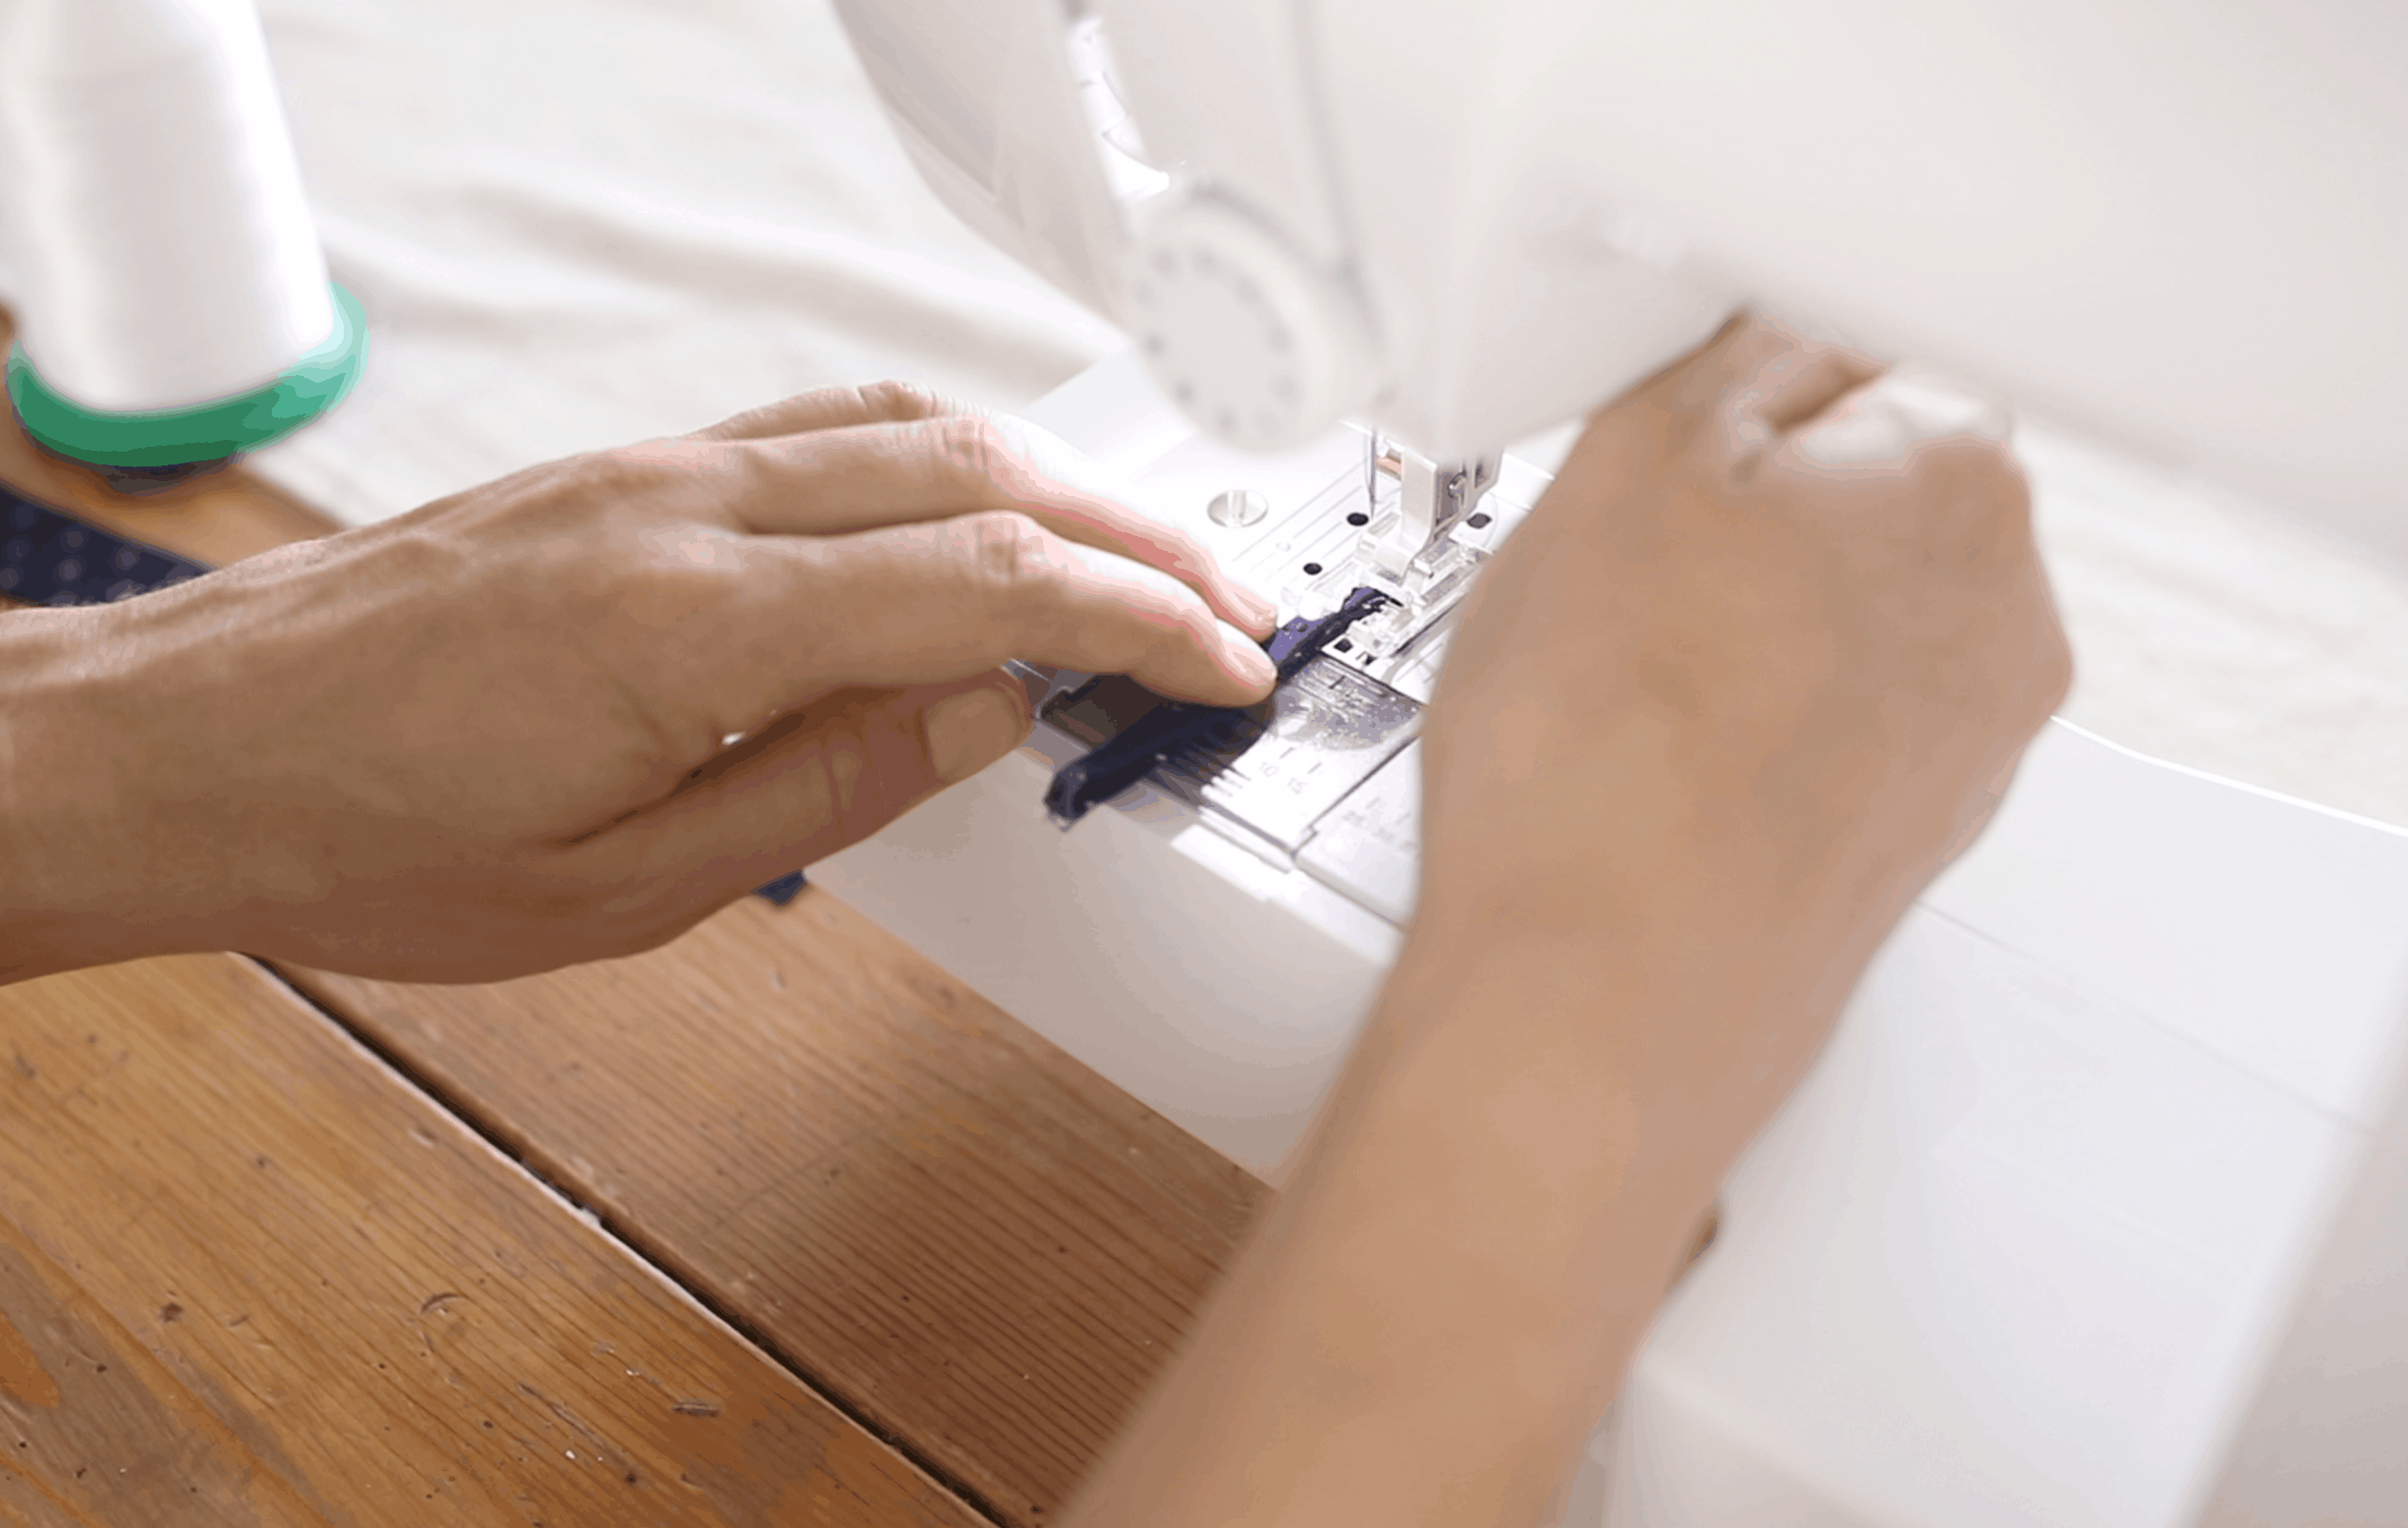
Sew a very narrow hem all around the bottom of the tank top. I Just fold the bottom under about 1/8″ inch, and then another 1/8″ and sew as I go.
You can press the hem, if you want to be a little more official about it.
I like to sew the easy way. No pins, and pressing as little as I can get away with.
Make sure to keep the hem pretty narrow. This will take away the bulk, allowing it to lay better.
Finished Dimensions of my DIY tank top
These measurements may help you to daft your own pattern, if you don’t already have a tank top that you love to copy the shape from.
For reference, I usually where a size small or medium tank. I’m 5′ 5″ with a long torso and about 130 pounds.
My finished tank top is 24″ from the top of the strap all the way down to the hemline. At the widest point, which is at the bottom, it is 24″ wide.
The width from the outside of one strap to the other is 12″. The buttonhole slit goes down 4″
The width from one armpit to the other is 19″ (do you like my very technical sewing jargon? ;))and then it just tapers to the bottom from there.
Variation Ideas
What I love most about this simple tank is all the possible variations. Here are just a few to get our wheel turning.
- Add a ruffle to the bottom
- Add two ruffles to the bottom. Just sayin’.
- Create straight lines, instead of an a-line shape.
- Add a striped pocket.
- Put buttons down the front.
- Buttons down the back.
- Add pretty little flutter sleeves.
So many ideas. So many fabric choices. Someone lock me in my craft room.
Shop the supplies
Yarn Dyed Linen Blend Charcoal
Check out my other sewing tutorials for women
- How to Make a Linen Dress (I made this while pregnant, but it fits great even now, postpartum)
- DIY Linen Pinafore Apron for Women Free Pattern
- DIY Summer Dress – Shirred Dress Tutorial
- How to Make an Apron from IKEA Tea Towels
- Simple DIY Fall Dress | Megan Nielsen Darling Dress
Do you make your own clothes? What have you attempted? Let me know in the comments below. 🙂
Thank you so much for stopping by the farmhouse!
Pin it for later
This post was updated Augusto 2019.





I like your style options, using accuratesample patterns which come in various styles, including a racerback tank, basic sleeveless tops, and tank tops with straps of different widths. Thanks for letting this blog to be accessible to any sewing lovers like me! This is a great project for us beginners that allows for creativity in fabric choice and design.
Your great
Can I find your grain cloth fabric on Amazon. If not can you share where it can be purchased.
Love you hair! Love the tops!! I’ve made costumes for my grandkids without patterns and often think I should try creating something for me. Thanks for the tutorial, now I want to try.
If you can make costumes without patterns, you can definitely do this!
Hi Lisa. Your tutorial is wonderful. I particularly like the idea of being able to replicate your favorite tank. I’ve shared your post in our Top 10 In Craft roundup and know that our readers will find this super helpful. https://craftylikegranny.com/creativity-never-goes-out-of-style/ Cheers Jodie 🙂
Thanks for sharing Jodie!
Thank you for close captioning your videos. Really appreciated. 🙂
So so adorable and easy!!! Now I wish I had this exact tank to copy because I love it so much! Did you get it at a target recently or was it purchased awhile ago? I’m going to go look for it!
I bought it a while ago, but I was just there the other day and found another one with the exact same shape on clearance for $5!
Thank you so much for your sewing videos. You are exactly right! Patterns,and all the jargon intimidate me,and make it seem too difficult . I want to Learn, and I really want my 11 yr. Old daughter to Learn along with me. Your simple videos / projects ,give me hope ! P.s. your haircut is darling !!
Yes! You and your daughter can just have fun with it. No need to follow the rules. 🙂 Thanks so much, BobbiLynn!
First, you are absolutely rocking that hairstyle! And, second, yikes! I don’t sew. I do have a young lady that does some sewing for me for my shows. Using Rachel Ashwell’s Shabby Chic fabric, or vintage fabric that I collect, she whips up beautiful pillow slips, laundry bags, basket liners, etc. However, I’ve been thinking about adding your pinafore aprons, the duvet cover, and the ruffle throw blanket to the mix. So, you are inspiring me, I’m just passing it along to someone with the time and talent to bring it to fruition.
Thanks so much for the hair compliments. 🙂 And, that’s a great idea! I bet all that stuff turns out so pretty with the Shabby Chic fabric. I love that look. 🙂
Wow! I can’t wait to try this! You are very inspiring, and the tops look super cute! Right now, though, I am trying to finish up my couch slip cover (also inspired by you). I am not an exact person, so patterns scare me, but making my own patterns seems more fun and less daunting, and the slipcover is actually looking great!