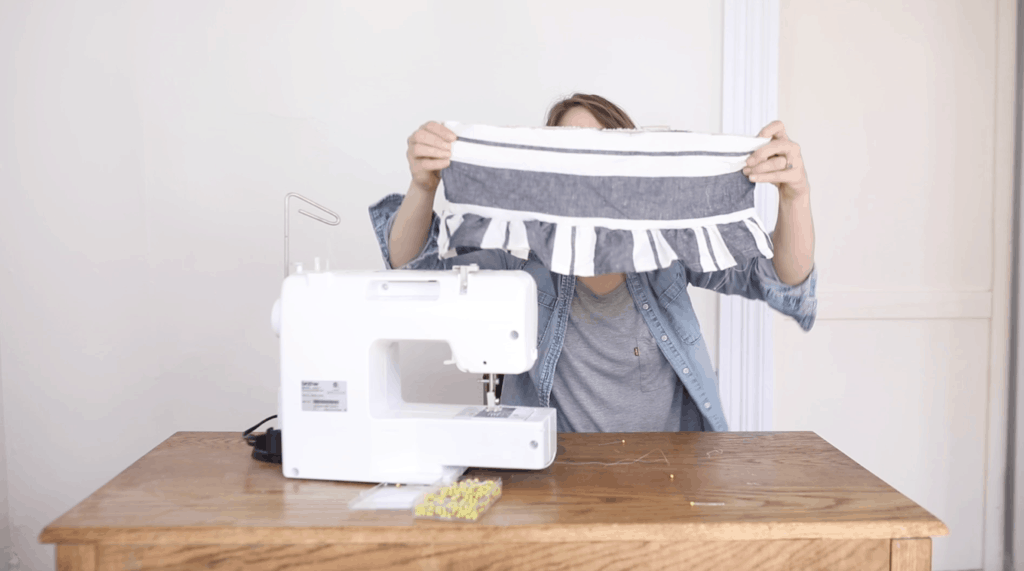
Today we are continue on with the simple sewing series by learning how to sew ruffles.
How can I use a ruffle?
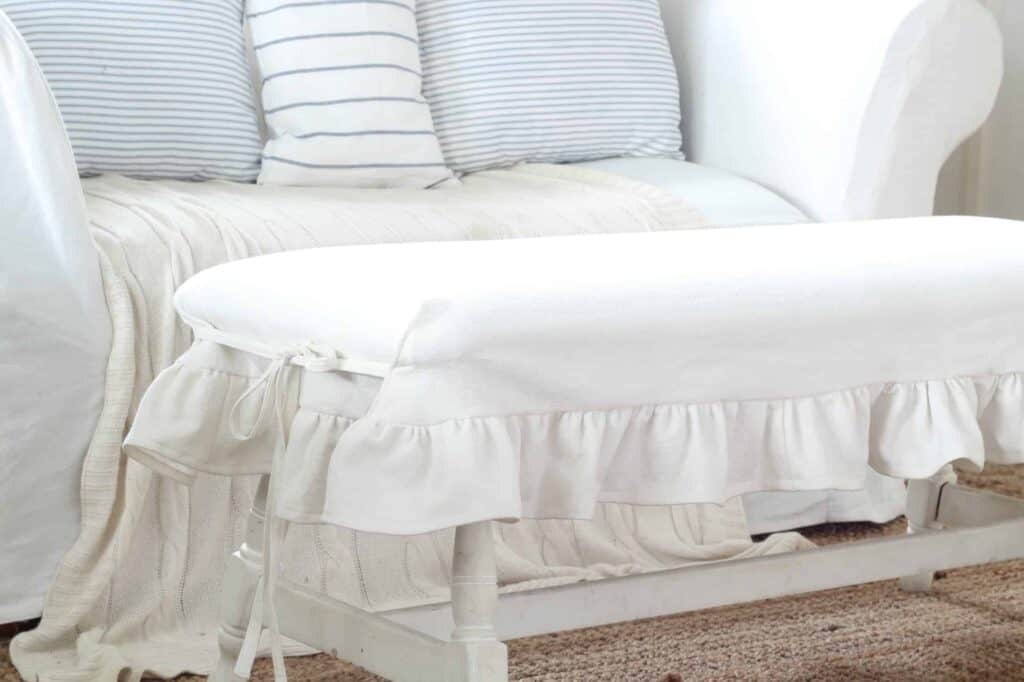
If you have been following along with my blog and YouTube channel for a while, you might have noticed that if I can add a ruffle to a sewing project, I do. I love to add them to my girls dresses, to aprons, to slipcovers, to blankets, and everything else.
I know a lot of people find ruffles to be intimidating, but they do not have to be. They are very simple to make to add to projects.
How to Sew a Ruffle Video
https://youtu.be/bhbD3bV0f90
How to Sew a Ruffle
Step 1
The first step is determining how wide you want your ruffle to be. The rule of thumb is one and half times the piece you are attaching the ruffle to. For example, if your project is 18 inches wide, then you would want your ruffle to be 27 inches wide.
The next step is determining how long you want your ruffle to be. I have made ruffles super tiny and really big, so it really just depends on your preference and how well the ruffle size will look on your project. Keep in mind that when you are cutting out your ruffle pieces to add about an inch extra for the hem.
Step 2
Cut out your ruffle pieces. You will need two fabric cuts of equal width and length.
Step 3
Sew your ruffle pieces together on both ends with a seam. Make sure to finish the ends with a zig-zag stitch to finish off the raw edges. I showed you how to do this in post.
Step 4
Sew a hem around the bottom of your ruffle pieces. I show you how to sew a hem in this post. Basically, just fold the fabric over an inch once and then fold the fabric over once more. Then sew around the edge of the hem to lock it in place. It helps to iron the fabric in place to hold it down while you are sewing.
Step 5
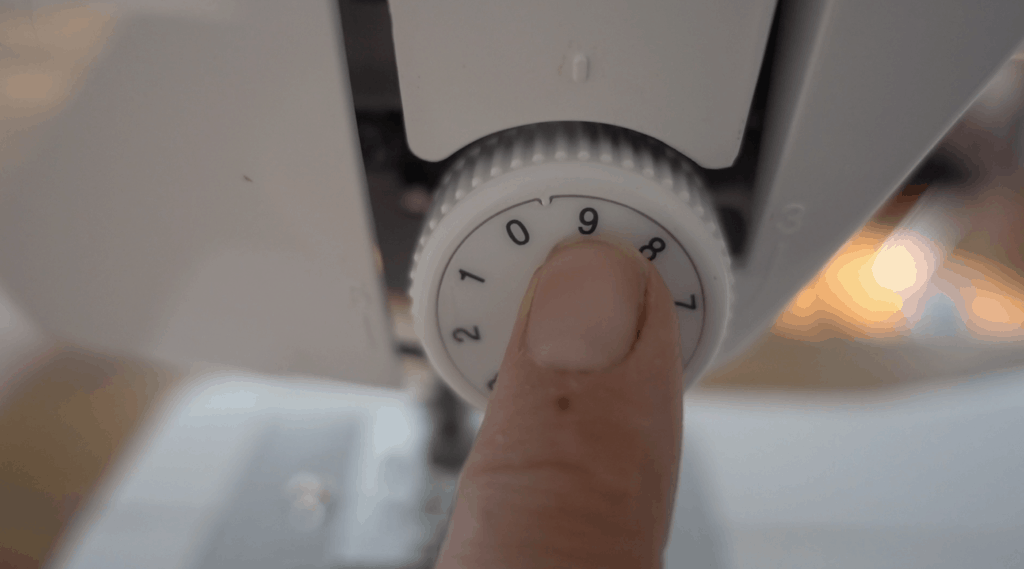
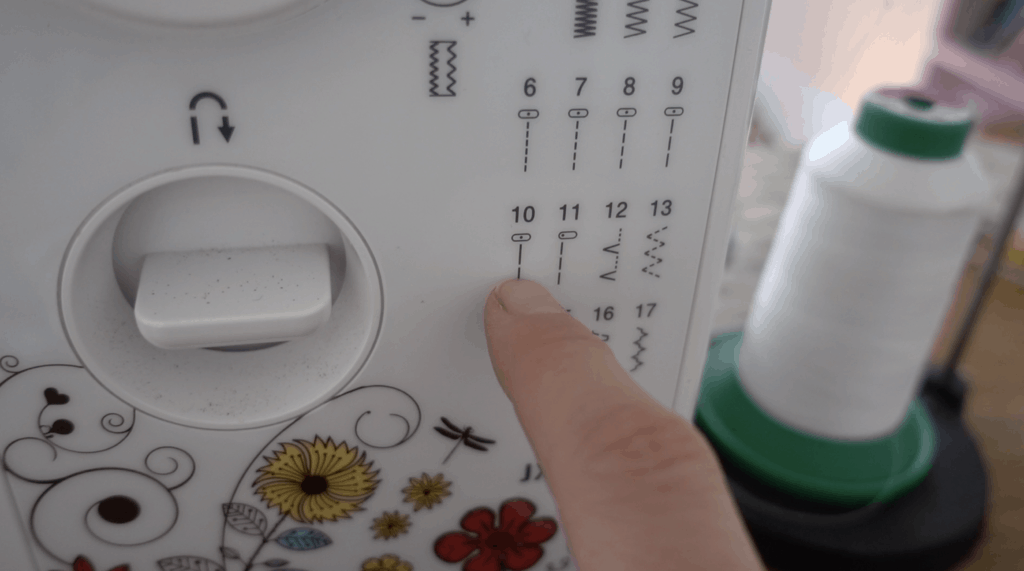
Change your tension to the highest one on your machine and also change your stitch length to a gathering stitch. The highest tension on my machine is 9 and the gathering stitch is 10.
Step 6
Now it is time to sew the gathering stitch.
A few notes
I like to sew two separate gathering stitches to make the thread less likely to break. I like to create a gathering stitch on one said of the fabric and another gather stitch on the other side of the fabric, so I am basically sewing from one side seam to another. Stopping. And then starting another seam and ending at the other side seam.
One thing you want to remember when you are sewing a gathering stitch is to not do a back and forward stitch, because you do not want to lock the thread in place. The gathering stitch helps to scrunch the fabric together, so it is not actually holding the fabric in place. It is just there to help pull the fabric along.
Another thing you want to do is to leave nice long thread tails, so that you have plenty of thread to be gathering from later.
Sewing the gathering stitch
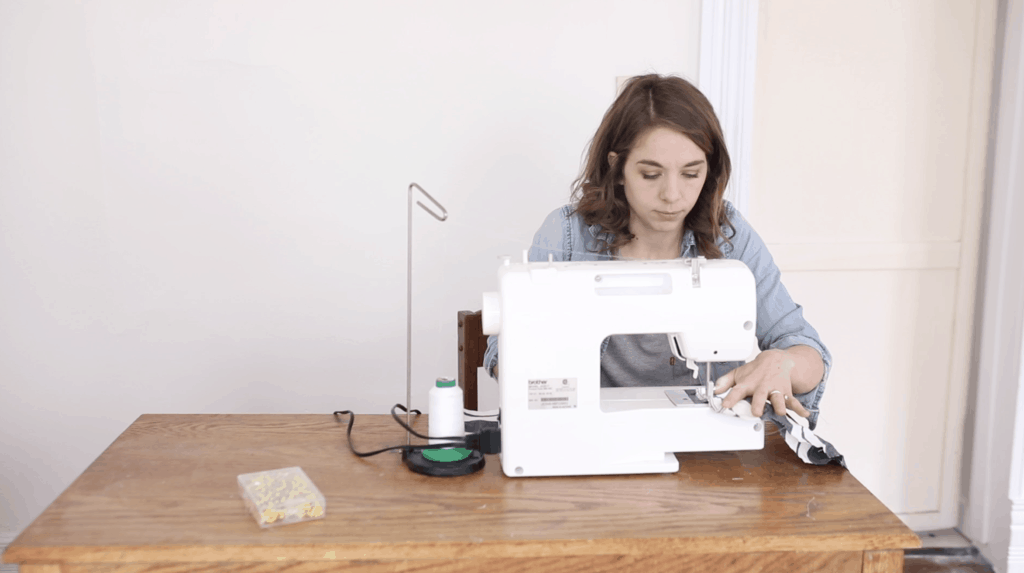
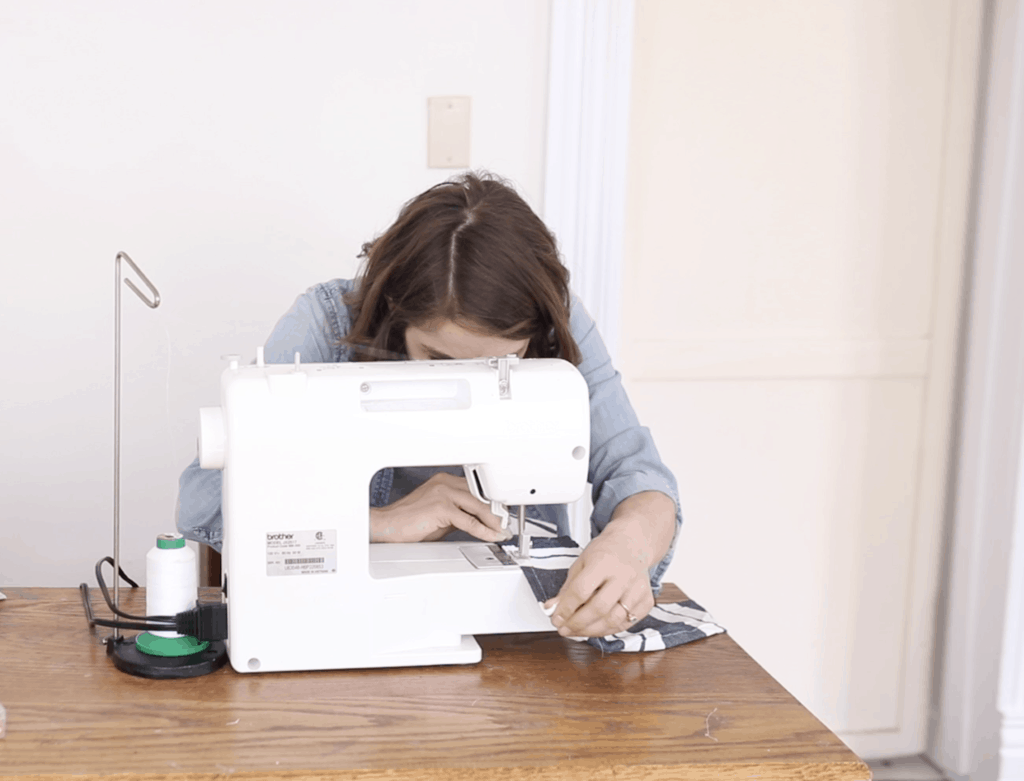
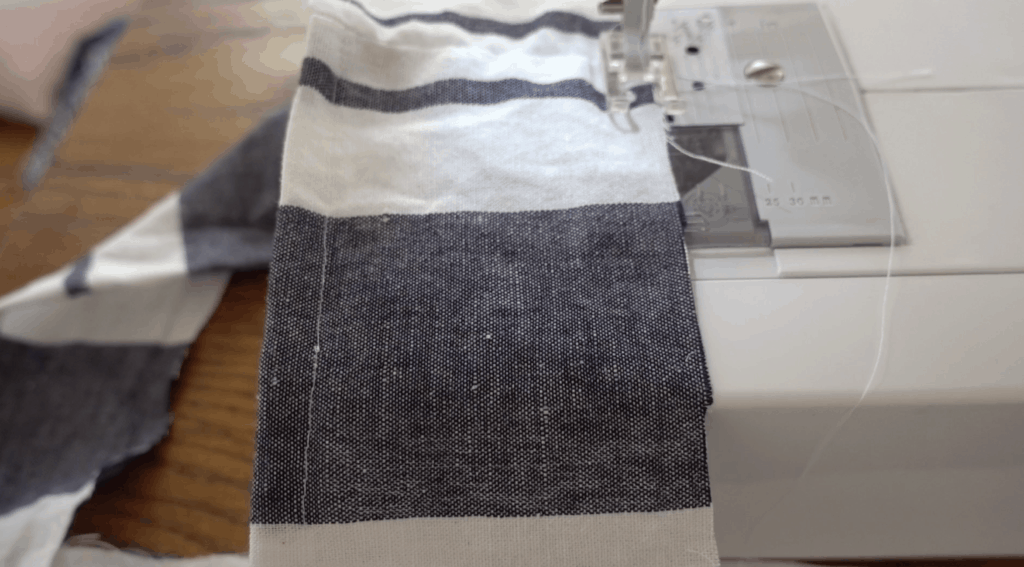
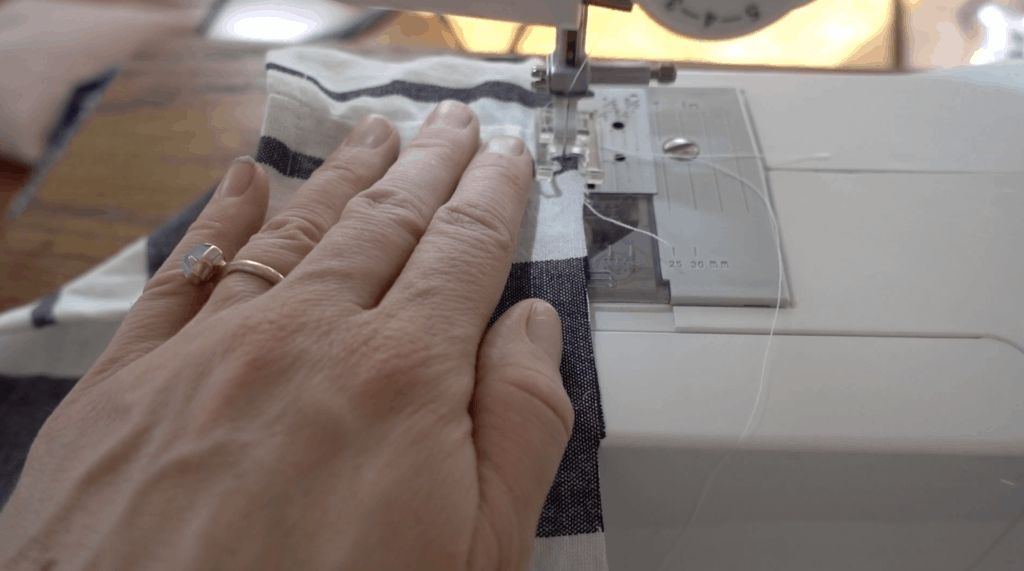
Simply place your fabric on your sewing machine. Place the fabric on the machine so that you are starting in front of a side seam and lower the pressure foot. You want to sew pretty close to the edge of your fabric and slowly feed the fabric through.
If your tension is set to high, you will notice that your fabric is starting to gather on its own.
When you get to the next side seam, simply raise the needle, lift the pressure foot, and pull the fabric off the machine and trim the threads making sure to leave some pretty long ones on the fabric. Make sure to pull out some extra thread on the sewing machine, so that you have nice long tails when you start sewing on the other side of the fabric starting again right in front of the side seam. Remember, do not back and forward stitch!
Step 7
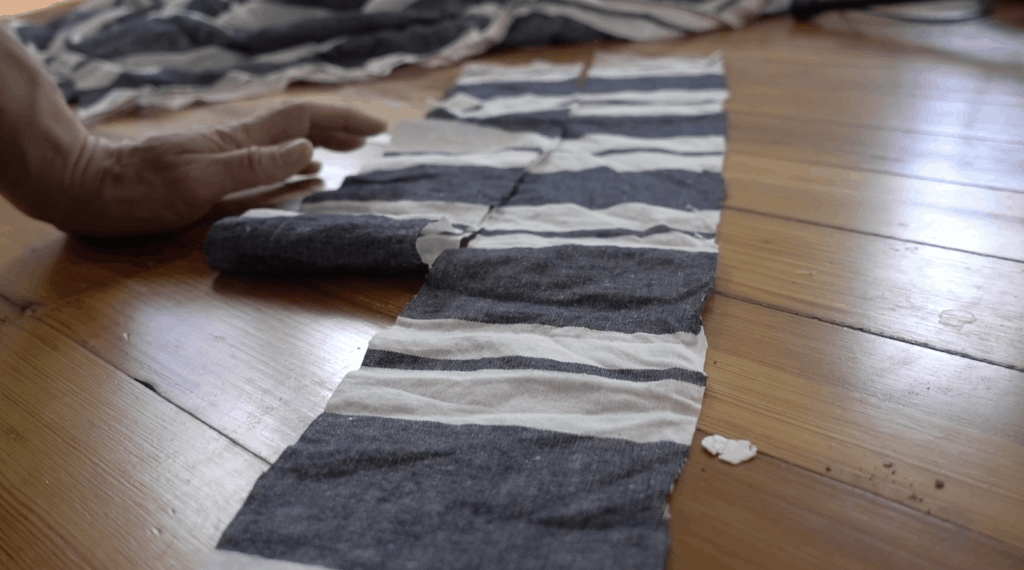
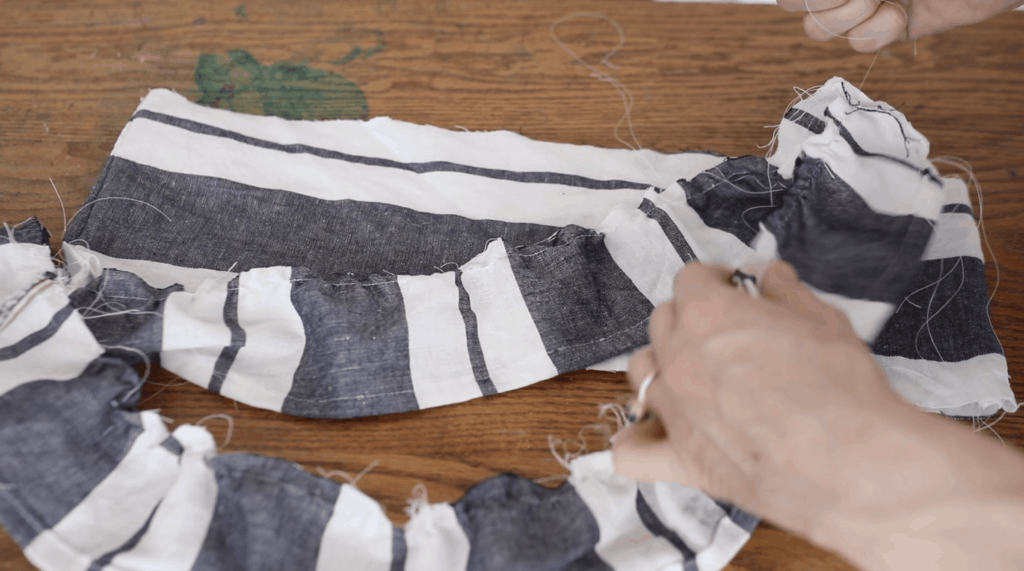
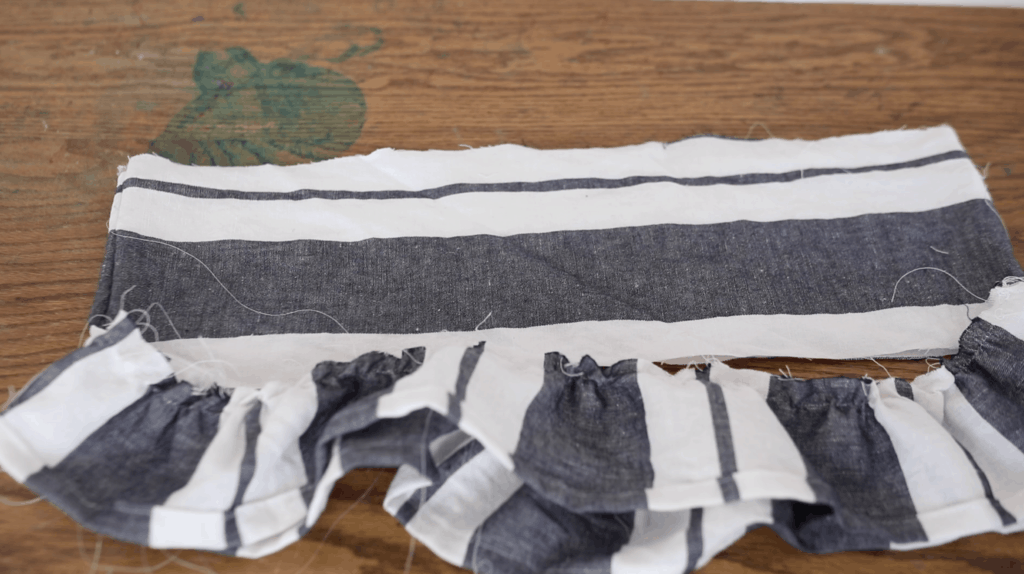
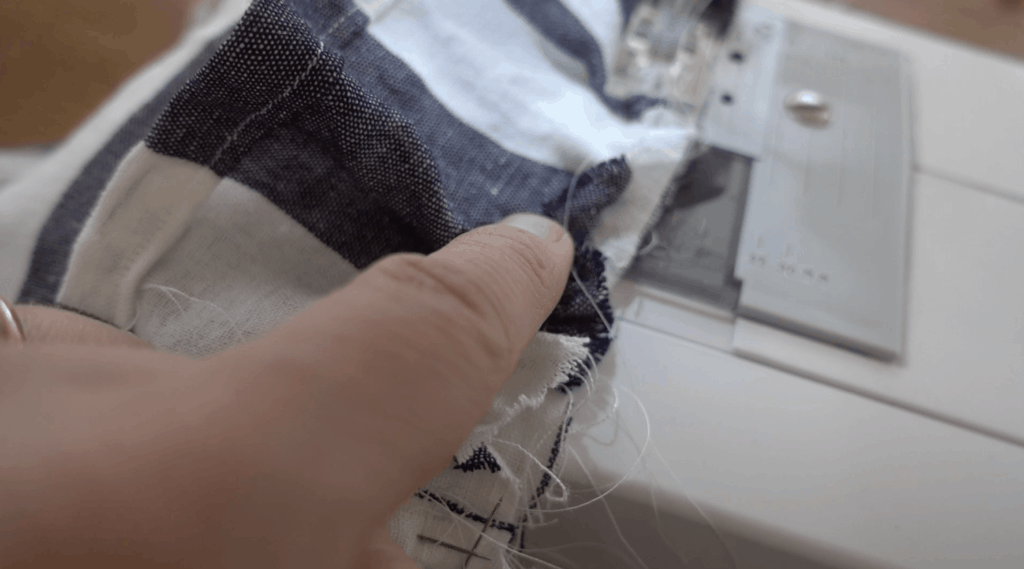
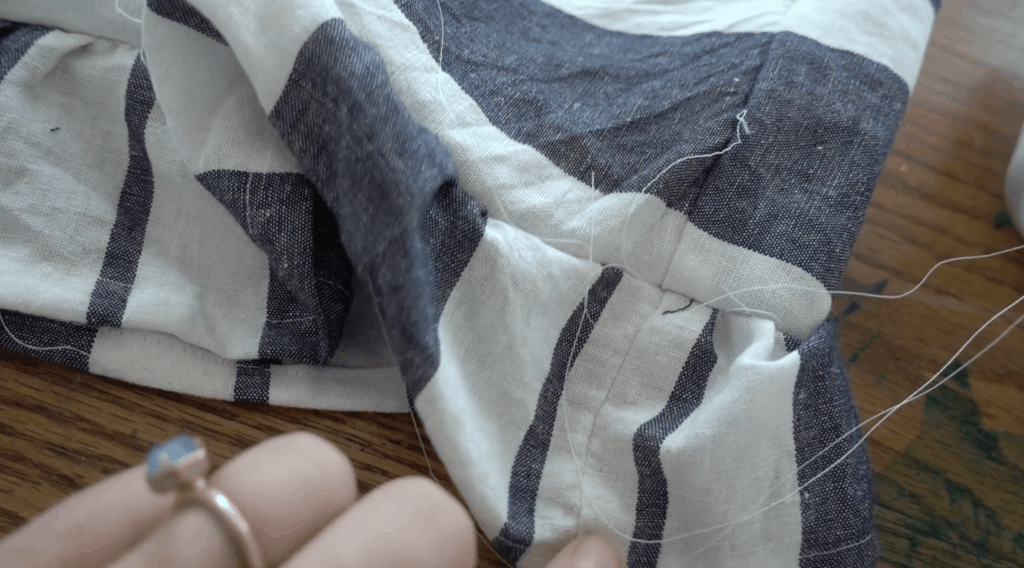
Now that you have sewn a gather stitch, lay out your fabric on a solid surface and find the long tails of thread you left on the side seams. Gently pulling the string and then working the fabric down creates gathers. I like to do a little on one side and then work a little on the other side. You just do this until your ruffle piece width is matching the width of the fabric you are attaching it to.
Step 8
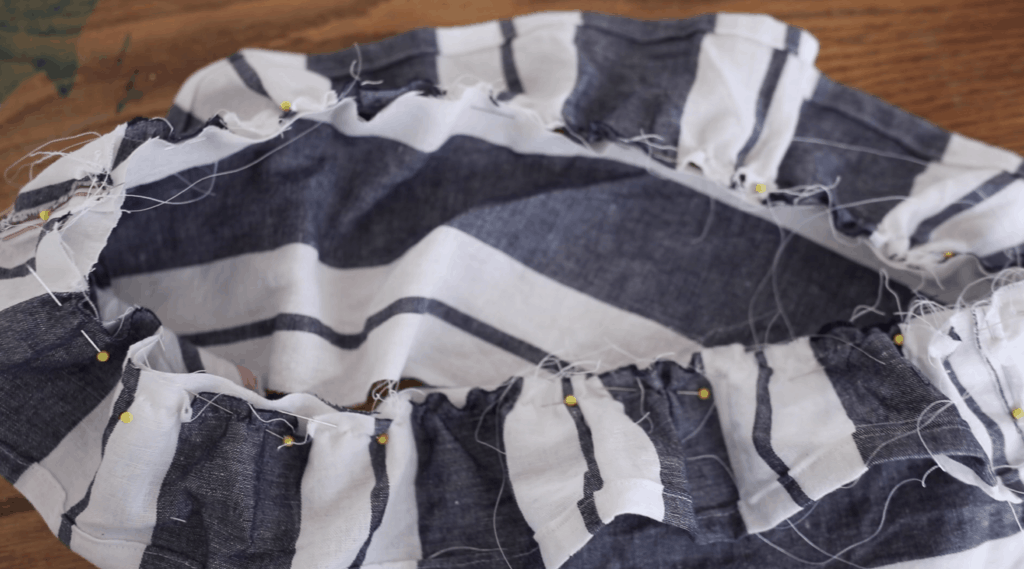
Insert pins all the way around the fabric. I like to line up the side seams of the fabric pieces and pin those first before I start pinning the rest of the fabric.
Step 9
Now it is finally time to sew your ruffle piece to your project.
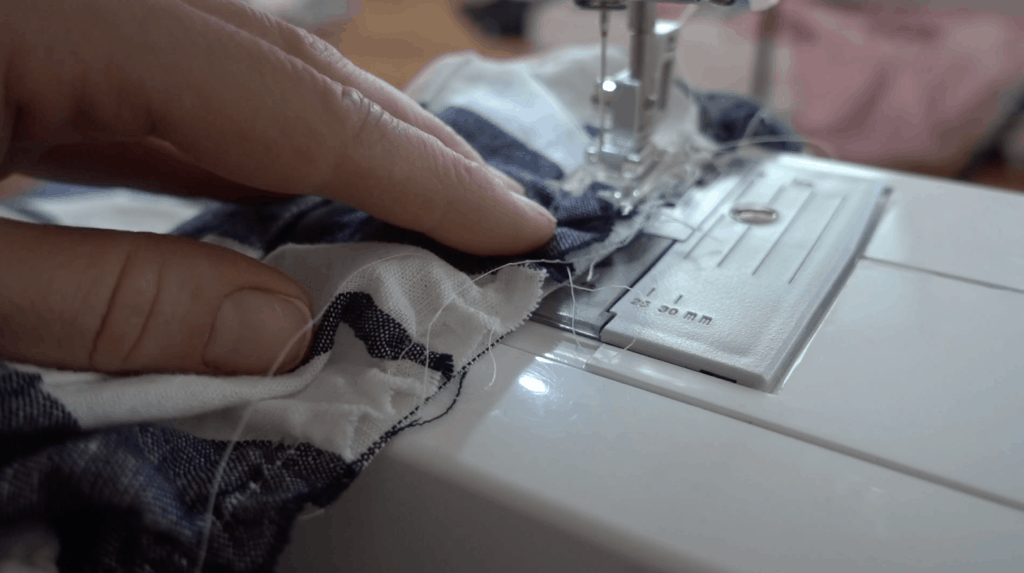
Sew all the way around using your fabrics using your normal tension and stitch length and remember to back and forward stitch, because this is the thread that you want to lock in place.
I like to sew right along the gathering stitch, but just inside of it because that will give you the prettiest ruffle.
It is really important to take your time will sewing the two fabric pieces together.
As I sew, if it starts to look a little funny, I will just re-adjust the ruffle as I go along.
A side note
Sometimes as you sew along, you might start to notice that your ruffle piece is folding over. Make sure to pull it back into place if it starts doing this.
After you have sewn all around, take a look at your project and make sure the ruffles are nice and even all the way around and that the side seams are lined up.
Step 10
Finish off your ruffle project with a zig-zag stitch all the way around.
Step 11 – Optional
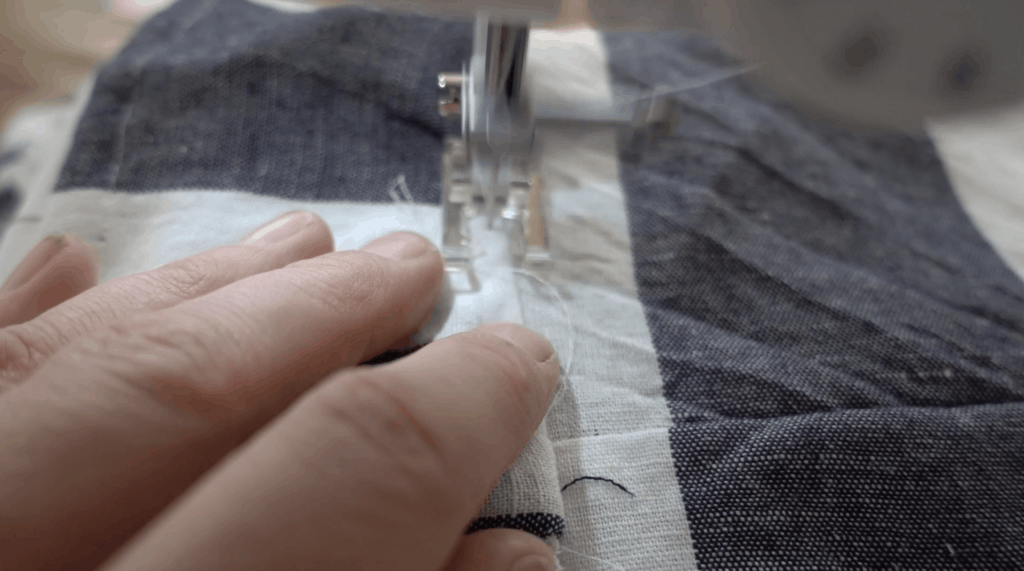
Now an optional step is to add a topstitch on top of the ruffle to make it lay more flat and look a little more professional. It just lays close to the edge, but it does not usually hold anything together.
You want to use your normal tension and stitch length for the top stitch.
Now make sure to push the seam toward the bottom of the ruffle, because you want to catch that seam underneath the ruffle in the top stitch to make it more straight and pressed.
And that’s it!
Other Simple Sewing Series Posts
Basic Sewing Essentials for a Beginner
How to Thread a Sewing Machine
How to Sew a Hem
Simple Sewing Tutorials
Simple Fall Peasant Dress for Girls
Easy Girls Dress Sewing Tutorial – Bow in the Back Summer Dress
How to Sew a Ruffle

Equipment
- Sewing machine
- Pins
Ingredients
- Fabric
Instructions
- The first step is determining how wide you want your ruffle to be. The rule of thumb is one and half times the piece you are attaching the ruffle to. For example, if your project is 18 inches wide, then you would want your ruffle to be 27 inches wide.
- The next step is determining how long you want your ruffle to be. I have made ruffles super tiny and really big, so it really just depends on your preference and how well the ruffle size will look on your project. Keep in mind that when you are cutting out your ruffle pieces to add about an inch extra for the hem.
- Cut out your ruffle pieces. You will need two fabric cuts of equal width and length.
- Sew your ruffle pieces together on both ends with a seam. Make sure to finish the ends with a zig-zag stitch to finish off the raw edges.
- Sew a hem around the bottom of your ruffle pieces. Basically, just fold the fabric over an inch once and then fold the fabric over once more. Then sew around the edge of the hem to lock it in place. It helps to iron the fabric in place to hold it down while you are sewing.
- Change your tension to the highest one on your machine and also change your stitch length to a gathering stitch. The highest tension on my machine is 9 and the gathering stitch is 10.
- Now it is time to sew the gathering stitch.
SEWING THE GATHERING STITCH
- Simply place your fabric on your sewing machine. Place the fabric on the machine so that you are starting in front of a side seam and lower the pressure foot. You want to sew pretty close to the edge of your fabric and slowly feed the fabric through.If your tension is set to high, you will notice that your fabric is starting to gather on its own.When you get to the next side seam, simply raise the needle, lift the pressure foot, and pull the fabric off the machine and trim the threads making sure to leave some pretty long ones on the fabric. Make sure to pull out some extra thread on the sewing machine, so that you have nice long tails when you start sewing on the other side of the fabric starting again right in front of the side seam. Remember, do not back and forward stitch!
- Now that you have sewn a gather stitch, lay out your fabric on a solid surface and find the long tails of thread you left on the side seams. Gently pulling the string and then working the fabric down creates gathers. I like to do a little on one side and then work a little on the other side. You just do this until your ruffle piece width is matching the width of the fabric you are attaching it to.
- Insert pins all the way around the fabric. I like to line up the side seams of the fabric pieces and pin those first before I start pinning the rest of the fabric.
- Now it is finally time to sew your ruffle piece to your project.Sew all the way around using your fabrics using your normal tension and stitch length and remember to back and forward stitch, because this is the thread that you want to lock in place.I like to sew right along the gathering stitch, but just inside of it because that will give you the prettiest ruffle.It is really important to take your time will sewing the two fabric pieces together.As I sew, if it starts to look a little funny, I will just re-adjust the ruffle as I go along.
- After you have sewn all around, take a look at your project and make sure the ruffles are nice and even all the way around and that the side seams are lined up.
- Finish off your ruffle project with a zig-zag stitch all the way around.
- OPTIONAL: Now an optional step is to add a topstitch on top of the ruffle to make it lay more flat and look a little more professional. It just lays close to the edge, but it does not usually hold anything together.You want to use your normal tension and stitch length for the top stitch.Now make sure to push the seam toward the bottom of the ruffle, because you want to catch that seam underneath the ruffle in the top stitch to make it more straight and pressed.And that’s it!
Notes
- I like to sew two separate gathering stitches to make the thread less likely to break. I like to create a gathering stitch on one said of the fabric and another gather stitch on the other side of the fabric, so I am basically sewing from one side seam to another. Stopping. And then starting another seam and ending at the other side seam.
- One thing you want to remember when you are sewing a gathering stitch is to not do a back and forward stitch, because you do not want to lock the thread in place. The gathering stitch helps to scrunch the fabric together, so it is not actually holding the fabric in place. It is just there to help pull the fabric along.
- Another thing you want to do is to leave nice long thread tails, so that you have plenty of thread to be gathering from later.
- Sometimes as you sew along, you might start to notice that your ruffle piece is folding over. Make sure to pull it back into place if it starts doing this.
Nutrition information is automatically calculated, so should only be used as an approximation.



Hi! I have a question- perhaps this is covered in another episode. Is there a right or wrong way to cut the fabric for the ruffle? With the grain or not?
Excellent video. Succinct, direct and focused. Loved it! I think I am going to try this with you playing along.
Looking forward to your past and future vids!
Thank you! ❤️
No right or wrong way! Glad you enjoyed the video.
Did you use your ruffler foot with the knit? CAN one run knit/jersey through a ruffler foot? If so, how?
PS: I wore one of your flower headbands in my hair yesterday. All. Day. Long. I ordered it for my daughter, but hey, it’s important that she learns to share, right?
I love your posts so much. They are so helpful, even for me who can’t sew a button!
Where can I buy the blue and white fabric to make curtains? Thank Patricia
Hi Patricia,
Here is the link the fabric: http://amzn.to/2BvaJNS