Learn how to make Whole Wheat Sourdough Bread with my favorite recipe. Sourdough starter, sea salt, water, and freshly ground wheat make up this simple and wholesome loaf.
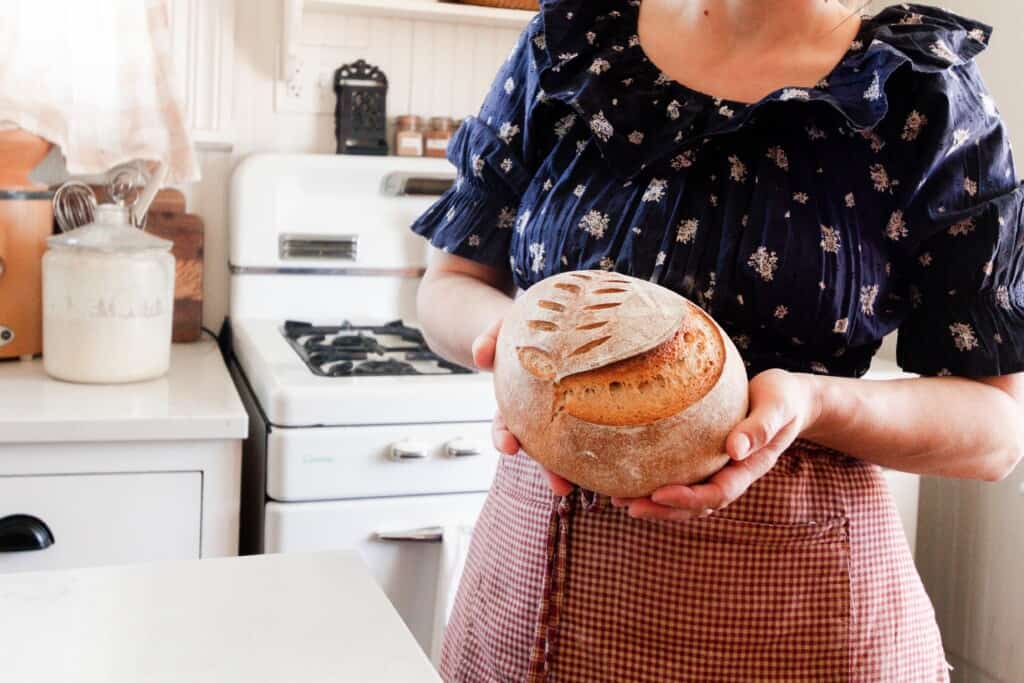
Table of Contents
- Sourdough Bread Baking
- Tips For Making Whole Wheat Sourdough Bread
- Tools you may need:
- 100% Whole Wheat Sourdough Bread Ingredients
- Find More Whole Wheat Sourdough Recipes
- How To Make A Whole Wheat Sourdough Boule
- Bulk Fermentation
- Storage:
- Bakers Timeline For No-Knead Sourdough Bread
- Baker’s Timeline:
- FAQ
- Find More Sourdough Recipes:
- Whole Wheat Sourdough Bread Recipe
*Update: This post has been updated from the original recipe. You can find my whole wheat sourdough sandwich bread recipe here for a delicious sandwich loaf.
I have been on the hunt for a good whole wheat sourdough bread recipe for a long time. When I first made my sourdough starter over seven years ago, I tried my hand at a few recipes I found online and they always seemed to flop.
Maybe I just didn’t have enough experience with bread baking, or maybe I expected it to be as fluffy as white, store-bought bread.
Either way, I gave up on sourdough bread for several years.
I still made my beloved English muffins, pancakes, pizza crusts, sourdough skillets, and tortillas.
But sourdough whole wheat bread just seemed like too much of a hassle and overly complicated.
After getting a few years of sourdough experience under my belt, it seemed a good time to try again.
And now, after playing around with it for a while, I feel like I finally have something that makes a consistently delicious loaf of whole grain sourdough bread every single time.
In fact, since I started making my bread from this recipe, I haven’t had any flops.
If you have been trying to make sourdough bread for a while, you may be all too familiar with the “flops” I’m talking about.
Traditional sourdough bread baking can be a lot trickier than modern-day baking with yeast packets.
After playing around with it for awhile, I feel like I finally have something that makes a consistently delicious loaf of whole grain sourdough bread every single time.
In fact, since I started making my bread from this recipe, I haven’t had any flops.
If you have been trying to make sourdough bread for a while, you may be all too familiar with the “flops” I’m talking about.
Traditional sourdough bread baking can be a lot trickier than modern day baking with yeast packets.
Sourdough Bread Baking
Instead of using a trusty little packet of active yeast that you can just grab at the local grocery store, wild-fermented sourdough bread baking relies solely on the native, wild yeasts to make your bread rise.
This is why results can be inconsistent. You have to have a mature starter that is full of beneficial bacteria and yeasts. If the balance is off, the bread may not rise, resulting in a loaf that more closely resembles a brick than bread.
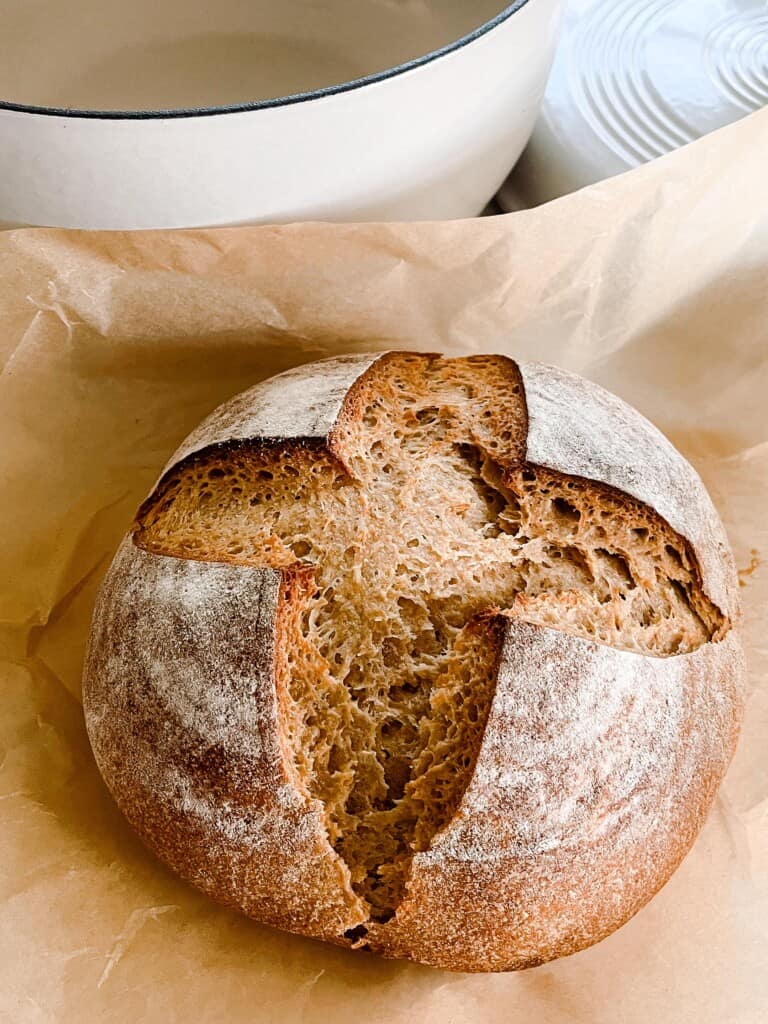
This recipe for whole wheat sourdough bread produces the least brick-like loaf I have ever had.
Actually, it is ridiculously delicious.
We had a loaf, fresh out of the oven, with dinner tonight, and my husband and I were talking about the wonders of fermented foods.
They just have a depth of flavor that you can’t find in something made quickly. The taste that develops over days, and sometimes weeks, has so much dimension.
I don’t even know how to describe it. My words elude me. You just have to trust me and try it!
This post contains affiliate links, which means I make a small commission at no extra cost to you. See my full disclosure here.
Tips For Making Whole Wheat Sourdough Bread
- Use a sharp serrated knife to cut the bread, or use an electric knife.
- I like to use freshly milled whole wheat using my Mockmill, but you could also use a different kind of whole-wheat flour.
- Don’t expect this to produce super fluffy bread like you would get at the store. This is due to the whole grains. If you want a fluffier loaf, try my no-knead sourdough bread.
- Make sure you feed your sourdough starter eight hours before making this bread.
Tools you may need:
- Stainless steel bread pans
- Mockmill
- Berkey water filter
- Stand mixer (optional)
- Banneton baskets (optional)
- Dough whisk
- Thrive Market You can get 25% off your first order through my link. I love to buy einkorn, gelatin, and coconut milk from here. They have quite a few things that are actually cheaper than Amazon!
- I get my wheat berries from this co-op- Country Life Natural Foods
100% Whole Wheat Sourdough Bread Ingredients
Whole wheat flour – I like to use freshly milled, white wheat berries.
Active sourdough starter – Fed about 4-12 hours beforehand. It should be active and bubbly.
Salt – I prefer sea salt.
Water – Preferably filtered water. We use a Berkey water filter.
Find More Whole Wheat Sourdough Recipes
How To Make A Whole Wheat Sourdough Boule
Feed a sourdough starter 4-12 hours before starting the bread, ensuring it is active and bubbly and just about at its peak.
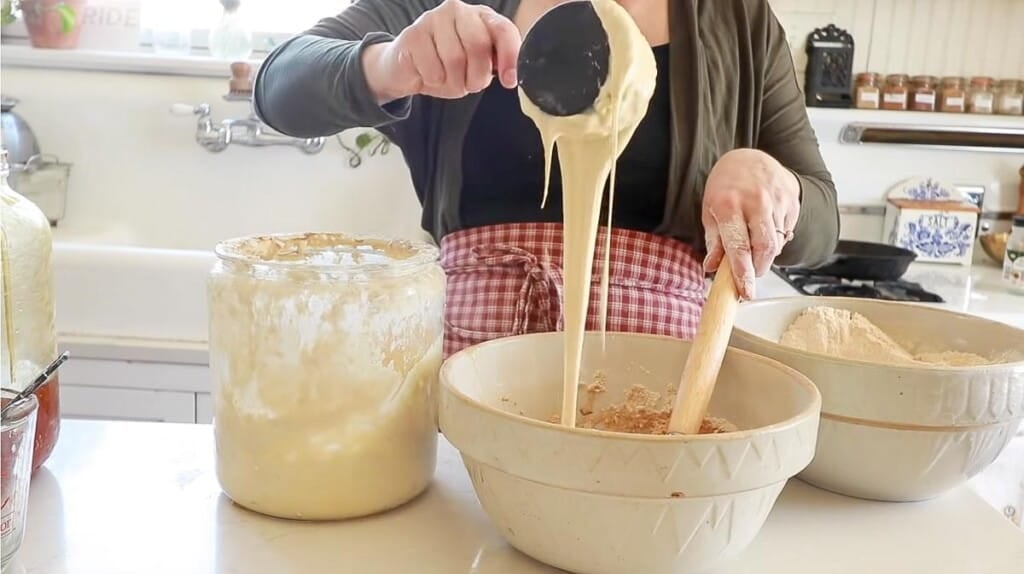
To a large bowl, combine water, active starter, salt, and flour with your hands for about 5 minutes. Cover with a damp towel and allow to rest for one hour for the water to hydrate the flour. This is a process called autolyse, where the flour becomes fully hydrated.
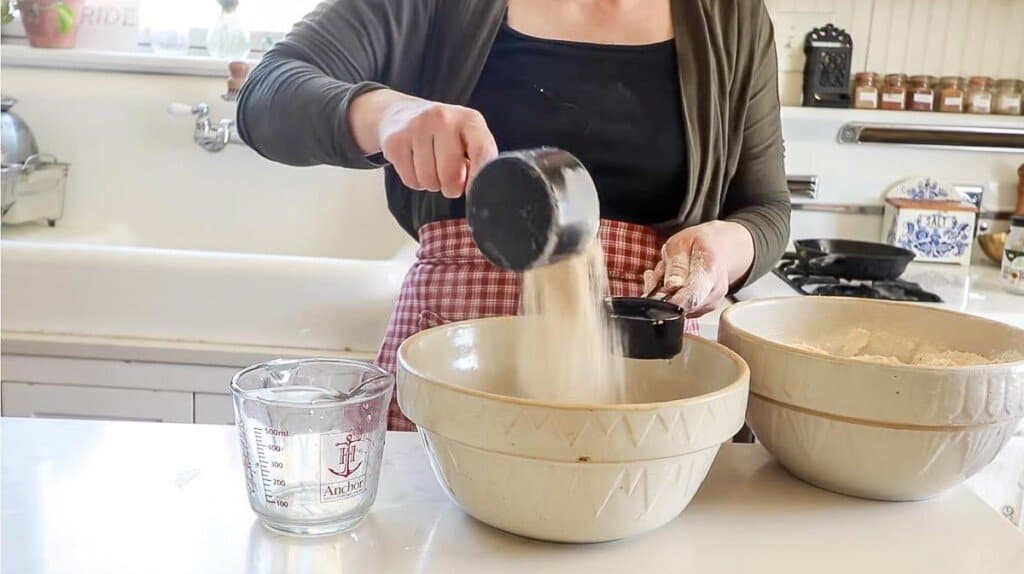
Add more flour if the dough is too wet and sticky. Since the ingredients in this recipe are weighed, it should be pretty consistent.
This is where you will have to play around with the dough and get a feel for it. The hydration of your starter, the weather outside, and the type of flour you use… all will come into play to determine how much flour you will need.
You are looking for a dough that is not too sticky, but also not too dense when you are doing the stretch and folds later.
Stretch And Fold
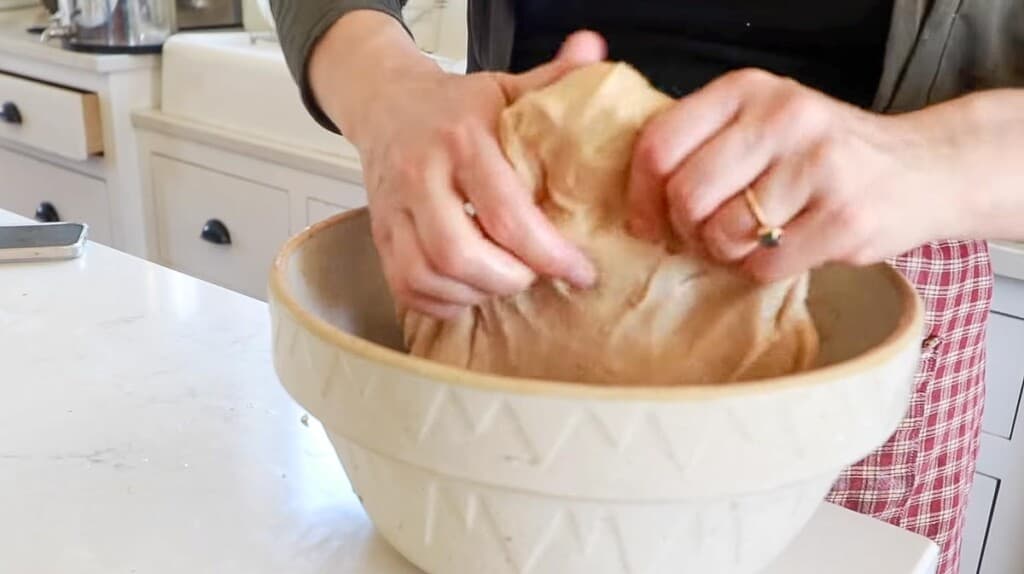
Instead of kneading, I like to do the stretch and fold method. This is where you take the dough on one side and pull it up about 6 inches, then fold it over the rest of the dough. Turn the bowl about 1/4 around and repeat the process. Do this a total of 3-4 times. This is considered one round. Cover.
First 3 stretch and folds – every 15 minutes.
Last 3 stretch and folds – every 30 minutes.
Bulk Fermentation
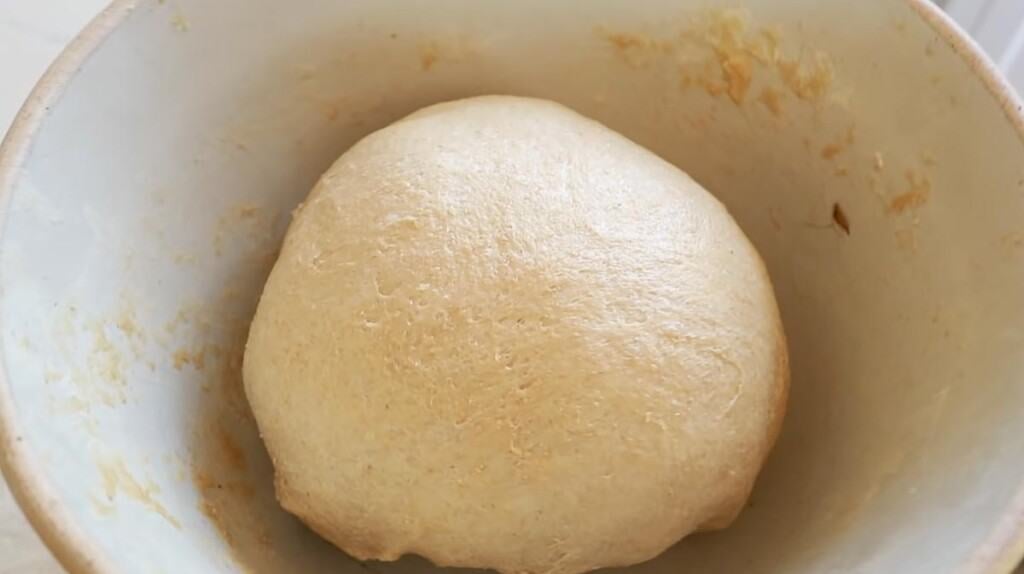
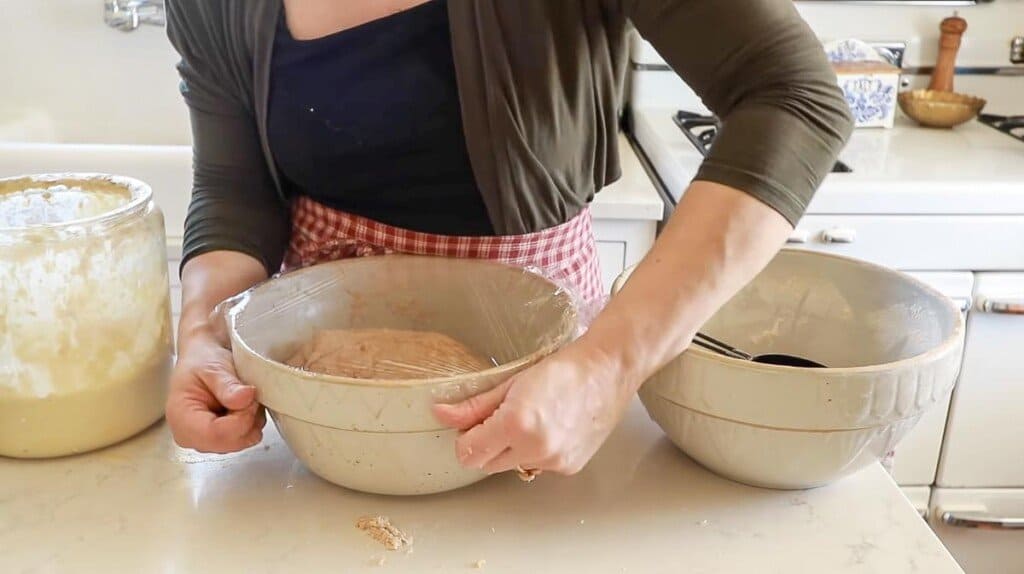
Cover with plastic wrap and allow the dough to bulk ferment in a warm place until doubled. This usually takes my dough about 8 hours.
How long it takes for your dough to double depends on how warm or cool your environment is and how active of a starter you have. The warmer the room, the shorter the fermentation time typically.
Shape And Refrigerate Overnight

Shape it into a ball by gently spinning it toward you against the countertop, giving it tension. This will help the bread get really puffy.
Let the dough rest for 15-20 minutes uncovered. This helps it develop a little bit of a skin, which helps prevent it from sticking to the lined basket.
Turn over on a floured surface and shape.
Transfer to a lightly floured banneton basket or bowl lined with a tea towel.
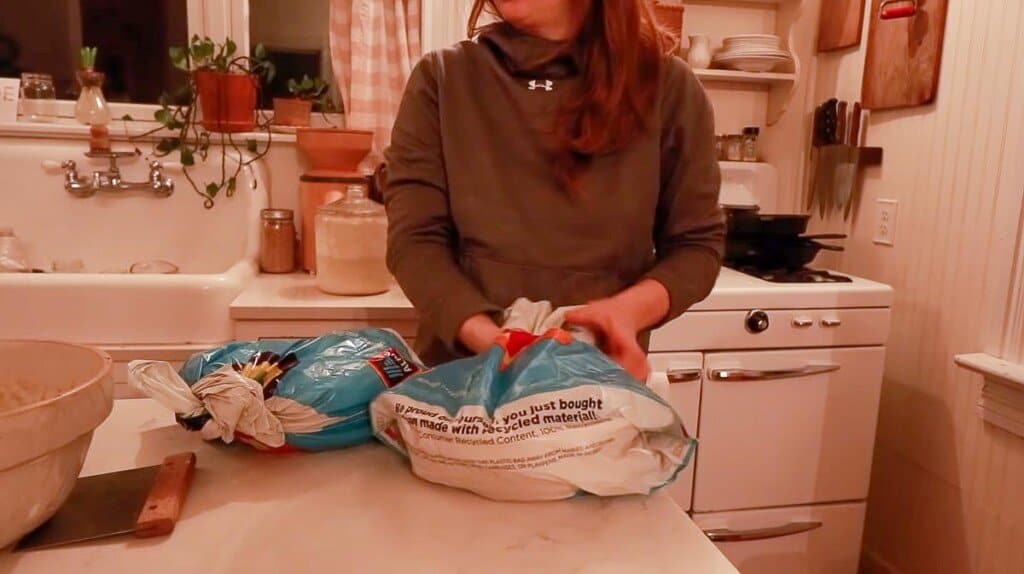
Cover with plastic and proof for 12-14 hours in the refrigerator. I will put the basket in a grocery bag and tie it. You could also let it rise in a warm spot for 2-4 hours.
I like to do the refrigerator option because I can store the dough in the refrigerator for up to a week before baking, and also it is easier to create pretty designs on the top of the dough.
During the refrigerator “rise”, the bread dough will not look like it has risen at all. This is normal. It magically puffs up perfectly during baking.
Bake
Place a Dutch oven into the oven and preheat to 500 degrees.
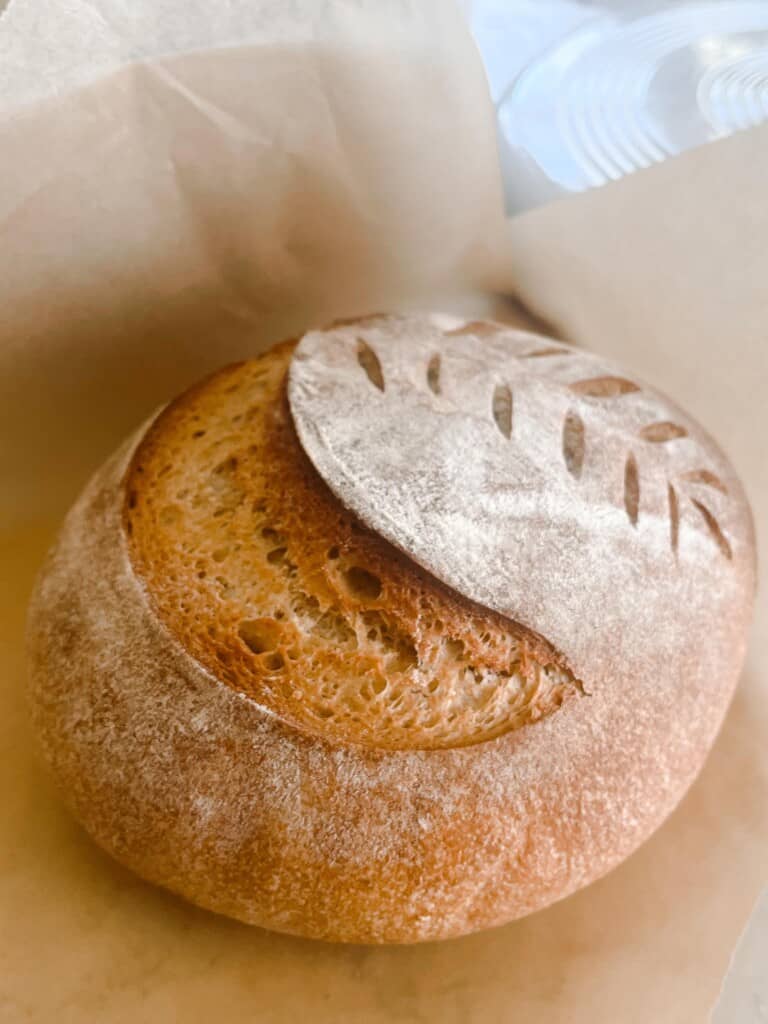
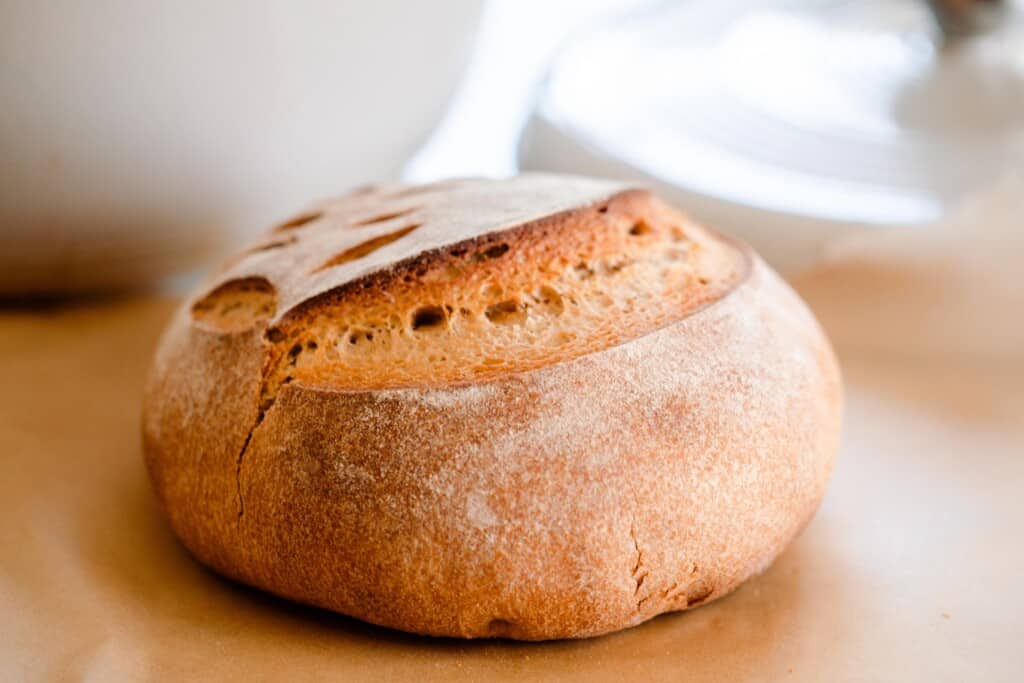
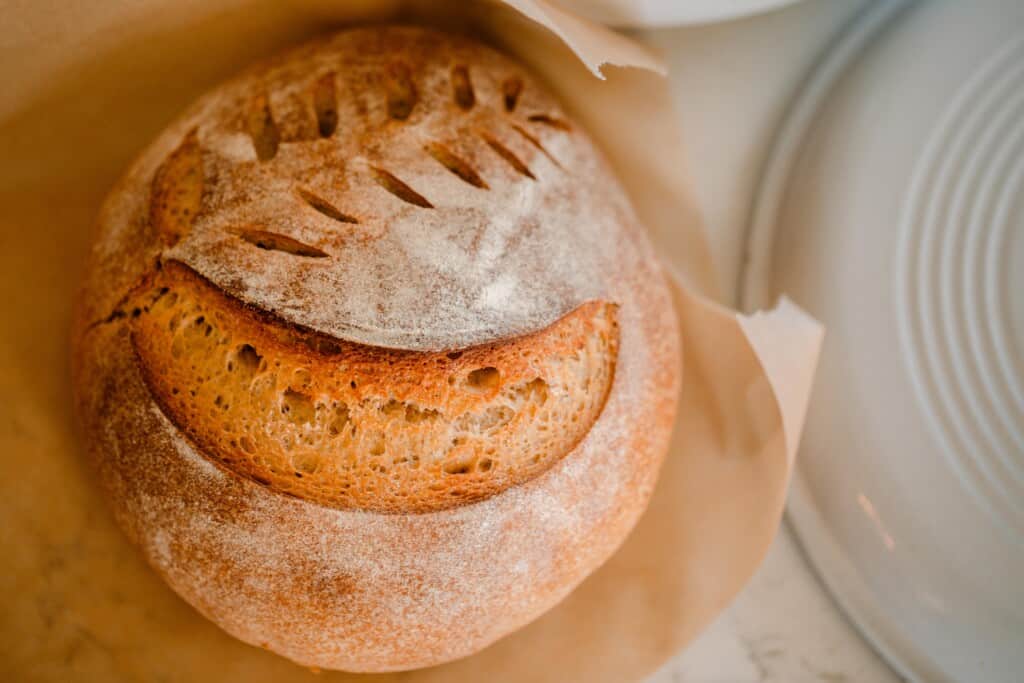
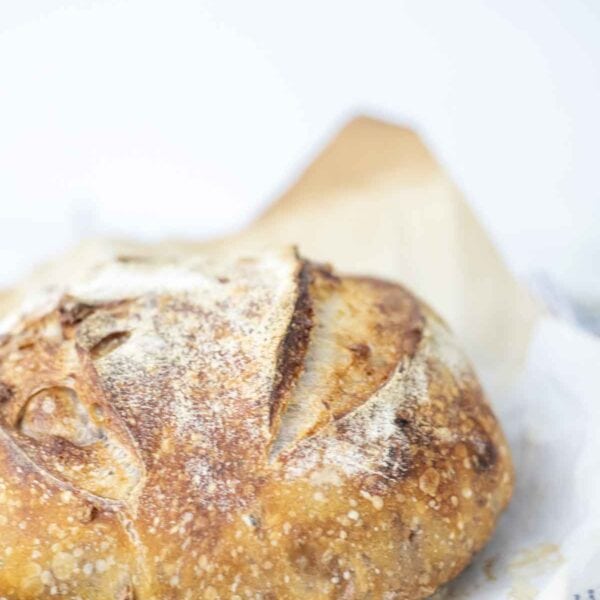
Whenever the oven is done preheating, remove the dough from the fridge, place on parchment paper, and score with a lame or razor. Find my favorite scoring patterns here.
Dust with flour on top to make the scoring pattern stand out more (optional).
Gently place the parchment paper and dough into the Dutch oven.
Bake for 20 minutes with the lid on and another 20 minutes with the lid off.
Allow to cool completely before slicing. Find my post all about how to cut sourdough bread here.
Storage:
Now while my family inhales a loaf in no time flat, I know that is not true for other families. I will usually just store my bread in the Dutch oven it was baked in. You can also place it in a linen bread bag, or plastic bag. Learn the 7 ways to store sourdough bread to keep it fresh here.
Bread also freezes really well. Just place in a freezer-safe bag, and stow it away. Some people prefer to wrap the loaves in plastic wrap first, then in the bag. It will last 3-6 months in the freezer.
Bakers Timeline For No-Knead Sourdough Bread
Baker’s Timeline:
This can be started or made at any time. I like to start doughs at night time so they can rise all night.
Feed sourdough starter with flour and water.
If sourdough starter is mature, then proceed to creating the dough.
Combine all the ingredients and rest for 1 hour.
Stretch and fold.
First 3 stretch and folds – every 15 minutes.
Last 3 stretch and folds – every 30 minutes.
Cover with a wet towel or plastic wrap and allow the dough to bulk ferment until doubled.
Shape dough.
Set out at room temperature for 15-20 minutes, uncovered.
Turn over and shape.
Transfer to floured banneton or bowl lined with a tea towel and cover with plastic or place in a plastic bag. Place in the refrigerator for 12-15 hours for the second rise.
Preheat Dutch oven at 500 for 1 hour.
FAQ
Wrap the bread with beeswax wraps, or in a plastic ziplock bag, and store up to two weeks at room temperature.
Fermented whole grain bread keeps longer than unfermented whole grain bread at room temperature. This is because the fermentation process makes the bread less susceptible to mold and fungus.
The same scientific principles that make sauerkraut and lacto fermented salsa keep for several months are at work in the sourdough bread.
For longer storage, you can also keep it in the fridge or freezer. However, the fridge is typically not recommended as it can dry out the bread.
Yes, it will give you a heartier, more dense loaf, with a whole grain flavor. It isn’t going to be as light and fluffy as other sourdough breads made with bread flour or all-purpose, but it is very delicious.
It takes longer than the usual yeast packet, as you are waiting for the natural yeast and bacteria in the air to create the rise. As far as compared to other sourdoughs, whole wheat doughs tend to rise faster than white bread dough.
It will also depend on the hydration of the whole wheat sourdough recipe you use. The higher the hydration, the faster the rise.
Yes. For this recipe, and most recipes, you can easily use a whole wheat starter.
I tend to feed my sourdough starter a variety of flours and don’t stick to a particular one. Sometimes I use einkorn, sometimes all-purpose, and sometimes freshly milled whole wheat.
Not all sourdough is going to be whole grain. This will be determined by the type of flour used in a recipe. Some people like to make their bread with 100% whole grains, while others like to mix the flours for a lighter crumb.
Yes. Whole grains are filled with vitamins, nutrients, and fiber. The fermentation makes the nutrients even more bioavailable so your body will absorb them better.
Absolutely. While the texture is more chewy and less fluffy, it can be done. If you want a fluffier loaf, I would recommend using a combination of white flour and whole wheat flour like my no-knead sourdough bread.
Find More Sourdough Recipes:
- No-Knead Sourdough Bread
- Einkorn Sourdough Bread
- Easy Sourdough Flatbread
- How to Make Sourdough Tortillas
- Low Hydration Sourdough Bread
- Sourdough Pizza Crust
- High Hydration Sourdough Bread
- Small Batch Sourdough Bread
If you make this recipe and love it, I would love if you gave it 5 stars! Tag me on Instagram @farmhouseonboone with your delicious creation.
Whole Wheat Sourdough Bread
Ingredients
- 475 grams freshly milled whole wheat
- 325 grams water
- 100 grams active starter
- 10 grams salt
Instructions
- Feed a sourdough starter 4-12 hours before starting the bread, ensuring it is active and bubbly and just about at its peak.
- To a large bowl, combine water, active starter, salt, and flour with your hands for about 5 minutes.
- Cover with a damp towel and allow to rest for one hour for the water to hydrate the flour. This is a process called autolyse, where the flour becomes fully hydrated.
Stretch And Fold
- Instead of kneading, I like to do the stretch and fold method. This is where you take the dough on one side and pull it up about 6 inches, then fold it over the rest of the dough. Turn the bowl about 1/4 around and repeat the process. Do this a total of 3-4 times. This is considered one round. Cover.
- First 3 stretch and folds – every 15 minutes.
- Last 3 stretch and folds – every 30 minutes.
Bulk Fermentation
- Cover with plastic wrap and allow the dough to bulk ferment in a warm place until doubled. This usually takes my dough about 8 hours.
Shape And Refrigerate Overnight
- Shape it into a ball by gently spinning it toward you against the countertop, giving it tension. This will help the bread get really puffy.
- Let the dough rest for 15-20 minutes uncovered. This helps it develop a little bit of a skin, which helps prevent it from sticking to the lined basket.
- Turn over on a floured surface and shape.
- Transfer to a lightly floured banneton basket or bowl lined with a tea towel.
- Cover with plastic and proof for 12-14 hours in the refrigerator. I will put the basket in a grocery bag and tie it. You could also let it rise in a warm spot for 2-4 hours. I like to do the refrigerator option because I can store the dough in the refrigerator for up to a week before baking, and also it is easier to create pretty designs on the top of the dough.
Bake
- Place a Dutch oven into the oven and preheat to 500 degrees.
- Whenever the oven is done preheating, remove the dough from the fridge, place on parchment paper, and score with a lame or razor. Find my favorite scoring patterns here.
- Dust with flour on top to make the scoring pattern stand out more (optional).
- Gently place the parchment paper and dough into the Dutch oven.
- Bake for 20 minutes with the lid on and another 20 minutes with the lid off.
- Allow to cool completely before slicing.
Notes
- I like to use freshly milled whole wheat using my Mockmill, but you could also use a different kind of whole-wheat flour.
- Don’t expect this to produce super fluffy bread like you would get at the store. This is due to the whole grains. If you want a fluffier loaf, try my no-knead sourdough bread.
Nutrition
Nutrition information is automatically calculated, so should only be used as an approximation.








Hi,
Made this bread recipe.
Dough doubled in size after 8 hours as expected.
Shaped dough before leaving for 12-14 hours.
While shaping carefully, the dough collapsed quite a bit.
Next day while baking, the dough did not rise n the dutch oven.
Looking for ideas on what could have gone wrong on my part.
Not scoring deep enough?, Steam escaping from dutch oven?
Kind of stuck for ideas here.
Also, I used a wholemeal starter.
Regards.
Colin
Sounds like your dough may have over fermented. When that happens, it loses it structure and rise and becomes very sticky!
Step 2. of stretch and fold. It is a little confusing to me on what to actually do. Do I stretch one time, wait 15 mins, stretch again #2 wait 15 min, and the stretch #3 wait 15 mins. Go to Step 3. Stretch and fold one time wait 30 min, stretch /fold again #2 wait 30 mins, stretch/fold and then go to Bulk Fermentation? Please clarify. Thank you
Yes I am wondering this as well! I’m a brand new beginner.
I took have this question
Hi,
I am new to bead making.
Made your Whole wheat sourdough starter successfully.
Attempted this recipe for whole wheat bread.
All was going well, dough doubled in size all good.
When I went to shape the dough it lost a lot of rise.
After 12 -14 hours later lie the recipe says there was little or no more rise at all.
Unfortunately after baking in oven as per instructions there was no rise at all which resulted in a really dense loaf.
Looking for advice on where I could have gone wrong.
Kind Regards.
Colin
It sounds like the dough may have over proofed. That causes the dough to lose its structure and become very sticky. It will be a very dense loaf.
I baked my loaf at 500 degrees 20 minutes lid on and 20 minutes lid off, and the bottom was extremely burned. Any suggestions for how long to shave off the bake time? Or, is there a good way to tell when it’s done if I check it early?
Instead of shaving off bake time, try adding a little uncooked rice to the bottom of your dutch oven before you put your parchment paper down. That creates a little air between the loaf and the dutch oven and can keep it from burning!
Amazing. Left it in the fridge 4 days before baking and it was delicious.
Turned out really good! Not super fluffy as it noted but, fluffy enough and taste really great.
I made this bread and I was skeptical because it was such a compact dough. Stretching was more like taking both hands simultaneously stretching it north/south and east/west at the same time. However it bulk fermented quickly like 5 hours and shaped beautifully and in the banneton it went for 18 hours. It is so so good!
My question is how much water and such use if I make it half and half bread flour/ wheat flour???
The water will definitely need adjusting. You should be able to use a little bit less water. I would start with less and go by feeling!
I am also confused with the stretch and fold instructions. Usually, I see 4 stretch and folds turning bowl 1/4 each time. Wait 30 min do second, wait 30 min 3rd and finally wait 30 and 4th. Will this work? Also, I would like to add seed soaker, can you advise on quantity and water? How long to soak in how much water? Assuming I would reduce water in recipe. Thx in advance for your help!
That will work! I would try a fourth of a cup with a half cup of water to soak your seeds in. Whatever doesn’t absorb, just dump the excess water out.
Omgawwwd this bread is so so good!
I made a double batch with a little extra water. Last time my dough was very dry after mixing and autolyse. It’s a wonderful recipe and maybe I can eat that better than reg as bread due to being a diabetic.
Thank you for this recipe!!!❤️
I made the dough last night and did all the the stretches and folds, then forgot to put it in the fridge overnight! Whoops! Any thoughts on if I should do anything different today before I bake it??
I just realized it’s the second rise that’s supposed to be in the fridge, so I haven’t messed up yet. Lol. But, that being said, if I made that mistake for the second rise, any suggestions on how to recover from that? I’m sure I’ll forget one of these days. 😂
My oven only goes to 230c, what to do then??????
I would just keep it at that! You may have to cook the bread for just a little bit longer.
500 is Farenhait, so u use ur max of the stove