These healthy and delicious sourdough English muffins are a super simple no-knead recipe. Just mix up the night before and cook in the morning for a yummy breakfast. This is seriously the easiest English muffin recipe around.
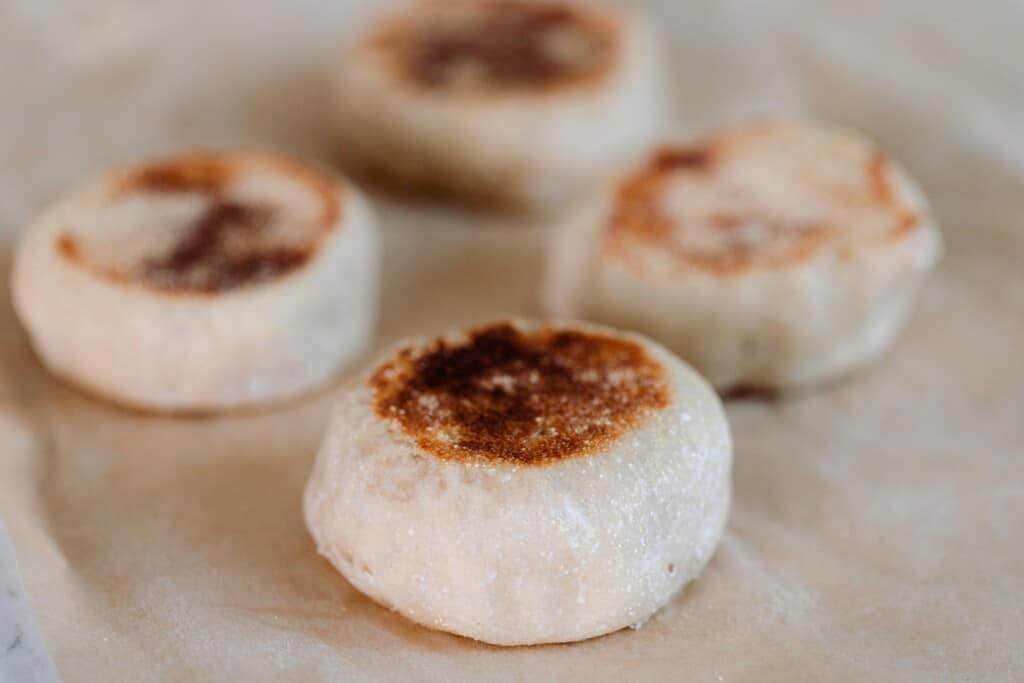
Table of Contents
I have already confessed my sincere love for my bubbly 9 year old sourdough starter that I talked about in this post.
I use it in my kitchen often. Pancakes, english muffins, waffles, cinnamon rolls, coffee cake… I have even attempted Sourdough Doughnuts.
I love the way sourdough adds a depth of flavor to baked goods that just isn’t there in store-bought bread products.
Plus, I have a satisfaction cooking with a starter that I made and maintain with my own two hands. I hope to pass it down as a family heirloom.
To me, it is valuable to learn how to make something in your own home that you just can’t buy in the store. Artisan style.
I get really excited by things like this.
Why Sourdough?
Grains have gotten an undeserved bad rep in the health food community.
Have you ever heard of phytic acid? Basically, it’s an antinutrient found in grains, beans, and nuts that interferes with the absorption of certain nutrients. They are present on grains to keep them from spoiling.
There is a reason they are there, but there is also good evidence that our bodies weren’t meant to handle them. Proper preparation of grains eliminates most, if not all, of the phytic acid in offending foods.
But, did you know that traditional cultures thrived on grains? The key difference between the way they consumed grains then, and the way we do in our modern society now, can be summed up in two words: proper preparation.
It was necessary for folks to ferment grains for them to rise into delicious bread. Before yeast was isolated and sold in little packets, sourdough starter was a valuable commodity in homes and families, passed down for generations.
These days we’ve lost that art. And, what have we found? People can’t handle grains anymore.
Read more about sourdough starter, how to make it, and why I love it HERE.
But for now, let’s talk about the topic at hand.
Are sourdough English muffins good for you?
Yes! Not only are they easier to digest than standard English muffins made from non-fermented wheat, but they also contain more nutrients that your body can more easily absorb, such as fiber, and are a good source of B vitamins.
They are more nutritious because phytic acid is broken down during the fermentation process. Phytic acid is an anti-nutrient that binds to the nutrients in grains (and other foods like nuts, beans, and seeds) that prevent absorption.
Why you will love this recipe:
I love Sourdough English Muffins because they taste like bread and work like bread, but take about 1/10th of the work that making regular sourdough bread takes.
And for this busy momma, that’s a recipe for a great… well… recipe.
I can whip them up in no time. And my family can enjoy a healthy bread that is so much cheaper than sprouted whole grain bread from the store.
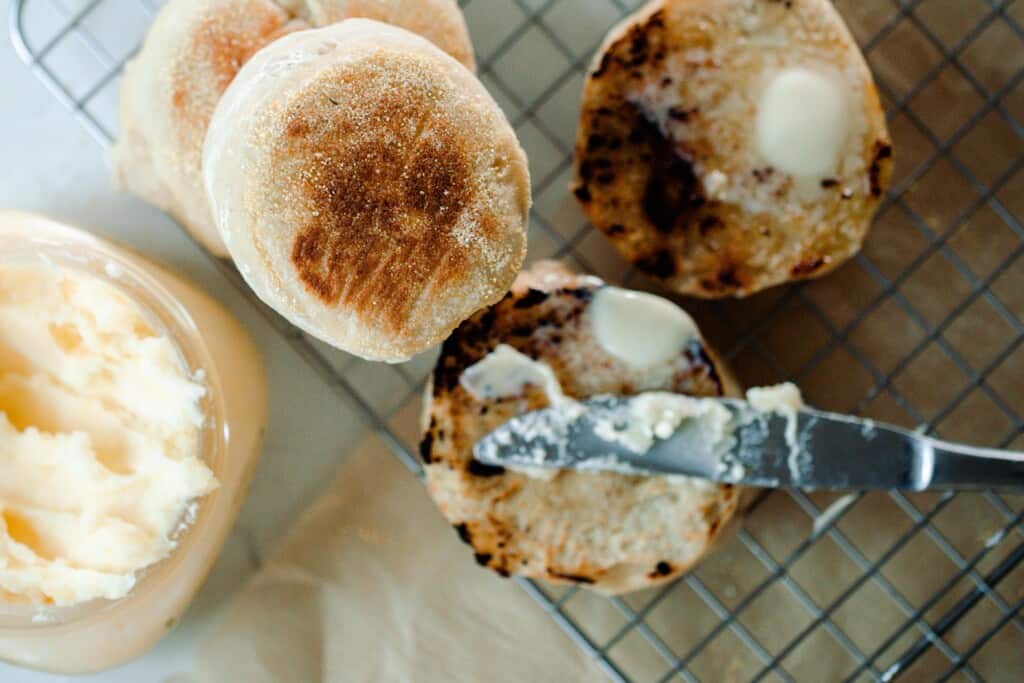
Sourdough English muffins work great for sandwiches with meat and cheese, or smothered in butter and honey for breakfast.
Tips For Making Sourdough English Muffins
- When cooking this recipe, the skillet needs to be hot before adding the English muffin dough so that it doesn’t stick, but then needs to be quickly reduced so they have a chance to rise and cook through.
- Make sure the sourdough starter you are using is nice and active. This will give the dough those beautiful bubbles.
- The type of flour you use, as well as humidity and quality of the starter, will cause each batch to need slightly different amounts of flour. If the dough seems too runny, add a bit more flour.
- The fermentation time will depend on how warm your house is. The cooler your house, the longer it will take for the dough to double, compared to a warmer house.
- You can substitute milk for water.
- You can skip the second rise as long as you add in the baking soda. Alternatively, you can do no baking soda and allow them to rise for an hour after dividing/shaping, before cooking.
This post contains affiliate links, which means I make a small commission at no extra cost to you. See my full disclosure here.
Tools you may need:
Lid
Large bowl
Measuring cups and spoons
How to Make Sourdough English Muffins
The night before you want sourdough English muffins, stir in a glass bowl: flour, water, and active sourdough starter. This is sourdough starter that has been fed 4-12 hours before starting the recipe, and is nice and bubbly.
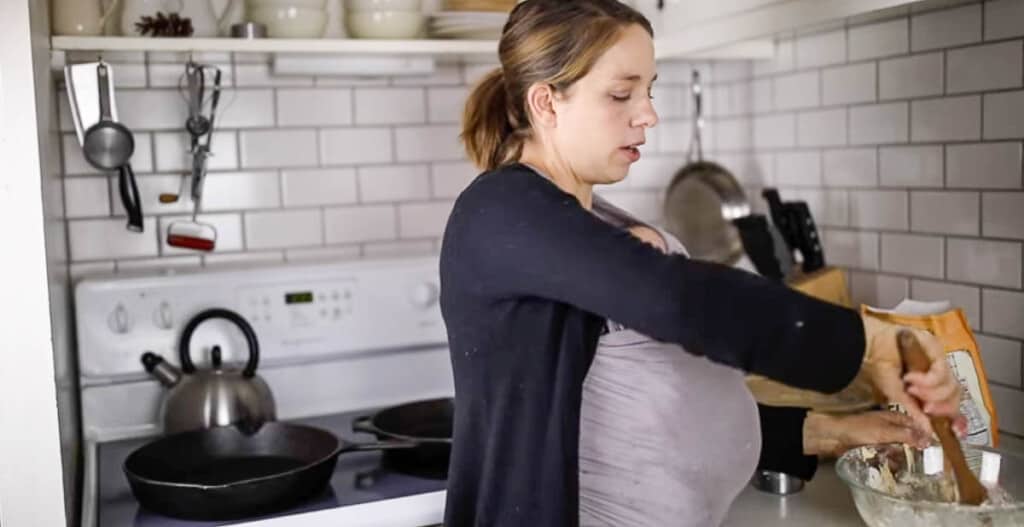
Cover it with a towel and let it sit at room temperature for 12-24 hours. You can get away with a longer rise time in the cooler months, and the fermentation process can take less time in the summer if your house is hot.
This is what mine looked like after 24 hours in a 68-70 degree house.
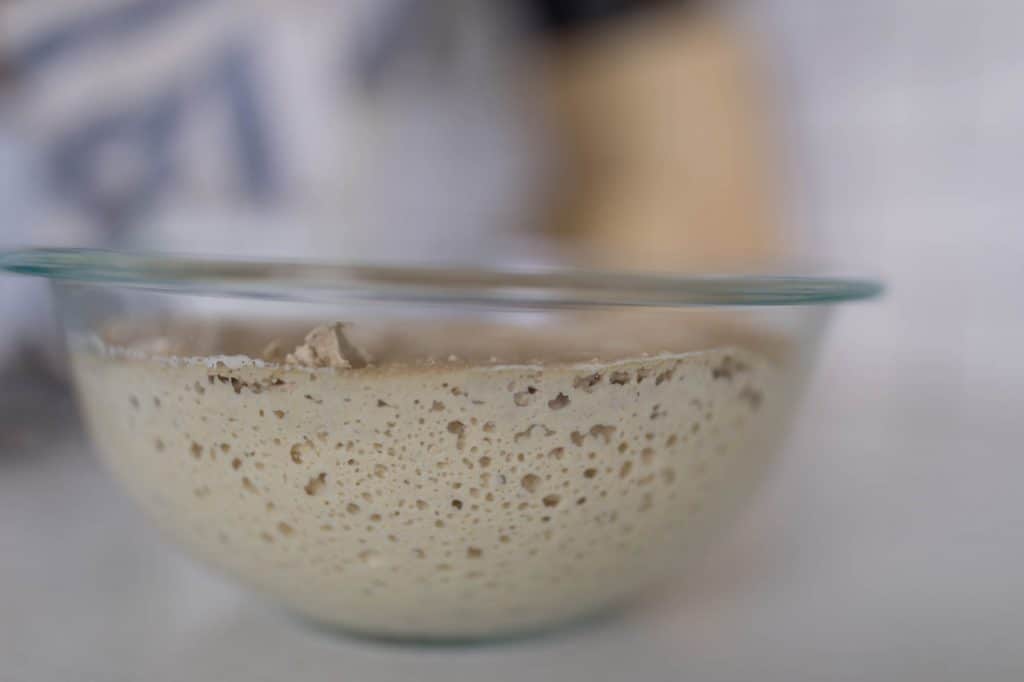
Look at those delicious bubbles!
NOTE: This recipe was updated in October 2021 to add a bit more flour, after several readers commented that the English muffins were turning out more like pancakes. As with any recipe, the type of flour you use, as well as humidity and quality of the starter, will cause each batch to need slightly different amounts of flour.
As you get familiar with this recipe, you will know exactly how much flour is needed by feel. If your English muffins are turning out like pancakes, you definitely need more flour. They should not be flat.
Also, cooking technique does have a lot to do with it. The dough needs to hit a hot cast iron skillet, so that it doesn’t stick, but then the heat needs to be quickly reduced so they have a chance to rise and cook through!
After Fermentation:
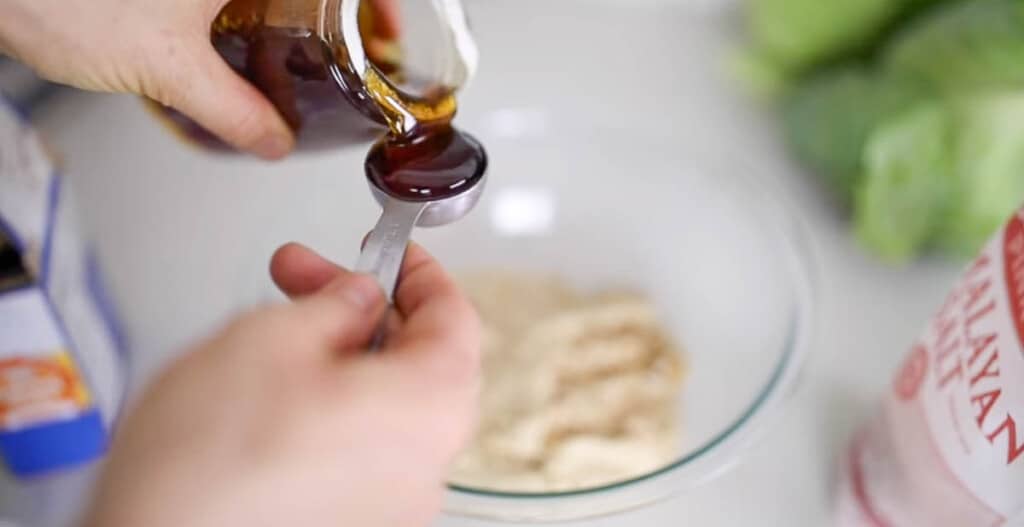
After the dough has fermented, add honey, salt, and baking soda.
Preheat your cast iron skillet on low and add a little coconut oil.
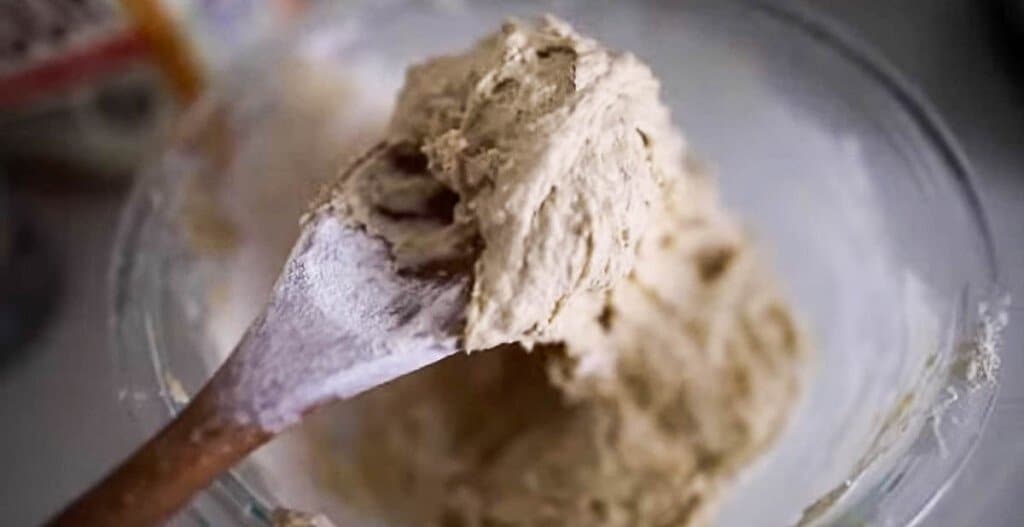
Mix the ingredients together until they are fully incorporated. You will probably have to use your hands for this, as the dough will be pretty thick. If the dough feels runny, add a bit more flour. It should be workable, yet not stiff. If the English muffins turn out flat like pancakes, it is a good indication they need more flour.
Divide the dough into 12 equal parts.
Drop it in a hot cast iron skillet.
Reduce the heat to low for about 10 minutes so the dough has a chance to rise.
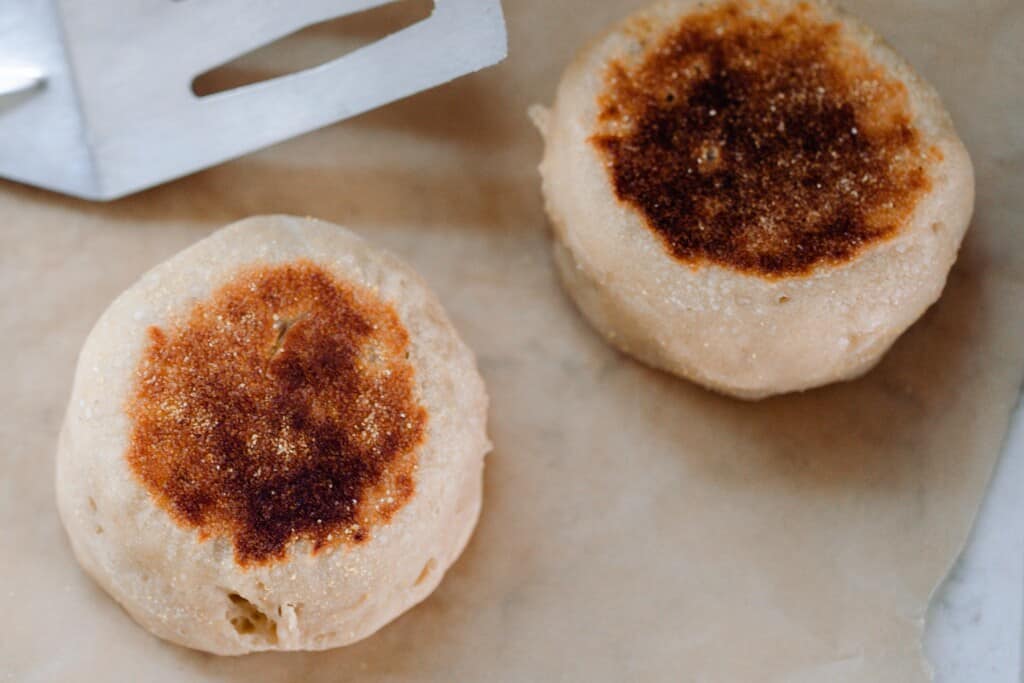
Let them cook until doubled in size. Turn the skillet up to about 3 or 4 (not quite medium) and continue to cook until they are browned slightly on the bottom.
Don’t try to flip them until they come up easily from the pan. The goal is to only flip them one time.
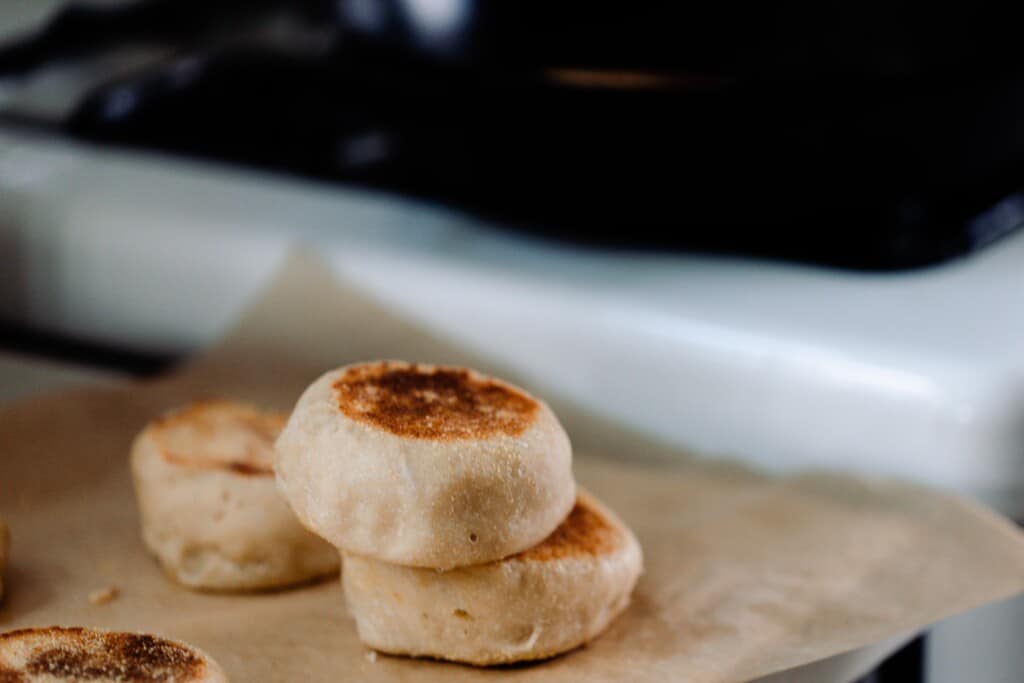
Cook them on the other side until browned.
These English muffins have a tendency to cook on the outside before the inside is fully done. So, be sure to not turn the skillet up too high. If they are browned on the outside, but still not done on the inside, throw them in a 250 to 300 degree oven for 10 minutes or so.
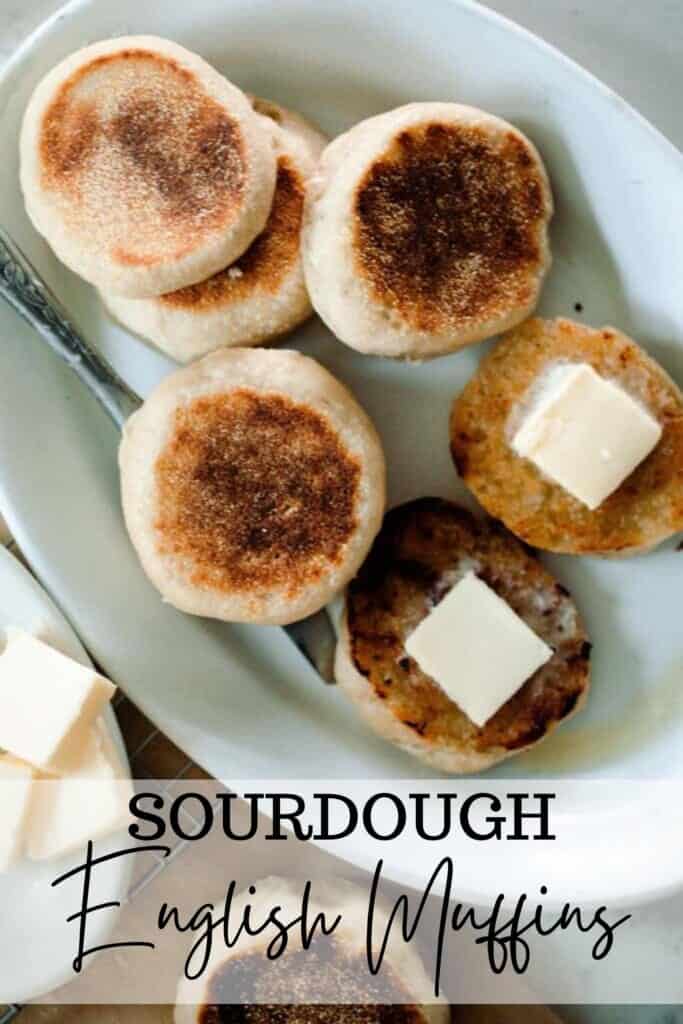
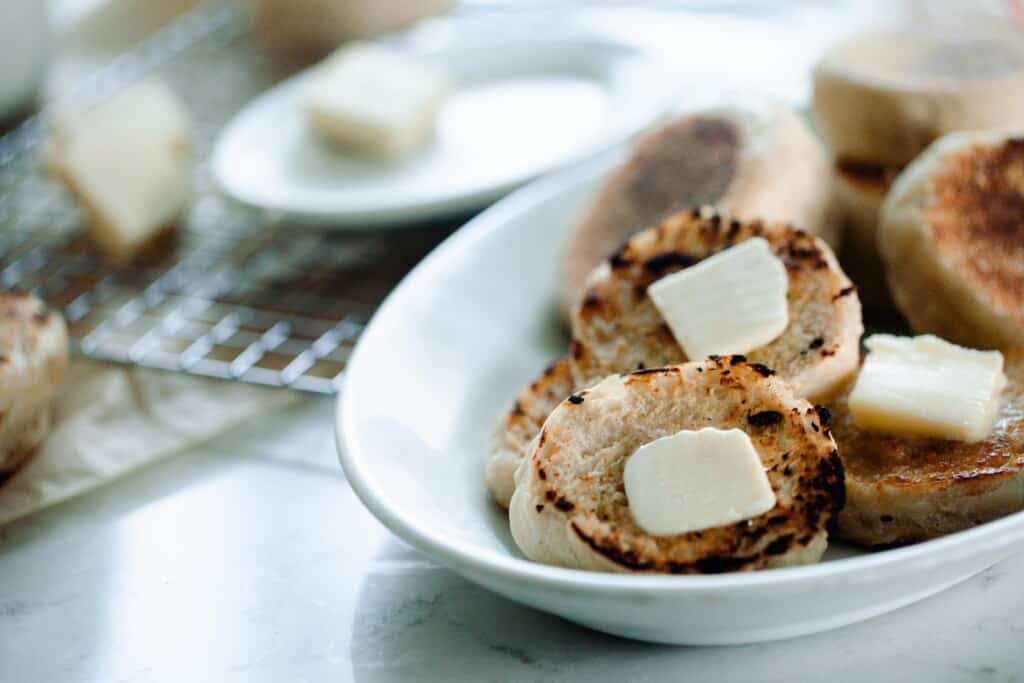
After they are cooked all the way through, slice them open and enjoy!
How To Make Sourdough English Muffins Without Baking Soda
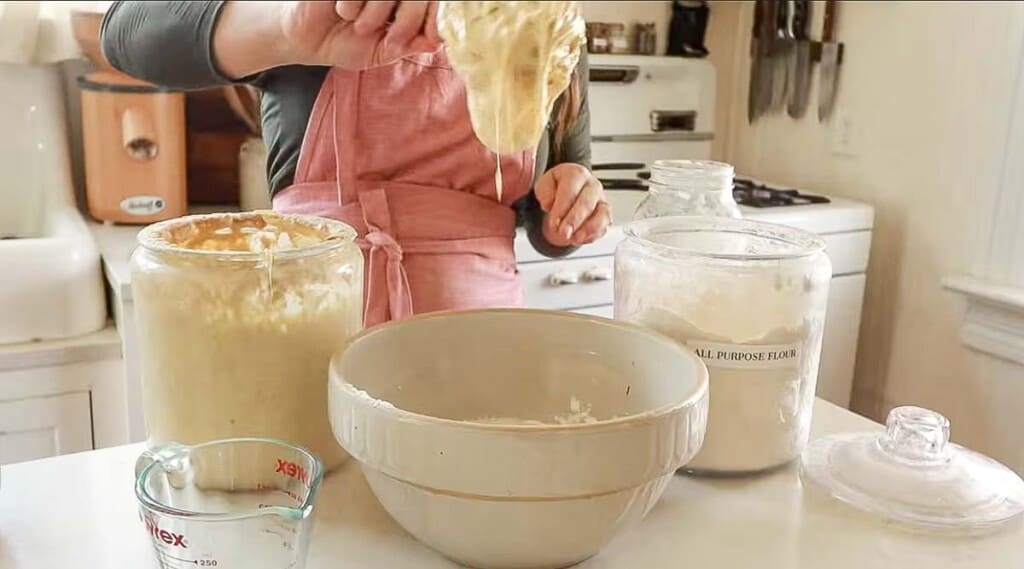
Add all ingredients to a bowl and mix together (minus the baking soda). Allow the dough to rest for 30 minutes; this is called autolyse. This is the process of allowing the dough to rest so the flour has a chance to hydrate. Also, during this time the gluten starts to develop and the dough becomes stretchier.
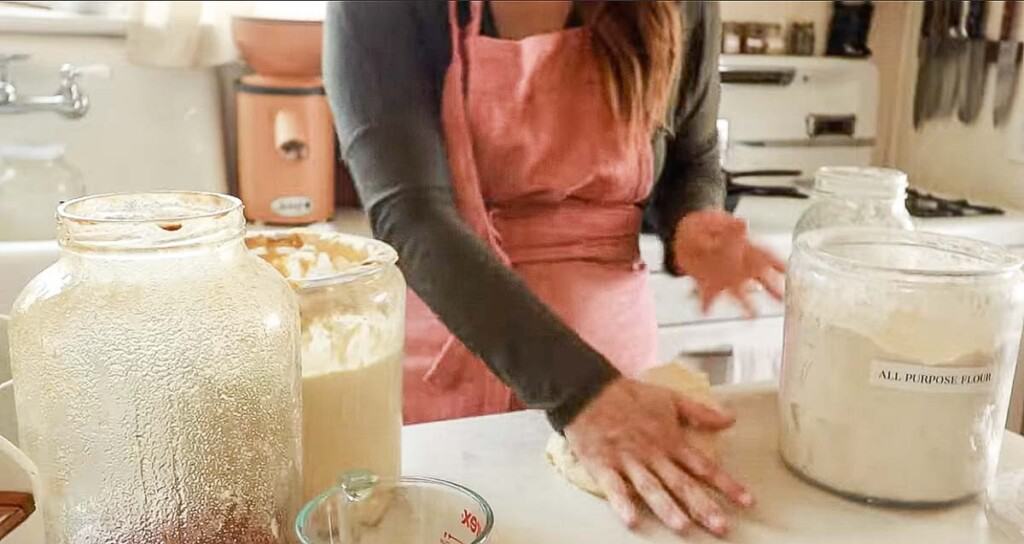
Knead for five minutes with hands on a lightly floured surface. Place dough in bowl and cover with a lid, or plastic wrap.
Bulk rise: 8-12 hours in a warm place. Dough should double in size. This also could be done in the refrigerator. The dough will be stiffer which makes rolling out a little easier.
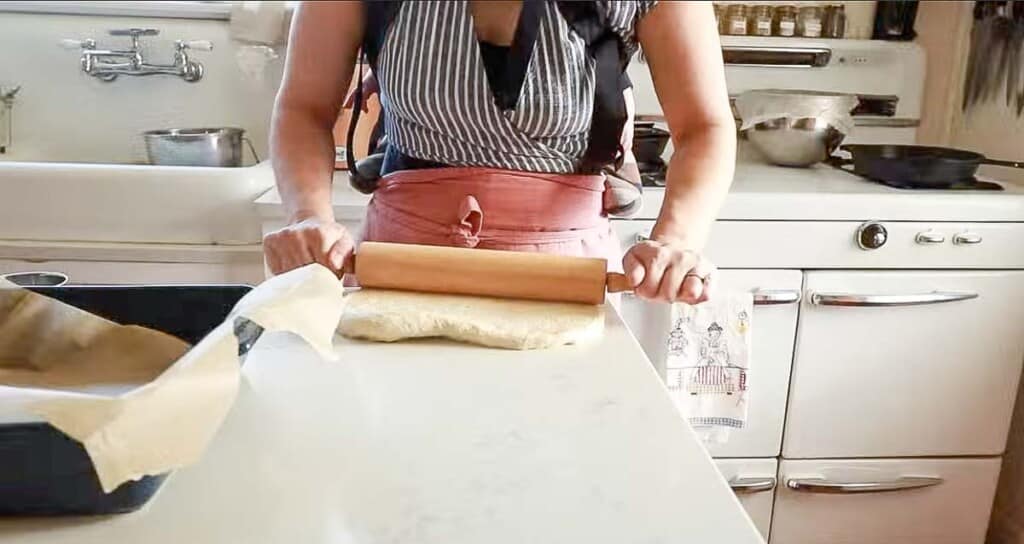
Shape by rolling out into a 1/2 inch thick rectangle.
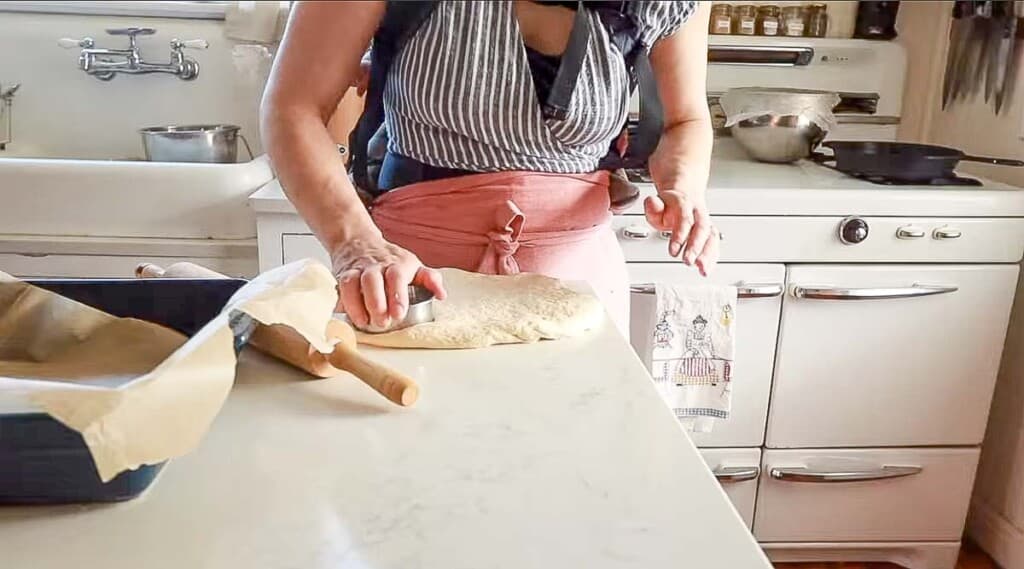
Cut out using a biscuit cutter or wide mouth mason jar.
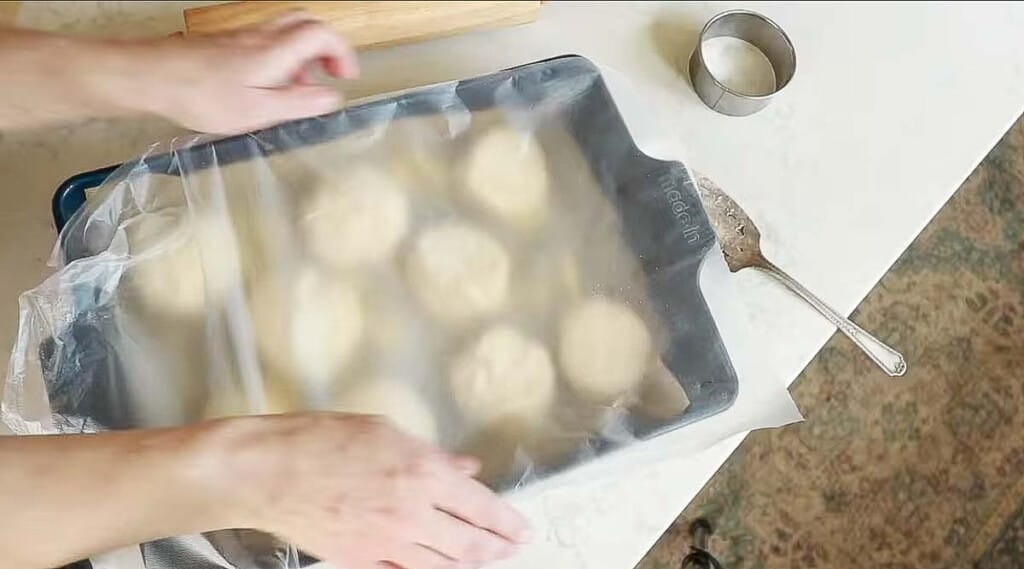
Place in a parchment lined baking dish with a little cornmeal sprinkled on the bottom (optional). Cover and rise again for about an hour in a warm place.
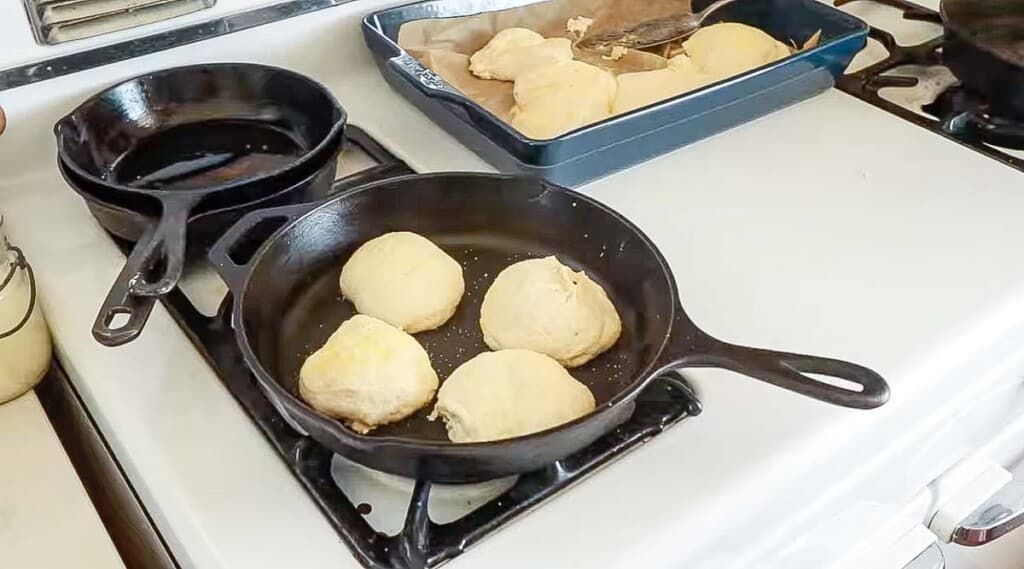
Cook in a cast iron skillet. Start the skillet really hot, add the English muffins, and turn down the heat immediately to low. Cover with a lid and allow to cook for about 5 minutes.
Flip and cook through until completely done – about another 5 minutes.
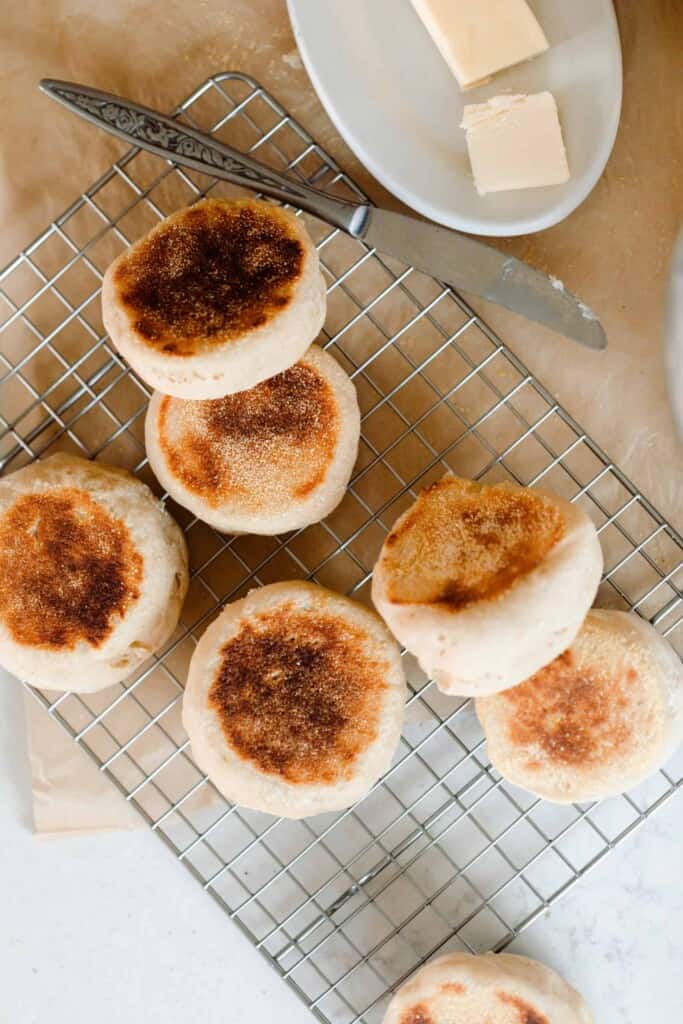
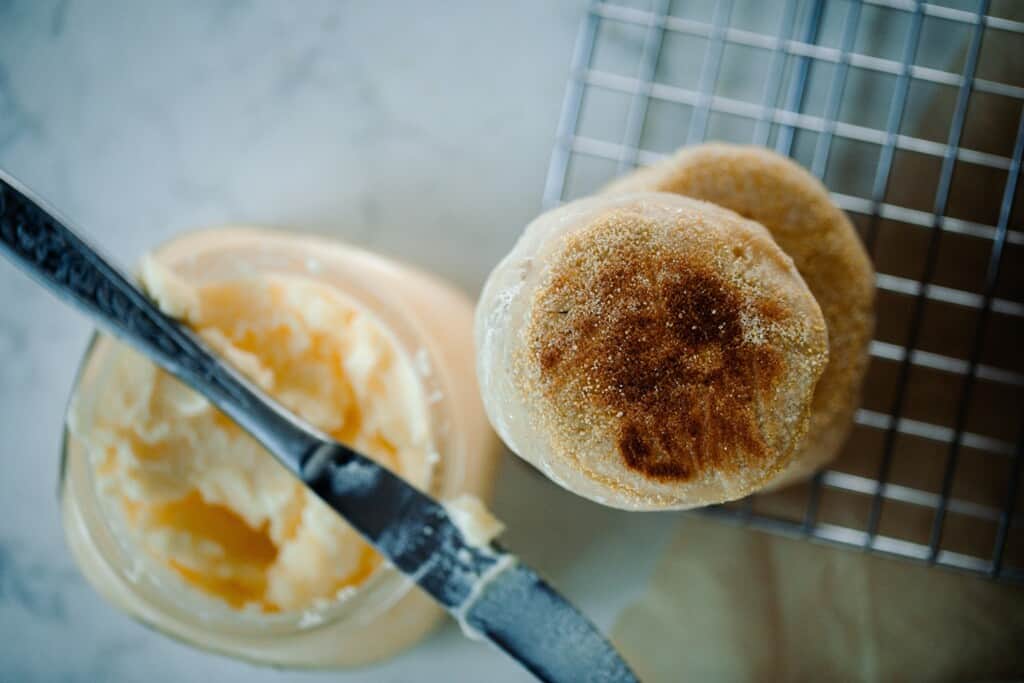
Place on a cooling rack for a few minutes before slicing. Serve with butter or homemade strawberry jam.
A Word On Flour
Over the years, I have fed my starter with all of the following at some point: freshly ground whole grain white flour that I ground in my own mill, all purpose flour, ancient einkorn, unbleached all purpose, store bought whole wheat flour… and probably some others I can’t remember.
The point is, my sourdough starter still bubbles away despite the flour choice. Use whatever flour you have, and enjoy your Sourdough English muffins!
Find More Delicious Sourdough Recipes:
- How to Make a Sourdough Starter from Scratch
- Sourdough Pizza Crust
- Healthy One Pot Meal- Sourdough Skillet
- Sourdough Tortillas
- Sourdough Hot Cross Buns
- Easy Sourdough Flatbread
If you make this recipe and love it, I would love if you gave it 5 stars! Tag me on Instagram @farmhouseonboone with your delicious creation.
Sourdough English Muffins

Video
Ingredients
- 2 1/2 cups flour
- 1 cup water
- 1/2 cup fed sourdough starter
- 1 tablespoon honey
- 1 teaspoon salt
- 1 teaspoon baking soda, optional, see notes
- coconut oil
Instructions
- The night before you want sourdough English muffins, stir in a glass bowl: flour, water, fed sourdough starter.
- Cover it with a towel and let it sit at room temperature for 12- 24 hours. You can get away with a longer in the cooler months and the fermentation process can take less time in the summer if your house is hot.
- After it has fermented, add to the mixture honey, salt, and baking soda*.
- Preheat your cast iron skillet on high and add a little coconut oil.
- Mix the ingredients together until they are fully incorporated. You will probably have to use your hands for this. The dough will be pretty thick. NOTE: If the dough feels runny, add a bit more flour. It should be workable, yet not stiff. If the English muffins turn out flat like pancakes, it is a good indication they need more flour.
- Divide the dough in 12 equal parts and drop each portion of dough into a hot cast iron skillet.
- Reduce the heat to low for about 10 minutes so the dough has a chance to rise.
- Let them cook until doubled in size. Turn the skillet up to medium/low and continue to cook until they are browned slightly on the bottom. Don’t try to flip them until they come up easily from the pan. The goal is to only flip them one time.
- Cook them on the other side until browned. These English muffins have a tendency to cook on the outside before the inside is fully done. So, be sure to not turn the skillet up too high. If they are browned on the outside, but still not done on the inside, throw them in a 250 to 300 degree oven for 10 minutes or so. Alternatively, you can put a lid on and allow them to cook on low.
- After they are cooked all the way through, slice them open and enjoy!
Notes
- Substitute milk for water if you would like.
- You can skip the second rise as long as you add in the baking soda. Alternatively, you can do no baking soda and allow them to rise for an hour after dividing/shaping, before cooking. See post for instructions.
- *This recipe was updated in October 2021 to add a bit more flour, after several readers commented that the English muffins were turning out more like pancakes. As with any recipe, the type of flour you use, as well as humidity and quality of the starter, will cause each situation to need slightly different amounts of flour. As you get familiar with this recipe you will know exactly how much flour is needed by feel. If your English muffins are turning out like pancakes, you definitely need more flour. They should not be flat.
- Also, cooking technique does have a lot to do with it. The dough needs to hit a hot cast iron skillet, so that it doesn’t stick, but the heat needs to be quickly reduced so they have a chance to rise and cook through!
Nutrition
Nutrition information is automatically calculated, so should only be used as an approximation.





I made these and they were a huge hit with all 7 kiddoes, hubby too!
I wonder how buttermilk would taste in the recipe, I’m always looking for ways to use it up!
I have a dry starter ( shaye elliott’s recipe) and I’m very new to sour dough so can you tell me how or what changes I need to make to your recipe? Thanks so much!
First off these are a staple in my house now. They are amazing!! So so so good. They are good as cheeseburger buns and pb and j!
However my sister in law didn’t have as good results and followed this recipe and I followed your sourdough ebook recipe. This one calls for 2 1/2 of flour and the ebook calls for 2 cups of flour. I didn’t know if you knew they were different. My results with the 2 cups is SUPERB!
These look so good! Trying them this morning. My dough is super sticky and hard to work. No matter how much flour I add. Any suggestions?
Hello Lisa,
Thank you for sharing “your way” to keep a starter. I’ve been basically “waste free” since starting it three months ago 🙂 I think the longest I’ve let it go in the fridge is 2 weeks. I pour off the liquid, feed and you’re correct, it keeps going fine!
I’ve successfully made your pancakes and biscuits. I’m pretty experienced with breads, so I thought “How bad could english muffins be?” Well…I echo what the others said, it’s just too liquidy the next day. When I mixed the night before, my instinct was it was too liquidy, but thought perhaps it would come together more with the rise. Mine had tripled in size by the morning-GREAT! But, too liquidy. I didn’t want to defeat the purpose by just adding more flour, but we ended up slowly adding in 1 cup, and it still wasn’t enough. So, next time I’m going to try 3 1/2 cups of flour initially. I will say, even though I “poured” it into the iron skillet, they did rise ok, and tasted great. They just didn’t have that perfect round look.
LASTLY: I have a question about your nutritional info. I am trying to follow a low-carb/keto way of eating except for one day a week. When I figured 285 carbs in 3 cups of flour…divided by 12 muffins, I only get about 24 mg/muffin. I’m also hoping that some of those carbs got eaten by the starter!haha! Could you let us know how you figured your carbs? Many thanks!
Another question: Why do you not go ahead and add the honey/baking soda the night before, as if it’s a bread that’s totally mixed and rising? I understand salt can deter the rise, but I thought the starter would use the honey, too?
I wasn’t able to leave a comment in my review, weird. I wanted to say that I’ve made these 3 times now, and they always turn out great! The last batch I made I doubled the recipe but removed 1 cup of flour, I also let it ferment a little longer, and oh baby were they soft and fluffy!!!
I’ve also made your crackers and people love them, I’ve been told I should make and sell them at the farmers market!
Still working on the no-nead loaf. I can never get it to NOT stick to my tea towel, no matter how long I let it develop a skin or how much I dust the towel with flour.
I also tried your cinnamon buns and they simply didn’t rise. The ambient temperature was about 70 so I have no idea what happened. Is it supposed to be a more firm dough? I will try again.
These were great!!!Next time I will use a bit less baking soda as I am not a big fan of the taste.
Question: One time they had a weird bitter taste. Is that from not mixing in the baking soda enough or from fermenting too long (24 hours)?
I’ve made this recipe at least 5 times now and love it.
Tip: I wanted to see if I could make it easier on myself by baking these in the oven and they turned out great! I covered a baking sheet with parchment paper and sprayed the parchment with some avocado oil. After scooping out the dough (using a large cookie dough scoop), I sprayed the tops with oil too. Baked until golden brown for about 10-15 minutes. The shape is a little different (slightly domed instead of flat tops) but they are still delicious and less greasy. I was kind of using a lot of coconut oil to fry them since my cast iron tends to stick. I even forgot to spray the top of the dough on the last batch so they were not shiny golden but still delicious!!! I love eating them slathered with cream cheese and jam – HEAVEN!!!
Lisa, Thank you for sharing this recipe. I’m new to sourdough, and this recipe turns out perfect every time! My dough is always the prefect consistency. They cook so well, and never stick to the pre-heated cast-iron skillet. My family loves these english muffins.
Lisa, This recipe turns out perfect every time, and they are delicious! Thank you for sharing. We are new to sourdough starter, and my family loves it! Dough is just the right consistency, and never sticks to my cast iron!