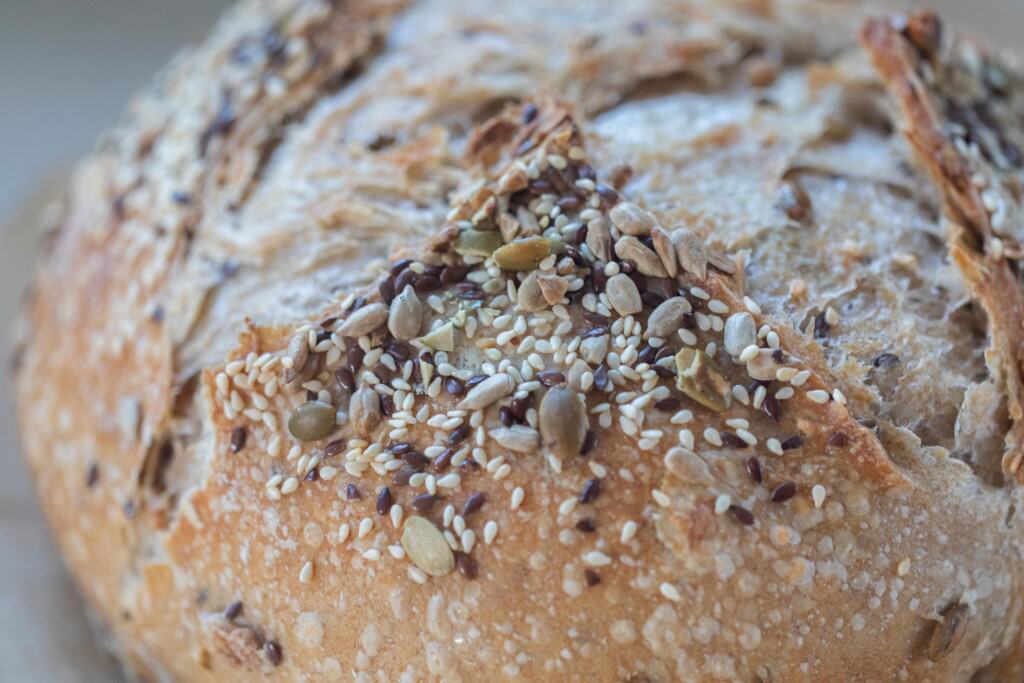
Introducing Seeded Sourdough Bread – an earthy, nutty flavored loaf, bursting with whole wheat flour goodness, long-fermented sourdough tang, and roasted seeds upon roasted seeds. Sunflower, pumpkin, flax and sesame – these delicious pops of savory flavor are worked throughout the dough and roasted across the crackling, crunchy crust.
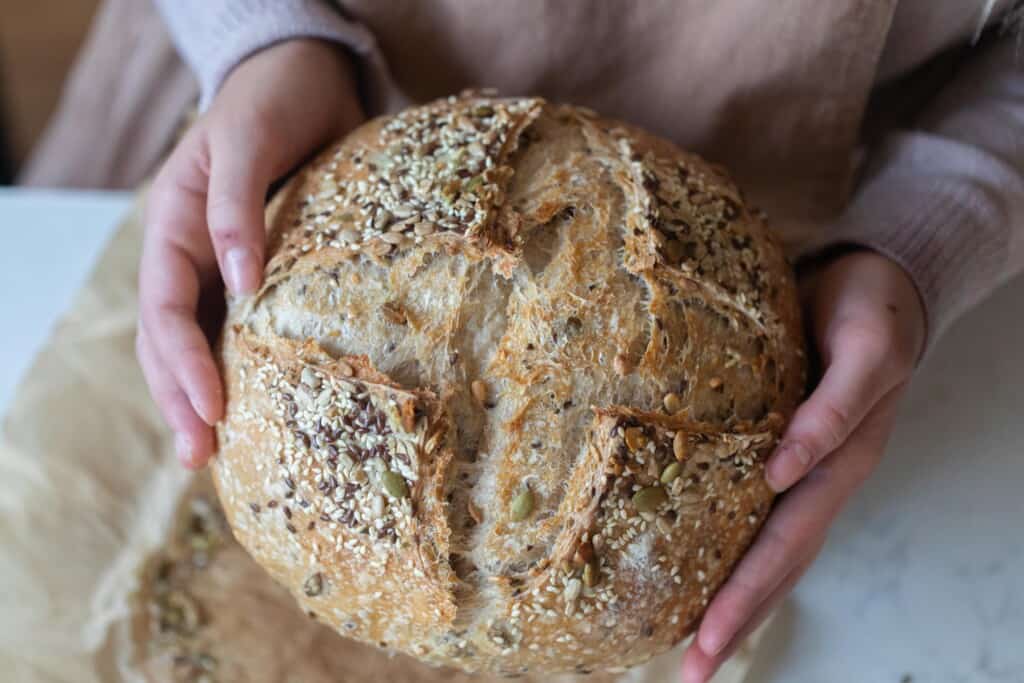
If you’re looking for a new loaf to try, I highly recommend Seeded Sourdough bread. It’s an absolute treat. It’s savory and hearty, full of healthy benefits and pure enjoyment.
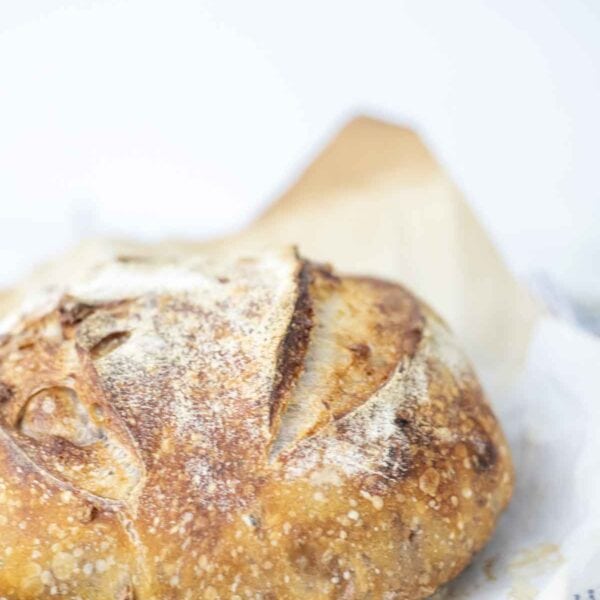
Simply looking at it is delightful. The combination of roasted seeds and scoring across the crust creates such a lovely picture, it’s actually a bit hard to slice into.
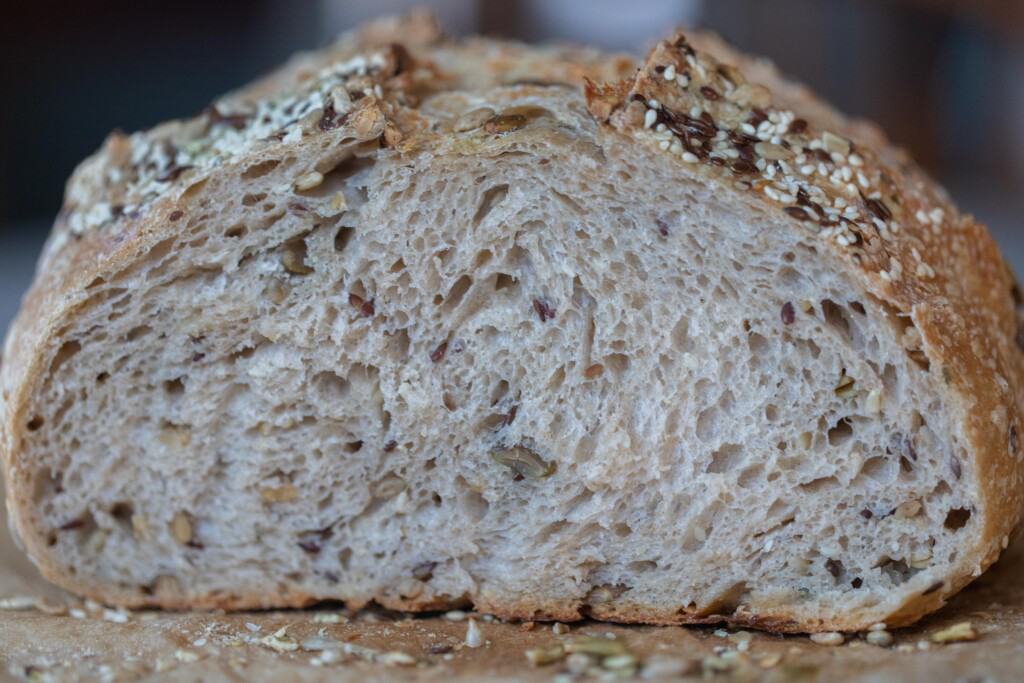
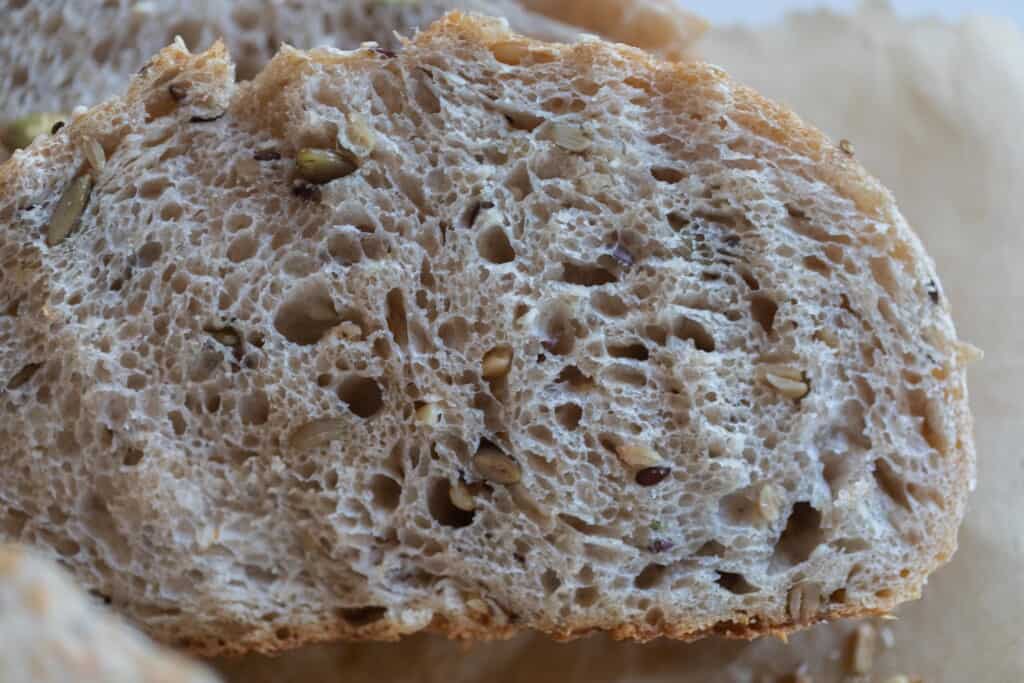
It’s also hard to slice into because of the amazingly crackly, crunchy crust that is formed in the oven. Inside, you’ll find a soft, chewy crumb, sprinkled with seeds and diffused with their distinct flavors and aromas. Check out the best way to slice sourdough bread here.
Sliced seeded sourdough is unbeatable for hot sandwiches. Layered with homemade mayo, ribbons of sliced ham or turkey, bold-flavored cheeses, and salty slices of homemade fermented pickles, toast each side in your cast iron skillet for a meal to please them all.
Of course, seeded sourdough is also fantastic toasted and buttered with breakfast or for a hearty snack, and it pairs perfectly with your favorite soups. Speaking of soups, here are some of our favorites.
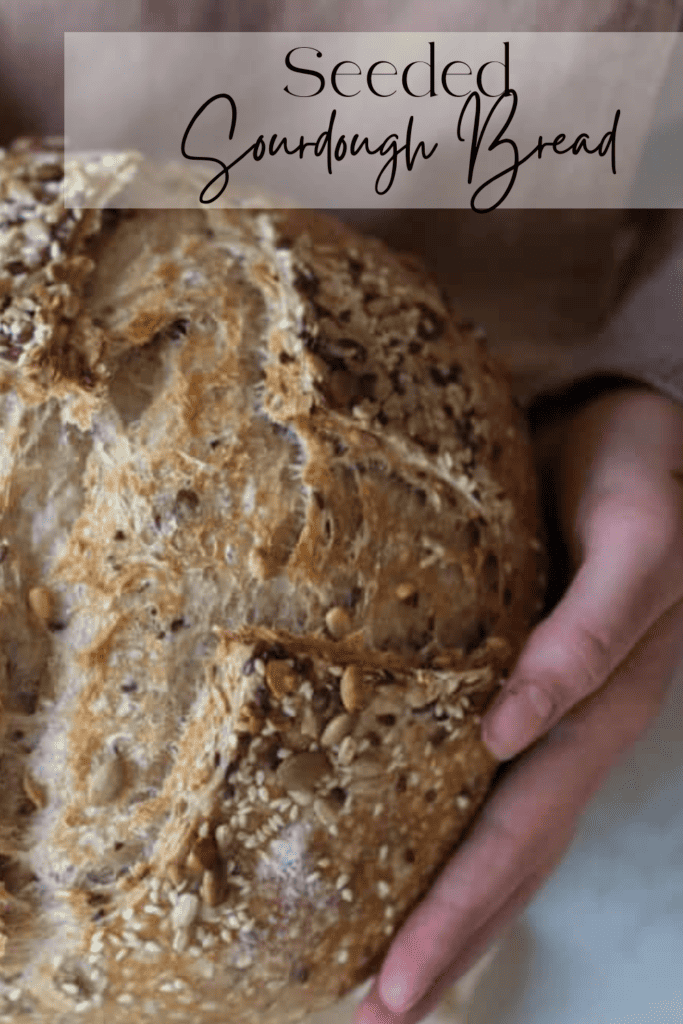
Why We Love Seeded Sourdough
As far as whole wheat breads go, this one is pretty popular around here, in large part because of the super crunchy crust that develops as a combination of the Dutch oven, the preheated hot oven, and the thick layer of roasted seeds that form a crackly layer.
It’s not only delicious, but it’s a pleasure to eat because of the textures.
It’s also highly adaptable, as you can experiment with any combination of seeds. Some seeds pair better than others, and some might clash. This is where it’s up to you and your own tastes!
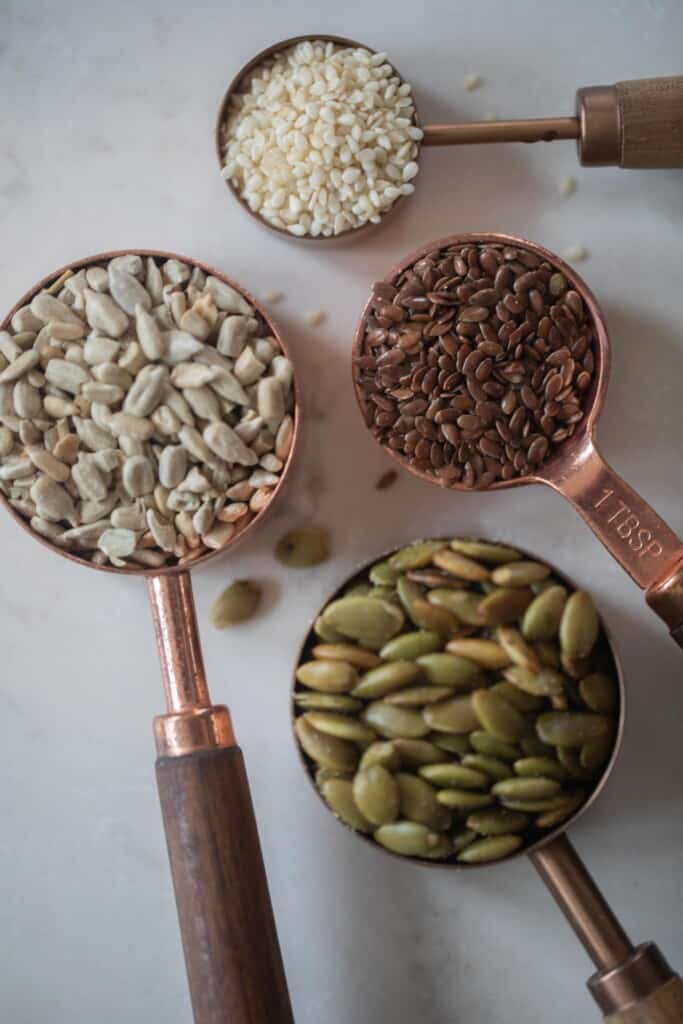
Personally, we love the mix of sunflower and pumpkin, which are larger, as well as creamy and earthy in flavor, along with the flax and sesame, which are teensy, yet aromatic and interesting.
They seem to make everyone happy, and are a good blend of flavors and sizes, making for a fun bite and a gorgeous, rustic loaf of bread.
This recipe follows along nearly the same as my favorite no-knead sourdough, so it’s a long fermentation recipe that brings a strong boost of sourdough flavor, which we love.
The added nutrition from the seeds is a huge benefit, as seeds are highly nutritious and a strong source of fiber, vitamins, and minerals, as well as healthy fats.
Some seeds are also surprisingly high in protein for their tiny size, which, added to the protein in a loaf of freshly milled flour, provides you a more lasting sense of satisfaction.
Freshly milled flour lends to a creamier texture in a sourdough loaf, which paired with that crackly, seed-roasted top, makes quite the delicious contrast.
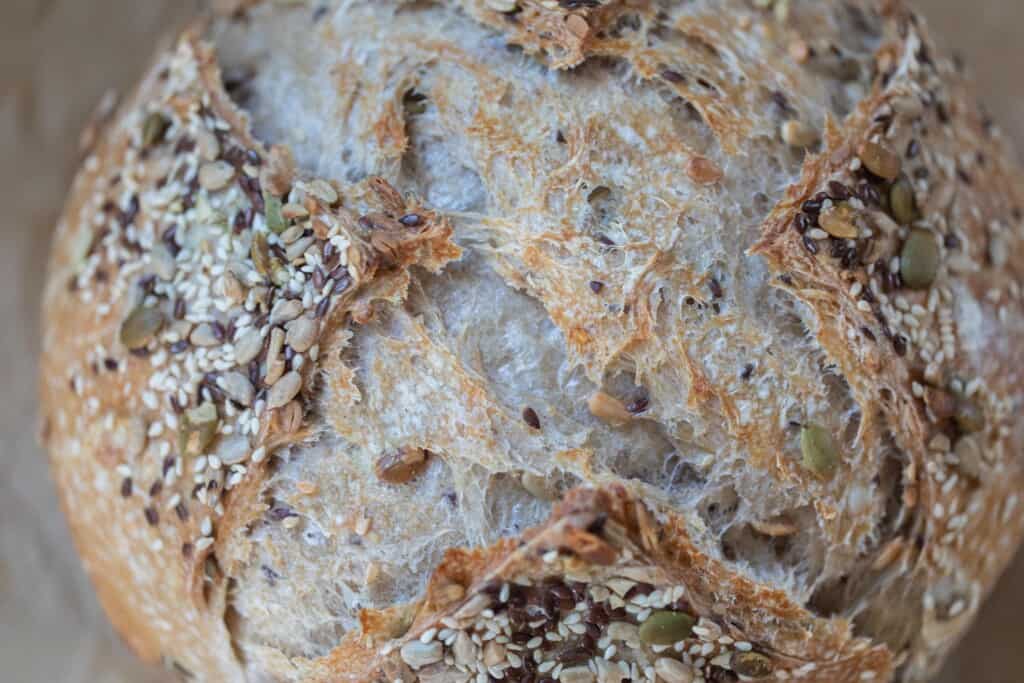
Tips For A Great Loaf
- Whole wheat flour and all-purpose flour give this bread its good structure. Replacing either flour may impact your results quite a lot, so keep that in mind.
- Don’t over-salt your dough. Check the salt content on the seeds you choose, as some of them may add a significant level of salt on their own. I’ve lowered the salt in this recipe from my usual sourdough loaves for this reason.
- Use the seeds you like best: sunflower seeds, poppy seeds, pumpkin seeds, chia seeds, fennel seeds, white sesame seeds – there are endless combinations of seeds! We like a good mix of smaller and larger seeds for the fun texture.
- Depending on the seeds you choose, you may need to soak your seeds or add an additional measure of water to your recipe. Flax, for instance, soaks up a whole lot of water, which is why I increased the water in this recipe.
- I prefer the Dutch oven, as it is the perfect shape for a round loaf, distributes heat really evenly, and the lid makes things easier. You could get away with using a baking sheet, though. Do keep in mind that most parchment paper is only rated up to 425 or 450 degrees.
Tools
Large bowl – for mixing your dough
Bench scraper – great for splitting your dough and
Food scale – the best way to measure ingredients for consistent results
Banneton – optional – this is for the final proof, but you can also use a large bowl
Bread lame or razor blade – to create a design on the top of your loaf
Dutch oven – for baking
Ingredients
Seeded Sourdough Loaf
All purpose flour – unbleached
Whole wheat flour – I prefer freshly milled, white wheat berries
Bread flour
Sourdough starter – recently fed, active and bubbly
Water – preferably filtered
Salt – sea salt
Sunflower seeds – salted, not roasted
Pumpkin seeds – salted, not roasted
Whole flax seeds
Sesame seeds
Topping
Pumpkin seeds
Sunflower seed
Flax seeds
Sesame seeds
How To Make Seeded Sourdough
Feed your sourdough starter 4-12 hours before starting the bread, allowing it to become active and bubbly.
A visibly active sourdough starter is essential, as we’re depending on this wild yeast to be feeding off the flour and water of our bread dough, producing carbon dioxide bubbles that give our bread rise.
Combine Ingredients
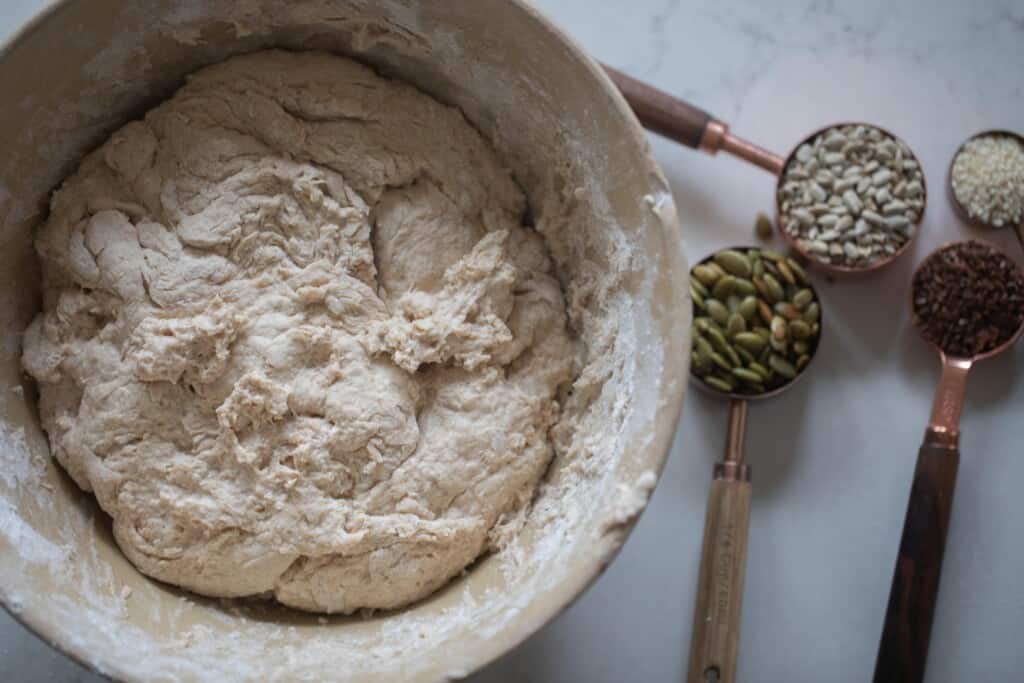
Combine warm water and flour in a large bowl, followed by a brief rest of 30 minutes for the water to hydrate the flour. This is called an autolyse.
An autolyse is a short rest of the ingredients, allowing the flour to be fully hydrated by the water. It might seem like an unnecessary step, but it makes a significant difference in the texture of your bread later.
An autolyse also gives you a head start on gluten development when you move on to the stretch and folds.
Add in your sourdough starter, pouring it somewhat evenly over the flour and water.
Sprinkle salt on top.
Mix by hand for about 5 minutes to bring the dough together.
Cover your dough with a damp towel or plastic wrap and let rest for 30 minutes.
Stretch and Folds
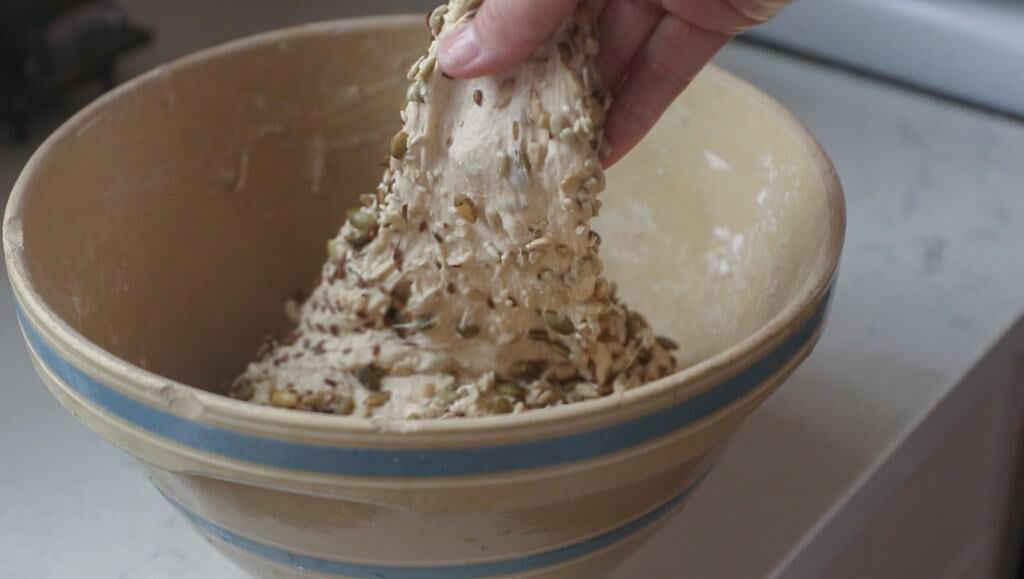
In order to develop the gluten and achieve a nice rise, you’ll now do 6 rounds of stretching and folding.
If you’re unfamiliar with stretch and folds, no worries. You’ll keep the dough in the same bowl, grab the side of the dough closest to you, and firmly pull it upward, giving it a good stretch. To complete that motion, press that same stretched portion of the dough back into the center of the dough, producing a fold.
Turn the bowl about a quarter turn, and repeat this stretch and fold 2-3 times more so the whole loaf has been worked.
This is considered to be one round of stretch and folds.
You’ll complete a total of six rounds.
If the dough is too sticky, dip your hands in water to proceed.
Note: On the fifth round, add the seed mixture on top of the dough. You’ll incorporate the seeds pretty thoroughly during the next couple stretch and folds.
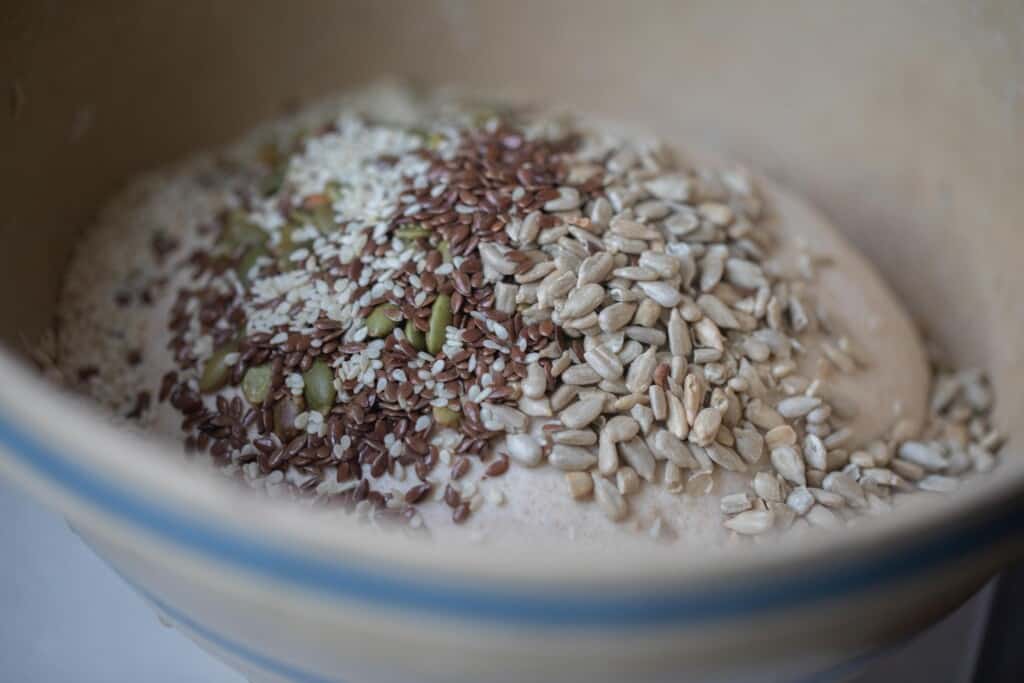
First 3 stretch and folds – every 15 minutes.
Last 3 stretch and folds – every 30 minutes.
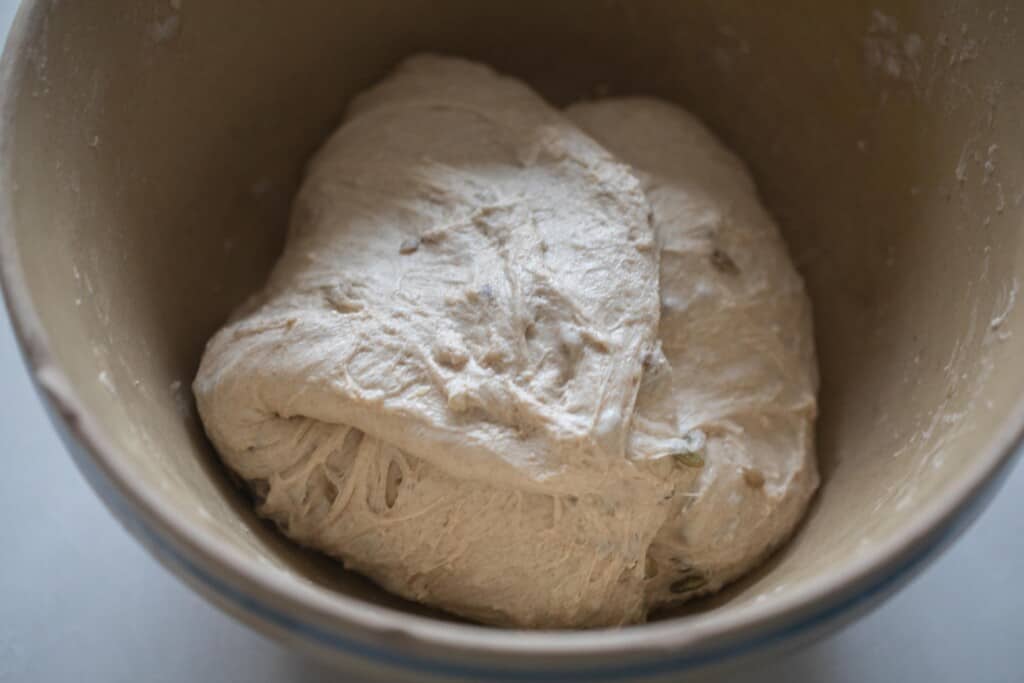
Bulk Fermentation
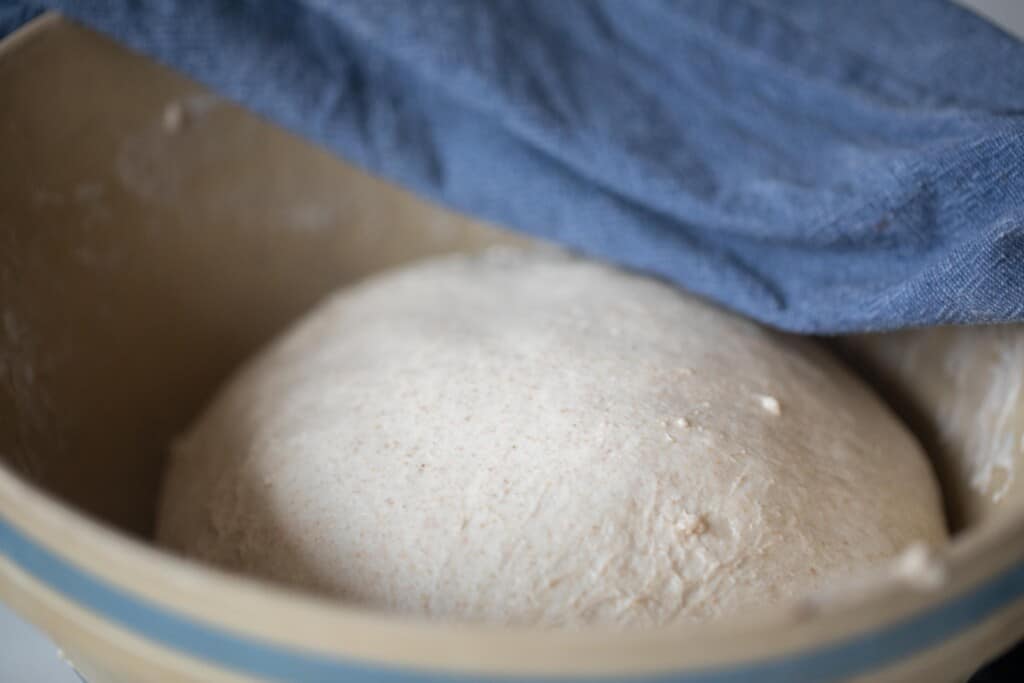
After the final stretch and fold, place your dough in a lightly oiled bowl and cover with a damp tea towel or plastic wrap.
Keep in a warm place for 8-12 hours, by which point, it should have doubled in size.
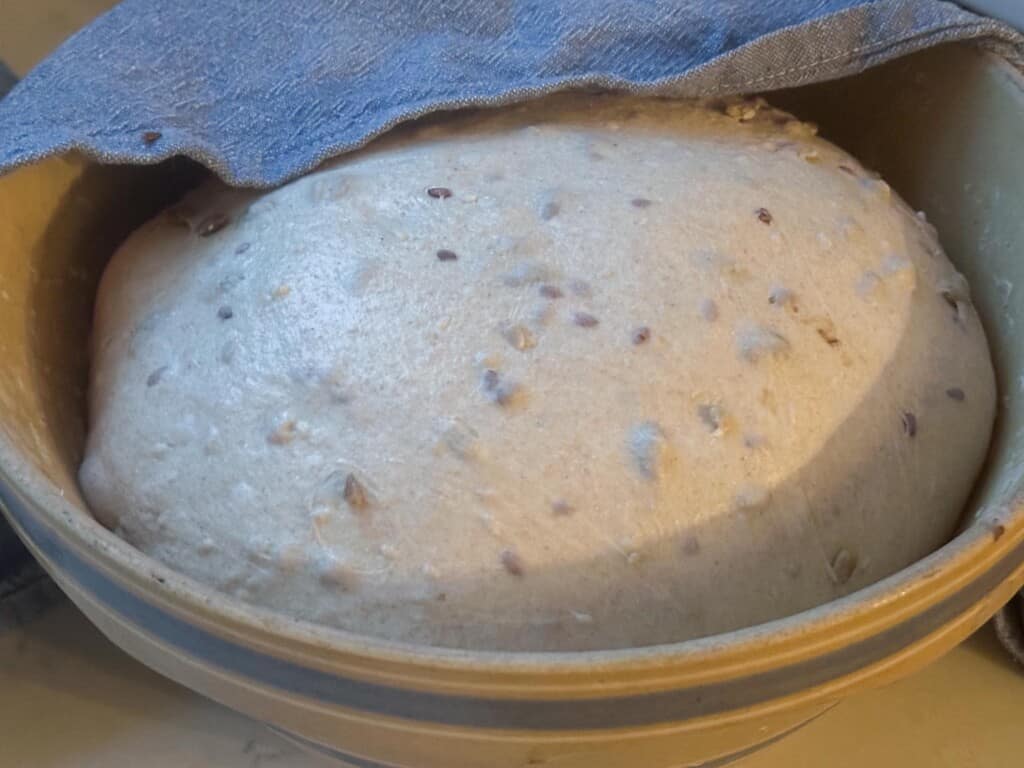
Note: How long your bulk fermentation will take depends on several factors, like the temperature of your home and the maturity of your starter.
Shaping & Final Proof
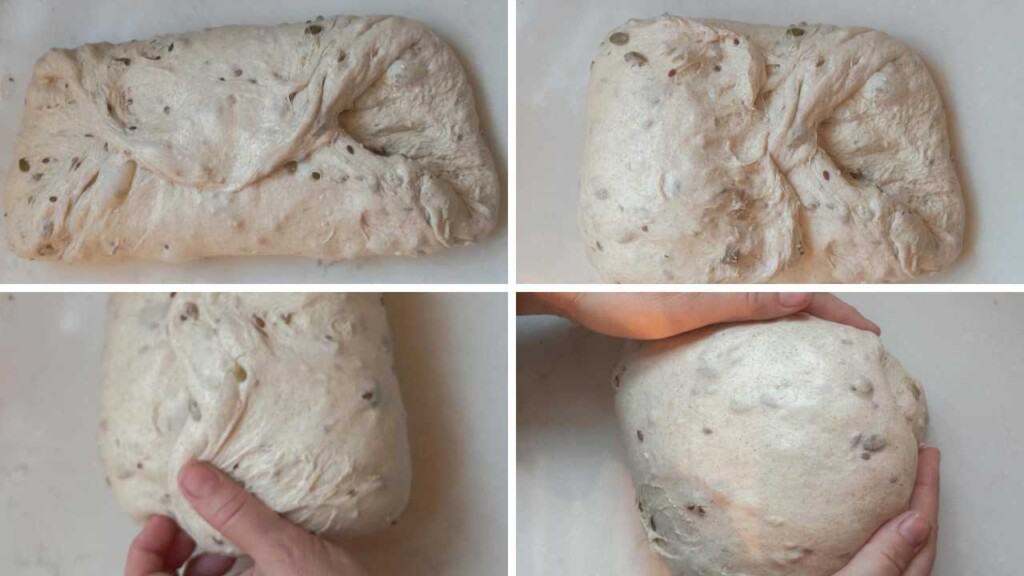
Prepare a lightly floured surface as a workspace.
Shape dough into a ball by gently spinning it toward you, or gently pushing it away from you, creating mild tension in the dough.
Set out at room temperature for 15-20 minutes, uncovered. We want the dough to develop a light skin, which will keep it from sticking to your tea towel during the final proof.
Now turn over your dough (I find a bench knife or bench scraper to be super helpful here), and shape again.
Fold opposite sides in, to meet in the middle, pressing in the center with your fingertips to hold it in place.
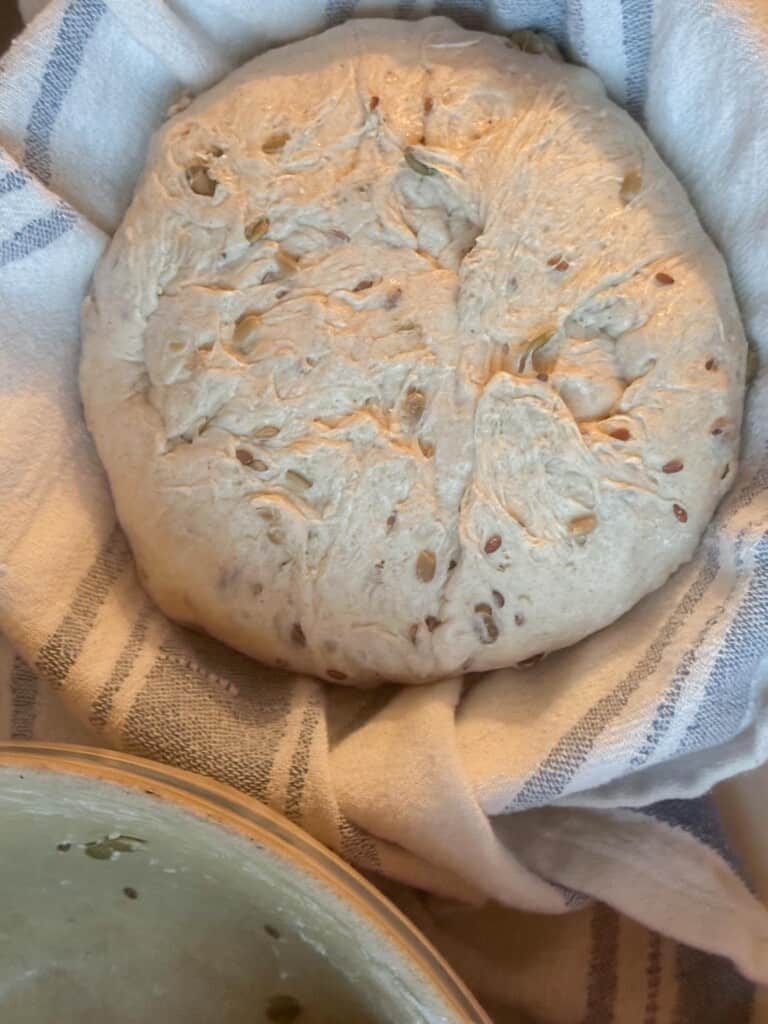
Transfer the shaped dough to your lightly floured Banneton basket or tea towel-lined bowl with the seam side up.
Cover with plastic wrap and refrigerate for 12-15 hours.
Bake
Begin by preheating your Dutch oven to 500 degrees for one hour.
Remove proofed dough from refrigerator. It should have risen still further during this time. Cold bread dough is also much easier to score than at room temperature.
Transfer your loaf to the counter or workspace of choice, carefully flipping it over so that the seam-side is now facing down.
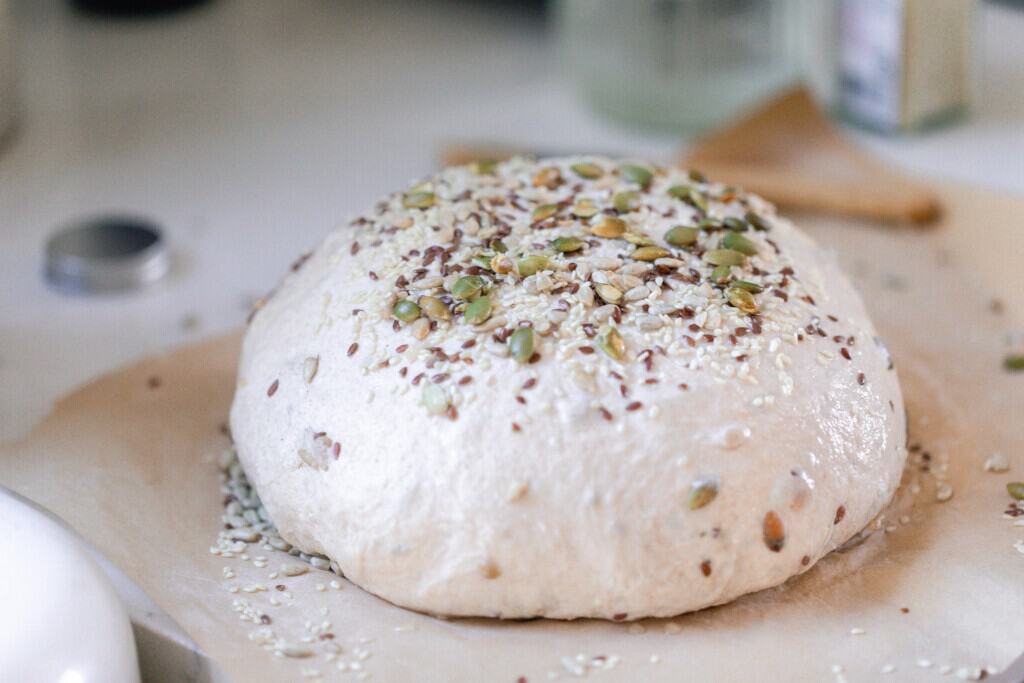
Brush the top of the loaf with water, then sprinkle your combination of seeds evenly across. The water really helps the seeds to stay in place. I love a full layer of seeds on top, as they add to the delightfully crunchy crust.
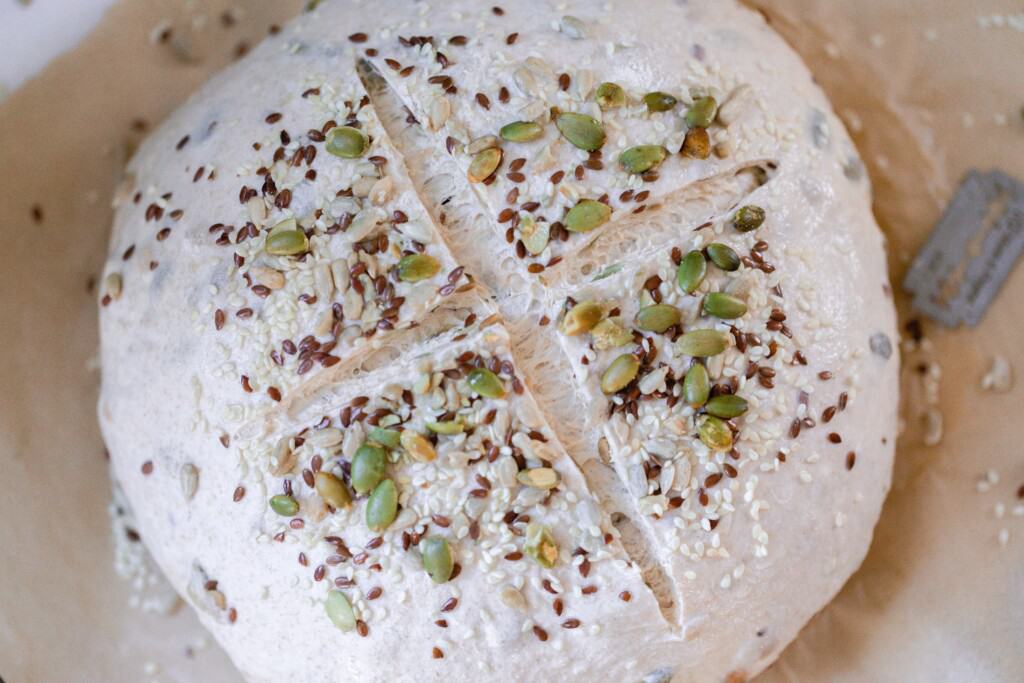
Score with a razor. Need some ideas on scoring? I have a blog post with all kinds of great information about scoring sourdough here.
Lightly flour the bottom of your scorching hot Dutch oven (or parchment paper) and transfer your bread dough to it.
Bake for 20 minutes, covered.
Reduce the oven temperature to 475 and remove the lid, baking for an additional 25 minutes or until beautifully brown.
Cool your fantastic, seeded sourdough loaf on a wire rack for 1 to 2 hours before slicing.
Storage
You can store your baked sourdough in an airtight bag or container, whole or sliced, on the counter for up to 1-2 weeks. Fermented loaves last longer at room temperature, as the fermentation process leaves them less susceptible to mold.
You can also store in the refrigerator for 2-3 weeks, or wrapped securely in the freezer for longer storage.
Looking for more sourdough recipes? Here are more of our favorites!
- No-Knead Sourdough Bread
- Rosemary Sourdough Bread
- Jalapeño Cheddar Sourdough Bread
- Soft Multigrain Sourdough Bread
- Delicious Sourdough Breadsticks
FAQ
Do the seeds need to be soaked for seeded sourdough bread?
Some seeds soak up greater amounts of water than others, for which presoaking may be suitable. For this recipe, I simply adjusted the water content to accommodate the flax and other seeds.
Chia seeds added to your dough might benefit from a presoak, as they do absorb lots of liquid (ever heard of chia pudding?).
How do you add seeds to sourdough bread?
I add the seeds to the loaf during the stretching and folding so they have opportunity to be well incorporated. This is before the bulk rise, and allows the seeds hours and hours to absorb more of the liquid in the dough.
Is sourdough bread healthy to eat frequently?
Certainly! Sourdough bread is highly nutritious, promoting gut health by supporting the good bacteria already present. However, all things in moderation.
Too much of nearly anything can potentially be harmful, and too high a consumption of sourdough bread could mean a higher than necessary intake of calories. Even if they are good calories, too many good calories can be difficult to burn off. All things in moderation…even delicious bread.
What kind of seeds can I use in seeded sourdough bread?
I used pumpkin, sunflower, sesame, and flax, but don’t forget about poppy, chia, linseed, quinoa or hemp seeds.
If you try this recipe and love it, I would love if you gave it 5 stars! Also, tag me on Instagram @farmhouseonboone.
Seeded Sourdough Bread
Ingredients
- 250 grams unbleached all purpose
- 100 grams whole wheat flour
- 125 grams bread flour
- 100 grams sourdough starter, active and bubbly
- 350 grams water
- 8 grams salt
- 1/4 cup salted sunflower seeds
- 1/4 cup salted pumpkin seeds
- 1 tablespoon whole flax seeds
- 1 tablespoon sesame seeds
Topping
- 1 tablespoon pumpkin seeds
- 1 tablespoon sunflower seed
- 1 teaspoon flax seeds
- 1 teaspoon sesame seeds
Instructions
- Feed your sourdough starter 4-12 hours before starting the bread, allowing it to become active and bubbly.
- Combine warm water and flour in a large bowl, followed by a brief rest of 30 minutes for the water to hydrate the flour. This is called an autolyse.
- An autolyse is a short rest of the ingredients, allowing the flour to be fully hydrated by the water. It might seem like an unnecessary step, but it makes a significant difference in the texture of your bread later.
- An autolyse also gives you a head start on gluten development when you move on to the stretch and folds.
- Add in your sourdough starter, pouring it somewhat evenly over the flour and water.
- Sprinkle salt on top.
- Mix by hand for about 5 minutes to bring the dough together.
- Cover your dough with a damp towel or plastic wrap and let rest for 30 minutes.
Stretch And Folds
- In order to develop the gluten and achieve a nice rise, you'll now do 6 rounds of stretching and folding.
- Note: On the fifth round, add the seed mixture on top of the dough. You'll incorporate the seeds pretty thoroughly during the next couple stretch and folds.
- First 3 stretch and folds – every 15 minutes.
- Last 3 stretch and folds – every 30 minutes.
Bulk Fermentation
- After the final stretch and fold, place your dough in a lightly oiled bowl and cover with a damp tea towel or plastic wrap.
- Keep in a warm place for 8-12 hours, by which point, it should have doubled in size. How long your bulk fermentation will take depends on several factors, like the temperature of your home and the maturity of your starter.
Shaping & Final Proof
- Prepare a lightly floured surface as a workspace.
- Shape dough into a ball by gently spinning it toward you, or gently pushing it away from you, creating mild tension in the dough.
- Set out at room temperature for 15-20 minutes, uncovered. We want the dough to develop a light skin, which will keep it from sticking to your tea towel during the final proof.
- Now turn over your dough (I find a bench knife or bench scraper to be super helpful here), and shape again.
- Fold opposite sides in, to meet in the middle, pressing in the center with your fingertips to hold it in place.
- Transfer the shaped dough to your lightly floured Banneton basket or tea towel-lined bowl with the seam side up.
- Cover with plastic wrap and refrigerate for 12-15 hours.
Bake
- Begin by preheating your Dutch oven to 500 degrees for one hour.
- Remove proofed dough from refrigerator. It should have risen still further during this time. Cold bread dough is also much easier to score than at room temperature.
- Transfer your loaf to the counter or workspace of choice, carefully flipping it over so that the seam-side is now facing down.
- Brush the top of the loaf with water, then sprinkle your combination of seeds evenly across. The water really helps the seeds to stay in place. I love a full layer of seeds on top, as they add to the delightfully crunchy crust.
- Score with a razor. Need some ideas on scoring?
- Lightly flour the bottom of your scorching hot Dutch oven (or parchment paper) and transfer your bread dough to it.
- Bake for 20 minutes, covered.
- Reduce the oven temperature to 475 and remove the lid, baking for an additional 25 minutes or until beautifully brown.
- Cool your fantastic, seeded sourdough loaf on a wire rack for 1 to 2 hours before slicing.
Notes
Nutrition
Nutrition information is automatically calculated, so should only be used as an approximation.


I have made this twice, using whatever nuts I had available, and it’s turned out fantastic!
Great recipe for delicious bread.
Very pleased with how this turned out! Thanks.
Would white whole wheat flour work instead of regular whole wheat in this loaf or any of your other loaves that call for whole wheat flour?
If I only have unsalted seeds, should I increase salt in bread to 11 grams? Or should I leave it as is?
You can leave it as is! It should be fine.
Love this bread! I just started my sourdough journey and have made three of your recipes so far, all of which have turned out wonderful! Thanks for taking the time to put all of this information together, it has been very helpful.
This was my very first sourdough bread and it was amazing! So delicious… and the authentic smell of freshly baked bread was so nice. Thank you for this recipe, I will be making it again.
This was the best ever and I will definitely make if again.
I am wondering if you have recommendations for baking as a loaf.
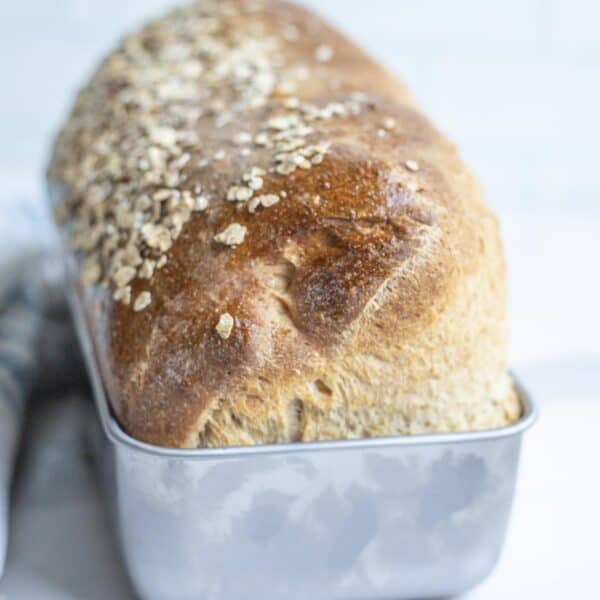
I would use the sandwich loaf recipe and add the seeds to it.
Excellent! Healthy and tasty!
Made this seeded bread today Didn’t even have time to take a photo It lasted 30 minutes after being sliced 😀😀😀
Lovely recipe. Will be on my repeat list
Thank you
Xx