Follow this simple tutorial on how to make raw milk yogurt in the Instant Pot. Thick, creamy, and delicious, this recipe always comes out perfect.

We’ve been talking a lot about raw milk lately, so we’re continuing this theme with raw milk yogurt. This is, hands down, the best way to make it.
It is a really quick and no-fuss recipe. It’s even faster than making yogurt with pasteurized milk as you don’t have to heat up all of the milk.
The usual problem with fresh raw milk yogurt is that it can be on the runny side, but ever since using this method and adding gelatin, I’ve seen consistent results.
I’m talking about creamy and thick yogurt every single time.
Inspiration for this recipe should be credited to my friend Wardee at GNOWFIGLINS.
The best part is the cream that floats to the top, which I sometimes like to scrape off and hide from the kids.
Honestly, I wish I could just make it with straight cream and not add the rest of the milk, but since that’s not how God intended it, that’s not the way we do it.
Now if you’re looking for a recipe made with straight cream, that’s where homemade sour cream comes in.
This creamy yogurt recipe has become a staple in our family, and we use it in lots of ways.
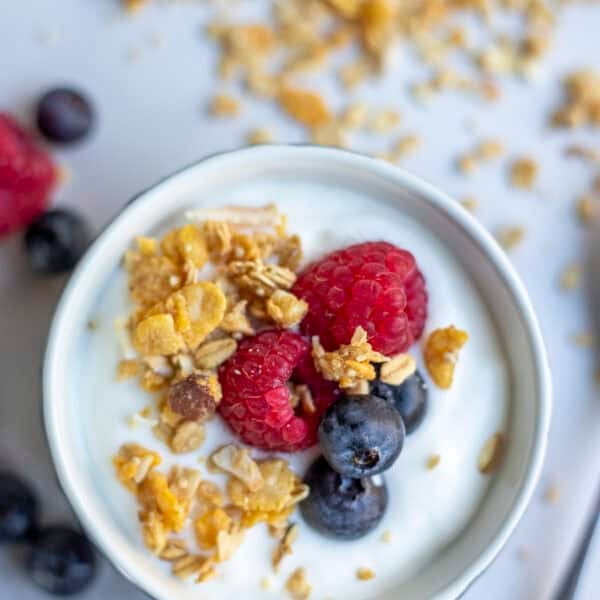
We make simple breakfast parfaits by topping a cup of yogurt with homemade granola and fruit. We add it to smoothies or strawberry yogurt popsicles. It’s delicious in Greek yogurt cream cheese spread across homemade sourdough bagels. You can even bake with it!
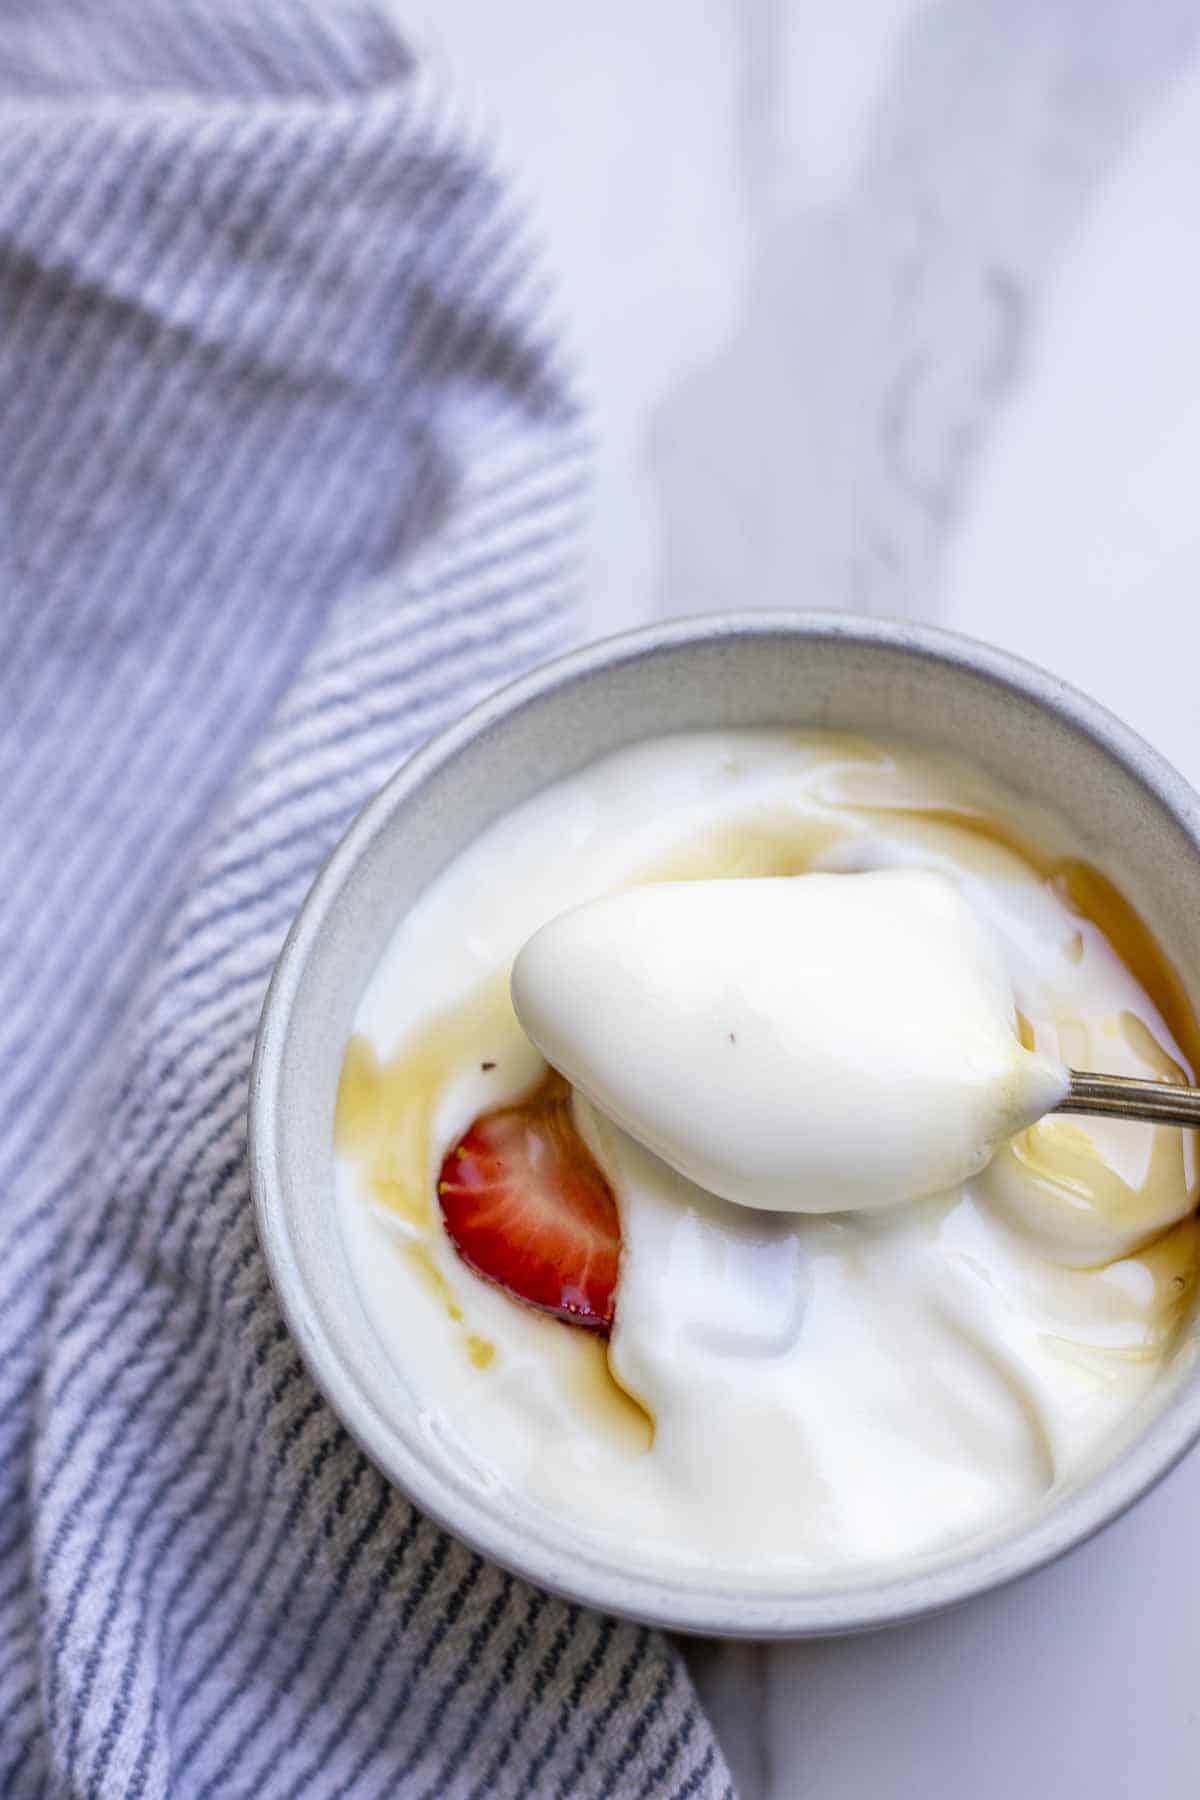
Why You’ll Love This Recipe
Easy: Making your own yogurt is really simple. It’s roughly five minutes of hands-on time, then your Instant Pot does the rest.
Healthy: Yogurt is packed with beneficial bacteria (active cultures) that are great for your gut health. Since only a small portion of the milk is being heated, the yogurt is made mostly with unpasteurized milk, maintaining its nutritional benefits.
Delicious: Raw milk builds so much flavor into this yogurt, and the added gelatin yields a thick and creamy result. We think it’s the perfect breakfast or snack. It’s so good served with fresh fruit and granola, added to smoothies, or simply enjoyed on its own.
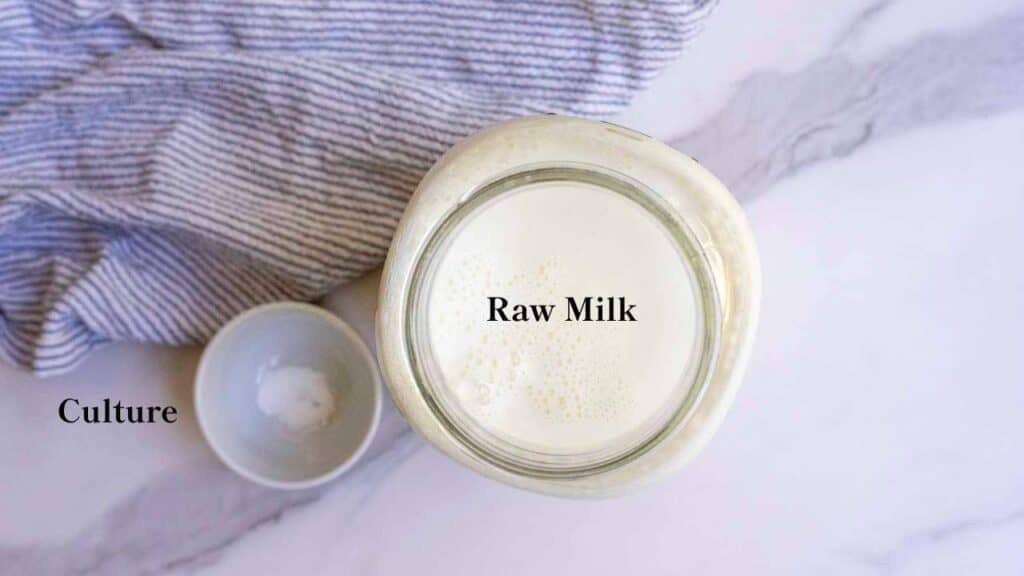
Ingredients
Raw milk: I like to use raw, unskimmed milk. Just give it a good shake. You can also use whole milk or any other type of milk. Best part is this recipe only heats part of the milk so you still get the benefits of raw milk.
Gelatin: Preferably from grass-fed cows. While this is optional, it really does help thicken up the yogurt.
Live cultures (yogurt starter): I have the best results with this one from Homesteader’s Supply or this one from Cultures for Health.
Tools and Supplies You Will Need
- Live cultures
- Gelatin
- Instant Pot
- Glass lid (optional, but handy)
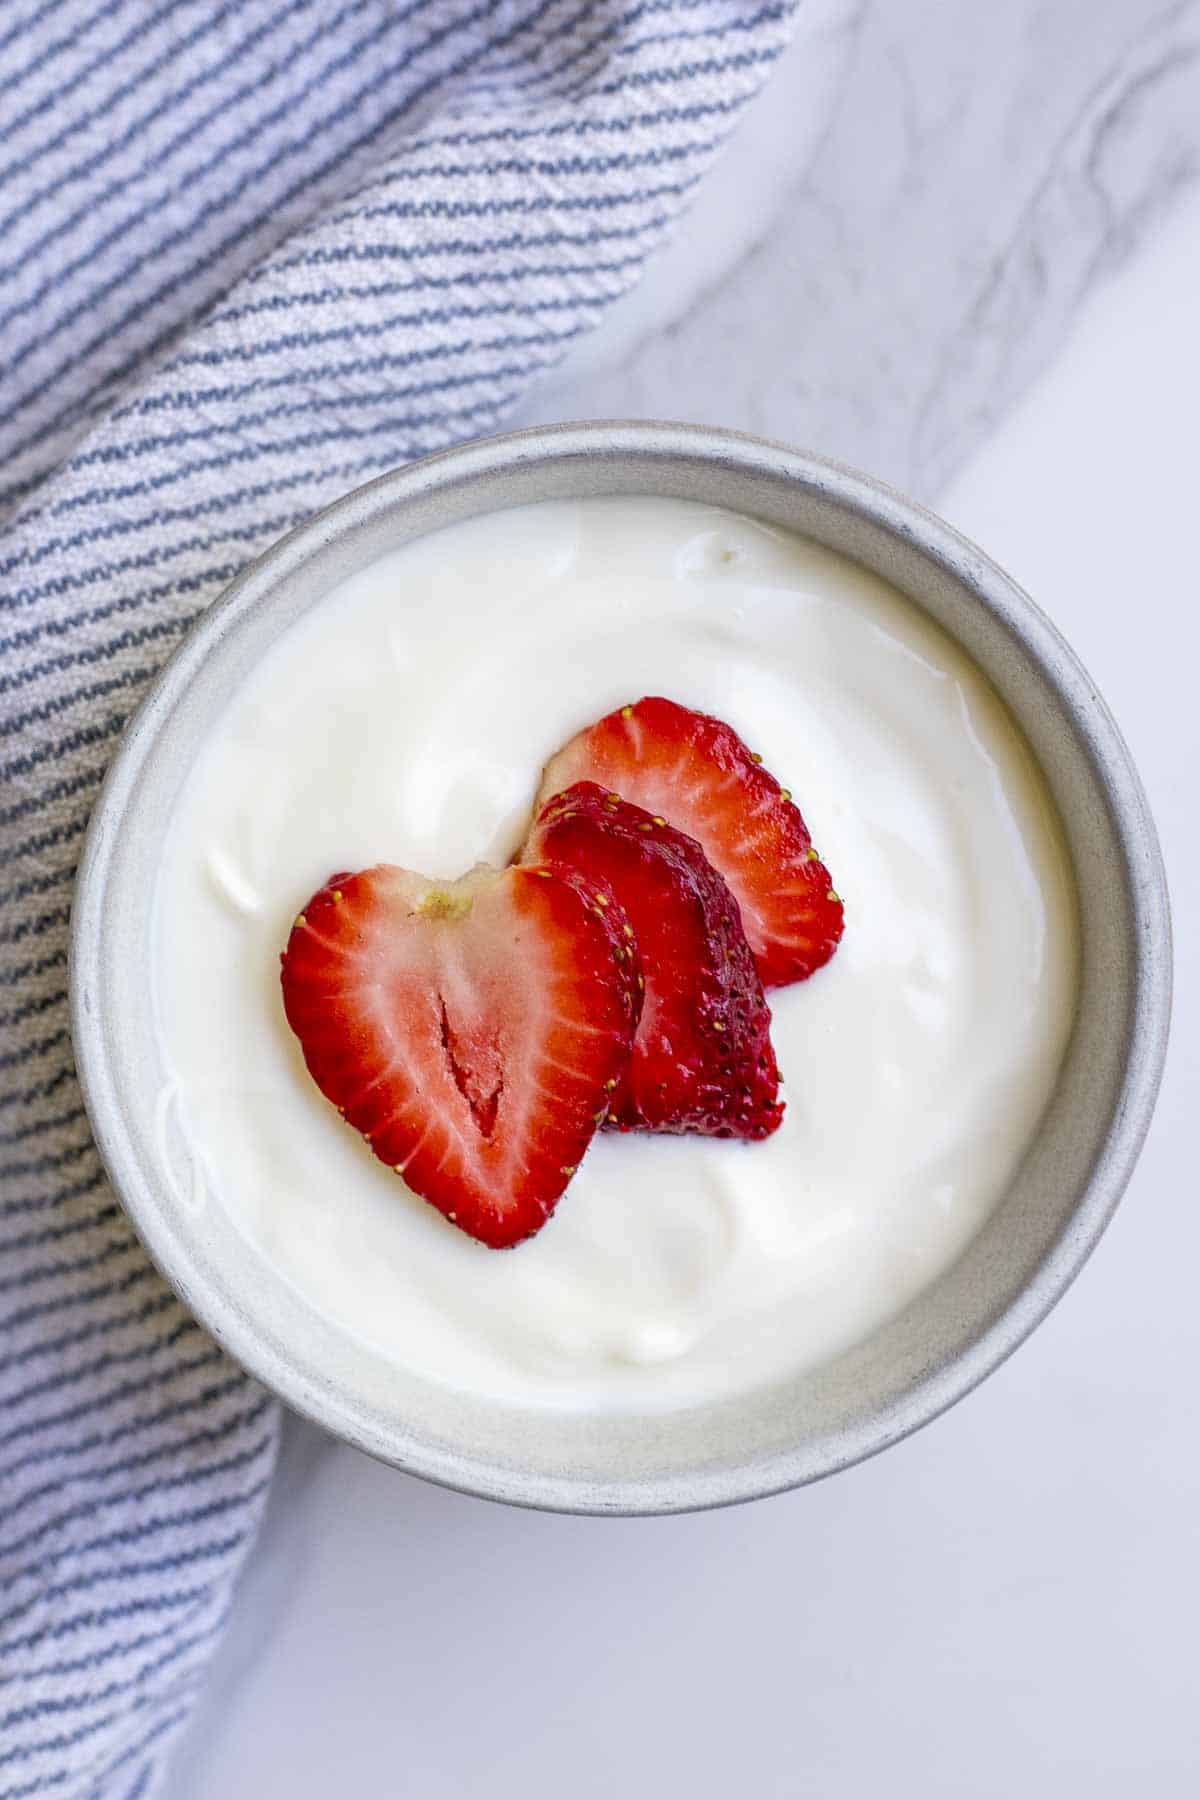
How to Make Raw Milk Yogurt in the Instant Pot
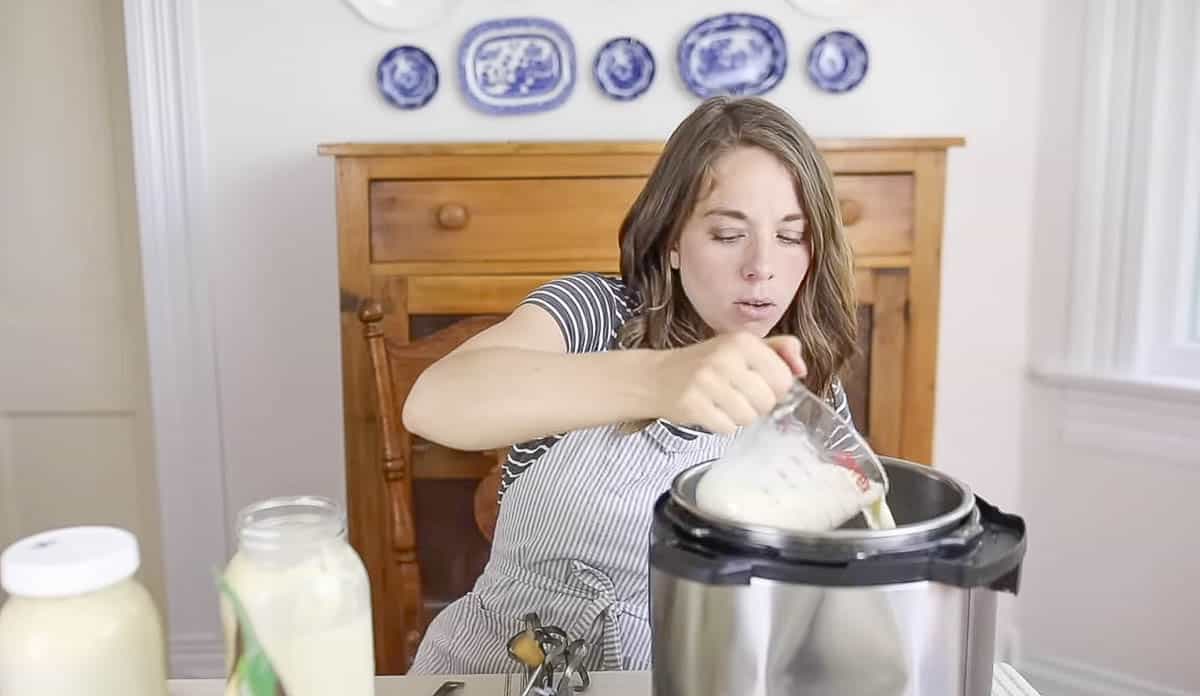
Shake up the gallon of fresh milk to disperse the cream.
Add two cups of milk to the Instant Pot. Click the sauté function or double-press the yogurt button.
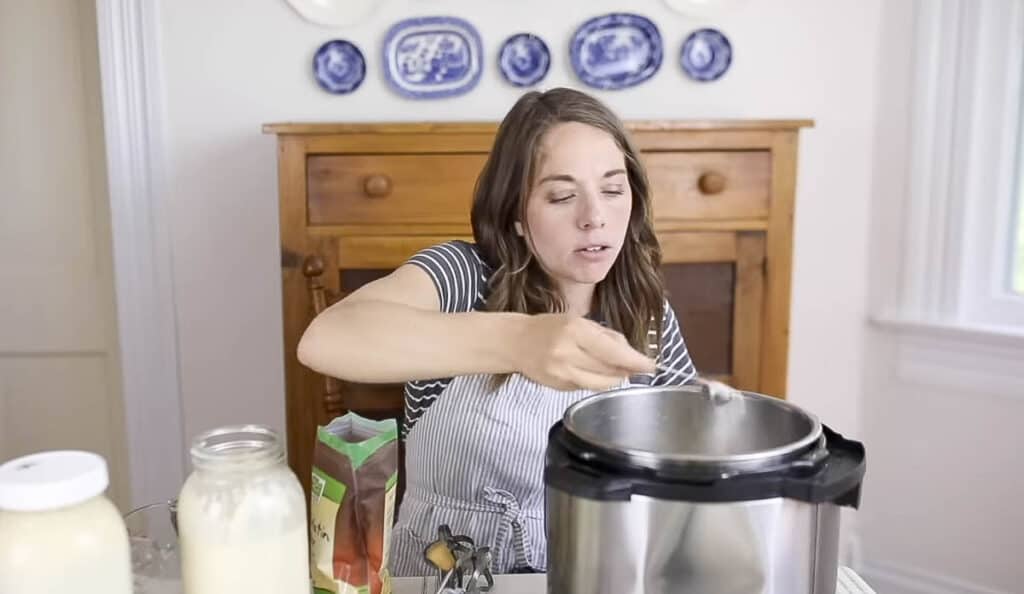
Once the milk has heated up, sprinkle 2.5 tablespoons of gelatin over the surface of the milk and whisk until dissolved.
Turn the sauté function off.
Add the remaining milk to the Instant Pot.
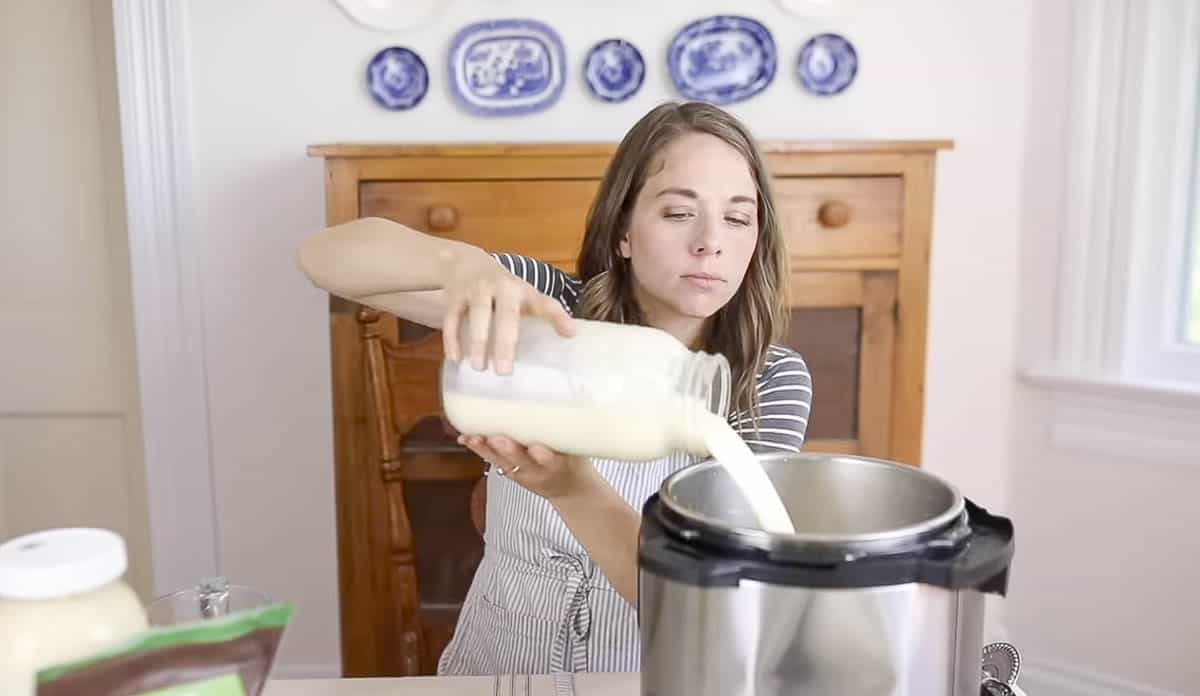
Add the remaining milk to the Instant Pot.
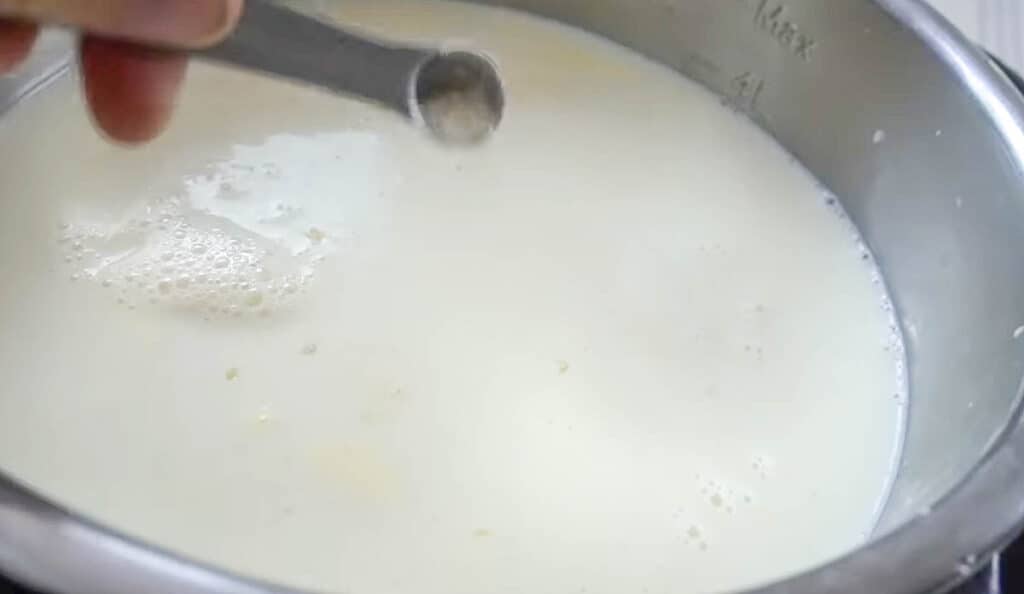
Sprinkle 1/8 teaspoon of yogurt starter over the milk and stir well. Put the lid on the Instant Pot and slide it to seal.
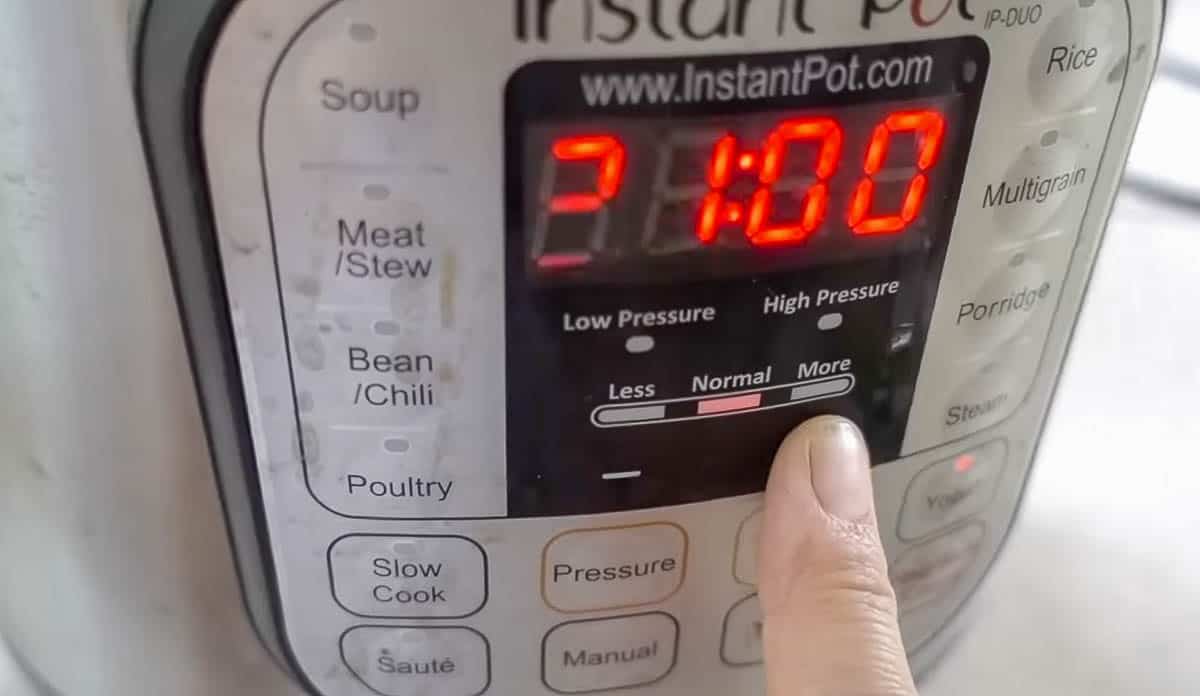
Press the yogurt button (make sure not to set it to boil) and set for at least 8-24 hours. If you’re in a hurry, go for 8 hours. Otherwise, 24 hours is the most beneficial culturing time.
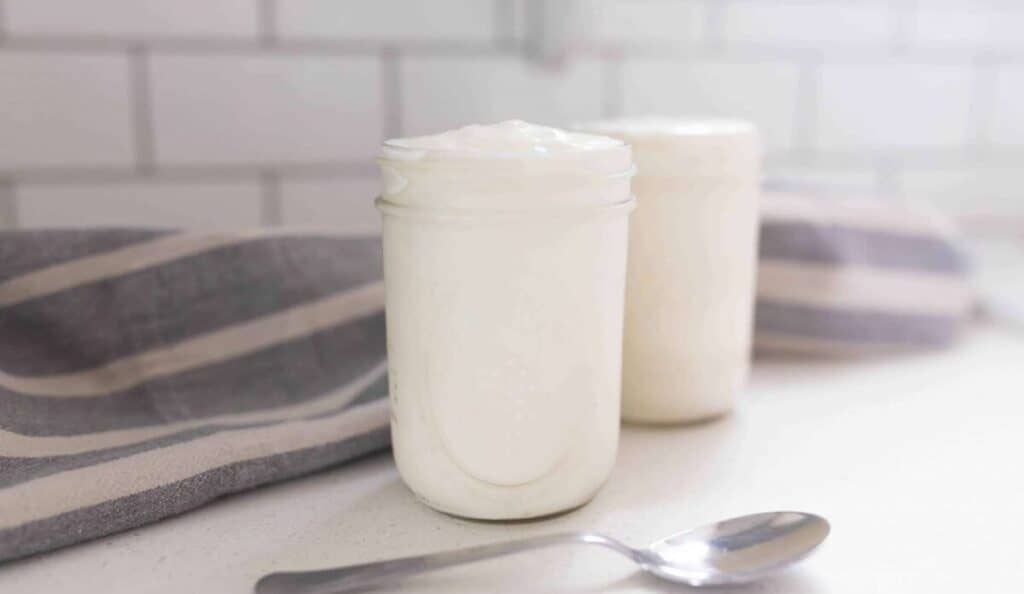
When the yogurt is done fermenting, stir in the cream that has risen to the top. Place a lid over the insert and refrigerate for a full 24 hours before serving.
Expert Tips
- Don’t skip the gelatin. This is what thickens the yogurt, as raw milk tends to yield a runny result on its own.
- You don’t need to use the silicon seal on the lid. The silicon seal tends to harbor smells from any other meals you’ve made in the IP before.
- A second IP stainless steel insert and glass lid come in handy. That way you are only sacrificing your Instant Pot for the 24 hours during fermentation.
- While you can use a cup of store-bought yogurt or yogurt from a previous batch to culture the yogurt, I find that the results are subpar and not as consistent. I highly recommend purchasing a yogurt starter culture.
- For even thicker yogurt, strain the yogurt through cheesecloth or a tea towel over a bowl after it has fermented. Allow to strain until the desired thickness occurs. You can use the collected whey to make probiotic fermented lemonade.
FAQ
Yes. Being rich in probiotics, vitamins, minerals, and healthy fats, raw milk yogurt may be one of the earth’s most perfect foods. The probiotics in yogurt can benefit the gut microflora and help boost the immune system.
The live cultures may help those with digestive issues. Yogurt may also help reduce the risk of type 2 diabetes, certain types of cancer, blood pressure, cholesterol, and more. (Source) Don’t you love when food not only tastes amazing but also has great health benefits?
Raw milk yogurt should keep successfully in the refrigerator for 10-14 days. If it lasts that long. Our kids eat it up far sooner than 10-14 days.
The yogurt setting on the Instant Pot keeps a constant temperature at 106 to 113 degrees, which is perfect for culturing yogurt. This consistent temperature makes culturing yogurt super easy and consistent.
There are a few different methods for culturing raw milk yogurt that I have tried with inconsistent results. The best and most consistent way I have found is using this yogurt starter from Homesteader’s Supply.
Yogurt can be cultured anywhere from 8-24 hours. Yogurt needs at least eight hours for the good bacteria to culture and thicken up. When yogurt is allowed to ferment for 24 hours, the good bacteria have more time to proliferate and help consume the lactose, allowing it to be easier to digest. Yogurt fermented for 24 hours is suitable for a gut healing protocol like the GAPS diet.
More Raw Milk Recipes from the Farmhouse
This post is part of a series on raw milk. We get so many questions from readers about our choice to drink raw milk. Check out our “Raw Milk Q&A” video and blog post, where I discuss why we choose to drink raw milk, the health benefits and risks of drinking it, and much more.
- How to Make Kefir
- Why We Drink Raw Milk | RAW MILK Q&A
- How to Make Raw Milk Sour Cream
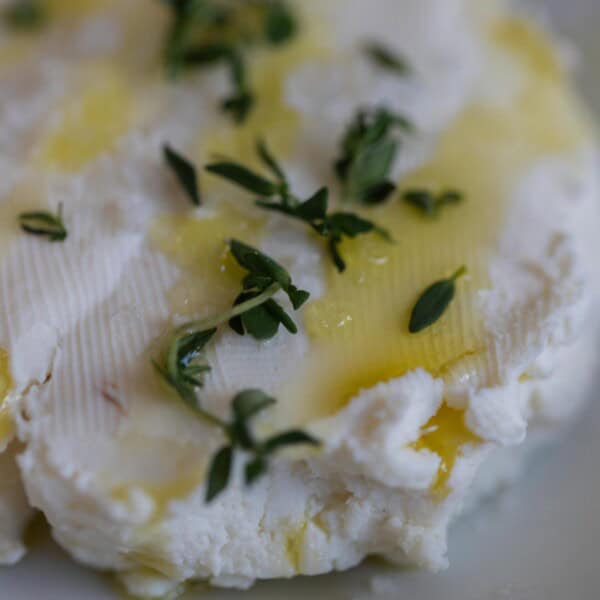
- Homemade Ricotta Cheese
- How To Make Cream Cheese
If you try this recipe and love it, I would love it if you could come back and give it 5 stars! Tag me on Instagram @farmhouseonboone.
Raw Milk Yogurt

Ingredients
- 1 gallon raw milk
- 2 1/2 tablespoons gelatin
- 1/8 teaspoon yogurt starter culture
Instructions
- Shake up the raw milk to disperse the cream.
- Add about 2 cups of raw milk to the Instant Pot. Click the sauté function or double press the yogurt button.
- Once the milk heats up, sprinkle 2.5 Tbs gelatin over it and whisk until dissolved.
- When the gelatin has dissolved, turn the sauté function off and press the yogurt button.
- Add the rest of the milk.
- Sprinkle yogurt starter over and mix well. Put the lid on the Instant Pot and switch it to seal. Set yogurt function for at least 8-24 hours.
- When the yogurt is done fermenting, stir the cream that has risen to the top (or skim it off). Refrigerate for a full 24 hours before enjoying.
Notes
- Raw milk yogurt should stay good in the refrigerator for 10-14 days. If it lasts that long.
- I strongly recommend using a starter culture for more consistent results.
Nutrition
Nutrition information is automatically calculated, so should only be used as an approximation.



First off , let me tell you how much I am in love with my starter and your content. This has been life changing and I thank you !!
Do you have a yogurt recipe that doesn’t require an instant pot by chance ??
I don’t, but a lot of times I don’t even use the instant pot “yogurt” feature. Simply keep the milk between 106-113 and then insulate it and keep it warm for 24 hours.
Has anyone tried (or what are your thoughts) of using a cup of old batch yogurt that is nice and thick BUT did get made with the geletin and has a tish of stevia in it. Would it work?
Thank you!!
Can I half this recipe?
Yes.
Don’t you add any sweetener/flavoring to your yogurt?
when do you flavor it – using vanilla or maple? would you use vanilla extract, powder, paste?
how much of sweeter would you used?
I am hoping mine turns our. I had about 2 cups shy of a gallon and followed the recipe as if I had a gallon
You can sweeten it after it has finished the cooking process.
Wow, love these tips!! If you are looking for more jars, I like them from sks-bottle.com so I thought I would share! Thanks again!
Is there a way to do it in the IP if your IP doesn’t have the yogurt setting?
Do I need to check the pH of the yogurt? Other sources I read mention testing pH,especially for beginners (which I am). What are your thoughts?
You can definitely test the pH. I never find it necessary though.
Thank you!!
I just made raw milk yogurt the other day using some heirloom yogurt culture, but it does have an odd smell that yogurt doesn’t get when I heat the milk to 180. So I want to try your suggested culture from Homesteader’s Supply. Both your video and the instructions on the powdered culture say 1/16th teaspoon, but your written recipe says 1/8th teaspoon. Which one is best?
Either will work, but I like 1/16th.
Unless you customize the yogurt setting, the Instant Pot will pasteurize the milk (raise the temp higher than 118 degrees Farenheit). So what I do is set it to yogurt but customize the temp to 110. I leave it for 2 hours that way because that’s how long it takes to actually get to 110 (this is for a 2 gallon pot, which I fill almost to the top). After two hours, I add my starter and then reset the yogurt function with the temperature set to 100. I leave that for however long I want to ferment it. I’ve tried adding gelatin afterwards and it never worked; so, once I’ve chilled it, I then strain it in a beer brewing bag, which thickens it to whatever amount you want (if you leave it for several hours, it will become akin to Greek yogurt). I find that if the bag is placed over a big pot colander, then you can use a whisk to stir it off of the sides every once and a while, which significantly speeds up the process. I then catch the whey and use it as starter in equal amounts to the amount of yogurt I would have used. You can also use the whey to make whey ricotta, and other uses.
Hi Charlotte – so you don’t use the gelatin at all? And keeping it under 110 keeps the benefits of raw milk in the yogurt?