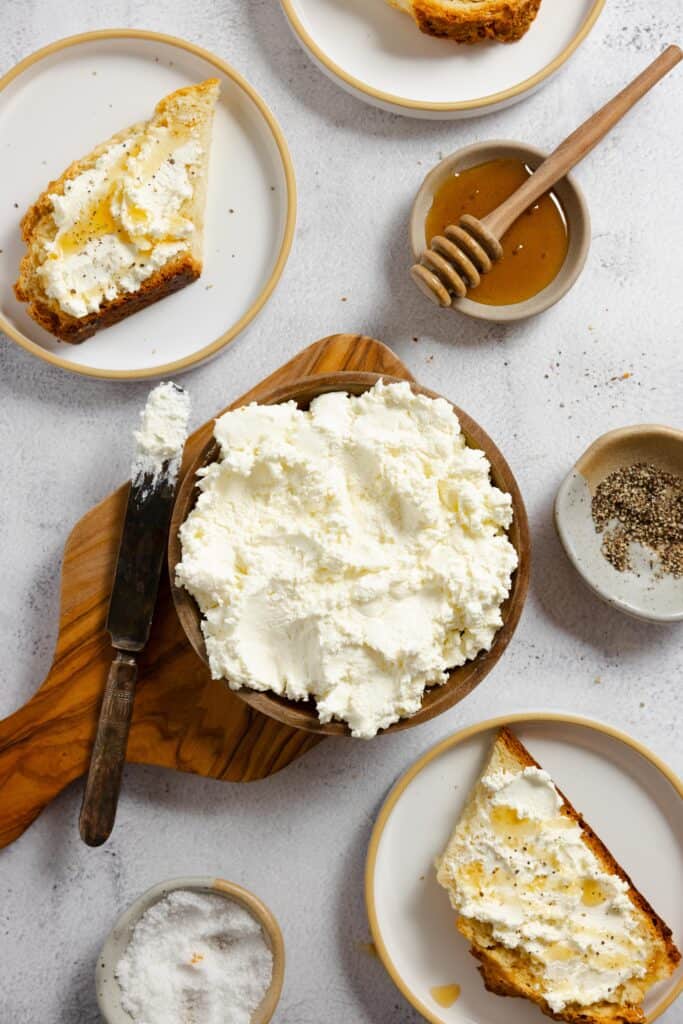
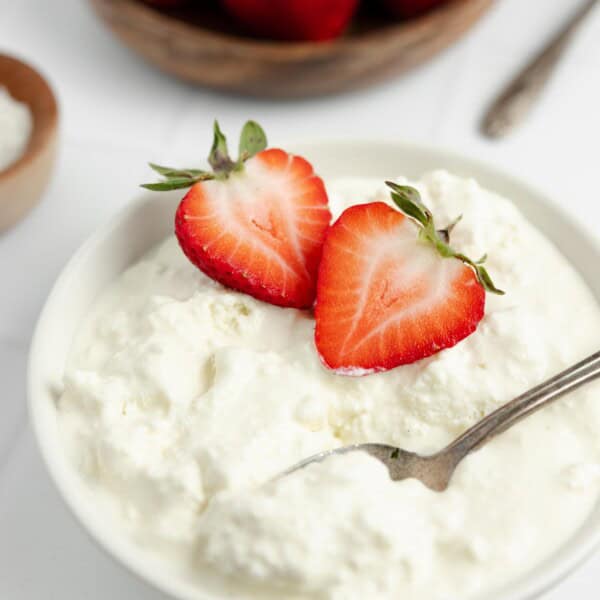
Homemade ricotta cheese is rich, but fluffy, full of flavor, but light in texture. It’s one of the easiest cheeses to whip up in your kitchen with a mere four ingredients. This creamy ricotta is delightful in pasta dishes, layered on crusty bread, or topped with fresh fruit for a wholesome treat.
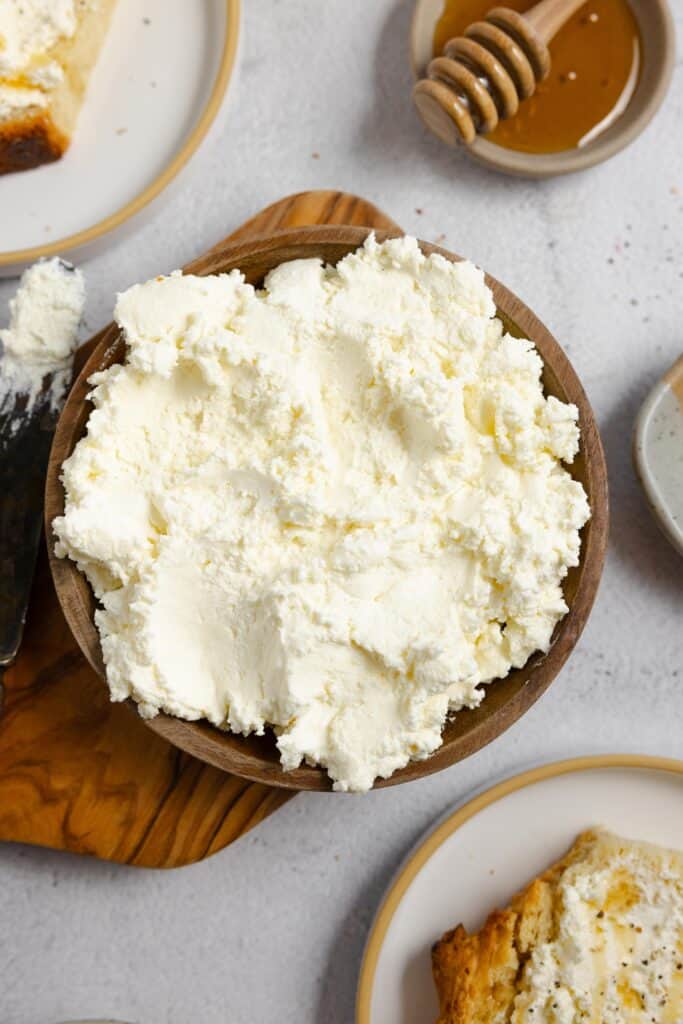
Ricotta cheese is a simple formation of curds as a result of introducing different acids to milk.
Whether lemon juice or white vinegar, the acid will compel the milk proteins to lump together, hence the curdling.
Once heavily curdled, the whey can be removed, revealing a delicious fresh cheese.
If you’ve had cannoli before, you know how absolutely wonderful ricotta can be as a dessert.
It’s a delicious dish on its own, but also a willing participant in other dishes, easily taking on other flavor profiles.
You can combine it with salt and spices for a full and savory character, or swirl it with honey and fruit or sugar and chocolate for a divine dessert.
Favorite Ways to Serve Homemade Ricotta
Ricotta can be enjoyed in so many ways, whether sweet or savory. And interestingly enough, ricotta doesn’t melt like many other cheeses do.
It can be warmed up, but it will keep its solid form, making it a good choice for hot dishes that you’d rather not have to disappear into a puddle of melted ingredients.
Spread it in lasagnas or use it to stuff pasta shells. Blend ricotta with olive oil, basil, garlic, salt, black pepper, and oregano to be spread over a pizza crust.
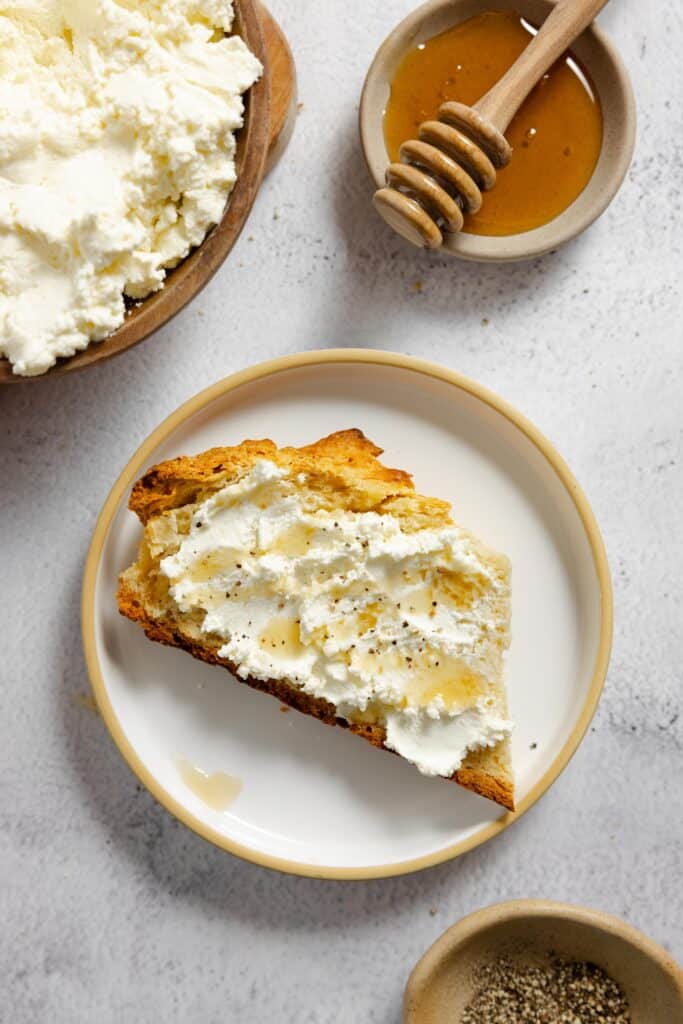
Make it into a spinach dip or even spread it over sourdough toast with a jammy egg or garden fresh tomatoes and herbs.
Serve a seasoned ricotta with fresh vegetables or sourdough crackers as a snack or appetizer.
But keep in mind that ricotta serves wonderfully as a sweet dessert. It makes an excellent filling for crepes, cakes, cupcakes, and more, pairing beautifully with fruit, honey, and nuts.
Ricotta is high in lactose, so it’s not a great choice for anyone with a lactose intolerance.
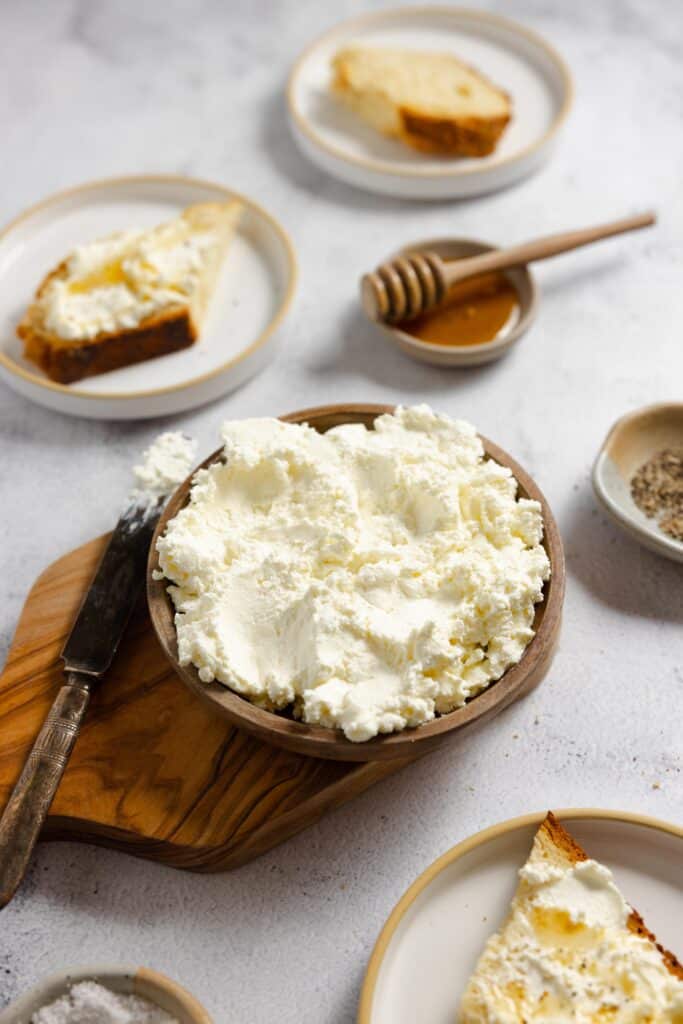
Why You’ll Love This Homemade Ricotta Recipe
It’s made with simple ingredients – This recipe is made with only four ingredients. If you cook regularly, chances are pretty good that you have all four of these on hand at all times. I love the simplicity behind such a decadent recipe.
So delicious and versatile – Ricotta has such a deep, nourishing, rich flavor. It is simple, but full of so much potential as a sweet or savory dish.
It’s real food and nutritious – With no additives or artificial ingredients, ricotta is made with real food ingredients. There’s no long ingredient list here, but you’re still getting calcium, protein, and vitamins like A and B12.
Tips
- Ultra-pasteurized milk will not curdle, and most organic milk is ultra-pasteurized, so check the labels before choosing an organic milk for this recipe.
- Unsurprisingly, your ingredients will have an impact on the results. Ricotta made with whole milk and cream will have a different texture than ricotta made with straight 2% milk.
- I used white vinegar, but you can swap it out for fresh lemon juice, bottled lemon juice, apple cider vinegar, or even white wine vinegar. Just make sure the acid you are using is somewhat fresh, as old ingredients can hinder the curdling in some circumstances.
- Don’t boil your ricotta very long. You want to bring your mixture to temperature and not boil past that. Too much heat can result in rubbery rather than soft ricotta. While it is natural for ricotta to have a grainy texture, it should still be a soft graininess, not like little grains of rubber.
- Strain the ricotta to your personal preference. For a thicker, drier result, go for the full 2 hours. I’ve heard of good results after even 20 minutes of straining, particularly if you want a creamier consistency. It’s whatever you like best! If your ricotta ends up being thicker or drier than you like, simply add a splash of the whey back in and gently stir.
- The leftover whey can be kept for other uses (like fermented lemonade), and any milk solids that made it through the cheesecloth can be added right back into the ricotta if desired.
- To strain the ricotta more thoroughly, you can use multiple layers of cheesecloth.
- If you don’t have cheesecloth, try using a tea towel, a nut milk bag, or even a yogurt strainer if you are a yogurt maker.
This post contains affiliate links, which means I make a small commission at no extra cost to you. See my full disclosure here.
Tools You May Need
Large pot – Preferably a heavy-bottomed pot for even heat distribution.
Fine mesh strainer or colander – You want this to be large enough to hold all of the ricotta as it is straining.
Cheesecloth, tea towel, etc. – This will allow the whey to separate from the ricotta curds, leaving a thicker result.
Large bowl – Large enough to hold the whey while still allowing the strainer to be situated over the top.
Ingredients
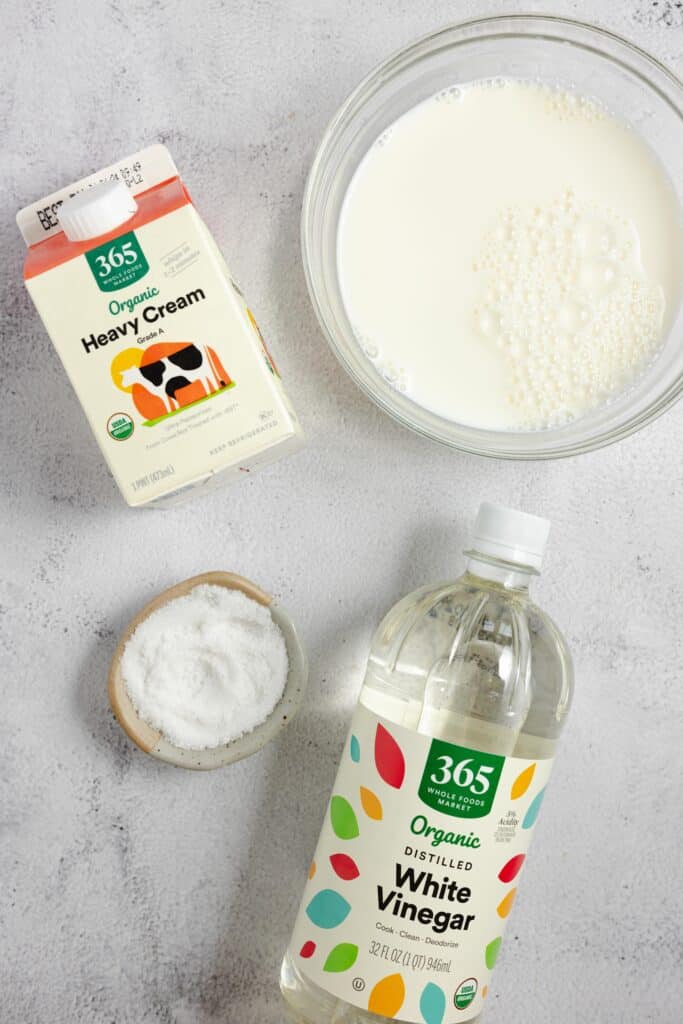
Whole milk – Full-fat milk will have a better result for a creamier ricotta. You can use 2%, but the lower fat will detract from the creamy texture and quality of the cheese. Avoid skim and nonfat milk, as they have so little fat content, you’re hard-pressed to have any curdling.
Check the labels for ultra-pasteurized or ultra-high-temperature pasteurized milk, as these have altered milk proteins that will not form curds.
Heavy whipping cream – While ricotta could be made with all milk and no cream, I think the best result comes with adding the cream. Its richness and thickness enhance the flavor and consistency.
Salt – I used one teaspoon of sea salt for this recipe, but adjust it to your preference. Ricotta is often combined with other dishes, so less salt tends to work out best.
Distilled white vinegar – You can use lemon juice as a substitute.
How to Make Fresh Ricotta
Heat milk, heavy cream, and salt in a large pot over medium-high heat. Stir often with a wooden spoon so the milk mixture does not scald.
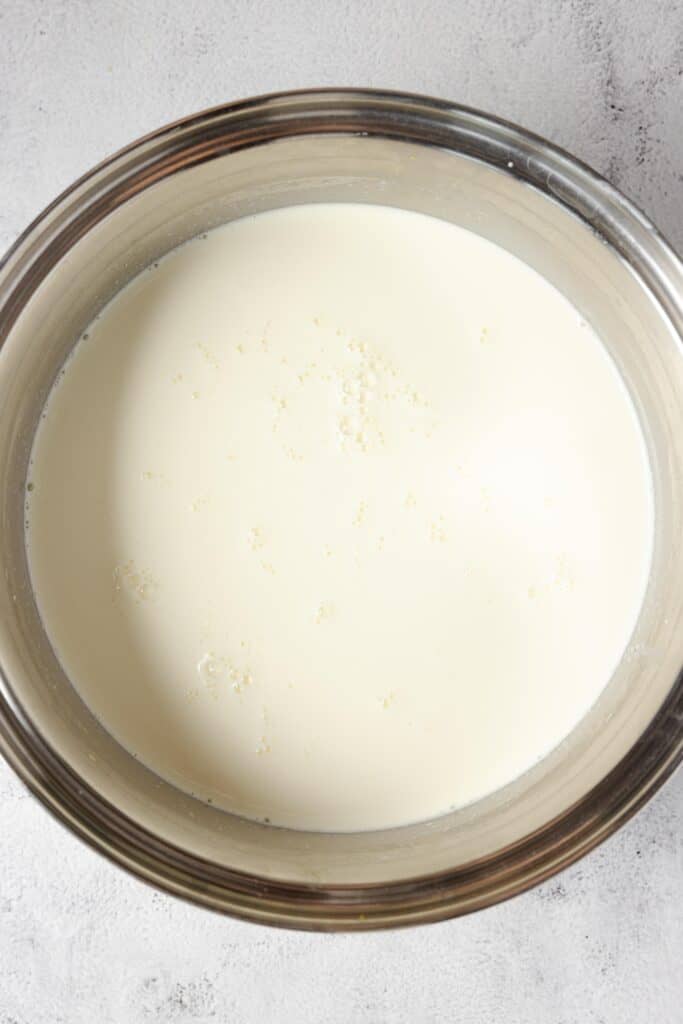
Upon reaching 185 degrees Fahrenheit, you should see the beginning of a low boil.
Stir in the vinegar just enough for it to be evenly distributed, then turn off the heat.
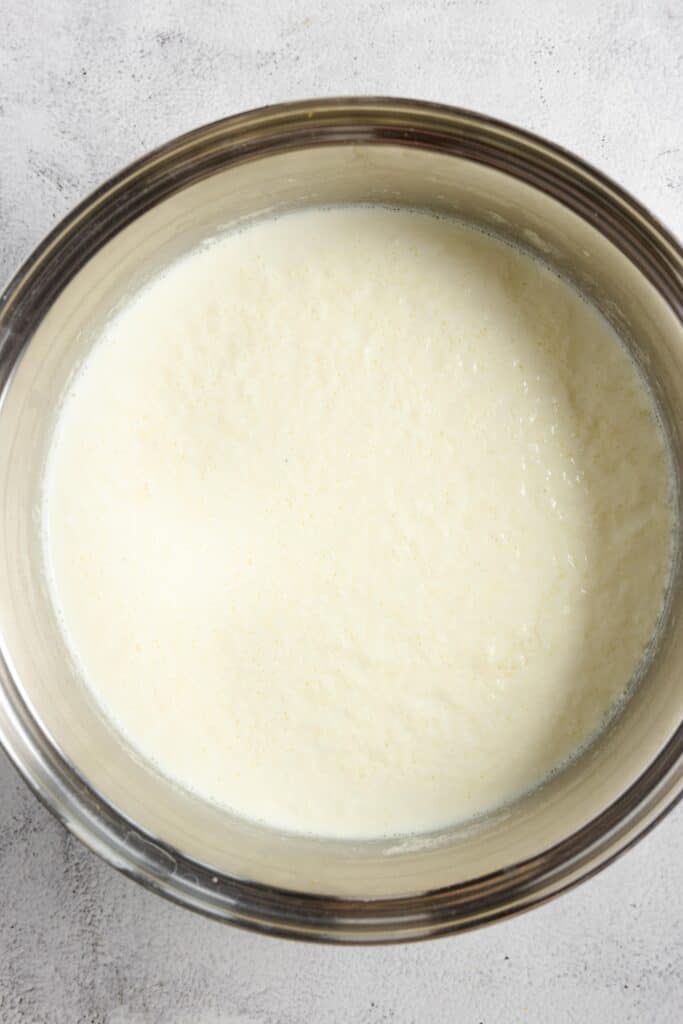
Let the pot sit for 3-4 minutes undisturbed. You will see the mixture beginning to curdle.
Line your strainer with cheesecloth, then place it over a large bowl.
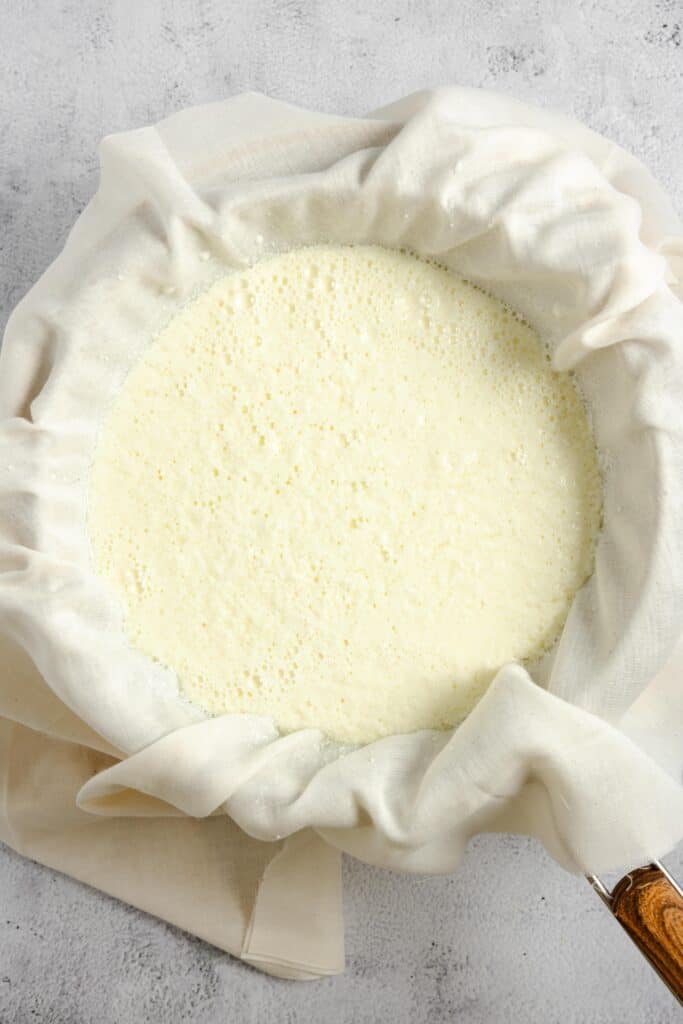
Carefully pour the curds and whey into the strainer, or ladle the curds in with a slotted spoon, then let it sit for one hour.
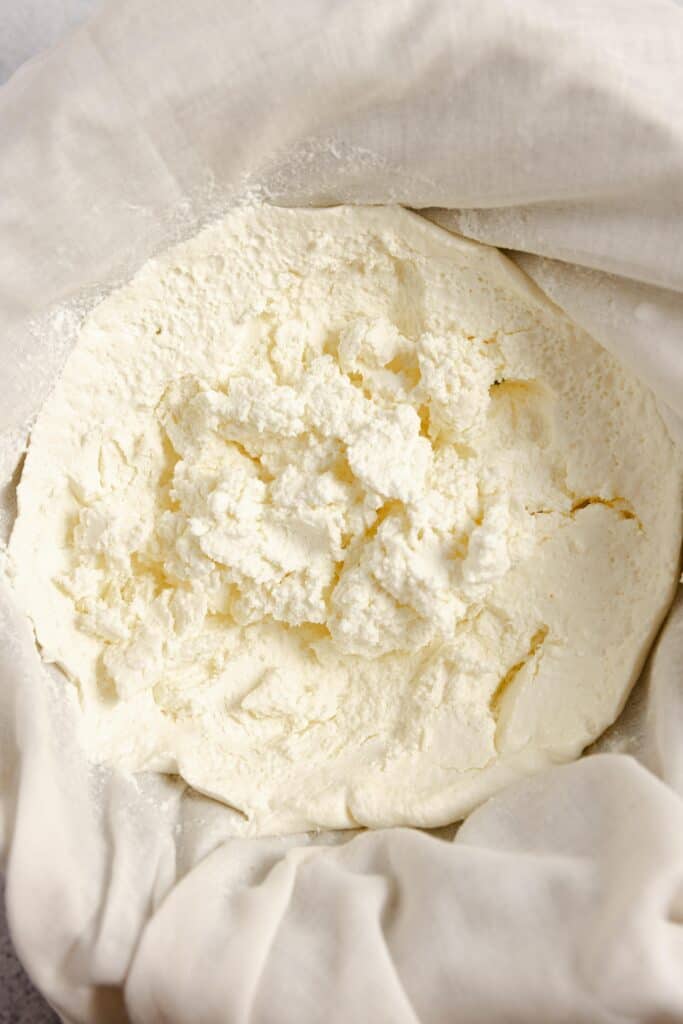
At this point, you can choose to strain the ricotta in the refrigerator for another hour, or go ahead and use it. The longer it strains, the thicker it will become.
Once it’s right where you like it, you can use it right away or store it in an airtight container in the fridge.
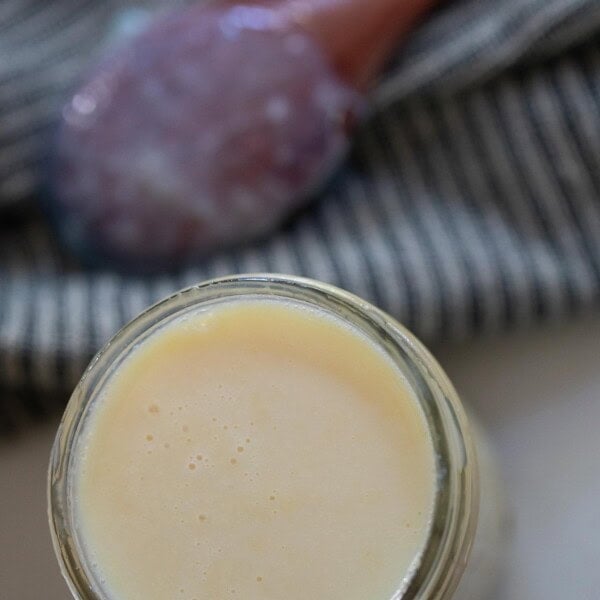
Pour the whey into a glass jar and keep in the refrigerator for other uses (ideas below!).
Storage
Leftover ricotta should be stored in an airtight container in the refrigerator for around 4 to 5 days.
It is not recommended to freeze ricotta, as the milk will freeze into ice crystals, which has a negative effect on the texture. Have you ever found your sour cream frozen on the top shelf of the fridge? It’s the same concept.
Uses for Leftover Whey
Whey strained from ricotta can be used in place of water in bakes like muffins and waffles, added to fruit smoothies, used to soak beans or grains, or even simply enjoyed as a drink. It’s full of nutrients, plus has a light, refreshing flavor. You can also freeze it to use at a later time.
FAQ
It’s a healthy choice because it is low in fat, low in salt, and has a decent amount of protein. It’s also made with real food ingredients, free of preservatives or other additives you may find in commercial ricotta.
Certainly! It is going to be better tasting and better for you than store-bought ricotta, while also being more affordable than a gourmet brand. Ingredients to make ricotta are inexpensive, and the recipe makes a good amount. And while ricotta is what we’re after, the by-product whey is also very useful.
Cottage cheese has a heavier texture with large lumps and a more savory and tangy flavor from the fermentation. It’s also higher in protein and lower in calories. Ricotta is light and fluffy, with a mildly gritty texture and sweeter flavor. It has good protein content, but more fat and calories than cottage cheese.
Ultra-pasteurized milk and ultra-high-temperature pasteurized milk are not meant to curdle, so these are not good choices for ricotta. Also, a lack of curdling may be the result of not adding enough acidity, or even using vinegar that is too old. If you bought a huge jug of vinegar that has sat in your pantry for many months, you may need to start this recipe with fresh ingredients.
A gallon of milk may yield 3-4 cups of ricotta, but this is highly dependent on the amount of curdling that takes place and the length of time spent straining off the whey. A bulk of the milk mixture that you are heating will end up being whey (which is also useful).
More recipes from Farmhouse on Boone:
- Homemade Iced Lavender Latte
- Instant Pot Yogurt
- Easy Sourdough Waffles
- Sourdough Pizza Dough
- Sourdough Lemon Poppy Seed Muffins
- Homemade Cottage Cheese
If you try this recipe and love it, I would love if you could come back and give it 5 stars! Tag me on Instagram @farmhouseonboone
Ricotta cheese
Video
Ingredients
- 4 ½ cups whole milk
- 1 ½ cups heavy whipping cream
- 1 teaspoon salt
- 3 tablespoons distilled white vinegar
Instructions
- Heat milk, heavy cream, and salt in a large pot over medium-high heat. Stir often with a wooden spoon so the milk mixture does not scald.
- Upon reaching 185 degrees Fahrenheit, you should see the beginning of a low boil. Stir in the vinegar just enough for it to be evenly distributed, then turn off the heat.
- Let the pot sit for 3-4 minutes undisturbed. You will see the mixture beginning to curdle.
- Line your strainer with cheesecloth, then place it over a large bowl.
- Carefully pour the curds and whey into the strainer, or ladle the curds in with a slotted spoon, then let it sit for one hour.
- At this point, you can choose to strain the ricotta in the refrigerator for another hour, or go ahead and use it. The longer it strains, the thicker it will become.
- Once it’s right where you like it, you can use it right away or store it in an airtight container in the fridge.
- Pour the whey into a glass jar and keep in the refrigerator for other uses (ideas below!).
Notes
- Ultra-pasteurized milk will not curdle, and most organic milk is ultra-pasteurized, so check the labels before choosing an organic milk for this recipe.
- Unsurprisingly, your ingredients will have an impact on the results. Ricotta made with whole milk and cream will have a different texture than ricotta made with straight 2% milk.
- I used white vinegar, but you can swap it out for fresh lemon juice, bottled lemon juice, apple cider vinegar, or even white wine vinegar. Just make sure the acid you are using is somewhat fresh, as old ingredients can hinder the curdling in some circumstances.
- Don’t boil your ricotta very long. You want to bring your mixture to temperature and not boil past that. Too much heat can result in rubbery rather than soft ricotta. While it is natural for ricotta to have a grainy texture, it should still be a soft graininess, not like little grains of rubber.
- Strain the ricotta to your personal preference. For a thicker, drier result, go for the full 2 hours. I’ve heard of good results after even 20 minutes of straining, particularly if you want a creamier consistency. It’s whatever you like best! If your ricotta ends up being thicker or drier than you like, simply add a splash of the whey back in and gently stir.
- The leftover whey can be kept for other uses, and any milk solids that made it through the cheesecloth can be added right back into the ricotta if desired.
- To strain the ricotta more thoroughly, you can use multiple layers of cheesecloth.
- If you don’t have cheesecloth, try using a tea towel, a nut milk bag, or even a yogurt strainer if you are a yogurt maker.
Nutrition information is automatically calculated, so should only be used as an approximation.


Always simple easy to follow directions.
Hi, if I have raw milk and keep the cream in it, do I still need to add heavy whipping cream to it?
No. I would try to scoop out as much of the cream as you can to use. If you get a little milk in there, it will be fine.
Approximately, how much Ricotta does this recipe yield? Thanks for the lovely recipe Lisa… and beautiful presentation!!!
I love following your posts Lisa! My favorite sourdough bread is still yours after trying a few! I have a question about the yogurt in this recipe. How much yogurt do I need to start with in order to get 1/2 cup of whey for the ricotta cheese recipe? Looking forward to trying it and then your fermented lemonade.
I wish you had a book with all of your wonderful recipes and tips! I’d buy copies for me, my family and for friends as gifts!
Sue R
About 2 cups of yogurt for that amount of whey! I am publishing a book at the moment. It should be ready sometime in the fall.
Hi Lisa, thank you for this recipe. I love making homemade Ricotta. The flavours are so diffent than store bought. I know what goes in it. With the leftover whey, I portion it out in freezer containers and freeze it. When I make my sourdough bread, I always use whey instead of water. My family noticed the differance right away and now prefer it better.
Thank you, Lisa. Question for you: Can I use whole milk or raw milk that has been frozen to make cheese from? What about in the case of making ricotta?
It may be harder if your cream was not fully incorporated before freezing with the raw milk.
Lisa, Thank you for the Ricotta Recipe. I usually purchase mine …my daughter will be interested in making. Looks
easy. God Bless, Aria
I thought ricotta was made using the whey left from cheese? Ricotta means recooked. Do I have it confused with something else 😜 (very possible)
You can make whey ricotta or whole milk ricotta. Both recipes are in the cheesemaking book that I have. I like using the whey just because it is a two-fer. A harder cheese AND ricotta from one batch of milk. But the whole milk (raw, fresh) version is creamier than the whey version.
Thanks for sharing! Do you alter your recipe if using raw milk (do you need as much cream if you haven’t skimmed it off your milk)?
I don’t alter it. I just use whatever I have collected in my milk jar!
Thanks for this! I will give it a try. How long is it usually good for when stored in fridge?