Learn how to make fermented fruit two ways, for results that are not only delicious, but full of probiotics. Fermented blueberries are a sweet way to eat healthy bacteria. Find 2 ways to preserve fruit below.
If you’ve been around here for more than two minutes, you know my deep passion for all things fermented.
From sauerkraut to sour cream to sourdough, and all things in between.
Bacteria – the good kind, of course – may just be my favorite type of food.
We have fermented foods multiple times a day, and my kids beg for kefir soda.
This has been a busy spring on the homestead. We recently planted an orchard that we will be continuing to add to, and we’ve also started to plant a variety of blueberry and raspberry plants.
Our harvest won’t be much this year, but with time and patience, we will be reaping an abundance for years to come.
Hopefully, more than enough to preserve and ferment.
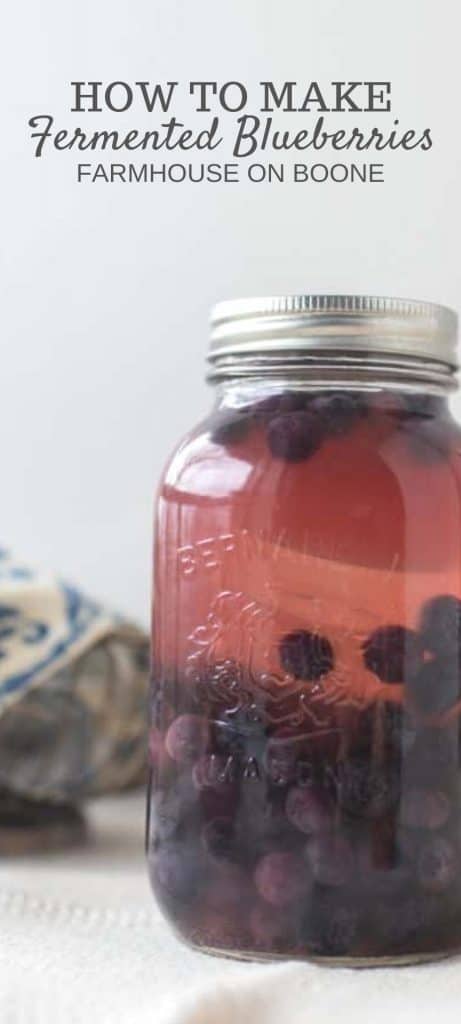
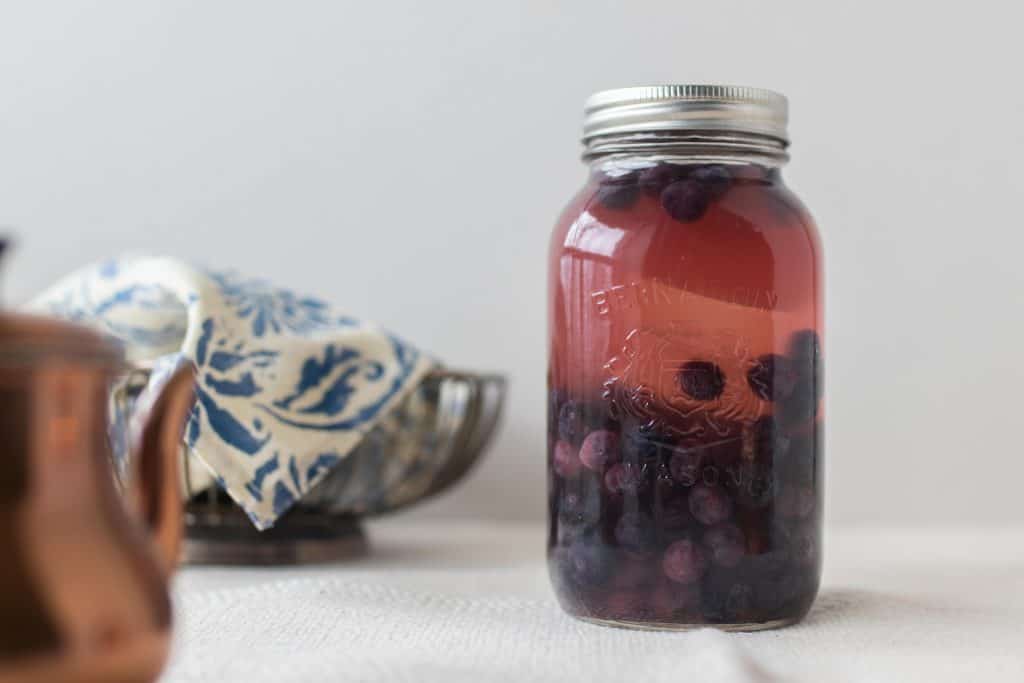
Today, I’m going to show you how to ferment blueberries, but you could also try cherries, pineapple, and raspberries.
Health Benefits Of Fermented Fruit
There are so many reasons to love fermented foods. They’re rich in probiotics, which have been shown to help improve gut health by improving the gut micro-biome, aid in digestion, and increase immune functions (since much of immune function lies in the gut).
It can also increase vitamins like A, B, C, and K, making the vitamins and minerals more bio-available for absorption.
Tips For Making Fermented Fruit
- For quality of ingredients, you will want to choose non-iodized salt, filtered water, and organic fruit when fermenting.
- You can also use frozen blueberries, but the blueberries melt down into a more mashed up/syrupy consistency. Fruit ferments quicker than vegetables. Make sure to test it every day after 24-48 hours, because it can cross the threshold into alcohol quickly.
- With fruit fermentations, it is best if they have a jump starter culture like the whey, water kefir, or kombucha, so they will ferment quickly and not turn into alcohol.
- Make these recipes in small batches, because they will not last more than a few weeks in the fridge.
This post contains affiliate links, which means I make a small commission at no extra cost to you. See my full disclosure here.
Is fermented fruit safe to eat?
Fermented fruit is safe to eat as long as you follow directions, use clean jars and tools, and don’t overferment your fruit.
Always check for signs of mold, and if it smells or looks funky, toss it.
What does fermented fruit taste like?
This will depend on the fermentation method you choose.
The first method uses salt and will be a salty, tangy ferment. The second method gives you a sweeter ferment and is preferred for enjoying fermented fruit to top yogurt and ice cream.
Can fermented foods make you sick?
Any food can make you sick, and fermented foods are no different. There are a few precautions: if it smells bad or looks moldy, toss it out.
Remember that fermented fruit does not last as long (only a few weeks) compared to fermented vegetables (which can lasts months, even up to a year).
Tools You May Need:
Mason jars
Jar lids or pickle pipes – I love these silicon pickle pipes.
Kitchen scale (for method 1)
Bowl
Measuring cup and spoons
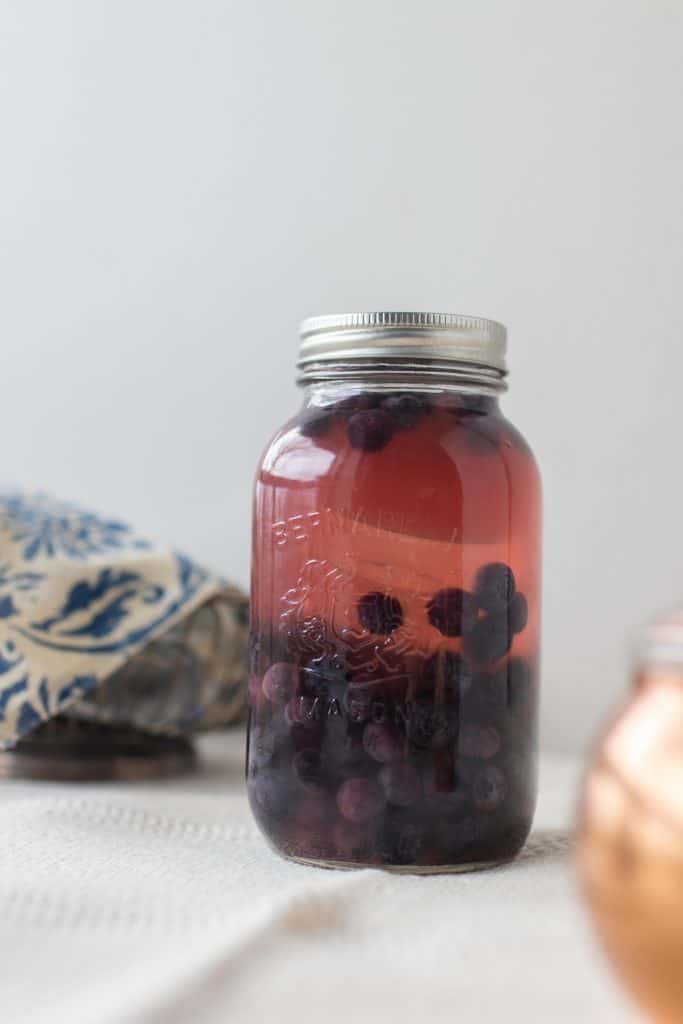
How To Make Fermented Fruit:
Here are two different ways to ferment fruit. The first one includes a salt brine, while the second is a sweet sugar brine.
Method 1: Fermented Fruit With 2% Salt
Ingredients:
Salt – Use non-iodized salt when fermenting.
Blueberries
Directions:
- You will need 2% salt to have a successful fermentation. Weigh blueberries in grams to determine how many grams of salt you need.
- Example: if you have 300 grams of blueberries, you’ll need to add 6 grams of salt. To get this number, I calculated 300 (g) x 0.02 = 6g.
- You can leave the blueberries intact, or you can lightly crush them to open the skins.
- Add blueberries to a bowl and sprinkle salt over. Mix. Pour into a jar and add a weight.
- It’s important to keep oxygen out of your mason jar or fermenting vessel.
- The easiest way to do this is with a fermentation weight, or you can put a food storage bag inside the jar, and fill it with water.
- Place a lid on the jar and seal it loosely, because this mixture will bubble and the air bubbles will need to escape.
- After 24 hours, begin tasting your ferment every day until it is the perfect level of fermentation for you.
- For this method, it typically takes anywhere from three to seven days, depending on the storage temperature for the jar. This will be a much saltier final product than method 2.
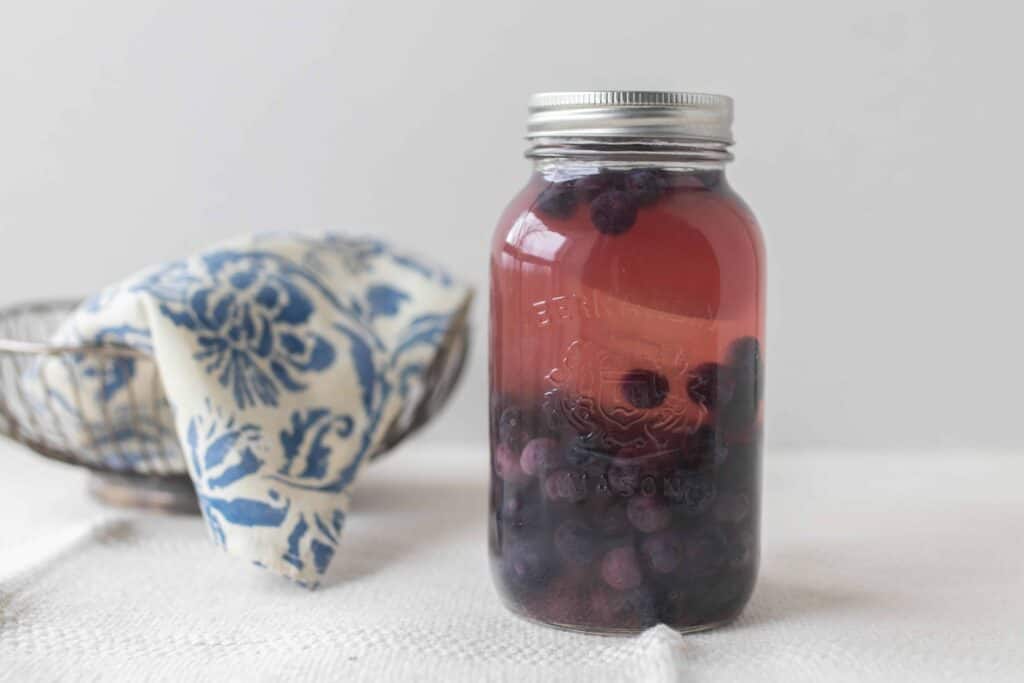
Method 2: Fermented Fruit In A Sugar Brine Solution
Ingredients:
- 2 cups of blueberries
- 6 tbsp of kombucha or whey or water kefir liquid
- 3⁄4 tsp of good quality salt
- 6 tbsp of organic cane sugar
- 9 tbsp of filtered water
Directions:
- Heat water slightly.
- In a jar, add sugar and salt. Pour in warm water and stir to dissolve. Allow to cool.
- Once the water is cool, add remaining ingredients.
- Weigh down fruit with a fermentation weight, like a food storage bag filled with water or a small glass jar that fits inside a wide mouth mason jar. All the fruit must stay below the brine.
- Add a loose lid on the jar or use a pickle pipe to allow the gasses to release. After 24 hours, taste daily until your ferment reaches the desired taste.
Where Can I Get Whey?
I strained my own whey from homemade yogurt using cheesecloth, and then I enjoyed some Greek yogurt. It worked perfectly! You can also do this with store-bought yogurt.
How To Use Your Fermented Fruit
- Blend into smoothies
- Blend into homemade popsicles
- Top yogurt or ice cream
- Mash into a jam (don’t heat)
- Blend into homemade ice cream
- Blend into salad dressings
- Balsamic fermented blueberry dressing (recipe coming soon!)
- Puree fermented blueberries as condiment for meats
Find More Of My Favorite Ferments:
How To Make A Sourdough Starter From Scratch
Lacto-Fermentation Guide: How To Ferment Any Vegetable
If you make this recipe and love it, I would love if you gave it 5 stars! Tag me on Instagram @farmhouseonboone with your delicious creation.
Fermented Fruit
Ingredients
Method 1: Salt Brine
- Salt – Use non-iodized salt when fermenting.
- Blueberries
Method 2:
- 2 cups blueberries
- 6 tablespoons kombucha or whey or water kefir liquid
- 3/4 teaspoon good quality salt
- 6 tablespoons organic cane sugar
- 9 tablespoons filtered water
Instructions
Method 1: Salt Brine
- You will need 2% salt to have a successful fermentation. Weigh blueberries in grams to determine how many grams of salt you need.
Example: if you have 300 grams of blueberries, you’ll need to add 6 grams of salt. To get this number, I calculated 300 (g) x 0.02 = 6g. - Add blueberries to a bowl and sprinkle salt over. Mix.
- Pour into a jar and add a weight.
- Place a lid on the jar and seal it loosely, because this mixture will bubble and the air bubbles will need to escape.
- After 24 hours, start to taste your ferment every day until it is the perfect level of fermentation for you.
- For this method, it typically takes anywhere from three to seven days, depending on the storage temperature for the jar.
Method 2: Sugar Brine Solution
- Heat water slightly.
- In a jar, add sugar and salt. Pour in warm water and stir to dissolve. Allow to cool.
- Once the water is cool, add remaining ingredients.
- Weigh down fruit with a fermentation weight. All the fruit must stay below the brine.
- Add a loose lid on the jar or use a pickle pipe to allow the gasses to release. After 24 hours, taste every day until your ferment reaches the desired taste.
Notes
- For quality of ingredients, you will want to choose non-iodized salt, filtered water, and organic fruit when fermenting.
- You can also use frozen blueberries, but the blueberries melt down into a more mashed up/syrupy consistency.
- Fruit ferments quicker than vegetables. Make sure to test it every day after 24-48 hours, because it can cross the threshold into alcohol quickly.
- With fruit fermentations, it is best if they have a jump starter culture like the whey, water kefir, or kombucha, so they will ferment quickly and not turn into alcohol.
- Make these recipes in small batches, because they will not last more than a few weeks in the fridge.
Nutrition
Nutrition information is automatically calculated, so should only be used as an approximation.
Pin It For Later
