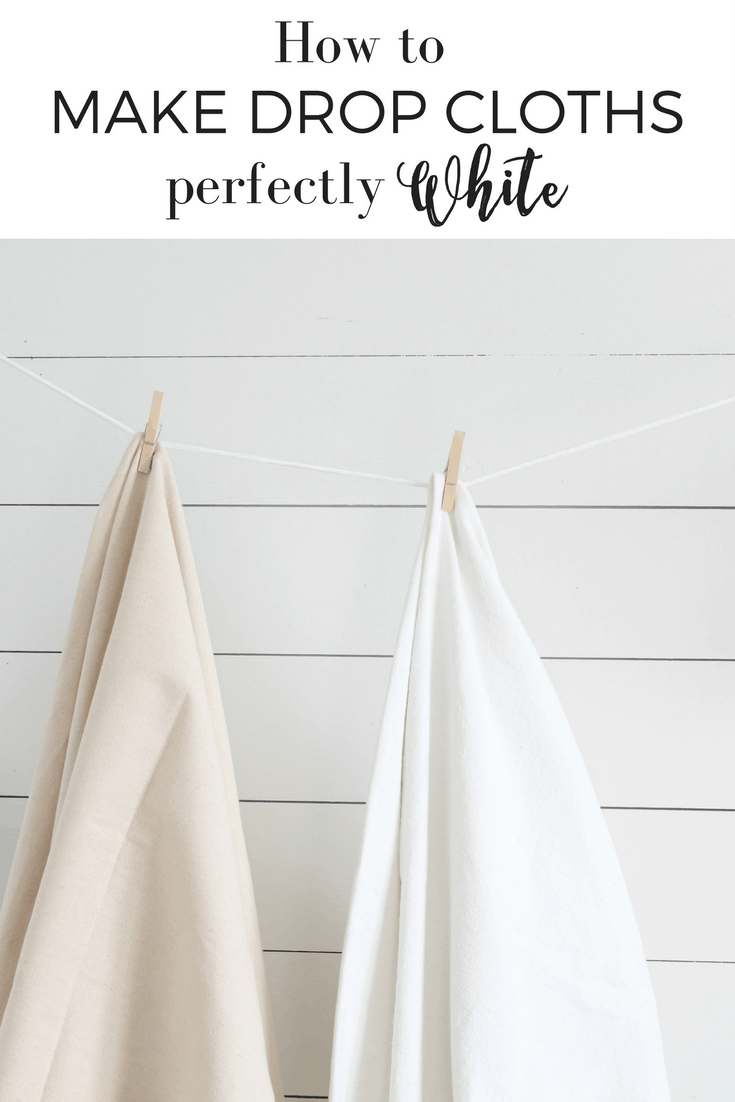
Learn how to bleach drop cloth to make it perfectly soft and white for DIY projects.
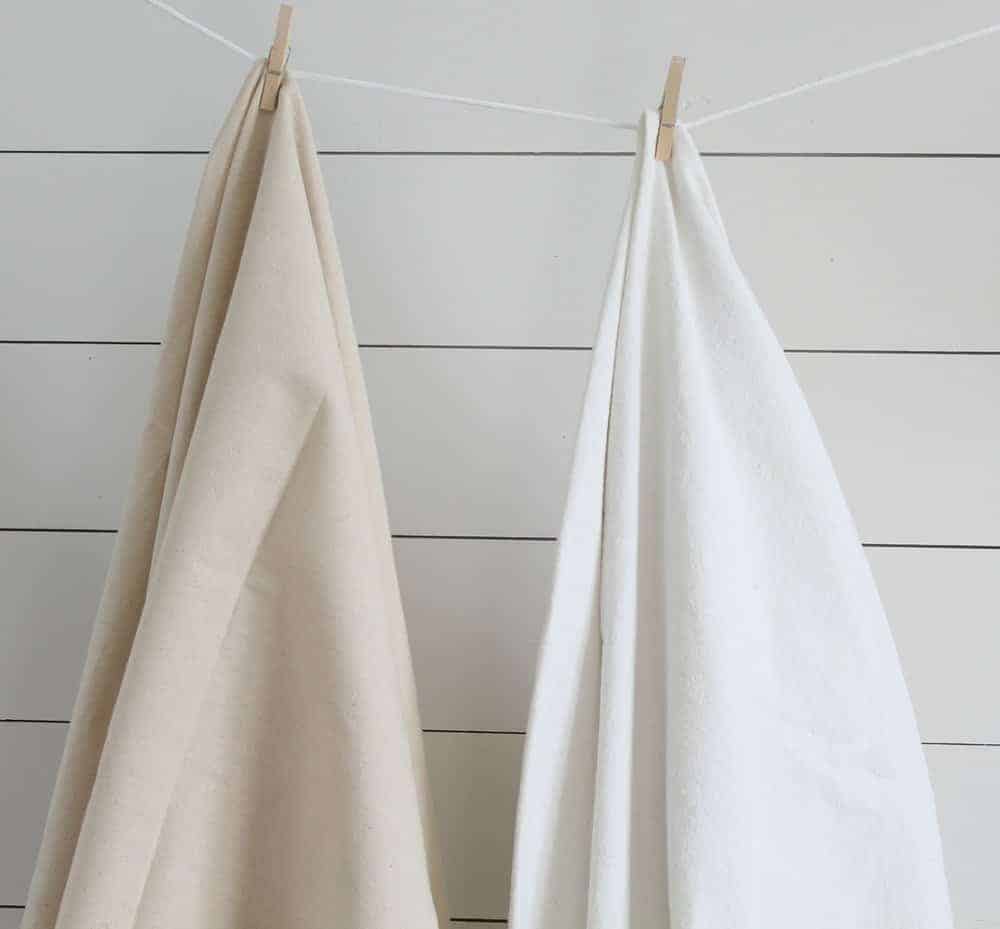
Learn how to bleach drop cloth to make it perfectly soft and white.
UPDATE MUST READ: I have heard from several readers that the brand of drop cloth you buy makes all the difference. I did not know this, since I have only ever used this brand from Amazon. Other brands turns gray and off white.
UPDATE PART TWO: Thanks to Lori, a lovely reader of my blog, I now know why some other brands won’t turn white. The drop cloths I recommend from Amazon are 100% cotton, so bleachable. Some brands are made with 50% polyester, so unbleachable. I knew people were having trouble with other brands, but now I actually know why!
UPDATE PART THREE: It was brought to my attention by a reader that you should not use this large amount of bleach if you have a septic system.
Why I love drop cloth
You don’t have to hang around the Pinterest DIY scene for very long to find out that drop cloth is a star player in the upholstery, slipcover, curtain and pillow making game.
I have used a lot of drop cloth in our farmhouse and for good reason. It is durable, high quality and, best of all, super cheap.
I did the math once and it works out to about $2.50 a yard. Can’t beat it.
But how does drop cloth go from the rough and coarse tan fabric you find in the paint section at Lowe’s to the soft white beauty you see gracing wing back chairs and farmhouse pillows?
It’s quite simple really.
It all comes down to a whole lot of bleach and little bit of technique.
When you know hot bleach drop cloth, the possibilities are endless.
Video Tips and Tutorial
I start with this drop cloth from amazon. It is the 6-7 oz weight in 9′ by 11′ size.
I buy it in bulk, because I use it (unbleached) for the backs on my farmhouse pillows.
It comes out of the package feeling pretty coarse and looking very tan.
I need it to be bright white, so I can bleach all the slipcovers, when my messy bunch of kiddos put their dirty feet all over the couch. ahem.
The Process
When it comes to bleaching drop cloths there are two methods.
Method 1: Washer method
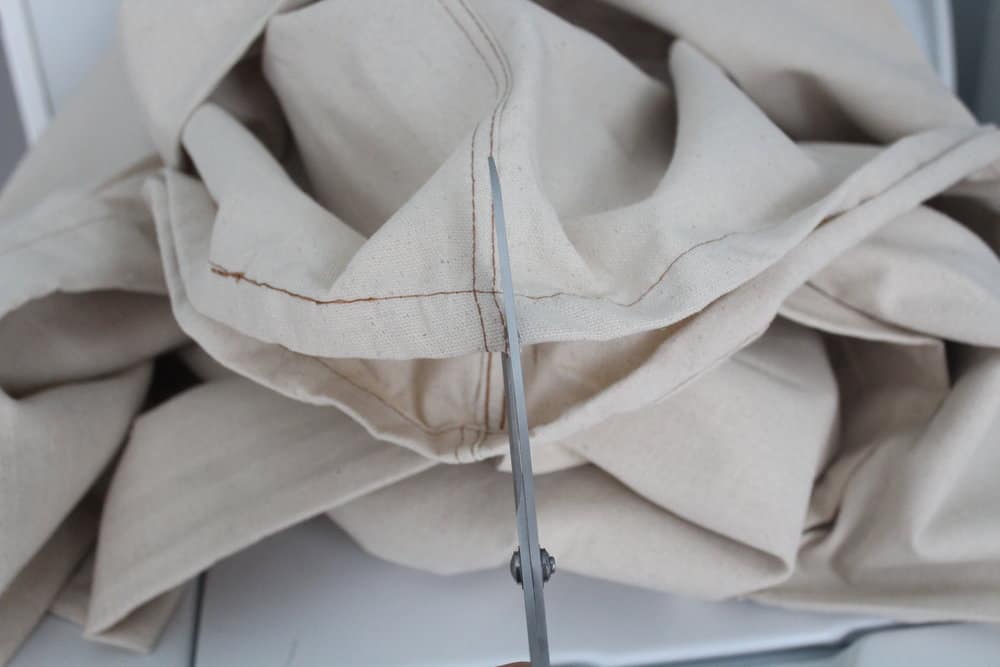
So, the first thing I do is cut the 9′ by 12′ piece right down the center where the seam is.
I wouldn’t be able to use the middle part where the seam is anyway, and if I shoved the whole thing in the washer, it would be overcrowded.
An overcrowded washer leaves the drop cloth splotchy, which is no bueno.
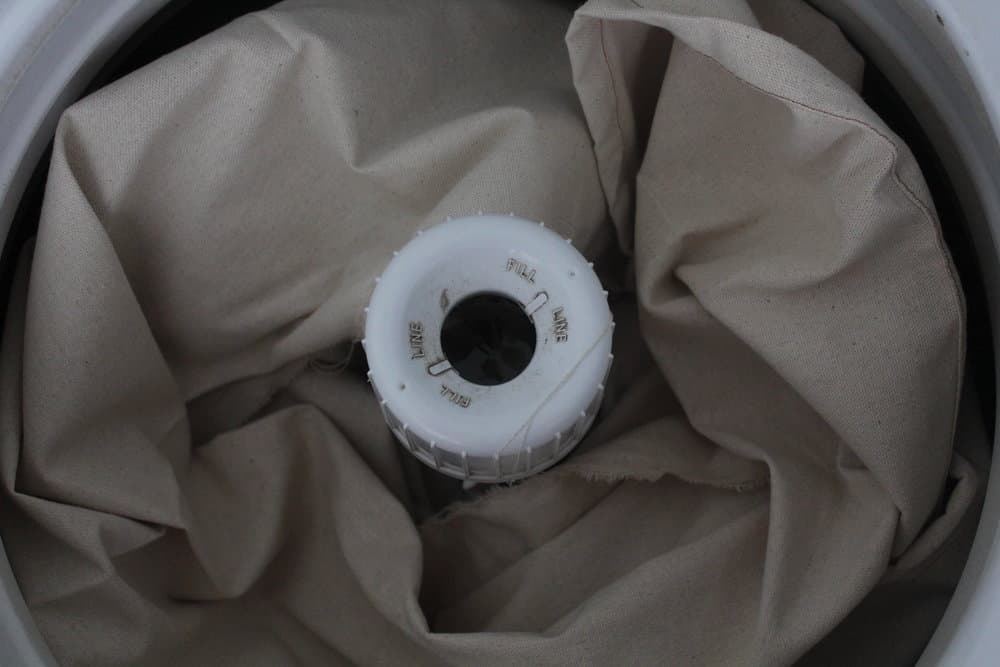
I put one half of the drop cloth piece into the washer, put it on hot, and set it on the largest size load setting.
I let the washer fill completely before adding any bleach.
Once the washer is full, I add a whoooooole lot of bleach, like about a third of the bottle.
At this point I open all the windows of the house and even the back door all the way. I don’t like to fill my house with all those bleach fumes.
I let it agitate a bit to stir all the bleach around. Then, I pull the knob out and let it sit to soak for several hours.
I go over to the washer every few hours and let it agitate for a minute or so, and then let it sit some more.
The main keys here are:
1. Don’t overfill the washer.
2. Use plenty of bleach
3. Agitate periodically to get the bleach into all the creases, so it doesn’t come out splotchy.
4. Don’t rush it. This should take several hours.
5. Although time is good, I have noticed things going a bit yellowy if I let it sit too long. I think 6-8 hours is a good rule of thumb.
After I have done all this, I pull the knob out and let it finish the cycle.
I throw the drop cloth into the dryer to make sure it is pre-shrunk and super soft.
No top loader?
Now, some of you have probably given up your white drop cloth dreams because you don’t have a top load washing machine.
Not so fast, my friends.
Read on, for there is still hope for you!
I too used to have a front loading washer and a deep desire for white drop cloths.
Method 2: The bathtub method
You basically follow the exact same method as above, with a few differences.
1. Instead of agitating the washer periodically, get yourself a big stick, or something to stir with. You still need to make sure every nook and cranny of that drop cloth has access to the bleach.
2. When you feel your drop cloth is white enough, drain the tub and squeeze out any excess water. Bring it over to your washer and run it through an entire wash cycle on hot.
If you take it out and notice there are splotches, just repeat the process.
Sometimes it takes a few tries to get all the splotches out and get it perfectly white, but enough bleach and time will do the trick every time!
Disclaimer
Double check that the finish on your tub is safe to interact with bleach. If your tub isn’t bleach safe, try to acquire a stainless steal tub, or find a friend who has a top loader you can use.
Woohoo! Now you are ready to make slipcovers for just about anything in your house.
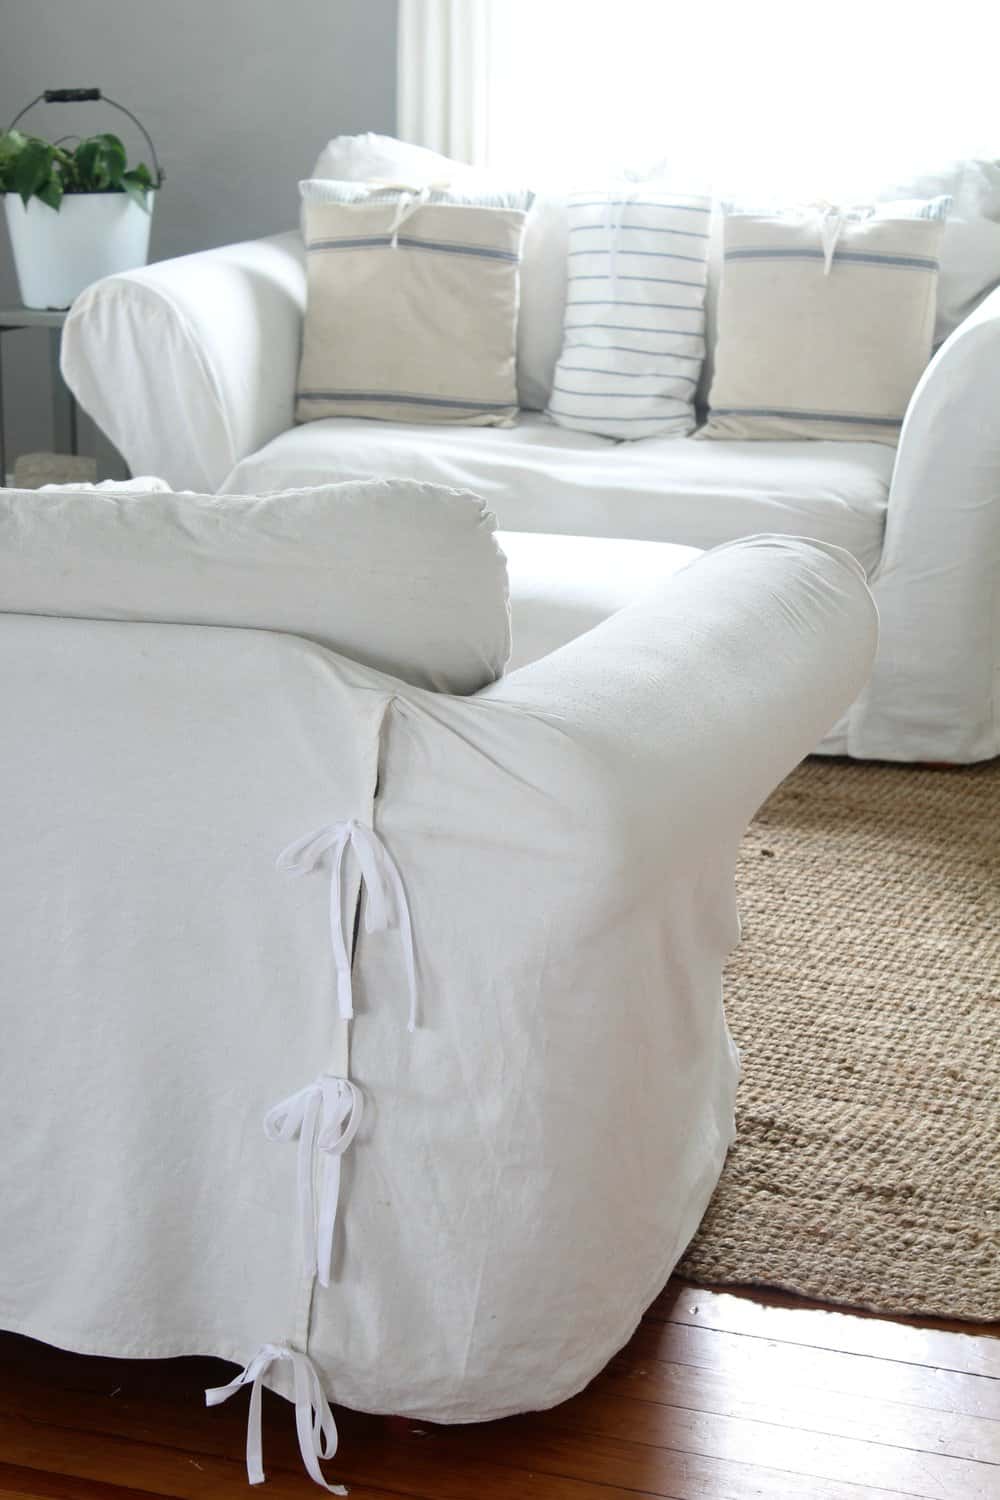
Our couches are super ugly! They are green, ripped and old. They cost $80 for the pair. True story. But can you tell?
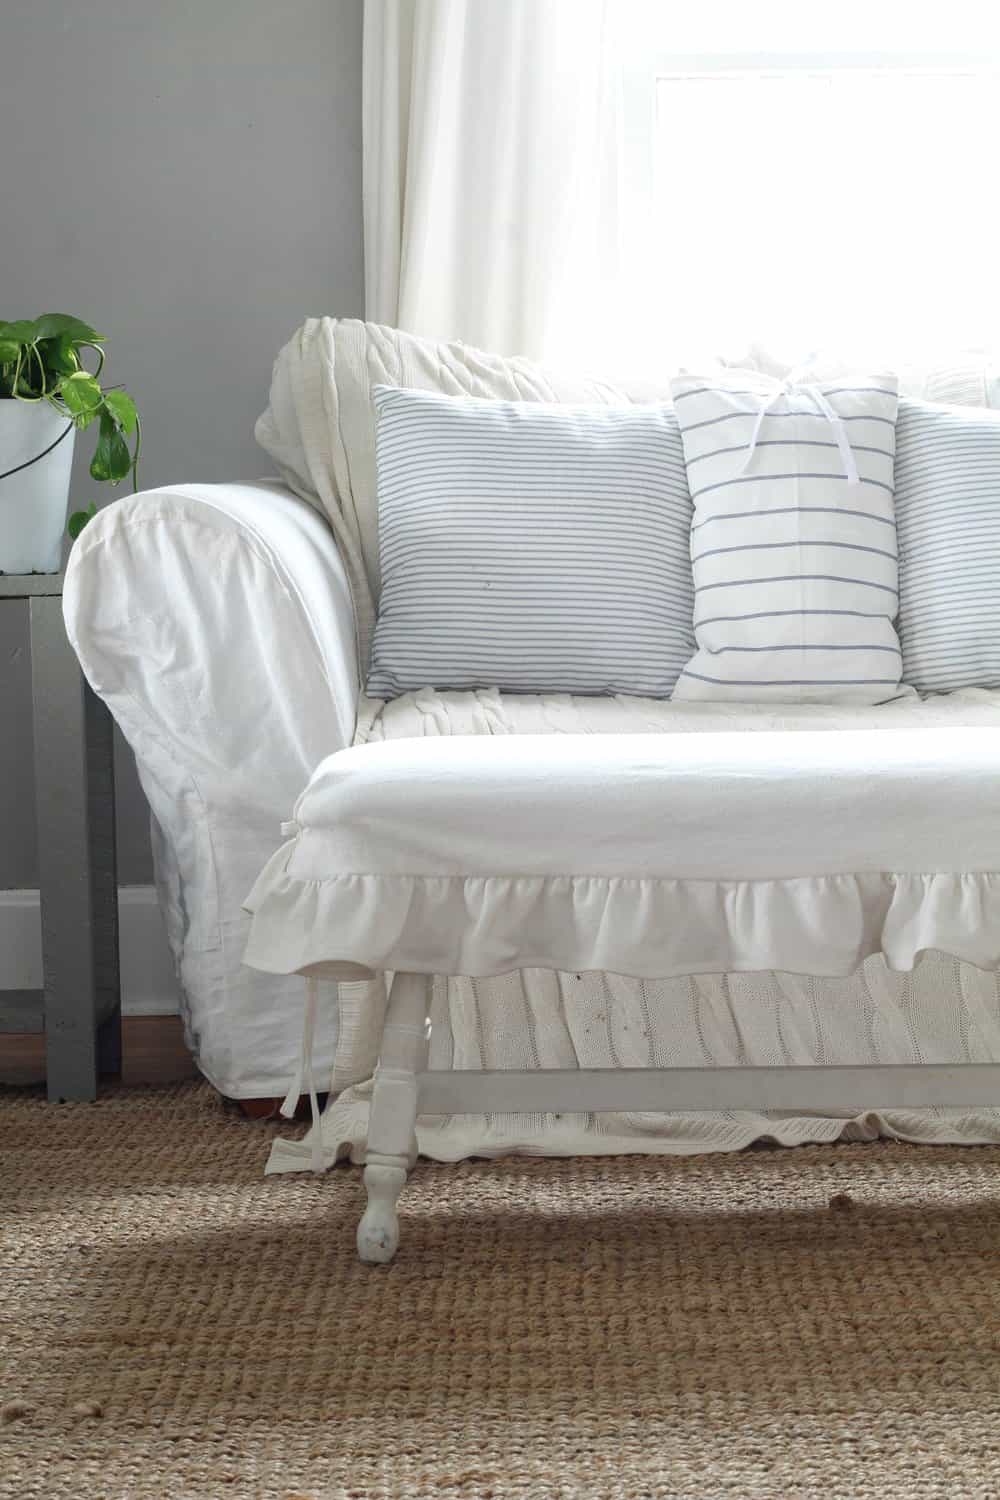
I wrote about my drop cloth bench makeover in this post. I found it for $20 on a buy, sell, trade site.
So, at this point, we are talking $100 for all the furniture in our living room.
Oh the glory of humble painter’s drop cloth!
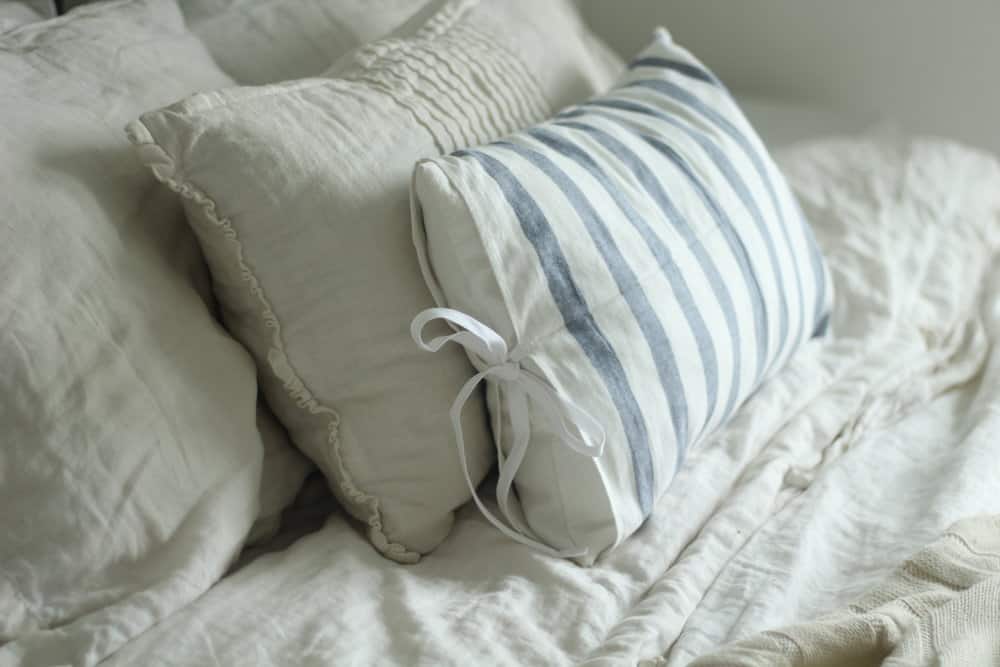
I made the pillow insert for the IKEA tea towel pillows with bleached drop cloth.
This stuff is seriously so versatile!
So, if you want to redecorate your home on the cheap, get your hands on some drop cloth and a couple bottles of bleach!
Pin it for later:
Post contains affiliate links. See my full disclosure here.
How to Bleach Drop Cloth
Video
Equipment
- Washing machine
Ingredients
- 9' by 12' foot canvas drop cloth
- 1/2 gallon bleach
Instructions
- Cut the 9′ by 12′ piece right down the center where the seam is.
- Put one half of the drop cloth piece into the washer, put it on hot, and set it on the largest size load setting.
- Let the washer fill completely before adding any bleach.
- Once the washer is full, add about a third of the bottle.
- Let it agitate a bit to stir all the bleach around.
- Pull the knob out and let it sit to soak for several hours.
- Go over to the washer every few hours and let it agitate for a minute or so, and then let it sit some more.
- Finish the cycle.
- Throw the drop cloth into the dryer to make sure it is pre-shrunk and super soft.
Notes
- Don’t overfill the washer.
- Use plenty of bleach.
- Agitate periodically to get the bleach into all the creases, so it doesn’t come out splotchy.
- Don’t rush it. This should take several hours.
- Although time is good, I have noticed things going a bit yellowy if I let it sit too long. I think 6-8 hours is a good rule of thumb.
Nutrition information is automatically calculated, so should only be used as an approximation.



So I’m wondering if your couch slip cover is one piece or did you do the cushions separate like on the wingback chairs?
I have one large envelope for the seat cushions, two separate covers for the back cushions, and then a large piece fr the rest of the couch.
Hi all,
After A LOT of research and consulting a few different bloggers, I decided to do this project myself. I learned a lot while doing it and decided afterwards to post my findings here in order to help others not make the same mistakes I did! My apologies for this post being so long 🙂
-I purchased the same Chicago Canvas 9’x12′ drop cloth listed above. I got mine on Amazon, where they offer different sizes and what not.
-I used Family Dollar brand bleach, and used one small bottle (8 qts) per one half of the 9’x12′ canvas (aka a 6’x9′ size curtain panel).
– Speaking of dimensions, the seam runs down the 12′ side, splitting it into 2 halves of 6’x9′ panels- which was the perfect dimension for the floor to ceiling windows I planned to put these curtains on.
– I bought a set of 36 drapery rings on Amazon and had no issues. Very easy to clip, but also sturdy to hold up the fabric.
DO’S 🙂
DO- Fill your washer with hot water AND bleach before adding the canvas.
**The first panel I did, I followed the instructions above and added the canvas, then filled with water, then added bleach and agitated and swished the fabric around as much as I could. This DID NOT WORK. I was left with uneven bleach distribution which caused blotches all over. So I did this panel a whole second time and finally got the spots out. The first time, I left in for 5 hours, the second time was probably about the same.
DO- use as much bleach as you find necessary! I used 8qts per panel/washer full. It was enough, but still had to sit a long time to be effective.
DO- add your panel as loosely to the washer as possible!
* I bunched mine up, sort of accordion style, and added it a little bit at a time, using a stick/ broom handle to push it all the way to the bottom of the washer basin and got as many bubbles out as I could so it would all stay submerged. The I agitated it to make sure it stayed down.
DO- wash the curtains at least once afterwards. Getting the bleach fully out is crucial to the fabric’s integrity in the years to come.
DONTS!! 🙁
DONT- be worried about the amount of bleach. You can use scented bleach if you prefer too! It does get smelly.
DONT- dry your freshly bleached and washed panels in the dryer on high heat.
***** BIG MISTAKE ALERT!! ***** I did this in an effort to dry them faster because I was getting impatient. I did this for all 4 of the panels I bleached. I regret this SO much because THEY SHRUNK AN ENTIRE FOOT AND A HALF. Yes… a foot, and a half. I’ve never had that happen to any fabric, piece of clothing, blanket, sheet, you name it. I was beside myself… I figured it would shrink about 6 inches or so since I was drying them. But no blog I consulted or place I researched mentioned this. This completely ruined my entire project. I imagined having floor to ceiling curtains, hanging by the drapery rings, on my 9 foot ceilings and huge windows. Nope 🙁 When I went to hang them I realized something was wrong so I measured. They measured 7’5″ after drying </3 That being said, DO NOT DRY THEM ON HIGH HEAT. If you can't take the time and effort ( I couldn't) to hang dry and iron them, then low heat or air fluff in the dryer with removing them promptly may work better.
MAYBES :/
MAYBE- Wash the panels before bleaching them. All fabric has chemicals on them still when they are fresh from the store/factory. Although they are cotton canvases, I found them to be a bit water-resistant until submerged for a while- which leads to me think about the chemical on them. Washing them may help the blotchiness that many of us are experiencing.
Phew! that was a lot of commentary. I hope this helps someone 🙂
Happy DIY-ing! McKenzie
How are you able to use so much bleach without damaging your septic system? I would love to try this but I am afraid of the damage I might do.
So I have a question if you decide to use a bath tub or a steel tub how do you keep the water hot do you just keep adding hot water and bleach? Do you cover it and approximately how many hours should I check it and or leave it in the steel tubs or how often should I agitate the fabric
When I did it in the bathtub I just kept adding pots boiling water.
I’m feeling sad and disappointed. I clicked on the link to the amazon drop cloths that are suggested on this site. I followed the directions precisely. I’m now on the second round with the same drop cloth, and it lightened up, but it is off white and still course to the touch. What am I doing wrong?
This is happening to me too. I used the brand she suggested, cut it in half, used 8 cups of bleach for 6 hours, finished the wash and then used 8 more cups for an additional 8 hours. It’s still not bright white! 😭
Was reading through post and I noticed no one mentioned the brand of bleach they use. As crazy as it sounds all bleaches probably are not the same. By no means am I a bleach expert but I know from my own experience that if I used a cheaper bleach aka a generic brand to save a buck, my clothes did not come out as clean as when I used a leading brand like Clorox. Some are more concentrated than others. Lisa what brand did you use? Maybe this will help a bit. Just a thought 😉
Can you clarify if doing a follow up cycle with vinegar is needed to stop the activity of the bleach, please.
Thank you,
Barbara
I have never done that, but it might be a good idea.
So I purchased the exact drop cloths you recommended and they are not bleaching white at all. I’m not even sure they are getting any lighter. I have a front loader so I have left them for 2 days now in a large plastic tub and still they look the same color. Any suggestions would be helpful. I really love the look of the bleached drop cloths.
You will need to use a top loader a bathtub or something that you can soak them in for a really long time, several hours.
I have a top loader. I followed your directions to a T, purchasing the same dropcloths by following your Amazon link and mine are nowhere near white. I even repeated the process more than once.
Do you know if the salt in softened water would make the process not work?
I should have read this before I tried it! I just went off the YouTube video. I bought Everbilt drop cloth from Home Depot, not realizing it wasn’t 100% cotton. (It actually doesn’t say anywhere on the label what it is made of.) So now I have two big 9×12 pieces that I used two gallons of bleach on, and they’re still not white. I may still use them for slipcovers, I don’t know. But maybe I’ll save up and give it another go with your brand of drop cloth 🙂
Oh, I am so sorry Marisa. I wish I would have said it in the video, but I didn’t know how important that was until after I shot the video. I figured it out after several complaints of cloths not turning white. Then I finally realized why! What color did it turn? Are they a nice off-white? Or maybe you could dye them gray and use them for some curtains or basket liners?
Has anyone found the 100% cotton at Lowe’s or home depot? I don’t want to have to order it.
I haven’t.