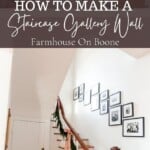
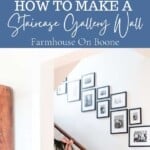
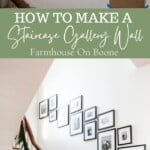
Learn how to make a staircase gallery wall with these simple steps. I’ll show you how to do this the easy way, taking the headache out of it.
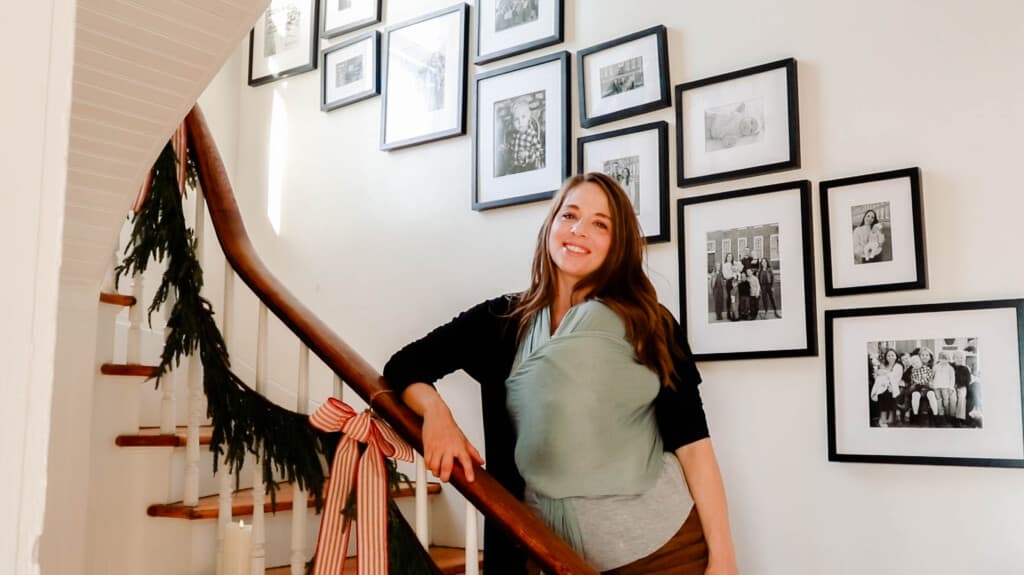
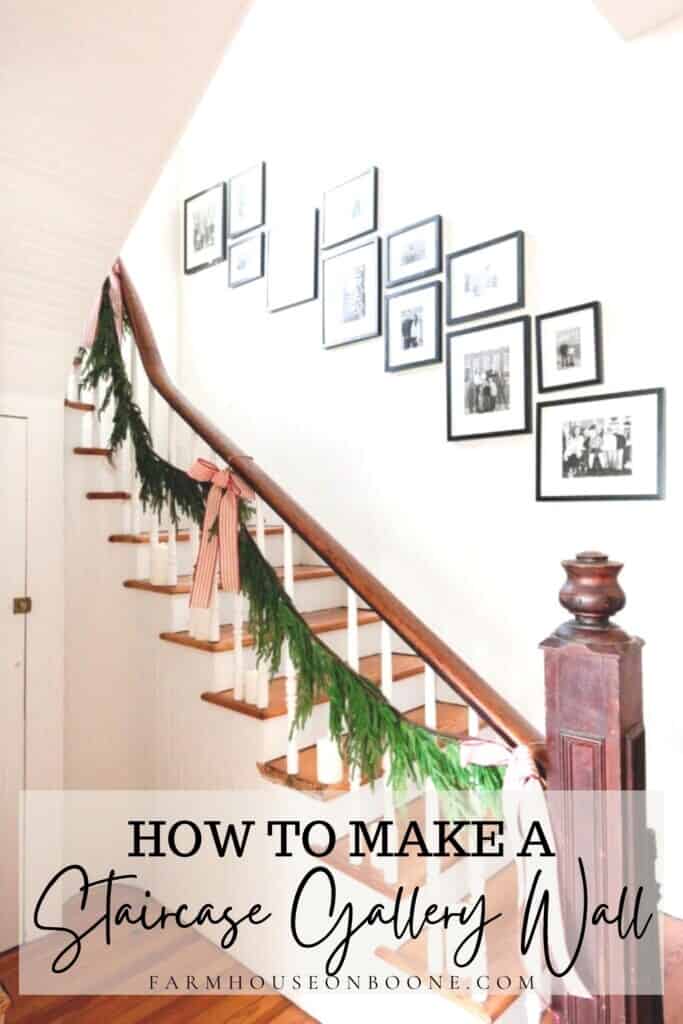
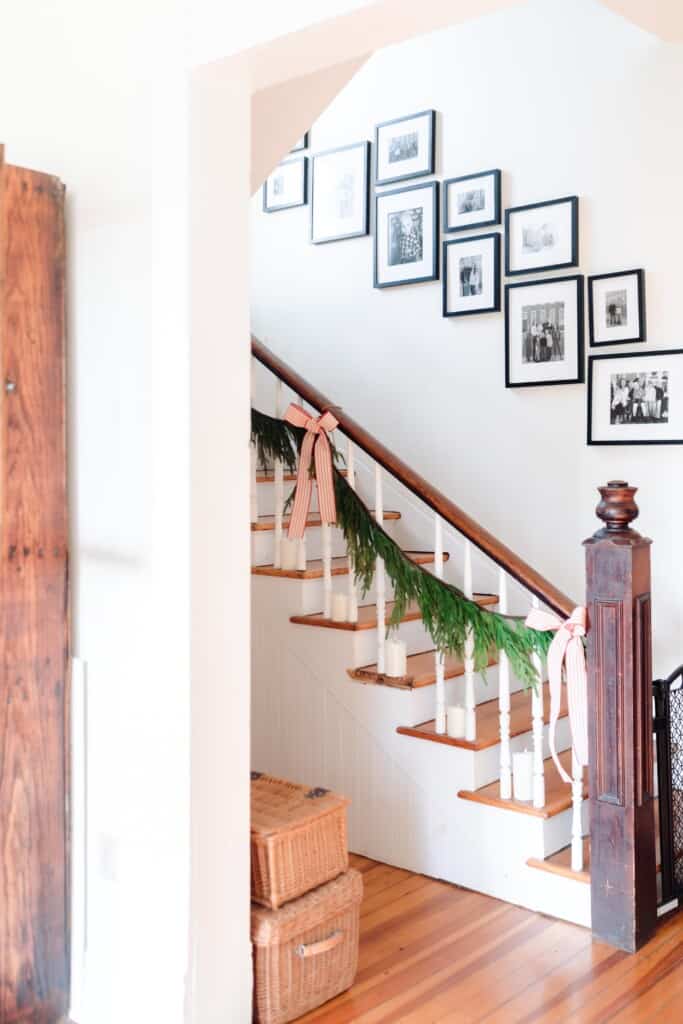
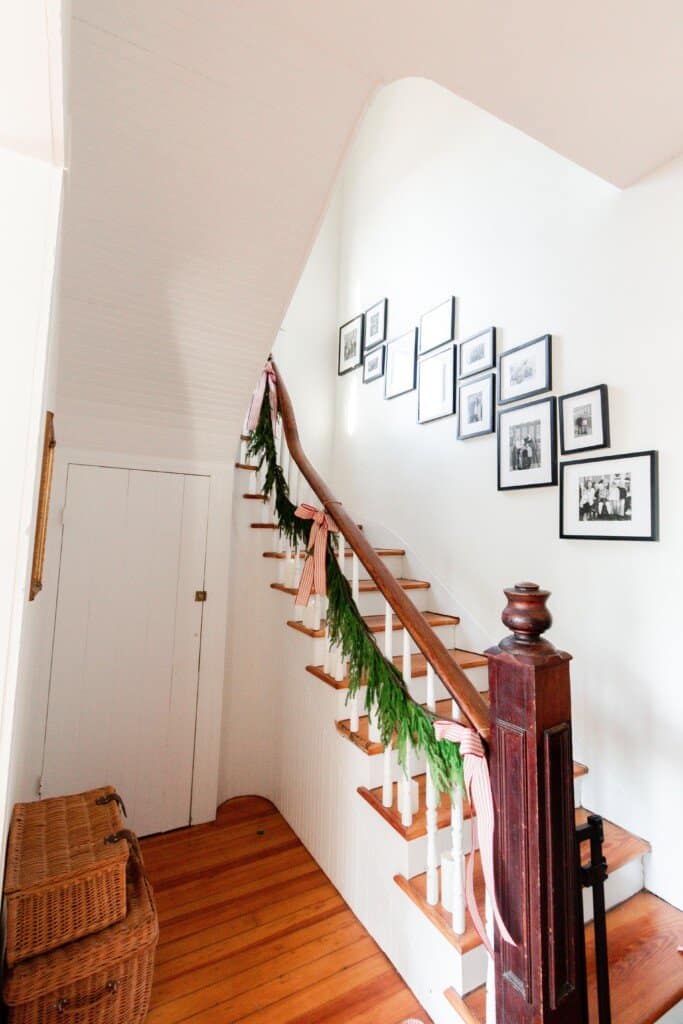
Today, I’m going to show you how we are creating a gallery wall along our staircase. This is something that I’ve wanted to do for a really long time. I’ve been putting it off simply due to indecision and an overload of options.
I wanted to do this using all vintage frames, but with seven kids in tow, it’s been a little challenging to get to my favorite antique stores to make that happen. I also spent time wondering what pictures to put in the frames, but I finally finished all of that second guessing and just went for it.
The wonderful thing is that this is not something permanent. The pictures can be changed out as the kids age and more memories are made. The black frames could also be switched out with vintage frames here and there as I find them.
For now, I’m just sticking with the black gallery frames with large mats and a variety of sizes of pictures based on my frames. Some are horizontal, some vertical.
I literally just had to muster up the motivation myself and just start. I knew I would figure it out as I went – if I would just start. That was the biggest hurdle.
Hopefully, you will learn some valuable information from this post to quicken the process and give you the confidence to go for it.
Tips:
- Play around with the alignment and look of your display. Get creative. Since you are starting off with using paper and painter’s tape, it is easy to move around the paper and tape.
- Secure the picture to the backing of the frame with a little bit of tape on the edges, this way it doesn’t slide around when you try to put the mat and glass back on.
- If you want to make a perfectly spaced and even gallery wall, you could use a laser level to mark perfect rows.
This post contains affiliate links, which means I make a small commission at no extra cost to you. See my full disclosure here.
What is a gallery wall?
A gallery wall is essentially a collection of wall decor, pictures, mirrors and more, aligned on a wall to create a display.
Gallery Wall Ideas:
Family pictures
Artwork from Etsy or things collected over the years
Kids’ artwork
Thrifted art
Mirrors
Empty frames
Quotes, printed or beautifully written
Materials And Supplies You May Need:
Frames of your choice or other wall decor
Painter’s tape
Clear tape
Brown paper
Scissors
Pencil
Nails
Hammer
Measuring tape
Level (optional)

How To Make A Staircase Gallery Wall
First, find the frames and/or decor that you want to use.
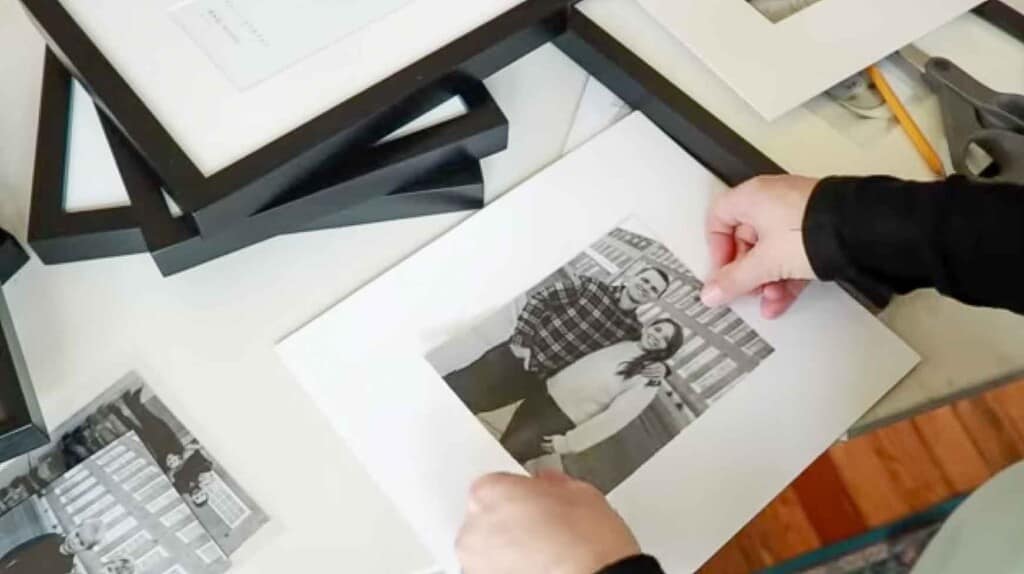
Next, I took apart the frame and secured the pictures onto the backing. Secure the picture with a little bit of tape on the edges so it doesn’t slide around when you try to put the mat and glass back on. Tip: Before placing the picture on the back, take the mat and mark the edges of the interior frame onto the backing, so you know exactly where the picture goes. No guessing.
Do this with all of your pictures.
Lay the paper out flat (as best as you can) and place your frame or decor onto the paper.
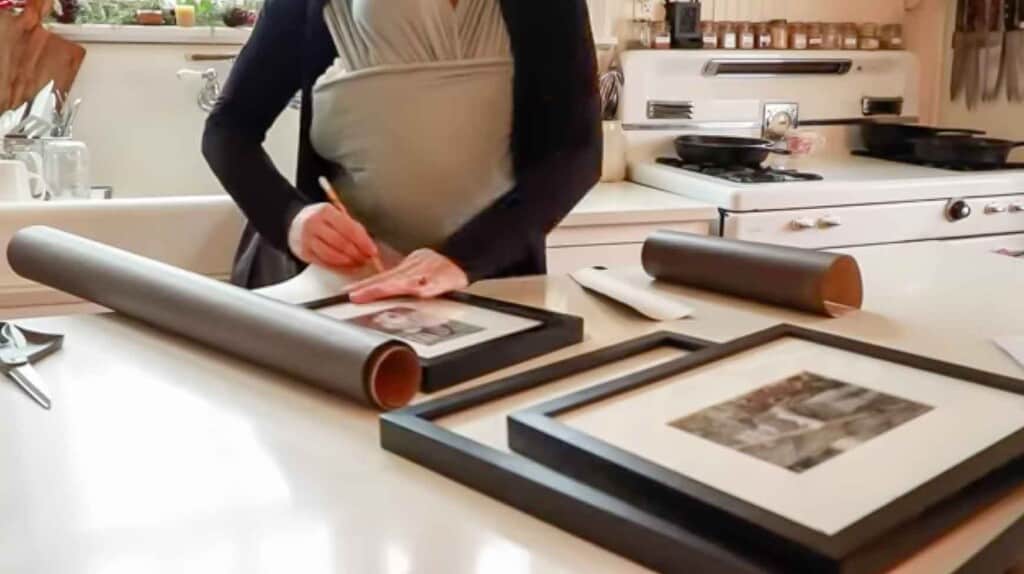
Trace around all sides with a pencil and cut out, following the pattern you’ve just created.
Once you have cut out all of your templates, it’s time to move to the location you want to create the gallery wall.
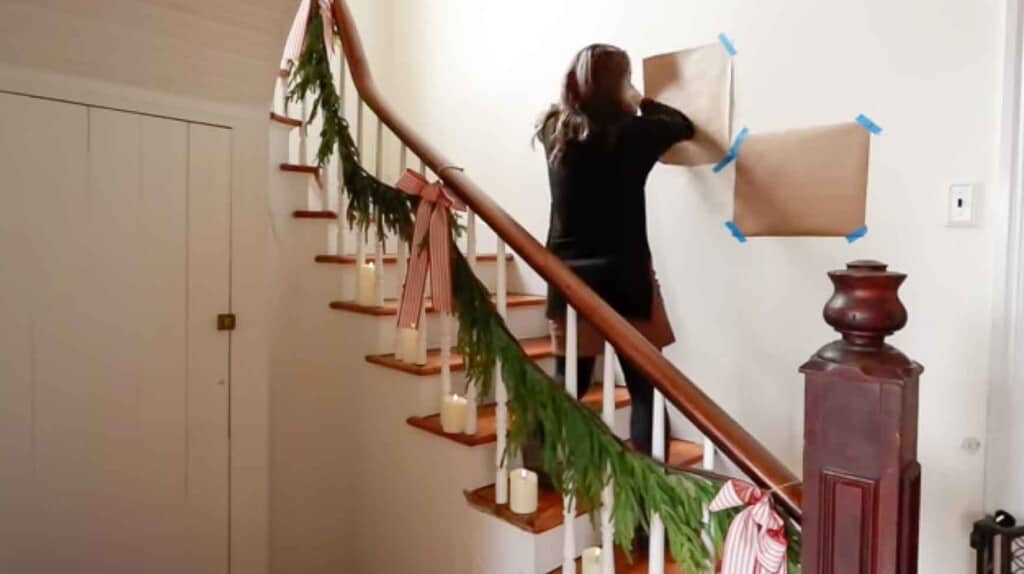
Using painter’s tape, start taping up the templates. It makes it easier for me to try to visualize how I want it to look first, and then start to place the frames, as desired. Some people like to arrange them on the floor first, then convert over to the wall.
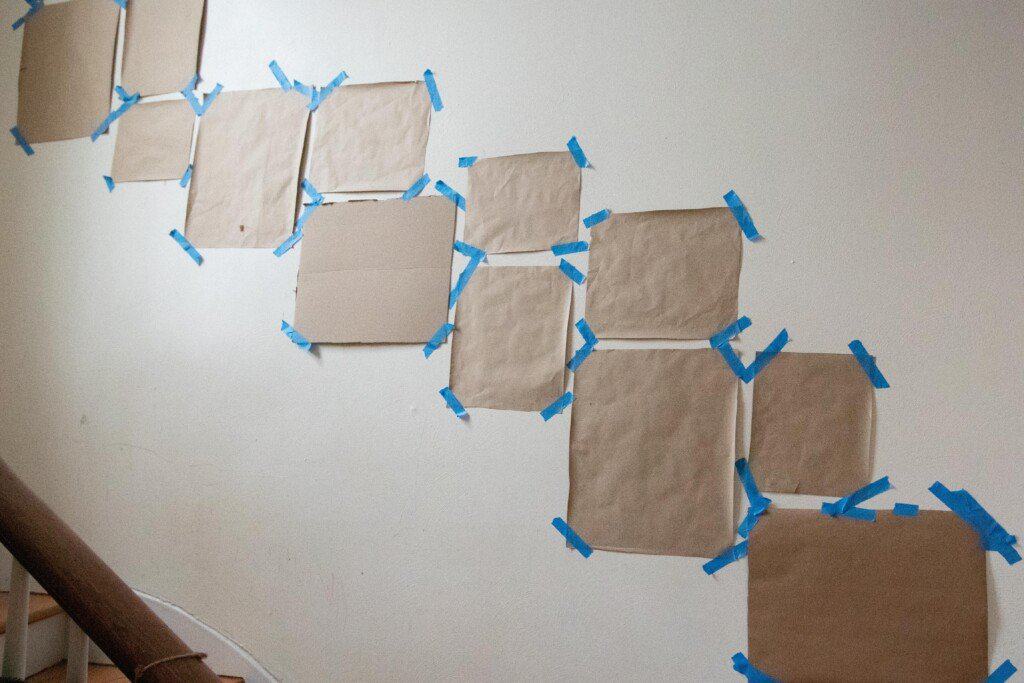
As you continue to tape up the templates, make sure to measure between each frame to ensure they are equal. Whether you want them only 2-3 inches apart or more is up to you. Using a level is helpful to make sure none of the picture frames will be tilted after they are hung.
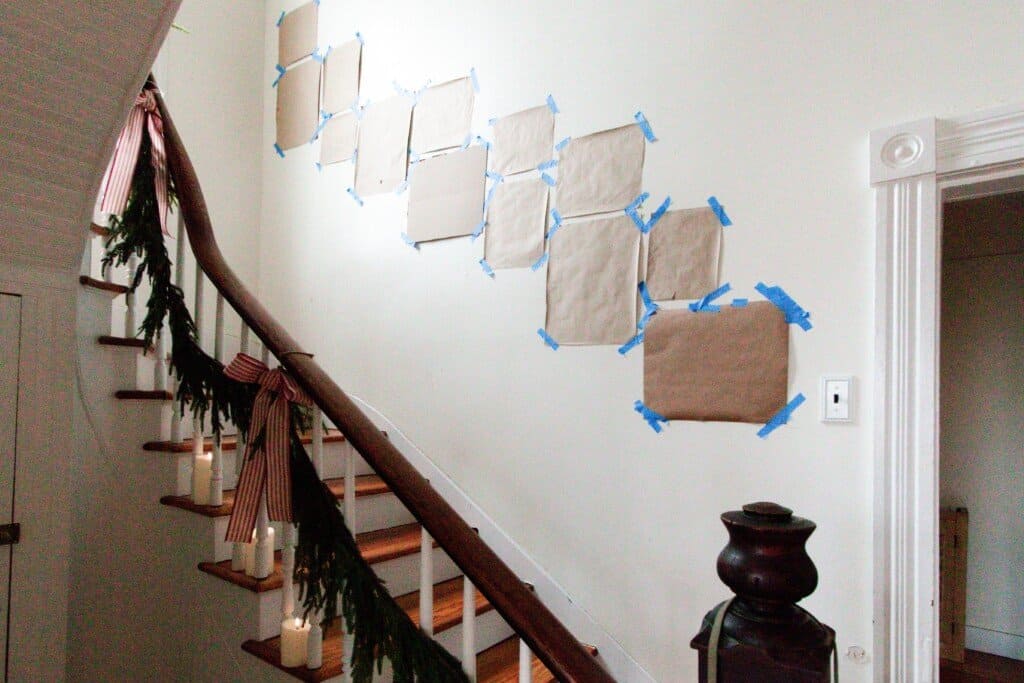
Frequently step back and survey before moving forward.
Once you have created something you are pleased with, use a hammer to place nails in the center of each template. Pull off template and hang your frame or decor.
Continue with this same process until your gallery wall is complete.
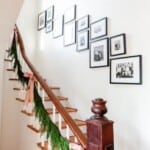
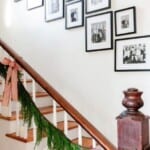
Step back and enjoy your beautiful art.


As much as I love this wall, I think I saw a reel that you wallpapered this wall. Is that on your web page anywhere? It was SO beautiful. I’d love to know where you got the wallpaper.
I really love your Gallery Wall, Lisa! I had one in the dining area in our Florida home- but I always had trouble keeping them “straight” – they had minds of their own and were always crooked. Hindsight- I should have used two nails to hang each frame on the inside corners and two tiny nails outside and on the bottom to hold them level.
Hi, I love the way your gallery wall looks. Do you mind sharing the frame sizes?
Thanks in advance
Can you tell me the sizes of your frames? Trying to work up the courage to do this lol
This looks great! Can you tell me what sized frames you used? I’m based in the UK so cannot buy from the link you posted unfortunately.
Such a classic look. Love it!
This looks amazing! Can you please tell me the sizes of the frames that you used (and how many)? I would like to try it myself! Thanks from the Netherlands <3
Shop the frames (This is an affiliate link.)- https://rstyle.me/+xz9SOVm2bwoNUtbx4R6now (Be sure to grab a coupon online or wait for a sale!)
Here is what I ordered:
3- Wood Gallery Single Opening 4″ x 6″ (9″ x 11″ Without Mat)
4- Wood Gallery Single Opening 5″ x 7″ (11″ x 13″ Without Mat)
5- Wood Gallery Single Opening 8″ x 10″ (14″ x 17″ Without Mat)
It turned out beautiful Lisa!! I love the black and white photos…they really add character to that large wall!
Looks great and is that a new bundle of joy? Congratulations and Happy Holidays!!