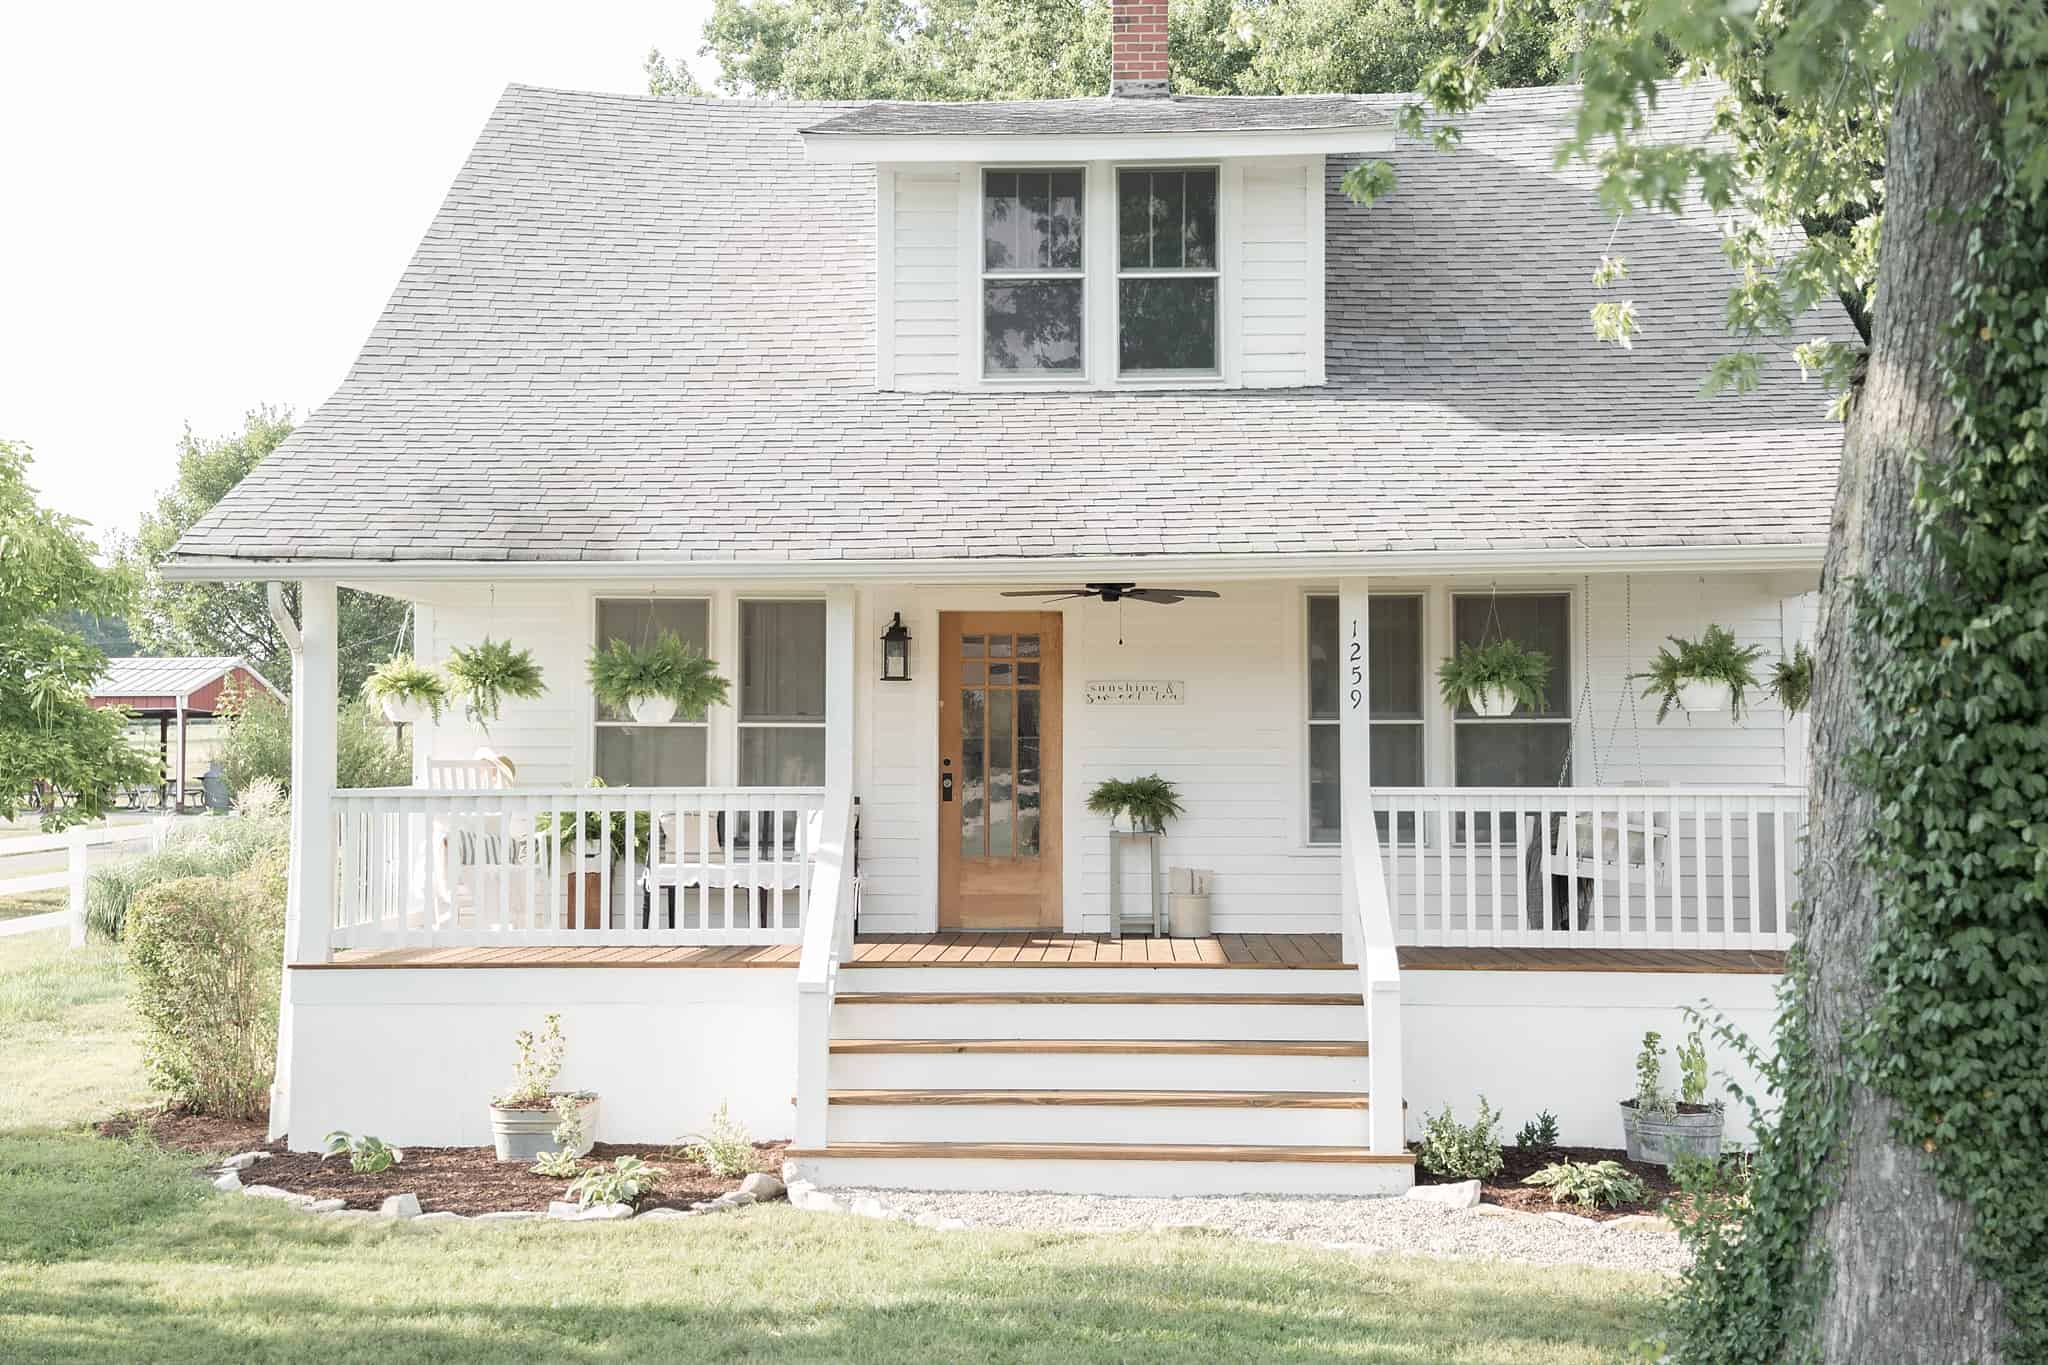
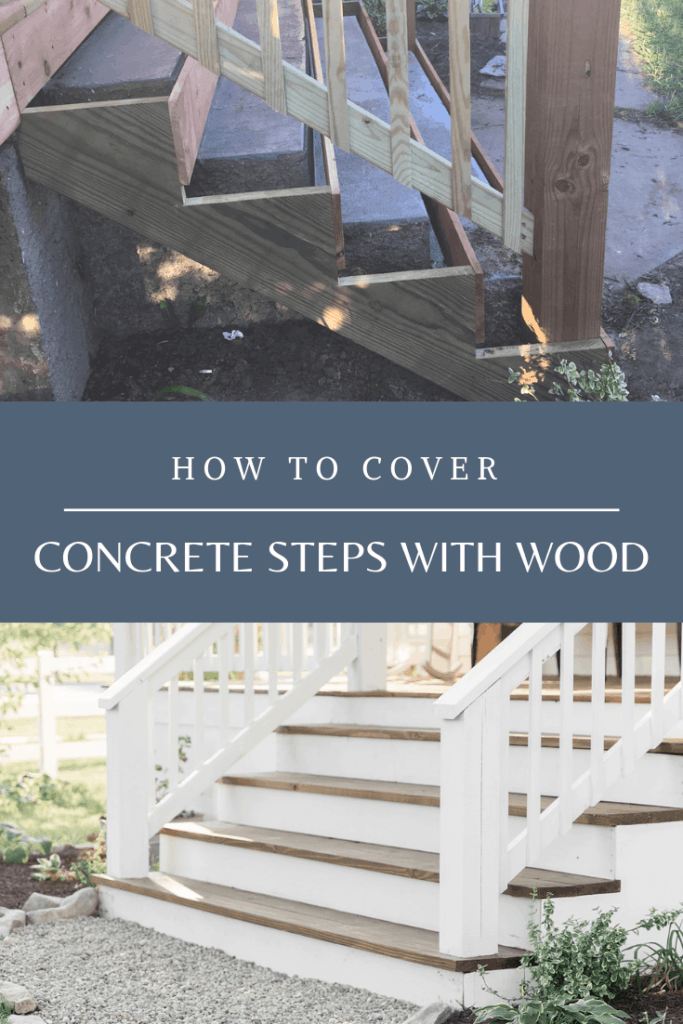
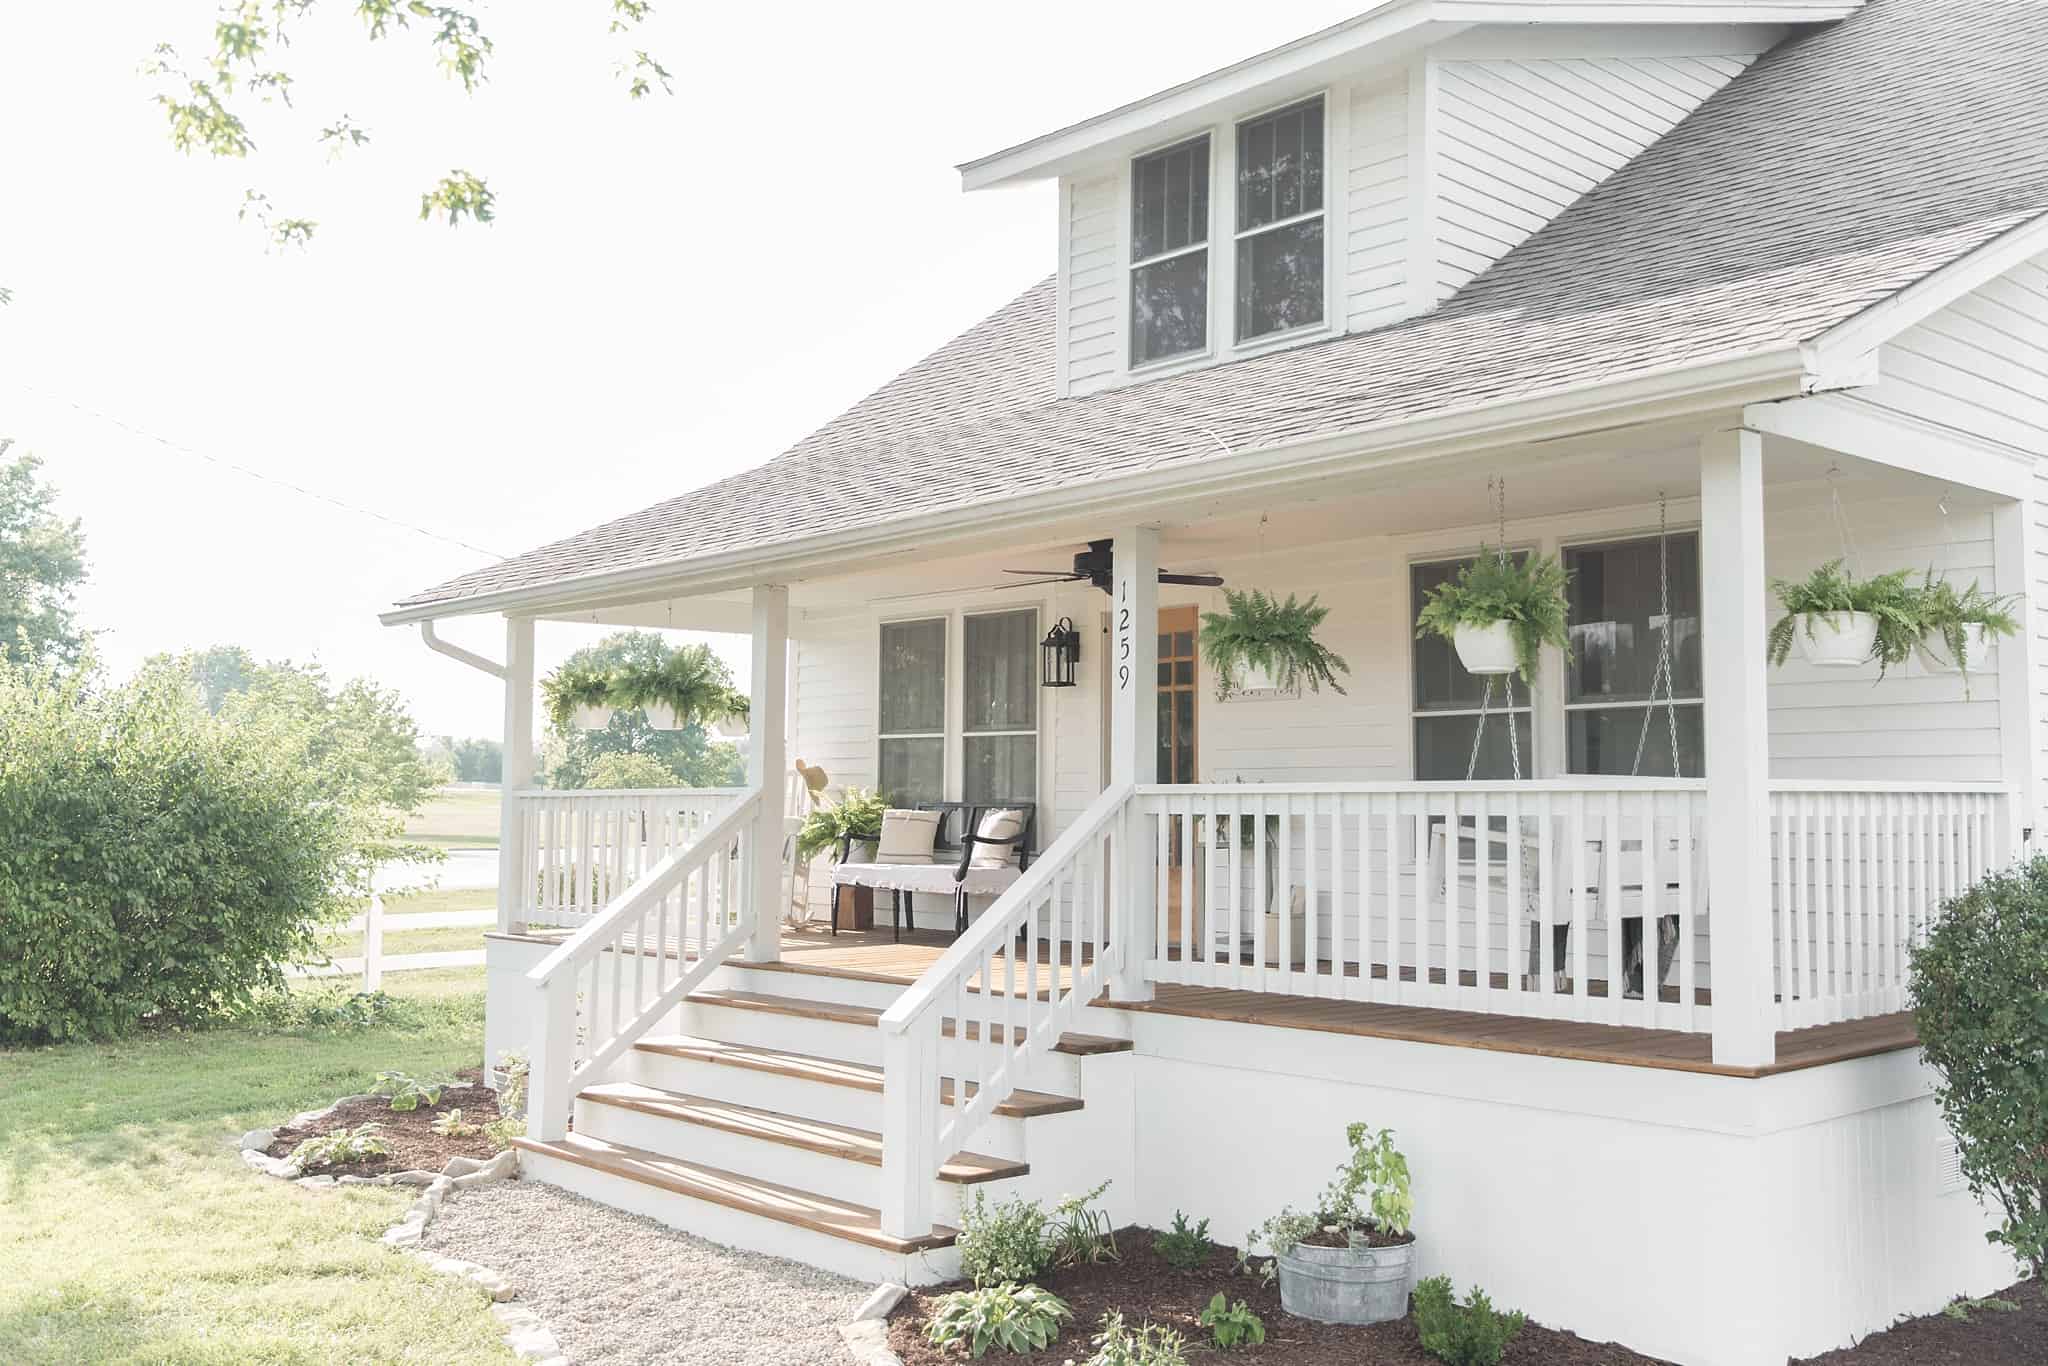
Building wood steps over concrete steps made a huge impact for our farmhouse front porch renovation. Learn the process and materials we used to complete this project.
Covering concrete steps with wood
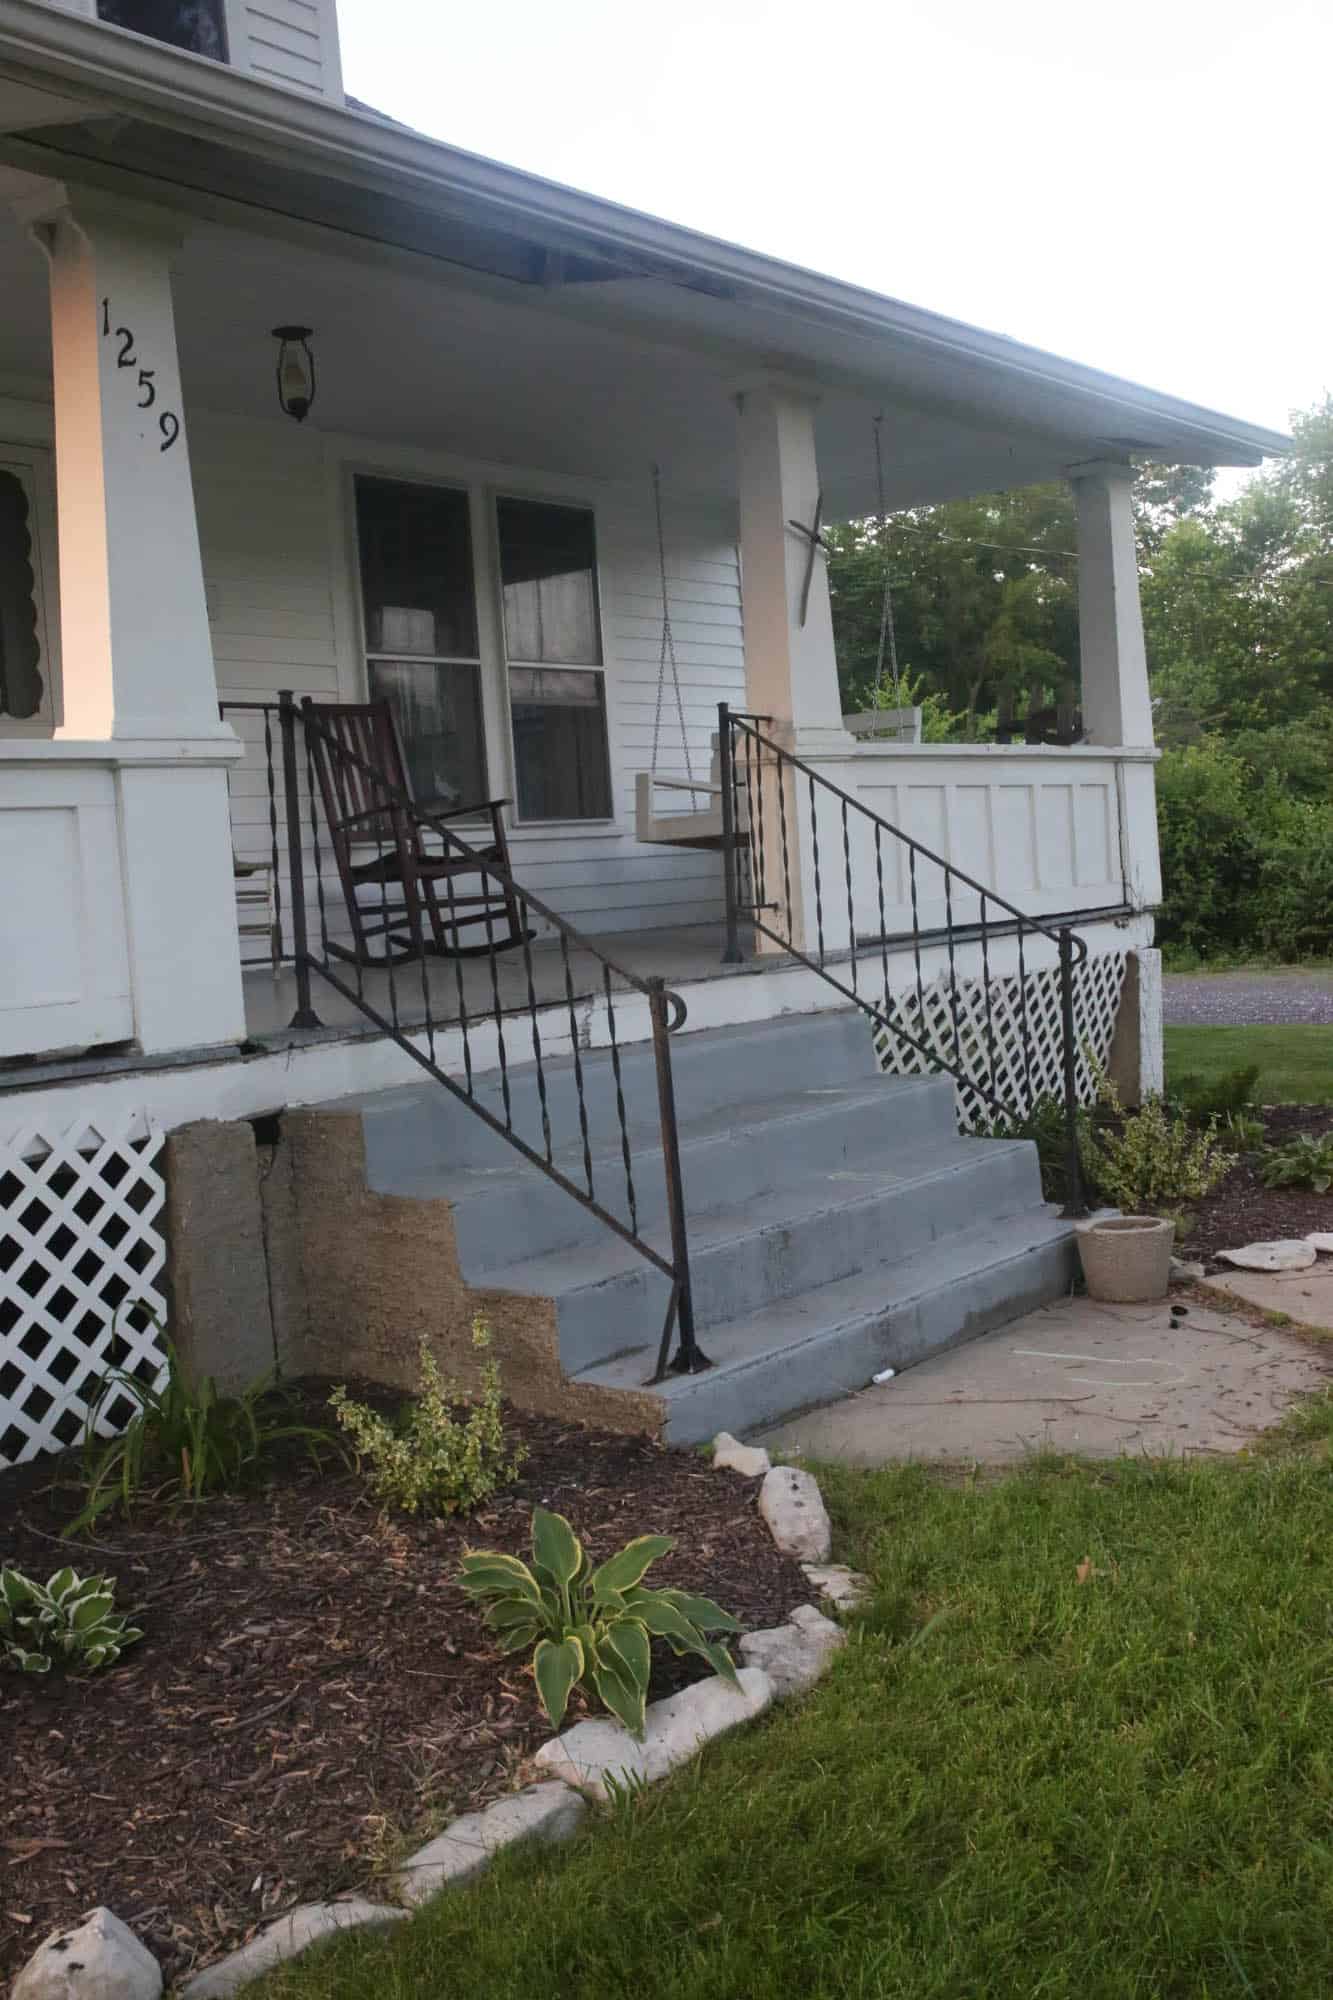
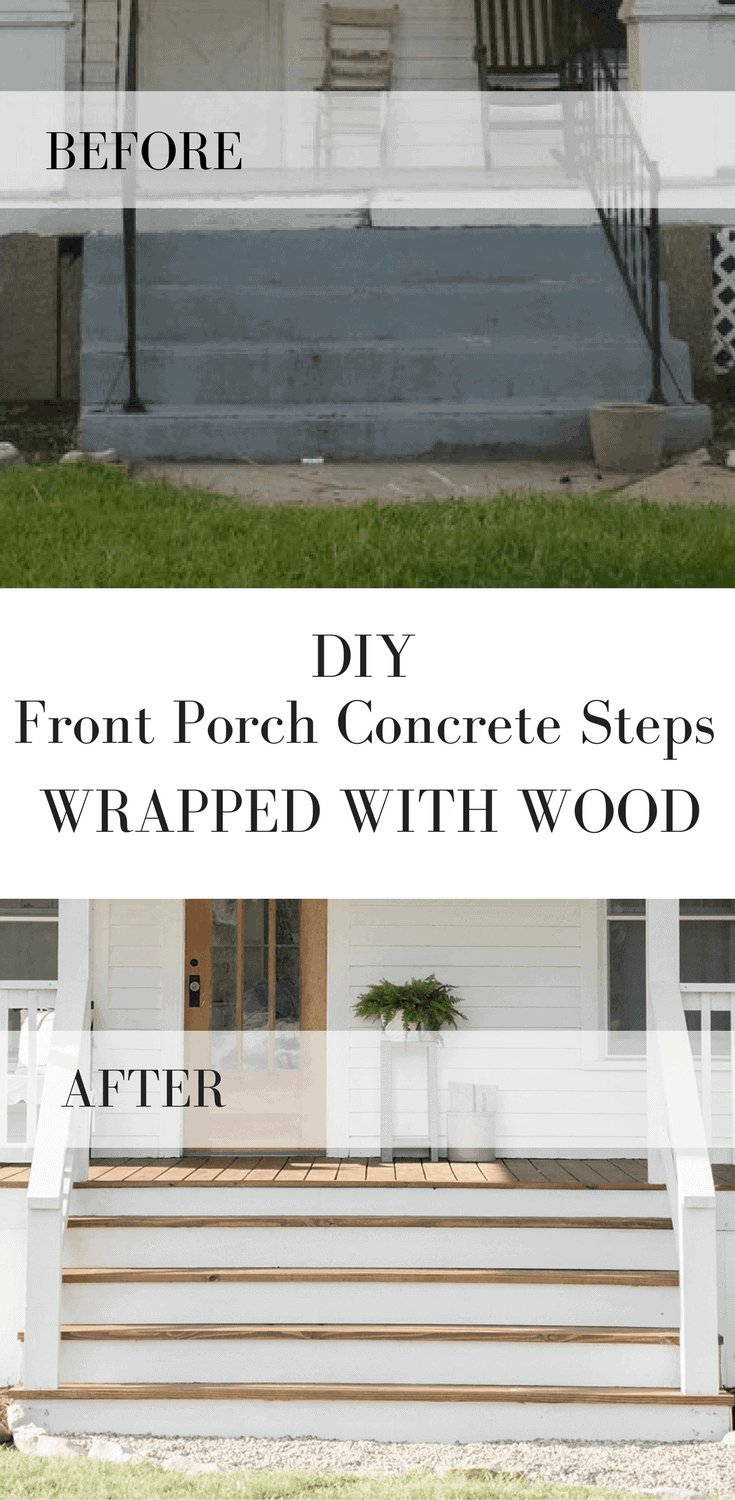
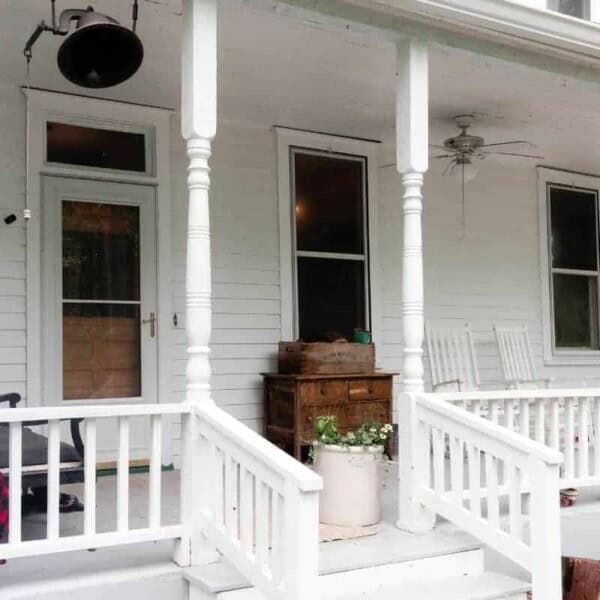
When I was thinking through the details for our farmhouse front porch makeover, I knew from the very beginning we would want to do something to makeover the concrete steps.
At first I wanted to paint them white, but when we decided to replace all the porch flooring, I wanted the treads to match new wood. Also, I wasn’t sure it would be very practical to have white exterior steps. I saw a lot of power washing in our future!
So, we decided to find a way to cover the concrete steps with wood. I knew this would make them look brand new, and allow us to use the exact same wood for the treads as we had used for the porch flooring.
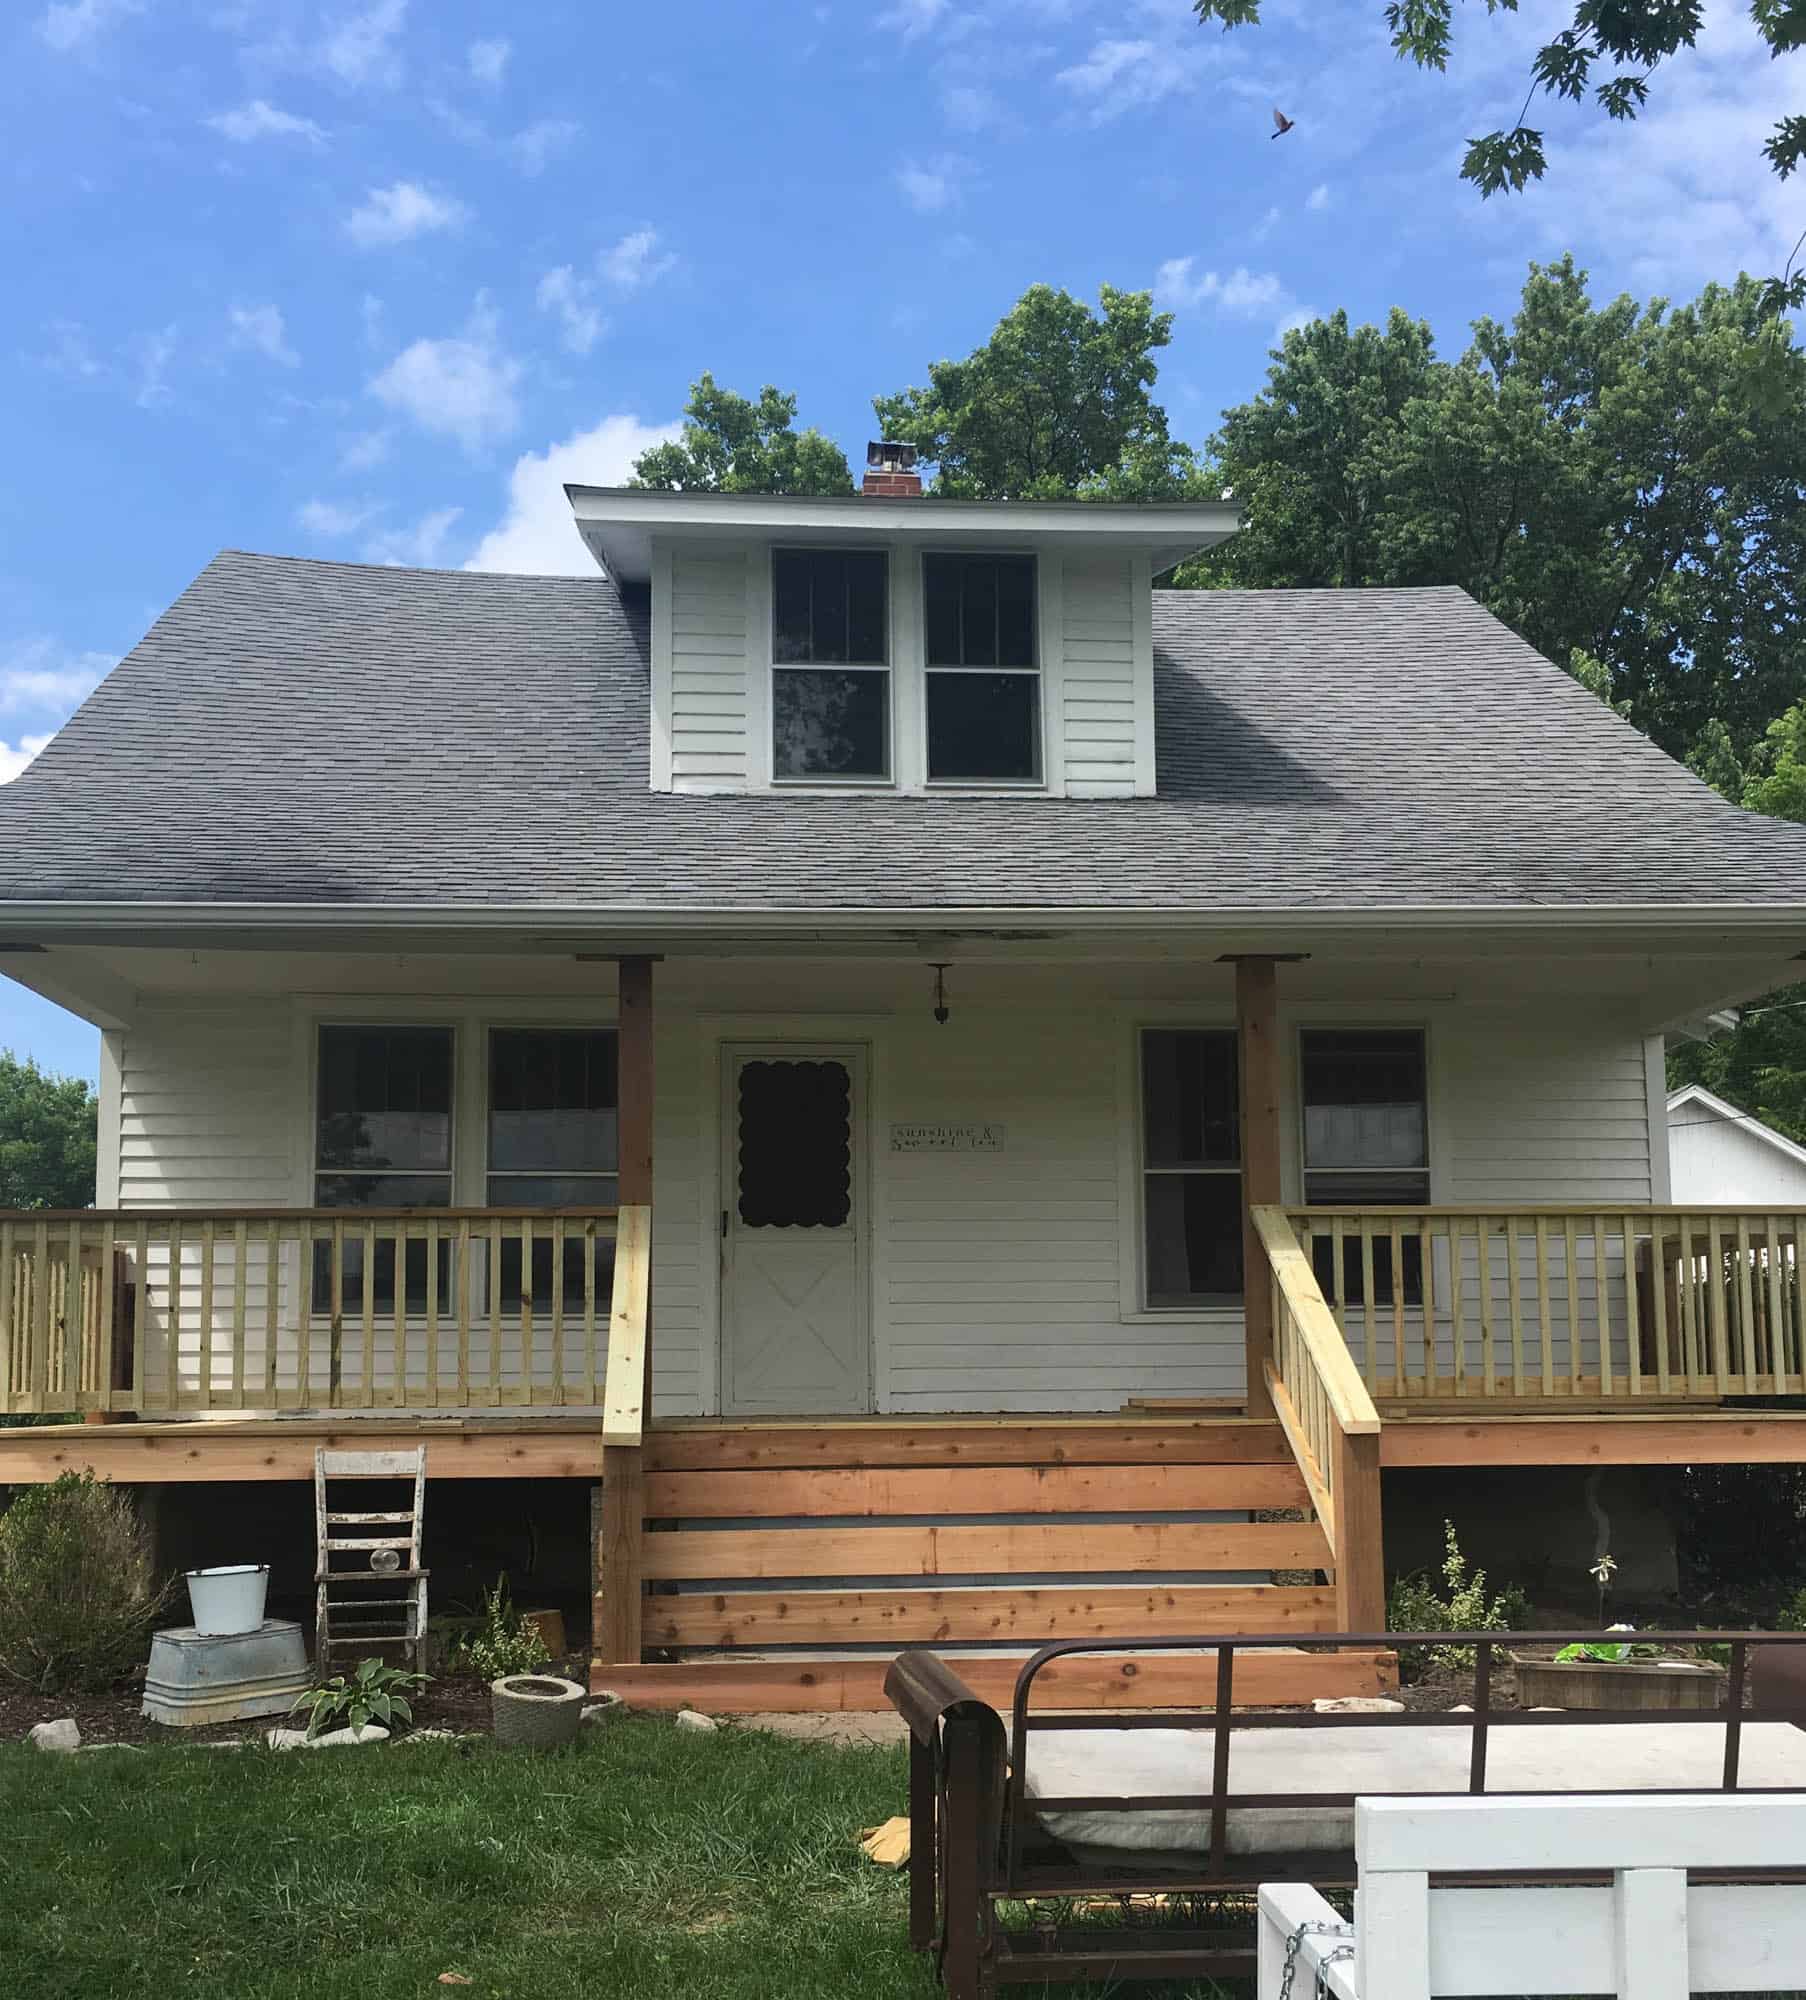
We also decided to make the steps wider, to make for a more grand entrance.
The whole process of building wood steps over concrete porch steps was way easier than I expected, and made such a dramatic difference.
I have already had tons of questions about our new steps, since revealing our farmhouse front porch makeover a few weeks ago, so I decided it was time to give a few more details on the project.
Obviously all porches are a little different, so the measurements and process will vary slightly, but my hope is that, by sharing photos of the process, my dear readers, or your contractors, can mimic the process and recreate the same look for your concrete steps.
The process
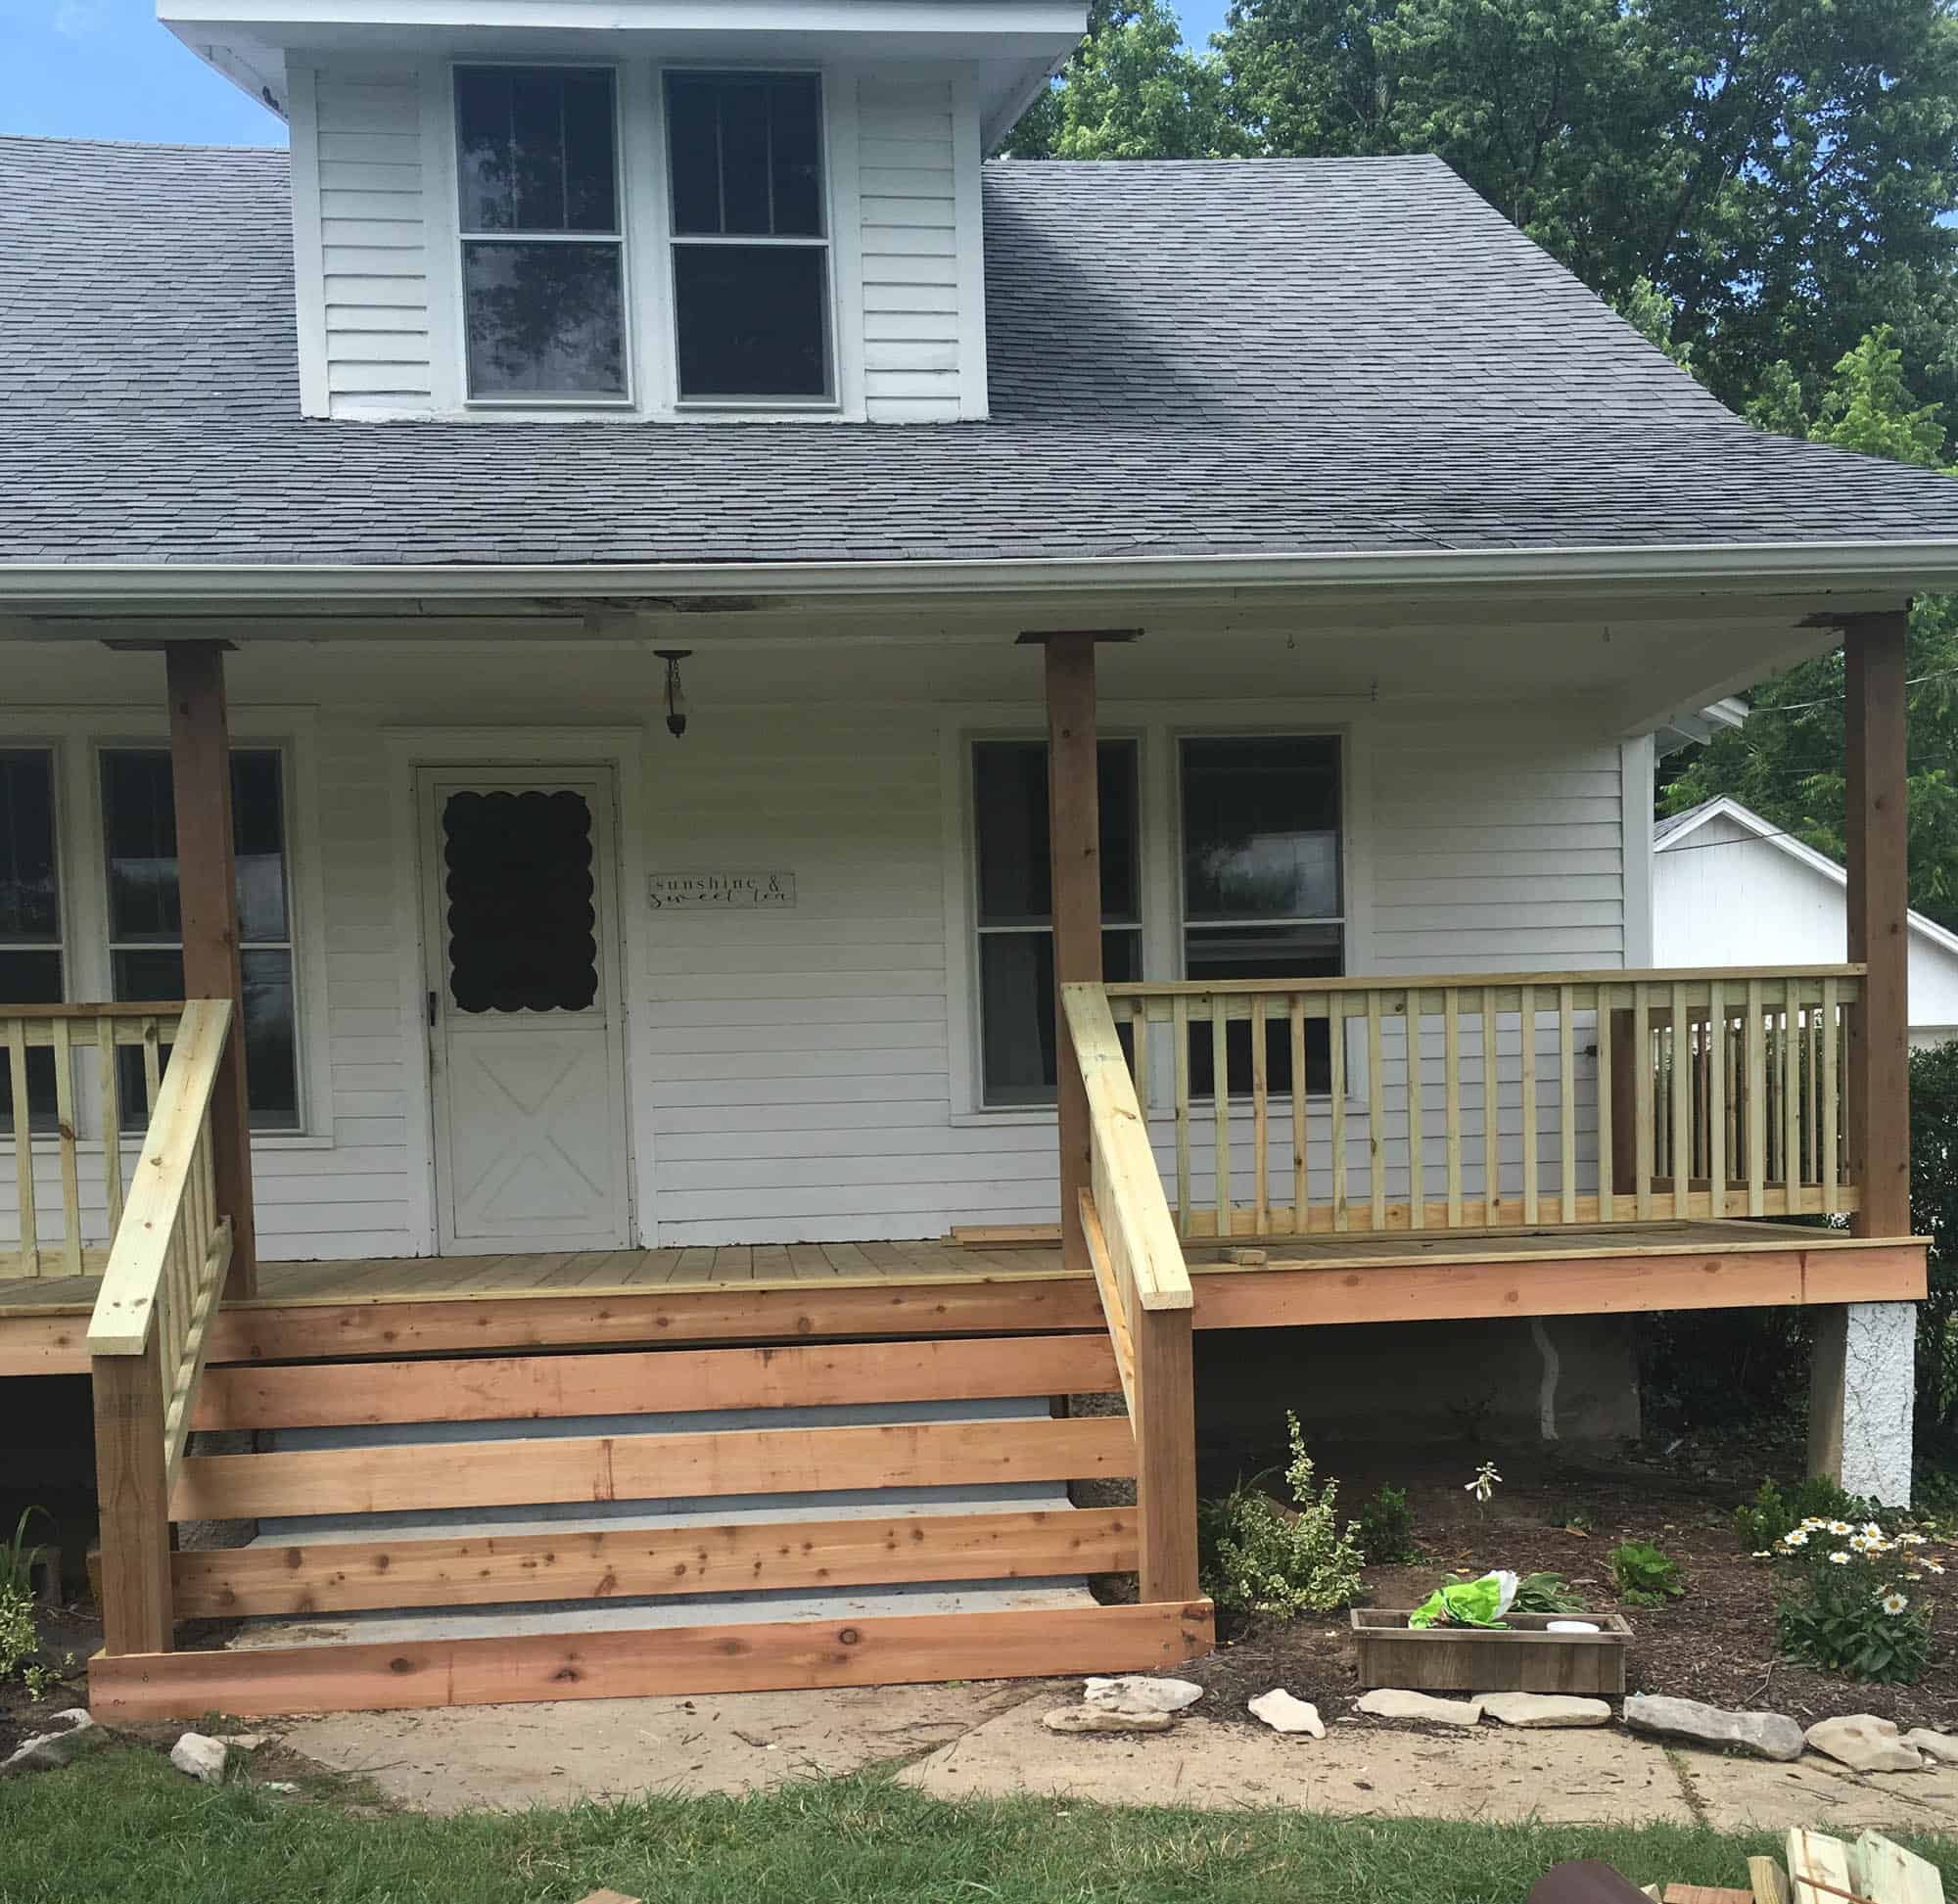
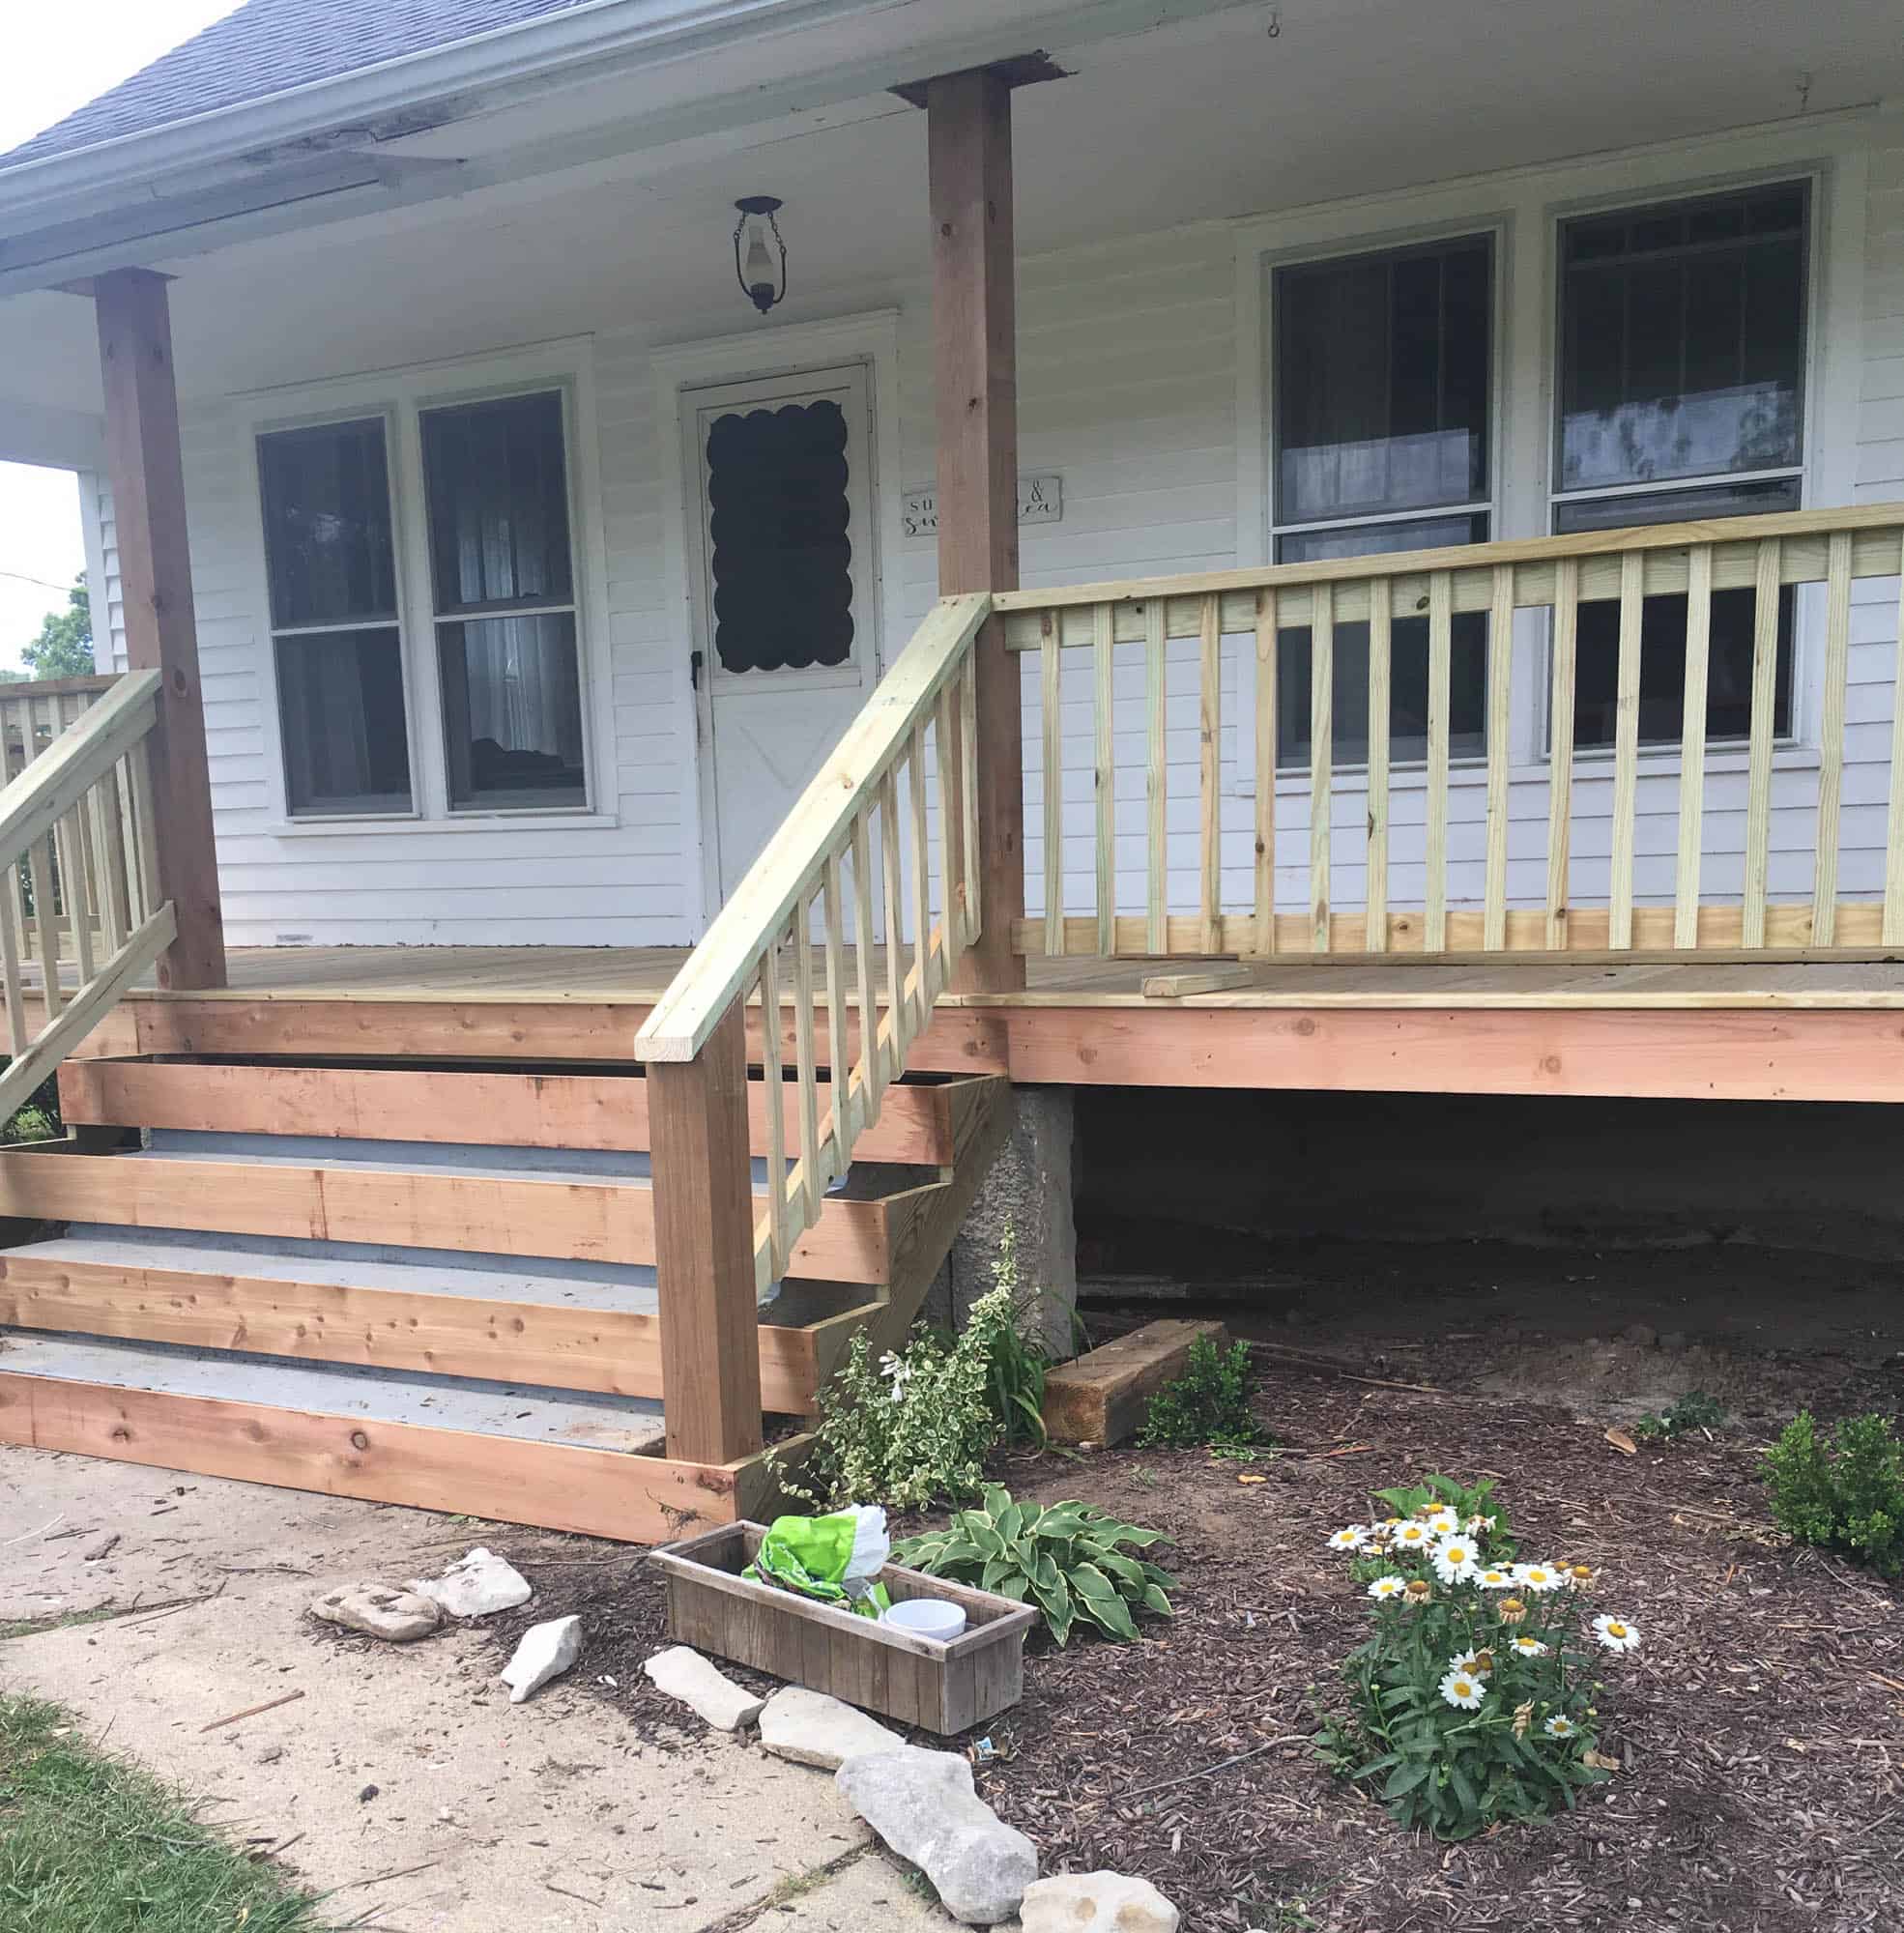
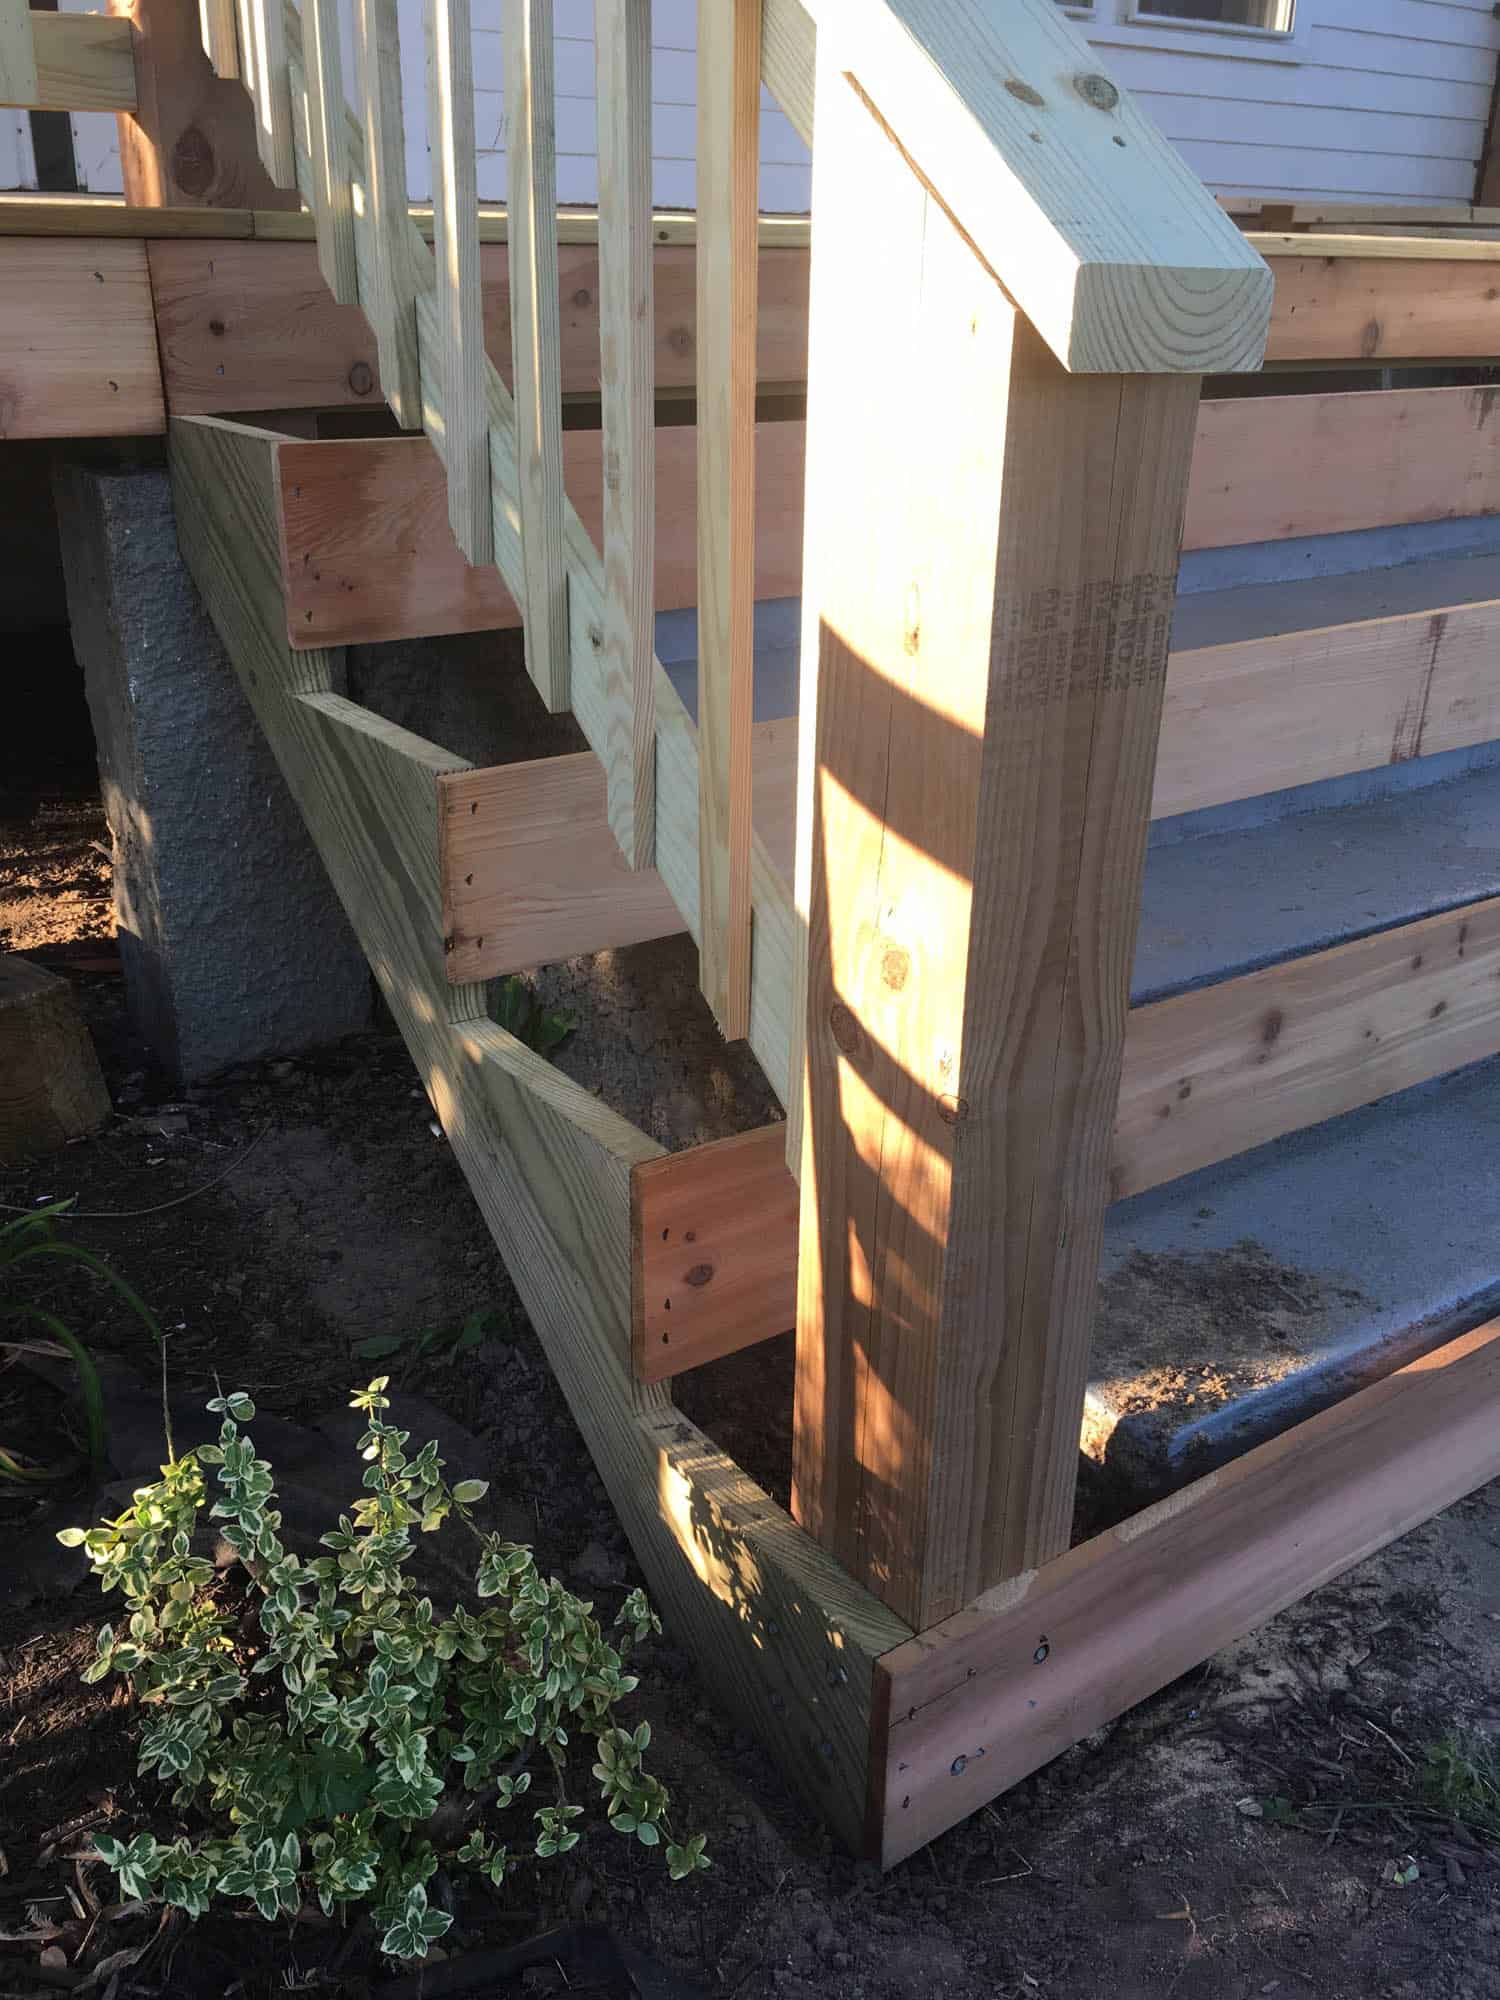
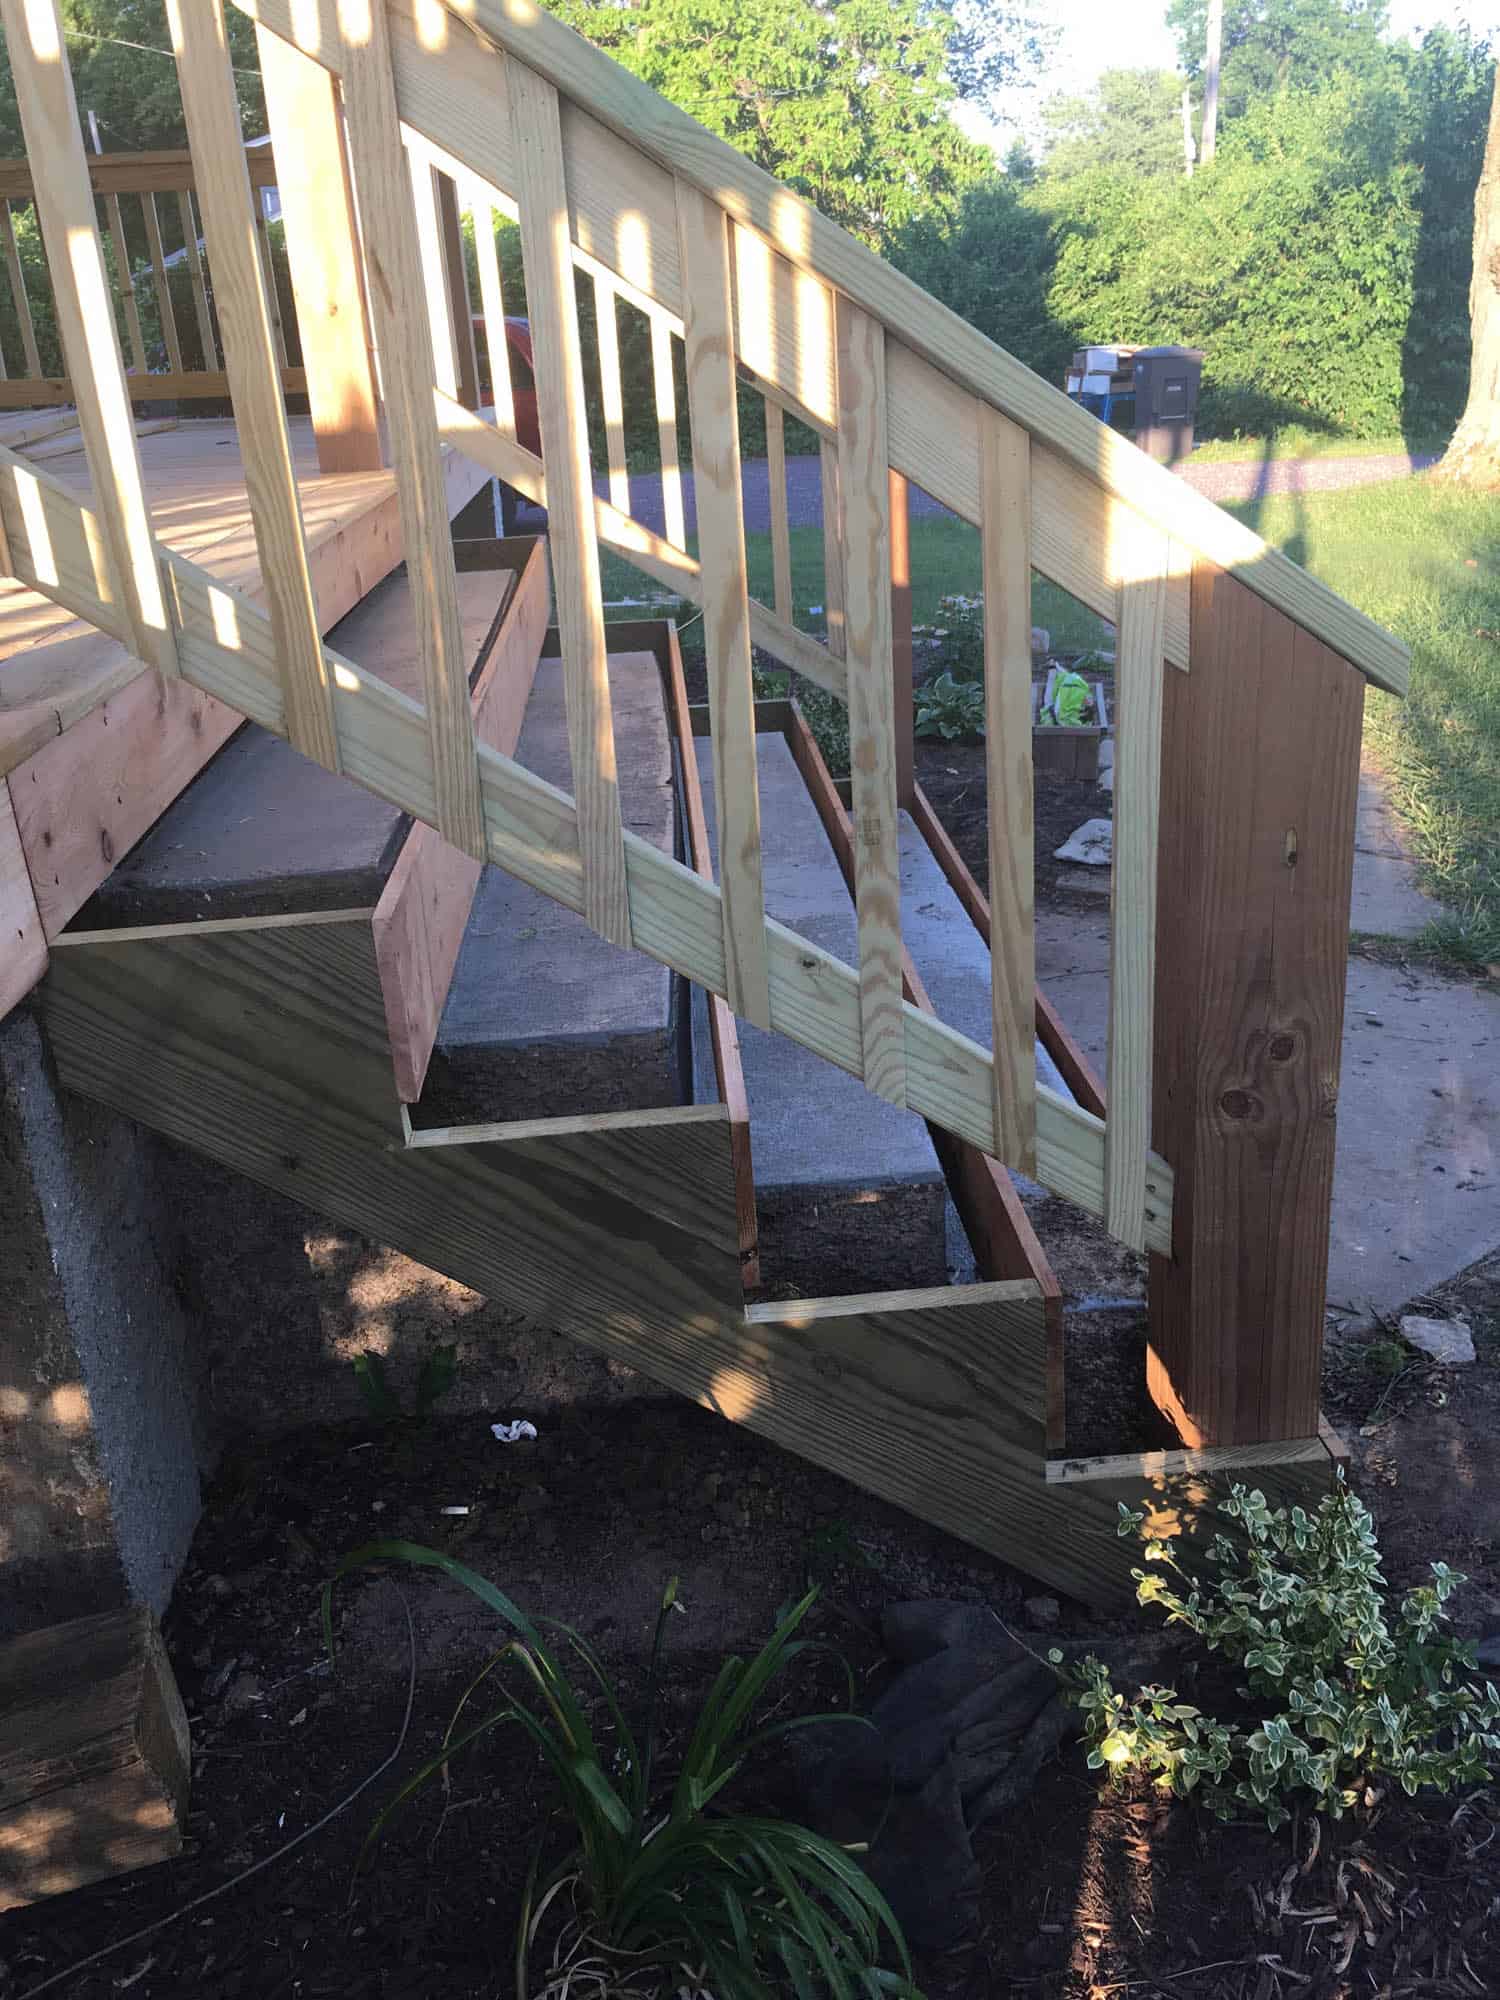
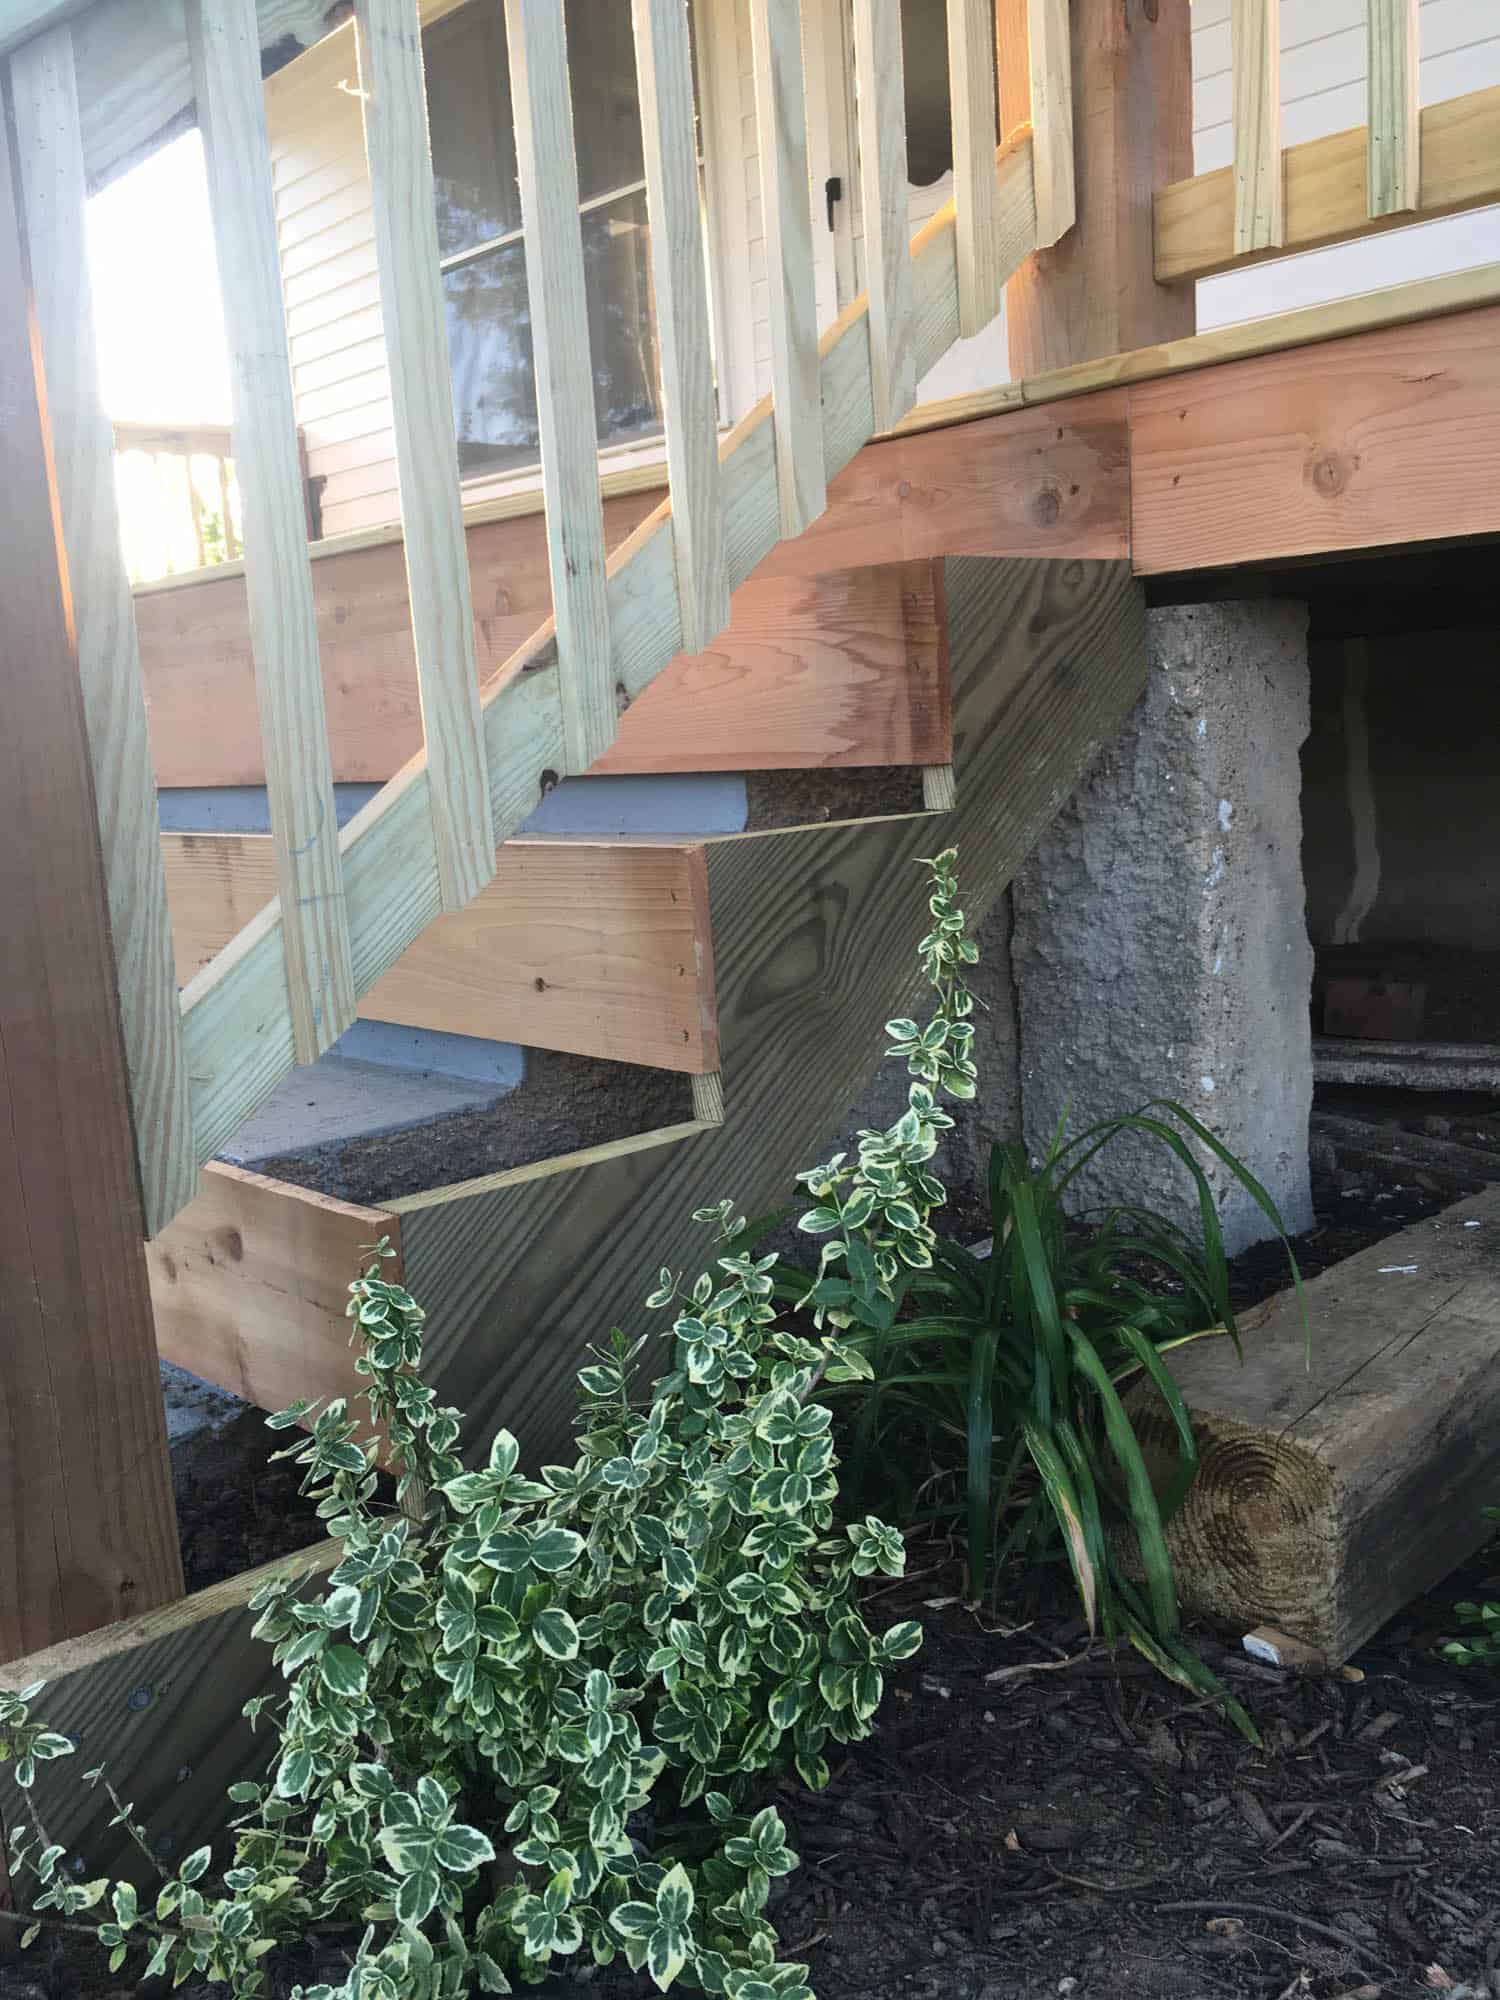
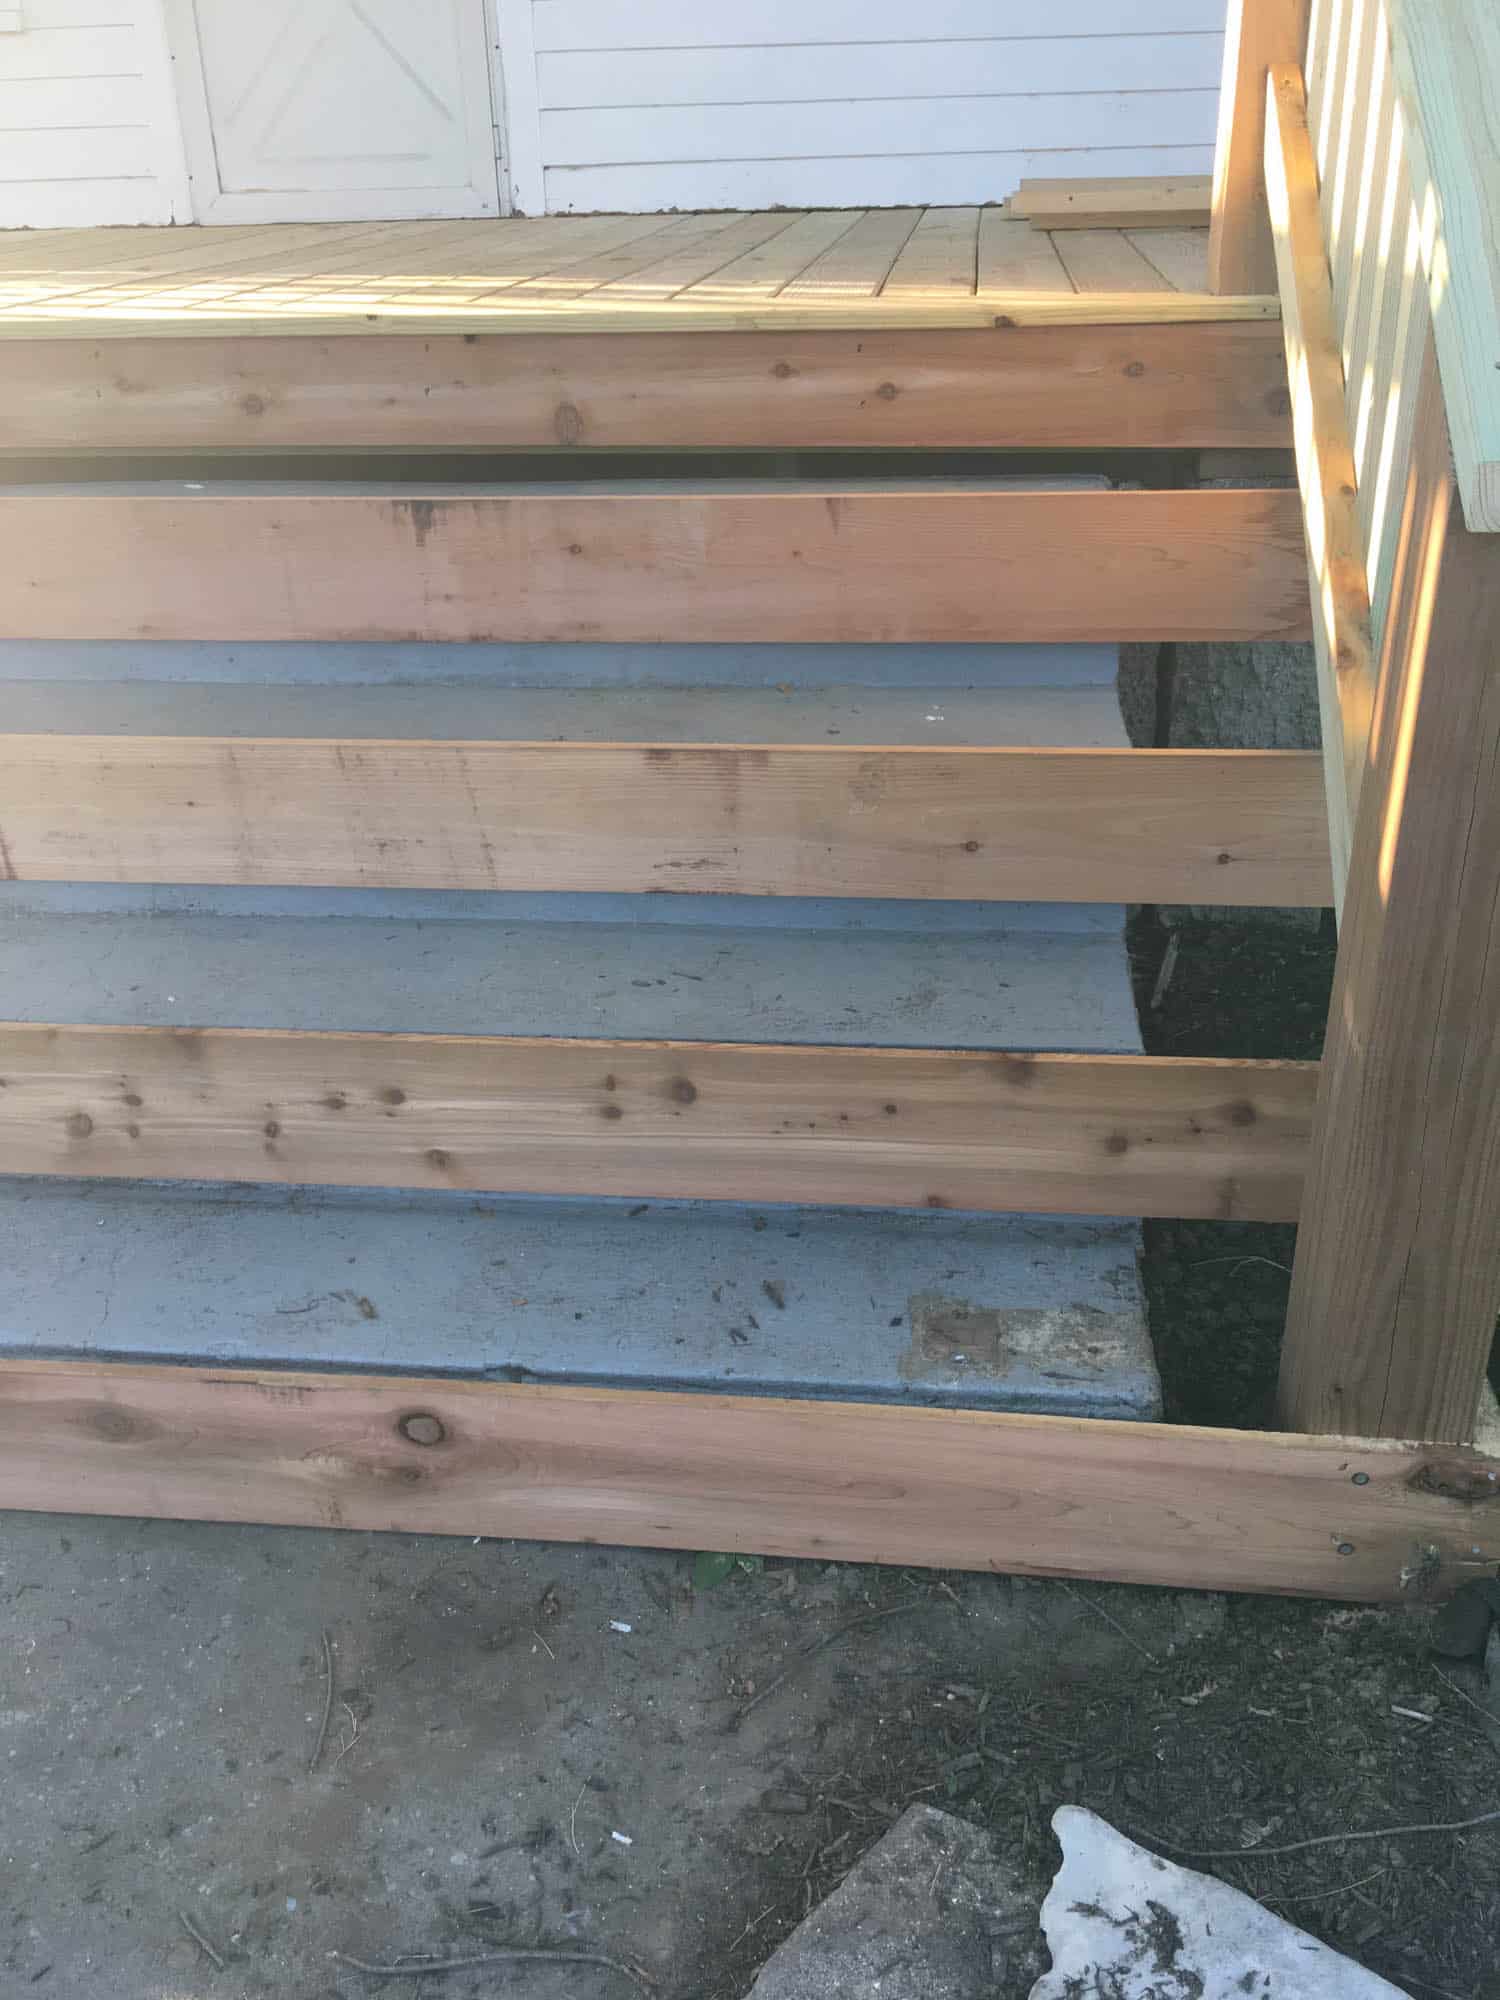
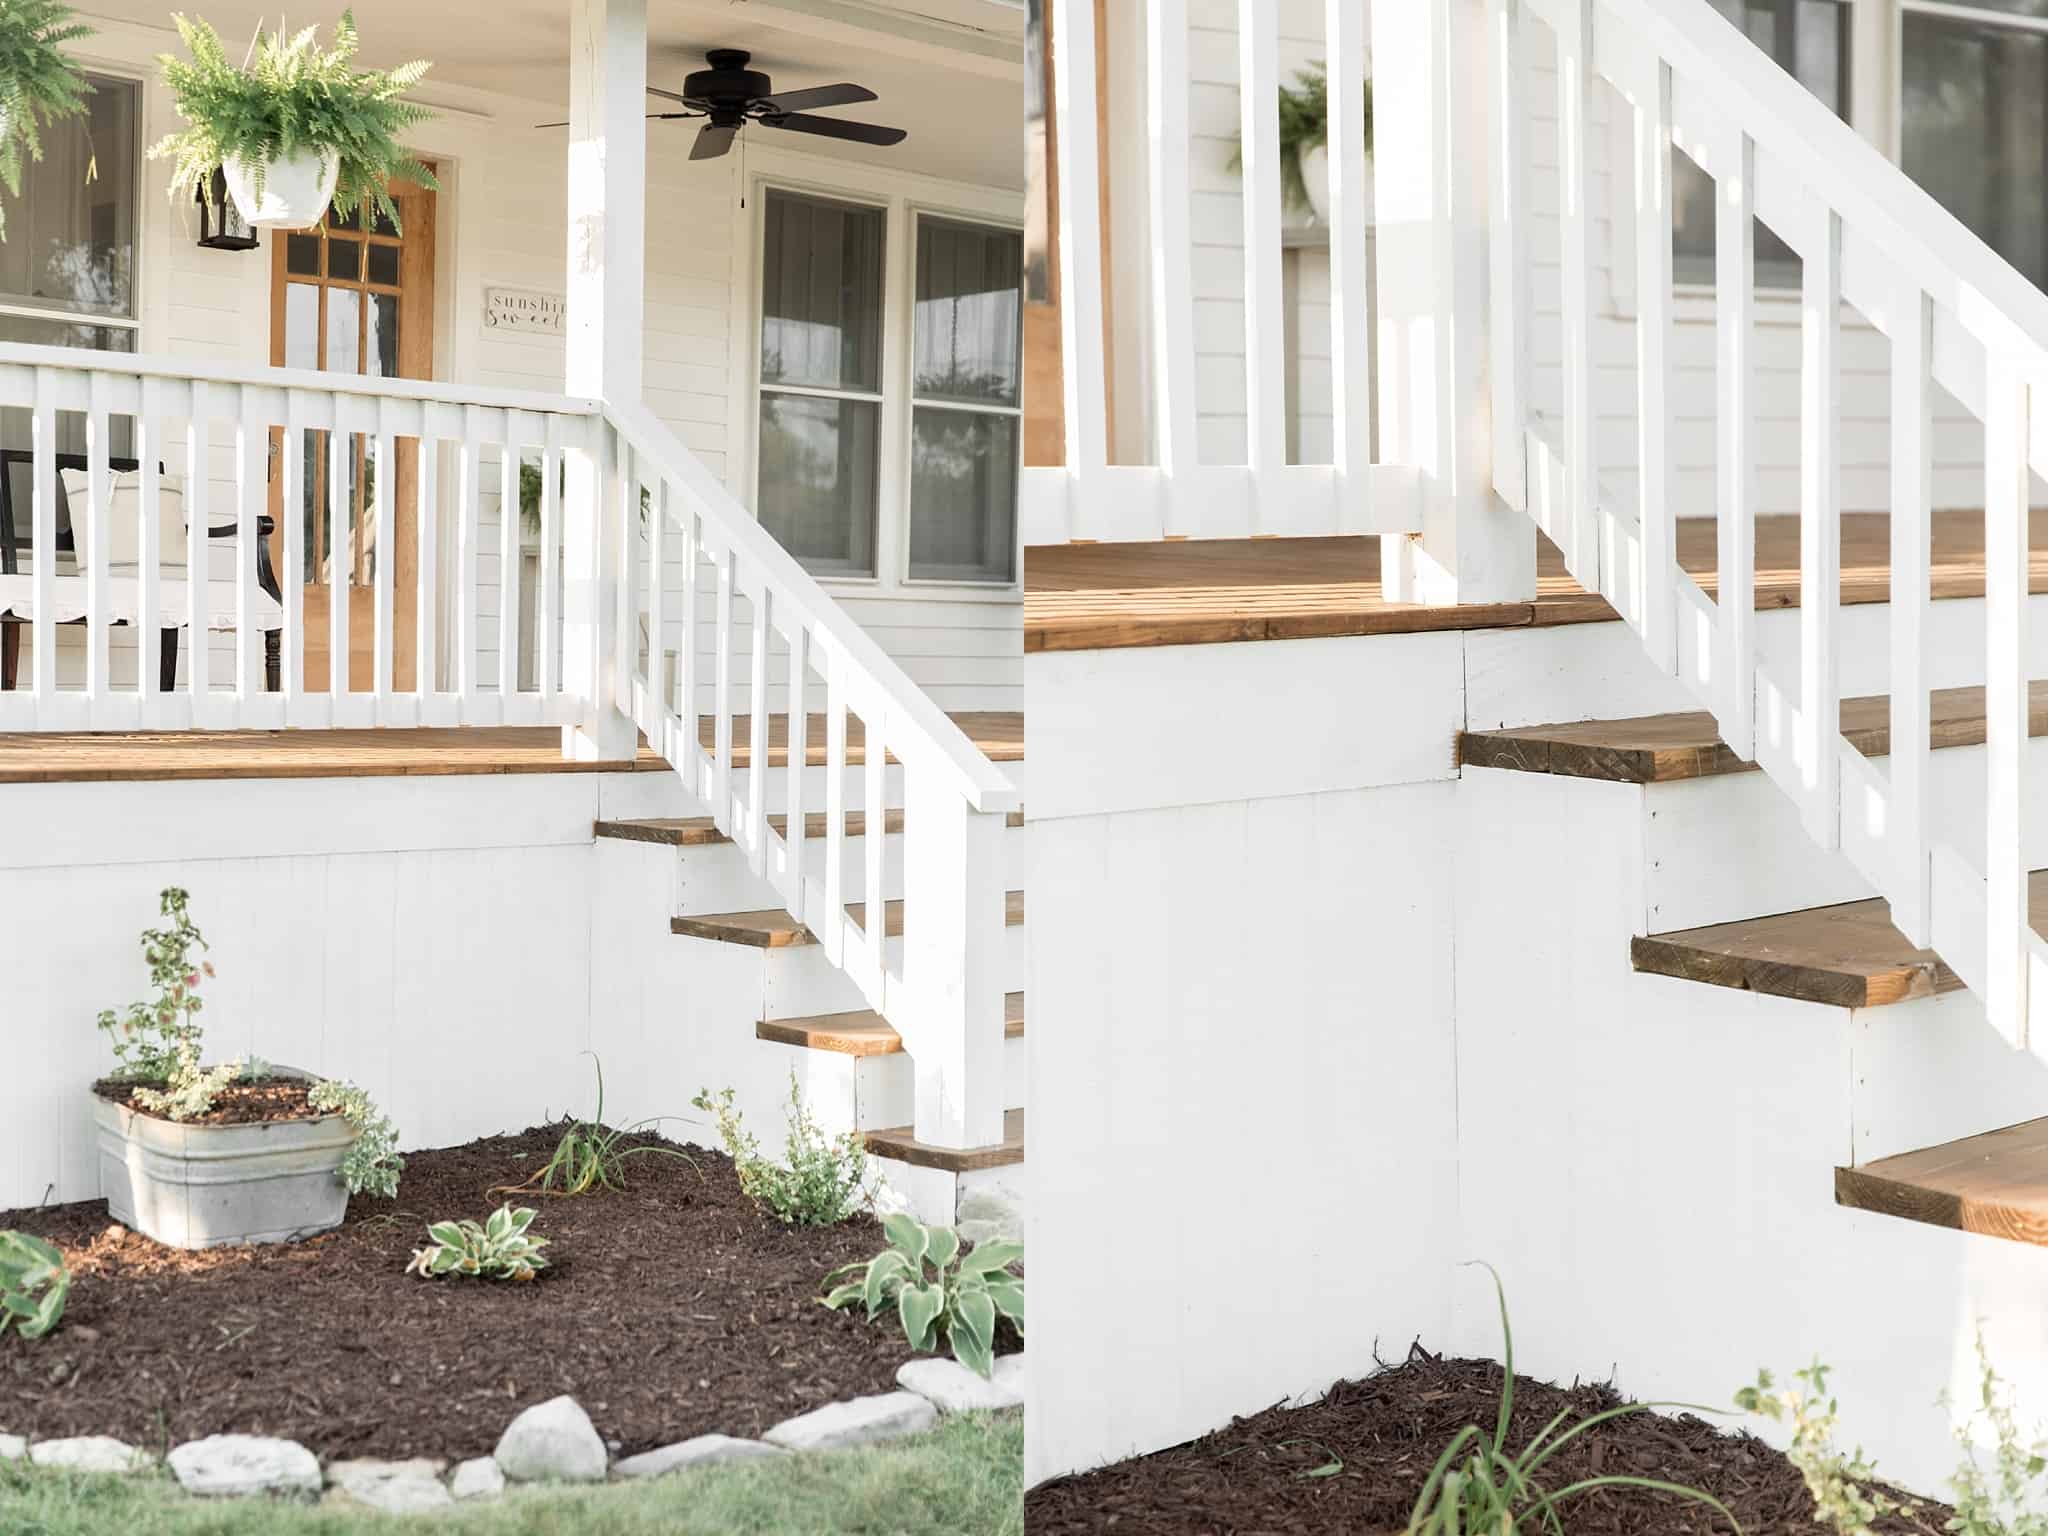
To begin this project, we purchased a couple of 4-Step Stair Stringers to put on the outside of the old steps. To make our stairs wider, we placed them about a foot out on either side of the stairs. We screwed four 1″ by 8″ treated yellow pine boards into the front of the stringers to create the new wood risers.
We ran the new wooden railings, which we used to replace the iron ones that were there before, just inside the new wood steps. The goal was to have the 6″ by 6″ beam at the bottom of the railing line up with 6″ by 6″ porch support beam at the top.
I’m so glad we did, too, because I feel like it really opens the porch up and makes it look larger!
More photos
Here are more photos to give you a better idea of the process, and how everything was laid out before adding the treads.
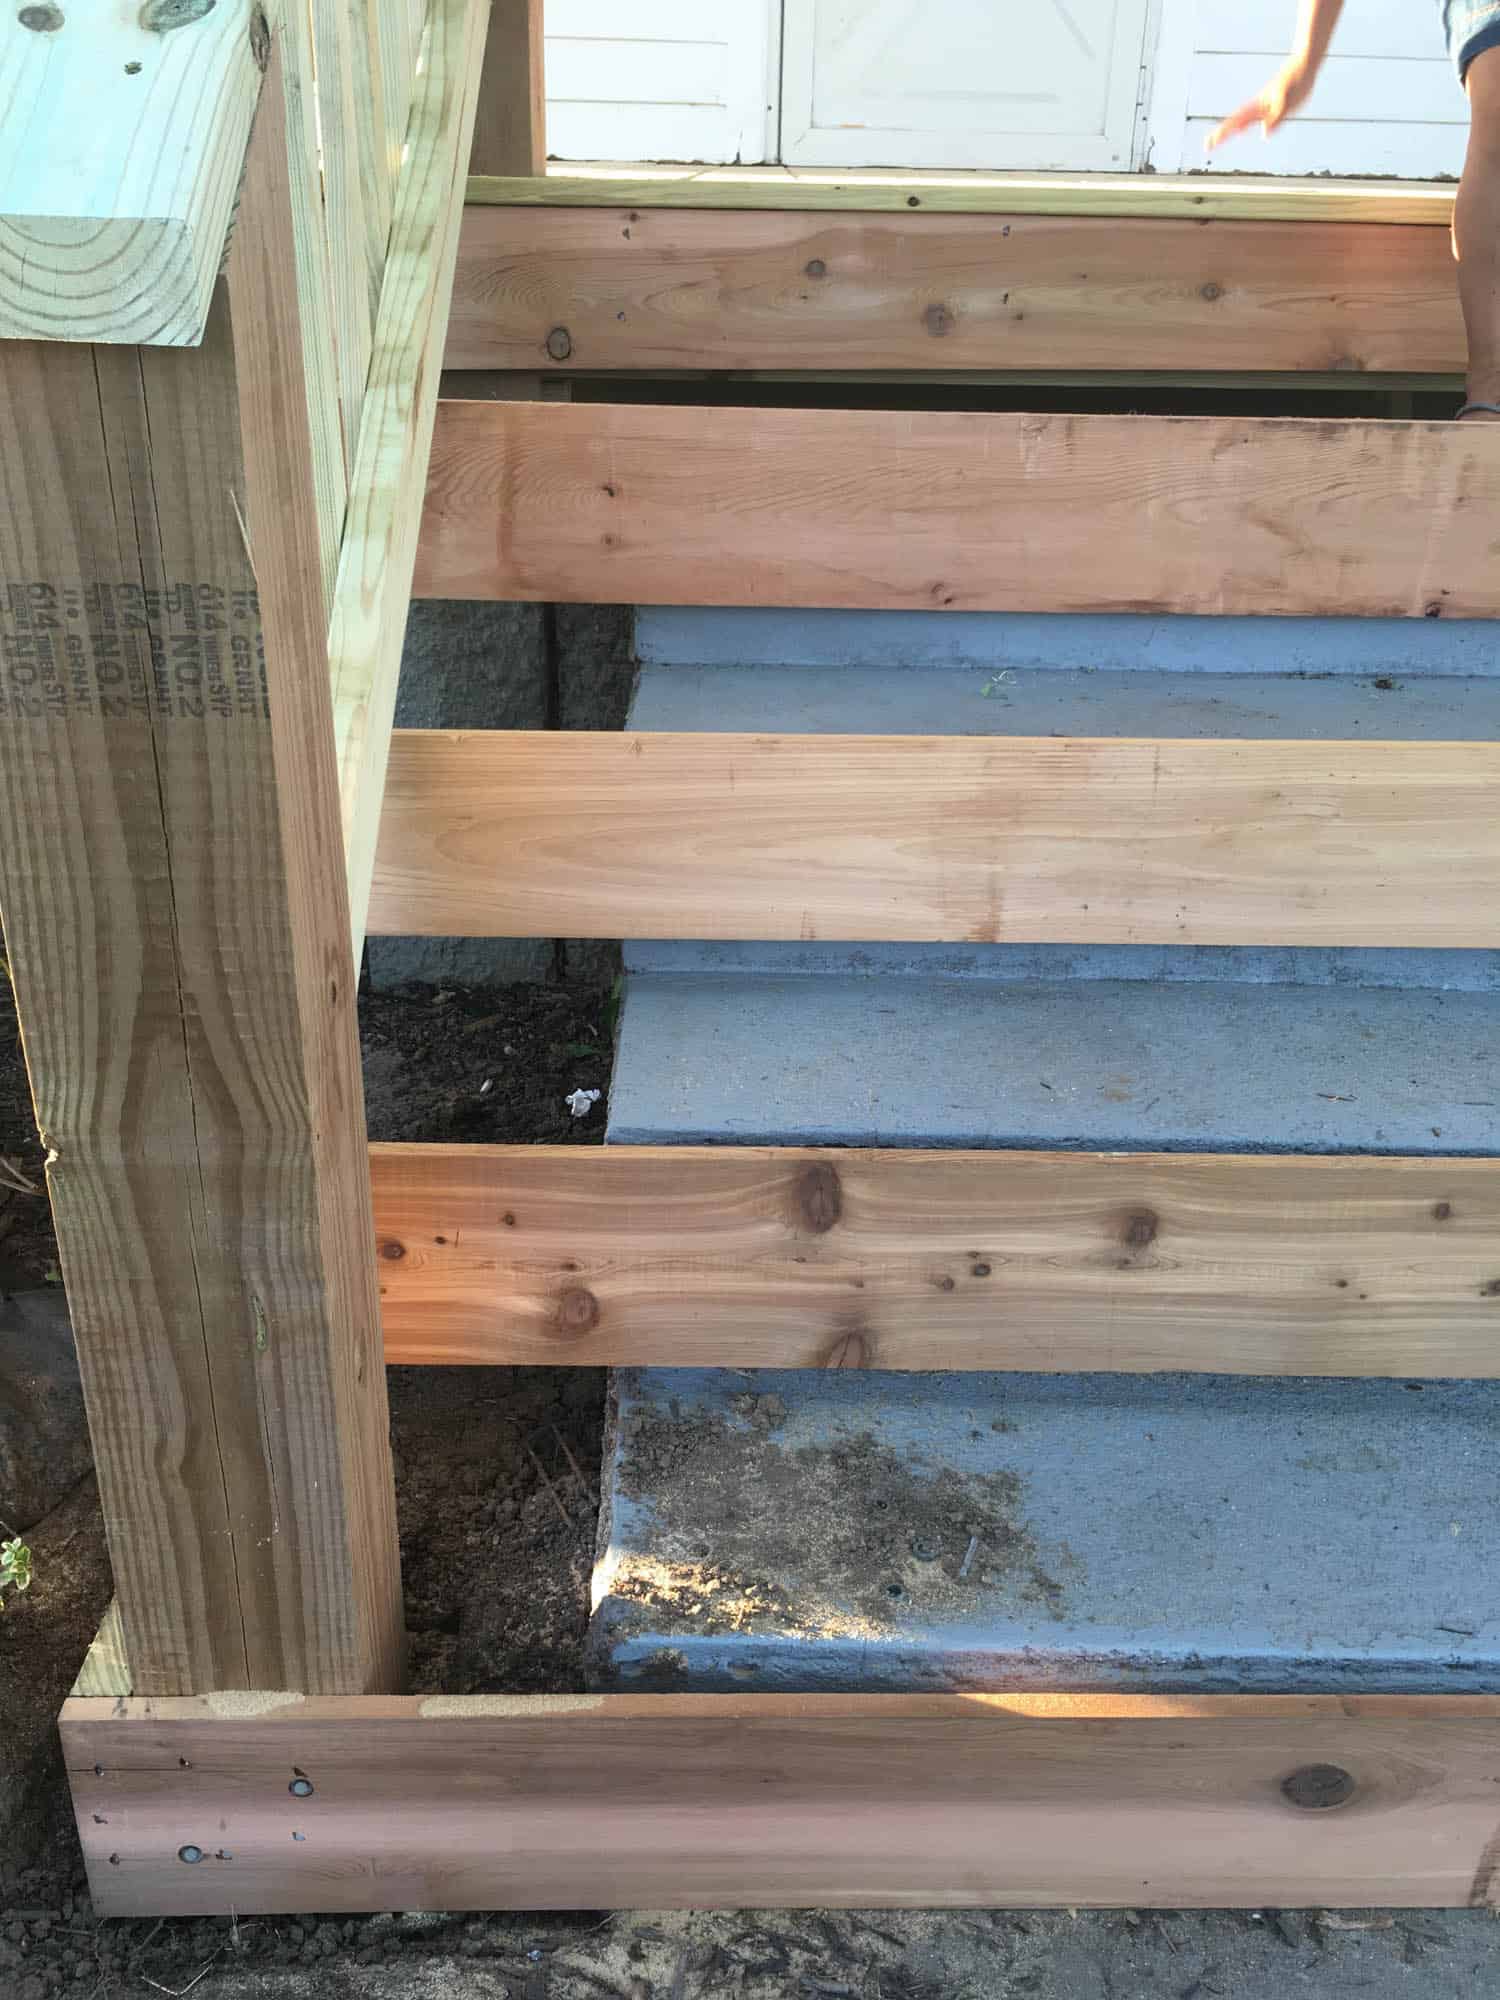
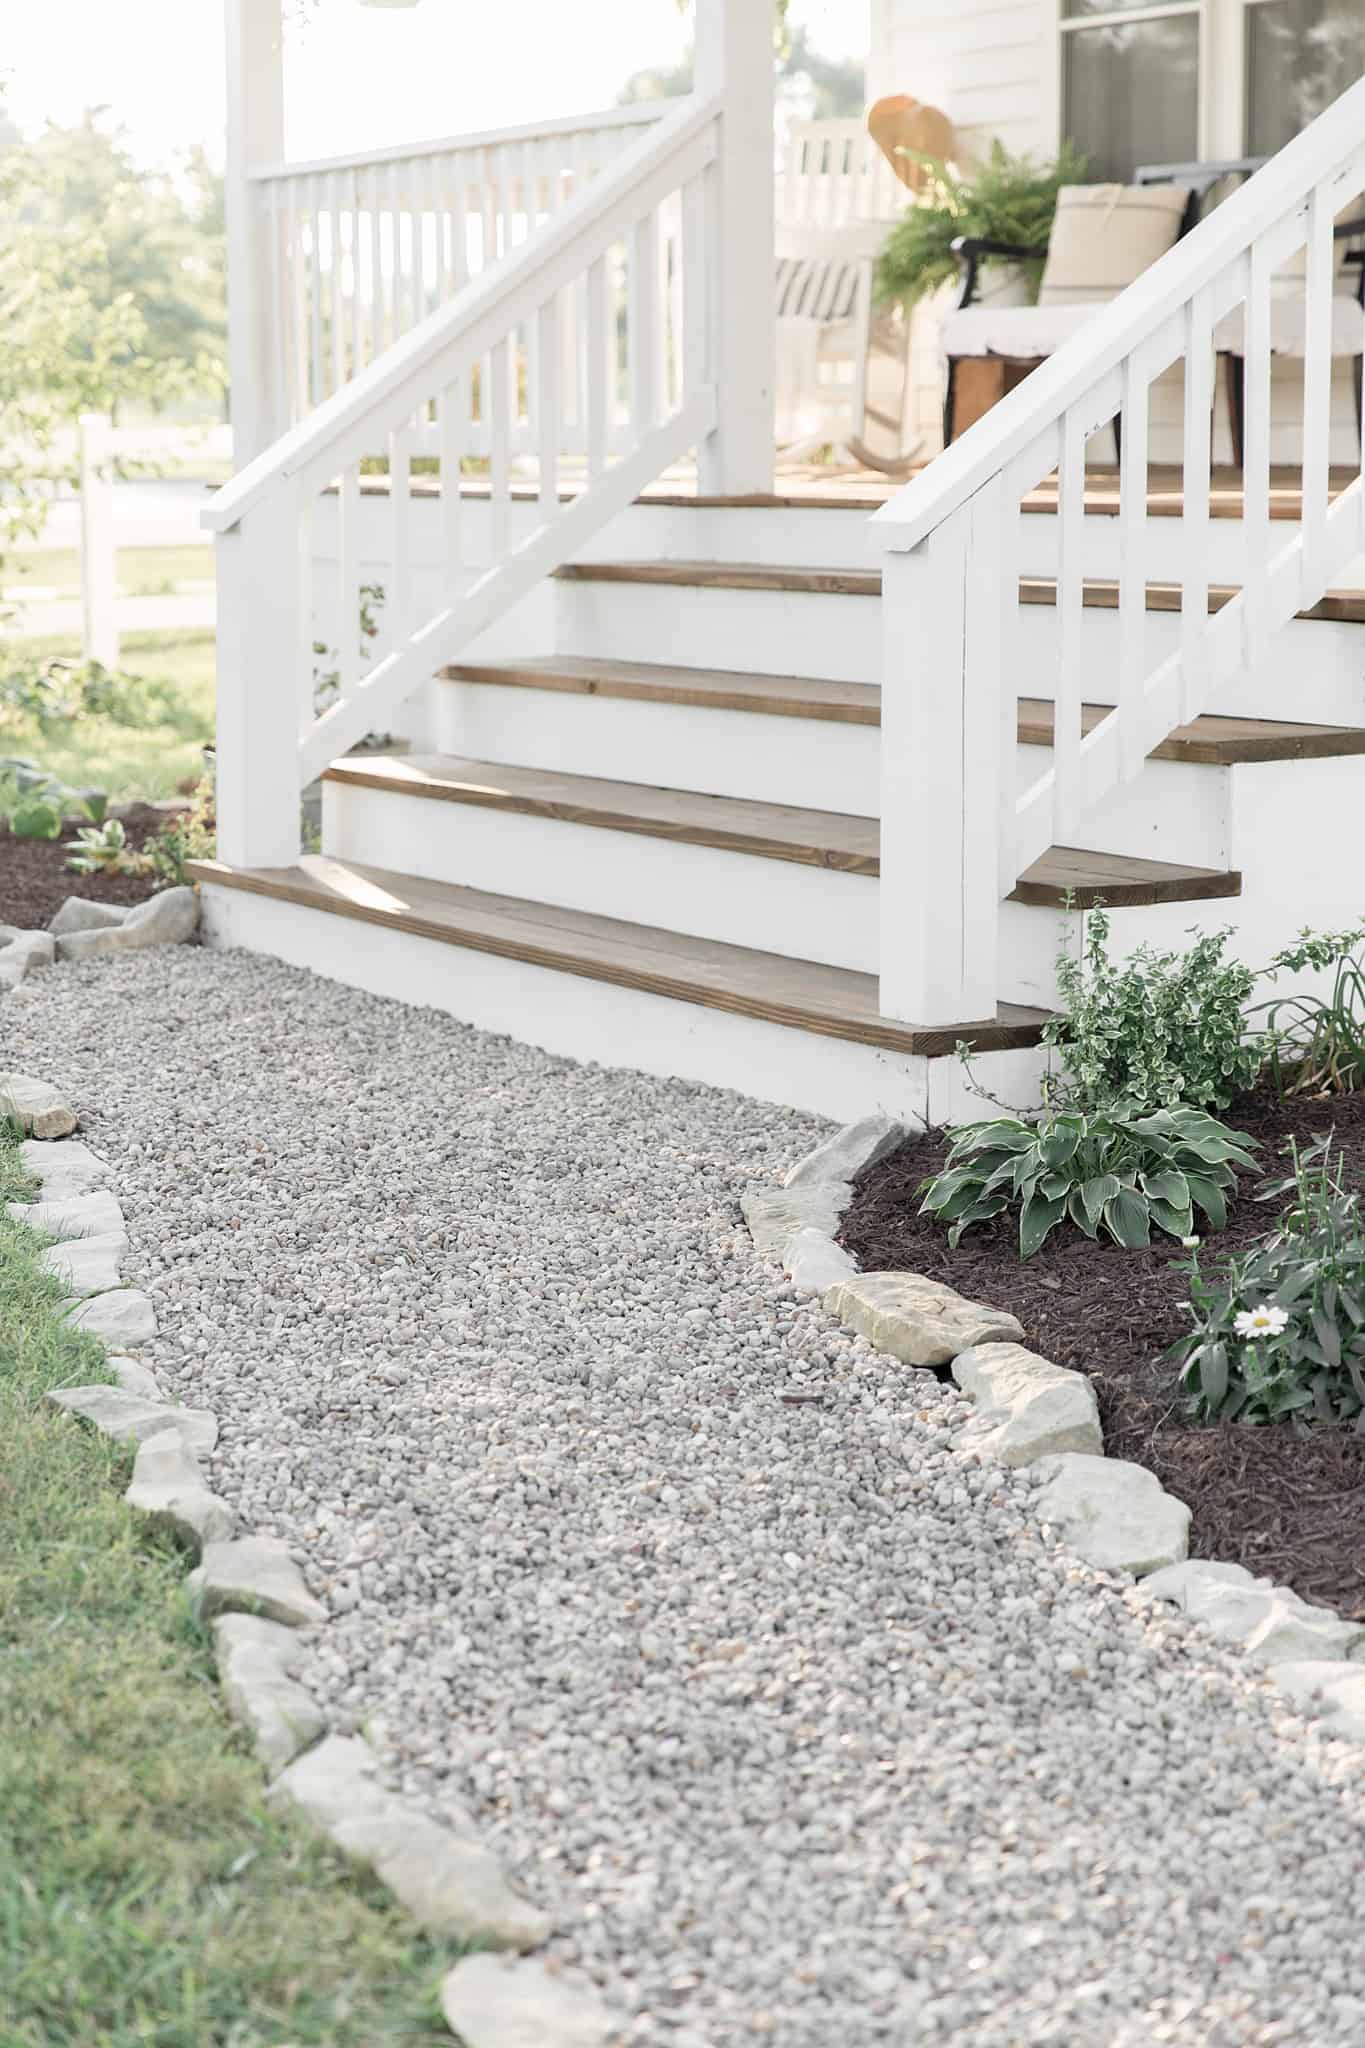
For the treads, we used the same yellow pine deck board as we used for the porch floor.
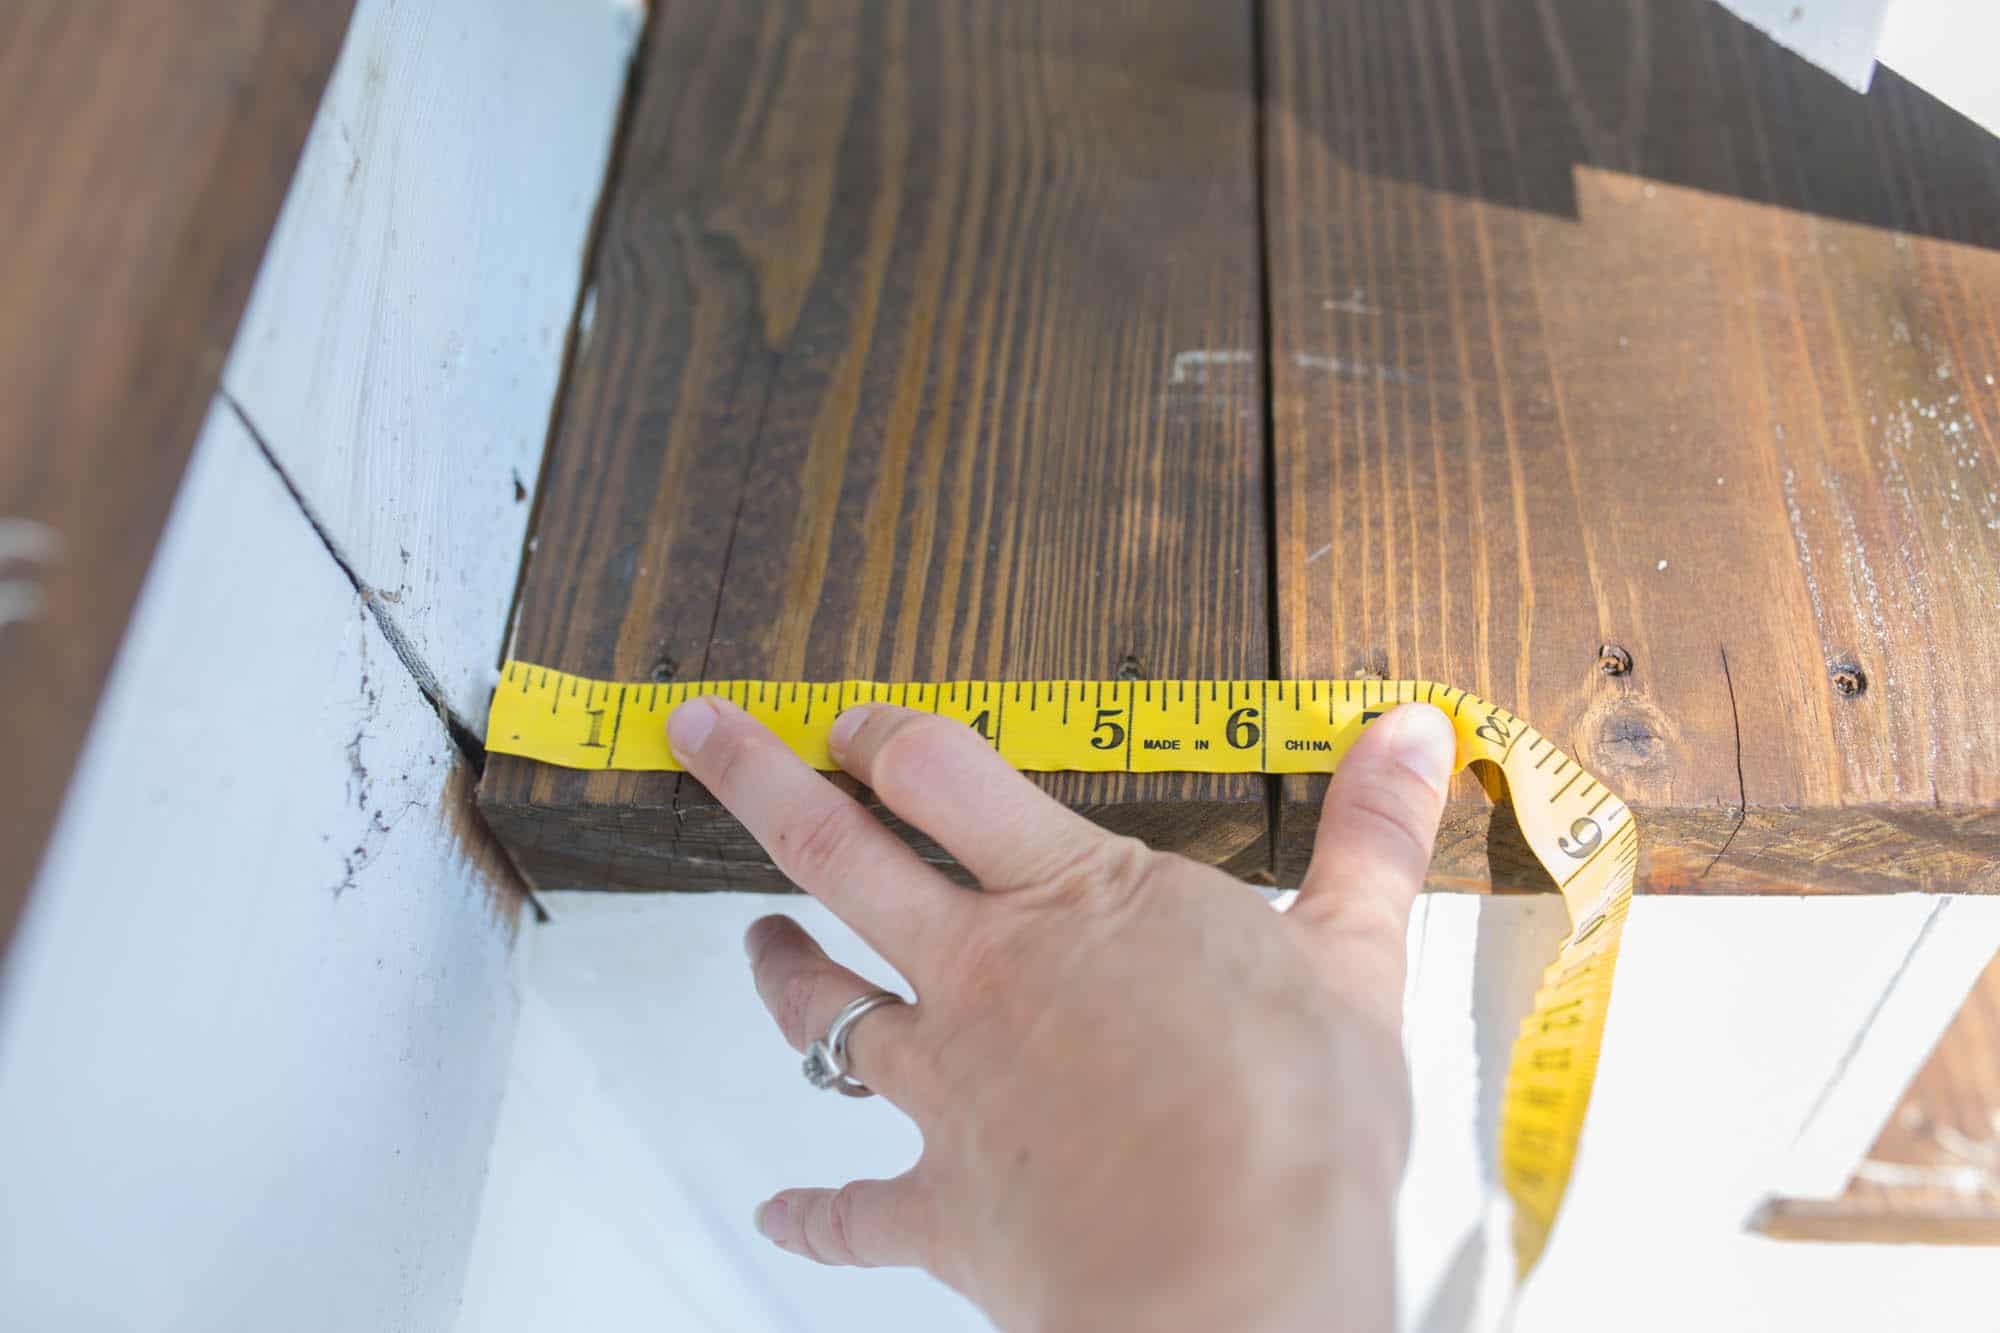
On the first step, we had to trim one of the tread boards to 6″ wide, so there wouldn’t be too much overhang. For the rest of the treads, the we pushed excess underneath the previous riser.
I know my husband will make fun of me if he reads this post, because I grabbed my sewing measuring tape, instead of a proper tape measure. But, you get the point about the top treads. And if you look closely to the bottom right of the photo, you can see how we pushed the tread on the second step underneath the riser above it.
Finishing up
The 1″ by 6″ Treated Pine Deck Boards on the bottom step had to be cut to fit around the bottom railing beam.
After the wood risers and treads were all screwed in, we finished the outsides with the same Plytanium Siding Panel that we used for the porch skirting. We cut it into the same shape as the stringers, except extended it all the way to the ground.
I like that it looks seamless with the rest of the porch skirting, as if they were always wood.
To finish the project off, we painted the risers with Valspar White Semi-Gloss Exterior Paint and stained the treads with Olympic Maximum Transparent Deck Stain in Canyon Brown.
I am so glad we went this route for our farmhouse front porch makeover. I venture to say it is the one thing in the renovation that made the most impact.
What do you think? Is this a project you would try? Let me know in the comments below. And thanks for stopping by the farmhouse!
[thrive_lead_lock id=’10866′]Hidden Content[/thrive_lead_lock]


In the gap from the old stairs and where you extended it on the sides, did you fill it in with anything or is it just dirt and space between the new wood siding and the old concrete stairs?
I can’t even stop staring. Your house is MY house. Almost every detail is the same and we are just starting the process of improving our porch. Your post gave us so much inspiration. I am just sitting here with my mouth hanging open because I can see so many similarities and now I can see so many opportunities! Thank you so much from a small town in KY! I love it!
I love this ! I am in the process of trying to find a contractor to do a concrete to wood porch and step….so this tutorial shows me the procedures and that it is possible.
Thank you. Wish I were younger to attempt it myself !
Questions: what type of maintenance is required. Is it slippery? Can you use rock salt ? Aluminum snow shovel? Did you need to use a sealer after painting.
Susan
Ok, this is so incredibly helpful! Dying to now get this done over my concrete steps. This is stupid question, and I’ve googled it to death hah but how did you attach the stringers to the existing deck? I too have an existing wood deck so curious where the stringer attached. Thank you!!!
Hey! I am obsessed with this whole thing. I have a huge concrete porch no steps. How would that work? Do I need padding or something underneath the wood? I would love to send you a picture.
Absolutely love it,what a turn around!
How’s the wood weathered?
You guys really did a fantastic job on these steps. They really compliment the home in a big way. Good Job!
WOW ! Nice job, steps look wonderful and really professionally done.
Great article!
TO COVER CEMENT STAIRS WITH WOOND DO YOU JACKHAMMER CEMENT
HIRED A MAN TO COVER CEMENT FRONT STEPS WITH WOOD HE HAS KJACKHAMMED A LOT OF THE CONCRETE DOES THAT SOUND RIGHT
Thanks for ur valuable post. It’s very useful to us.
Maybe you will also be interested in this information
grouting machine
pressure grouting machine
cement grouting machine
hand pressure grout pump
injection packer
You can also use this to understand us
about us