Learn how to easily transform outdated furniture by chalk painting upholstery. See how I updated an antique sofa and chair with some chalk paint to bring it to life again.
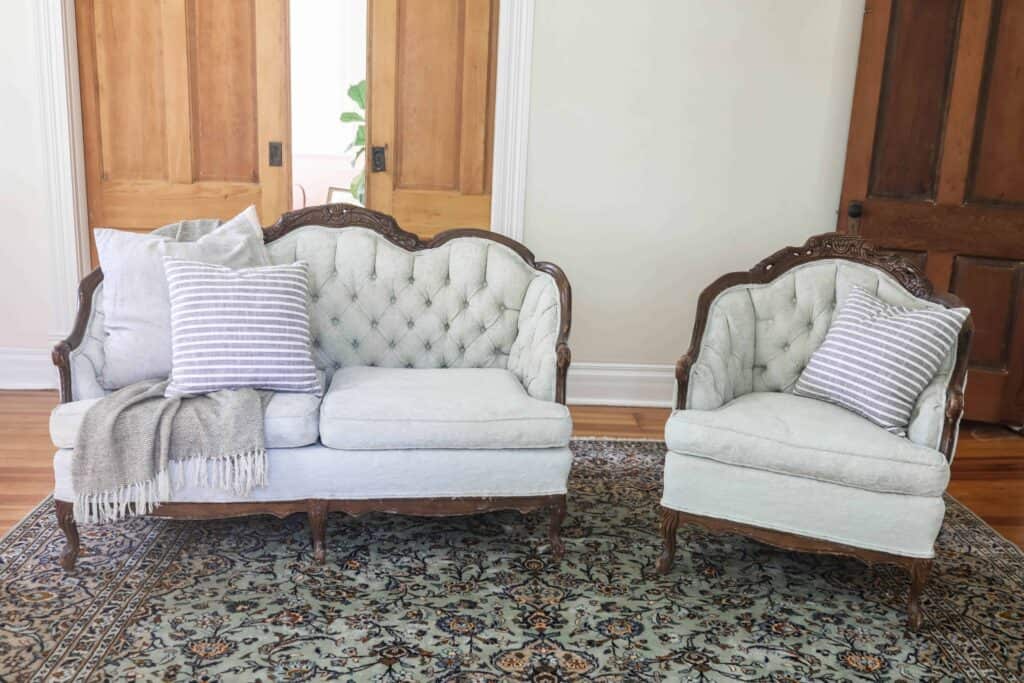
Ever since we moved into our new Victorian farmhouse, my style has been slowly shifting. I’ve steadily moved away from the typical farmhouse decor, like shiplap, which is still very popular and attractive.
The furniture of our old farmhouse just didn’t seem to fit right in the new house. With different architectural details and taller ceilings, it just seemed to cry out for something more sweeping and proper. Something a little grander.
The living room was the most difficult. I tried a few different pieces and furniture styles in there, and nothing was working. So, when I came across this antique Victorian couch set (for $75) with its charming details and curvy lines, I just knew it would work.
Since it was pretty inexpensive, I knew I wouldn’t be out ‘an arm and a leg’ even if chalk painting the upholstery didn’t work.
My first thought was just to reupholster it myself in a gray or soft green velvet, but a few friends talked me off the ledge.
Plus, it probably would’ve taken me a ridiculous amount of time to do, and I’m not convinced the results would be what I was looking for.
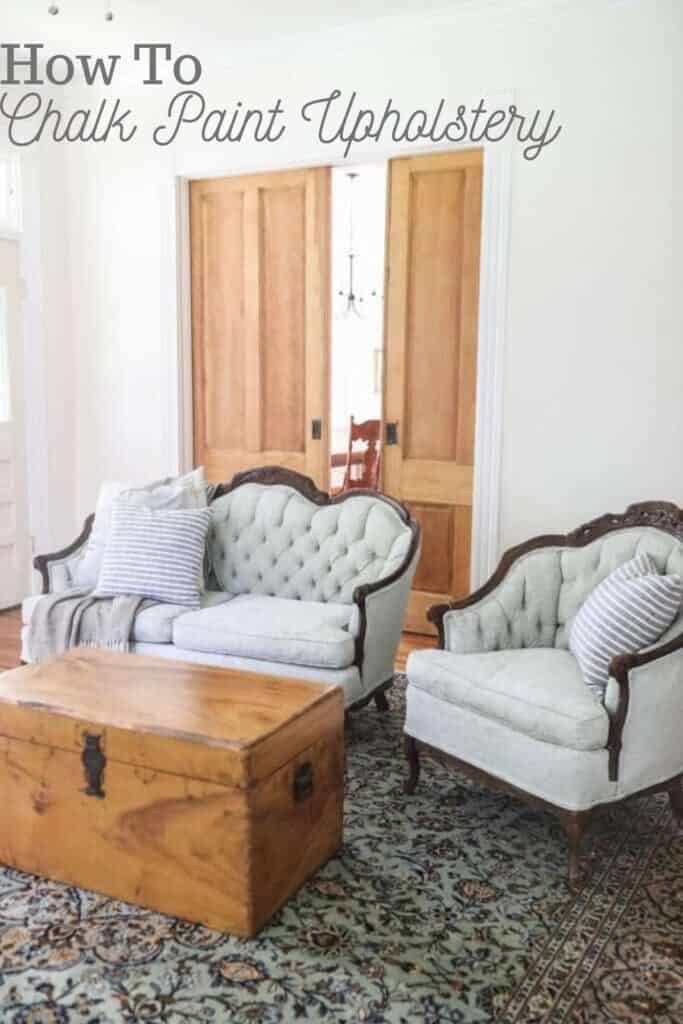
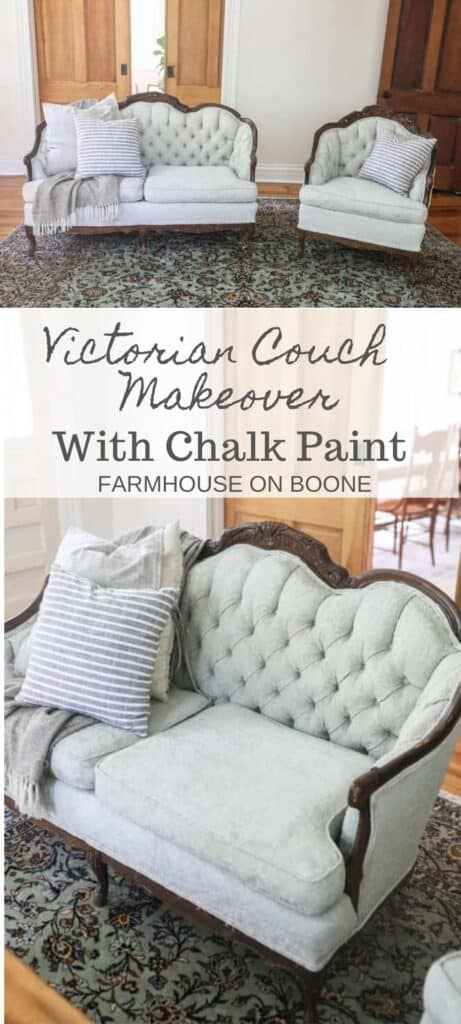
I ended up painting the loveseat and chair for the living room and, for now, leaving the couch the original color.
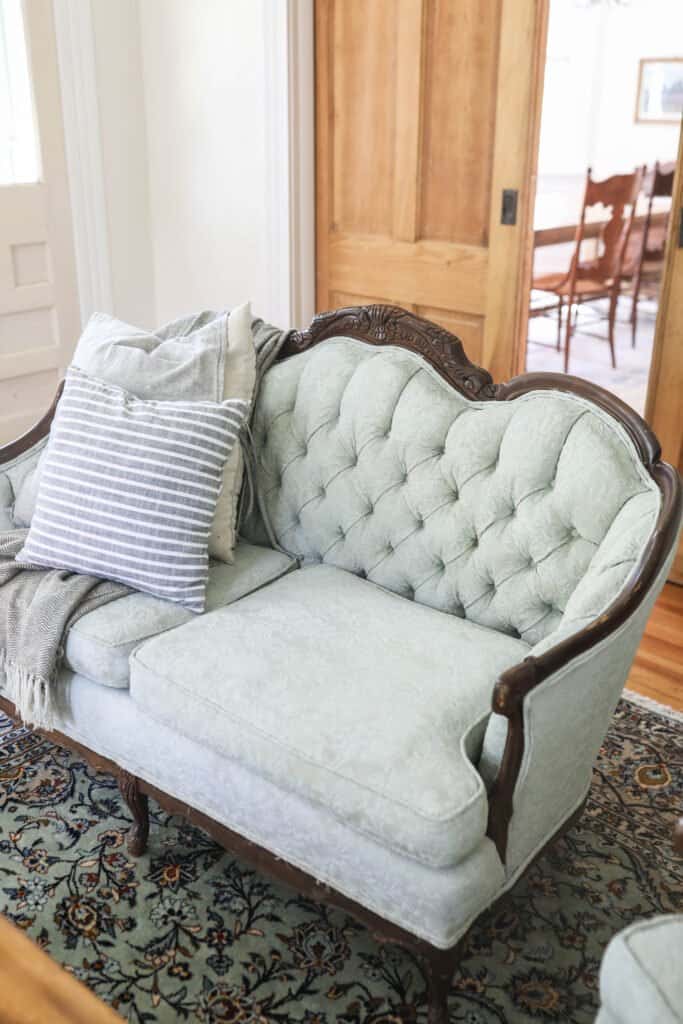
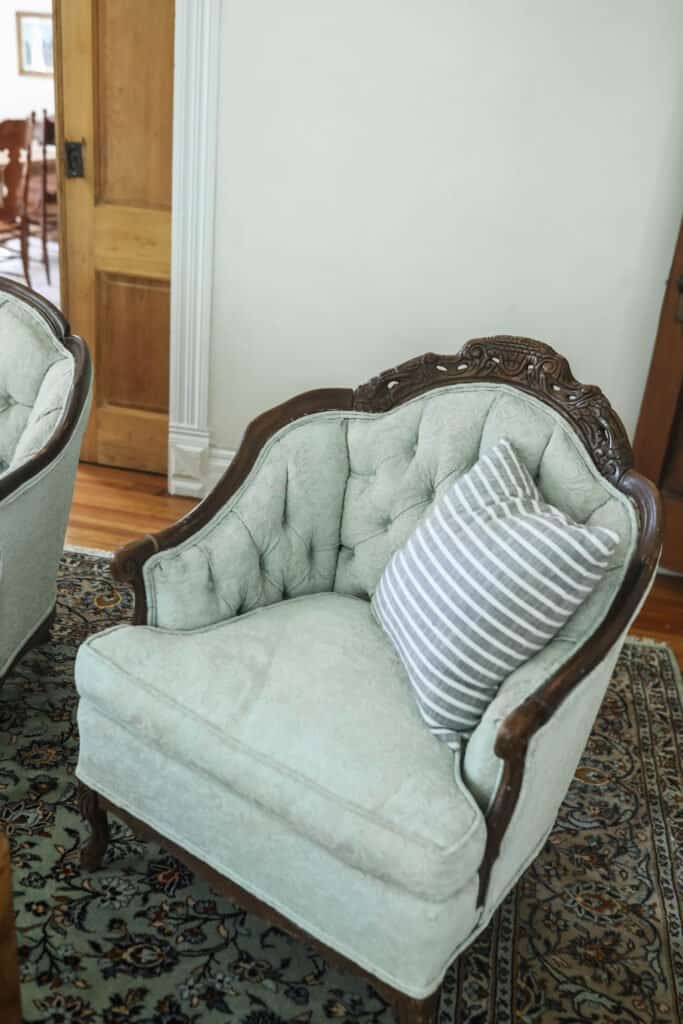
This Victorian couch makeover seriously turned out way better than I could have imagined. The color is great, and it’s soft, not crunchy like you’re probably envisioning.
Chalk Paint Upholstery Tips:
- I recommend first testing out the technique and water-to-paint ratios on an area of your piece of furniture you most likely won’t see. The back of the sofa, for example.
- Make sure to get into any crevices of your couch or upholstery by pulling the fabric back and painting underneath. I found that a smaller brush worked really well for this.
- Allow the fabric to totally dry between coats. Usually around 24 hours. Do multiple light coats of paint, rather than one thick coat. Painting it on too thick can cause the paint to crack.
- The key was to get the chair really, really wet. I would spray the chair with water, paint with the diluted chalk paint, and then spray with more water on top of the freshly painted spot.
- Do this project outside if you can. I did two pieces outside and the loveseat inside, and the loveseat took 48 hours before it was fully dry and ready for another coat. The other pieces that were left outside to dry in the hot sun were ready so much faster.
This post contains affiliate links, which means I make a small commission at no extra cost to you. See my full disclosure here.
Tools you will need:
Chalk paint – I used Magnolia Chalk Paint in the color Emmie’s Room.
Paintbrush
Painter’s Tape
Wax
Piece of furniture that has ‘good bones’. Everything should be intact.
Watch The Tutorial
How To Paint Upholstery
Prep Your Furniture
Vacuum the piece of furniture you are planning to paint. You can even take a lint roller to the stubborn spots (like dog hair).
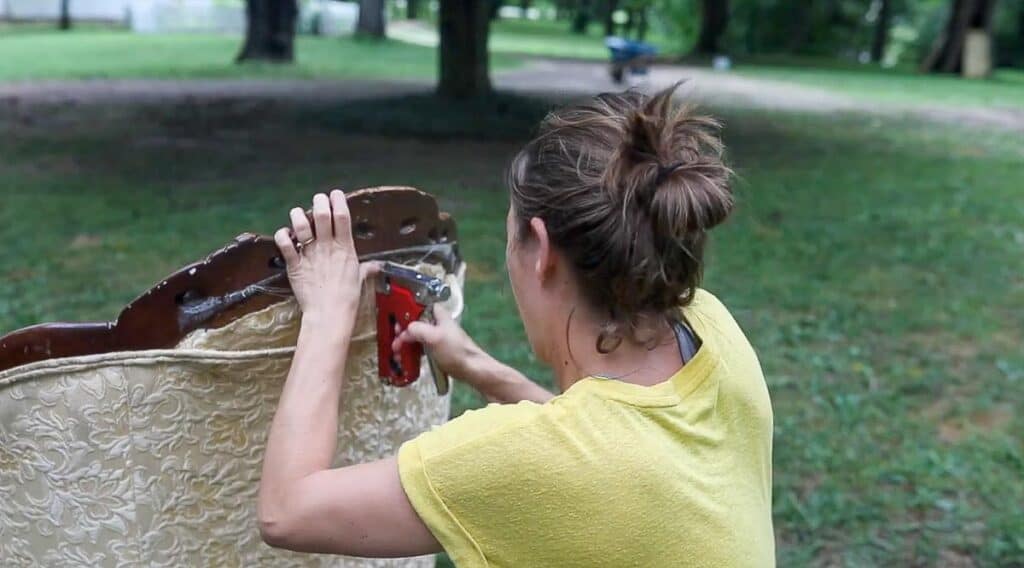
I trimmed any strings that were coming off the fabric, and I fastened on any loose spots with a stapler.
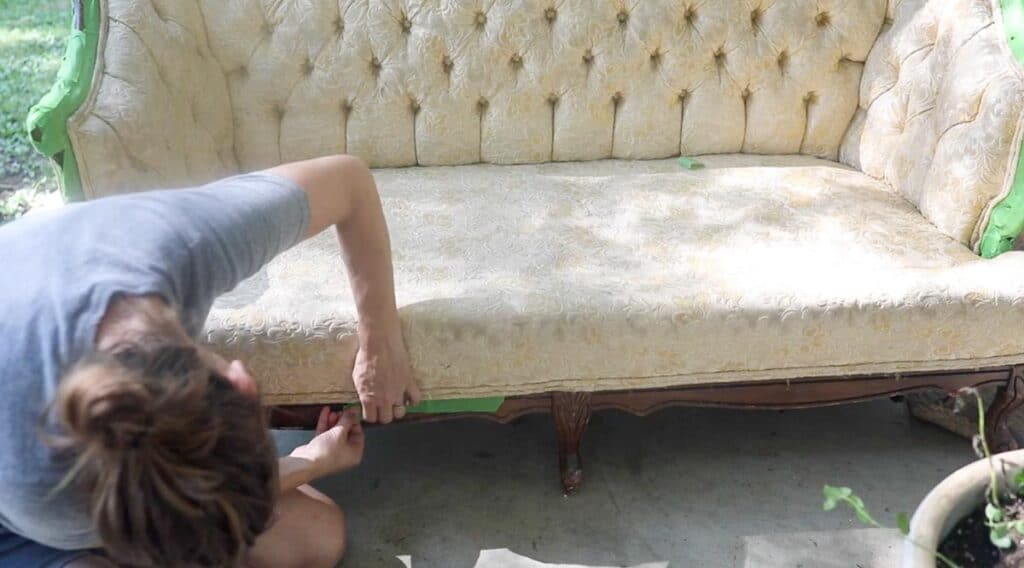
Protect any woodwork you do not want to paint with painter’s tape.
Test The Paint
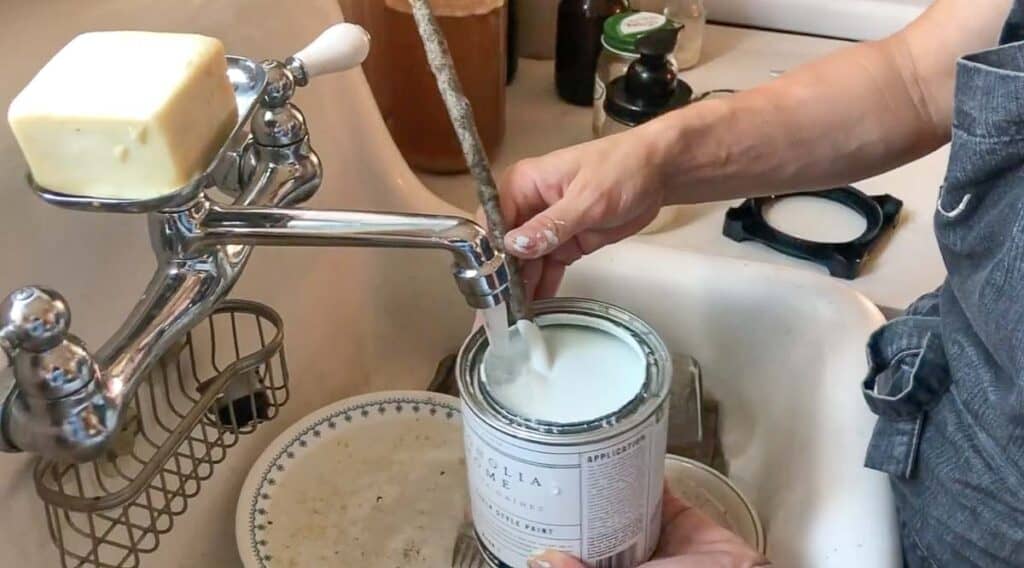
Mix the chalk paint with some water and test it on a spot you will not be able to see, like the back of a chair or sofa. I used one part water to one part chalk paint. Different fabrics may need different amounts of water.
Once the desired color and thickness has been achieved, start painting the upholstery.
Painting Upholstery With Chalk Paint
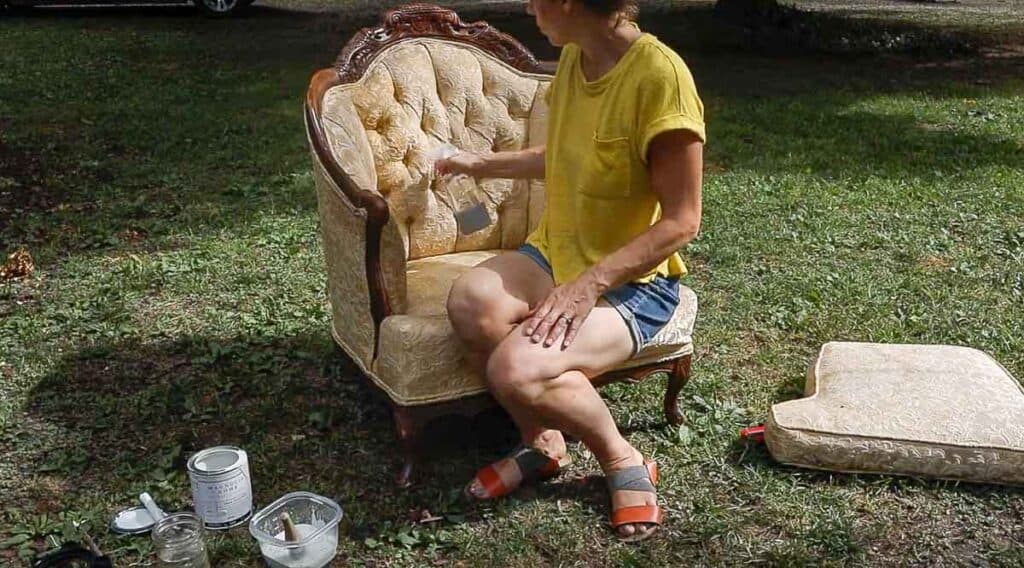
Spray the fabric down with a spray bottle in small sections. Saturate the fabric pretty thoroughly without it actually becoming a streaming mess of water.
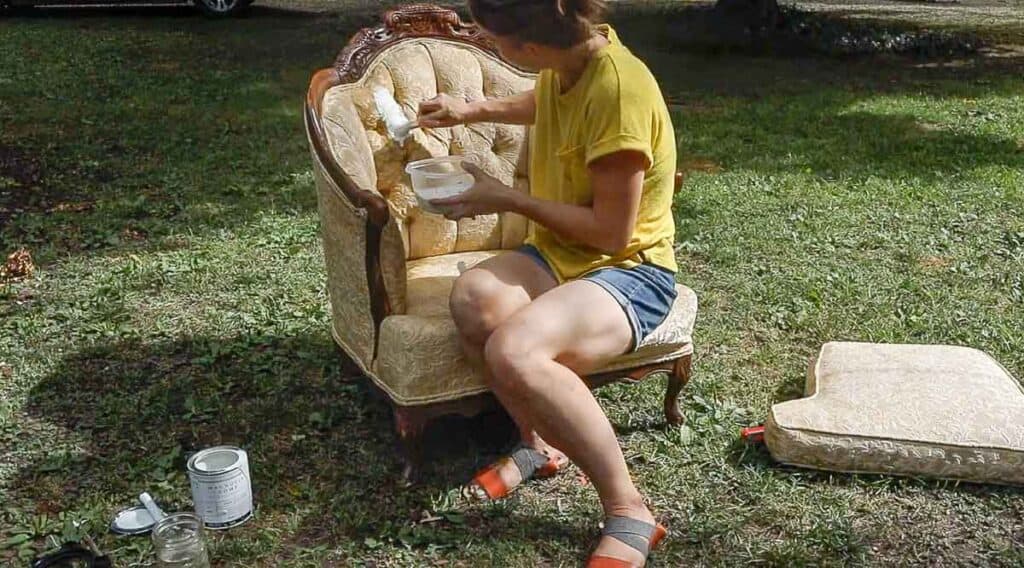
Using a paintbrush, paint on the chalk paint, rubbing it in well and getting in any crevices and around buttons. I pulled some of the fabric up where there were pleats to get underneath.
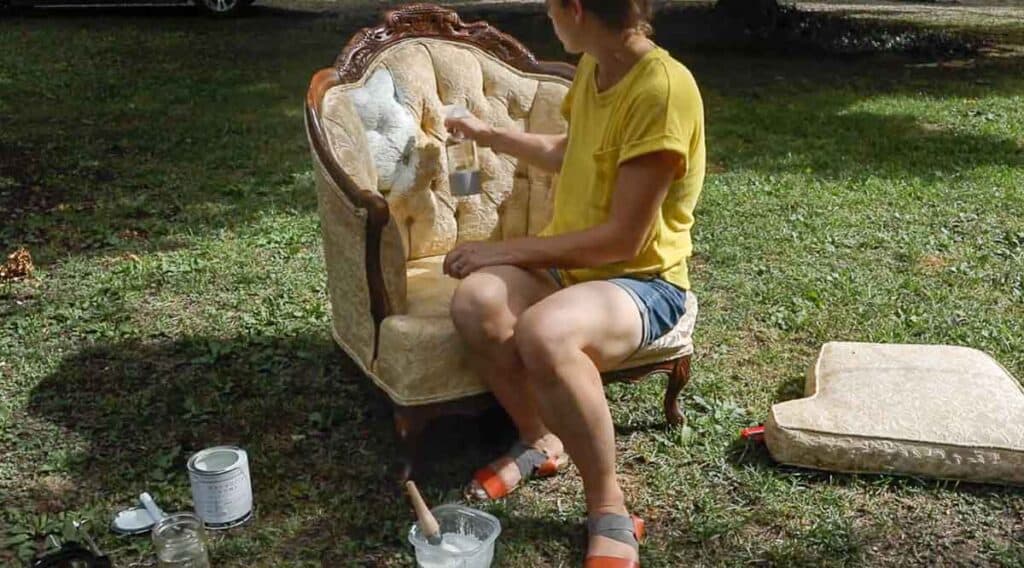
Spray the freshly painted spot with a little more water, then brush.
Continue spraying the fabric in sections and painting until the furniture is completely painted.
Allow the fabric to dry completely, at least 12-24 hours (or longer) between coats. The piece I did outside in the warm sun took just a few hours to completely dry, whereas the one completed inside needed a full 48 hours to dry between coats.
Apply as many coats as needed for color saturation and covering up any designs that may have been present. I ended up doing three coats.
Once the final coat is dry, apply a clear wax.
FAQ:
What types of fabric can you chalk paint?
Fabric upholstery, cotton, linens, and velvet usually do great with chalk paint. People have even had success painting leather.
Will chalk paint come off when I sit on it (stain clothes)?
No, it does not. No bleeding, cracking, or staining has happened to the chair (or to me, as a result of the chair).
Do you need to seal the upholstery with wax or a sealer?
Should you seal it? Yes. Did I seal it? No, not yet. I figured I would see how it held up with the kids, and if there was noticeable staining, then I would seal it.
There are a few ways to seal it. Some people seal it with heat, using an iron or by placing it in the sun.
You can also seal it with a clear wax.
Does chalk paint make it feel really stiff and crunchy to sit on?
No. The method I used does not cause the fabric to be crunchy. Essentially, you are dying the fabric by soaking the color into the fabric. You’re not just painting it on and letting it dry stiffly on the surface.
Also, with continued use and wear, it will soften up a bit more.
Is this a budget friendly project?
Yes. If you already have the furniture or you find the furniture at a really good price, then it can definitely be a budget-friendly project.
I used Magnolia paint, which is definitely on the pricier side, and I ended up using about three cans for the love seat and chair. A way to make this cheaper would be to use a more budget-friendly chalk paint, or possibly even create your own chalk paint using latex paint.
How long will this last?
From my research, others who have done a similar project have noted that the paint has lasted years, and still looks great.
Find More Handmade Home Projects:
- How To Make A Lavender Wreath
- DIY Coffee Table
- Cheap And Easy Shiplap
- Rufle Linen Pillow
- How To Make Beeswax Candles
If you try this tutorial and love it, I would love if you gave it 5 stars! Tag me on Instagram @farmhouseonboone with your beautiful creation.
How To Chalk Paint Upholstery
Equipment
- Spray bottle
- Chalk paint
- Brush
- Wax
Ingredients
- Piece of furniture that has good bones. Everything should be intact.
Instructions
- Vacuum the piece of furniture you are planning to paint. You can even take a lint roller to the stubborn spots (like dog hair).
- I trimmed any strings that were coming off the fabric, and I fastened on any loose spots with a stapler.
- Protect any woodwork you do not want to paint with painters tape. Mix the chalk paint with some water and test it on a spot you will not be able to see, like the back of a chair or sofa. Once the desired color and thickness has been achieved, start painting the upholstery.
- Spray the fabric down with a spray bottle in small sections. Saturate the fabric pretty thoroughly. Using a paint brush, paint on the chalk paint, rubbing it in well and getting in any crevices and around buttons. I pulled some of the fabric up where there were pleats to get underneath.
- Spray the freshly painted spot with a little more water, then brush. Continue spraying the fabric in sections and painting until the furniture is completely painted. Allow the fabric to dry completely, at least 12-24 hours (or longer) between coats.
- Apply as many coats as needed for color saturation and covering up any designs that may have been present. Once the final coat is dry, apply a clear wax.
Notes
- Make sure to get into any crevices of your couch or upholstery by pulling the fabric back and painting underneath.
- Allow the fabric to totally dry between coats. Usually around 24 hours.
- Do multiple, light coats of paint, rather than one thick coat.
- The key was to get the chair really, really wet. I would spray the chair with water, paint with the diluted chalk paint, and then, spray with more water on top of the freshly painted spot.
- Do this project outside if you can. I did two pieces outside and the loveseat inside, and the loveseat took 48 hours before it was fully dry and ready for another coat. The other pieces that were left outside to dry in the hot sun were ready so much faster.
Nutrition information is automatically calculated, so should only be used as an approximation.
Pin It for Later




Hi Lisa,
You are my go to, I love everything you do. I am trying the chalk paint for loveseat and sofa. Yours came out beautiful. Where did you find that beautiful blue rug in your new living room and how big is it? Where did you find those pillows on the sofas?
What type of wax? Is it regular squares of wax and do you melt it and paint it on? I do not understand the wax part. That was not very clear.
If the chair dries after 1 coat and it does feel crunchy, does that mean I need more water in the paint?
Thanks!!
That is such a good idea! Can you recommend a clear wax? I’m hoping it’s as easy as you make it look!
Hi did you find out what kind of wax that she use?
This is great! Going to try it on a chair. Where is your rug from?
I followed the instructions exactly as written. So far so good. I am using Behr Country Gray over a pink and green tapestry fabric. I am finding that I didn’t see some of the strings (cat picking at fabric) until I painted but have been able to cut them off easily after painting.
love how it turned out how are they keeping up? id love to do this to my couch and love seat but black.
Like you, I found an inexpensive Victorian sofa that was not the color I wanted. I am planning on painting the pinkish red fabric a dark grey, and painting the wood trim a dark metallic black, with colorful waxes to create an oilslick look on the wood. I’m curious as to whether you ever waxed the fabric. Is this step absolutely necessary? It seems as though it might attract more dirt, and I am wondering if I could skip this step.
i might be trying this, this labor day weekend. I’ll let you know how it comes out!!
Never would have thought to try this. So smart, and I love how it turned out!