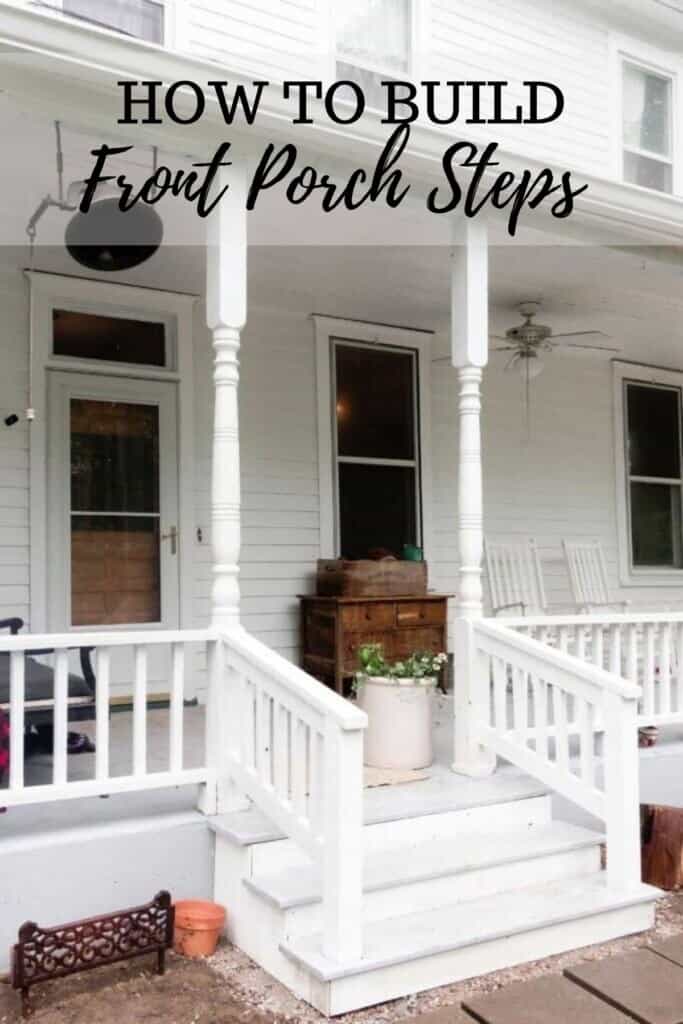
Enjoy this walk-through tutorial on how to build front porch steps and an accompanying handrail. This new build is safer and boosts the curb appeal for our Victorian farmhouse.
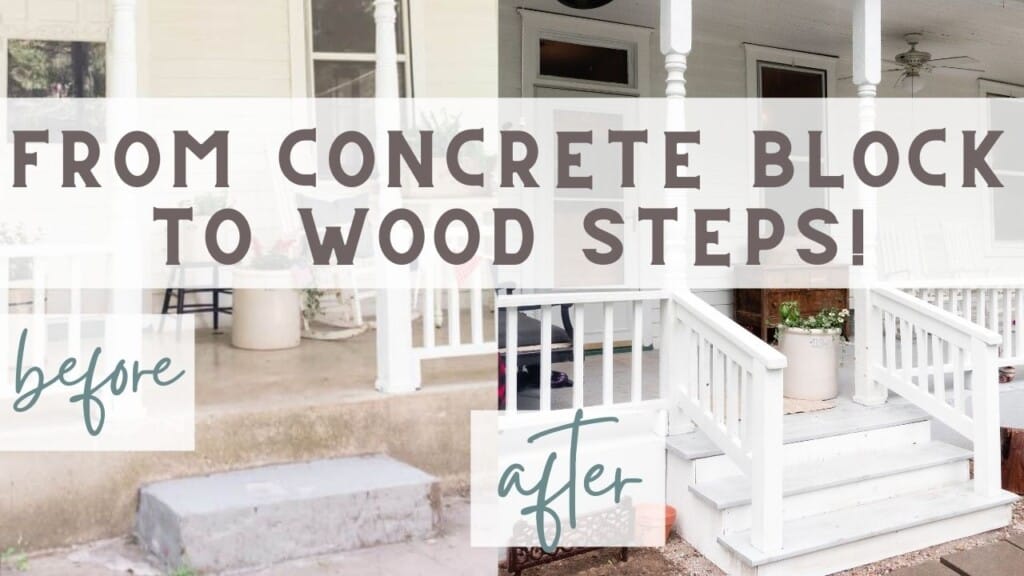
Our farmhouse lacked the curb appeal that it deserves, so a makeover has been in the works for a while. So much of our time has been devoted to renovating the inside – which has been well worth it – but now we are finally moving to the outside.
We’ve done a few small exterior makeovers here and there, like painting the green trim a fresh white, but nothing substantial.
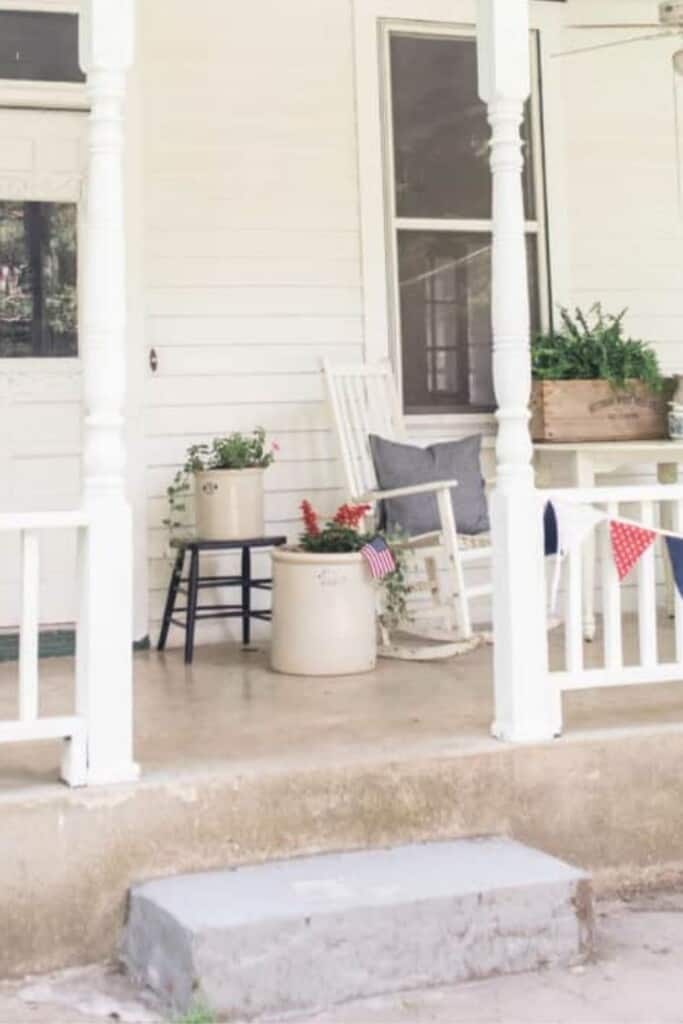
Before, there was a concrete slab step. While it was technically functional, it posed some interesting challenges. It was too steep, so it wasn’t great for elderly people or kids, and honestly, it just wasn’t attractive and didn’t match the dreams I have for this house.
The first step to getting this renovation underway was creating new front steps. I could easily envision wider, more elegant steps that could host pumpkins sprawling over the sides during fall, and pretty flowers bursting with color all summer. That dreamy farmhouse look.
This isn’t our first front porch makeover rodeo. We completely changed the exterior of our last farmhouse. That house also had concrete steps, but thankfully, we could just cover them with wood. If you can get away with just covering them, I would recommend it over having to demo the concrete. You can find that tutorial here.
For this project, we opted to remove the concrete step since we were working with a weird level. But if you can get around it, you might do that instead.
This post contains affiliate links, which means I make a small commission at no extra cost to you. See my full disclosure here.
Supply List:
This is what we used. Depending on the size of steps you need, you may need to adjust this.
Treads: 1” by 6” by 10’ cut in half to make 2-5’ treads (3 of these to make 3 steps)
Stringers: 2” by 12” by 12’ (one of these will make 3 stringers)
Rail post: 4” by 4” by 8’ (2 for the two posts)
Spindles for railing: 2” by 2” by 8’
Siding to cover side of steps and cover stringers: 4’ by 8’ piece of ply bead
Anchor board to concrete: 2” by 6” by 8’
Steps: 5 2″ by 4″s
Masonry screws
Deck screws
Saws
Brackets
Level
How To Build Front Porch Steps
Step 1: Demo Step
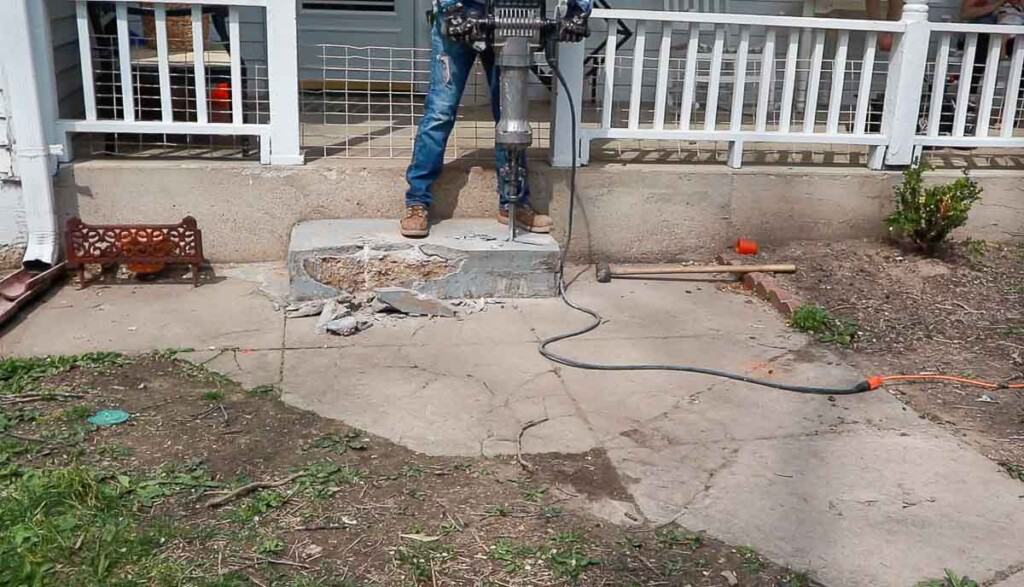
First, you will want to remove any previous steps. Ours was a concrete slab, so we used a jack hammer to remove the step and surrounding concrete that was in poor condition.
After removing all the debris from the surrounding area, lay down a layer of gravel. This is better for the wood to lay on rather than just dirt.
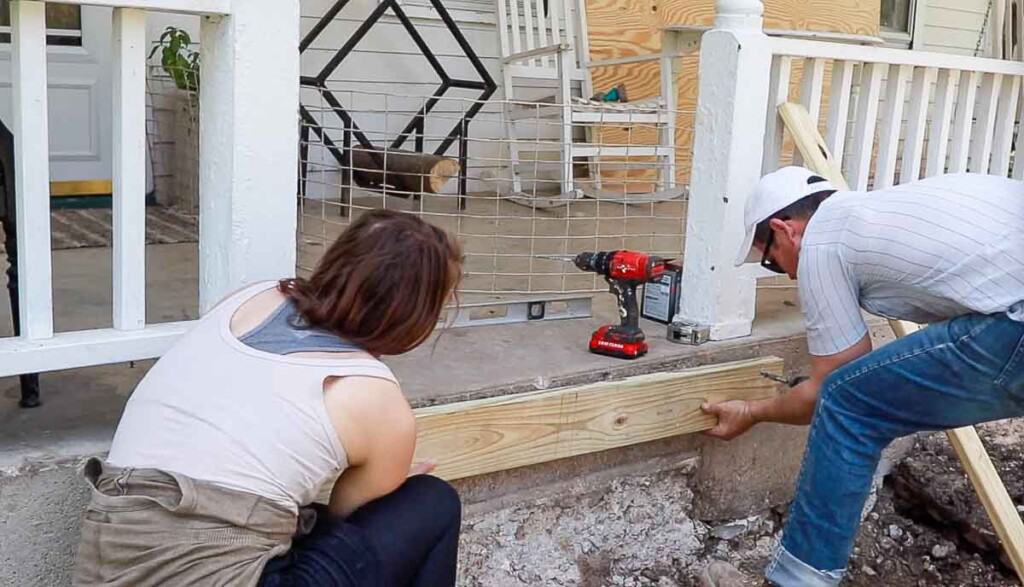
Attach the anchor board to concrete, with masonry screws and drill bit, one tread length below the top of where you want the steps to end. Use a level to make sure it is level before attaching to the concrete.
Since we wanted the porch to measure 5 feet, we cut the anchor board 4.5 feet. This accommodates adding the stair treads to each side and allowed us to add the stringers, ply-bead siding, and still have 1” overhang on the treads.
Step 2: Cut Out And Attach Stringers With Brackets
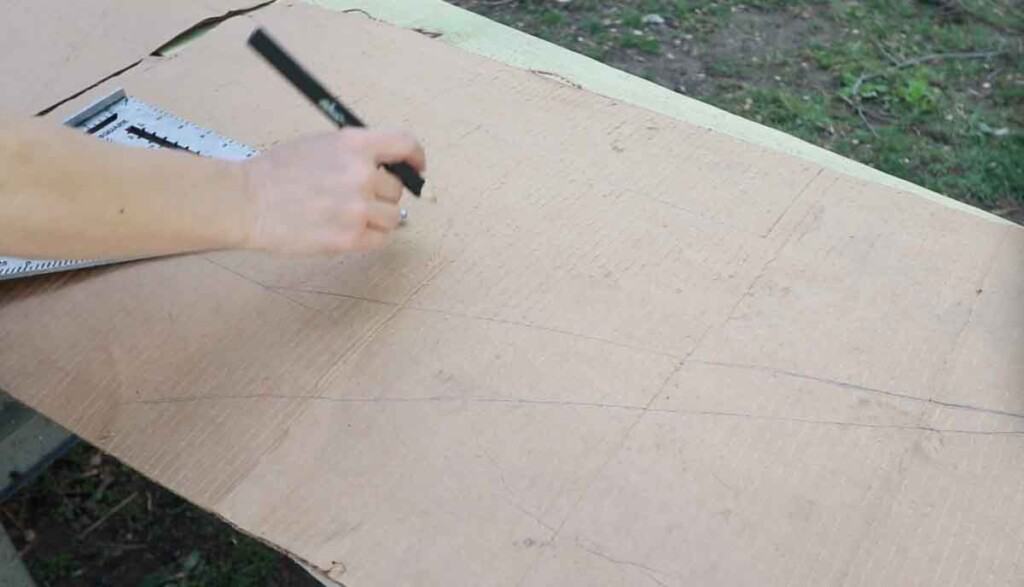
Cut out stringers. I highly suggest making a template first with cardboard, paper, or plywood before cutting into expensive 2 by 12s. I used this template to make the stair stringers.
Place the template onto the 2 by 12 and cut out the stair stringers.
This was the most challenging part of the whole project. After about 12 attempts and finally getting the proper tools, I figured out how to make them correctly, and now I want to take a crack at all the steps around the farm.
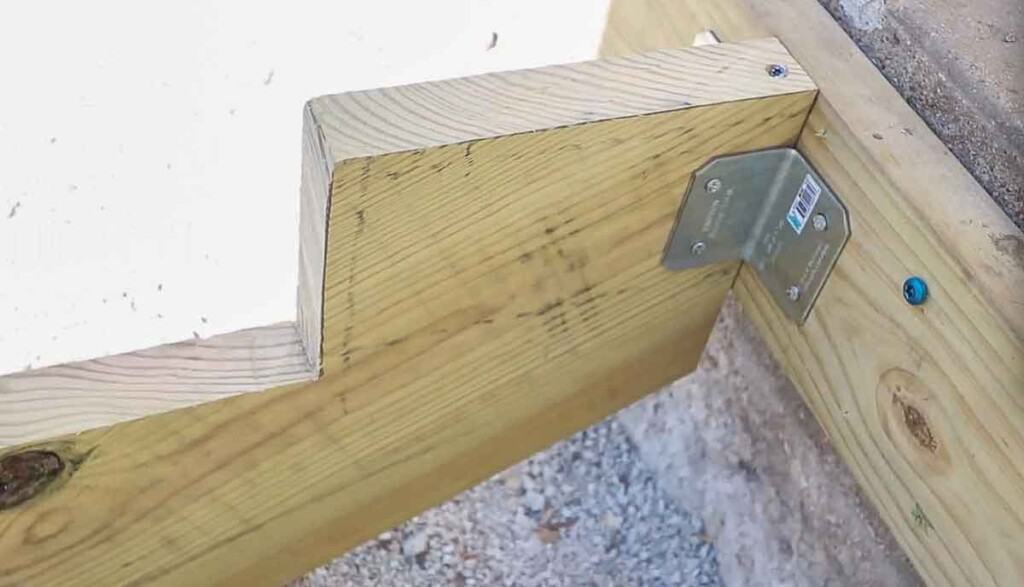
We attached the outside stringers to the outside of the anchor board, lining up the top edges and then drilling decking screws from the outside of the stringers into the side of the anchor board. On the inside joint we used a bracket for more stability.
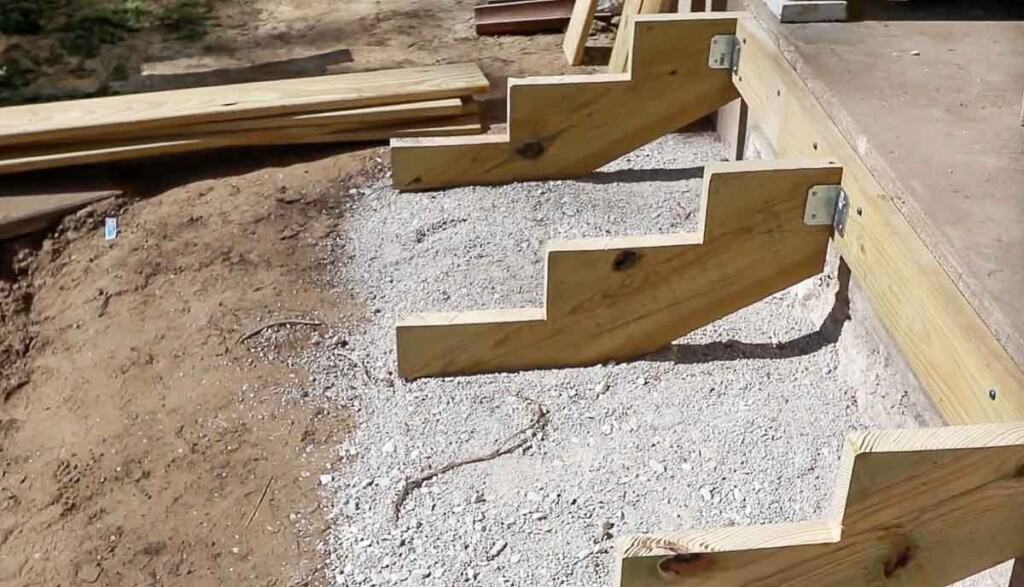
We attached the middle one to the front, which meant we had to cut the width of the anchor board off the back of the stringer. So we cut it from the same template and then just took off the width of the anchor board off the stringer, so it would line up with the other stringers.
Attach with brackets on each side of the stringer, and also one screw from the top angled into the anchor board.
Step 3: Attach The Risers
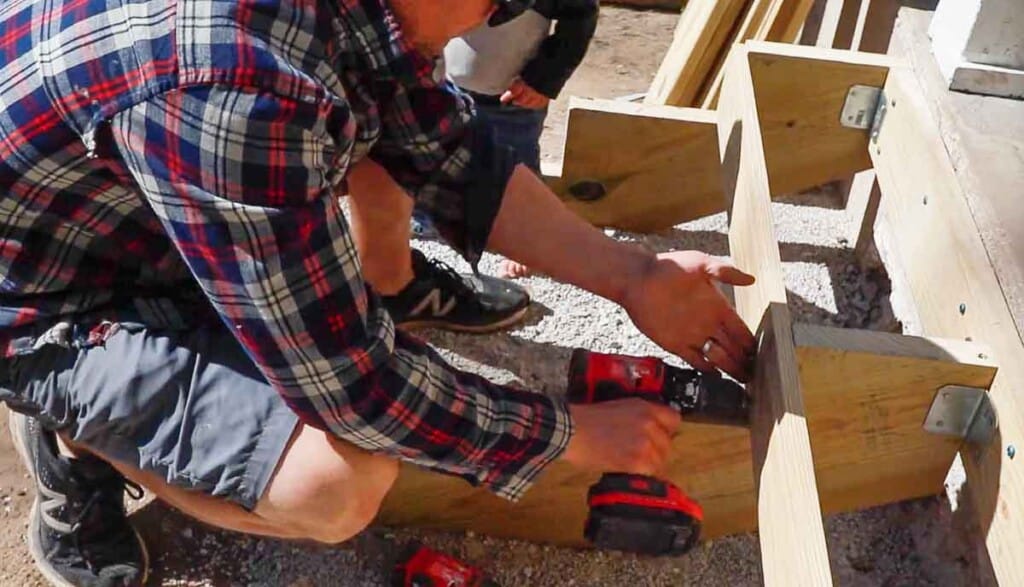
Next, we cut the 2×6 risers the same width as the stair stringers, which was 4 feet 10 inches.
Drill the risers into the front of the stringers using decking screws. Wait to add the bottom riser until after the hand rail post is in. See step below.
Step 4: Cut Out The Treads And Add Hand Rail Post
Since we wanted steps that are 5’ wide, we just cut the 10′ 1×6s in half and nailed them onto the top of the stringers. We used two boards per step, so each step is 12” deep.
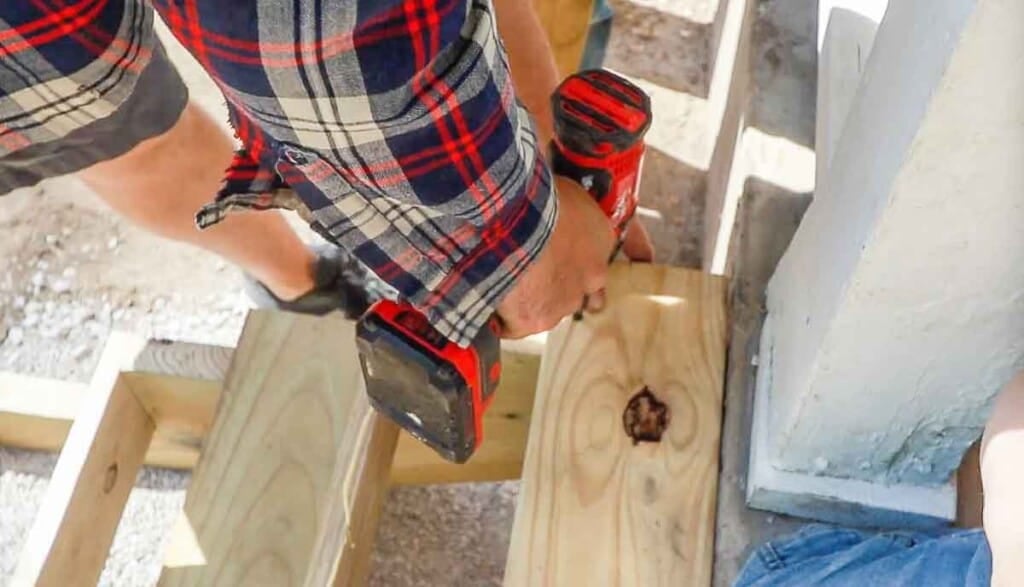
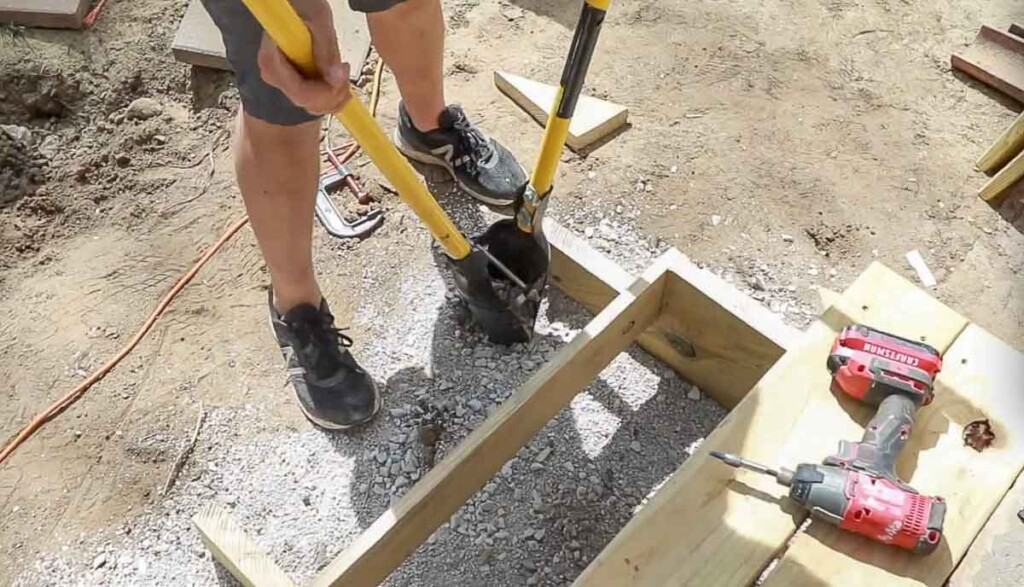
Before placing the bottom treads and riser on, we dug and placed the hand rail post. Luke used a post hole digger to dig a 20” hole.
Place the 4×4 post in the hole and add concrete for stability. Let the post cure for 24 hours in the correct position. You may need to use pieces of wood to shim it and keep it level while it dries.
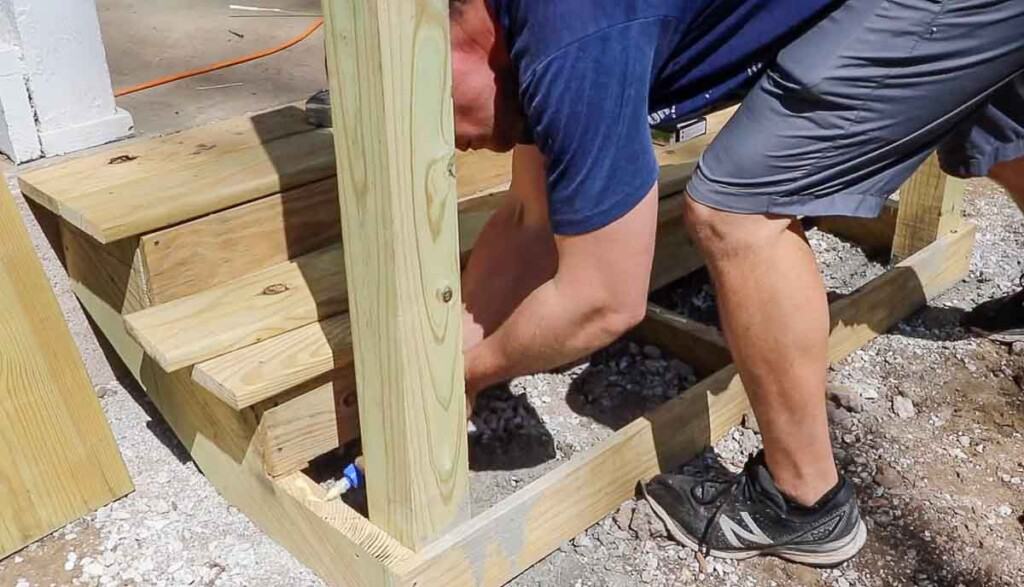
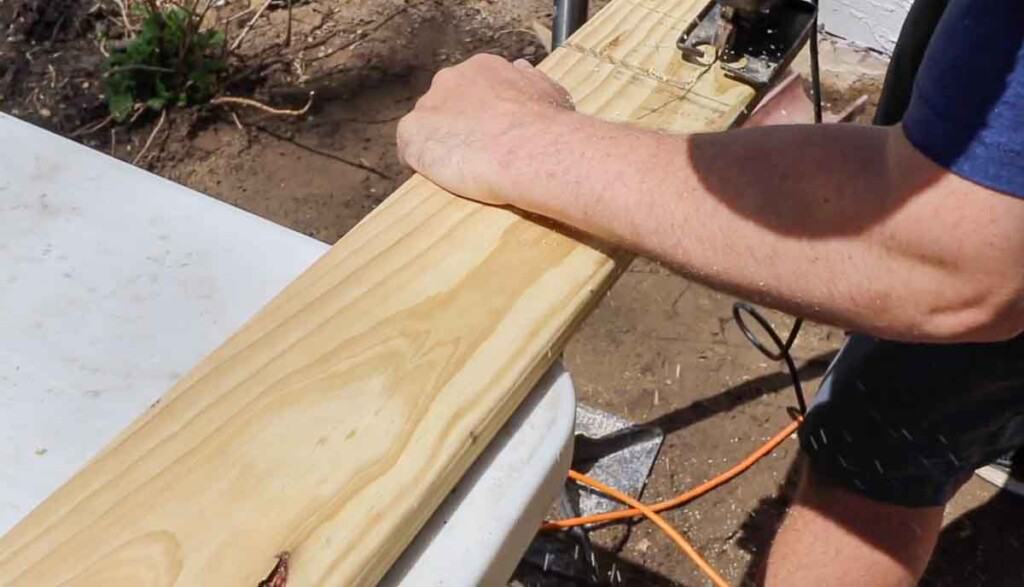
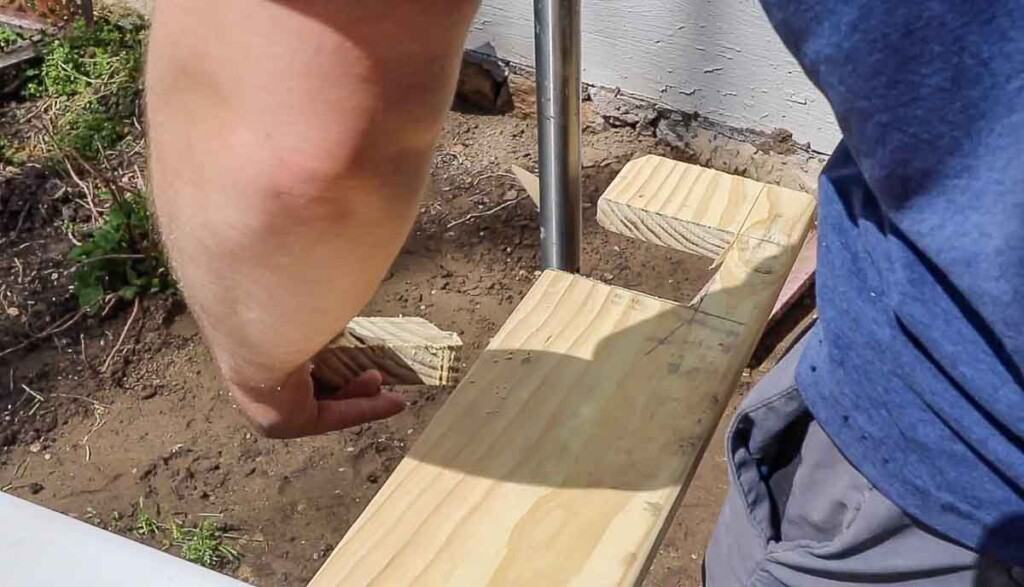
Once the posts were in place, the bottom treads were added. Add the back one, and then mark out and cut around the post for the front tread. Secure in place.
Step 5: Build The Hand Rail
This is the scary part. If you cut the post in the wrong spot, you have to dig it all out and redo it.
You will want to figure out where you want your hand rail to sit on the post. We wanted to place a 2×4 on top of the rail to finish it off, and we wanted it to line up nicely with our front porch railing.
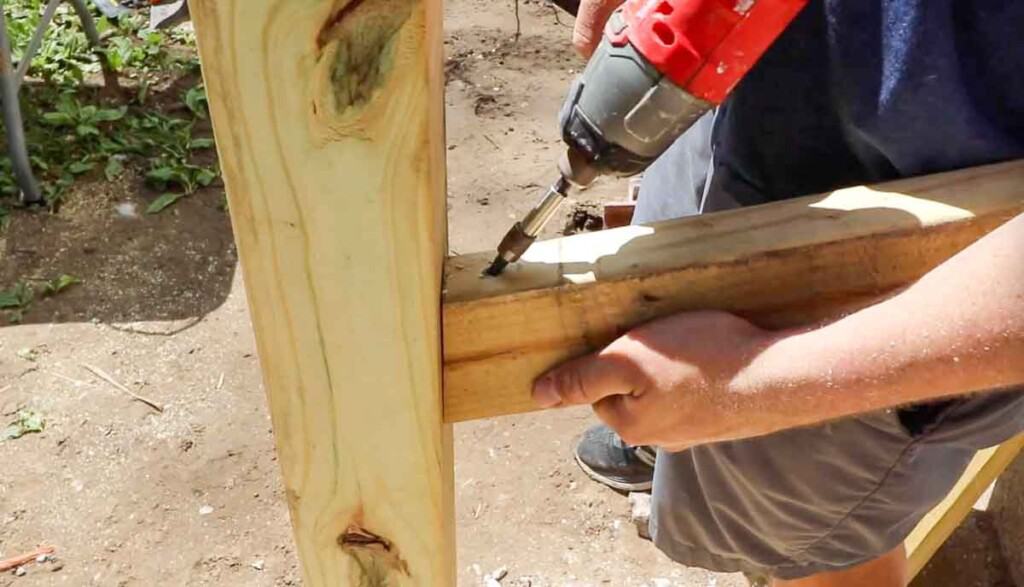
So we cut the railing at a 15 degree angle (the standard is to cut it at a 30 degree angle, but since our house is old and nothing is standard, the 30 degree angle would have made the hand rail really short) and attached it at a 2×4 width (about 2 inches) below the top of where our front porch railing was.
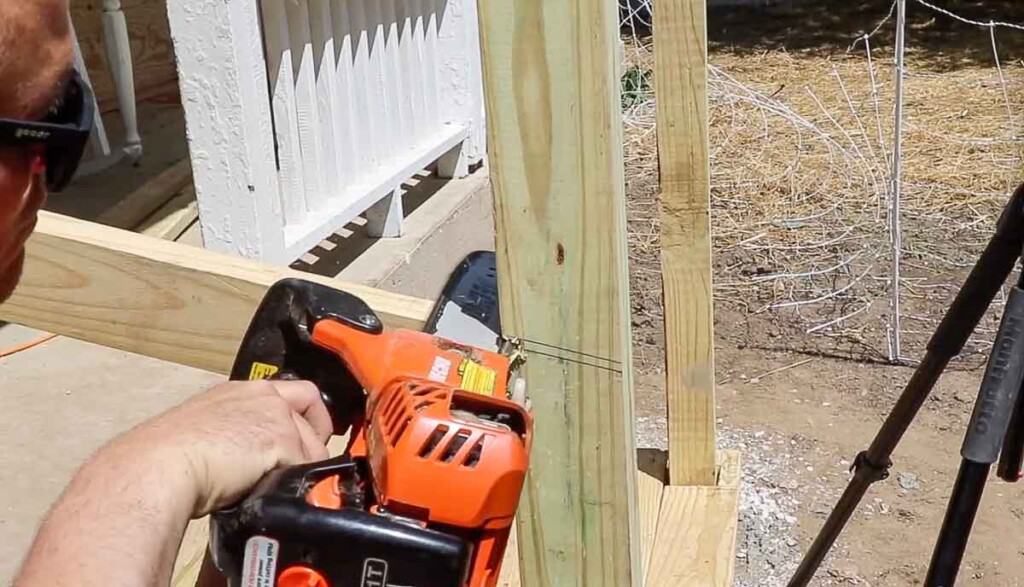
On the bottom posts, mark a straight line where the 2×4 hits. Cut the posts. We used a chainsaw. Repeat these same steps on the other side.
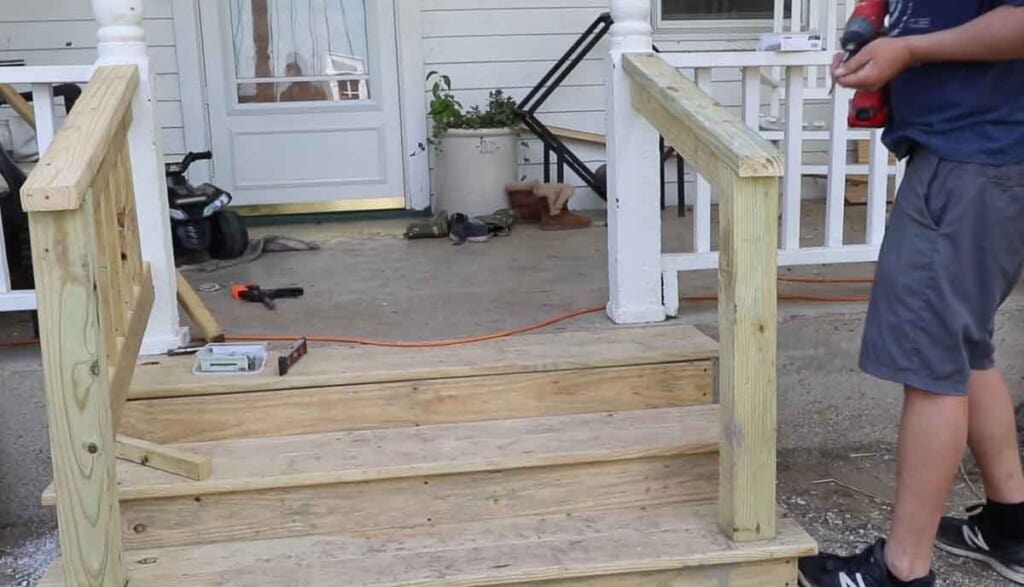
Then we added the top 2×4 on top of the railing to finish it off. We measured the length we wanted, then cut each end at a 15 degree angle to give it a finished edge (and so it attached nicely to the porch). We secured it with decking screws.
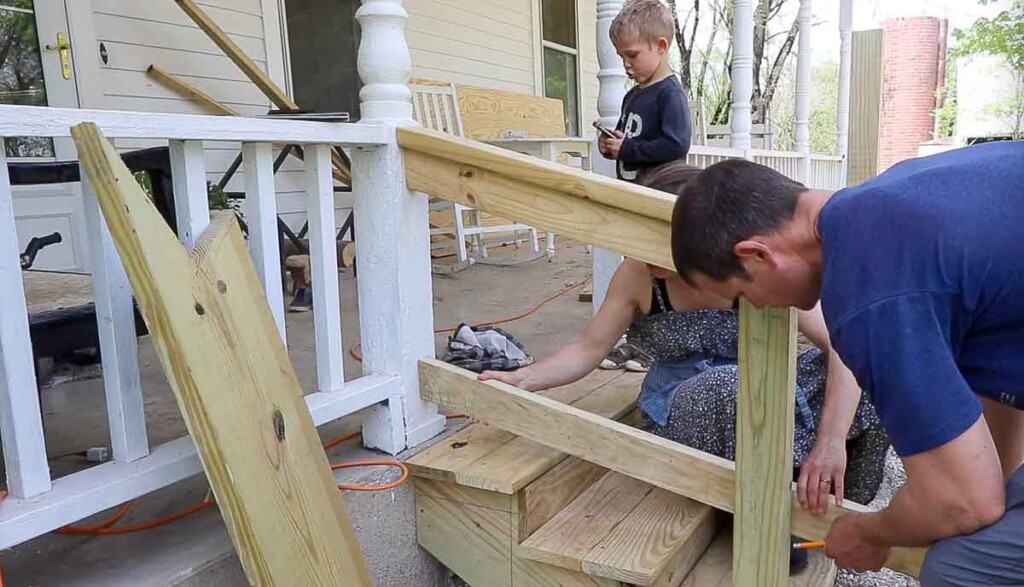
Next, we added the bottom part of the hand rail. We cut it at a 15 degree angle, then held it up and measured it to the post and cut the end at a 15 degree angle and attached it with decking screws.
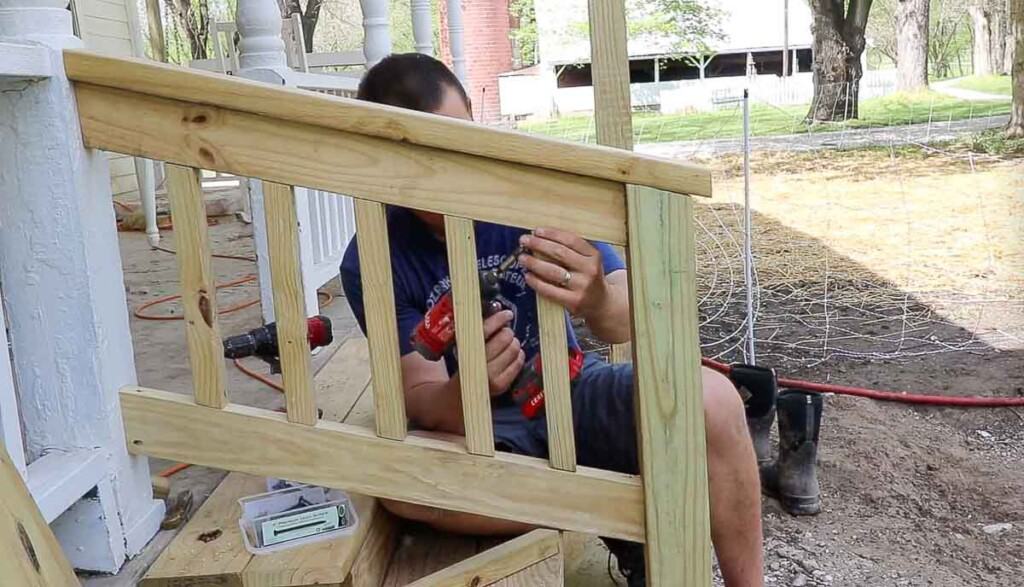
Lastly, we added the spindles. I measured every 5 inches and marked it on the 2×4. This mimicked what was already on our front porch. We cut each 2×2 to size on a 15 degree angle and screwed them in.
Repeat on the other side.
Step 6: Cover The Sides Of The Steps
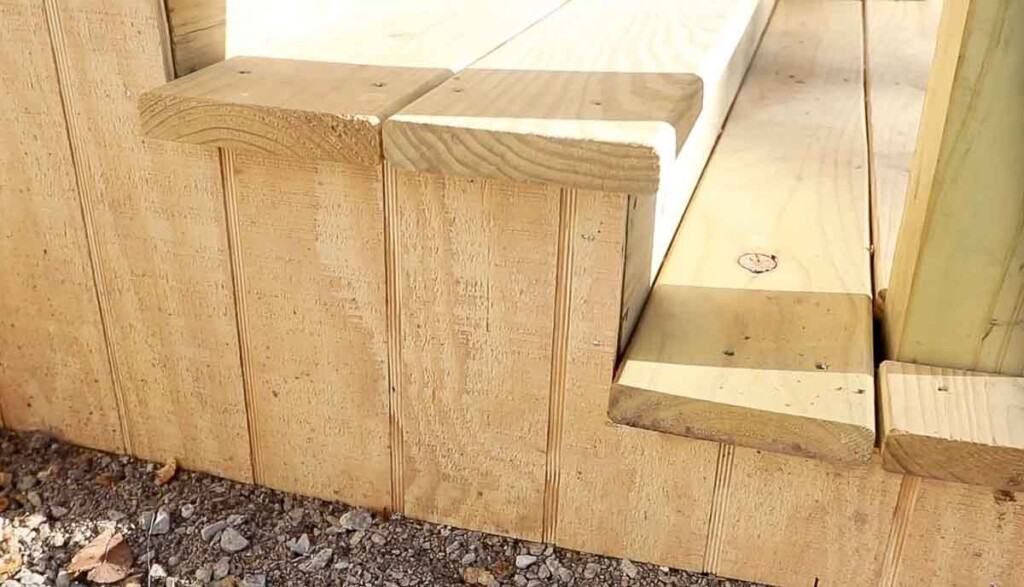
The very last step of the project was to cover the sides of the stairs with siding. Just measure the sides of the steps where the stringers are, the bottom step, top of the step, and the area in between.
He made a template out of cardboard, then cut out the siding. Putting it in place, we secured it with nails.
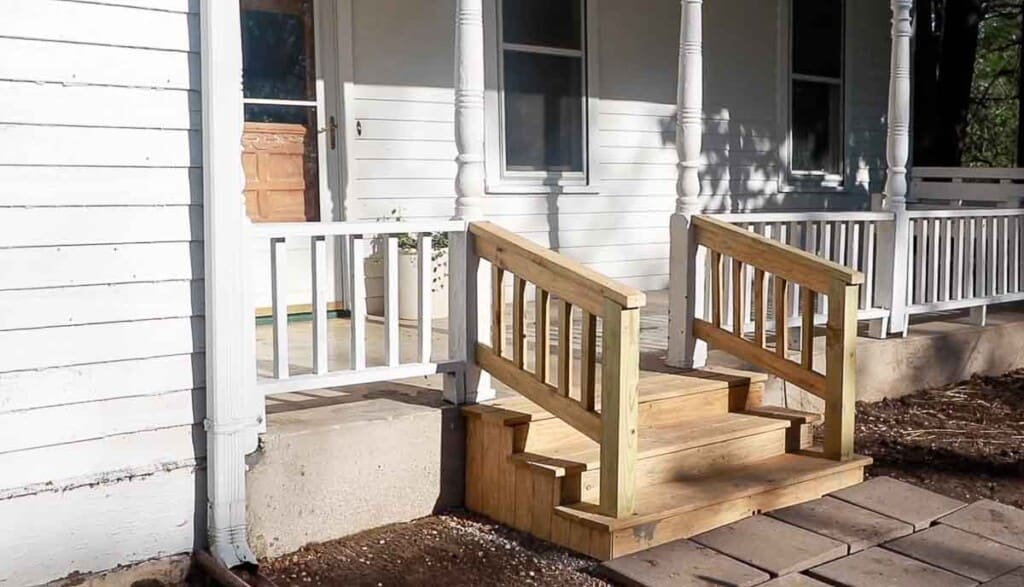
Done! Well, almost. You will still want to finish the steps with either paint or stain. I would have loved to stain the treads and then paint the risers, sides, and railing white. But because I will be painting the concrete porch with an anti-slip concrete coating and I want it to look cohesive, I’m going to paint the top of each step that same color.
The risers will be painted white, and the handrails and spindles also white. It’s going to look seamless and beautiful.
I hope you enjoyed learning how to build front porch steps and following along on part of our Victorian front porch makeover. We have a few more projects in the works, like new wood working to match the other original woodwork on the outside of the farmhouse, flagstone pathways, and so much more.
Find More Farmhouse DIY Projects:
- Victorian Farmhouse Pantry Reveal
- DIY Faux Fireplace
- DIY Hearth Pad
- How To Build Farmhouse Window Trim
- DIY Window Box
If you try this project and love it, I would love if you could come back and give it 5 stars!





Hi Lisa, I would love to know what color paint was used on the exterior of your house and on the trim . Our 1904 farmhouse is currently a sage green, but I’d love to brighten it up. Looks like you used the perfect white! Thank you.
Good to know the secrets of building stair porches!
love ur front step but I would of made it wider to the next set of posts
I come across your posts occasionally, and while I appreciate the initiative you guys take, I am amazed at the lack of disclaimers you show regarding IBC and IRC. I live in a rural area and built my own house as well. However, I don’t just follow code, I exceed it in every aspect. No matter what. Code is a bare minimum set of rules and guidelines that are supposed to ensure your safety as well as the safety of others visiting your home. The post that I just saw regarding your front steps had me shaking my head. One of the most blatant code violations is your handrail. There are very specific guidelines regarding handrail and they are there for a very specific reason. In addition, while your attachment detail at the top of the stringers to the porch might hold up for a few years, it is going to fail. Putting fasteners at the end grain of a wood stringer is a disaster waiting to happen. There are a lot of stair and step building blogs out there that show the proper way to do this, as well as do it to meet code. I won’t go into those details as I have a suspicion that you already know them. I think it is irresponsible for you to post this for Those that are not familiar with code, or the reasoning behind the guidelines. Of course, this is just my opinion. On the other hand, I have been building high end residential homes and commercial buildings for 35 years. My intent is not to Bad mouth your posts, simply to mention that you should make clear that you’re methods are not up to standard as far as building code is concerned.
This post is to provide DIY inspiration for old house owners who have interesting heights and layouts. Nothing is code in this 1860s farmhouse. Thank you for all this info. You bring up a lot of good points!
I was hoping to pick up one or two new tips from your video but I was disappointed. To begin, there was no mention of whether you used treated lumber for the stringers and header, which would be standard and requires corrosion resistant fasteners for the brackets. It does look as though you are actually using 5/4 deck boards, which are treated, rather than the 1x material you indicated. If I understood correctly, you have only three stringers over a 54″ span which certainly does not meet code. The instructions are confusing because of the incorrect use of terms, for instance width instead of length and front instead of face (a board does not have a “front”). There were many other errors that I won’t get into. Please double check your building codes and construction techniques so that somebody else doesn’t do it wrong.
After posting a reply to this blog, I came across yours. I almost thought I was reading mine. I’m glad you noticed the same things I noticed. I would hate to think that everyone reading that would believe that it’s ok to follow the protocols shown. It’s hard to believe that there are so many code violations in just a couple of stringers and three steps.
We appreciate your tutorial! We plan to follow your guide. Thank you for posting.
Lisa. It’s so pretty. I walk by your place everyday and I’m always full of curiosity of what you all are doing on any given day. The nw pasture fence gives our little neighborhood a rich country update! I’m happy to have you as neighbors and I love the farm sounds as I walk by….especially the sounds of children laughing and playing OUTSIDE.
This looks great! You always amaze and inspire me!
Way to go, Luke and Lisa. The steps look great. I also love your white screen door. Have a great week.
This looks so good! Well done!