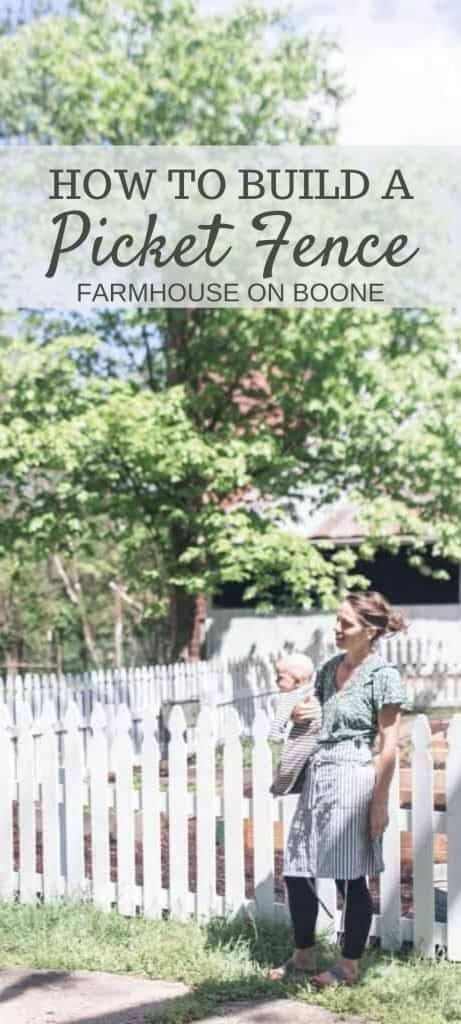
Learn how to build a picket fence with this easy tutorial. With a few simple materials and tools, you can build a beautiful fence for your garden or backyard.

We have been super busy on the homestead lately. All last year, we worked on making the inside of the new farmhouse beautiful and livable, since a functioning kitchen is kind of important.
Spring is naturally a busy time on a homestead, and we have put all our focus on getting the outdoors ready for summer.
With all the craziness going on in the world, and the projected food shortages, it is the perfect time to work on becoming more self-sustaining. Which is one of the reasons we wanted to buy a farm in the first place.
From growing and preserving our own food, to daily, fresh raw milk, to raising bees for honey … sure, it is a lot of work. However, it brings so much joy and pride when you do these things yourself.
There is nothing like waking up in the morning to pour yourself a cup of coffee and adding a splash of raw milk.
So, as we finished up creating the rest of our cedar garden beds, I knew that we needed something that was aesthetically pleasing to the eye, while also keeping out some critters and protecting our precious harvest.
This DIY picket fence is just the cherry on top for our garden. I can’t wait to look out to a white picket fence with roses climbing the sides, wild flowers blowing in the breeze, and an abundance of fresh, organic veggies.
Such a dreamy time.

Tips For Building A Fence:
- You could use single pickets like we did, or you could use pre-made fencing. Make sure you measure how long each fence portion is to know where to place the posts.
- Don’t forget about a gate. Create one, or find an old antique door or even a metal, twin bed headboard.
- You can paint or stain your fence. If you plan to stain your fence, you may want to opt for cedar.
- When you are getting towards a corner, the pickets may not line up evenly, so start spacing the pickets out a little farther so the corner picket lines up well.

A Few Mistakes We Made In Building Our Fence:
Most of the time when Luke and I are building something, (or when I am cooking, sewing, doing anything for the first time) we are learning as we go. There are a few things I would change about the fence, now that it is in.
- I would buy 12′ 4X4 lumber for the posts. If you cut that in half, you have two 6′ 4X4 pieces. Once those are sunk into the ground 2′ you are left with 4′ above ground, as opposed to the 2′ above ground we have. We were modeling our fence after a neighboring fence on an old farmstead. They have the posts mostly hidden inside with the stringers only about halfway up. Looking back, I would rather them come all the way up.
- I would recommend painting all of the lumber and pickets before putting it all together. It is difficult to get the paint into all of the little grooves.
- As opposed to using 1X4 stringers, I would recommend 2X4s for more durability.
This post contains affiliate links, which means I make a small commission at no extra cost to you. See my full disclosure here.
Tools And Materials You May Need:
Miter saw or circular saw
Brad nailer and air compressor – you can use a cordless brad nailer like this one.
Pickets- we ended up using 400 pickets to make our large fenced in garden.
Treated 2×4 pine – (We chose pine since we painted it, but if we were staining it, we would’ve used cedar. Originally, we used 1x4s, and if given the chance to do it again, we would use 2x4s for more support.
4×4 pressure treated posts
Screening rock
Pea gravel
Screws
Level
Gate hinges and latches
Optional: fence stringer brackets. We opted to just screw the stringers to the posts, but you could also use these brackets.

How To Build A Picket Fence
Measure
- Measure the area for the fence and draw a line using spray paint, or use stakes and strings to mark the area.
- Starting at one corner, mark where you want the post to go.
- Mark every 8 feet for the posts. Figure out where you want the gate to go, and mark posts at least 4 feet apart. If you are using pre-made fencing, measure the length of the fence to know how far apart the posts need to be.
Dig And Place Posts
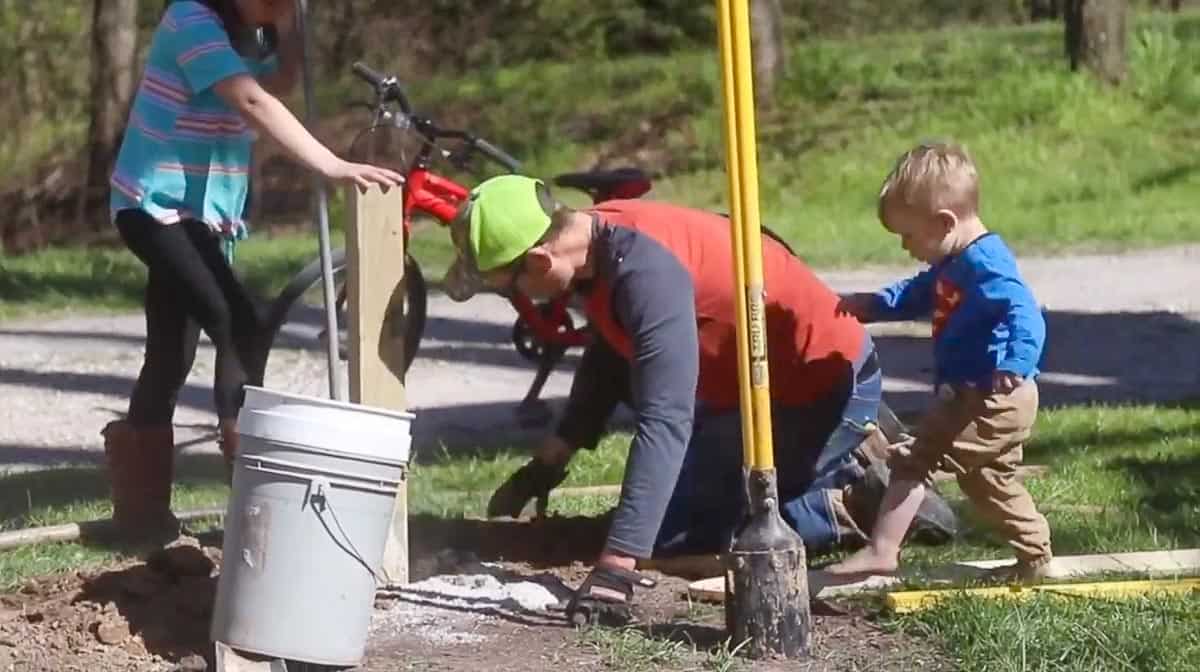
- Using a post hole digger, dig out a hole at least 15-18 inches deep.
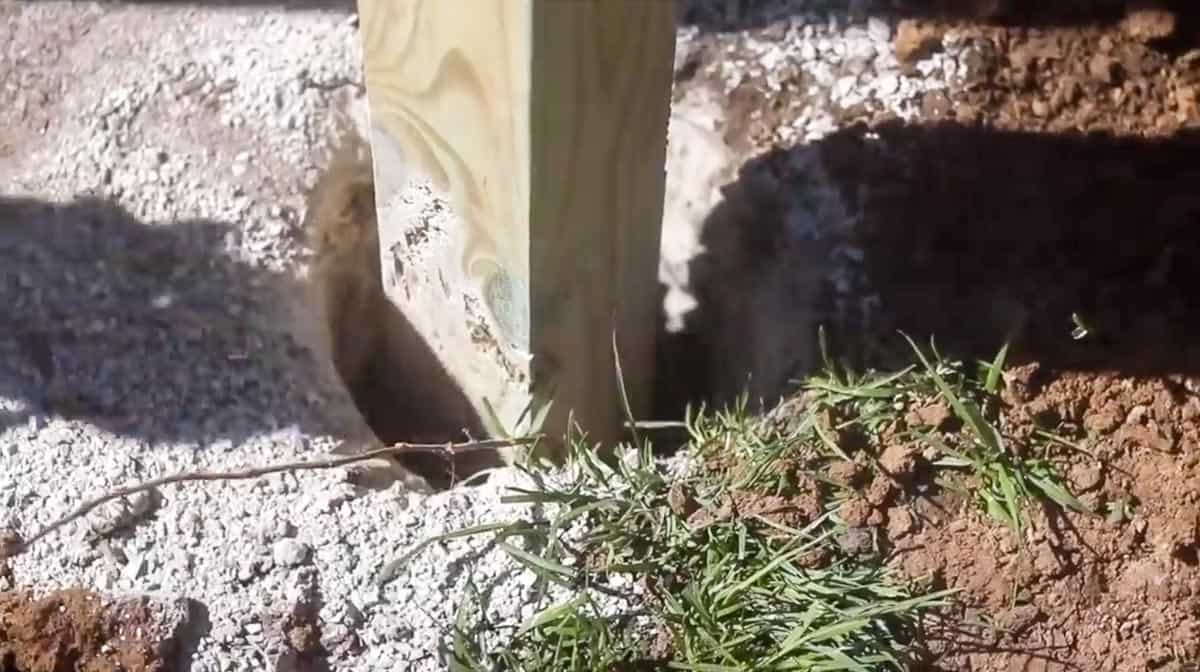
- Add a little screening gravel to the bottle of the hole and place the post down in the hole.
- Make sure it is level.
- While holding the post level (a second person is helpful, or creating braces using wood and stakes will do the trick), start layering dirt and screening rock, tamping it down well.
- Keep layering and tamping it down until the post is secure and the dirt is level with the ground.
- The goal is to get all the dirt you have taken out to make the hole, back into the hole.
- You could also use concrete or fence post mix.
- Continue doing this with each post until all of your posts are up.
Add Stringers To Posts
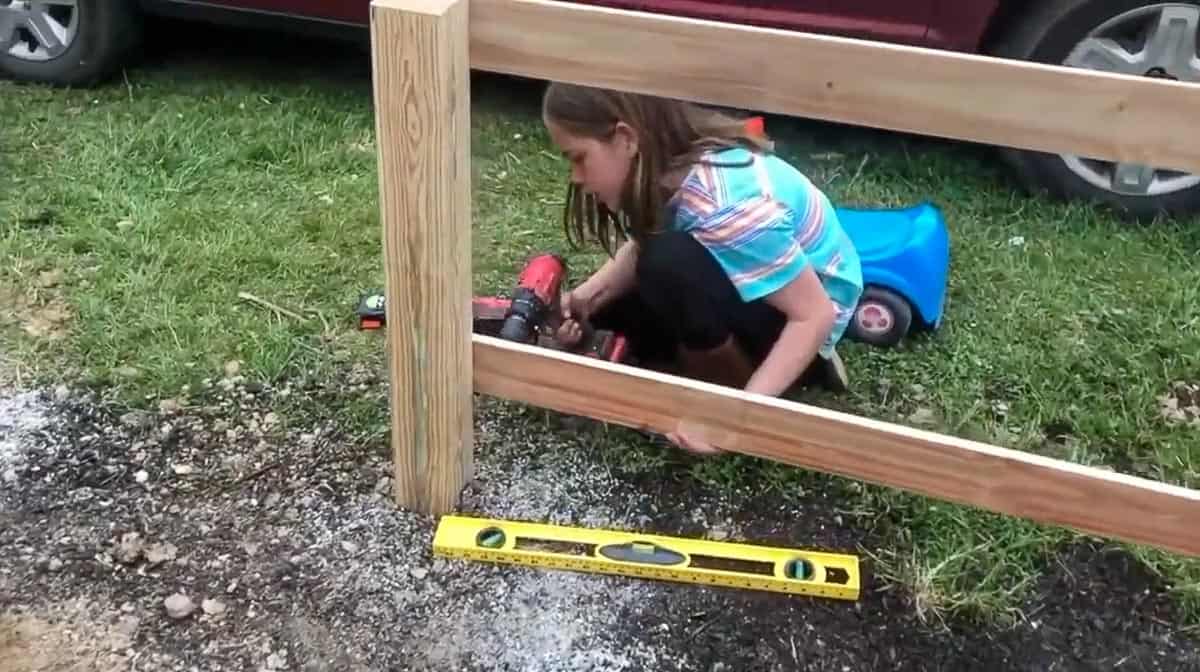
- Measure and cut 2×4 stringers to fit between each post.
- You can use metal fence brackets or just screw the stringers directly to the posts.
- Place one stringer about 4 inches off the ground, and then another about 24 inches from the ground.
- Make sure the stringers are level before screwing them onto the posts.
Nail Pickets
- Once you have all your stringers in place, it is time to start installing the pickets, starting at or near your post.
- Place pickets 1″ off the ground, 2.5″ apart.
- Our ground is not completely level, so we followed the ground line.
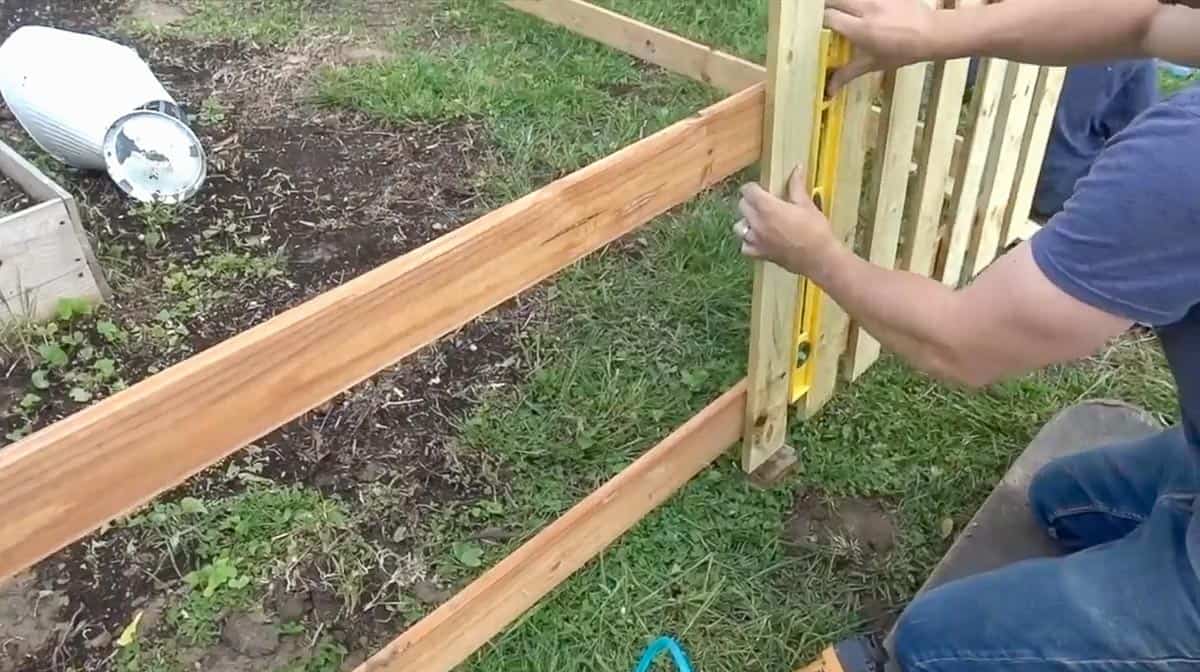
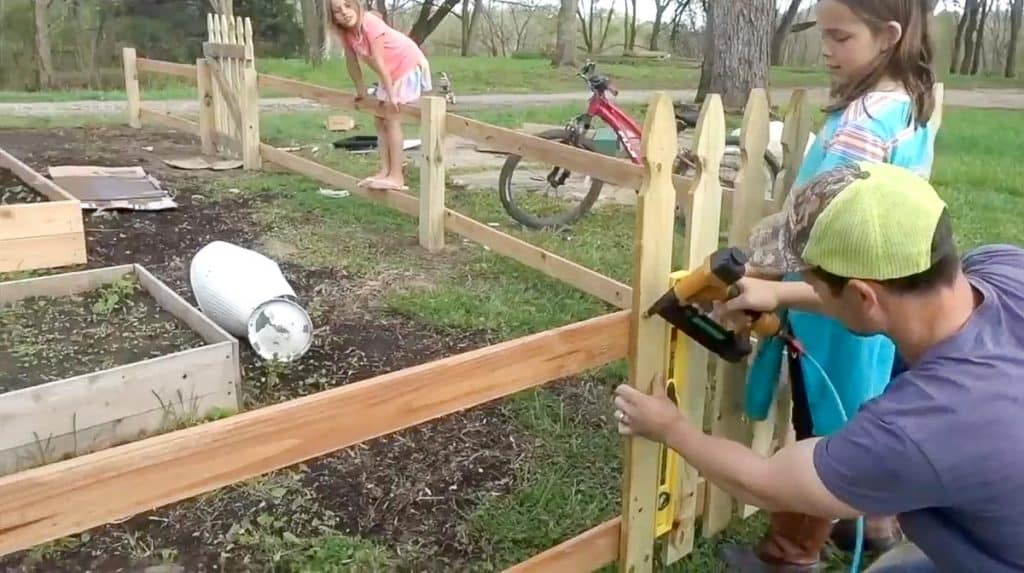
- Using a brad nailer, nail each picket into place 2.5 inches apart.
- Our level was actually perfect to use as a spacer, making it easy to nail pickets into place.
- When you are getting towards a corner, the pickets may not line up evenly. Start spacing the pickets out a little farther, so the corner picket lines up well.
Paint Or Stain
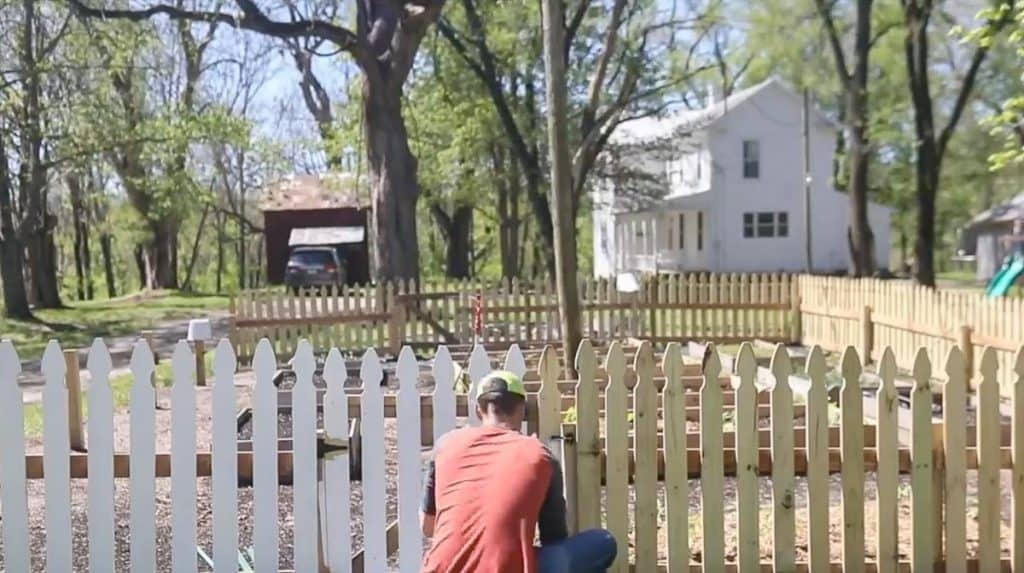
- Once your fence has been completely installed, it is time to paint or stain.
- You can use a paint brush or roller. If you don’t have anything planted yet or don’t care about getting paint everywhere, you can even use a paint sprayer.
- Once the fence is dry, add post caps.
- These are not only pretty, but they can also help the posts last longer by keeping water away from the end grain.


Find More Farmhouse Projects
How To Build A Chicken Tractor
Victorian Farmhouse Kitchen Reveal
If you try this tutorial and love it, I would love if you gave it 5 stars! Tag me on Instagram @farmhouseonboone with your delicious creation.
How To Build A Picket Fence

Equipment
- Post hole digger
- Miter saw or circular saw
- Brad nailer and air compressor or cordless version
- Level
Ingredients
- Pickets- we ended up using 400 pickets to make our large fenced in garden.
- Treated 2×4 pine
- 4×4 pressure treated posts
- Screening rock
- Pea gravel
- Screws
- Gate hinges and latches
- Optional: fence stringer brackets. We opted to just screw the stringers to the posts, but you could also use these brackets.
Instructions
- Measure the area for the fence and draw a line using spray paint, or use stakes and strings to mark the area.
- Starting at one corner, mark where you want the post to go.
- Mark every 8 feet for the posts. Figure out where you want the gate to go and mark posts at least 4 feet apart. If you are using pre-made fencing, measure the length of the fence to know how far apart the posts need to be.
- Using a post hole digger, dig out hole at least 15-18 inches deep.
- Add a little screening gravel to the bottle of the hole and place the post down in the hole.
- Make sure it is level.
- While holding the post level (a second person is helpful, or creating braces using wood and stakes will do the trick), start layering dirt and screening rock, tapping it down well.
- Keep layering and tapping it down until the post is secure and the dirt is level with the ground.
- Continue doing this with each post until all of your posts are up.
- Measure and cut 2×4 stringers to fit between each post.
- You can use metal fence brackets or just screw the stringers directly to the posts.
- Place one stringer about 4 inches off the ground, and then another about 24 inches from the ground.
- Make sure the stringers are level before screwing them onto the posts.
- Once you have all your stringers in place, it is time to start installing the pickets, starting at or near your post.
- Place pickets 1″ off the ground 2.5″ apart.
- Using a brad nailer, nail each picket into place 2.5 inches apart.
- Once your fence has been completely installed, it is time to paint or stain.
- Once the fence is dry, add post caps.
Notes
- When you are getting towards a corner, the pickets may not line up evenly. Start spacing the pickets out a little farther, so the corner picket lines up well.
Nutrition information is automatically calculated, so should only be used as an approximation.
Pin It For Later
