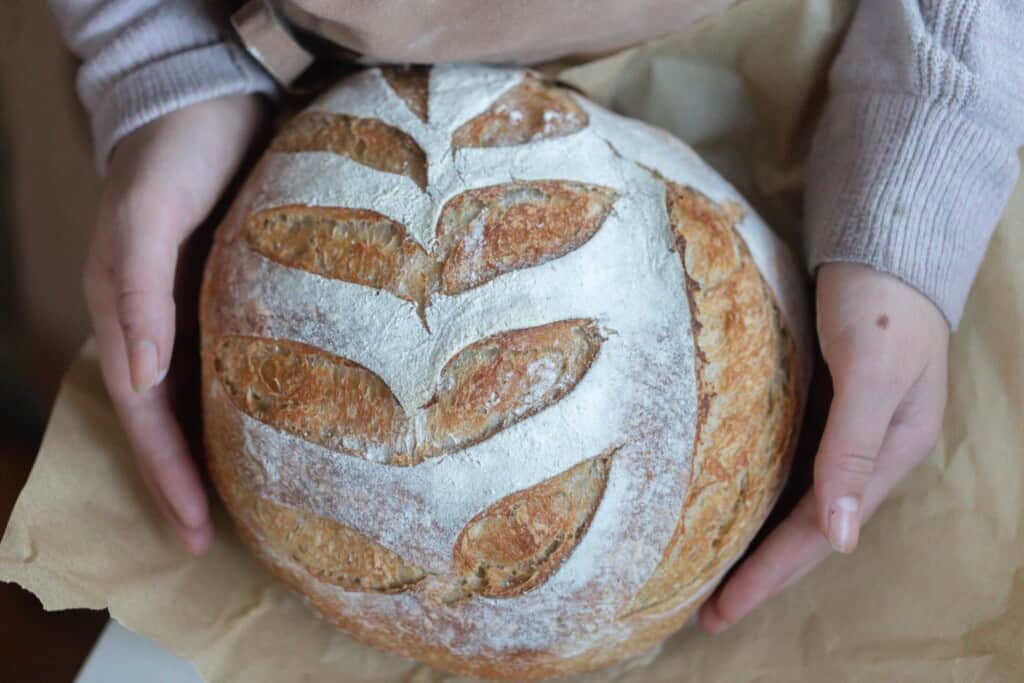
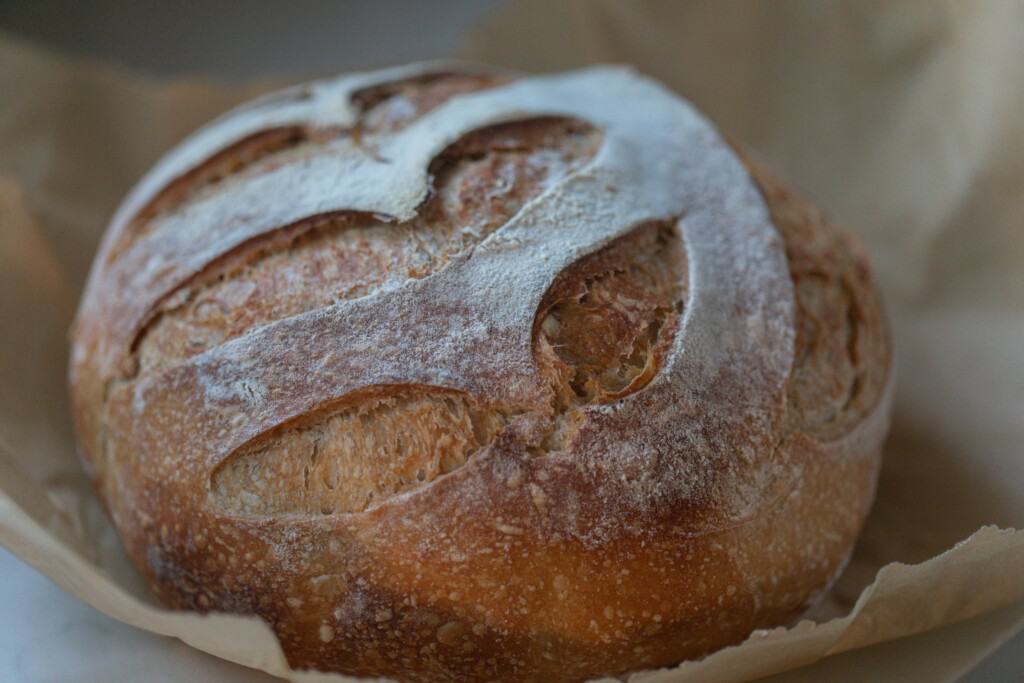
Sweetened with honey instead of granulated sugar, this Honey Sourdough Bread is soft and delicious. With a beautiful airy, fluffy crumb and a golden brown exterior, this has quickly become one of our family favorites. Enjoy it with a little butter and jam for breakfast or create a delicious sandwich for lunch.
I get asked a lot about subbing honey for regular granulated sugar.
You’ll find I use honey in many of my recipes. I love to use it in my no-knead 100% whole wheat sourdough bread because it makes it much softer and less dense than it would be without it.
Subbing it in recipes that call for sugar is not usually as simple as a one-to-one sub, though. So, for those of you honey lovers out there, I decided to experiment making my no-knead loaf with this delicious natural sweetener!
I have to say, I loved the end result! Honey yields a softer loaf with that tangy flavor and crusty exterior we all know and love. My kids can’t get enough of it. I have a feeling I’ll be making this loaf on repeat now for quite some time.
We have been enjoying a slice for breakfast. With a little raw milk butter on top, its a perfect side for our farm fresh eggs.
If you love this recipe as much as I do, I’d suggest stocking up on honey!
What is no knead sourdough bread?
This is a no knead recipe. Instead of kneading your bread, no knead bread involves what we call stretch and folds. The process of stretching your dough and folding it back in is how the gluten develops on these loaves.
To do a stretch and fold, simply grab the edge of the bread dough firmly and pull up, stretching it upwards. Then place the dough in your hands into the center. Turn the bowl about a quarter turn and do this stretch and fold again, and again one to two more times. This is considered one stretch and fold round.
This recipe requires 6 rounds of stretch and folds. Every recipe will vary!

Why you’ll love this recipe
- Softer than a traditional loaf – Honey gives you a softer loaf, but still with that crusty exterior we all know and love.
- The health benefits of sourdough – Sourdough bread is a fermented bread that uses natural wild yeast to rise. Fermented grains tend to be more easily digested and provide beneficial bacteria for better gut health.
- Full of flavor – Tangy sourdough and the sweetness of honey will have your tastebuds singing.
Tips
- You will need an active starter to get the best results. Check out how to make a homemade sourdough starter here.
- To avoid a crust developing on your bread dough, be sure to cover it during the first rise with a damp towel, beeswax wrap, or plastic wrap.
- The rise time will vary depending on the temperature of your home, maturity of your starter and hydration status of the loaf.
- To get the perfect bread, I recommend using a kitchen scale to weigh your ingredients. If you do not have a kitchen scale, you can use my baking conversion chart here to convert your measurements into volume.
- New to sourdough? Check out my course Simple Sourdough to go from beginner to pro in no time.
This post contains affiliate links, which means I make a small commission at no extra cost to you. See my full disclosure here.
Ingredients
Sourdough starter, bubbly and active – Learn how to make your own sourdough starter here.
Water – For best results, use filtered water.
Honey – I prefer to use raw honey. Local honey is always best, too, if you can find it!
All purpose flour
Bread flour – If you do not have bread flour, you can replace it with more all purpose.
Whole wheat flour
Salt
Tools You May Need
Kitchen Scale
Scoring Lame or Razor Blade
How to Make Honey Sourdough Bread
Feed a sourdough starter 4-12 hours before starting the bread, ensuring it is active and bubbly. The time it takes for your starter to become active depends on many factors, such as the temperature in your home, altitude, and maturity of your starter.
Mix Ingredients
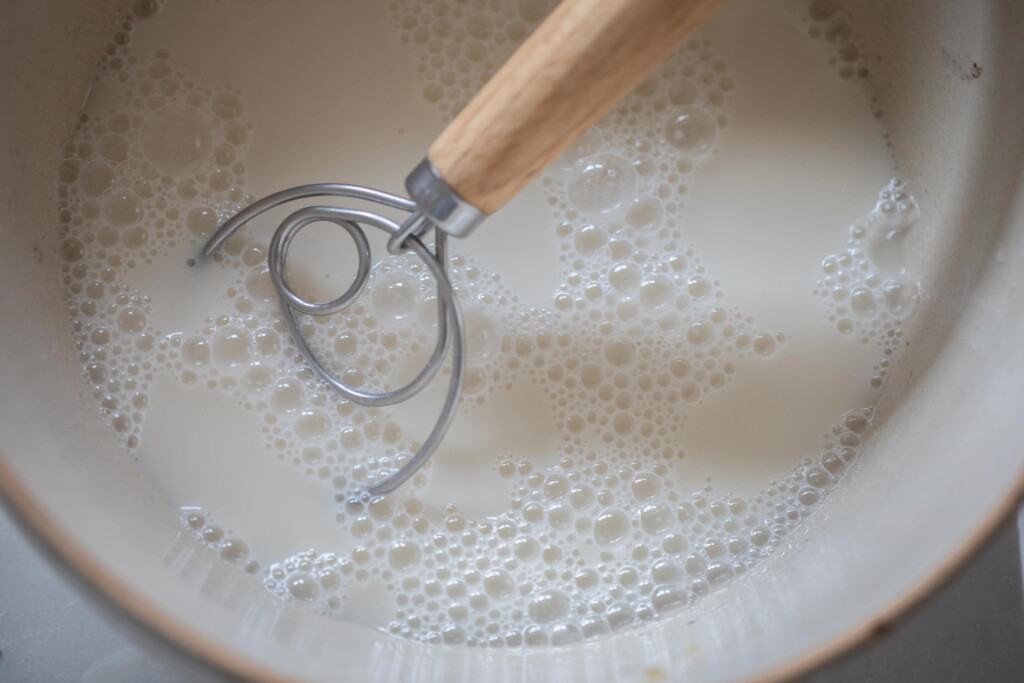
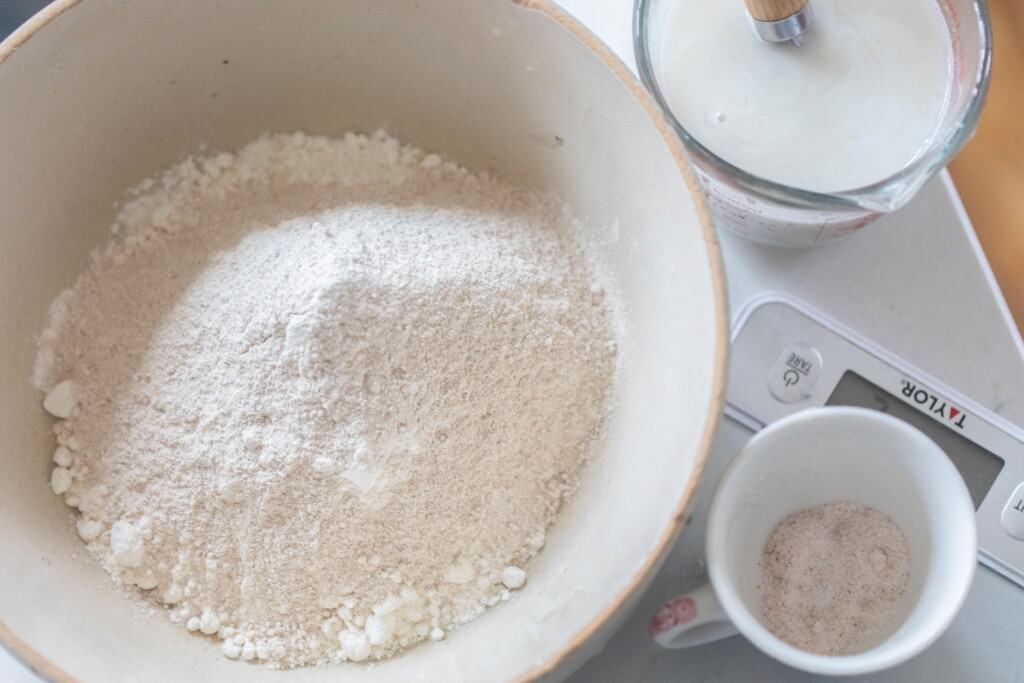
Mix your starter, water, and honey in a large bowl.
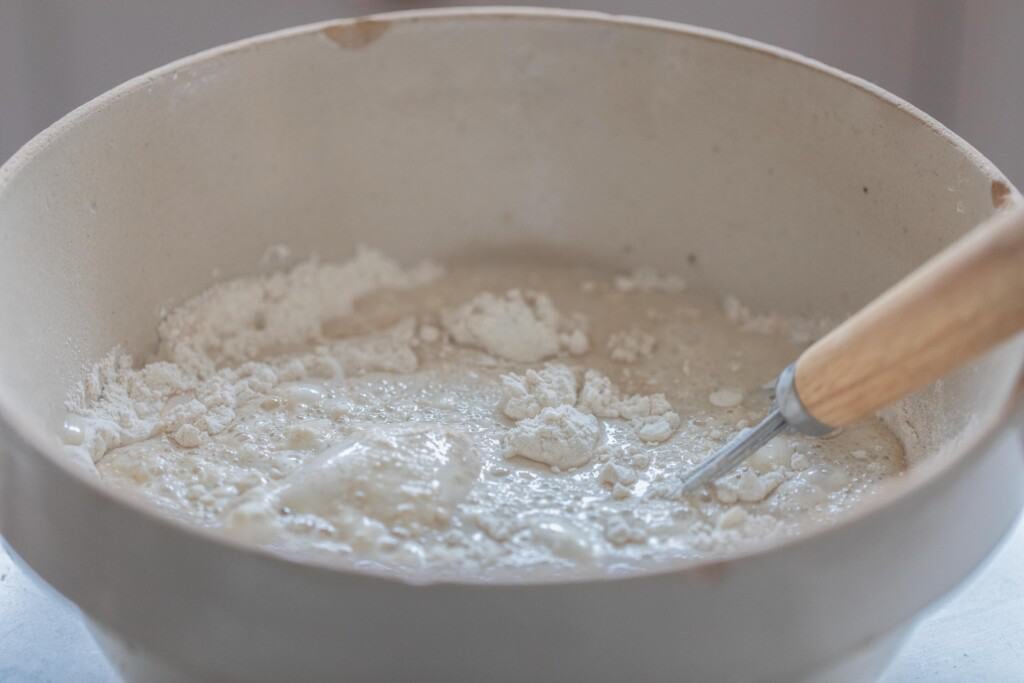
Add in flour and salt and mix with your hands to make a shaggy dough.
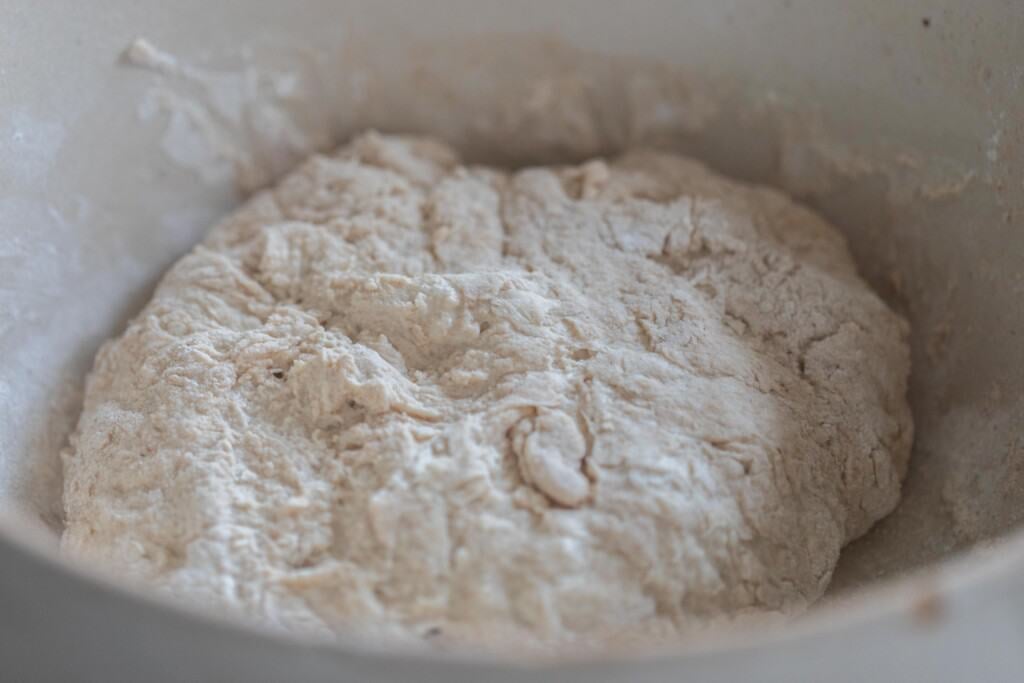
Cover the dough with a damp towel or beeswax wrap and allow to autolyse for 30 minutes. Autolyse is the process of hydrating the flour.
Stretch And Fold
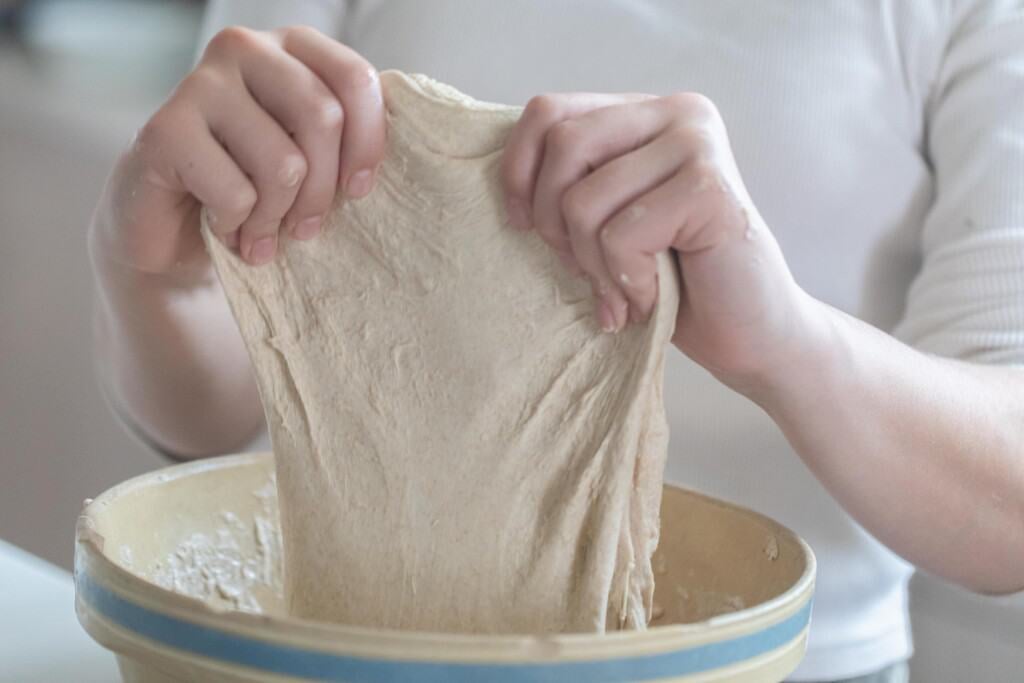
To develop the gluten and obtain a nice rise, you will want to do 6 rounds of stretching and folding.
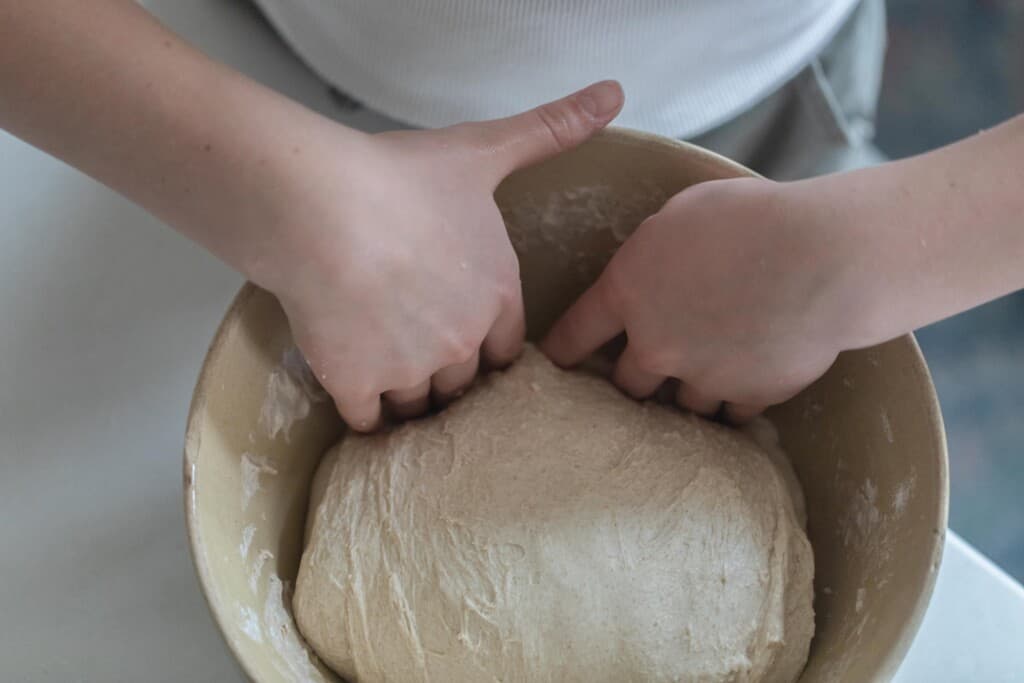
While the dough is in the bowl, grab the edge of the dough firmly and pull up, stretching it upwards. Then place the dough in your hands into the center. Turn the bowl about a quarter turn and do this stretch and fold again, and again one to two more times. This is considered one stretch and fold round. Repeat according to the directions below. Dip your hand in water if the dough is too sticky.
First 3 stretch and folds – every 15 minutes.
Last 3 stretch and folds – every 30 minutes.
Bulk Ferment
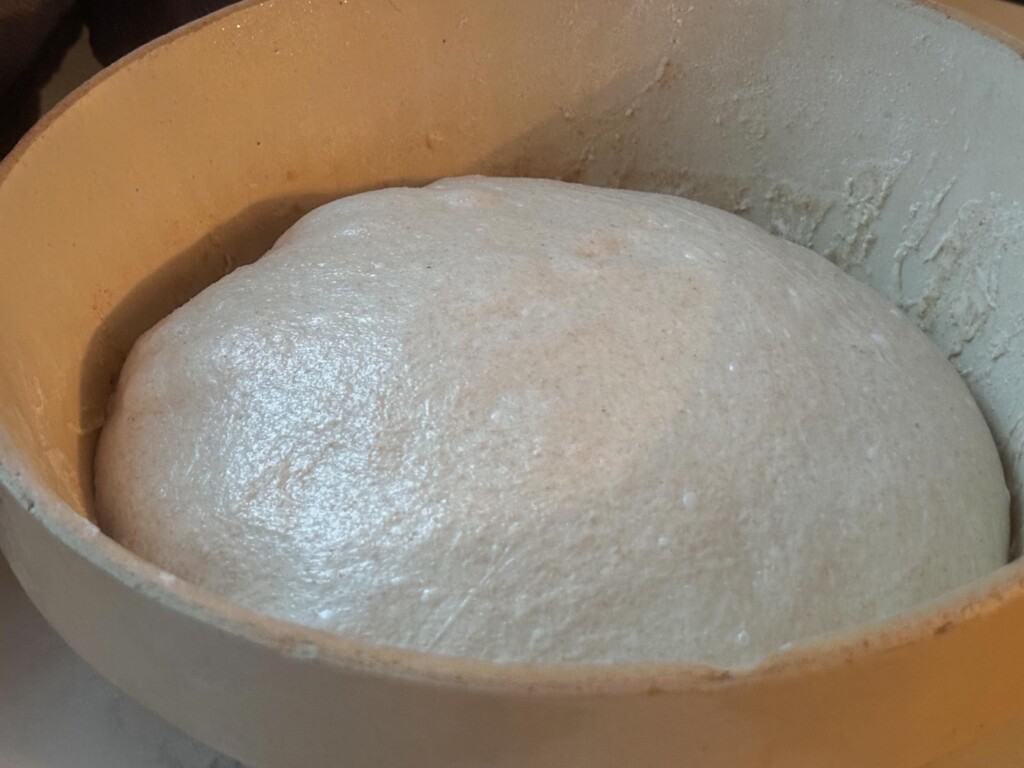
Cover with a wet towel or plastic wrap and allow the dough to bulk-ferment until doubled. The time this takes will vary for everyone and is dependent on many factors, including your environment and the maturity of your starter.
When it’s done, there should be bubbles all over the surface of your dough.
Shape
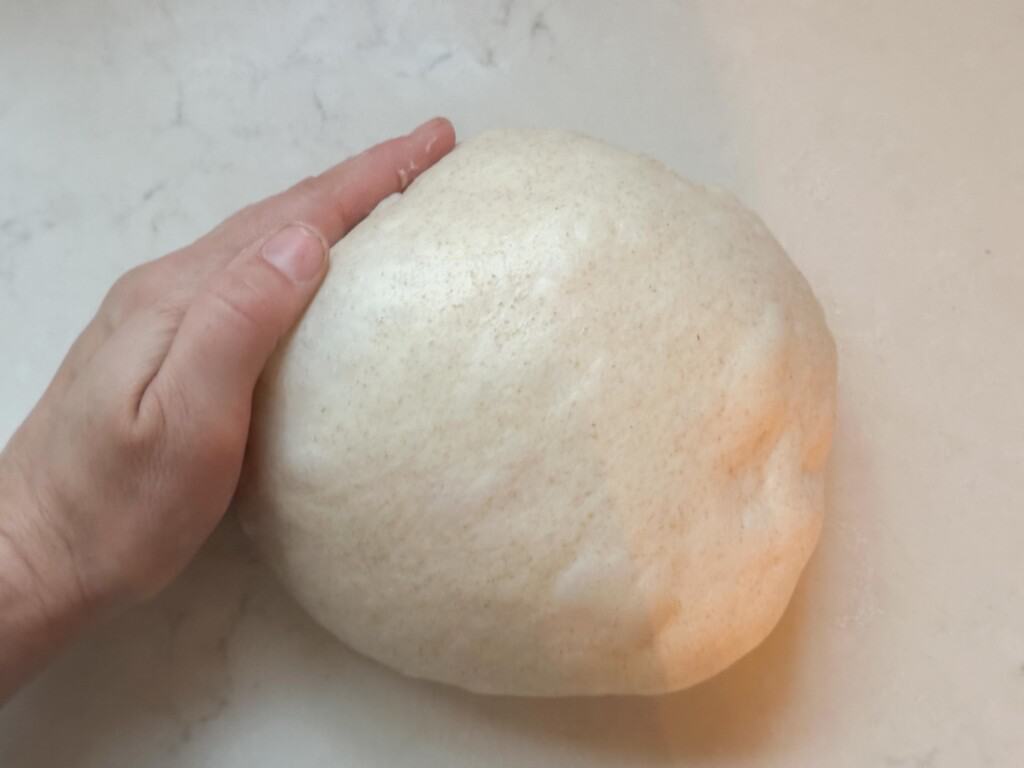
Shape into a ball by gently spinning it toward you.
Set out 15-20 minutes uncovered. This allows the surface to develop a skin, so that it doesn’t stick to the tea towel during the overnight rise.
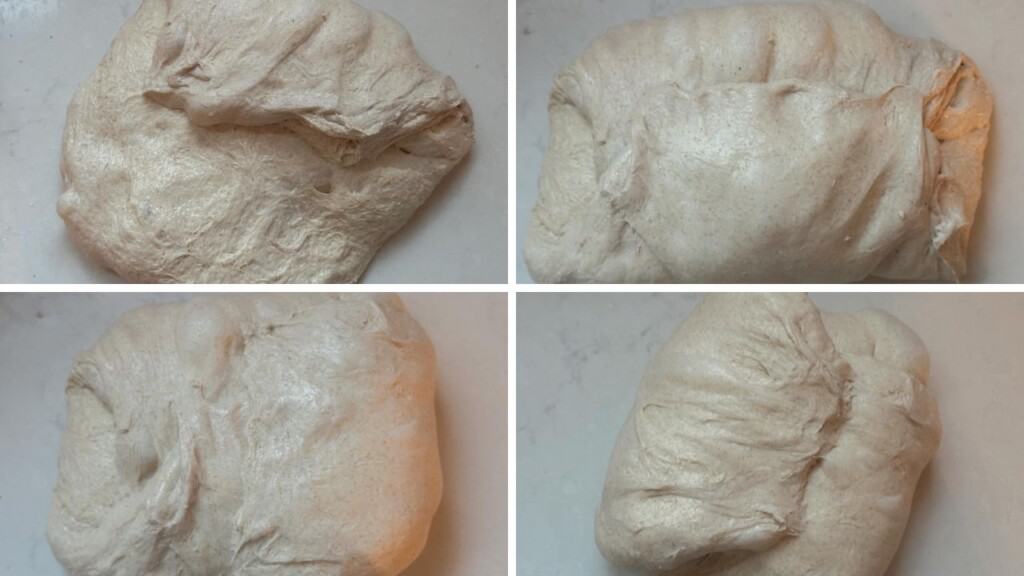
Turn over and shape. I do this by folding the two sides over to meet in the middle, and then the other two sides.
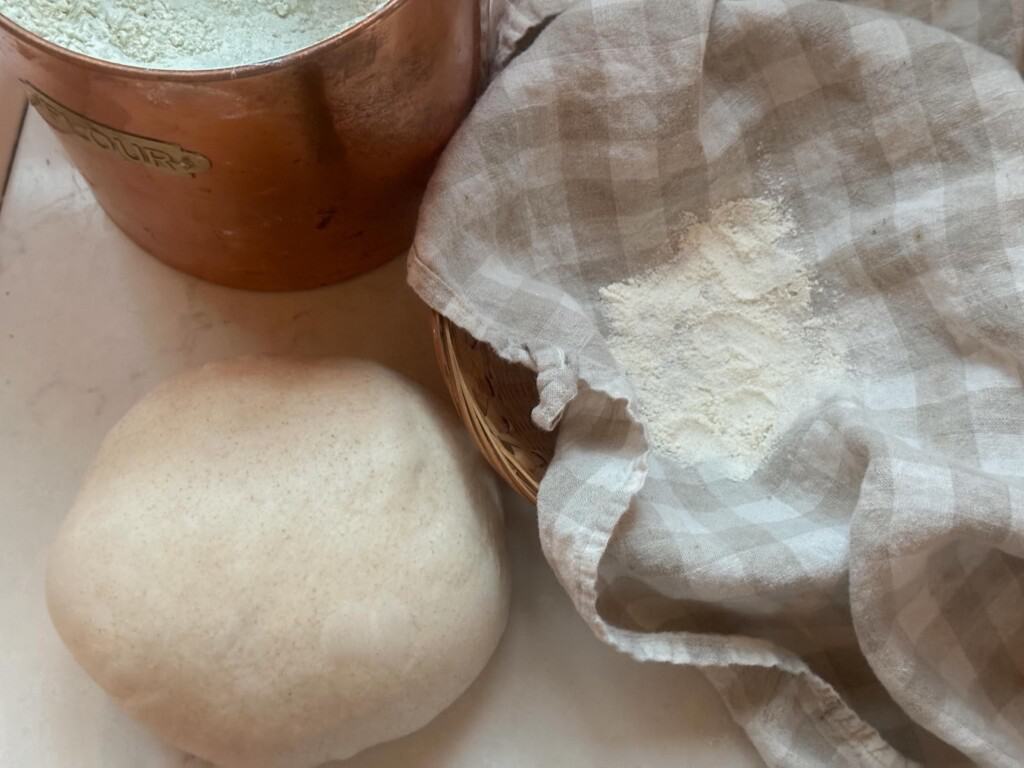
Transfer to a floured banneton basket. You can also use a bowl or basket with a floured tea towel instead. Place in your banneton or bowl seam side up. Cover with plastic and proof for 12-15 hours in the refrigerator.
Bake
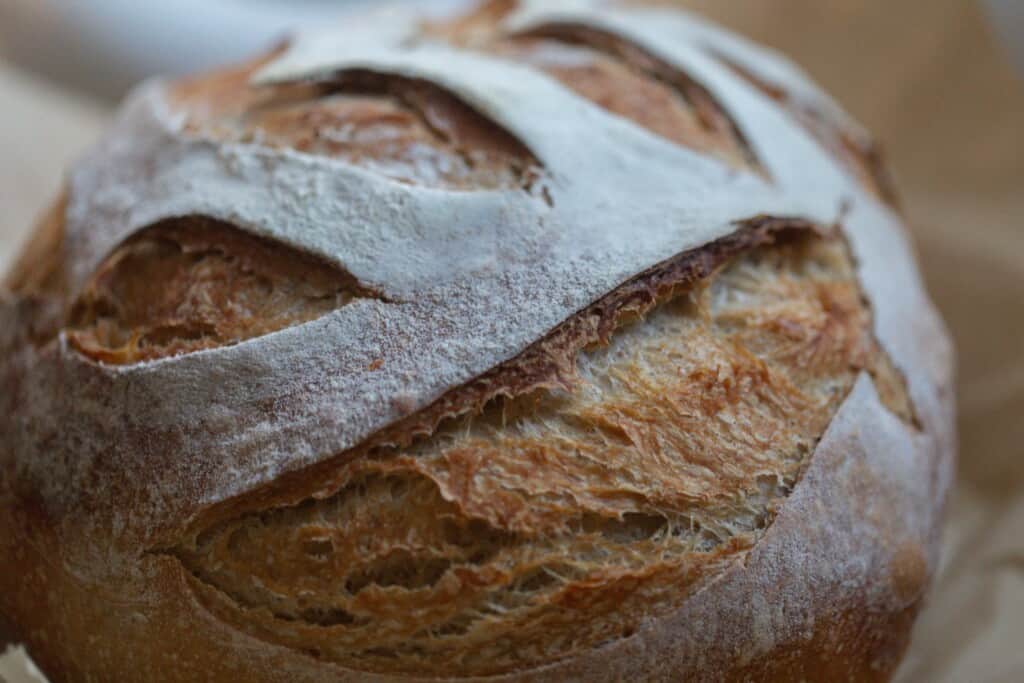
In a 500 degree oven, preheat your dutch oven for 1 hour.
Take the dough out of the fridge right before you are ready to bake.
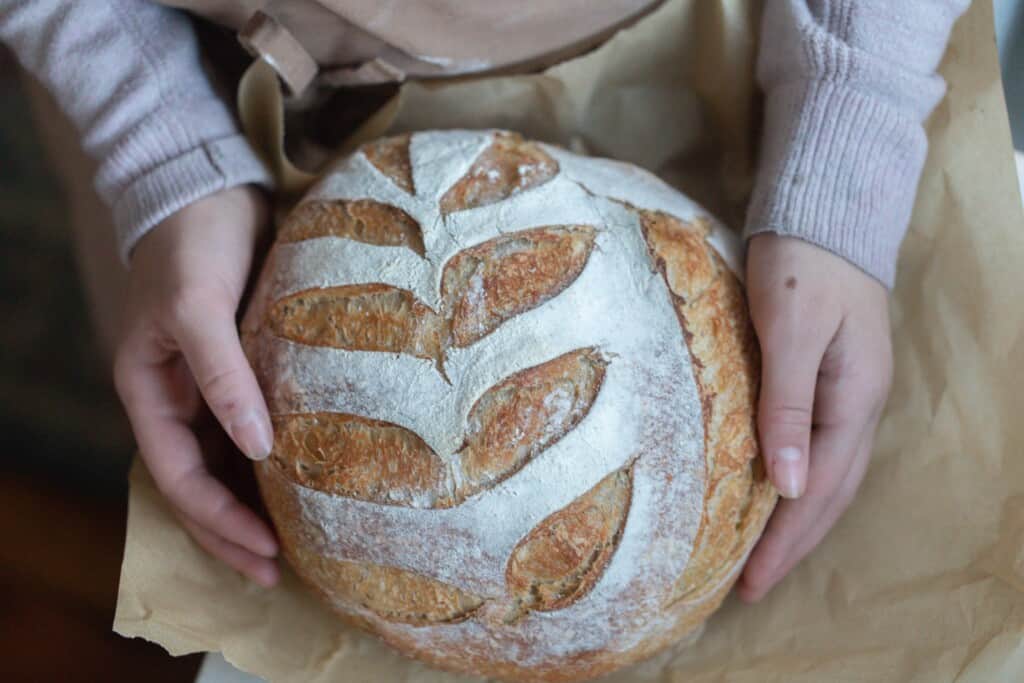
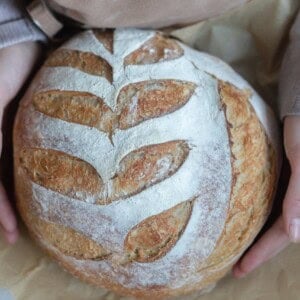
Dust with flour on top to make the scoring pattern stand out more.
Score with a razor. Learn more about scoring patterns here.
Add a little flour to the bottom of the dutch oven (or parchment paper if using) and transfer dough to it.
Bake for 20 minutes at 500 with the lid on.
Turn the oven temperature down to 475 and remove the lid. Bake an additional 25 minutes or until your loaf is golden brown.
FAQ
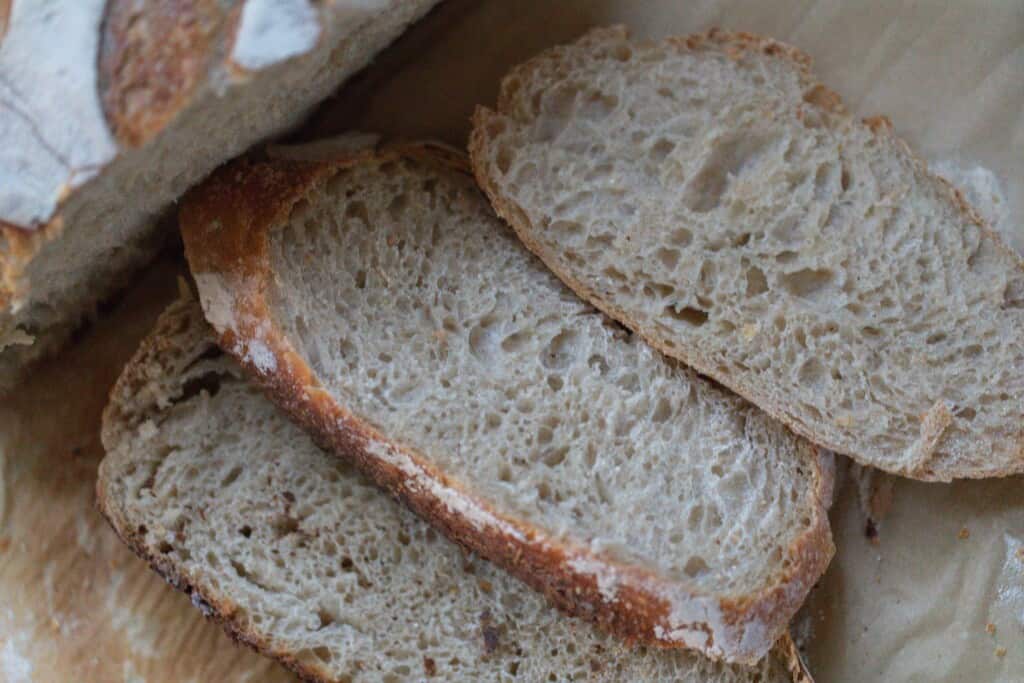
What does honey do to sourdough?
Honey will yield a softer loaf. Don’t worry, though, you’ll still get that crunchy exterior!
Is sourdough bread healthier than most bread?
Because you are working with fermented grains, sourdough tends to be easier to digest. It also contains beneficial bacteria for gut health.
What’s the best flour to use for sourdough bread?
I typically use unbleached all purpose, bread, and whole wheat flour. Some recipes will use just one type of flour and others are a combo. You can also use ancient grains, such as einkorn or spelt. Find my einkorn sourdough bread recipe here and my spelt loaf here.
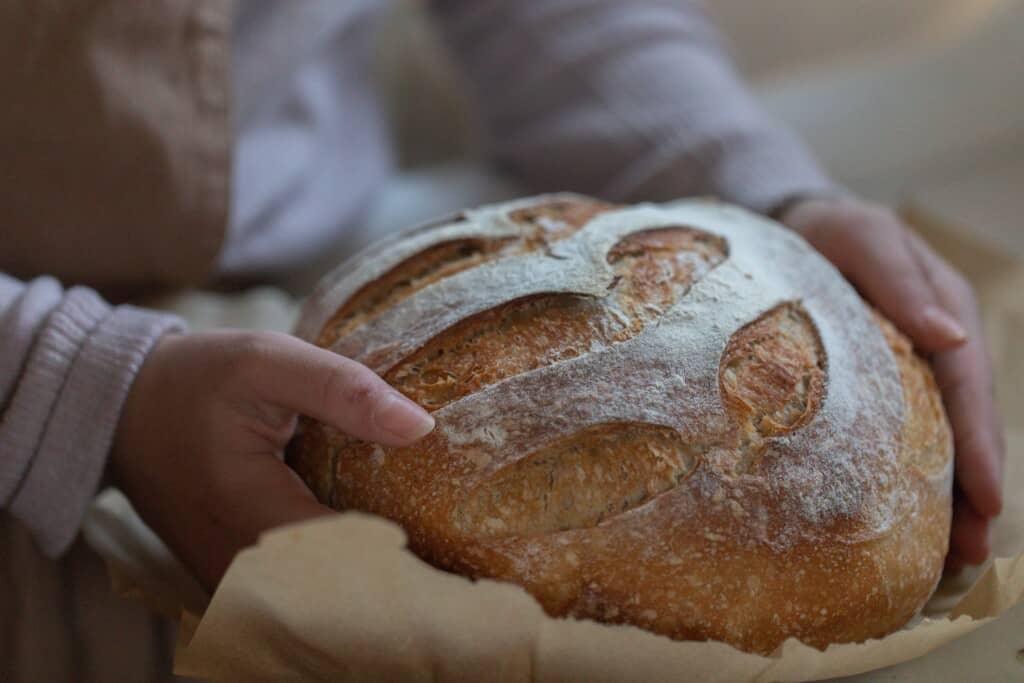
How to Enjoy Honey Sourdough Bread
This loaf is delicious all on its own. You can also add more flavor to that sourdough tang with a few toppings! Here are my favorites:
- Freshly whipped butter and strawberry jam
- Peanut butter and honey
- Sliced avocado – add a sunny side up egg on top for a delicious snack or breakfast!
You can also use this bread to make yummy grilled cheese or French Toast!
Storage
Learn more about how to store sourdough bread here. You can also freeze your loaf as a whole or even in slices.
Baker’s Timeline
8 am: Feed sourdough starter with flour and water.
12 pm: If sourdough starter is mature, then proceed to creating the dough.
Mix your starter, water, and honey in a large bowl. Add in flour and salt and mix with your hands to make a shaggy dough. Cover the dough with a damp towel or beeswax wrap and allow to autolyse for 30 minutes.
12:45ish pm: Stretch and fold.
First 3 stretch and folds – every 15 minutes
Last 3 stretch and folds – every 30 minutes
Cover with a wet towel or plastic wrap and allow the dough to bulk ferment until doubled.
8:00pm (may be much sooner): Shape dough.
Sit out 15-20 minutes, uncovered.
Turn over and shape.
8:30pm: Transfer to flour banneton or bowl with tea towel and cover with plastic. Place in the refrigerator for 12-15 hours.
The Next Day
9:00am: Preheat dutch oven on 500 degrees for 1 hour.
Take dough out of fridge, dust with flour, and score.
10:00am: Bake the sourdough bread and allow to cool.
More Sourdough Recipes from the Farmhouse
- Sourdough Brown Bread
- Mini Sourdough Loaves
- Sourdough Sandwich Bread
- 100% Whole Wheat Bread
- Seeded Sourdough Bread
If you try this recipe and love it, I would love if you gave it 5 stars! Also, tag me on Instagram @farmhouseonboone.
Honey Sourdough Bread
Ingredients
- 100 grams sourdough starter, bubbly and active
- 325 grams water
- 30 grams honey
- 250 grams all purpose flour
- 125 grams bread flour
- 100 grams whole wheat flour
- 10 grams salt
Instructions
- Feed a sourdough starter 4-12 hours before starting the bread, ensuring it is active and bubbly.
- Mix your starter, water, and honey in a large bowl.
- Add in flour and salt and mix with your hands to make a shaggy dough.
- Cover the dough with a damp towel or beeswax wrap and allow to autolyse for 30 minutes.
- To develop the gluten and obtain a nice rise, you will want to do 6 rounds of stretching and folding.
- While the dough is in the bowl, grab the edge and the dough firmly and pull up, stretching it upwards. Then place the dough in your hands into the center. Turn the bowl about a quarter turn and do this stretch and fold again, and again one to two more times. This is considered one stretch and fold round. Repeat according to the directions below. Dip your hand in water if the dough is too sticky.
- First 3 stretch and folds – every 15 minutes.
- Last 3 stretch and folds – every 30 minutes.
- Cover with a wet towel or plastic wrap and allow the dough to bulk-ferment until doubled. The time this takes will vary for everyone and is dependent on many factors, including your environment and the maturity of your starter.
- Shape into a ball by gently spinning it toward you.
- Set out 15-20 minutes uncovered. This allows the surface to develop a skin, so that it doesn’t stick to the tea towel during the overnight rise.
- Turn over and shape. I do this by folding the two sides over to meet in the middle, and then the other two sides.
- Transfer to a floured banneton basket. You can also use a bowl with a floured tea towel instead. Place in your banneton or bowl seam side up. Cover with plastic and proof for 12-15 hours in the refrigerator.
- In a 500 degree oven, preheat your dutch oven for 1 hour.
- Take the dough out of the fridge right before you are ready to bake.
- Dust with flour on top to make the scoring pattern stand out more.
- Score with a razor.
- Add a little flour to the bottom of the dutch oven (or parchment paper if using) and transfer dough to it.
- Bake for 20 minutes at 500 with the lid on.
- Turn the oven temperature down to 475 and remove the lid. Bake an additional 25 minutes or until your loaf is golden brown.
Notes
Nutrition
Nutrition information is automatically calculated, so should only be used as an approximation.


Hi,
I am making this bread and it is very sticky and not normal put together how my usually dough is. I am not sure what I did wrong but is it supposed to be very sticky?
Is that before or after you fermented it?
I love this recipe. Been making it for a few months now. Great taste/flavor/texture. Thank you! However, I am having issues with it not rising after I put it in fridge to ferment. Not sure why. It’s pretty flat after I bake it. Like 2.5″ high. Now I do leave it in the fridge for a few days before baking.
Make sure that you are letting it rise on your counter before putting it in the fridge. The fridge is a slower ferment and it doesn’t ever get quite warm enough to rise completely in the fridge!
I’m new to this and have only made 3 or 4 different recipes. Your’s was the first perfect one! I’m so happy- it tastes sooo good and less sour, which I like. Two questions: Any suggestions as to how I can prevent the bottom from burning in my cast iron Dutch oven? Also, is my parchment paper supposed to burn?🤪 Thank you!
Add a little bit of uncooked rice under your parchment paper. That gives your bread a little breathing room from the cast iron and prevents burning. Your parchment paper shouldn’t burn, but it does brown sometimes.
This recipe is the only one I bake now. The honey must make my starter stronger and more vigorous because I get big balloon poofy fermentation with this recipe that continues to rise in the fridge. The bread is soft and fluffy with a crispy exterior. I subscribed, thank you.
Thank you so much! Happy to hear you love the recipe.
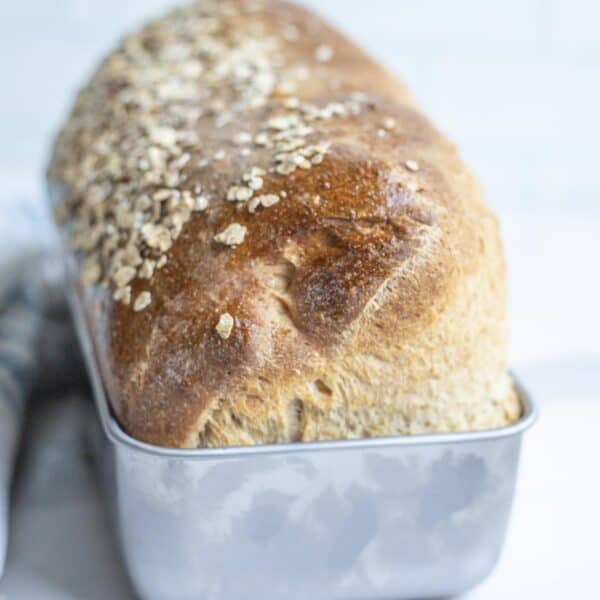
Can you lower the temperature and make this in a loaf pan? I am looking for a honey sweetened sandwich loaf that isn’t super sour.
Here’s my sandwich loaf that is sweetened with honey!
First attempt at this version of sourdough and super delicious. Didn’t burn at all, but had a beautiful toasted look. not overly sweet but the texture is super soft and delicious with plant butter. didn’t wait the full time to let cool before slicing, but it didn’t matter, still incredibly tasty.
What hydration is this loaf? Do you consider the honey when figuring it out?
Hi do you have to put it in the fridge or can you shape and bake after bulk fermented on counter?
The refrigerator helps keep its shape and easier to score. You could omit that step.
I love your sourdough bread recipes – I’ve made four of them, I think. This one was great, as were the others. I learned from the previous loaf that my oven must run hotter than yours, so I baked this one at 450 (same timing), and it turned out perfect! (the last one was, too – a little burny on the top in parts, but it was still great! But this slightly lower temp did the trick for me this time!)
So are you suppose to make 2 loaves or 1 big loaf with this recipe?
You can make 2 loaves with this.