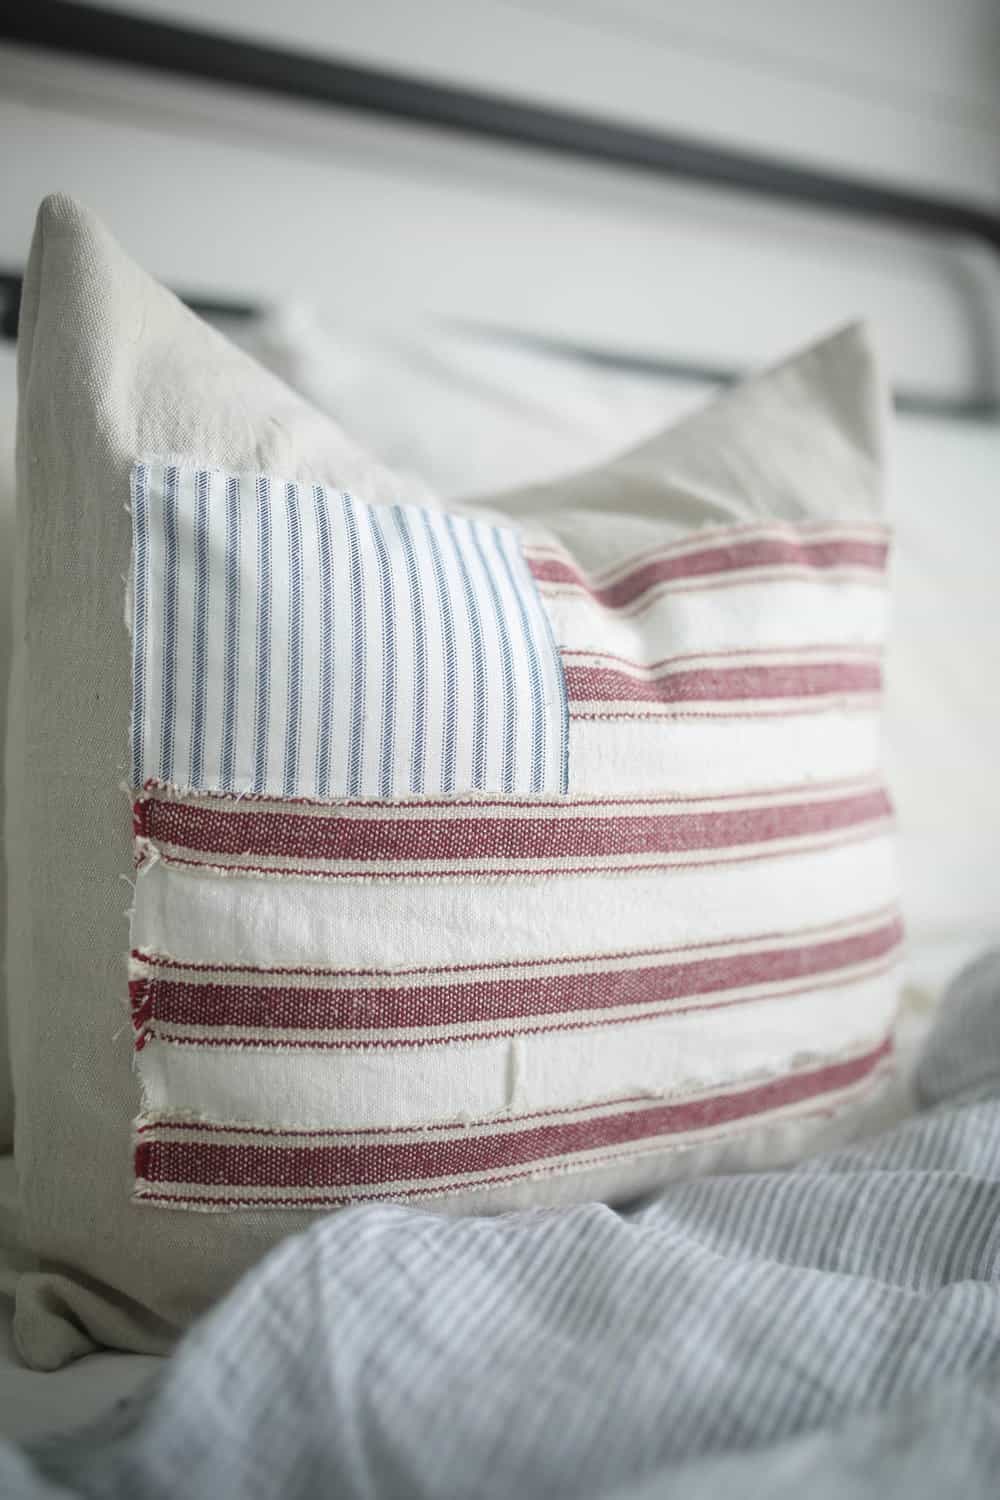
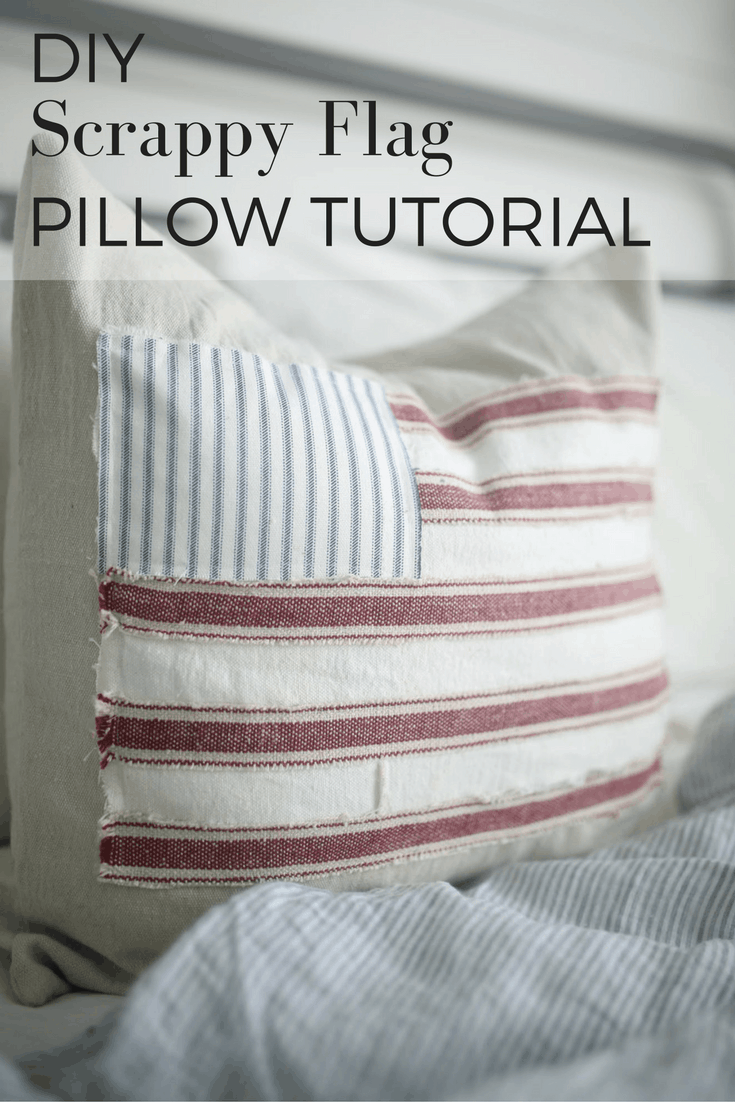
Fourth of July is right around the corner! This scrappy flag pillow cover tutorial will have you well on your way to some DIY summer decor. It’s a simple project that you can do with any red and blue fabric scraps you have laying around.
In my typical “wingin’ it at all times” fashion, it occurred me that something festive for the shop and blog should be out, you know, last week.
So, yesterday turned into “patriotic decor makin’ day.”
I made a quick tutorial for this scrappy flag pillow.
I thought of it the other night laying in bed.
Am I the only one who gets all my ideas late at night or overnight? It’s probably the only time I’m not super distracted.
Now, every time I make a project for the first time I run into a few quirks that make it go way better and smoother the second time around. Since, the Fourth is less than two weeks away, I am not going to make another. I am just going to tell you the CORRECT directions.
Do as I say, not as I do. 😉
This project really is super simple.
I just did’t completely think it all the way through, and realized that flags need to start AND END with a red stripe. Duh.
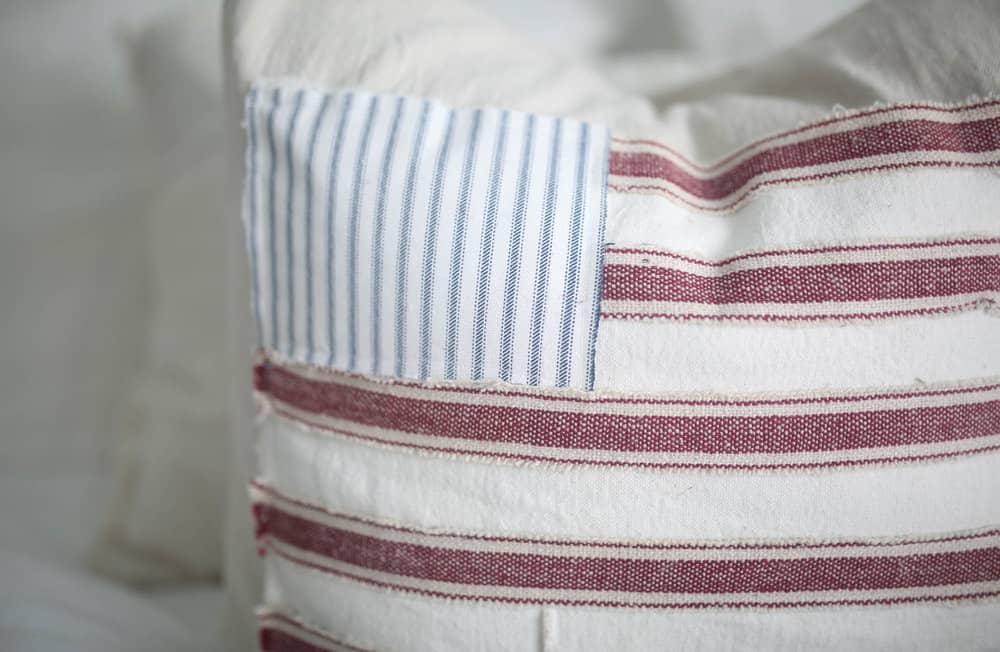
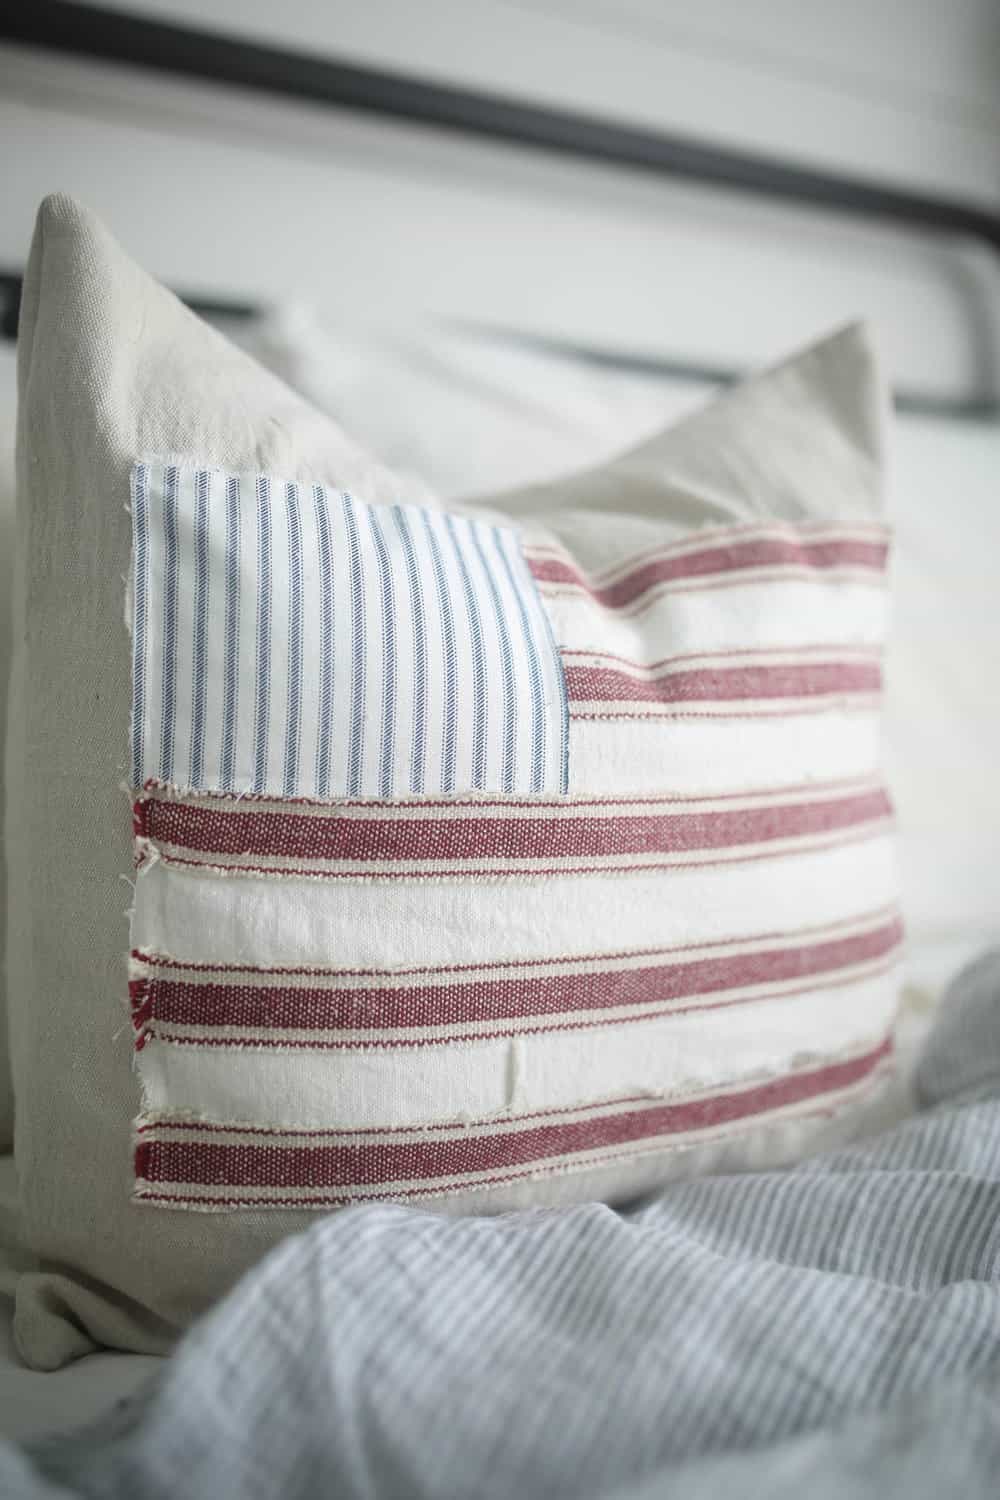
I will give you all the right dimensions to make this possible. Just ignore that there is a little gap between the bottom of the white part and the last red stripe. That is because I had to add it as an afterthought. Annoying, but that is why I am here to guide you through making it the right way! 😉
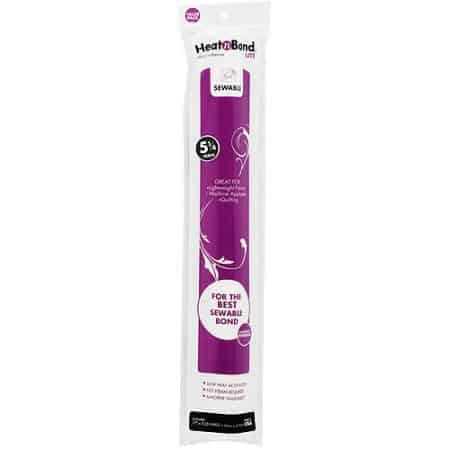
I used Sewable Heat ‘n Bond Bond Lite to appliqué the flag to the pillow.
I have been using this stuff forever to make little appliqués for my girls, before I bought my fancy schmancy embroidery machine. Now I get do it the more official way. But this stuff works great for applications like this!
So first things first, the cut list. We will get more into to using the Heat ‘n Bond in a minute.
For the flag, cut:
1- 13.5″ by 9.5″ piece of white material (I used bleached drop cloth.)
1- 4.5″ by 5.5″ piece of blue material (I used blue ticking stripe.)
2- 9″ by 1″ pieces of red material (I used red grain sack fabric.)
3- 13.5″ by 1″ pieces of red material (I used red grain sack fabric.)
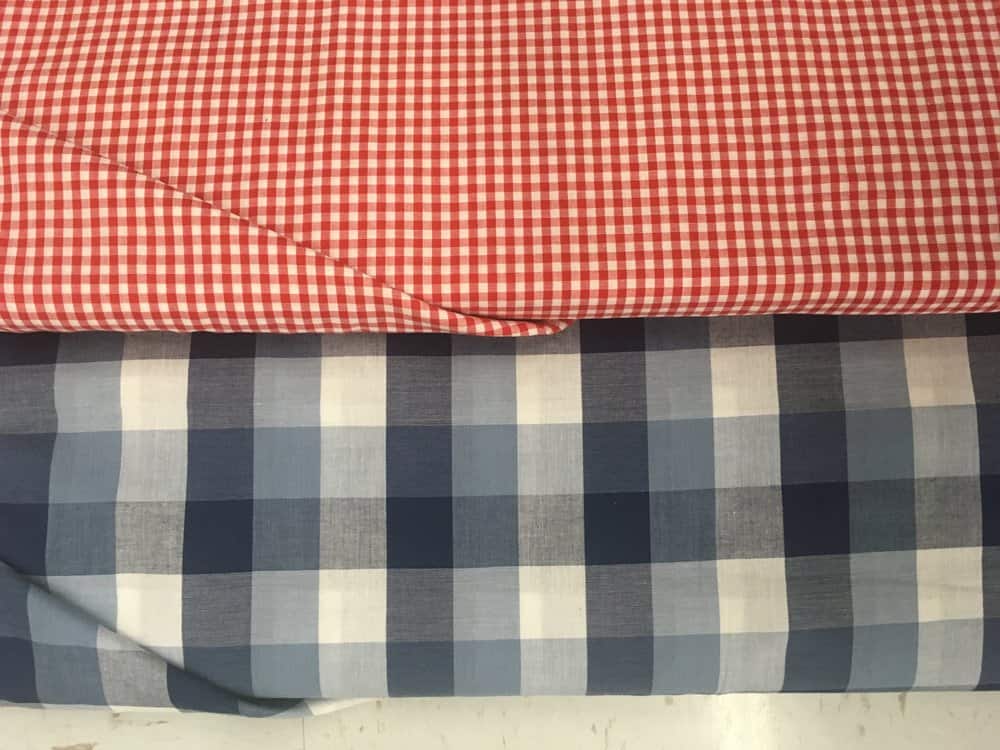
Other great fabric options would be a red gingham with blue plaid, or vice versa. Make sure the scale is small enough that there are several pattern repeats in each stripe, or you can fit the entire pattern in the stripe. For example, a small gingham would be perfect, but a large buffalo check that would require you to cut the pattern in half might not be ideal.
I was at Walmart and pulled down these two fabrics to grab a quick photo, and give you some inspiration for fabrics that could look nice together on this project.
There could be a lot of cool combinations for this little pillow!
For the pillow, cut:
1- 19″ by 19″ piece of off-white or tan material (I used all-purpose canvas drop cloth)
2- 19″ by 13″ pieces of off-white or tan material (I used all-purpose canvas drop cloth)
Now, it is time to appliqué the flag to the 19″ by 19″ piece, using Heat ‘n Bond.
When you open the package, you will notice it has rough side. This is the side you are going to lay your fabric on and apply heat from the iron. Those little raised bumps are like glue that, when heated, will make your fabric stick to it.
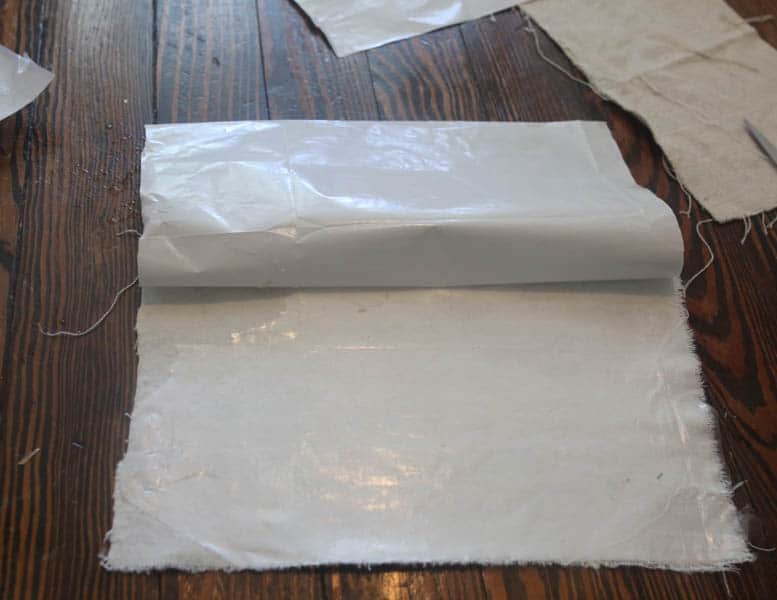
When it is hot enough, and fully affixed, the paper on the back will peel away, and reveal a shiny film on the back of your fabric.
You will lay that shiny part down against the fabric you are wanting to stick the appliqué to, and it will act like glue, when you apply the iron to the top of the appliqué.
Make sense?
If not, read on. The pictures may bring a little clarity.
Once you get used to it, you will love this stuff.
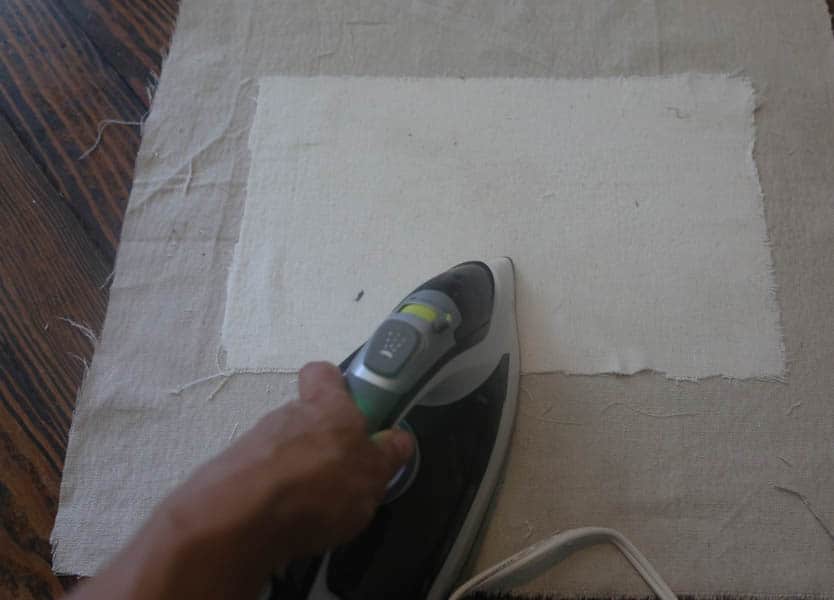
Take your 13.5″ by 9.5″ white piece, and cut a piece of Heat ‘n Bond to the same size. Lay your piece on the rough side, lining it up so that the fabric is completely covering the matching piece of Heat ‘n Bond, and apply the iron to the fabric.
For thicker fabrics, you will need to use high heat and steam. Since my red grain sack fabric and all-purpose canvas drop cloth are so thick, I had to leave the iron on it for quite a while to get it to stick. It did eventually work for me, but I was beginning to wonder.
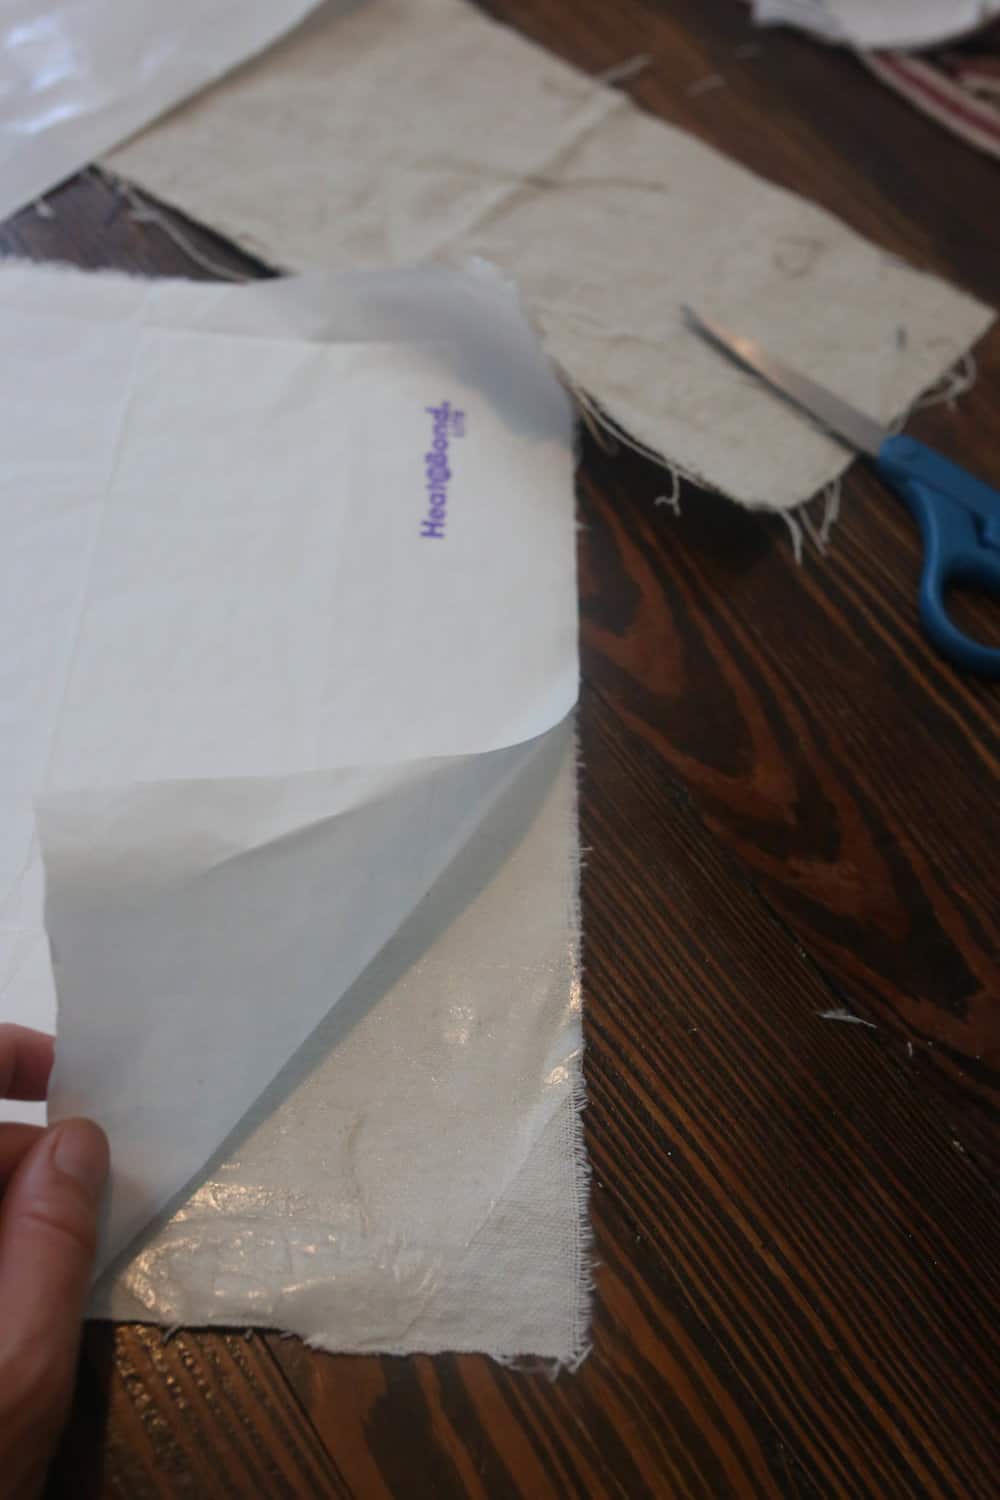
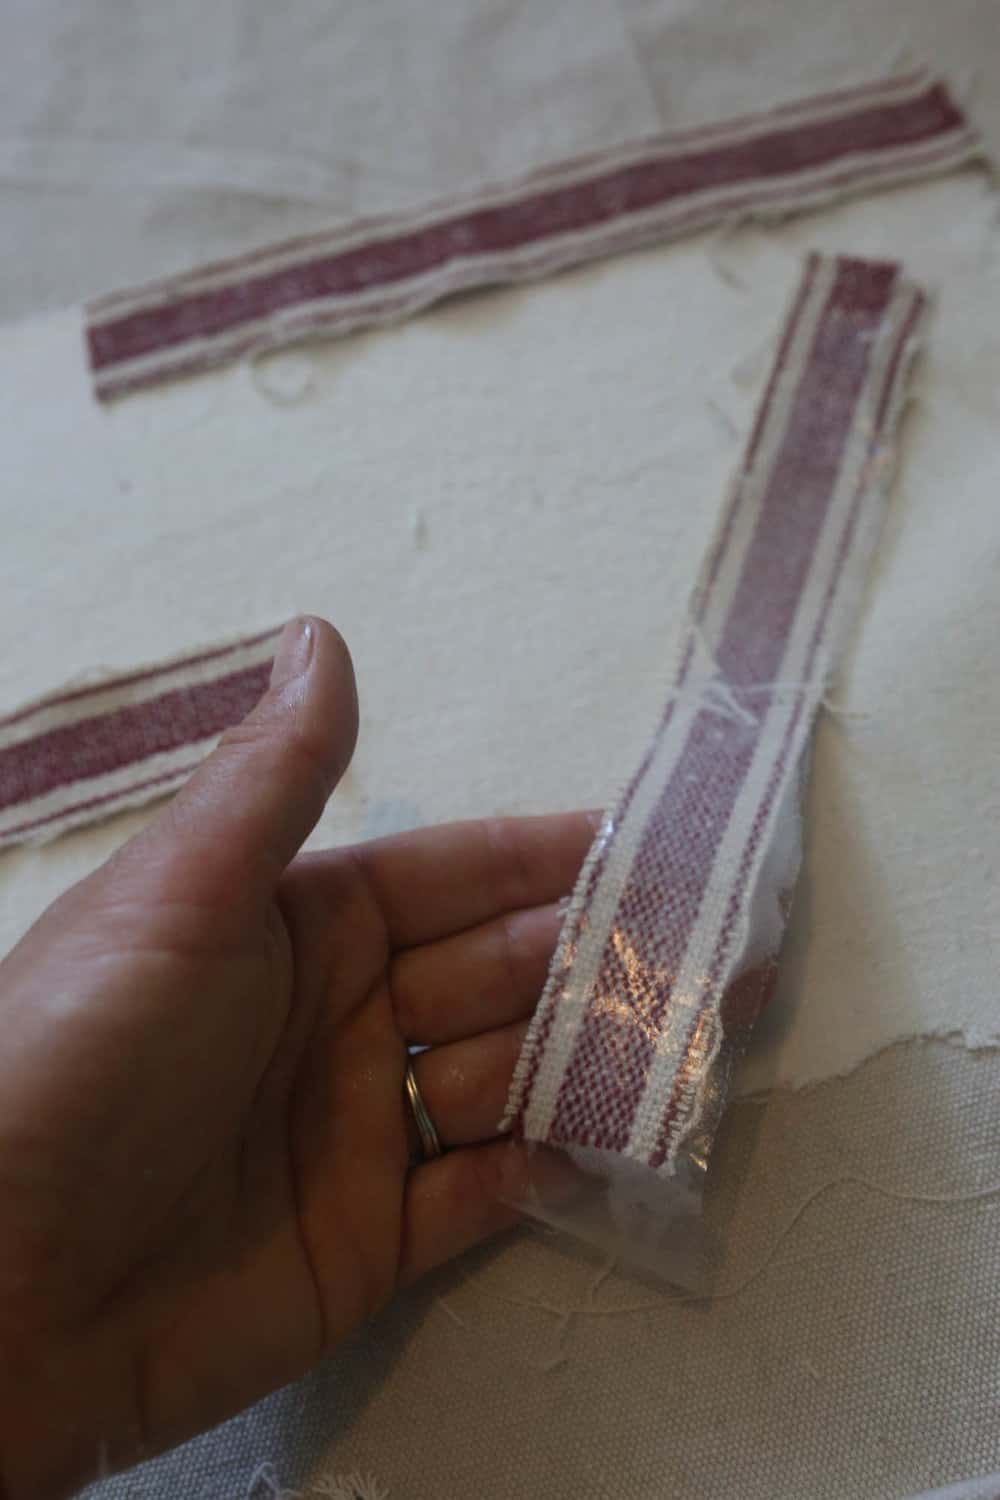
Here is what it looks like when you peel away the Heat ‘n Bond paper and the shiny glue surface is left:
You can see, it didn’t completely stick there in that bottom right corner. Since I am going to be sewing the flag on to, I wasn’t too concerned with that.
I ended up putting the Heat ‘n Bond back down and pressing it a little longer, to get the corner to stick.
Lay the flag piece on the 19″ by 19″ main pillow piece and iron it down, making sure it is centered.
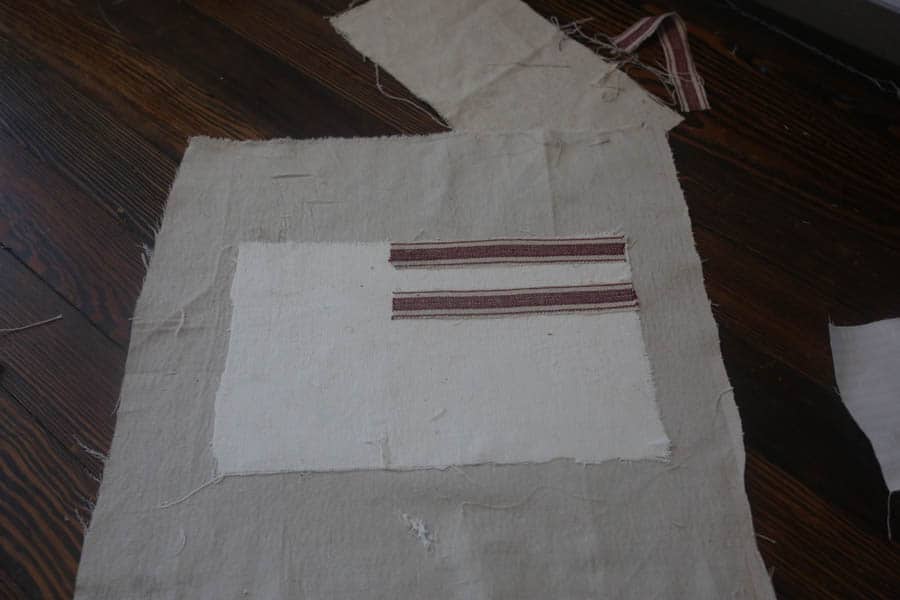
Next, start the Heat ‘n Bond process with the two small stripes.
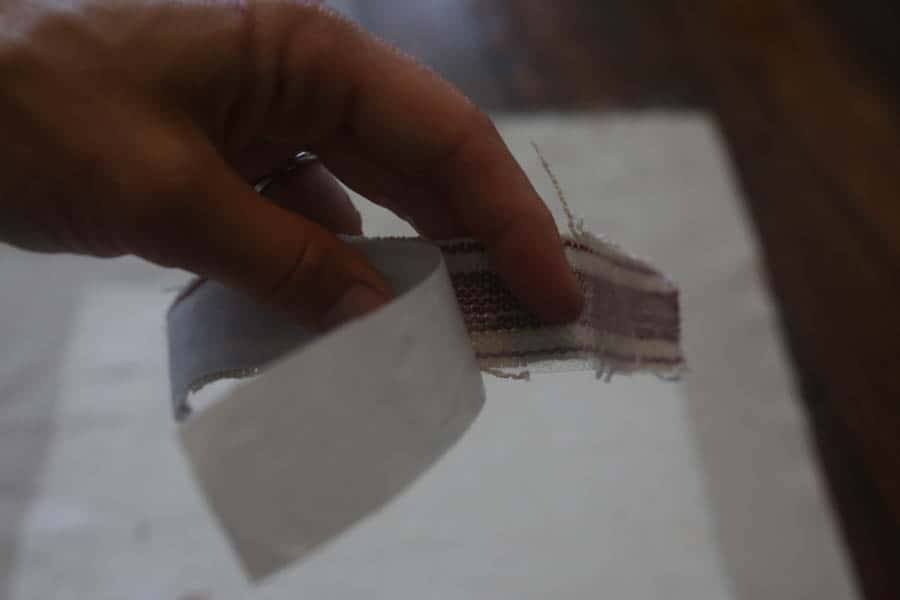
This red grain sack fabric required a TON of heat and steam to make the paper peel away.
I did eventually get it though!
Repeat for the other small stripe.
Cut away any excess gluey stuff, and iron the first two stripes down, like I did in the photo below.
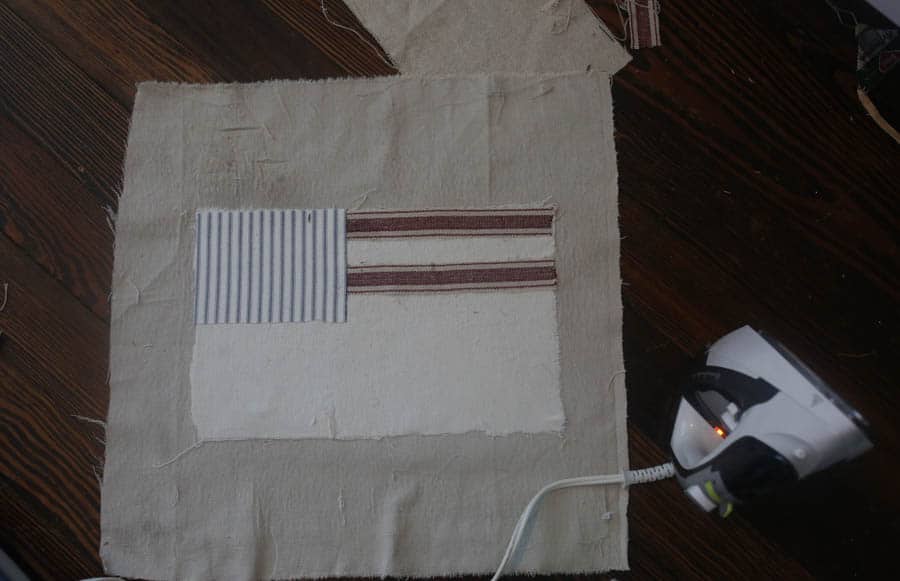
Next take your 4.5″ by 5.5″ piece of blue material and Heat ‘n Bond that in the top left corner, like I did in the photo below.
You want it to overlap the top two stripes.
Next Heat ‘n Bond your longer three red stripes to the rest of the flag, making sure they are evenly spaced. You want the third stripe down to overlap the blue piece slightly. I left a little extra in the measurements, so there wouldn’t be any gaps.
Just make sure the top of third stripe is one inch from the bottom of the second stripe. 🙂
I had right at an inch between each red stripe.
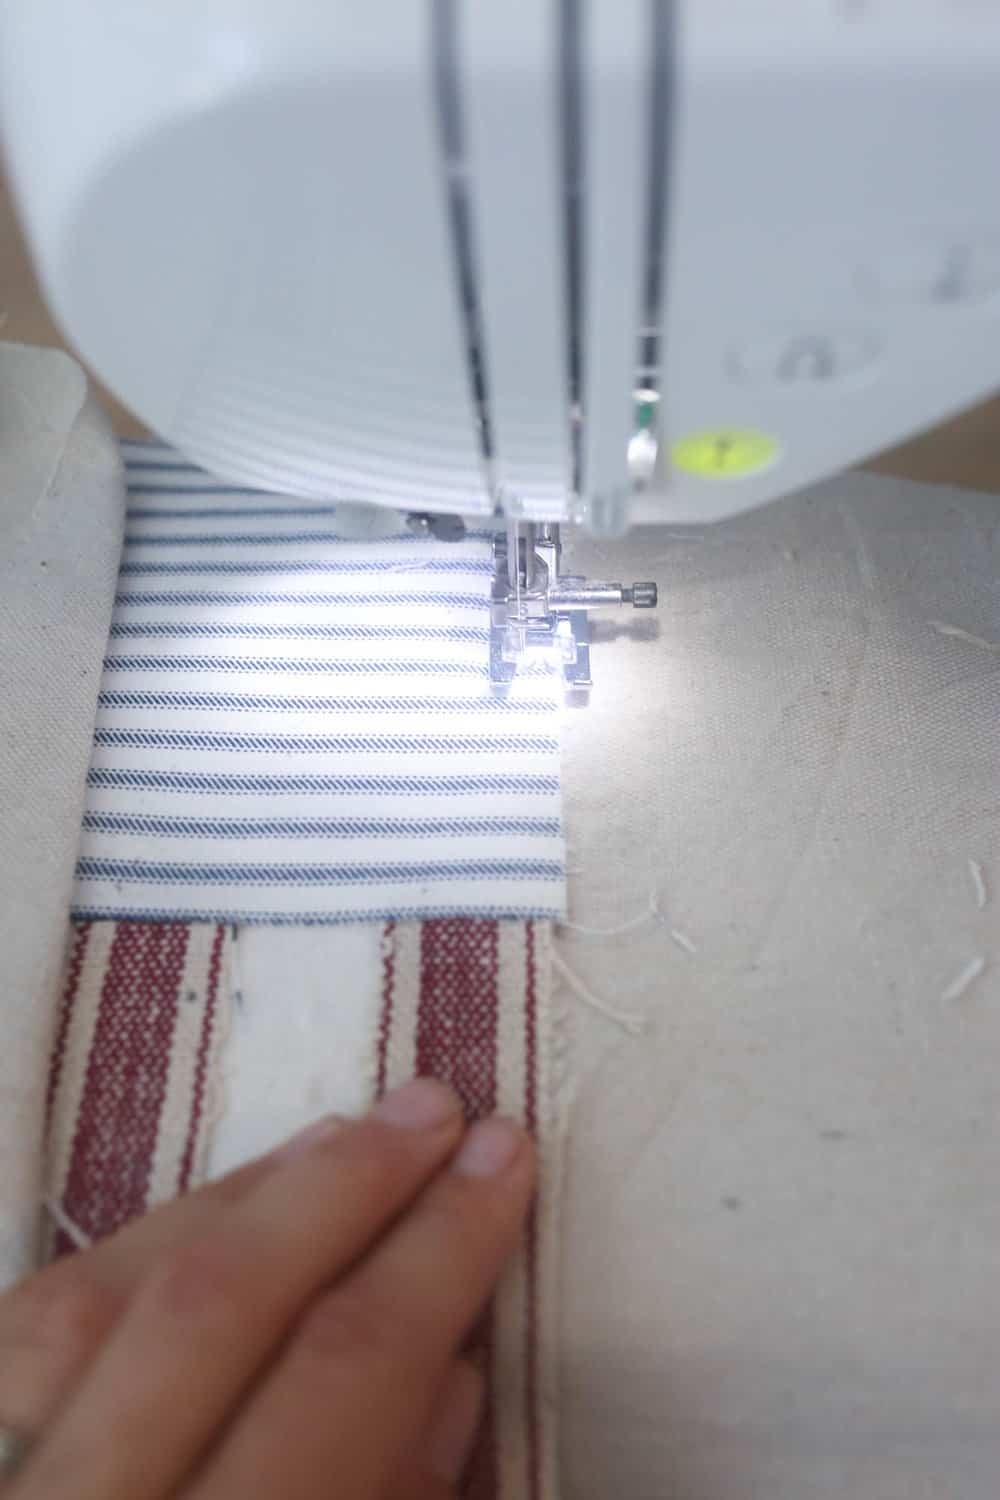
After all the Flag pieces are appliquéd with the Heat ‘n Bond sew around the whole flag, and down each stripe, for good measure.
The Heat ‘n Bond kind of keeps the fabric from unraveling and getting too stringy, but the Lite version is meant to be sewn on, to ensure durability.
After the flag is all sewn on, it is time to sew the back pieces of the pillow to the front piece.
Since I used drop cloth for my pillow, I didn’t need to hem the back pieces. I just used the drop cloth‘s already hemmed edges, and cut the back pieces there.
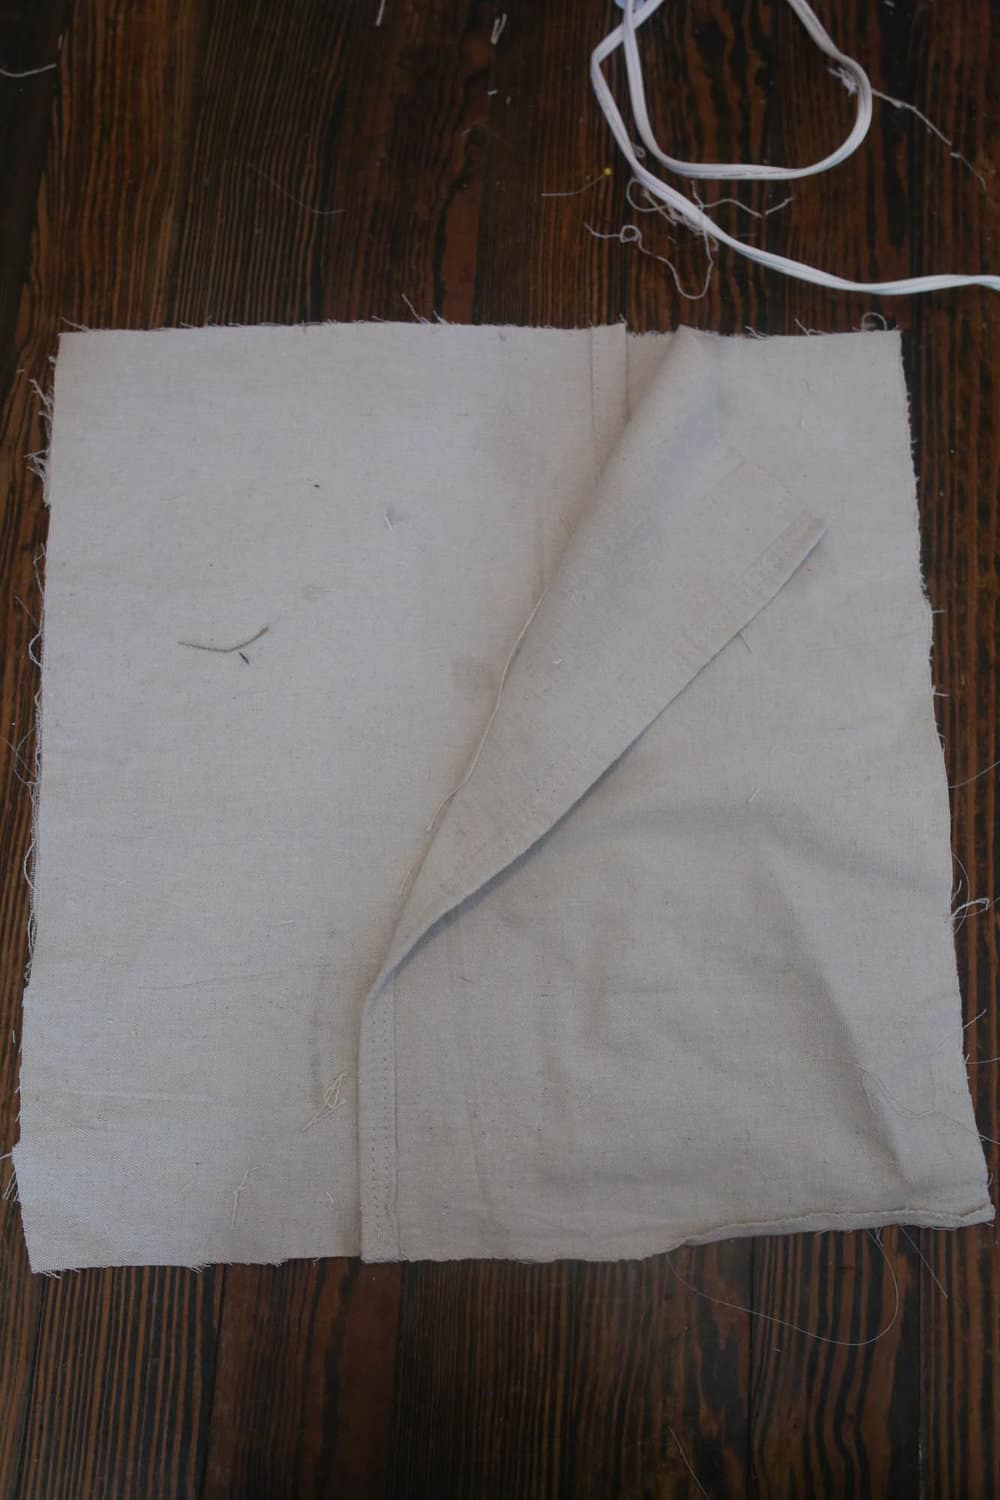
If you are using some other material, hem the long (19″) edges by pressing the fabric over 1/2″, and then another 1/2″, and sewing in place.
If you need a little refresher course on making basic envelope style pillow covers, visit this tutorial.
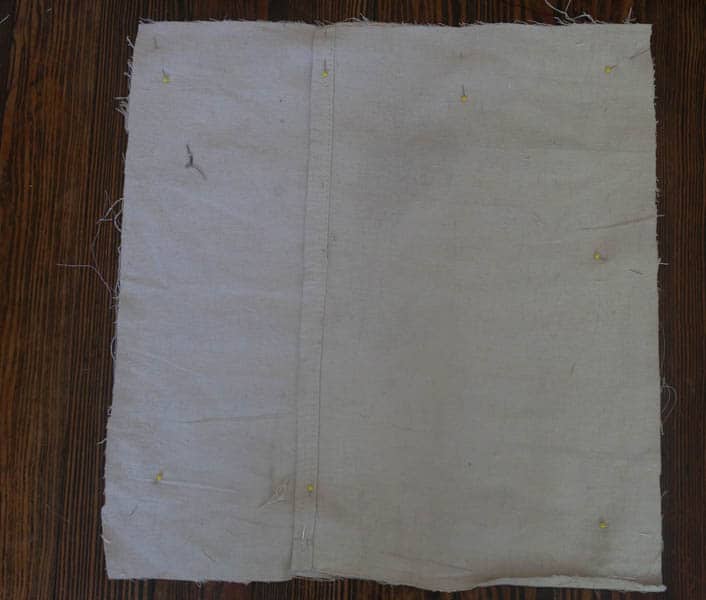
Place the front piece on the back pieces, right sides together.
Pin in place.
Then, sew all the way around.
Turn the pillow cover right side out and throw an insert in it.
I like to use the 20″ by 20″ IKEA insert. It makes the pillow look nice and full.
And, that’s it!
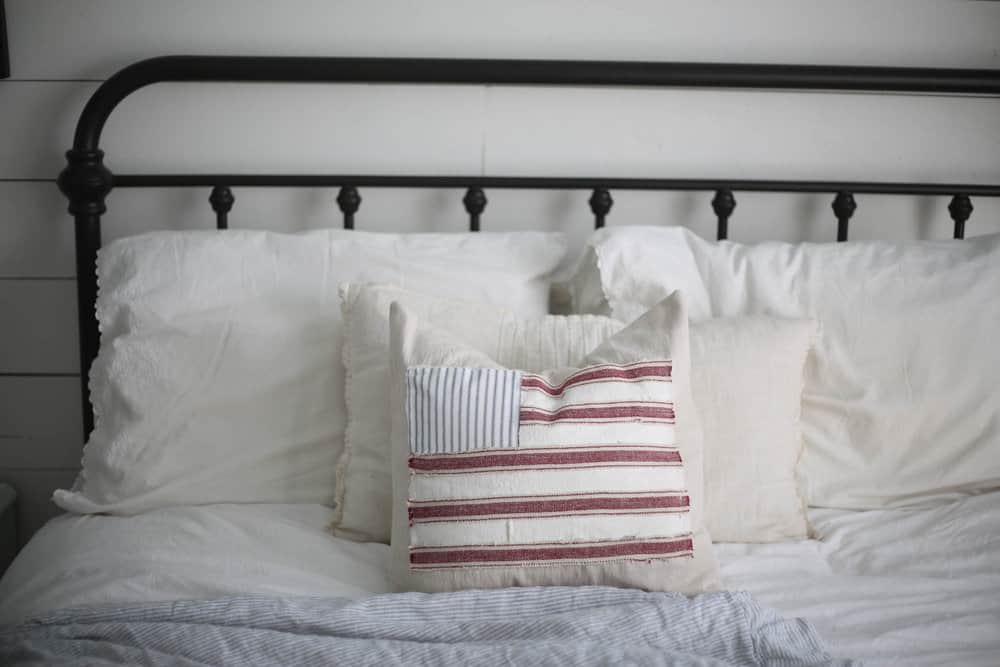
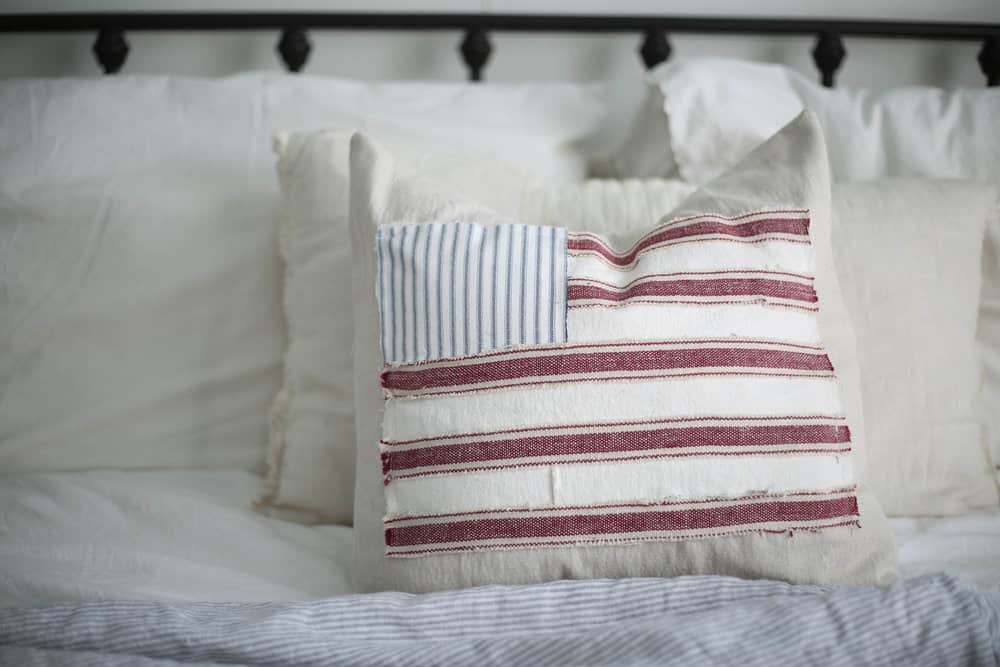
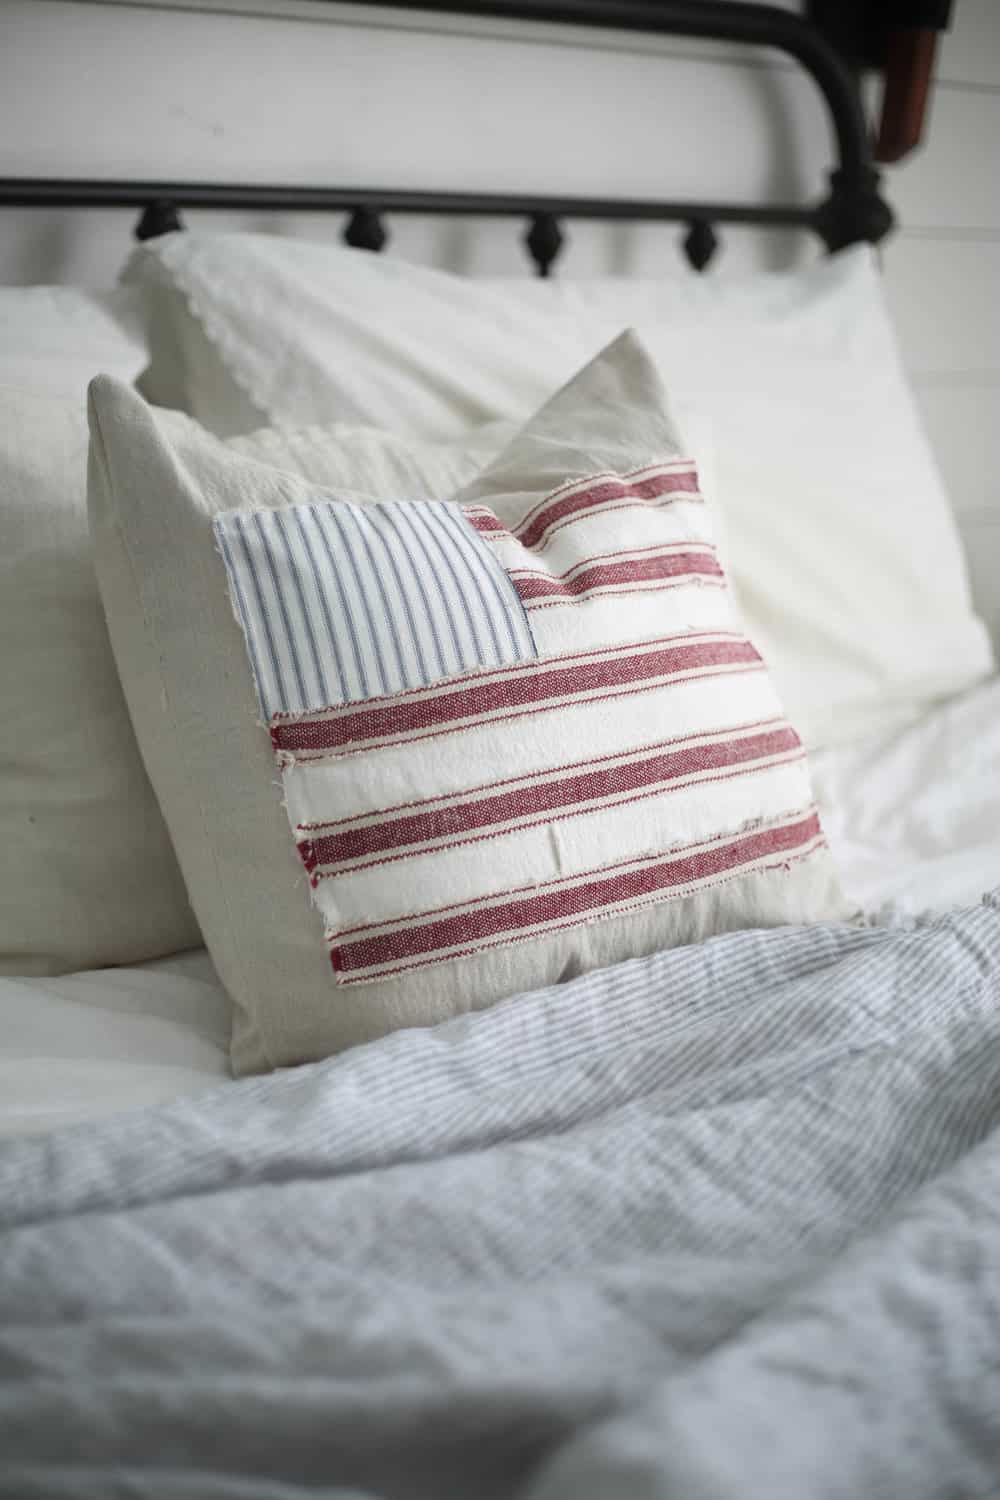
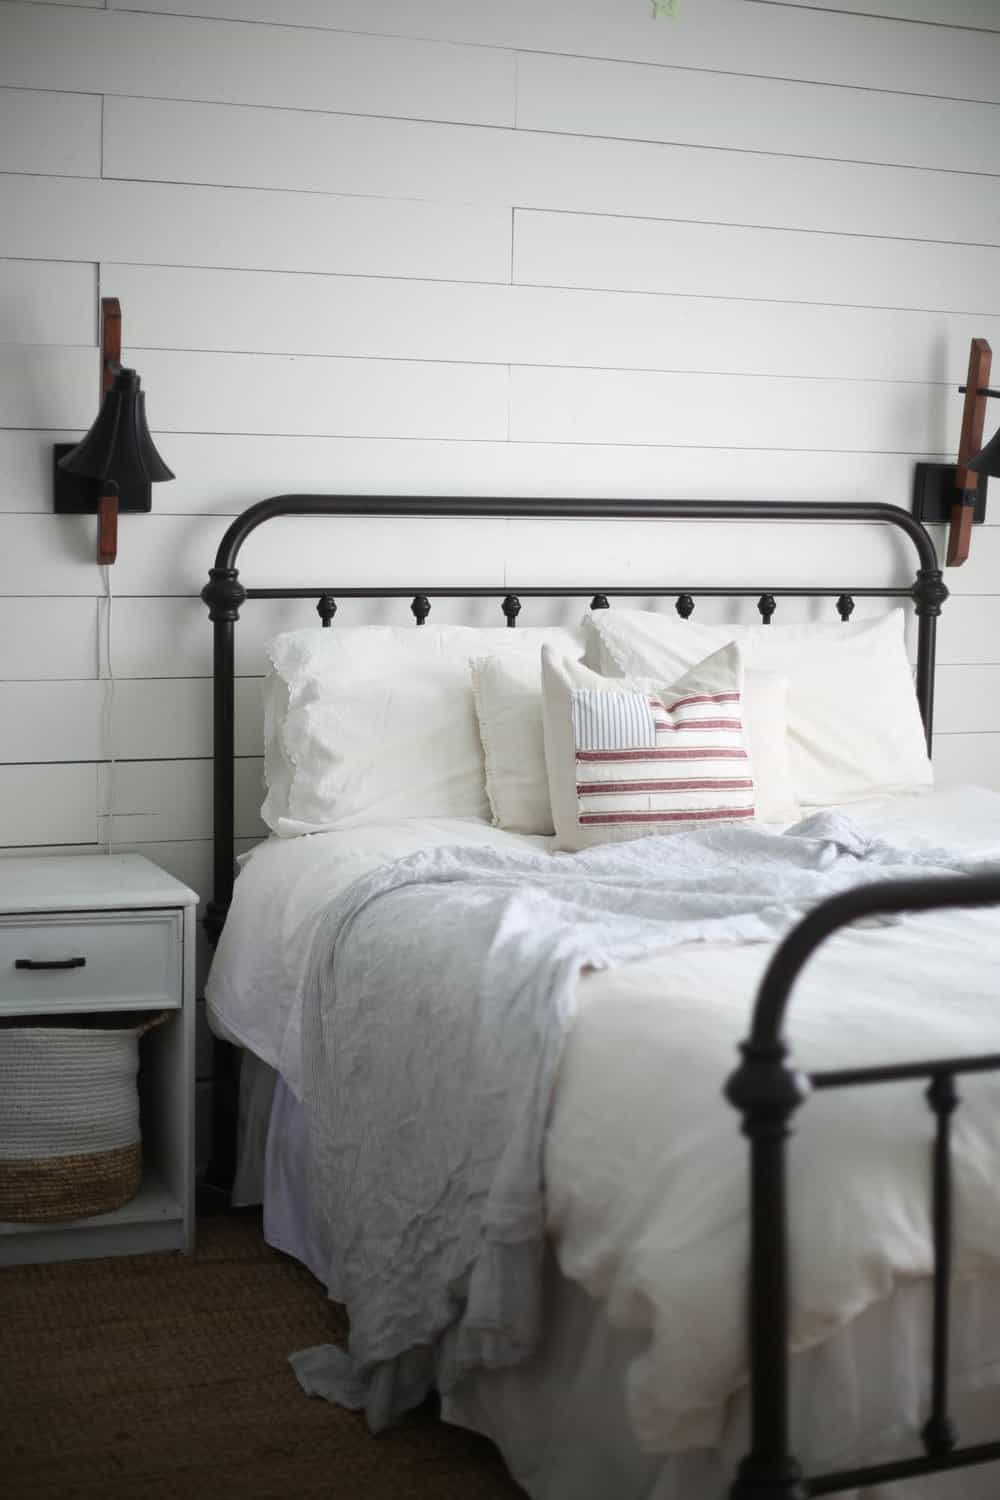
Add to a front porch swing, couch, bed or basket for some patriotic farmhouse charm.
If my porch wasn’t under major construction, this photo shoot would have happened on my front porch swing.
I like it on my bed too, with my blue linen throw blanket. 😉
Like I said, please ignore the small gap between the flag piece and the bottom stripe. I gave you the right measurements, so that won’t happen. My sewing projects are always an experiment at first!
Happy Independence Day, my friends!
Pin it for later:
This post contains affiliate links. See my full disclosure HERE.
Scrappy Flag Pillow Cover Tutorial DIY Fourth of July Decorations
Equipment
Ingredients
- Sewing Machine
- Bleached drop cloth
- Red, patterned fabric
- Blue, patterned fabric
- Heat 'n bond
- Pins
- Fabric scissors
Instructions
FOR THE FLAG, CUT:
- 13.5″ by 9.5″ piece of white material
- 1- 4.5″ by 5.5″ piece of blue material
- 2- 9″ by 1″ pieces of red material
- 3- 13.5″ by 1″ pieces of red material
FOR THE PILLOW, CUT:
- 1- 19″ by 19″ piece of off-white or tan material
- 2- 19″ by 13″ pieces of off-white or tan material
- Now, it is time to appliqué the flag to the 19″ by 19″ piece, using Heat ‘n Bond.
- When you open the package, you will notice it has rough side. This is the side you are going to lay your fabric on and apply heat from the iron. Those little raised bumps are like glue that, when heated, will make your fabric stick to it.
- When it is hot enough, and fully affixed, the paper on the back will peel away, and reveal a shiny film on the back of your fabric.
- You will lay that shiny part down against the fabric you are wanting to stick the appliqué to, and it will act like glue, when you apply the iron to the top of the appliqué.
- Take your 13.5″ by 9.5″ white piece, and cut a piece of Heat ‘n Bond to the same size. Lay your piece on the rough side, lining it up so that the fabric is completely covering the matching piece of Heat ‘n Bond, and apply the iron to the fabric.
- For thicker fabrics, you will need to use high heat and steam. Since my red grain sack fabric and all-purpose canvas drop cloth are so thick, I had to leave the iron on it for quite a while to get it to stick. It did eventually work for me, but I was beginning to wonder.
- Lay the flag piece on the 19″ by 19″ main pillow piece and iron it down, making sure it is centered.
- Next, start the Heat ‘n Bond process with the two small stripes.
- Repeat for the other small stripe.
- Cut away any excess gluey stuff, and iron the first two stripes down.
- Next take your 4.5″ by 5.5″ piece of blue material and Heat ‘n Bond that in the top left corner, like I did in the photo below.
- You want it to overlap the top two stripes.
- Next Heat ‘n Bond your longer three red stripes to the rest of the flag, making sure they are evenly spaced. You want the third stripe down to overlap the blue piece slightly. I left a little extra in the measurements, so there wouldn’t be any gaps.
- Just make sure the top of third stripe is one inch from the bottom of the second stripe.
- I had right at an inch between each red stripe.
- After all the Flag pieces are appliquéd with the Heat ‘n Bond sew around the whole flag, and down each stripe, for good measure.
- After the flag is all sewn on, it is time to sew the back pieces of the pillow to the front piece.
- Since I used drop cloth for my pillow, I didn’t need to hem the back pieces. I just used the drop cloth‘s already hemmed edges, and cut the back pieces there.
- If you are using some other material, hem the long (19″) edges by pressing the fabric over 1/2″, and then another 1/2″, and sewing in place.
Place the front piece on the back pieces, right sides together. - Pin in place.
- Then, sew all the way around.
- Turn the pillow cover right side out and throw an insert in it.
- I like to use the 20″ by 20″ IKEA insert. It makes the pillow look nice and full.
- And, that's it!
Notes
- Use this technique to make any sort of striped design on a pillow cover!
Nutrition information is automatically calculated, so should only be used as an approximation.





This is Superb,but these pillows are not Good.so i would recommend you to see Best Medium Firm Pillows
I do love this pillow!! …..think you might ever consider selling similar ones? I would love to purchase. Happy 4th!!
Thank you! A lot of people have asked me that. 🙂 🙂 But for now I am just going to leave it as a tutorial! 😉