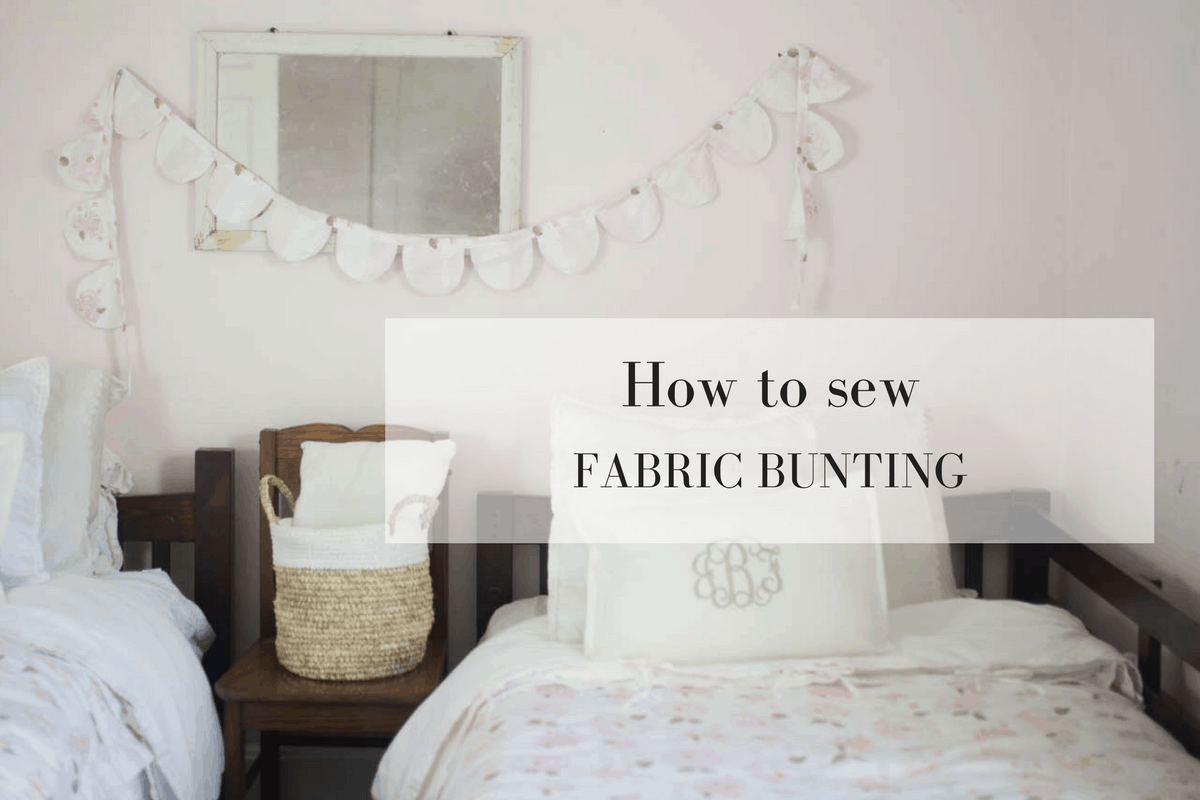
Learn how to make fabric bunting for a nursery, child’s room or playroom.
I love bunting. I used to think no kids’ room, or craft room, was complete without a fabric banner.
Oh wait, I still totally think that.
In this tutorial, I am going to show you how to make fabric bunting the simple way.
I have made triangular fabric bunting for my girls’ room and oval bunting for my boys’ room. I even made a yellow, polka dot gray and vintage floral bunting several years ago to decorate my stand at the farmer’s market.
Hold on. Have I ever told you guys that I used to spend all day sweating in my kitchen, grinding wheat berries, kneading, and baking, to sell whole grain cinnamon raisin bread for $3 a loaf at my local farmer’s market? Bad business move. Talk about a whole lot of work for way too little money! I sold out every time. Maybe I needed a little refresher course on supply and demand. But that’s another post.
Anyway, when I want to add a little whimsy and patchwork feel to a space, bunting is the first thing that pops in my brain. I almost always have some fabric scraps leftover from pillows, blankets, curtains and basket liners that I have sewn in a room. Fabric banners are the perfect way to use up those scraps, and incorporate the fabrics from the room into another element.
They are so super easy to make, and can be added quickly at the last minute.
Get the Video Tutorial Here:
The Supplies
All you need for the project is fabric scraps that are big enough to make the shape you want, whether it be triangular or oval, and something to make a casing to sew them into, and bind them together.
I used this Linen Luxe Stripe and Watercolor Floral fabrics for the bunting in this project.
You can either make the casing that the bunting pieces are sewn into with a long piece of scrap fabric, OR, make it super easy on yourself, and use quilt binding or double fold bias tape. They sell it in every color, and it is already pressed and folded…just waiting for you to cozy your bunting pieces into.
Talk about an easy project!
In this tutorial I will show you how to make the bunting casing from scratch, in case you want a more custom match with the fabrics.
Making the Template
SO, for the first step, take a scrap piece of fabric and make a pattern for the shape you want.
For each bunting piece, cut two pieces from the pattern, so you can sew them together and hide the raw edges inside.
Side note: If you want to make a really fast bunting, you could just not worry about hiding the raw edges inside. If you want to go this route, you can skip the next couple steps. You will essentially just be cutting out the number of bunting pieces you want, and then sandwiching them inside the quilt binding. After giving it a quick sew to secure the bunting pieces inside the binding, you’re all done. 5 minute project, anyone? This wold be perfect if you aren’t worried about the bunting lasting a long time, like if you are using it for a baby shower or birthday party. If you are going to be keeping the bunting in a room for several years, and it will need to be washed, I would recommend the longer route.
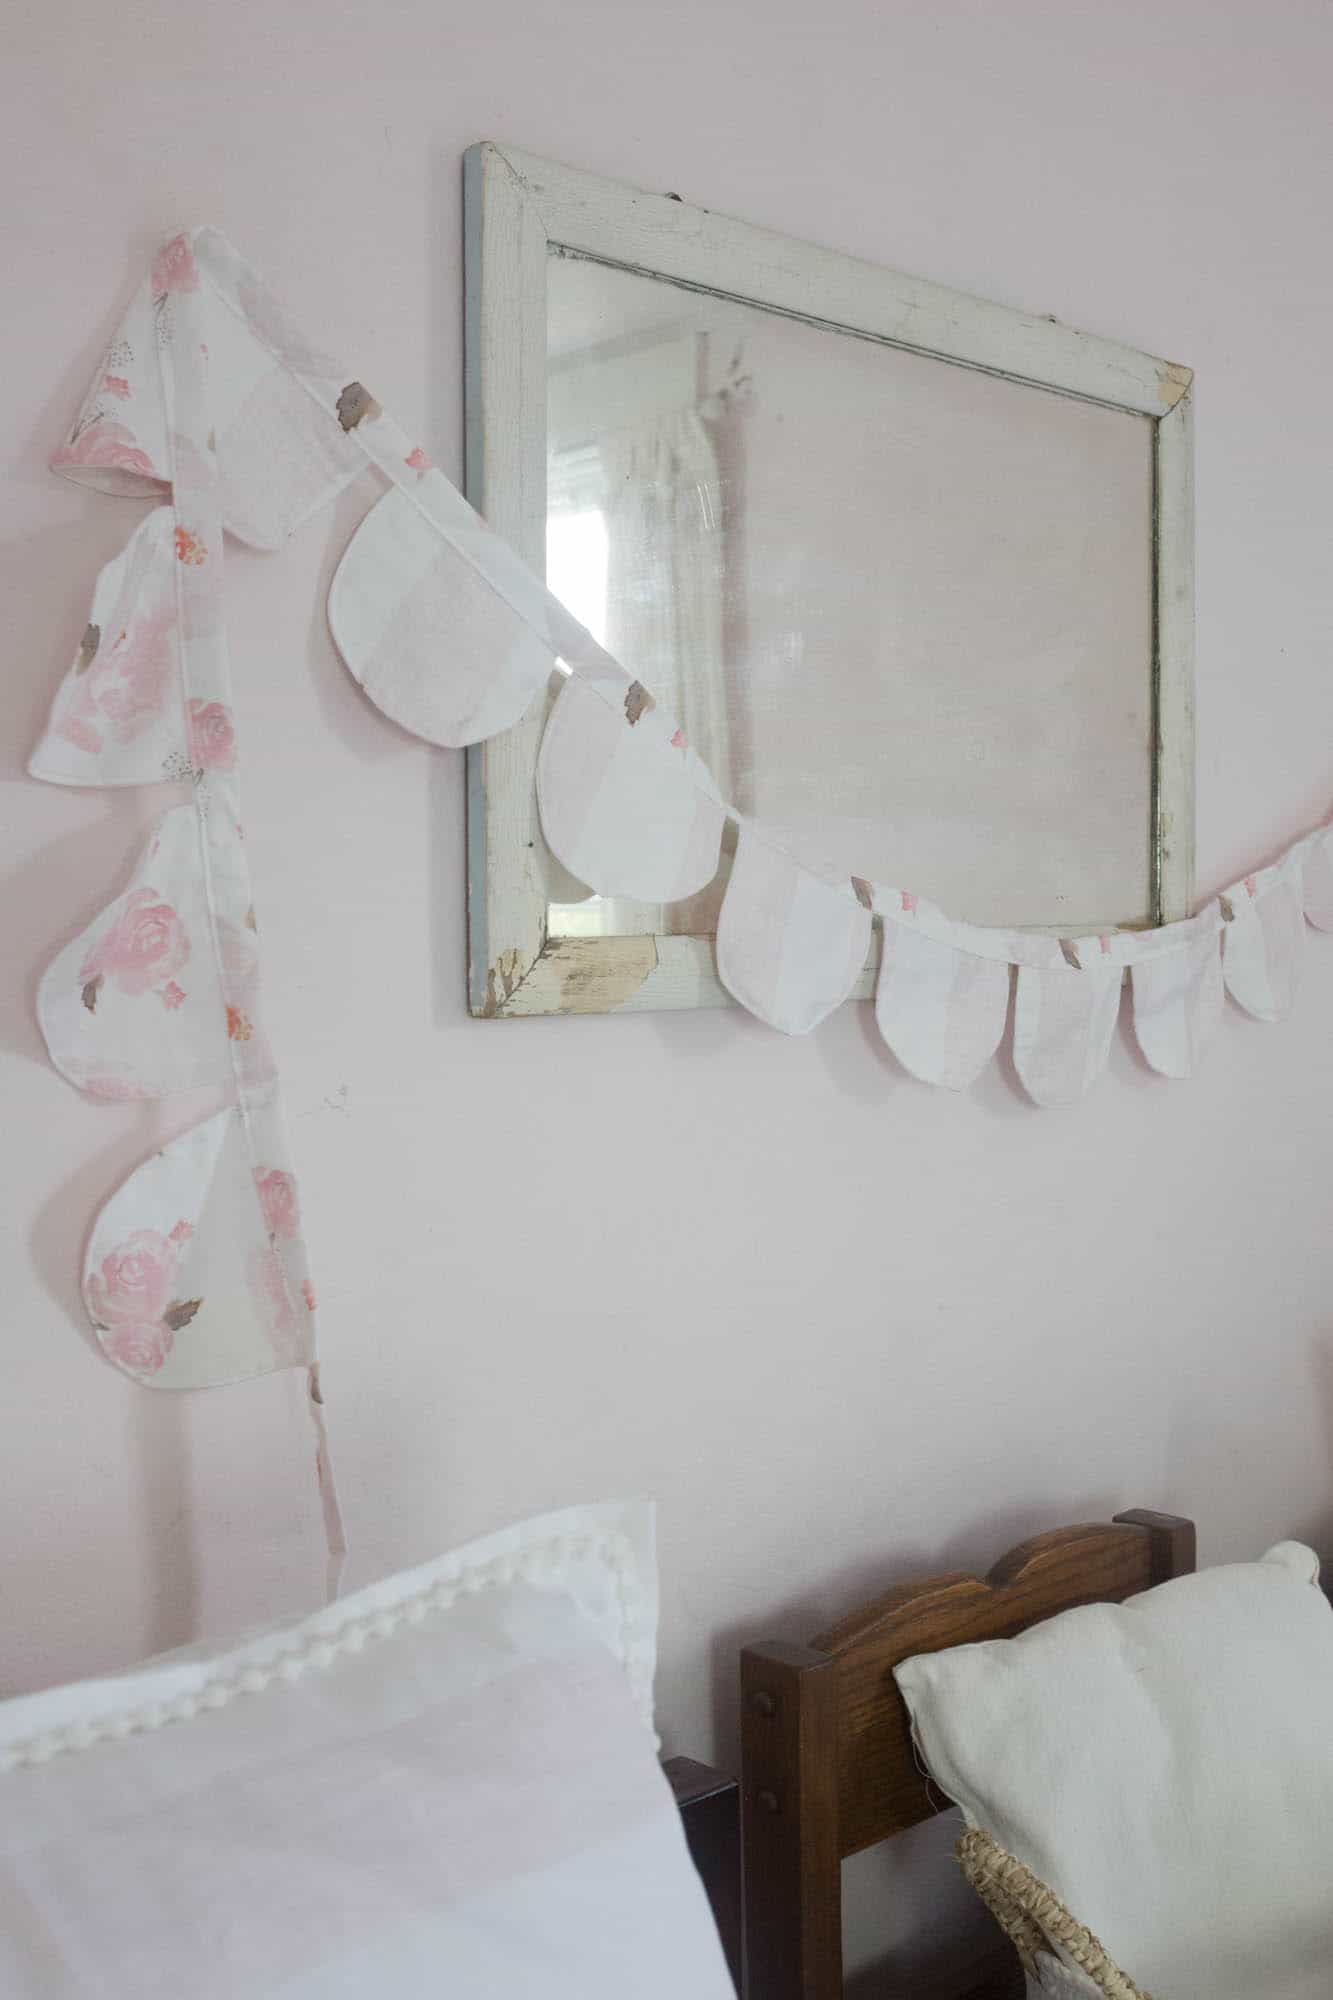
For this bunting, I decided to make it reversible. I cut 20 pieces from one fabric and 20 from another. When sewing the pieces together, in the next step, I used one of each, so I could change up the look occasionally!
Sewing the Bunting Pieces
Put two bunting pieces together, right sides together, and sew around the outside with a 1/2″ seam, leaving the top open.
Pressing and Topstitching
Turn the bunting pieces right side out and press the seams flat.
Topstitch around each bunting piece to make the seams lay flat.
Watch the video above to see exactly how I sew a topstitch on the bunting pieces.
Repeat for however many bunting pieces you want. This will depend on how long you want the bunting to be.
What is a Topstitch?
A topstitch is a stitch that is sewn close to the original seam. It is on top of the garment, or project, and visible when it is complete. Its purpose is to make a seam lay flat.
Making the Bunting Casing
Take a piece of fabric that is 3″ wide and as long as you want your bunting to be. This will vary, depending on where you want to hang it. I made mine 106″ long this time.
Press the long edges inside, so that they meet in the middle. Then, fold them in half, and press again.
Now you have made your own casing! Easy peasy.
Sewing the Bunting Pieces Inside the Casing
Take your oval bunting pieces and sandwich the unfinished tops inside the casing.
Start sewing them in, being sure to catch both sides of the casing, and the top of the bunting piece, in your seam.
Continue to add in new bunting pieces as you sew. I spaced mine about half an inch apart for this project.
All Finished!
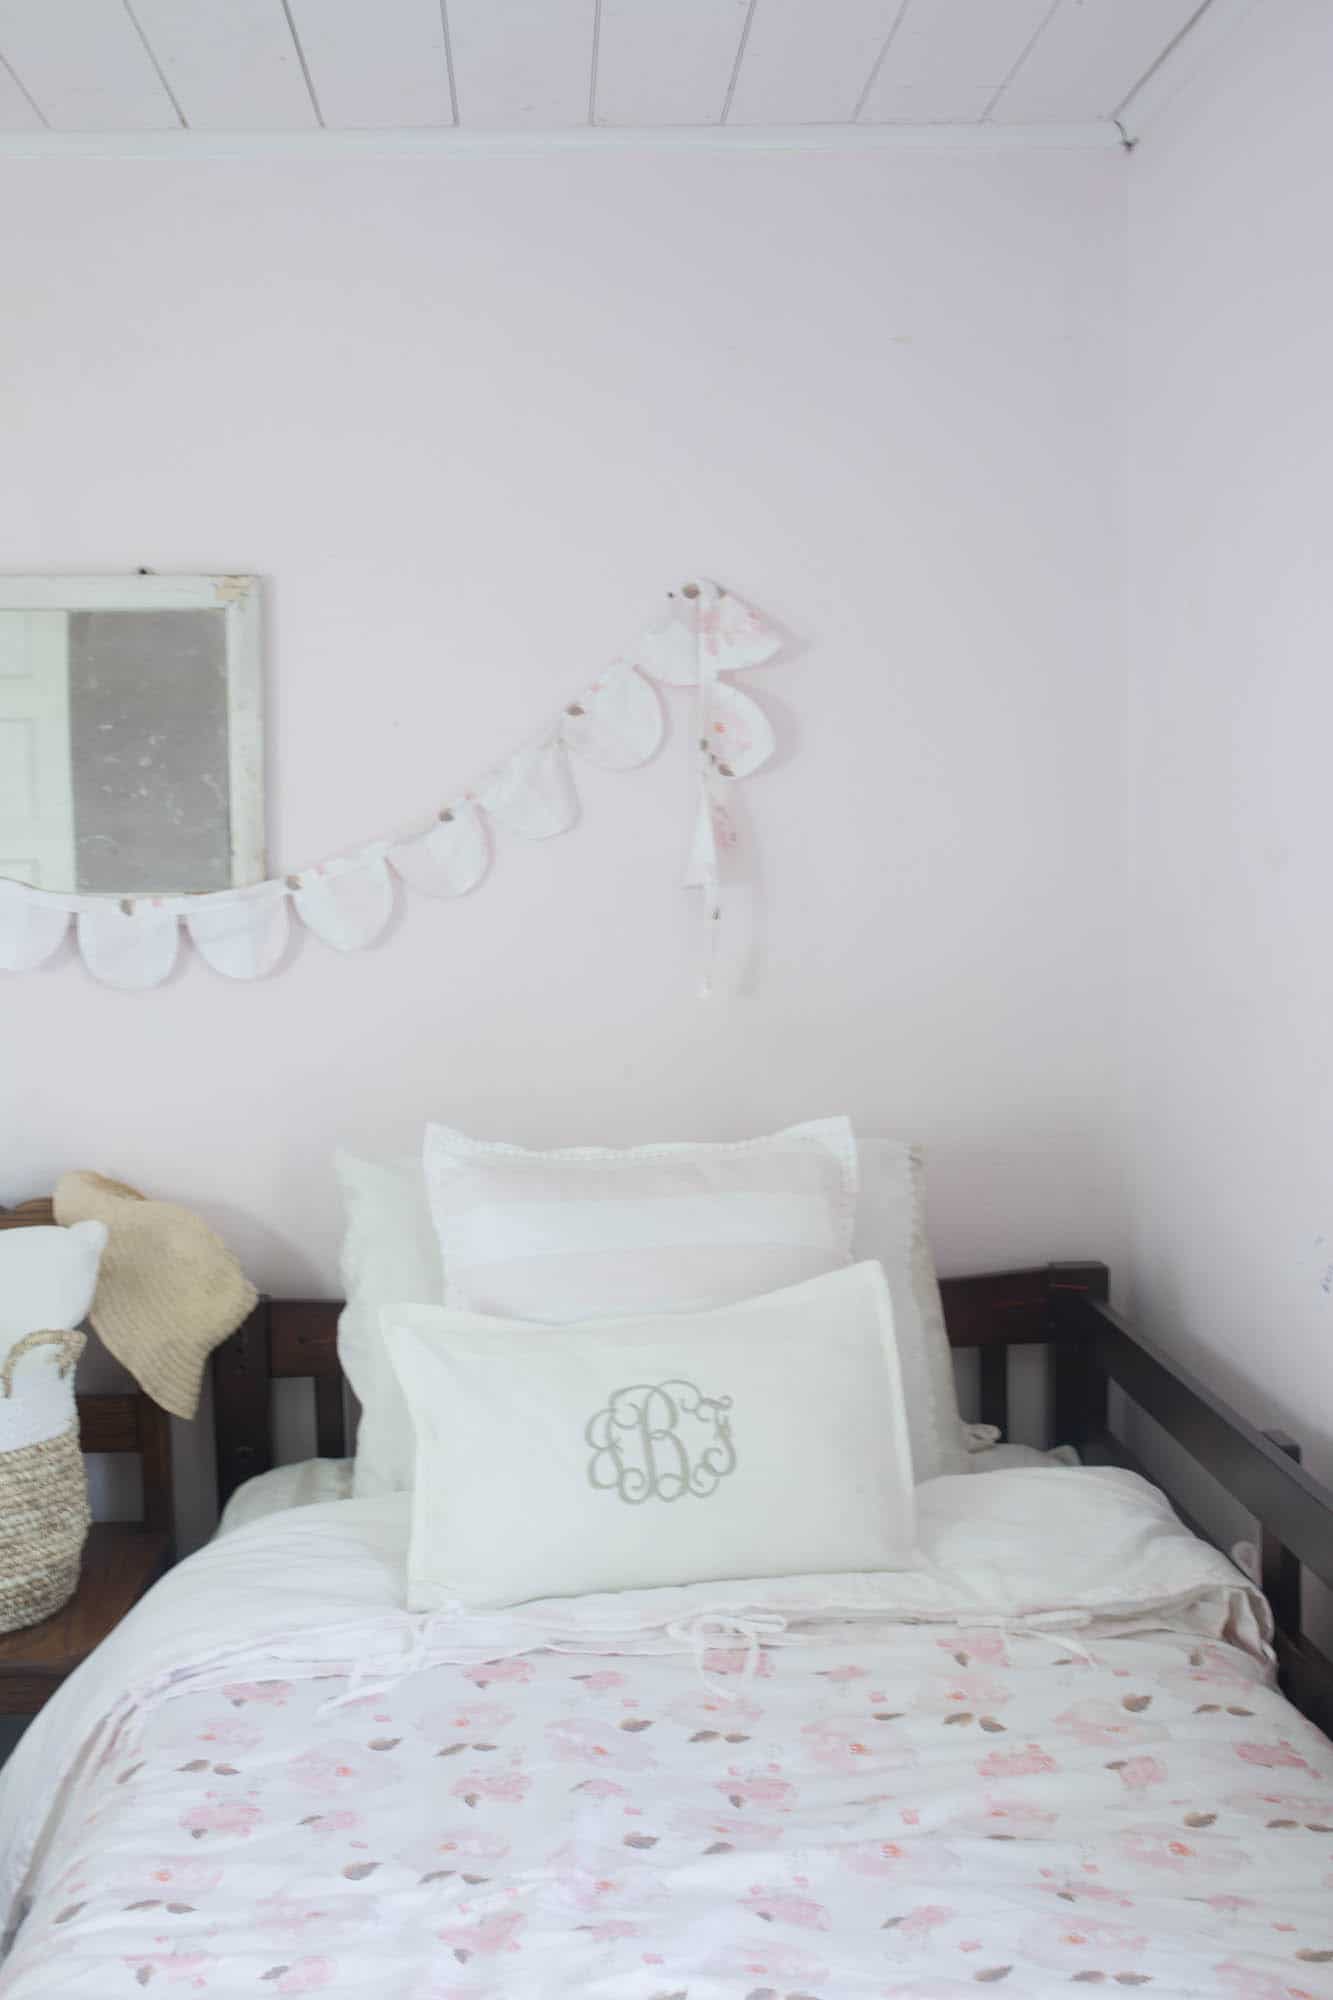
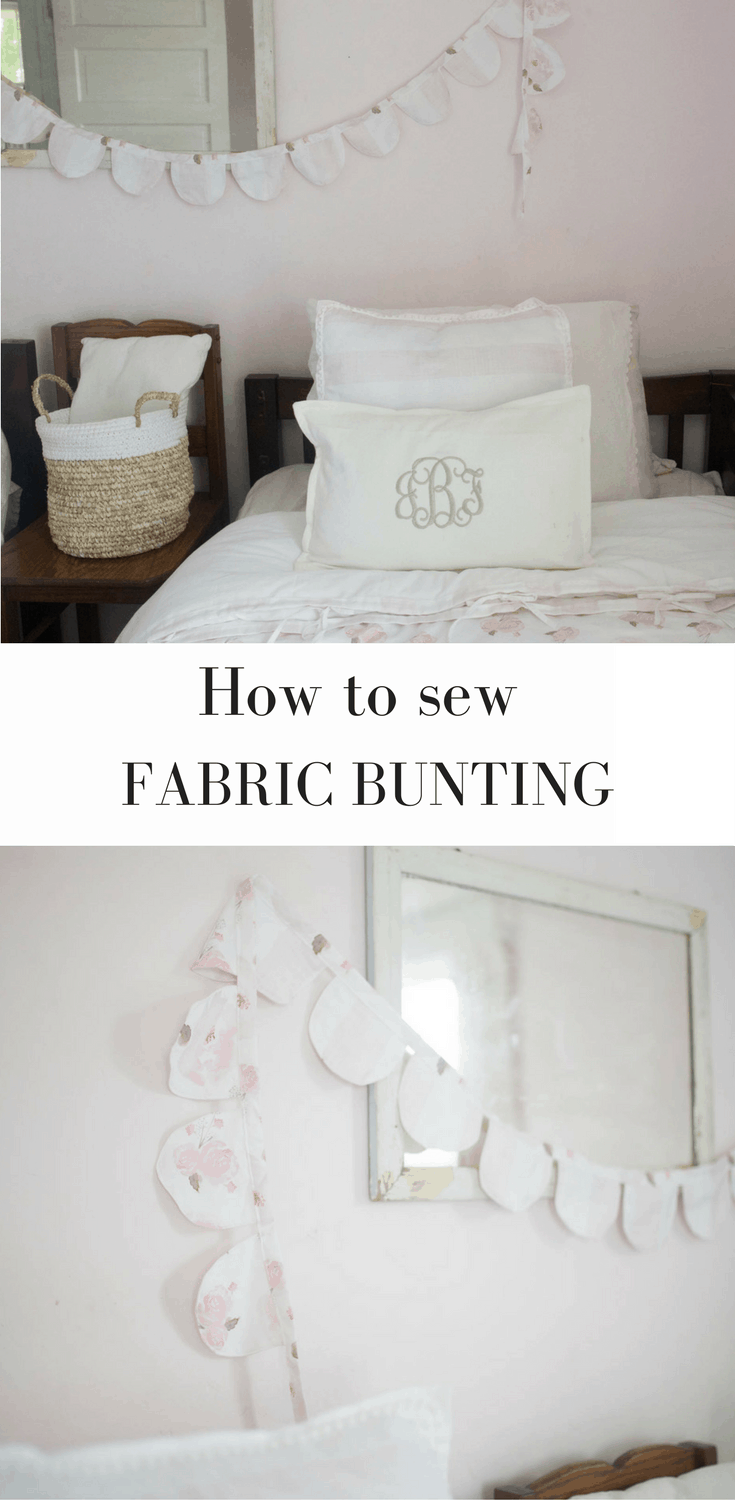
I made the banner to match the girls’ new duvets, with my leftover Spoonflower fabrics. The beauty of this project is you can use scraps!
They are probably getting a little old for fabric bunting, but I am holding onto their little girl-ness just as long as I possibly can!
I also made pink pillows with pom pom trim to match the duvets and bunting for this room. I made the monogram pillows with bleached drop cloth, a favorite fabric of mine!
I’m thinking about adding them to my shop. What do you think??
Other Fabric Buntings I Have Made
For my girls room bunting I used nine pieces to hang their triangular bunting in the corner of their room.
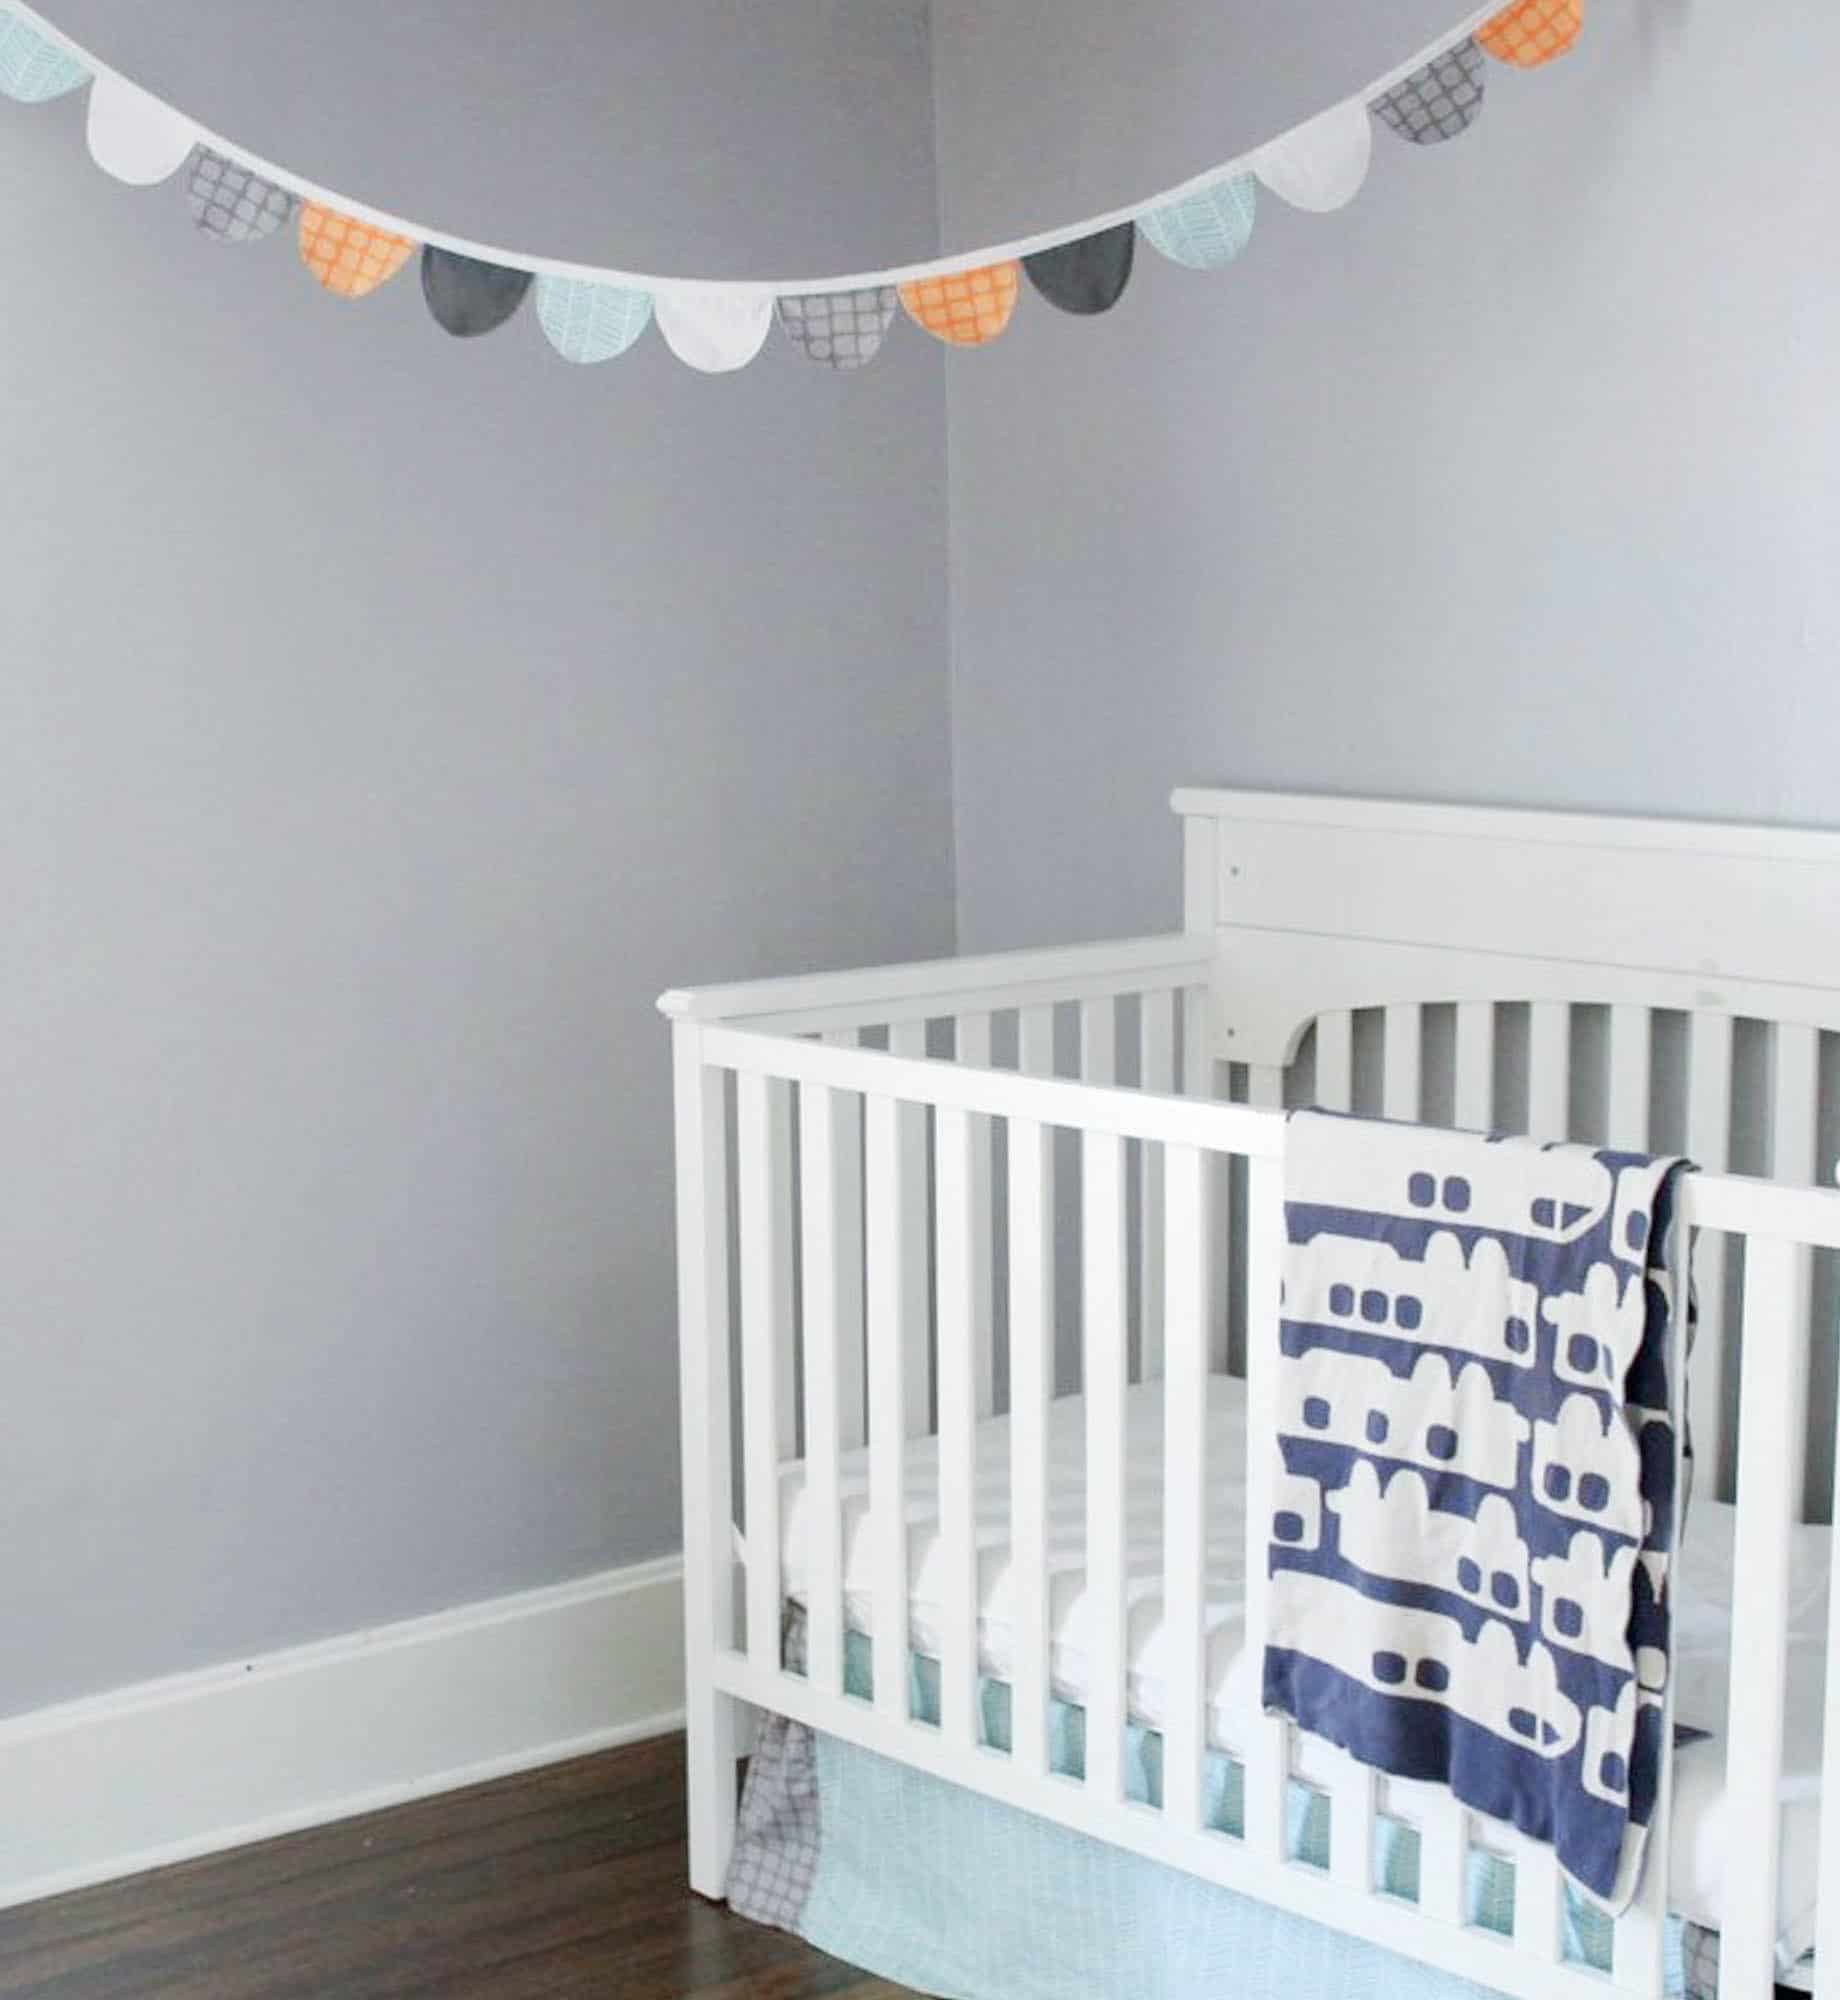
In the boys’ room, I used 14 oval pieces.
For both of these banners I sandwiched the bunting pieces inside double fold bias tape, which is totally great way to do it too.
Enjoy Your bunting making!
Pin it for later:
How to Make Fabric Bunting for Children's Room
Equipment
- Fabric scissors
- Sewing machine
Ingredients
- fabric scraps
- optional - quilt binding
- optional - double fold bias tape
Instructions
- For the first step, take a scrap piece of fabric and make a pattern for the shape you want.
- For each bunting piece, cut two pieces from the pattern, so you can sew them together and hide the raw edges inside.
- Put two bunting pieces together, right sides together, and sew around the outside with a 1/2″ seam, leaving the top open.
- Turn the bunting pieces right side out and press the seams flat.
- Topstitch around each bunting piece to make the seams lay flat.
- Repeat for however many bunting pieces you want. This will depend on how long you want the bunting to be.
- Take a piece of fabric that is 3″ wide and as long as you want your bunting to be. This will vary, depending on where you want to hang it. I made mine 106″ long this time.
- Press the long edges inside, so that they meet in the middle. Then, fold them in half, and press again.
- Take your oval bunting pieces and sandwich the unfinished tops inside the casing.
- Start sewing them in, being sure to catch both sides of the casing, and the top of the bunting piece, in your seam.
- Continue to add in new bunting pieces as you sew. I spaced mine about half an inch apart for this project.
Notes
What is a Topstitch?
- A topstitch is a stitch that is sewn close to the original seam. It is on top of the garment, or project, and visible when it is complete. Its purpose is to make a seam lay flat.
Nutrition information is automatically calculated, so should only be used as an approximation.





This is so cute! Such a great tutorial!