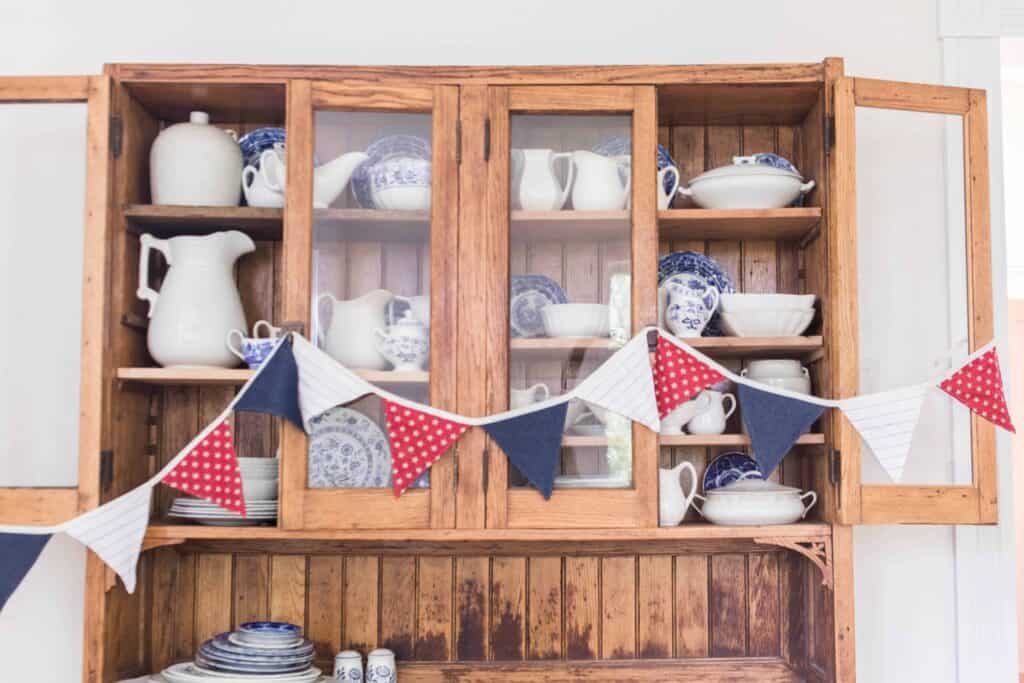
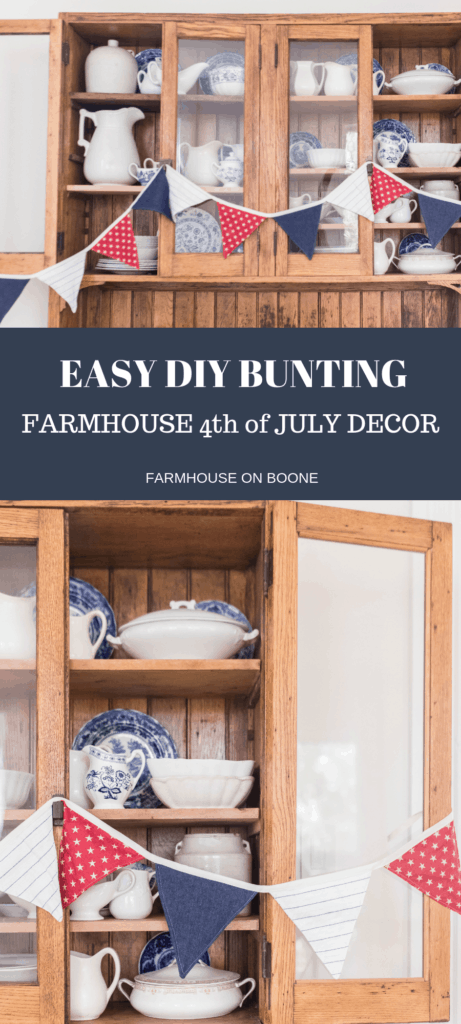
Learn how to make fabric bunting, for some easy DIY Fourth of July decorations! With just a little scrap fabric, and less than 30 minutes of your time, this festive banner can grace your home this season.
This post contains affiliate links, which means I make a small commission at no extra cost to you. See my full disclosure here.
Reduce, Reuse, Refashion
Today’s post is a collaboration with some of my favorite blogger friends, Chloe from Boxwood Avenue, Sarah from Rocky Hedge Farm, Sarah from She Holds Dearly and Larissa from Prodigal Pieces. Every fourth Tuesday of the month we are going to share something we made from a thrift shop find, or just something laying around the house. My minimalist heart just loves this! Getting a bargain, and transforming something old into something new and beautiful is the very reason I love DIY so much.
An extra special thank you to Larissa for putting this whole thing together. Make sure to visit the links at the end of this post to see what all of my friends came up with for their repurposed projects! Also, check back every month to see what we’re all making.
The other day I was shopping at my local Goodwill when I saw some white and blue striped tea towels on sale for a buck! Not one to pass up pretty fabric for a great price, I snatched them up. I had some ideas for them right away. Some tiny ruffles on the bottom of my daughter, Johanna’s jean shorts, would be adorable. It would also be a pretty fabric to make a little zippered makeup pouch. I knew something good would come out of it!
I went to the fabric store next to grab something for a future project, when I stumbled upon the Fourth of July fabric section.
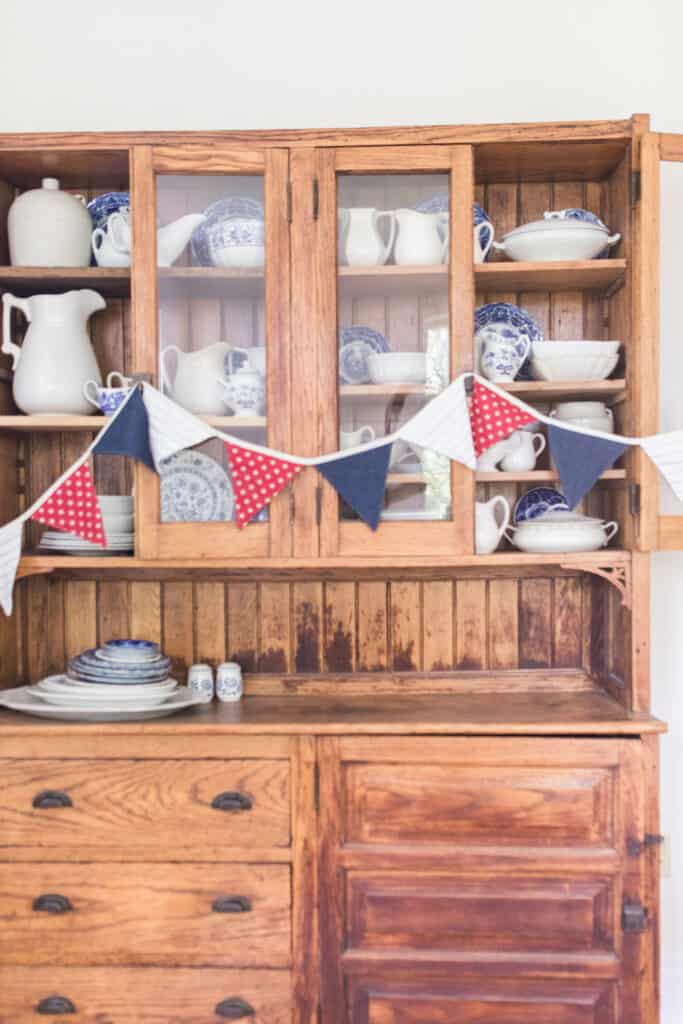
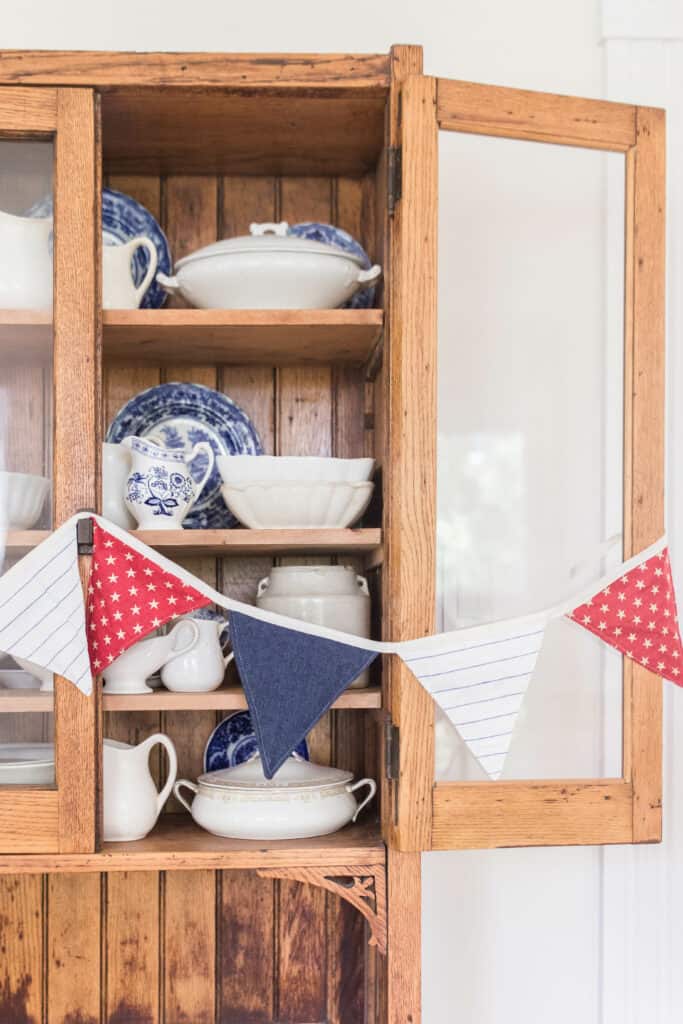
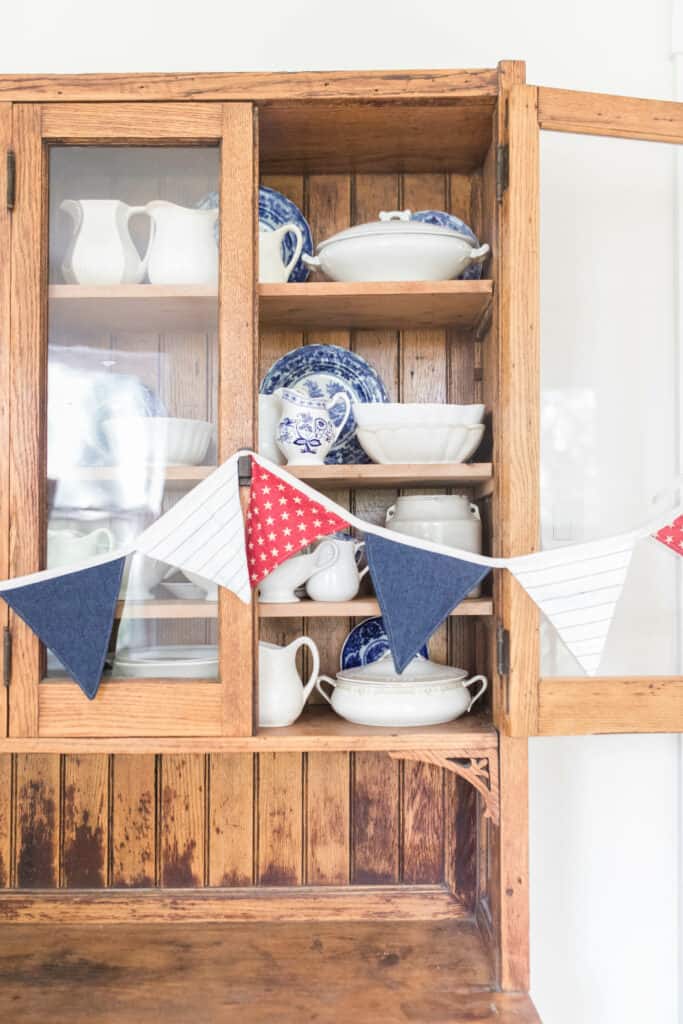
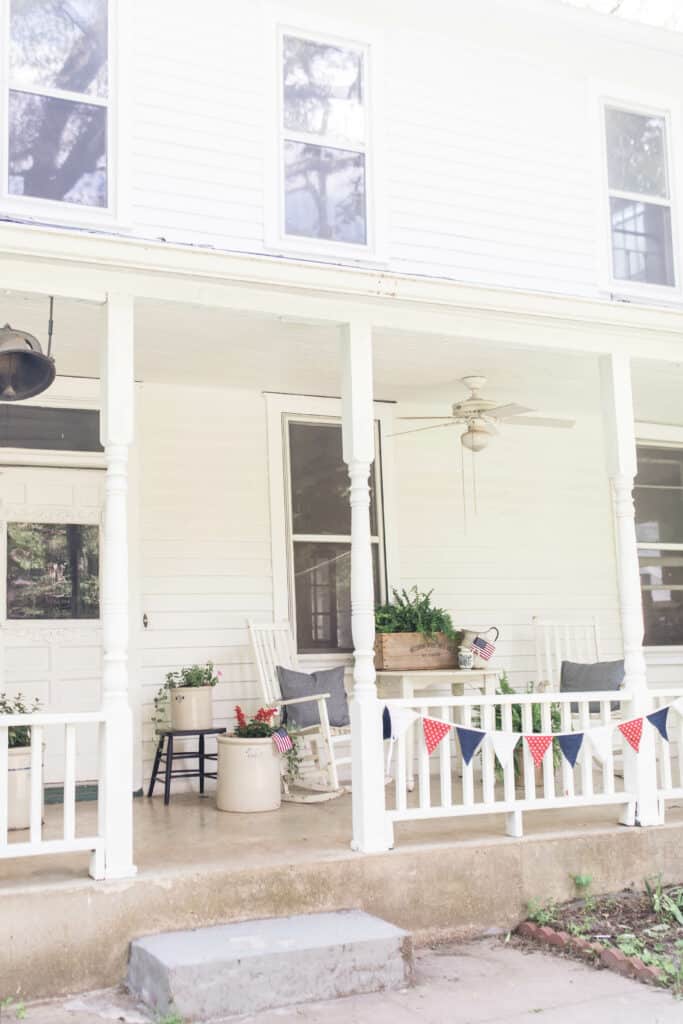
They had some vintage looking reds and blues. My mind jumped to bunting. I love the way fabric bunting looks draped over a china hutch, porch or windowsill for some seasonal flare.
I grabbed red vintage stars cotton and blue denim to coordinate with my striped tea towels. *For some bonus repurposing action, use up some old blue jeans to replace the denim.
How to Make Fabric Bunting Supplies
1/4 yard each cotton fabric in three coordinating fabrics
Coordinating thread
Pins
Extra wide double fold bias tape
How to Make Fabric Bunting Instructions
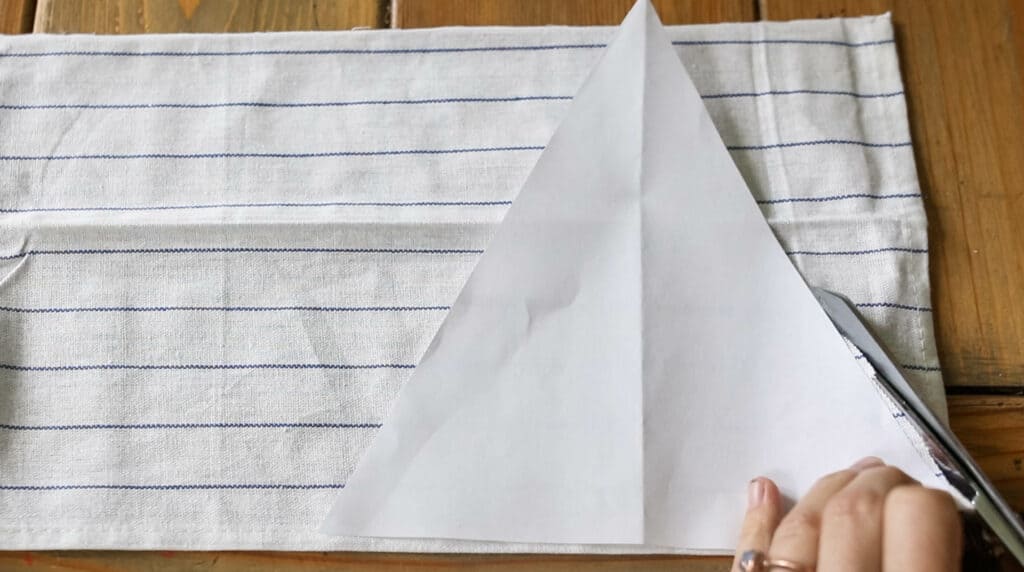
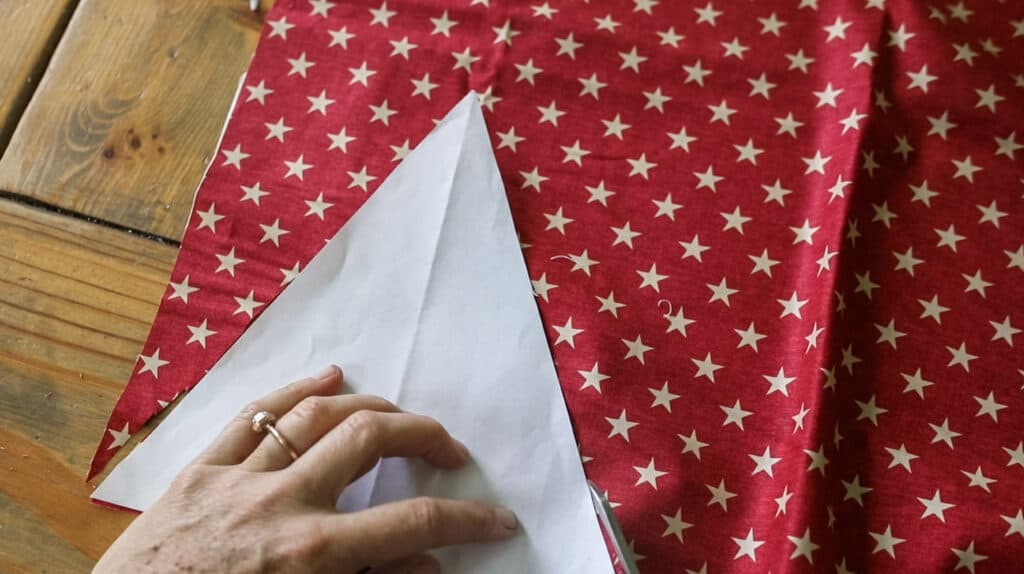
- Cut out eight triangles from each fabric.
- Take two triangles from the same fabric, and line them up with right sides together. Sew down the two long sides, leaving the top open. To get a nice point at the bottom, turn the wheel on your sewing machine until the needle is in the fabric at the bottom point of the fabric. Lift the presser foot and pivot the fabric to go up the other side. See the video tutorial at the end of this post to see this in action!
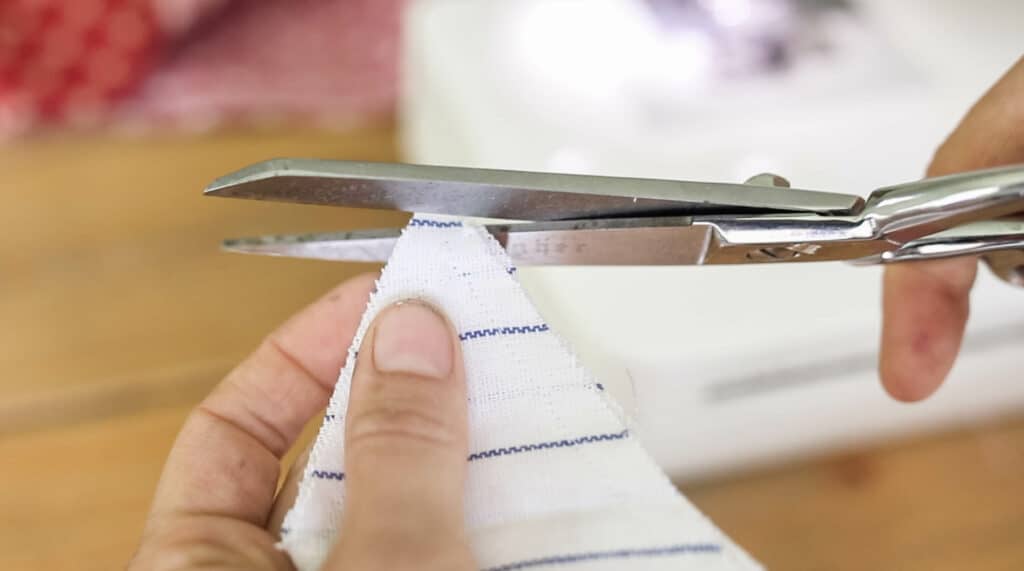
- Cut the excess fabric from the top point of the triangle.
- Turn the triangle right side out. Make sure to fully poke the corner out. I use the sharp end of a pair of scissors to really push it out.
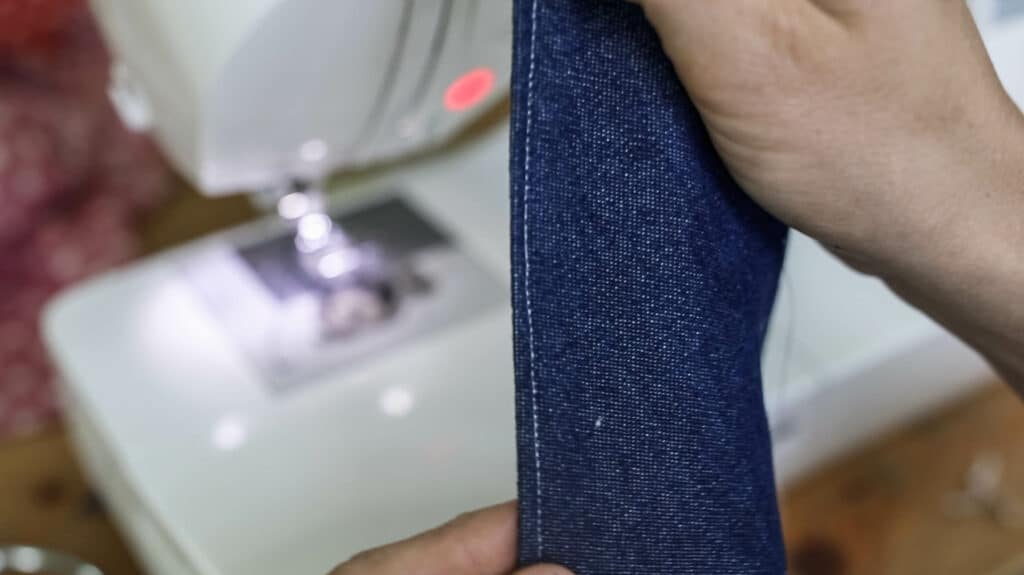
- Topstitch around the two long sides of the triangle with a coordinating thread. Again pivot the needle at the bottom to get a nice sharp point.
- Repeat with the other 11 triangles.
- Take a package of extra wide double fold bias tape and finish off the ends. I do this by folding the two ends under about 1/2″ and adding a tiny topstitch. This hides the raw edges inside.
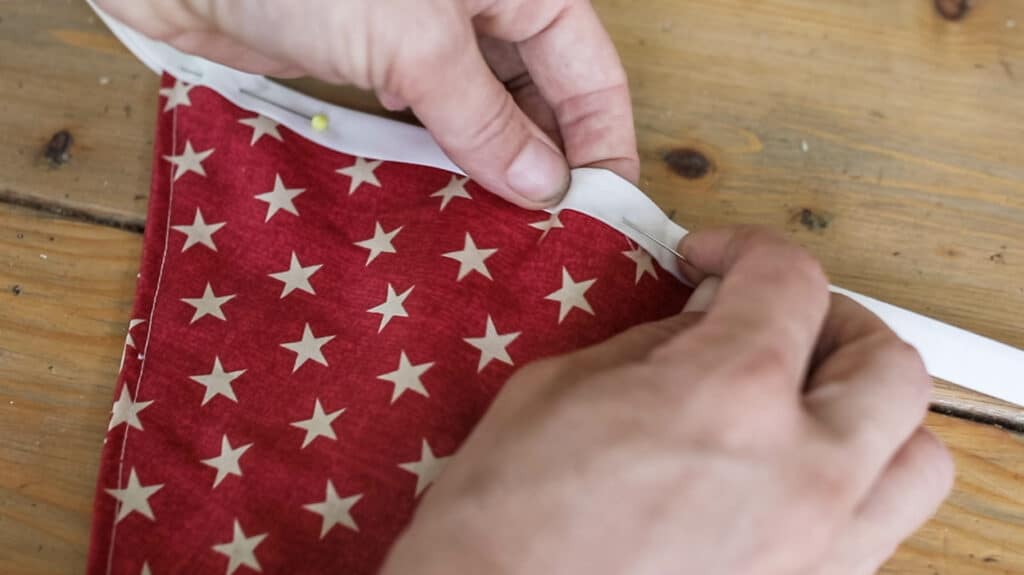
- Lay the bias tape out on a flat work surface. Create a pattern with the triangles. (For example, I did white, red, blue, white, red, blue..) Start 6″ from the end of the bias tape and sandwich the tops of the triangles in between. Leave 1/2″ to 1″ in between each triangle Pin them in place.
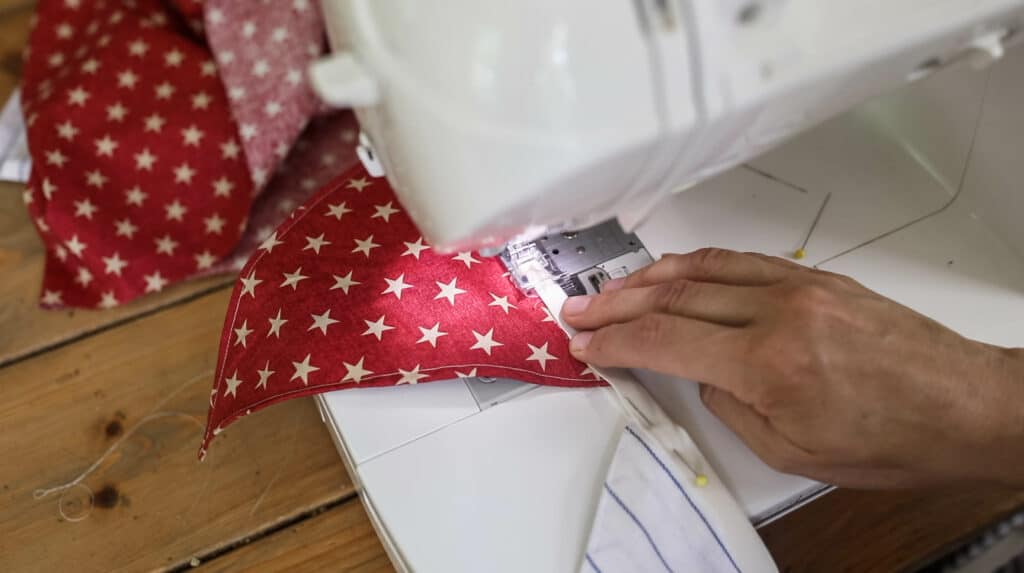
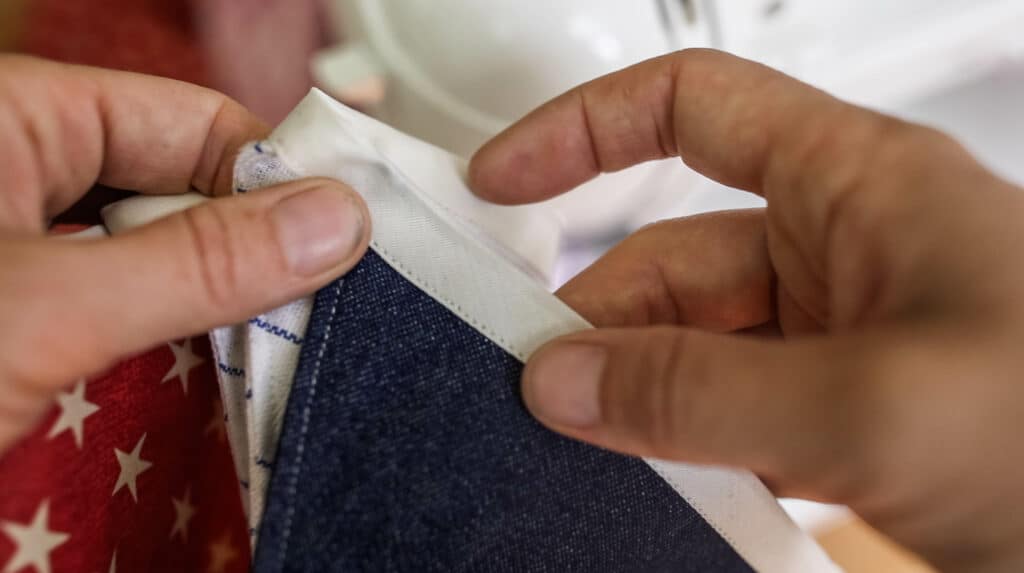
- Sew down the entire bias tape, being sure to catch the tops of the triangles with the seam.
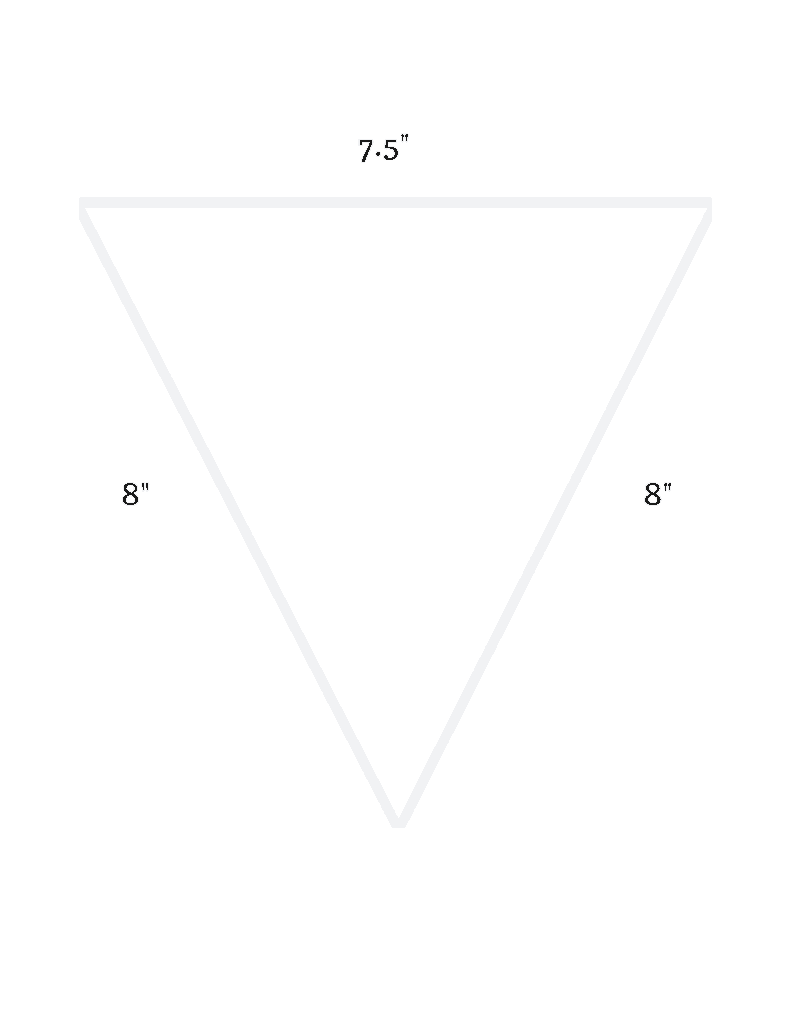
Here is the template I used. You can print it out on a standard 8.5″ by 11″ piece of paper.
And that’s how to make fabric bunting for some easy DIY Fourth of July Decorations. Now check out the video tutorial! If any of the written out instructions were difficult to follow along with, the video will really help you see what I mean.
How to Make Fabric Bunting Fourth of July Decorations DIY Video
Check out my other fabric bunting tutorial here: How to Make Fabric Bunting for Children’s Room
This variation is for a sweet little oval shaped bunting. Perfect for kids’ rooms and nurseries!
The Simple Sewing Series
Brand new to sewing? Check out my free sewing course: The Simple Sewing Series
There you will find video tutorials to walk you through every step to get you going on learning how to sew! We cover EVERYTHING from how to thread a machine, to creating a simple hem and seam. When you “graduate” from the course, you will find easy projects for every room in your home!
I’m passionate about teaching others to create beautiful things for their home. I hope you join me over on this page: The Simple Sewing Series
Shop the Supplies for How to Make Fabric Bunting
1/4 yard each cotton fabric in three coordinating fabrics
Coordinating thread
Pins
Extra wide double fold bias tape
Check out all m friends’ Reduce, Reuse and Refashion posts
Prodigal Pieces Upcycled Belts
She Holds Dearly DIY Pillow Covers
Flat Creek Farmhouse
Did you miss the series last month?! You can check it out HERE to see what we all came up with!
How to Make Fabric Bunting Fourth of July Decorations DIY
Video
Equipment
- Sewing machine
- Pins
Ingredients
- 1/4 yard each cotton fabric in three coordinating fabrics
- Coordinating thread
- 3 yards extra wide double fold bias tape
Instructions
- Cut out eight triangles from each fabric.
- Take two triangles from the same fabric, and line them up with right sides together. Sew down the two long sides, leaving the top open. To get a nice point at the bottom, turn the wheel on your sewing machine until the needle is in the fabric at the bottom point of the fabric. Lift the presser foot and pivot the fabric to go up the other side. See the video tutorial at the end of this post to see this in action!
- Cut the excess fabric from the top point of the triangle.
- Turn the triangle right side out. Make sure to fully poke the corner out. I use the sharp end of a pair of scissors to really push it out.
- Topstitch around the two long sides of the triangle with a coordinating thread. Again pivot the needle at the bottom to get a nice sharp point.
- Repeat with the other 11 triangles.
- Take a package of extra wide double fold bias tape and finish off the ends. I do this by folding the two ends under about 1/2" and adding a tiny topstitch. This hides the raw edges inside.
- Lay the bias tape out on a flat work surface. Create a pattern with the triangles. (For example, I did white, red, blue, white, red, blue..) Start 6" from the end of the bias tape and sandwich the tops of the triangles in between. Leave 1/2" to 1" in between each triangle Pin them in place.
- Sew down the entire bias tape, being sure to catch the tops of the triangles with the seam.
Notes
- Make sure and check out my sewing tutorials!
Nutrition information is automatically calculated, so should only be used as an approximation.




I made these last year for July and can’t wait to hang it up again! Makes my house boutique-cute! I almost never buy anything to decorate my house. I love the idea of making all my own decor, maybe that’s why my house is so sparse. Now I want to make lots of buntings! On the hunt for the right fabric. Thank you for helping me get back into sewing! I love these posts and videos!
I love this site! Just came across it this morning! I do not see the links for your products, fabrics, etc. Thank you!
Lisa,
This may sound crazy but I type this message with a tear in my eye. I have wanted to learn how to sew since I was a little girl. My mom knew how but would never teach me. Over the years I’ve asked several people that knew how to sew to teach me but for one reason or another it never happened, I was convinced I couldn’t do it.
When I saw your beginners sewing video series I ask my kids to get me a sewing machine for mother’s day. I sat down and followed each video and did exactly what you taught. I can’t believe how easy it was to get started. I just finished sewing curtains for my kitchen and I’m going to try a pillow next.
I’m so excited I wish I could sew all day every day. Lol
Thank you so much for sharing your gift and talents with me. Love and blessings always, Bonnie Messano
I love this! Just pinned it to my Projects board.
I’ve been begging my husband to help me learn how to sew (because somehow he took Home Ec in high school and I never did!) but I think I’m going to release him of that request and use your Simple Sewing videos instead! Thank you so much for making them!!
I’m totally a sucker for buntings, and anything Independence Day relates. This is adorable! Love that you scored the tea towel for a buck. Can’t beat it! 🙂