This DIY Ticking stripe curtain is simple to make, a perfect beginner sewing tutorial. With only two and a half yards of fabric, and some straight stitches, you can make this easy project in under an hour.
This post contains affiliate links, which means I make a small commission at no extra cost to you.
Our farmhouse boys room makeover
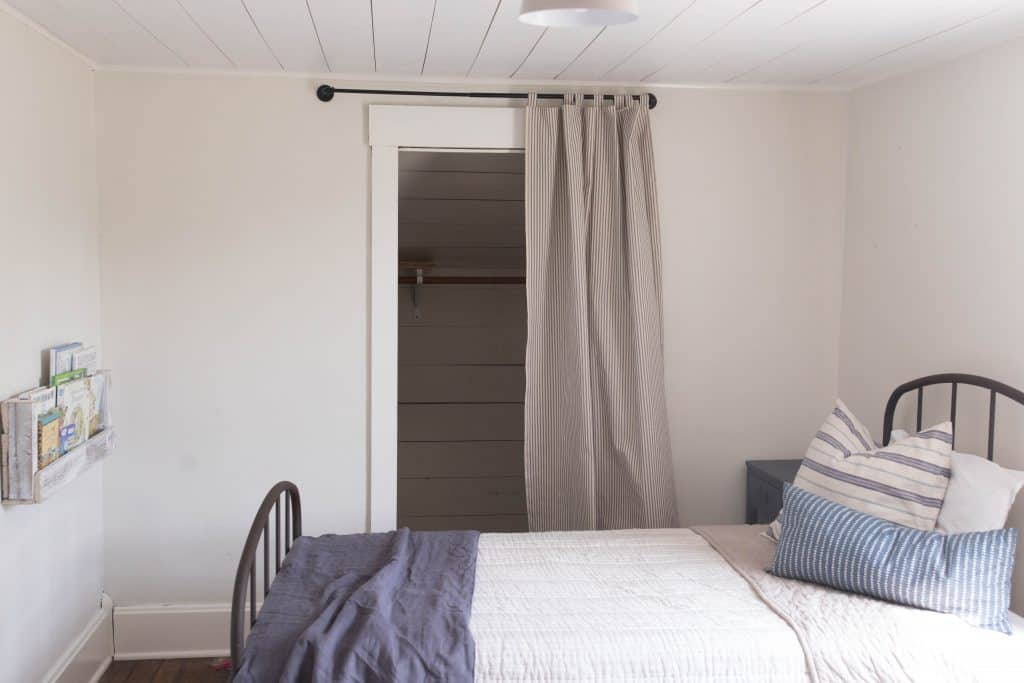
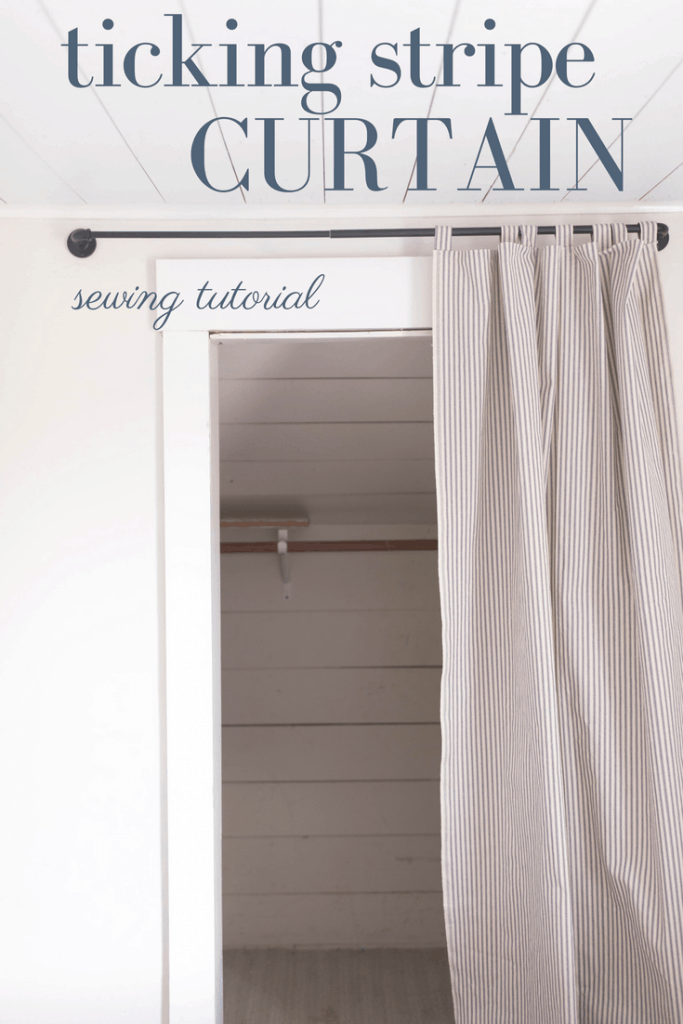
In my recent farmhouse boys’ room makeover reveals, I showed how we took off the closet door and replaced it with a ticking stripe curtain.
I had my heart set on getting two iron beds into their room, but there was no room for both the beds AND the closet door.
Something had to go, and it wasn’t the beds.
This old 1920’s craftsmen farmhouse of ours may have four bedrooms, but each one is pretty small. If I had to choose between large bedrooms, and fewer of them, I would definitely choose the smaller ones and more divided spaces for the kids. But all that aside, we have to find a way to stuff two beds in this room.
The closet is actually quite large compared to the size of the rooms. I thought that by, taking the door off the closet, the room in the closet would feel like added space for the bedroom.
Plus, I wouldn’t have to deal with the room that an open door takes up.
Ticking stripe is my favorite neutral
I use a lot of ticking stripe fabric in our home. It pairs well with almost any color and pattern.
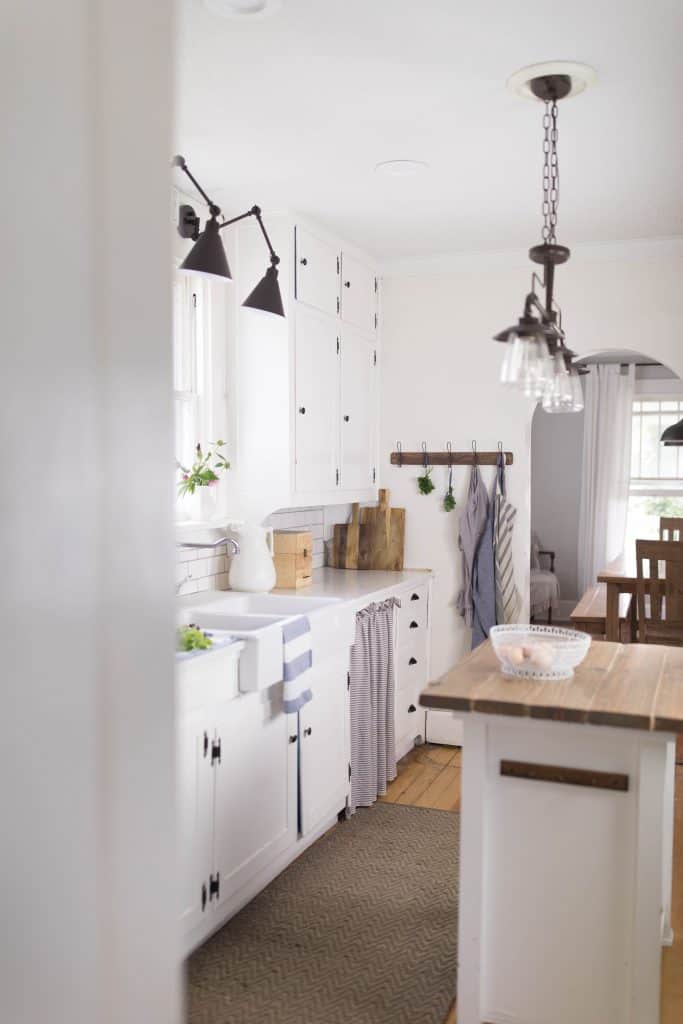
We have two ticking stripe curtains in our kitchen, one to hide the spot where the dishwasher used to be, and one that hides the trash cans.
There is just something so charming about curtains under the kitchen countertops. It gives that old farmhouse feel.
Farmhouse Bathroom
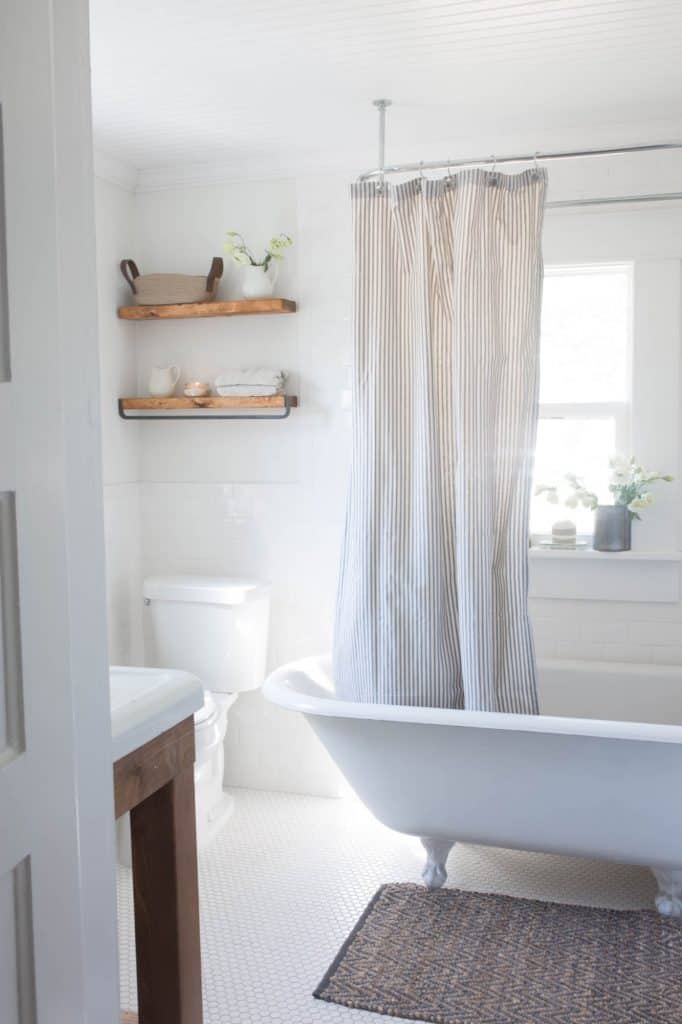
We also added ticking in our farmhouse bathroom makeover.
I love the little bit of color it adds, and it pairs well with the wood tones and whites.
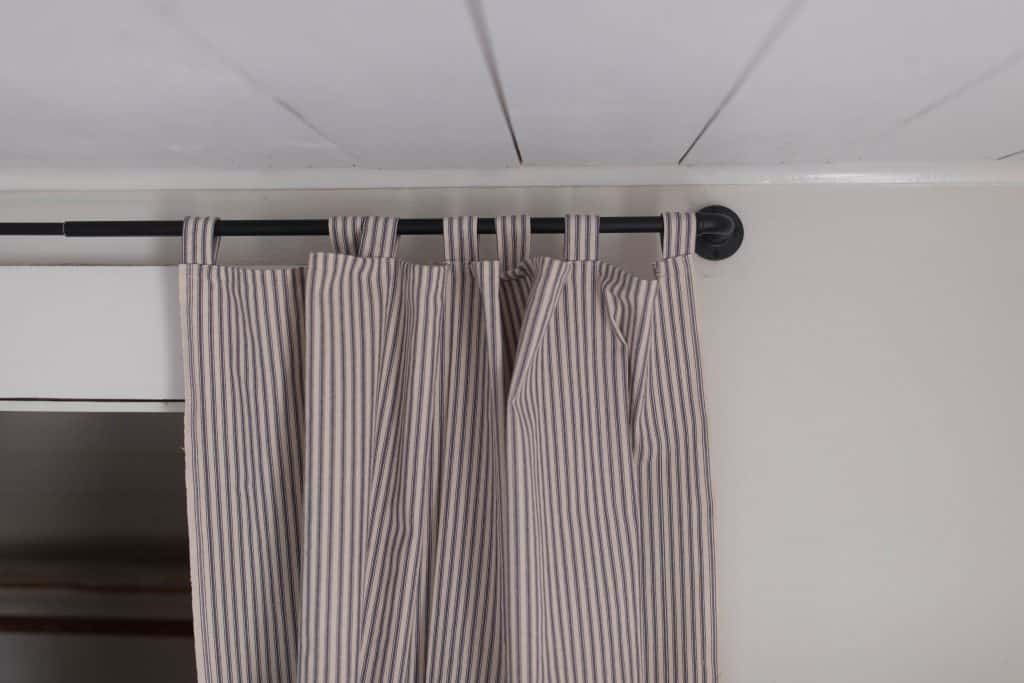
In the curtain tutorial I show you how to make this with tabs at the top, but you could just as easily omit the tabs and add button holes.
If you are brand new to button holes, I briefly share how to make them in this Bow in the Back Summer Dress Tutorial. You could also find a more thorough tutorial on Youtube. I plan to make one at some point.
Even the most basic machines come with the capabilities to make a button hole!
DIY Ticking Stripe Curtain Sewing Tutorial video
DIY Ticking Stripe Curtain Sewing Tutorial Supplies
3 yards ticking stripe fabric– I found mine at my local Walmart. I couldn’t find the exact one online, but this one is very similar. It is 54″ wide, instead of 44″ like mine.
I also found this one in charcoal.
People often ask me what sewing machine I recommend for beginners. I would just go with a very basic Brother sewing machine, like this one. You can find them for around $100 brand new. No need for fancy computerized machines.
You can make all of me sewing tutorial with a basic machine like this one.
Coordinating thread– I just used white, which is what I do for almost all of my projects.
DIY Ticking Stripe Curtain Cut list
1- large piece for the main panel. Mine was 82″
7- 3″ by 7″ strips of fabric for the tabs
DIY Ticking Stripe Curtain Sewing Tutorial Instructions
- Measure and cut for the main panel. For my boys’ room closet, I wanted the curtain to start several inches above the closet door and go all the way to the floor. I needed a total length of 83 inches. After the tabs for this project are sewn in place, they add three inches in length to the curtain. I needed the main panel to be 80 inches. To account for seam allowance I added two inches, one inch for the hem at the top and one inch for the hem at the bottom. I just used the width of the fabric, 44″, for my curtain so I didn’t worry about hemming the sides. If you need to cut the sides for your width, make sure to leave an extra inch on each side for the side hems.
- Cut out the seven tabs.
- Fold a curtain tab in half lengthwise, right sides together, and sew down the long edge with a 1/4″ seam.
- Turn the tab right side out, using a large safety pin.
- Top stitch along both long sides of the tab, to make the side seams lay flat.
- Repeat steps 3-5 for the remaining six tabs.
- Create the hem along the bottom of the curtain by pressing the bottom edge toward the back of the fabric 1/2″ and then another 1/2″, to hide the raw edges inside. Sew a 3/8″ seam.
- Repeat step 7 for the top edge of the curtain, but skip the sewing part for now.
- Fold the tabs in half and place the raw edges under the top hem, evenly spacing them along the top of the curtain. I do this by folding the main curtain piece in half to find the center. I place one tab on each outisde edge and then one in the middle. After pinning them in place, I evenly space two tabs between each outside tab and the middle. This is a great way to space out seven tabs. (Refer to the video if this sounded confusing!)
What if I need the fabric to be wider?
44 inches, the width of my ticking stripe fabric, was perfect for the closet curtain in my boys’ room, but what if you need the panel to be quite a bit wider?
For example, if you want to make a DIY ticking stripe shower curtain, you will need to about double it. A standard shower curtain is 72″ wide.
Cut two pieces of ticking stripe fabric 36.5″ each. Line up the edge of a white stripe on one panel with the edge of a blue stripe on the other panel. Carefully pin down that line and sew in place with a half inch seam.
Make sure that the blue stripe lines up with the quite stripe, as opposed to matching two white stripes. If the pattern looks continuous, the seam won’t be as obvious.
Variations for the DIY Ticking Stripe Curtain
Add ruffles to the bottom. This would be cute in a girls’ room or for a shower curtain.
Make it extra wide by sewing two panels together.
Add buttonholes to the top, instead of tabs.
Make it tan, charcoal or black.
Happy sewing!
Shop the supplies DIY Ticking Stripe Curtain
Charcoal ticking stripe fabric
DIY Ticking Stripe Curtain Sewing Tutorial
Equipment
Ingredients
- ticking stripe fabric
- sewing machine
- coordinating thread
Instructions
DIY TICKING STRIPE CURTAIN CUT LIST
- 1- large piece for the main panel. Mine was 82″7- 3″ by 7″ strips of fabric for the tabs
DIY TICKING STRIPE CURTAIN SEWING TUTORIAL INSTRUCTIONS
- Measure and cut for the main panel. For my boys’ room closet, I wanted the curtain to start several inches above the closet door and go all the way to the floor. I needed a total length of 83 inches. After the tabs for this project are sewn in place, they add three inches in length to the curtain. I needed the main panel to be 80 inches. To account for seam allowance I added two inches, one inch for the hem at the top and one inch for the hem at the bottom. I just used the width of the fabric, 44″, for my curtain so I didn’t worry about hemming the sides. If you need to cut the sides for your width, make sure to leave an extra inch on each side for the side hems.
- Cut out the seven tabs.
- Fold a curtain tab in half lengthwise, right sides together, and sew down the long edge with a 1/4″ seam.
- Turn the tab right side out, using a large safety pin.
- Top stitch along both long sides of the tab, to make the side seams lay flat.
- Repeat steps 3-5 for the remaining six tabs.
- Create the hem along the bottom of the curtain by pressing the bottom edge toward the back of the fabric 1/2″ and then another 1/2″, to hide the raw edges inside. Sew a 3/8″ seam.
- Repeat step 7 for the top edge of the curtain, but skip the sewing part for now.
- Fold the tabs in half and place the raw edges under the top hem, evenly spacing them along the top of the curtain. I do this by folding the main curtain piece in half to find the center. I place one tab on each outisde edge and then one in the middle. After pinning them in place, I evenly space two tabs between each outside tab and the middle. This is a great way to space out seven tabs. (Refer to the video if this sounded confusing!)
Notes
- 44 inches, the width of my ticking stripe fabric, was perfect for the closet curtain in my boys’ room, but what if you need the panel to be quite a bit wider?
- For example, if you want to make a DIY ticking stripe shower curtain, you will need to about double it. A standard shower curtain is 72″ wide.
- Cut two pieces of ticking stripe fabric 36.5″ each. Line up the edge of a white stripe on one panel with the edge of a blue stripe on the other panel. Carefully pin down that line and sew in place with a half inch seam.
- Make sure that the blue stripe lines up with the quite stripe, as opposed to matching two white stripes. If the pattern looks continuous, the seam won’t be as obvious.
- Add ruffles to the bottom. This would be cute in a girls’ room or for a shower curtain.
- Make it extra wide by sewing two panels together.
- Add buttonholes to the top, instead of tabs.
- Make it tan, charcoal or black.
- Happy sewing!
Nutrition information is automatically calculated, so should only be used as an approximation.



These are so beautiful!
These curtains are a perfect fit in my living room! Thanks for the great tutorial!
This is really amazing! I loved how it turned out! Thanks for the tutorial!
Thank you so much for this post. This is exactly what I want to make for my bedroom! You make it so easy!
Hello! Were the curtains in your boys room featured in this blog post tan,blue or grey? I can’t tell but I love them and would like to do the same for our new farmhouse. Thanks!
They are the blue ticking! 🙂
Hi Lisa! Thank you so much for all your inspiration. You bless me every time I watch your channel. 🙂
What curtain rods do you use? I’m thrifty and frugal at heart and wondering if you DIY your rods or have found a frugal option. Thanks!
~Amy
Hi Amy,
I bought the curtain rod here: https://amzn.to/2U2YTRg
Thank you for doing this tutorial. I am wanting to do some ticking curtains for our bedroom and I wanted to do tabs. Wasn’t sure how to do them, but after seeing the video I am clear.
Yay! I am so glad to hear that 🙂