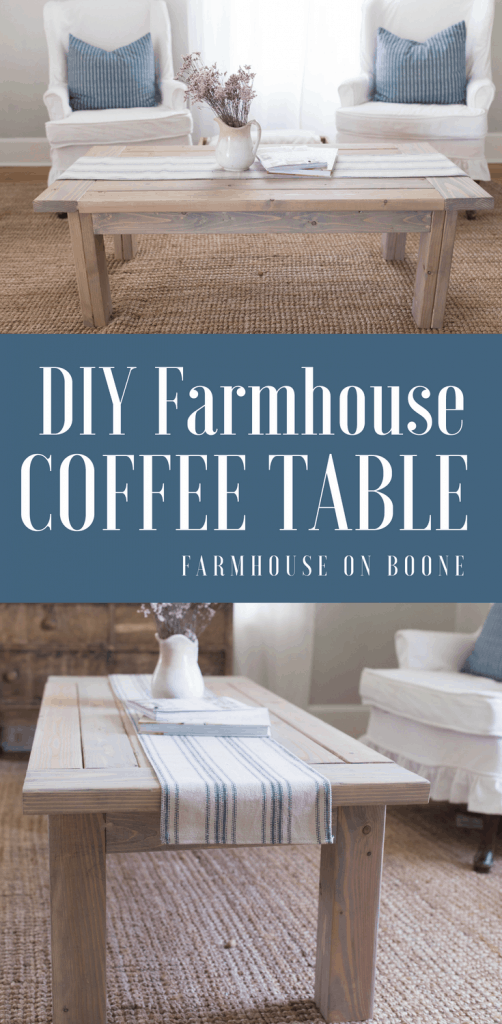
Join us as we show you how to build a easy DIY farmhouse coffee table with easy to follow coffee table plans. Our living room finally looks complete with the new DIY coffee table that my husband just built. Watch the process from start to finish in this DIY video.
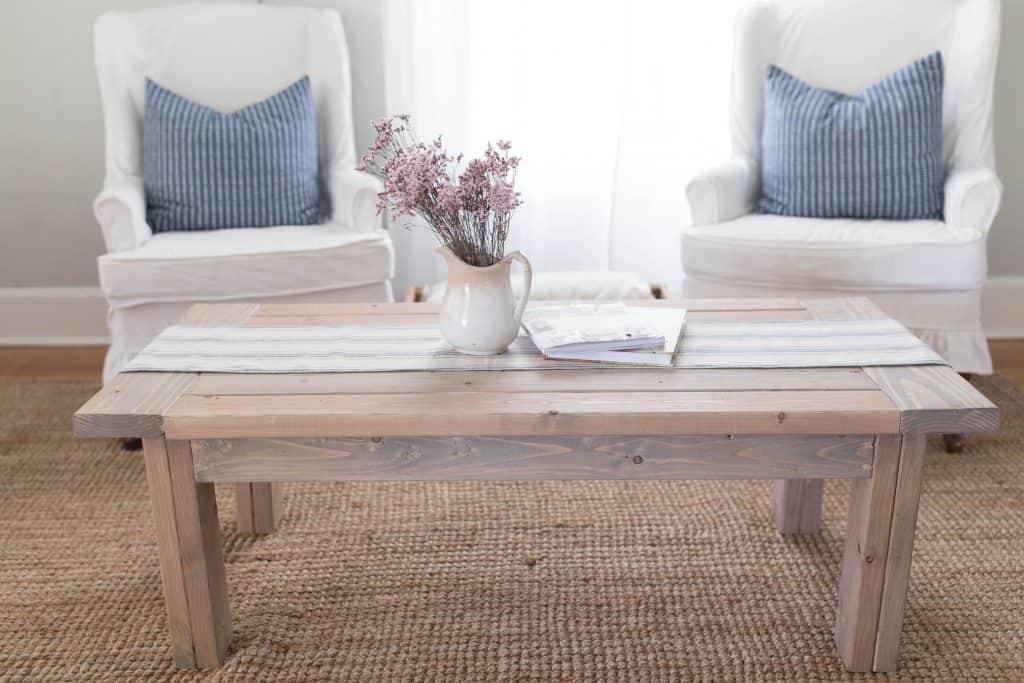
Creating Our DIY Farmhouse Coffee Table
I have wanted a coffee table in our living room for probably about five years now. You know how it goes, though, life gets in the way of projects, and they just slip right down the priority list.
I positioned a thrifted bench in the place right in front of the wingback chairs, and covered it with a DIY ruffle bench slipcover, so it was pretty enough, but wasn’t the best place to set a drink or plate.
When the magazines contacted me about doing a photo shoot in our home, they said they wanted a coffee table for the living room. They say they could either
A. Go buy one.
B. Hire us to make one, that we could keep afterward.
Obviously, I chose the latter! This was the very excuse I needed to finally check that project off the list. And now we had a deadline.
When my husband, and his grandpa, built the farmhouse table in our dining room, I found the build plans on Ana White. If you are into making the furniture in your home, or even just trying your hand at small woodworking projects, her site is where its at.
We also used it to build the porch swing on our front porch.
Needless to say, I knew exactly where to turn for coffee table plans.
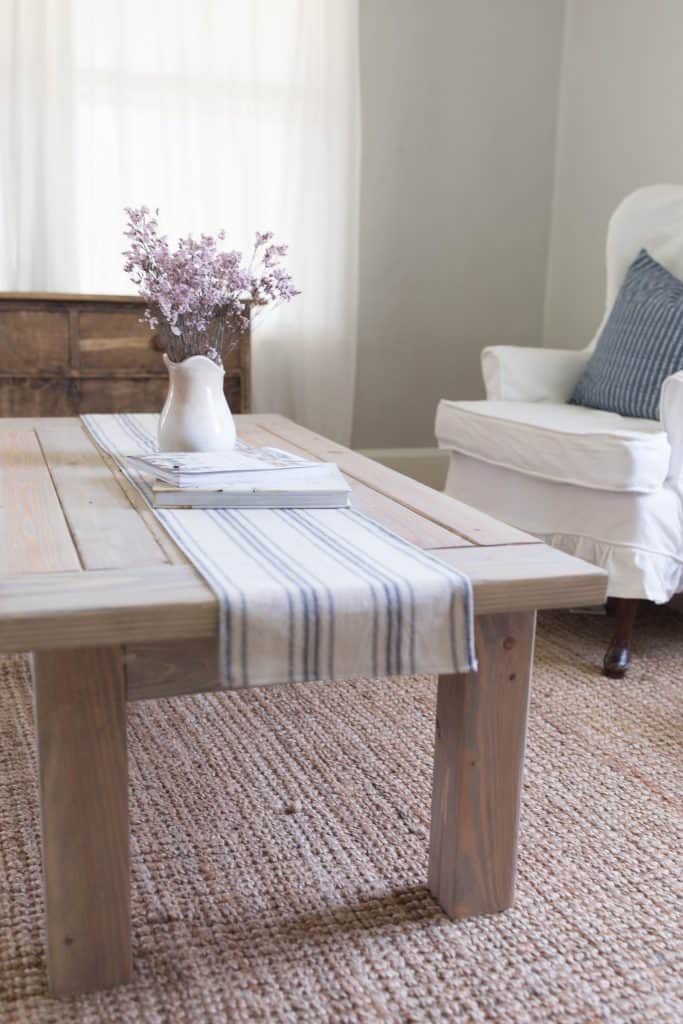
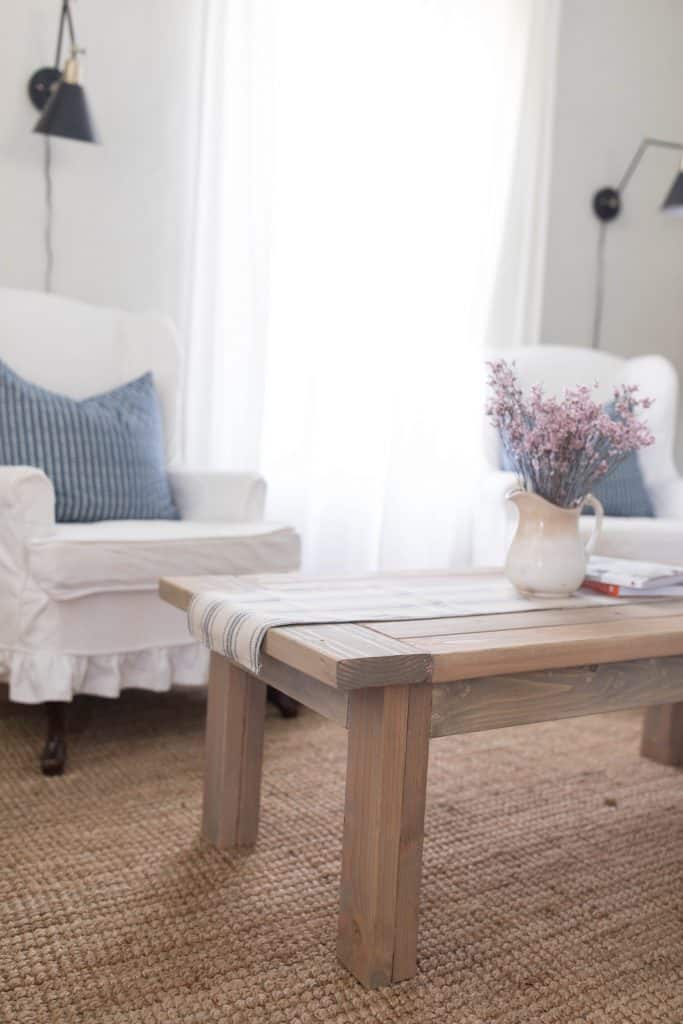
We settled on the Tryde Coffee Table plans from Ana White. It kind of looks like a mini version of our dining room table. Since our living room and dining room are all in one giant area, I kind of wanted them to have the same vibe.
For both the tables, we used Minwax stain in the color Weathered Oak. It is very light colored, so it shows the wood underneath, and gives it a gray tone. And you all know I love gray!
When my husband and I were building the porch swing, we discovered a little furniture building hack. Instead of borrowing a truck to go down the hardware store to get all the wood, and then lugging it home to make all the cuts, we took the cut list to the hardware store to have them do them.
It takes a little more time up front at the hardware store, but when you get home its all ready to assemble. Plus, all the lumber fit in our minivan, along with the 5 kids.
So, as long as your kids aren’t all at the store with you, and cranky because they didn’t eat dinner yet at 7 pm, its a great option. #notthatimspeakingfromexperience
Tips for building a DIY coffee table:
- You can get the wood pre-cut at many local home improvement stores when you purchase the wood there. Bring your dimensions and have it cut to size.
- This coffee table plans work with a variety of wood. You can use pine, Douglas fir, poplar, or a more hardwood. Pine and Douglas fir are the most affordable option.
- Have all of your materials ready before starting a project to save time.
- Use whatever stain color you like, or you can even layer them to get the desired effect you would like.
DIY Farmhouse Coffee Table Plans Video
DIY Farmhouse Coffee Table Plans Materials
For this project we used Douglas Fir lumber from the Home Depot. For our farmhouse dining room table, we used Pine, but Lowes’ saw was down. Since we needed to have them pre-cut everything so we could fit it in our van, we decided the lumber difference wouldn’t be too big of a deal. I can hardly tell they’re different, honestly.
1 – 2×2 8′ length board
1- 2×6 8′ or stud length board
4 – 2x4s 8′ or stud length boards
1 – 4×4 post at least 6′ length
2 – 1×4 boards
Sandpaper
Scrap fabric, such as drop cloth, for applying the stain
Paint brush to apply Polycrylic
Farmhouse Coffee Table DIY Plans Instructions
- Make all the cuts from the Tryde cofee table plans on Ana White. I recommend having the Home Depot or Lowe’s workers do this when you are still at the store. (Ana White does recommend holding off on cutting the tabletop pieces until the very end, after measuring the assembled table.
- We like to sand all the pieces, with coarse sand paper, prior to assembling, although this step isn’t mentioned in the original plans.
- Assemble the coffee table according to the plans on Ana White. You can also watch us do this in the video above.
- Fill in the screw holes with stainable wood filler. (Alternatively, you could use white wood filler, if you plan to paint your coffee table.
- To sand the table, first go over the piece with coarse sand paper. Next, go over it again with a finer grit sand paper.
- Apply the stain. We applied Minwax Weathered Oak with some drop cloth scraps.
- Finish the table with Matte Polycrylic.
All finished!
I want to encourage you that you don’t have to be a professional woodworker, or have specialized tools, to make projects like this. We definitely aren’t, yet we have been able to make several DIY furniture builds around our home.
Have you tried building your own farmhouse table, or coffee table? Let me know in the comments below.
Thank you so much for stopping by the farmhouse!
Check out our other easy DIY projects
- DIY Concrete Planter
- How To Build A A-Frame Chicken Tractor
- How To Cover Concrete Steps With Wood
- Farmhouse Front Porch Makeover
Pin it for later
DIY Farmhouse Coffee Table Plans
Video
Equipment
Ingredients
- Douglas Fir lumber
- 1– 2×2 8′ length board
- 1- 2×6 8′ or stud length board
- 4– 2x4s 8′ or stud length boards
- 1– 4×4 post at least 6′ length
- 2– 1×4 boards
- Sandpaper
- Wood glue
- Stainable Wood Filler
- Stain
- Matte Polycrylic
- Scrap fabric, such as a drop cloth, for applying the stain
- Paint brush to apply Polycrylic
Instructions
- Make all the cuts from the Tryde cofee table plans on Ana White. I recommend having the Home Depot or Lowe’s workers do this when you are still at the store. (Ana White does recommend holding off on cutting the tabletop pieces until the very end, after measuring the assembled table.
- We like to sand all the pieces, with coarse sand paper, prior to assembling, although this step isn’t mentioned in the original plans.
- Assemble the coffee table according to the plans on Ana White. You can also watch us do this in the video above.
- Fill in the screw holes with stainable wood filler. (Alternatively, you could use white wood filler, if you plan to paint your coffee table.
- To sand the table, first go over the piece with coarse sand paper. Next, go over it again with a finer grit sand paper.
- Apply the stain. We applied Minwax Weathered Oak with some drop cloth scraps.
- Finish the table with Matte Polycrylic.
Notes
- You can get the wood pre-cut at many local home improvement stores when you purchase the wood there. Bring your dimensions and have it cut to size.
- This coffee table plans work with a variety of wood. You can use pine, Douglas fir, poplar, or a more hardwood. Pine and Douglas fir are the most affordable option.
- Have all of your materials ready before starting a project to save time.
- Use whatever stain color you like, or you can even layer them to get the desired effect you would like.
Nutrition information is automatically calculated, so should only be used as an approximation.


I just love everything about your farmhouse!! Thanks for sharing this tutorial! I can’t wait to start mine!
I love your coffee table, your house and your style. Thank you for sharing!
Thank you so much Emily!
Good morning Lisa… just wanted to tell you that I have purchased over 7 pillow covers from you and i love them!! I️ tried washing 4 of them because I felt they needed it.. so i washed them in cold water and ALL detergent… laid them flat to dry… after drying I realized they had all shrunk..!! The pillow inserts were tough to get back inside!! So I️ took the pillow covers and ironed them.. hoping they’d somehow grow a little… but didn’t!!! Is there a solution to getting these covers back to original size?! They look smaller in comparison to the ones that I didn’t wash!! Thanks so much…. Sharon
On no, Sharon! I wasn’t aware they would shrink. 🙁 Perhaps they would stretch back out if you leave them on the larger pillow inserts. I have washed mine several times, but never noticed this. How much did they shrink?