A crusty loaf with a soft crumb and a tasty sourdough kick, Sourdough Italian Bread is delicious, versatile, and has shorter rise times than other loaves, meaning it can easily be ready the same day.
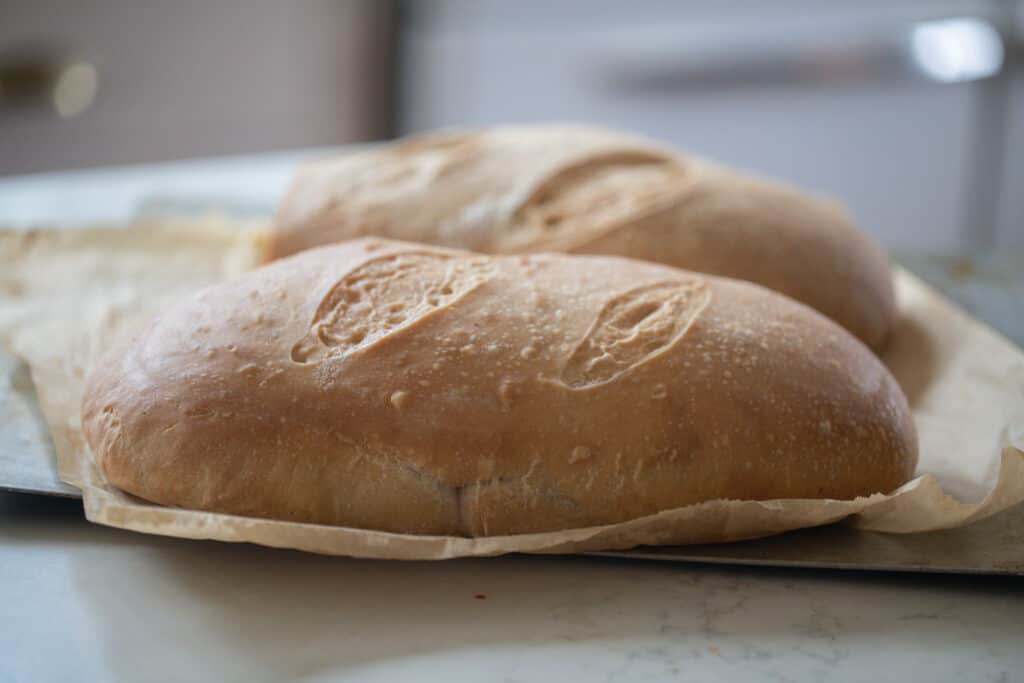
To me, there’s hardly anything better than tearing off a piece of rustic Italian bread, smearing it with soft butter, and indulging a bit. It’s a comfort food if there ever was one.
This Italian bread recipe is just that, yet with my favorite addition of sourdough. We hold on to the tearable, chewy, crusty, creamy goodness of Italian bread, but add the health benefits and flavor of sourdough.
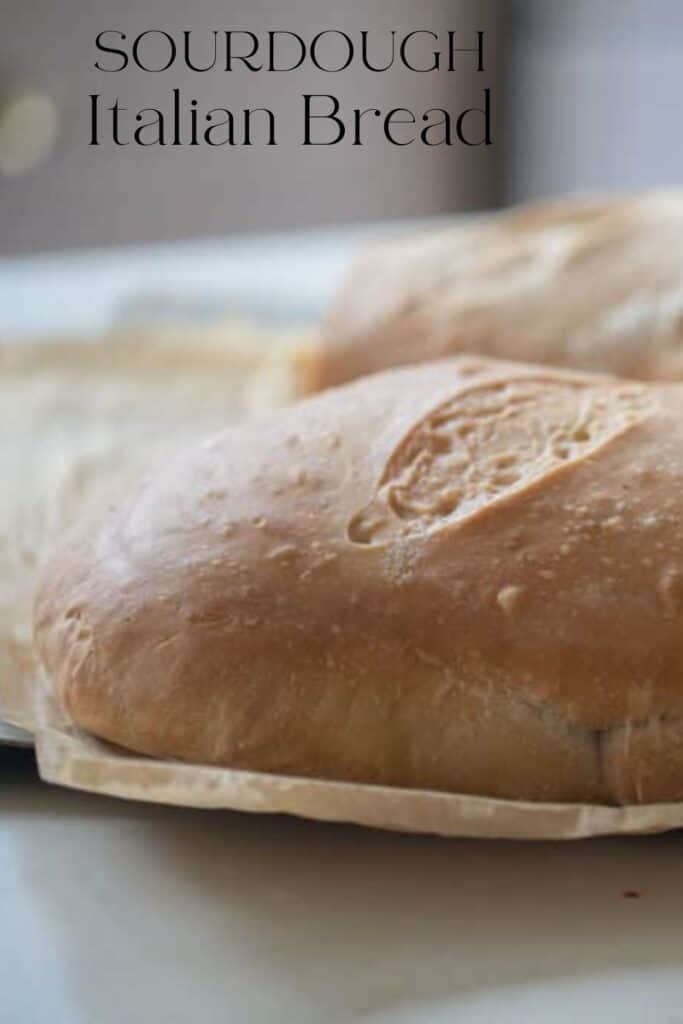
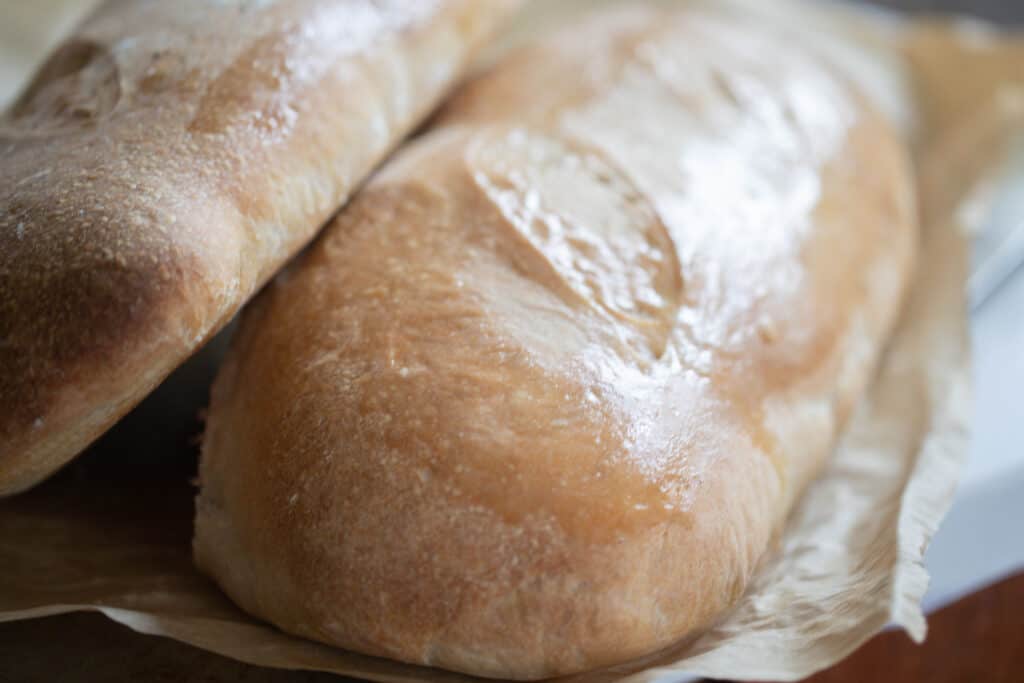
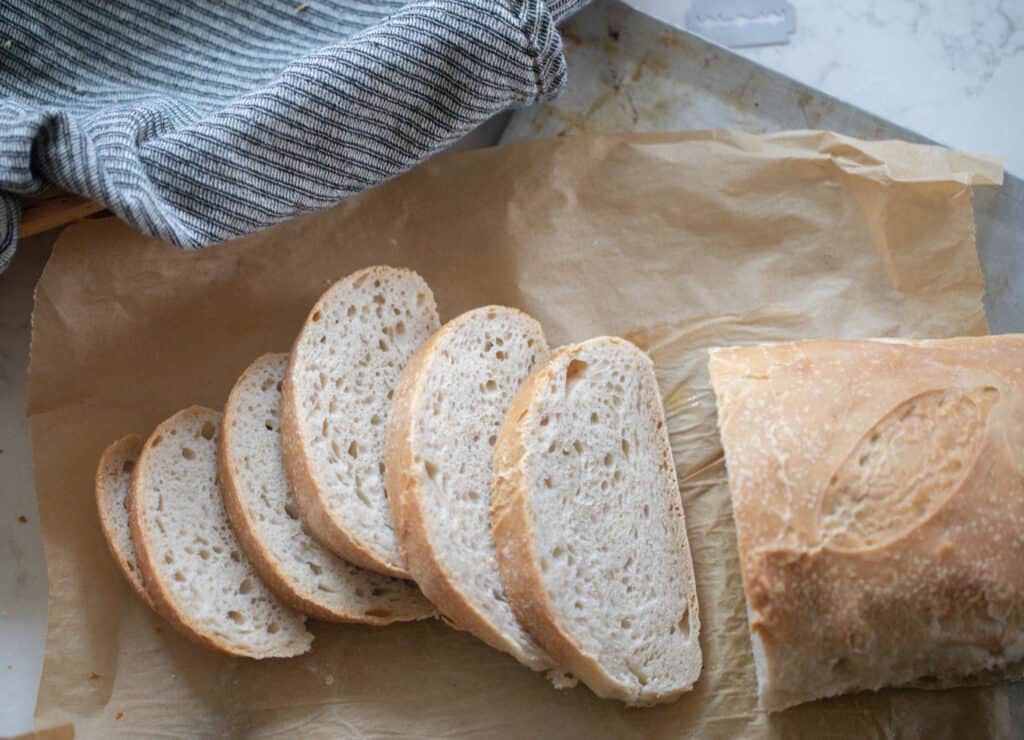
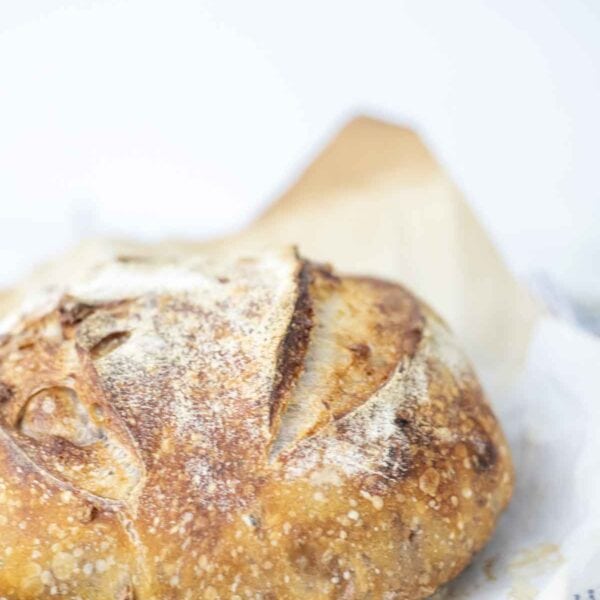
These loaves come out so lovely. Swirls of golden brown, textured from scoring, traces of bubbling. There’s something kind of wistful and sweet about the shape of these tapered loaves, too.
They’re what I picture piled up in the window front of a bakery next to some sweet rolls, this iconic little loaf that everyone loves.
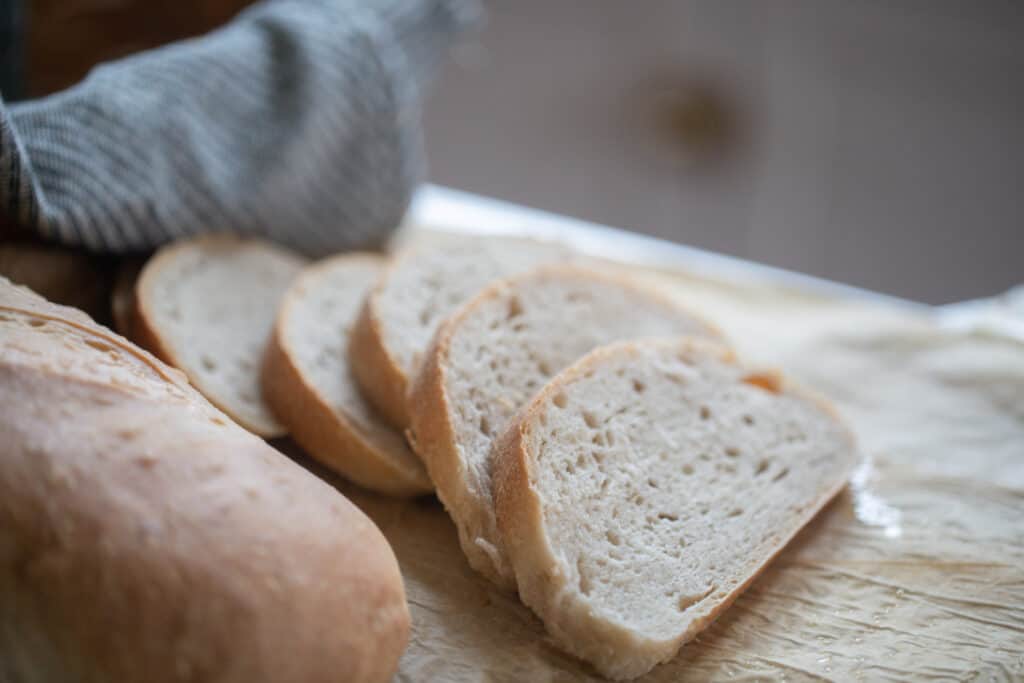
It slices up nicely to dip into soups or stews, or can be layered into a hearty sandwich, toasted into a panini, or cut into cubes for a savory breakfast strata.
If you’re wanting something sweeter, you can also use this bread to prepare my favorite French toast recipe.
Why You’ll Love This Recipe
Healthy: The benefits of sourdough starter and fermentation give any sourdough loaf the edge over traditional bread. This Italian bread has the perk of a lower gluten content and better digestibility due to the fermentation process breaking down the phytic acids.
Phytic acids are naturally found in grains, inhibiting our absorption of nutrients. If you’d like to learn more about maintaining your own sourdough starter, check out these posts on making your own sourdough starter and maintaining and feeding a sourdough starter.
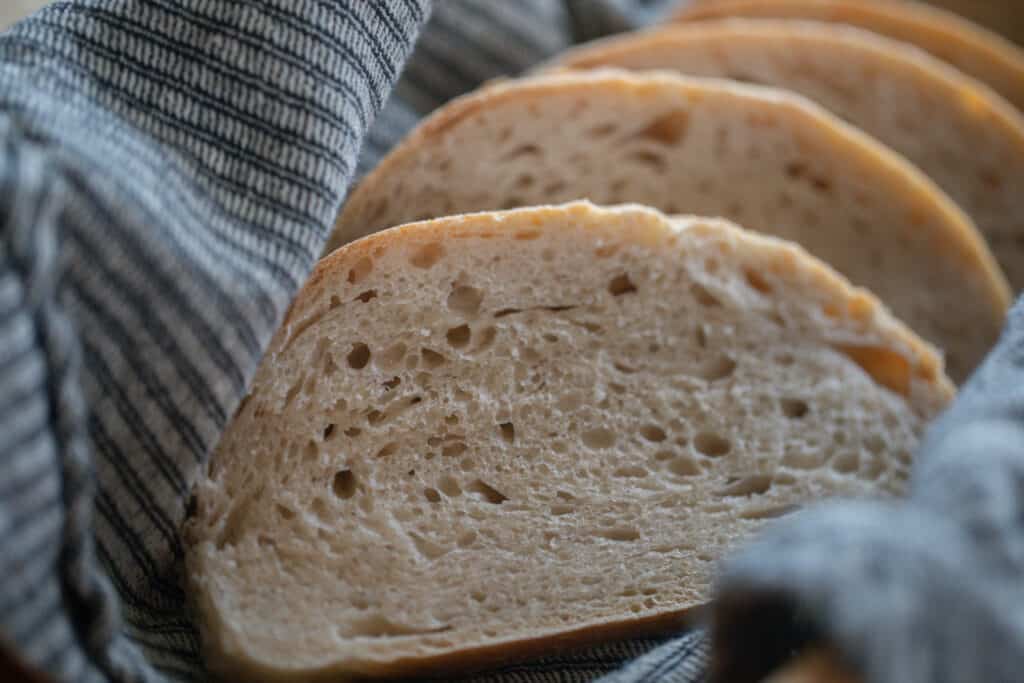
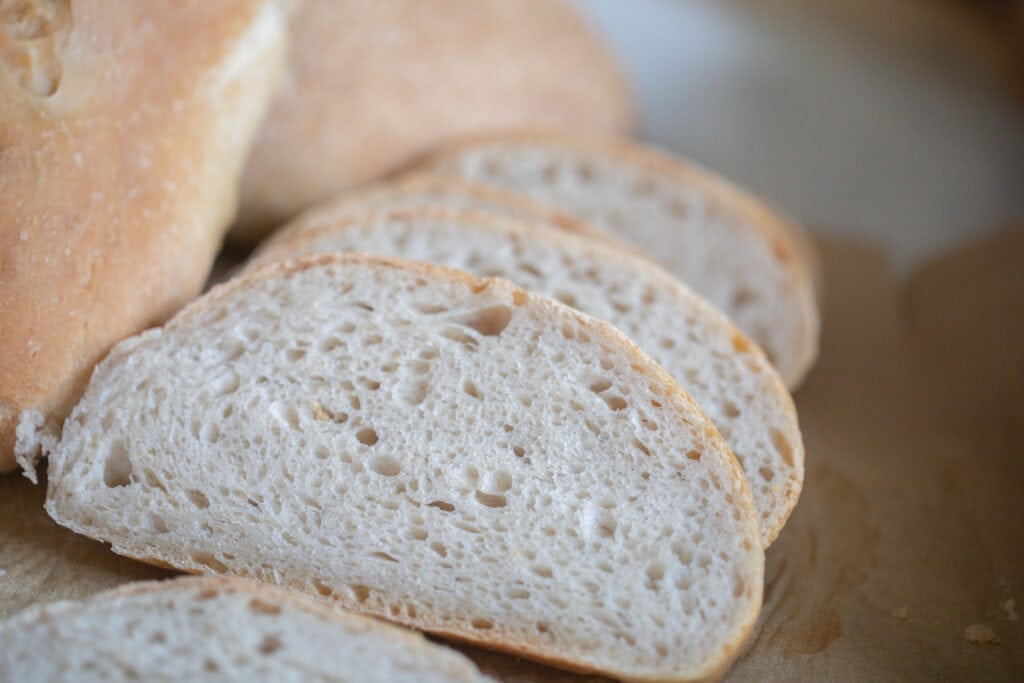
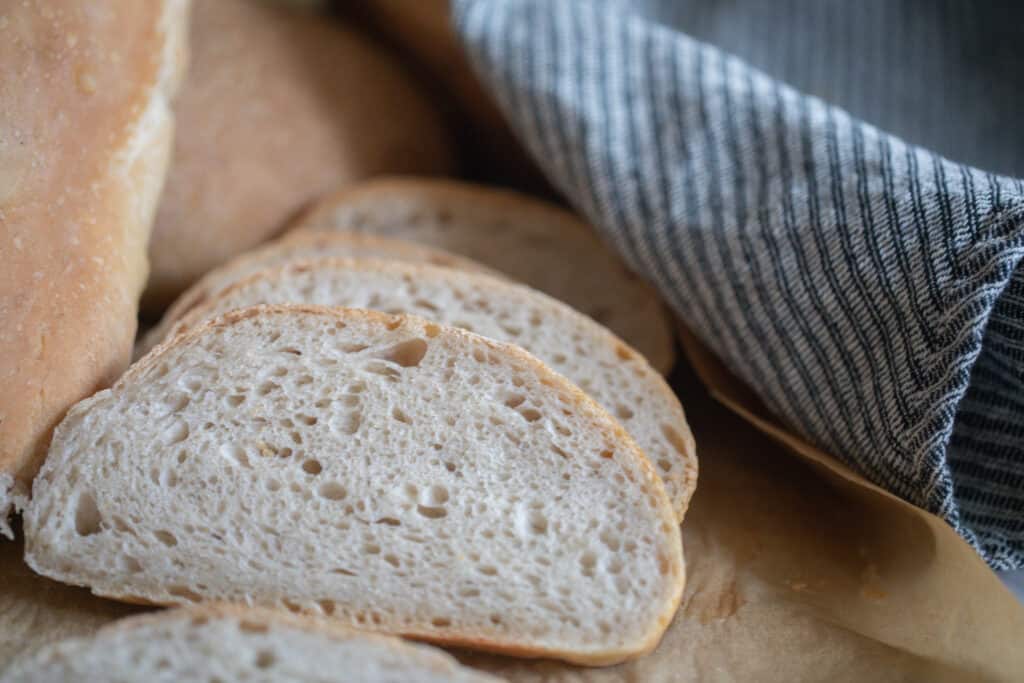
Delicious: While the crusty exterior is developed by steam in the oven, providing a delightfully chewy bite, the interior remains fluffy and light. There’s a gentle infusion of sourdough tang, olive oil, and salt that is complemented with a light sweetness.
Simple: This recipe is made with very basic ingredients and pantry staples, and it’s so rewarding to make yourself. It’s one of the simpler sourdough bread recipes, since much of the work is done by your stand mixer and the rise times are shorter, which may make this recipe less intimidating for a first time sourdough bake.
Tips
- A stand mixer truly makes this process so much easier. While I love working the dough with my hands, it’s also nice sometimes to let the mixer take over. Use your dough hook for best results.
- If you don’t have a stand mixer, try using the stretch and fold method outlined in the How to Make section below.
- To keep the signature Italian flavor present in this bread, be sure to use olive oil.
- The time it takes for your dough to double will vary depending on your environment. Room temperature is different for everyone, but just keep in mind that the warmer it is, the quicker it will double. If you need to slow down this process, you can also let your dough rise in the refrigerator which will slow it significantly.
- The crunchy crust of this sourdough Italian bread is achieved with steam in your oven. There are a few ways you can do this, found below in the section on scoring and baking.
Ingredients
This recipe makes two loaves.
All-purpose flour: Organic and unbleached, if possible.
Water: Filtered water works best for a consistent rise.
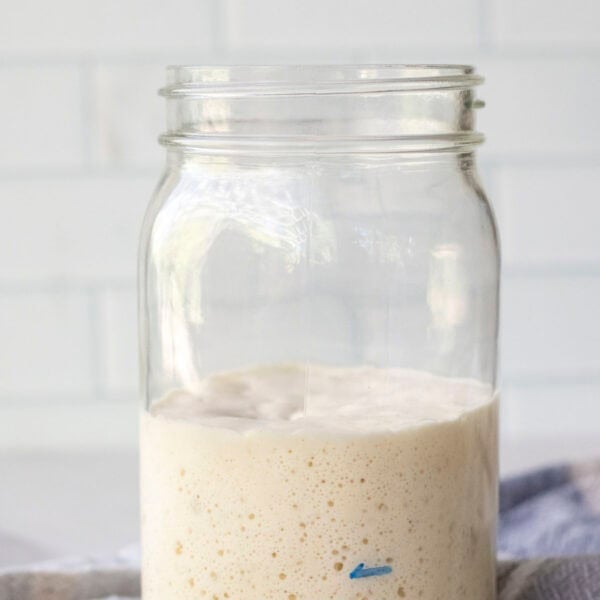
Sourdough starter: Recently fed, active and bubbly.
Olive oil: This is a signature flavor of traditional Italian bread, so opt for a high quality olive oil.
Salt: We use sea salt.
Sugar: For a bit of sweetness.
Egg wash (1 egg yolk + 1 Tbsp water): Brush on top for a beautiful, golden shine.
Self-Paced Online Course
Simple Sourdough
What’s in this course?
- Make your own robust starter
- Bake your first loaves of sourdough bread
- Understand sourdough better
- Expand your sourdough bread repertoire
- Download my Complete Recipe Book
Tools You May Need
Stand mixer – While you can also knead by hand or use stretch and folds, this is a time saver.
Bread lame or razorhttps://amzn.to/48tb52E – To add lovely detailing on top.
Bench scraper – For dividing into two loaves and easing sticky dough from your countertop.
Baking stone or sheet pan
How To Make Sourdough Italian Bread
Feed your starter 4-12 hours prior to beginning the recipe. This will give it the time it needs to be active and bubbly.
Stand Mixer Method
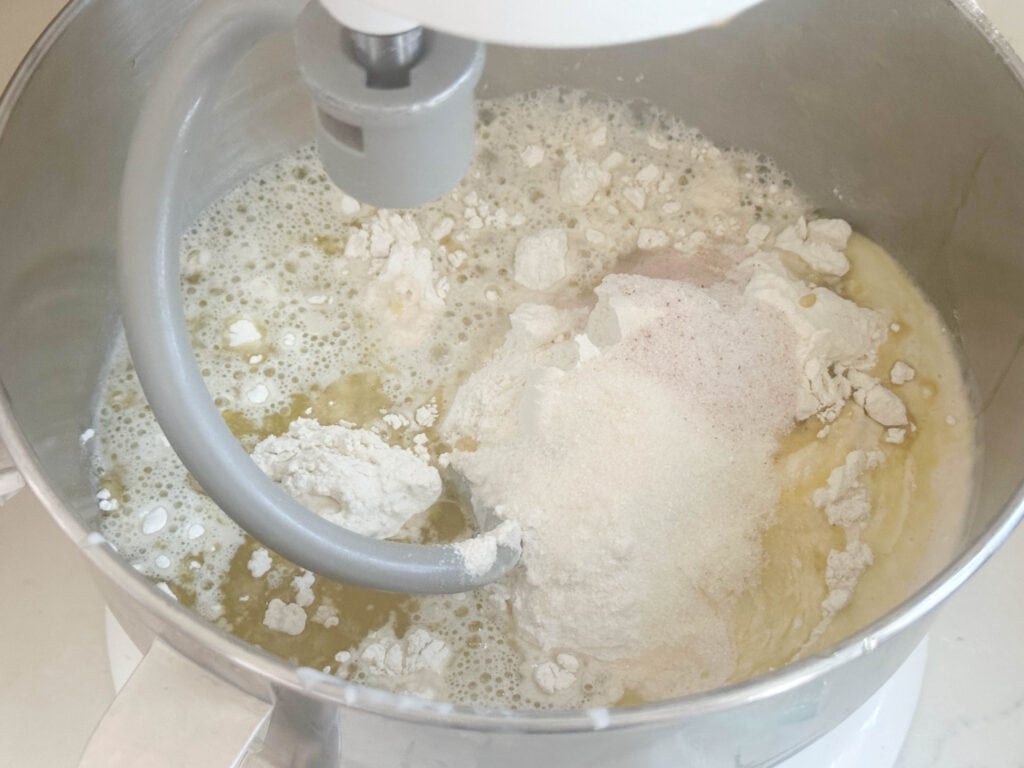
Add the flour, water, sourdough starter, olive oil, salt and sugar to your stand mixer with the dough hook attachment.
Mix on low speed for 2 minutes, producing a shaggy dough.
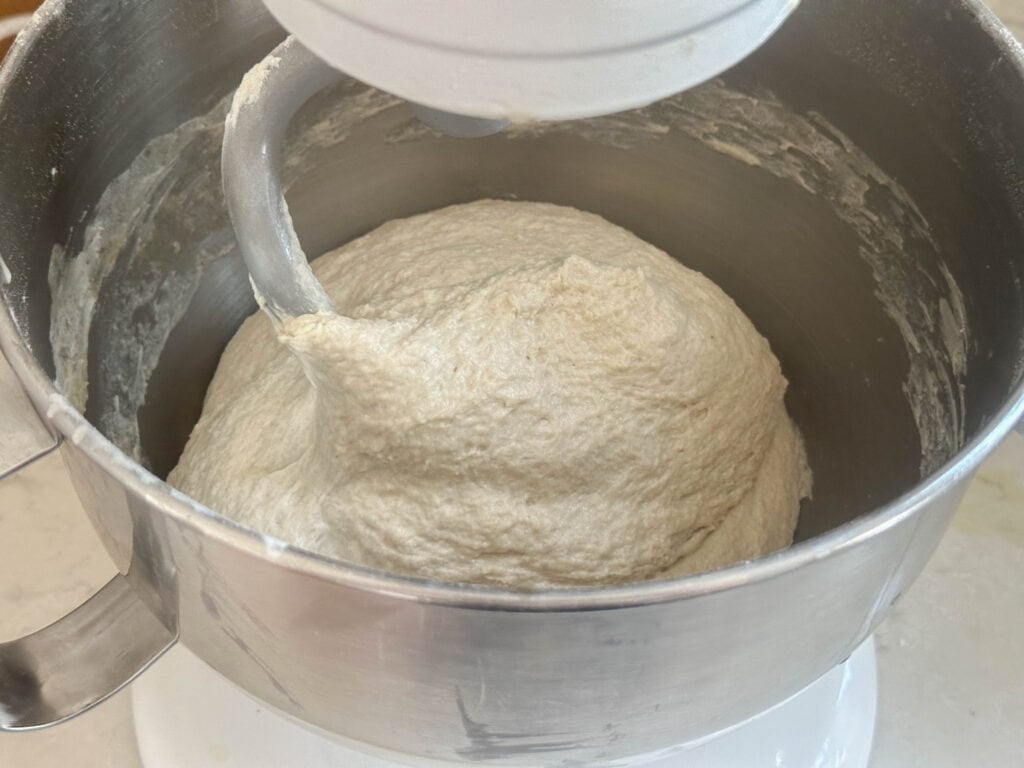
Increase the mixer speed to medium for an additional 5 minutes, at which point the dough will be pulling away from the sides of the bowl, becoming more elastic and smooth in appearance.
Here you can test the gluten development with the windowpane test. Pinch off a small portion of the bread dough and use your fingers to pull it into a square shape, observing the center of this square.
If it pulls thin enough to allow light through without tearing, your gluten development is satisfactory. If not, continue kneading with the mixer for 2-3 minutes more and try this test again.
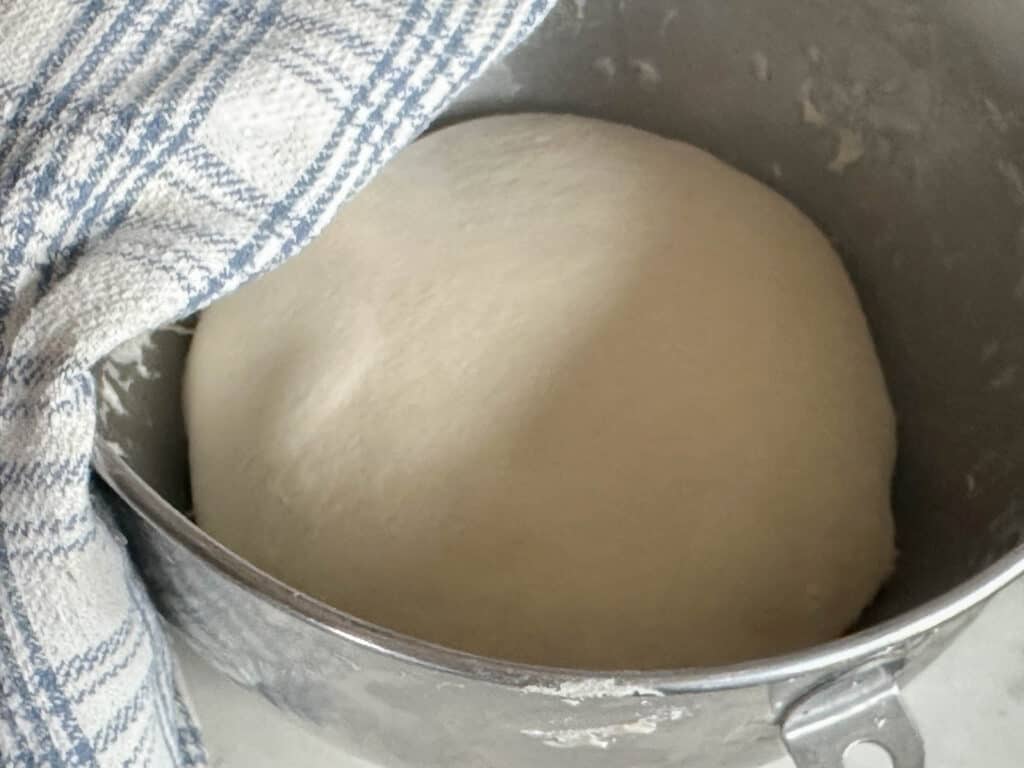
Stretch and Fold Method
Add the flour, water, active sourdough starter, olive oil, salt and sugar to a large mixing bowl and combine with your hands until well incorporated – about 5 minutes. Let the dough rest in the bowl covered with a towel for 30 minutes.
After the rest and keeping the dough in the bowl, begin your stretch and folds by taking the edge of the dough and pulling it upwards, then folding it back to the center. If the dough is too sticky, try using wet hands.
Turn the bowl a quarter turn, grab the edge of the dough, stretching and folding again. Repeat this once or twice more, completing one round of stretch and folds.
You will complete 6 rounds according to the schedule below.
First 3 stretch and folds – every 15 minutes.
Final 3 stretch and folds – every 30 minutes.
Bulk Fermentation
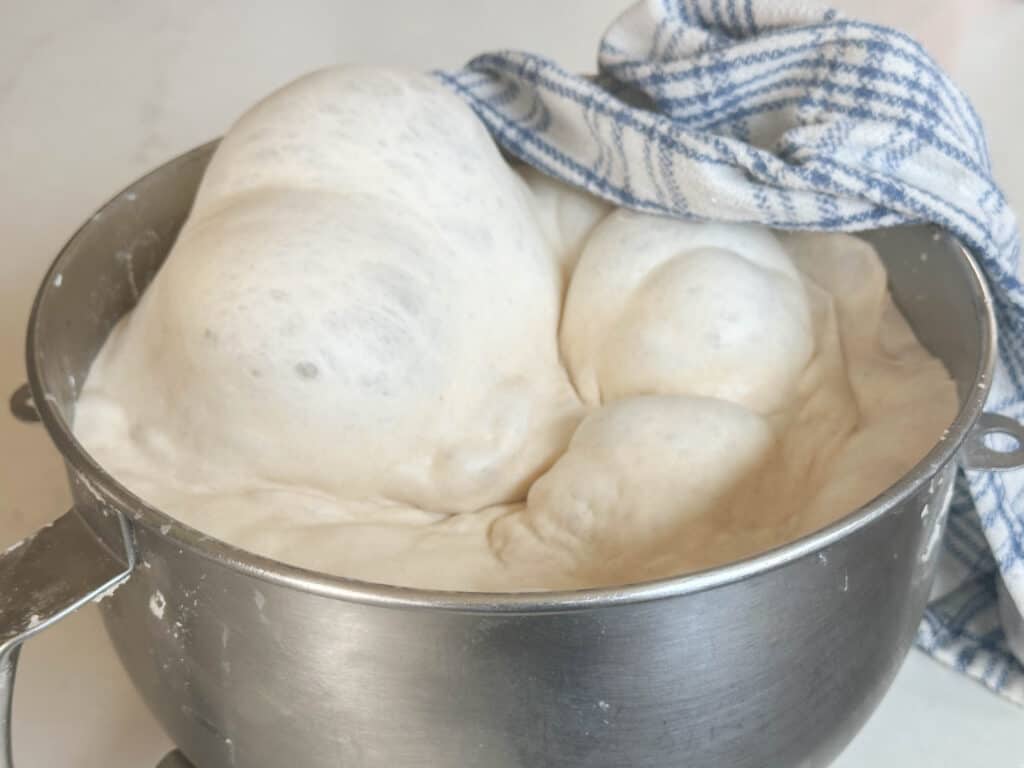
Transfer dough to a well-oiled, large bowl, covered with a tea towel, plastic wrap, or beeswax wrap. You want it to be airtight so no hard skin forms on top of the dough from air exposure.
Rise until it has doubled in size, approximately 8 hours at room temperature.
This may take more or less time depending on the temperature of your home and the maturity of your starter.
Shaping and Second Rise
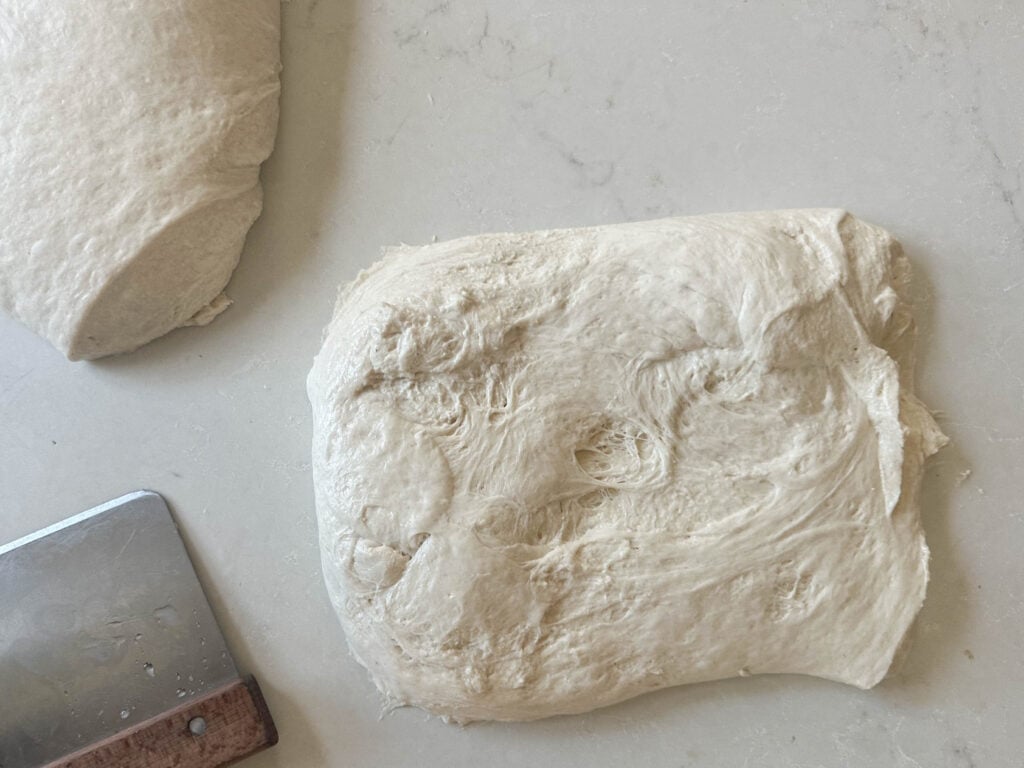
After your dough has doubled in size, place it onto a lightly floured work surface and divide in two. I like to use my bench scraper (dough scraper) for this, but a sharp knife works, as well.
To shape into a torpedo loaf, gently stretch each ball into a long rectangle.
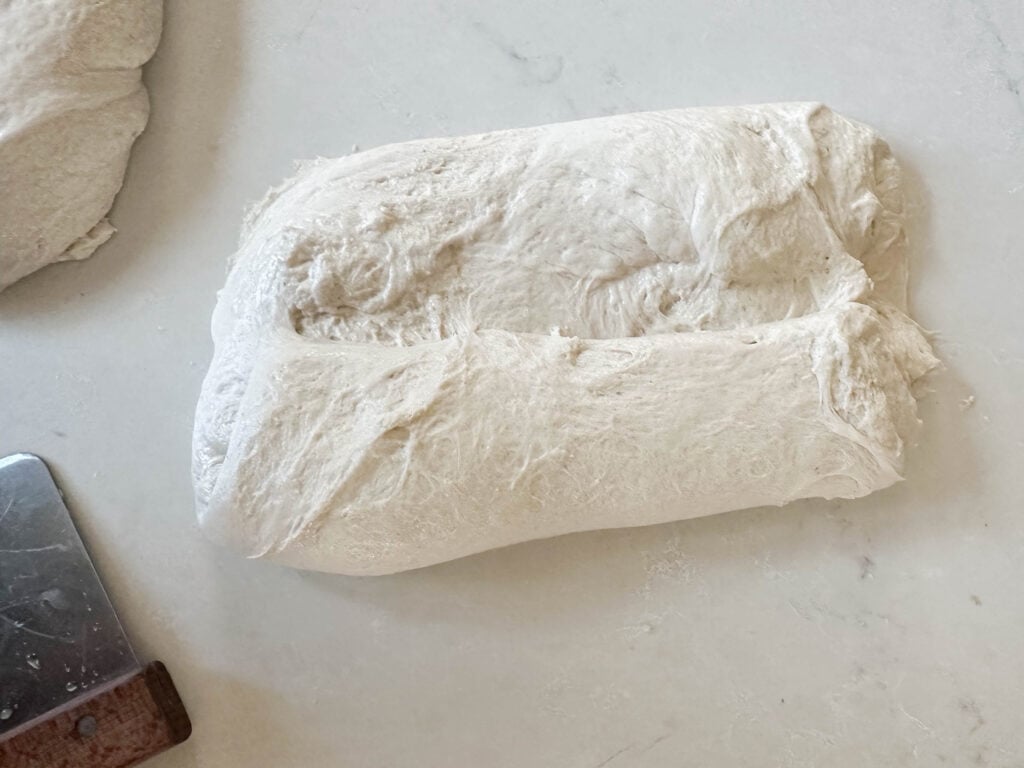
Fold each side into the middle, pressing the seam down. Apply tension to the dough by pulling it toward you on the counter, elongating the rectangle so that the shaped dough is about 12″ long.
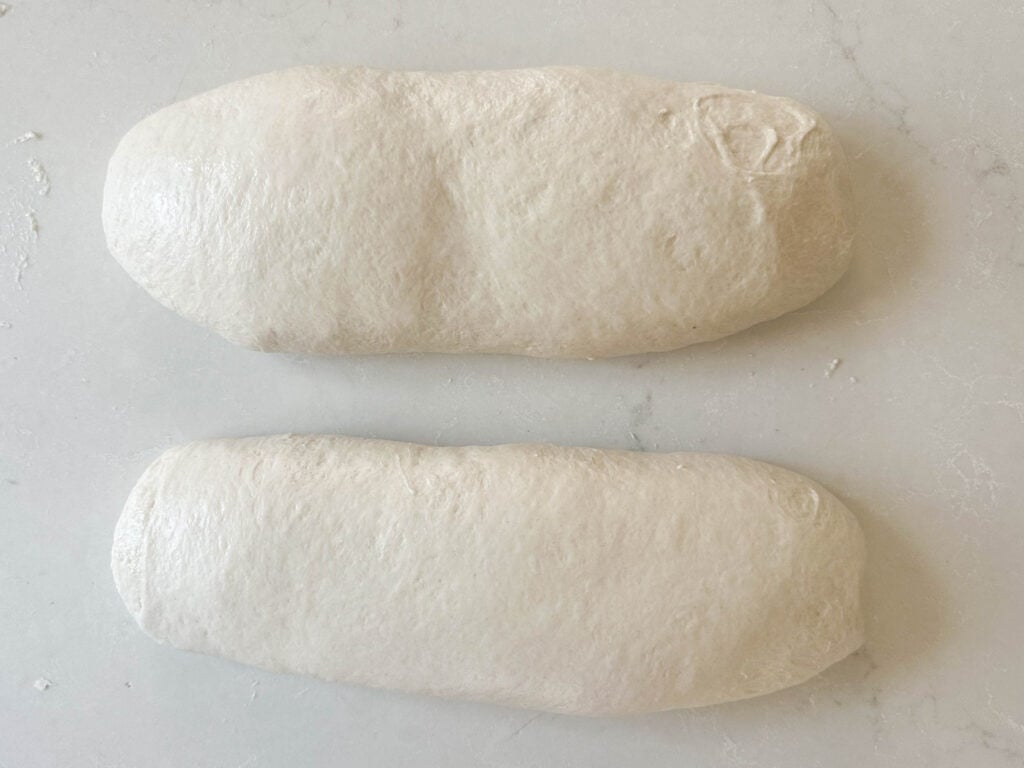
Transfer the dough to a baking stone or baking sheet lined with a sheet of parchment paper. Cover dough lightly and let rise until doubled, approximately 2 to 4 hours at room temperature.
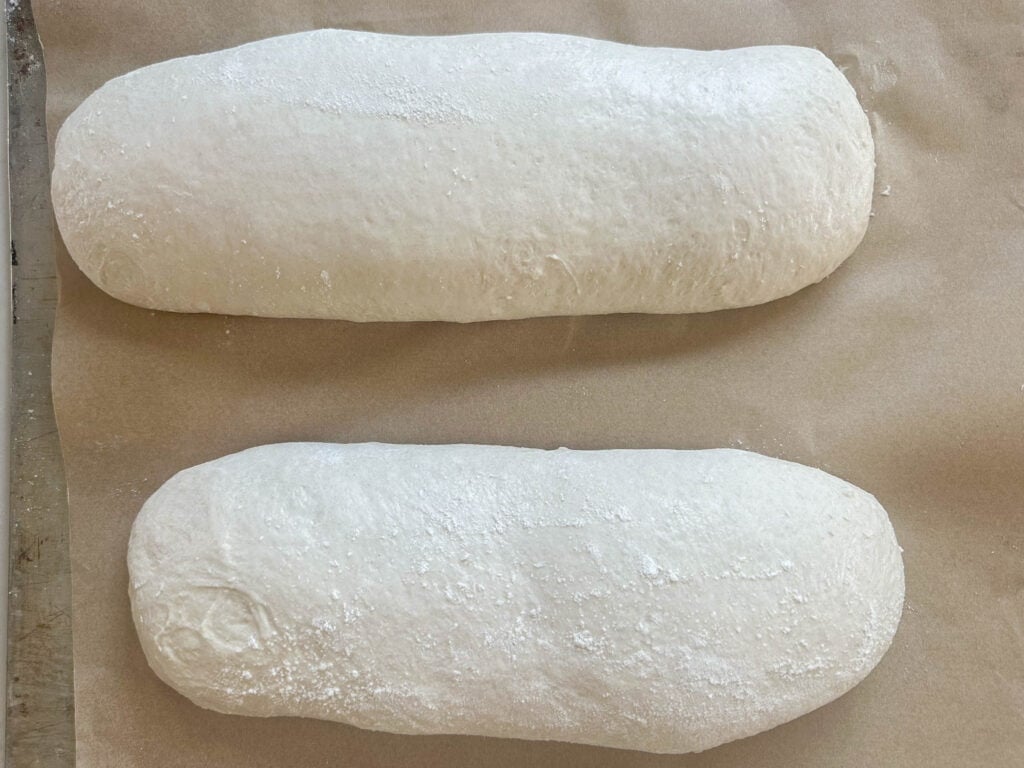
I like to speed this up by placing it in a warm spot, getting the time closer to the 2 hour mark. This could be in a high place where heat rises, near a heat source like a fireplace hearth, or even in a small room with a space heater.
Alternate fridge rise:
If you’re wanting to extend your rise time to better fit your schedule, or for any reason at all (longer fermentation, etc), you can also place your shaped loaves into the fridge at this point.
Cover them with plastic wrap (or something that won’t let them dry out) and refrigerate for 12-15 hours (or more). When ready, move forward to scoring and baking. The cold loaves will handle the scoring even better.
Scoring and Baking
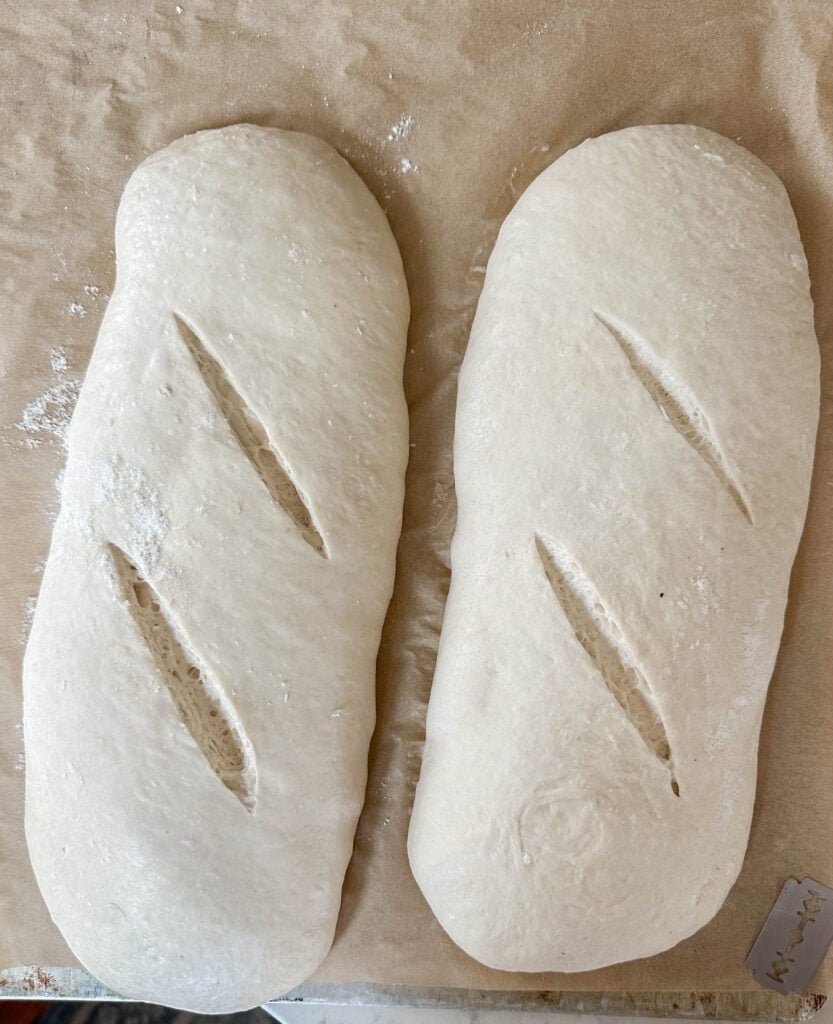
Once doubled, preheat oven to 400 degrees.
Score the top of the loaves with a bread lame or razor. For more direction, check out my post on scoring sourdough here.
To create steam in the oven, there are several options:
- You can preheat a cast iron or metal pan at the bottom of the oven, adding boiling water to that pan as you begin your bake time.
- You can place rolled up towels in a ceramic dish, pour boiling water over the top to fully soak the towels, and then place the whole dish of towels in the oven to steam during the bake.
- You can spritz water into the hot oven immediately before baking, shutting the oven door quickly to trap the steam.
- Lastly, you can place a metal pan in your oven to preheat, adding a handful of ice cubes to that pan when you begin baking the bread.
Each of these methods will create steam in your oven, producing the same wonderfully crusty exterior on your loaves that you’d find with a Dutch oven.
Bake at 400 for 35 minutes until golden brown. Rotating the loaves after about 20 minutes can help you to achieve a more even browning.
For best results, cool on a wire rack before slicing. However, I do love to enjoy this one warm from the oven, so I may give it a bit of time so that it’s not blazing hot, but not fully cooled. Your call!
Storage
Store loosely covered at room temperature. If cut, store cut-side down. Access to air will actually keep your crusty bread from going soft. Bread boxes are very convenient for this!
To freeze, first be sure that your bread has cooled completely. Next, wrap your loaf or loaves in plastic wrap or aluminum foil, then place them in a freezer-safe bag or container.
While it’s best if used within a couple months, it can last as long as 6 months when wrapped this way and still taste very fresh. Simply thaw at room temperature before slicing as needed.
FAQ
Generally speaking, yes, sourdough has some of the greatest health benefits. The fermentation process breaks down gluten and phytic acids, helping your body to more fully digest and absorb the nutrients found in the grains. Depending on the type of grains used, you can increase the health benefits even more.
Rustic Italian bread is called ciabatta, having a thick, chewy, crusty exterior and fluffy interior. So technically, this sourdough Italian bread could also be called sourdough ciabatta.
If you want to achieve the signature crusty texture of traditional Italian bread, you need to add the steam. The steam is what gives the crust that hard crust that crackles when you tear or cut it. Without steam, you’ll end up with a soft loaf.
More Recipes From the Farmhouse:
- Sourdough Cornbread
- Sourdough Pretzel Bites
- Easy Sourdough Herb and Cheese Rolls
- Sourdough Galette with Sage, Leek and Goat Cheese
- Fluffy Sourdough Discard Sandwich Bread
If you try this recipe and love it, I would love if you gave it 5 stars! Also, tag me on Instagram @farmhouseonboone.
Sourdough Italian Bread
Ingredients
- 6 1/2 cups all-purpose flour, 910 g
- 2 1/2 cups water, 590 g
- 1/2 cup sourdough starter, bubbly and active (113 g)
- 1/4 cup olive oil, 60 g
- 1 tablespoon salt, 17 g
- 1 tablespoon sugar, 12 g
- Egg for egg wash
Instructions
- Feed your starter 4-12 hours prior to beginning the recipe. This will give it the time it needs to be active and bubbly.
- Add the flour, water, sourdough starter, olive oil, salt and sugar to your stand mixer with the dough hook attachment.
- Mix on low speed for 2 minutes, producing a shaggy dough. Increase the mixer speed to medium for an additional 5 minutes, at which point the dough will be pulling away from the sides of the bowl, becoming more elastic and smooth in appearance.
- Here you can test the gluten development with the windowpane test. Pinch off a small portion of the bread dough and use your fingers to pull it into a square shape, observing the center of this square. If it pulls thin enough to allow light through without tearing, your gluten development is satisfactory. If not, continue kneading with the mixer for 2-3 minutes more and try this test again.
- Transfer dough to a well-oiled, large bowl, covered with a tea towel, plastic wrap, or beeswax wrap. You want it to be airtight so no hard skin forms on top of the dough from air exposure.
- Rise until it has doubled in size, approximately 8 hours at room temperature. This may take more or less time depending on the temperature of your home and the maturity of your starter.
Shaping and Second Rise
- After your dough has doubled in size, place it onto a lightly floured work surface and divide in two. I like to use my bench scraper (dough scraper) for this, but a sharp knife works, as well.
- To shape into a torpedo loaf, gently stretch each ball into a long rectangle. Fold each side into the middle, pressing the seam down. Apply tension to the dough by pulling it toward you on the counter, elongating the rectangle so that the shaped dough is about 12" long.
- I like to speed this up by placing it in a warm spot, getting the time closer to the 2 hour mark. This could be in a high place where heat rises, near a heat source like a fireplace hearth, or even in a small room with a space heater.
Alternate fridge rise
- If you're wanting to extend your rise time to better fit your schedule, or for any reason at all (longer fermentation, etc), you can also place your shaped loaves into the fridge at this point. Cover them and refrigerate. You can refrigerate for 12-15 hours (or more), then move forward to scoring and baking.
- Transfer the dough to a baking stone or baking sheet lined with a sheet of parchment paper. Cover dough lightly and let rise until doubled, approximately 2 to 4 hours at room temperature.
Scoring and Baking
- Once doubled, preheat oven to 400 degrees.
- Score the top of the loaves with a bread lame or razor.
- To create steam in the oven, there are several options. See in notes.
- Bake at 400 for 35 minutes until golden brown. Rotating the loaves after about 20 minutes can help you to achieve a more even browning.
- For best results, cool on a wire rack before slicing. However, I do love to enjoy this one warm from the oven, so I may give it a bit of time so that it's not blazing hot, but not fully cooled. Your call!
Notes
Stretch and Fold Method
- Add the flour, water, active sourdough starter, olive oil, salt and sugar to a large mixing bowl and combine with your hands until well incorporated – about 5 minutes. Let the dough rest in the bowl covered with a towel for 30 minutes.
- After the rest and keeping the dough in the bowl, begin your stretch and folds by taking the edge of the dough and pulling it upwards, then folding it back to the center. If the dough is too sticky, try using wet hands.
- Turn the bowl a quarter turn, grab the edge of the dough, stretching and folding again. Repeat this once or twice more, completing one round of stretch and folds.
- You will complete 6 rounds according to the schedule below.
- First 3 stretch and folds – every 15 minutes.
- Final 3 stretch and folds – every 30 minutes.
Creating steam in the oven:
- You can preheat a cast iron or metal pan at the bottom of the oven, adding boiling water to that pan as you begin your bake time. Don’t use glass for this, as there’s always the risk of it shattering.
- You can place rolled up towels in a ceramic dish, pour boiling water over the top to fully soak the towels, and then place the whole dish of towels in the oven to steam during the bake.
- You can spritz water into the hot oven immediately before baking, shutting the oven door quickly to trap the steam.
- Lastly, you can place a metal pan in your oven to preheat, adding a handful of ice cubes to that pan when you begin baking the bread.
Nutrition
Nutrition information is automatically calculated, so should only be used as an approximation.


Does the water need to be warm when added? In the spelt sourdough bread, it says warm water. This recipe doesn’t indicate warm. Just curious!
It can be either way! I like to add lukewarm water.
When do you add the egg wash? Before scoring and baking?
Yes!
If you created a cook book with all your sourdough recipes, I would 100% buy it. Just saying. Thank you so much for these recipes, I can’t wait to try them!
It’s in progress!
Oh this is very exciting!! I love cookbooks! This recipe is on my list to make 😊
This bread is so good! It’s a weekly go to and I tell everyone about it. I weigh all of the ingredients but usually I have to slowly add almost an extra cup of flour as it’s in the mixer for it to form
Two beautiful loaves of sourdough bread made in just one day. Perfect for toast or with soup & stews. The whole family loved it and one of the loaves was finished only a few hours after it had cooled down.
Hi Lisa,
thank you for sharing this recipe. I have been making sourdough bread and other baked goods using sourdough starter for about fifteen years. I grew up eating sourdough bread made by my mum who baked it in the wood-fired oven that my dad built. Mum’s bread was tasty, crusty and chewy with an open crumb. It was delicious and over the years I have reached the stage where my bread is much like the bread my mum made. I rarely try new sourdough bread recipes as I use the recipes that I have adapted over time to what my family prefers.
I found your website a few months ago and subscribed to your emails. When I received the email that included the ‘Easy Sourdough Italian Bread’ recipe, I decided to try it because it looked great and I liked that it could be made in one day. The verdict -AMAZING 5 STARS. We loved it fresh spread with butter, toasted spread with butter and homemade apricot jam and even plain. I am planning on using some to make a panzanella salad and some bruschetta with home grown tomatoes and basil from our garden.
Next time I’ll use this recipe to make baguettes and bread rolls. Do you think that I could replace about a third of the flour with wholemeal spelt flour?
Cheers, Maria from Adelaide, South Australia.
You should be able to replace 1/3 with another flour!
I just mixed this and had the results of another reviewer… I’m letting it sit and will continue with stretch & folds … fingers crossed it’s not one big mess of dough that I have to add even more flour to…
Is that a typo or does it really need to have a tablespoon of salt?
Have you tried this with fresh milled flour?
Thank you!
Not yet!
I made your recipe.. I weighed out everything and mixed it in the stand mixer as instructed. when done my dough was very loose and sticky. After placing it in the bowl to rise after it did, when I poured it out to shape, it wouldn’t hold any shape. It just poured out flat..What did I do wrong? I tried adding more flour which helped some but I think that my dough was over fermented after letting it rest a second time.suggestions?
It’s hard to pinpoint without knowing the specifics. Was your starter active and ready? It sounds like your dough had a hard time forming their gluten structure and that’s why it didn’t hold a shape.