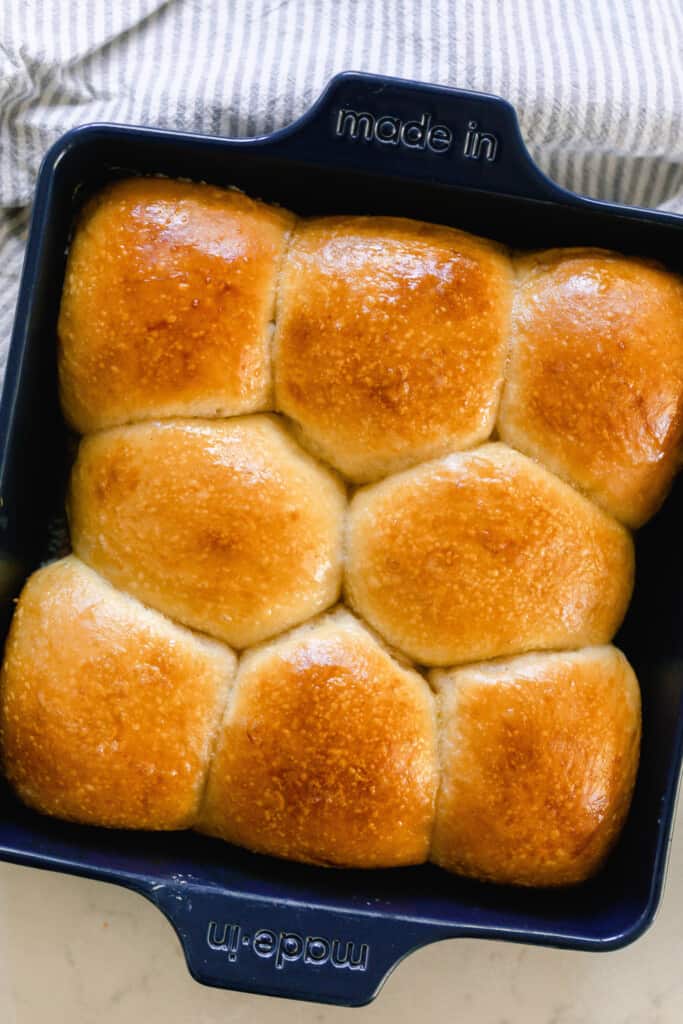
Sourdough dinner rolls are soft, fluffy, and buttery with the signature sourdough tang. They are really easy to make and the perfect accompaniment to any meal.
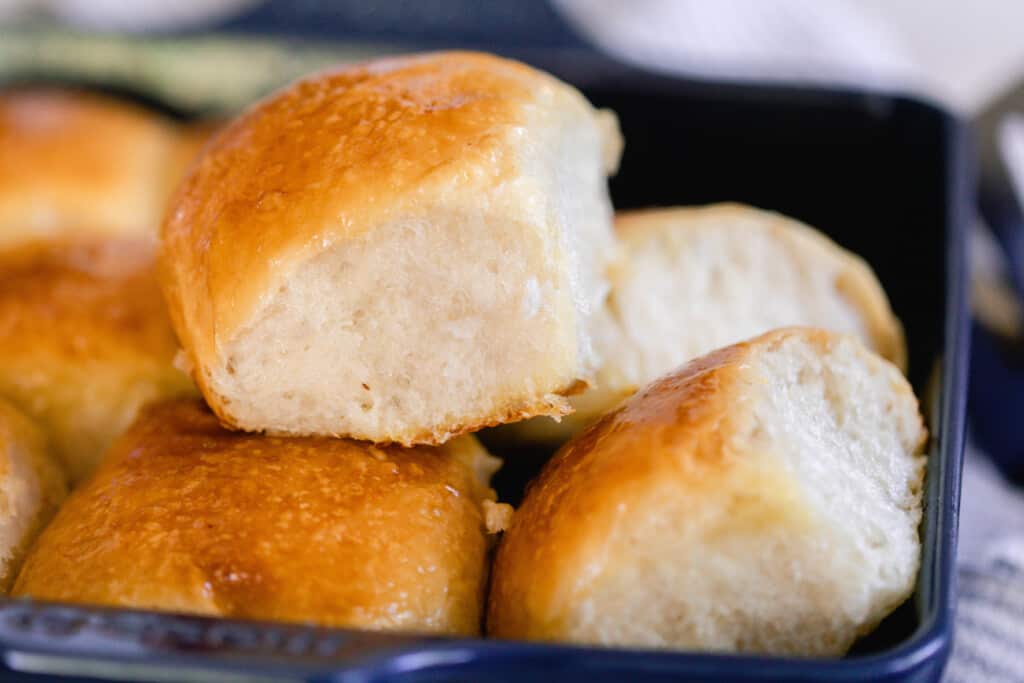
What is more from-scratch than soft, buttery, homemade sourdough rolls made without commercial yeast?
While sourdough seems more complicated, I assure you that it is simple. The only hard part is waiting patiently for the captured natural yeasts to do their work: fermenting the grains and naturally rising the bread.
Oh – and remembering to start them the day before. Now that I’m used to making recipes like this, it really has made my life simpler and less complicated.
I can whip up the dough after the kids go to bed, and we will have rolls ready to bake for dinner the next day.
These sourdough dinner rolls are out of this world. Super soft and fluffy, with the most delicious crust.
Benefits Of Sourdough
As I previously mentioned, sourdough is the process of fermenting grains, allowing the natural yeasts to raise the bread and break down the naturally occurring phytic acid in the grains.
This phytic acid breakdown increases some nutrients, like folate, and also makes other nutrients more bio-available.
Fermenting grains also helps increase the digestibility and can even lower the amount of gluten present (source).
Some people that have gluten sensitivities (not celiac disease) may be able to tolerate long-fermented (24 hours) wheat products.
This post contains affiliate links, which means I make a small commission at no extra cost to you. See my full disclosure here.

Tips For Making Sourdough Dinner Rolls:
- The starter must be fed, active, and nice and bubbly to use in this recipe.
- Use melted, but slightly cooled butter. You don’t want to accidentally burn your starter. Same goes for the water: it should be warm, but not hot.
- Organic cane sugar, honey, or coconut sugar will work. Honey will leave you with a stickier dough, though.
- I like to grind my own grains using a Nutrimill. It is easy and much more cost-efficient doing it this way.
- Don’t over-knead or under-knead your bread. Knead for 5 minutes in the stand mixer or 10 minutes by hand. You should be able to take a small piece of dough and pull it apart, creating a window that you can see through.
Tools you will Need:
Grain mill – like this one (optional)
Stand Mixer (optional, but it does make the process much easier).
9×9 or 9×13 baking dish. Baking it in a 9×9 baking dish gives you more of pull apart sourdough rolls.
Measuring cups and spoons
Tea towel
How To Make Sourdough Rolls:
In a stand mixer bowl, add ingredients.
Place the bread hook on the stand mixer and place mixing bowl in the correct position.
Knead on medium for 10-15 minutes until the dough becomes elastic and smooth. It should pass the windowpane test. Take a small amount of dough and stretch it between your fingers. If you can stretch it to the point where it’s thin enough to see through, then it is ready.
If you do not have a stand mixer, you can knead it by hand on a lightly floured surface for ten minutes.
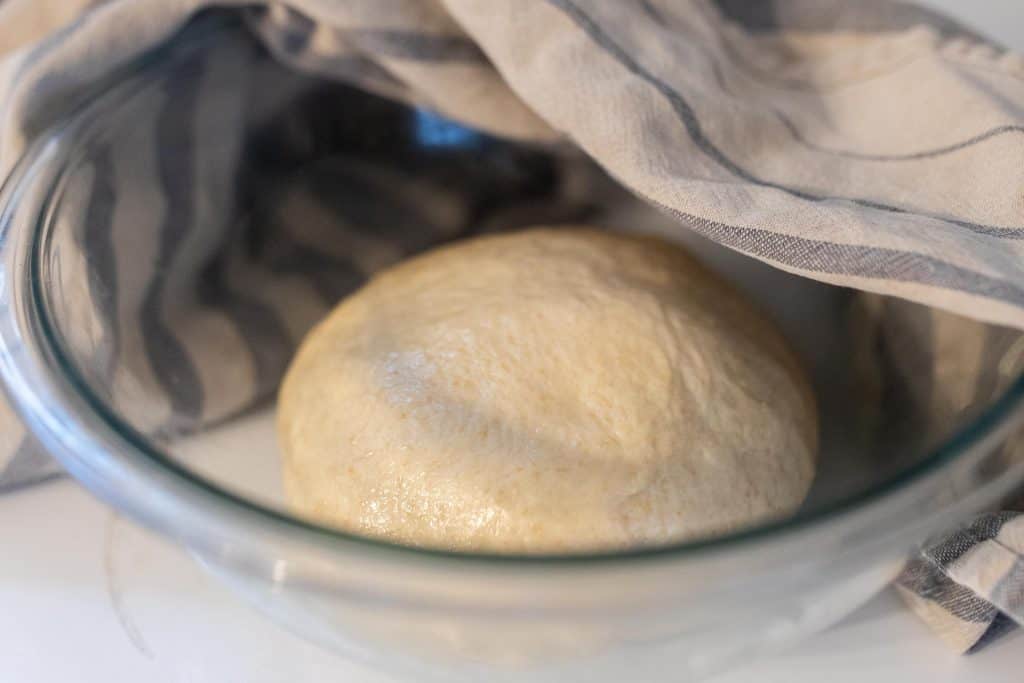
Place in a greased bowl and cover with a towel.
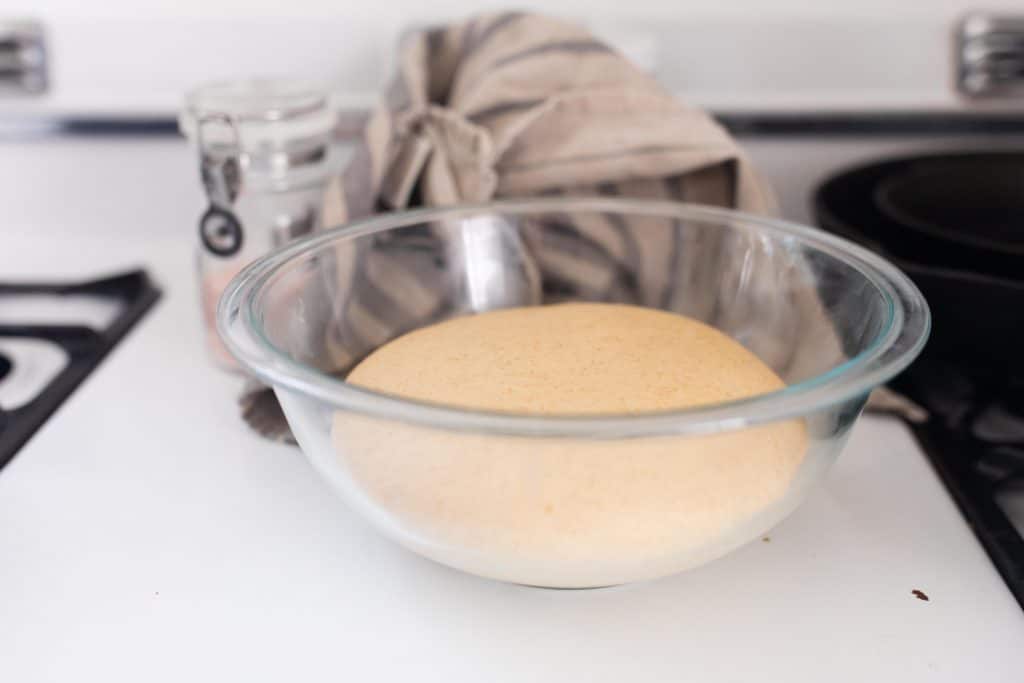
Allow to rise overnight (8-24 hours). You want to be careful not to over-ferment. If they start to look like they are, you can place the in the fridge for a few hours.
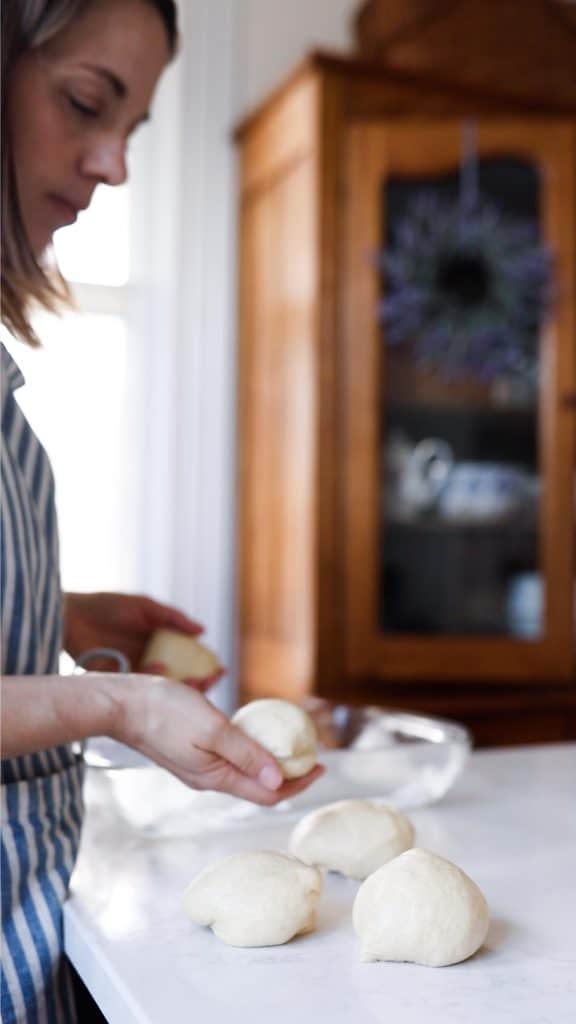
The next day, divide the dough into eight equal parts and put in a greased 9×13 or 8×8 baking dish. Use a 8×8 if you want more pull apart type sourdough bread rolls.
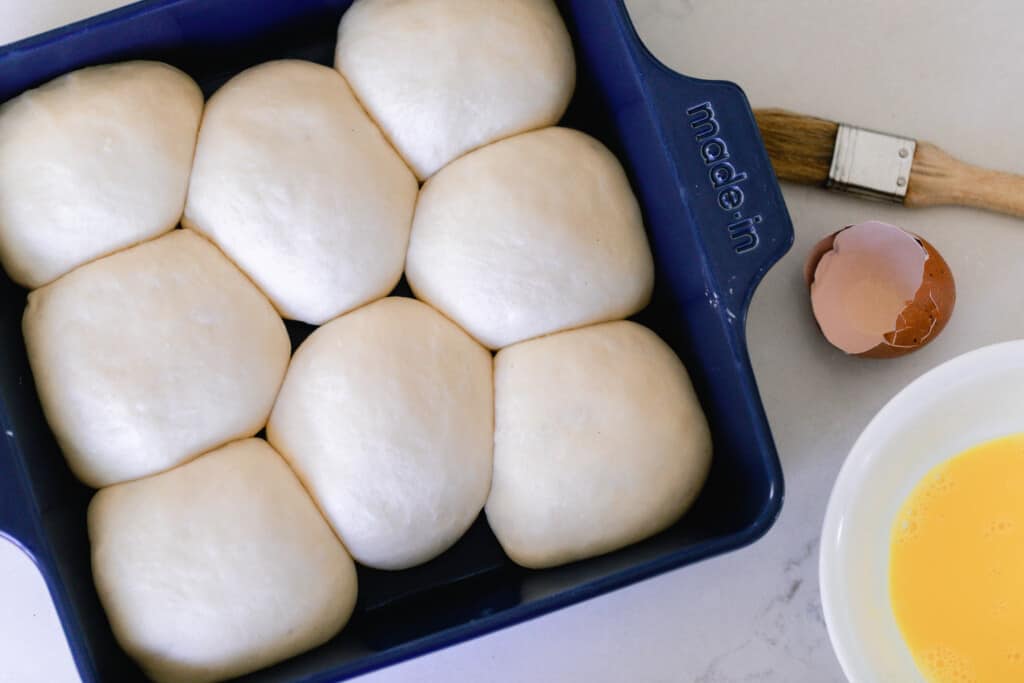
Brush tops with an egg wash and allow them to rise until doubled, approximately one to two hours.
Preheat oven to 375.
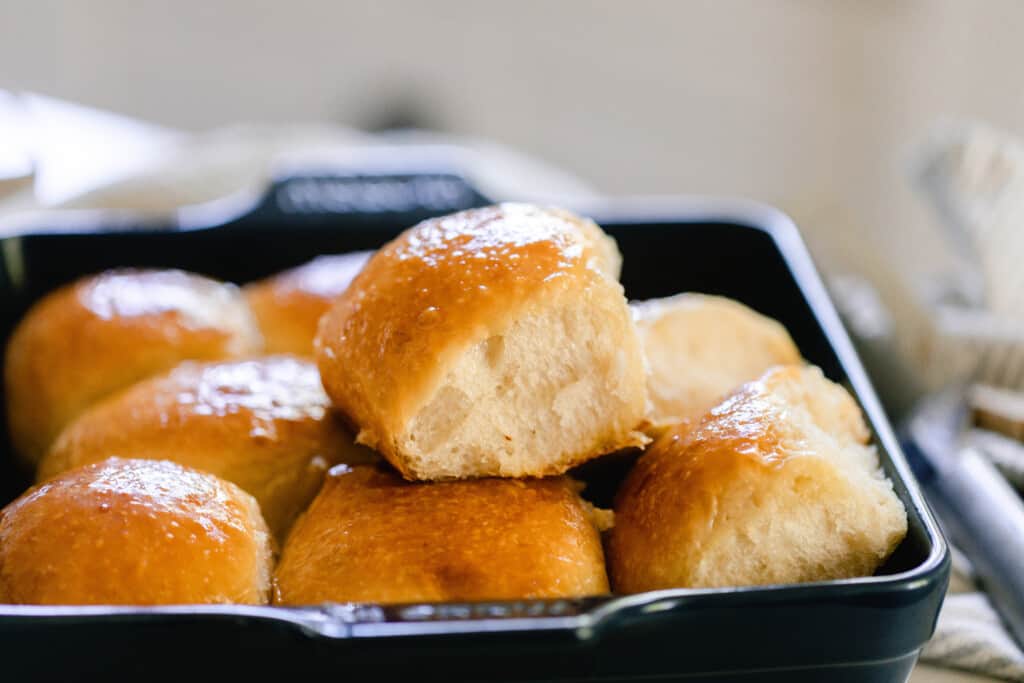
Place the rolls into the oven for about 25-30 minutes, or until they start turning golden brown.
Allow to cool, and enjoy.
FAQ:
What makes sourdough bread taste sour?
The fermentation process will create the sour taste, but the intensity will be determined by the amount of time you allow your dough to ferment.
If you only allow the dough to ferment for 8 hours, you will have a much less sour result, compared to letting it ferment for 24 hours.
The maturity of your sourdough starter will also have an effect. New starters will not be quite as sour as older, more mature ones.
What is fresh sourdough starter?
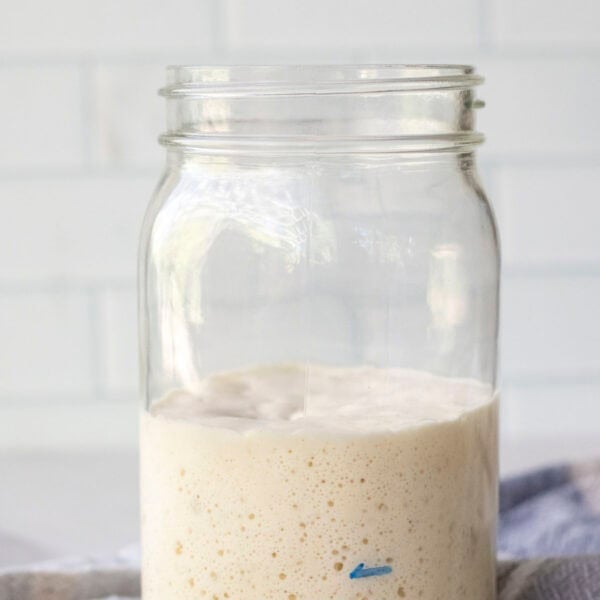
Fresh sourdough starter is a starter that has been fed, allowed time to reach optimal activity, and is ready to use in a recipe. Usually, a sourdough starter that is already at room temperature is ready to use about 4 hours after it has been fed.
Is sourdough bread better for you?
Yes. Not only is it easier for your body to digest, but it also has more bio-available nutrients and lower glycemic index making it a healthier choice.
Is sourdough bread better than yeast bread?
This is totally based on opinion. Personally, I love sourdough bread much more than yeast bread because sourdough has a more complex flavor that just cannot be found in yeast bread.
How is sourdough bread different from other breads?
It uses wild yeast that have been captured in the surrounding environment. This wild yeast help break down the grains and give it amore tangy sour taste.
Find More From-Scratch Farmhouse Favorites:
- Sourdough Blueberry Cobbler
- How to Make Whole Wheat Sourdough Bread
- Sourdough French Toast From Scratch
- Best Chicken Pot Pie Recipe With Sourdough Biscuits
- Sourdough Cinnamon Rolls With Cream Cheese Topping
If you try this recipe and love it, I would love if you gave it 5 stars! Also, tag me on Instagram @farmhouseonboone.
Sourdough Dinner Rolls

Ingredients
- 1/2 cup sourdough starter, active and bubbly
- 1/4 cup sugar
- 3/4 cup warm water
- 1/4 cup melted butter
- 1/2 teaspoon sea salt
- 2 1/2 cups all-purpose flour
- Egg, for egg wash
Instructions
- In a stand mixer bowl, add ingredients.
- Knead on speed 2 (for a Kitchen Aid) for 10-15 minutes using the dough hook, until the dough becomes smooth, stretchy, and can pass the windowpane test.
- Place in a greased bowl and cover with a towel.
- Allow to rise overnight (8-12 hours). This will depend on how warn or cool your house is. It can take much longer in a cooler house.
- The next day, divide the dough into eight equal parts.
- Roll the dough into balls and create tension. This can be done by rolling the balls against a countertop or by pressing your thumb into the center and then pinching the ends together. This can be repeated a few times.
- Place the shaped rolls into a greased 9×13 or 8×8 dish. Cover with a damp towel. Allow it to rise until doubled, approximately one to two hours.
- Preheat oven to 375
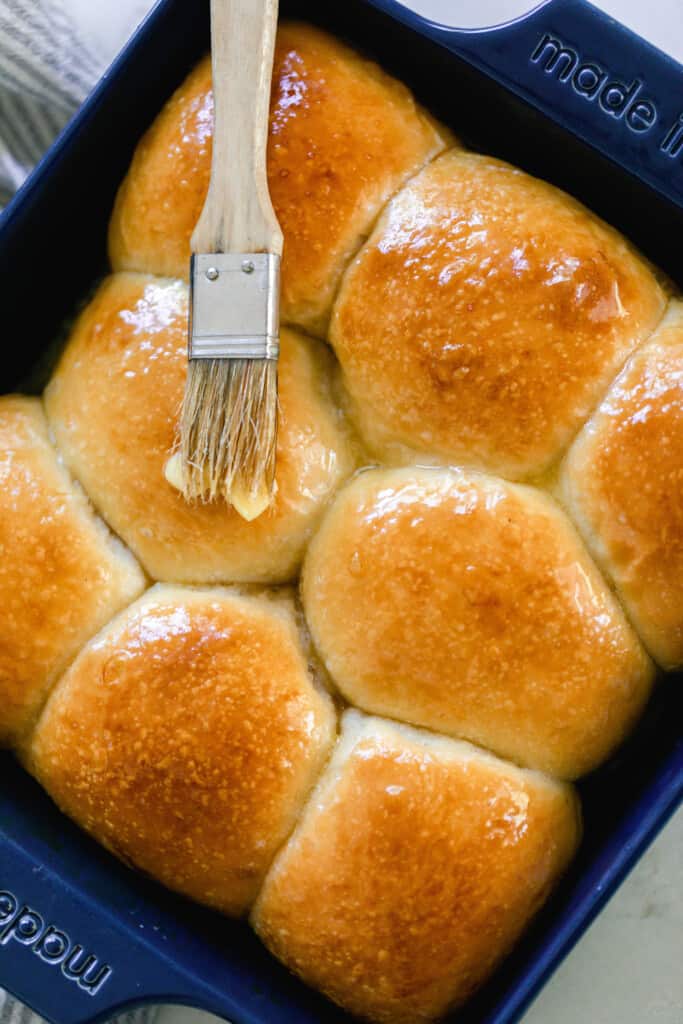
- Brush top with egg wash (optional, but will give it that lovely golden color).
- Place the rolls into the oven for about 25-30 minutes, or until they start turning golden brown.
- Top with melted butter if desired.
- Allow to cool, and enjoy.
Notes
- If you do not have a stand mixer, you can make this recipe by hand. Make sure to knead by hand for 10 minutes.
Nutrition
Nutrition information is automatically calculated, so should only be used as an approximation.
Sourdough Dinner Rolls

Ingredients
- 1/2 cup sourdough starter, active and bubbly
- 1/4 cup sugar
- 3/4 cup warm water
- 1/4 cup melted butter
- 1/2 teaspoon sea salt
- 2 1/2 cups all-purpose flour
- Egg, for egg wash
Instructions
- In a stand mixer bowl, add ingredients.
- Knead on speed 2 (for a Kitchen Aid) for 10-15 minutes using the dough hook, until the dough becomes smooth, stretchy, and can pass the windowpane test.
- Place in a greased bowl and cover with a towel.
- Allow to rise overnight (8-12 hours). This will depend on how warn or cool your house is. It can take much longer in a cooler house.
- The next day, divide the dough into eight equal parts.
- Roll the dough into balls and create tension. This can be done by rolling the balls against a countertop or by pressing your thumb into the center and then pinching the ends together. This can be repeated a few times.
- Place the shaped rolls into a greased 9×13 or 8x8 dish. Cover with a damp towel. Allow it to rise until doubled, approximately one to two hours.
- Preheat oven to 375
- Brush top with egg wash (optional, but will give it that lovely golden color).
- Place the rolls into the oven for about 25-30 minutes, or until they start turning golden brown.
- Top with melted butter if desired.
- Allow to cool, and enjoy.
Notes
- If you do not have a stand mixer, you can make this recipe by hand. Make sure to knead by hand for 10 minutes.
Nutrition
Nutrition information is automatically calculated, so should only be used as an approximation.
Post and recipe were updated October 2022.



First off thank you for taking the time to share your experiences and recipes with us.
Last night I fed my starter about 3 hours later it had doubled I wanted to make rolls. What consistency should it be when it’s in the stand mixer It seemed like it was a little wet so I did add a little bit more flour since it is anywhere between 2 to 2 and 1/2 cups. I had put the dough in the oven with the light on for 8 hours and it overproofed. I didn’t put it near the light I put it on the opposite side of the oven because I was worried about it overproofing. This morning they were really sticky there’s no way I would have been able to make rolls out of them. And he suggestions?
I would try to make the recipe again. Sometimes if they’re overmixed they can become really gluey and sticky.
wondering if you can use this recipe like a regular refrigerator roll? Can I leave in regrig until ready to use? thanks
You can keep them in the fridge for up to five days before baking. Just be sure to pull them out for an hour or two before you put them in the oven!
Hi there Lisa,
So I’ve only been making sourdough bread for a couple years now and I love your recipes, they’ve really helped to kick start with my lack of experience. 🙂
So my question is, can I proof these in the fridge for 3 days? I’ve done your sourdough bread many times 100% in the fridge and it turns out beautifully. I read somewhere that the slower the bread takes, the more flavor. I’m going to make these on two days. I’ve gone carnivore and it’s helping with health issues but am hoping just like with your sourdough sugar cookie recipe, 3 days might be the magic number for folks like me who are sensitive to gluten. Sorry that was so long 🙃. Thank you so much for all you do! God bless you and your family!
Hi! Glad you’re enjoying the recipes. You can keep the dough in the fridge for up to five days before you have to bake with it!
Hi! Just wondering should you let them rise on the counter overnight before refrigerating or should you pop the dough in the refrigerator right away?
Should this dough be sticky after the overnight rise? I found them hard to shape.
No, they shouldn’t be sticky after the overnight rise. They may have needed to be mixed a little longer before letting them rise overnight.
Mine was very sticky as well. I mixed for 15 minutes in my kitchen aid. Let it rise overnight 12 hours and it was extremely difficult to shape. The recipe says 2 different things. It says to mix 5 minutes in the stand mixer and also 10-15 minutes. How to make these less sticky?
If it’s a gluey consistency, it can actually mean that it was over mixed. Did you try the windowpane test or did you ever notice it scraping away from the sides of the bowl during the mixing process?
I found the dough SUPER sticky as well. Added a full 2.5 cups. Mixed in the Kitchenaid. Checked the dough every 1-2 minutes for windowpane and scraped down sides during this time. It was basically sticky gloop the entire time. Only 15-20 minutes of mixing and another full cup did it semi come together and pass the windowpane test. I used Bobs Red Mill AP Flour and Berkey water. Idk why it is so sticky. Dough is resting overnight now. I will bake in the AM and hopefully they are not too dense from the extra cup of flour. (Pretty sure i did not over mix, and followed the amounts to the tee) Could it be like starter hydration or flour hydration? Maybe too hot of butter, though i dipped my finger in and it didnt seem too hot? Cant think of why the dough is giving me grief.
I’m not entirely sure why your dough is giving you grief either! It could be due to the starter’s hydration maybe!
Hi Lisa, Thanks for all you do. I depend on your recipes and expertise. I, too, wondered about the discrepancy in the instructions. One place says 5 minutes in the stand mixer, and another says 10-15 minutes.
At 5 minutes, monitor the dough and watch for when it is peeling back from the bowl. The windowpane test will tell you when it’s done!
I found that I needed more flour as it was in cups and not weighed. They then we’re not sticky at all and came together greet
I have made these several times and have never had a problem shaping them. I usually cut the ball in quarters then cut each piece in half. I follow that with a little “tuck” to form into a roll and place on baking sheet. Nothing ever sticks to my hands
Hello! Really excited to try these rolls. Can I swap honey or maple syrup for the sugar? Also if I double or triple the recipe should I do it in batches?
You can swap the recipe for honey or maple sugar! I would do it in batches as it can be a lot when kneading the dough!
I commented this on the Hawaiian rolls post too but I think I’ve changed my mind. I need to make rolls for 3 thanksgivings. If I make and bake them on Thursday, will they be okay Friday and Sunday?
Hello Lisa!
I put my dough in the fridge for the overnight bulk and it didn’t rise at all? The day before I made sure my starter was nice and bubbly. Any thoughts on what the problem could be? Thank you!
Did you do the second rise in the fridge or the first. I recommend doing the first rise at room temp and then the second rise in the fridge. If doing the second rise in the fridge, it doesn’t look like it rises at all and then the you bake it it magically rises and bakes up great. It’s very strange. If you did the first rise in the fridge I would recommend taking it out and letting it sit at room temp until doubled.
I love these rolls? Any substitution for the butter? Recently dairy free for my breastfed baby.
You could try coconut or olive oil. Since the butter is melted, you should be able to substitute with any oil.
I always think it’s funny when a post says you grind your own flour, but then the recipe says to use all-purpose flour. I’m assuming it’s because using fresh ground whole wheat flour doesn’t work as well?
So, for your family what kind of grain would you use for these and do you actually get a windowpane after kneading when you use whole wheat flour? I’ve had lots of experience with making bread, just not 100% whole wheat sourdough bread.
Most recipes I make for my blog are using all-purpose flour. The ones with whole wheat are specifically stated whole wheat! There is a learning curve to using your own freshly milled whole wheat flour.
Could you freeze these? Either before baking or after? Trying to stick some things for postpartum but unsure what will keep or best way to freeze.
While I’ve never tried freezing dough with this exact recipe, I have tried it with other doughs. Make the dough, allow to bulk rise, then shape, then freeze. Thaw them at room temperature and let rise until double in size. Then bake. You can also make and bake ahead, then freeze. That’s usually how I do it.