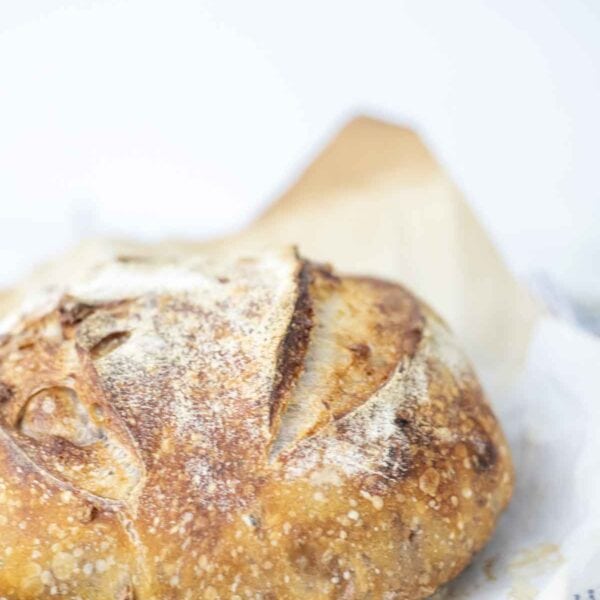
The best classic sourdough boule recipe with a crusty, delightfully chewy exterior with a light, porous texture inside. Flour, water, sourdough starter and salt are combined together, fermented, and baked in a Dutch oven to make a perfect loaf.
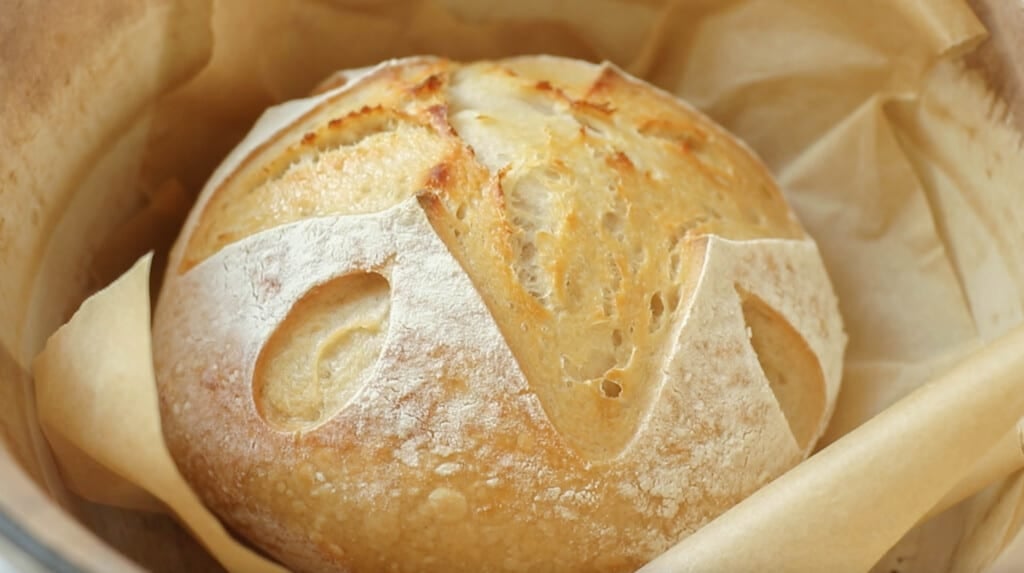
What’s better than freshly baked, crusty, artisan, sourdough bread?
You guessed it. Nothing. Nothing is better.
Especially when it’s sliced up and served with butter, cozied up alongside skillet pork chops or a roasted chicken.
Once you have the flavor of sourdough, it’s hard to go back to its unfermented counterparts. Except, I highly recommend this easy einkorn sandwich bread.
The flavor from the fermented grains adds an extra dimension: sour. Hence, the name sourdough. Yet, somehow, this dimension is absolutely mouthwatering and addictive.
When I’m kneading and folding the dough between my hands, I like to imagine the generation of mothers before me creating bread to feed their own children.
These days, there is such a disconnect from our food. Most people are entirely unaware of how our food is grown, raised, or otherwise made. Little is known of even the ingredients used.
Recipes like this artisan sourdough bread seem daunting or complicated. But many of the best things in life take time, love, and nurturing.
I promise this isn’t as hard as it may seem. You simply need a little time and patience.
This is just like my whole wheat sourdough loaf recipe, but without the oil and honey, and it’s baked in a Dutch oven. I eliminated the oil to step up the crispiness, and I used a proofing basket to make this a more artisan-style loaf.
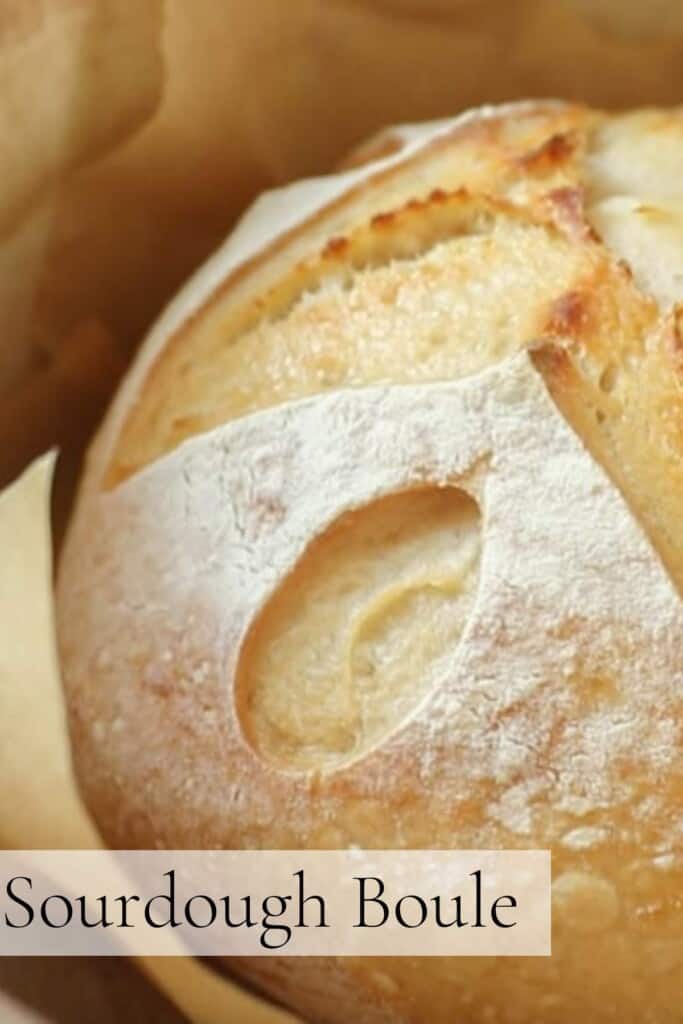
Benefits Of Sourdough
Sourdough has many benefits. From better digestion to better nutrient absorption, it’s easy to see why it has become a popular ‘trend’.
Sourdough is the process of fermenting grains, allowing the natural yeasts to raise the bread and break down the anti-nutrients.
The anti-nutrient, phytic acid, breaks down with fermentation, increasing nutrients like folate, while helping other nutrients to be more bioavailable.
The fermentation process in sourdough bread and other sourdough products helps lower the amount of gluten present, and helps increase the digestibility of the grains. (source)
This post contains affiliate links, which means I make a small commission at no extra cost to you. See my full disclosure here.
FAQ:
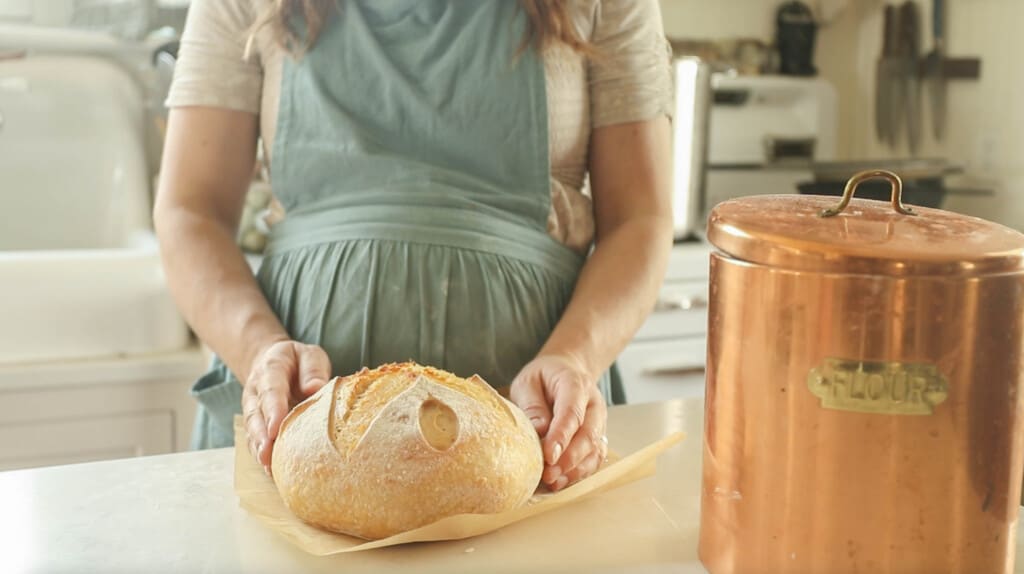
Due to better digestibility and more bioavailability of naturally-occurring nutrients in the grains, sourdough is a better choice than typical bread.
This can be made with all-purpose flour, bread flour, and also freshly milled whole grain.
If you use whole wheat flour, you may need to use a little less flour.
You can even use einkorn flour, but you may need more flour and make sure to follow the einkorn baking rules I discuss here.
‘Artisan’ bread refers to fresh, small batch bread – crafted using traditional methods and natural ingredients.
A boule refers to a round loaf of crusty bread (source)
In order to make a delicious loaf of sourdough bread, you need to use an active starter that has been fed within 4-12 hours before using. When you feed your starter, it should double or triple in size. It should also pass the float test.
Take a spoonful of your active starter and drop it into a cup of water. If it floats, then it is ready to use for bread.
Wrap the bread with beeswax wraps, or in a plastic ziplock bag, and store for up to two weeks at room temperature.
Fermented whole grain bread keeps longer than unfermented whole grain bread at room temperature. This is because the fermentation process makes the bread less susceptible to mold and fungus. The same scientific principles that make sauerkraut and lacto fermented salsa keep for several months are at work in the sourdough bread.
For longer storage, you can also keep it in the fridge or freezer.
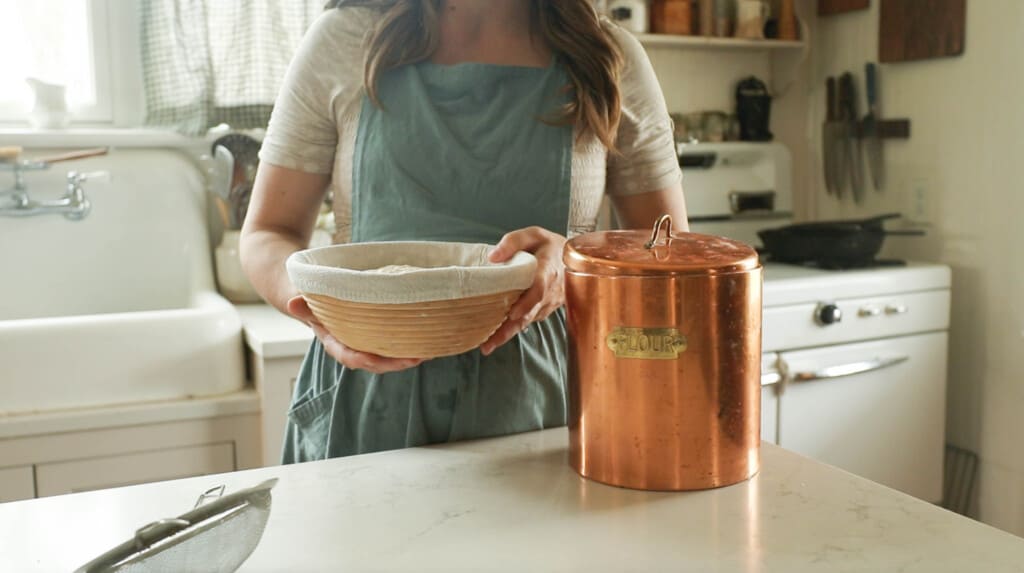
Sourdough Boule Ingredients:
Active sourdough starter – This is a sourdough starter that has been fed 4-12 hours before starting the dough. It has about doubled in size and will pass the float test.
Water – Preferably filtered water.
Salt – I like to use sea salt or pink Himalayan salt. I try to stay away from regular table salt. Iodized salt may leave a bitter taste in the bread.
Unbleached all-purpose flour – I like to use organic all-purpose flour since it doesn’t contain folic acid, a synthetic form of folate that may not be beneficial for a good portion of the population. It’s a whole thing. Bread flour can also be used.
Tools you may need:
Large mixing bowl
Scoring tool – such as a lame, razor blade, or sharp knife.
Banneton basket (optional) Could also use a basket or bowl lined with a tea towel.
Large glass bowl
Measuring cups and spoons
Bench scraper
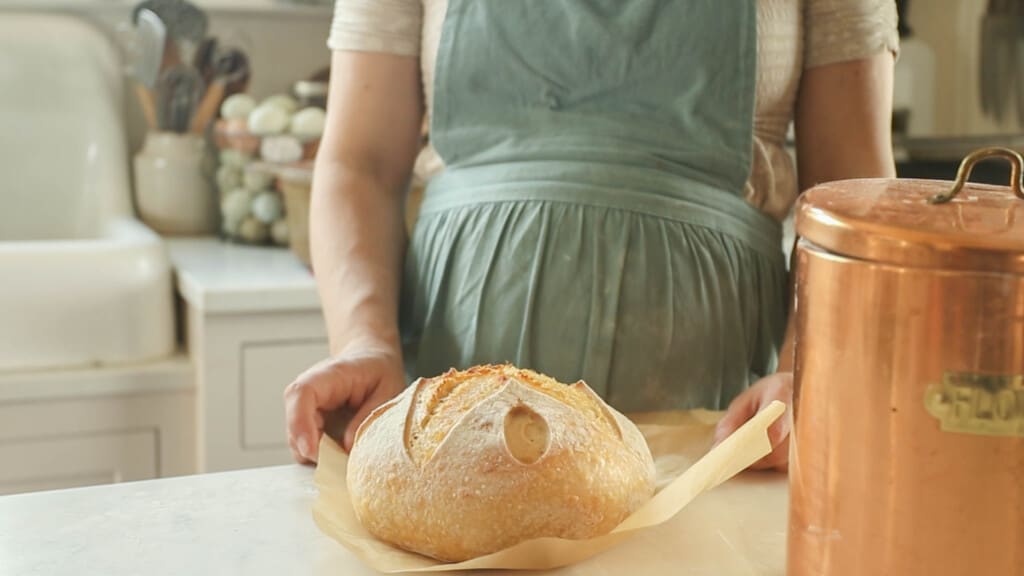
How To Make Artisan Sourdough Bread
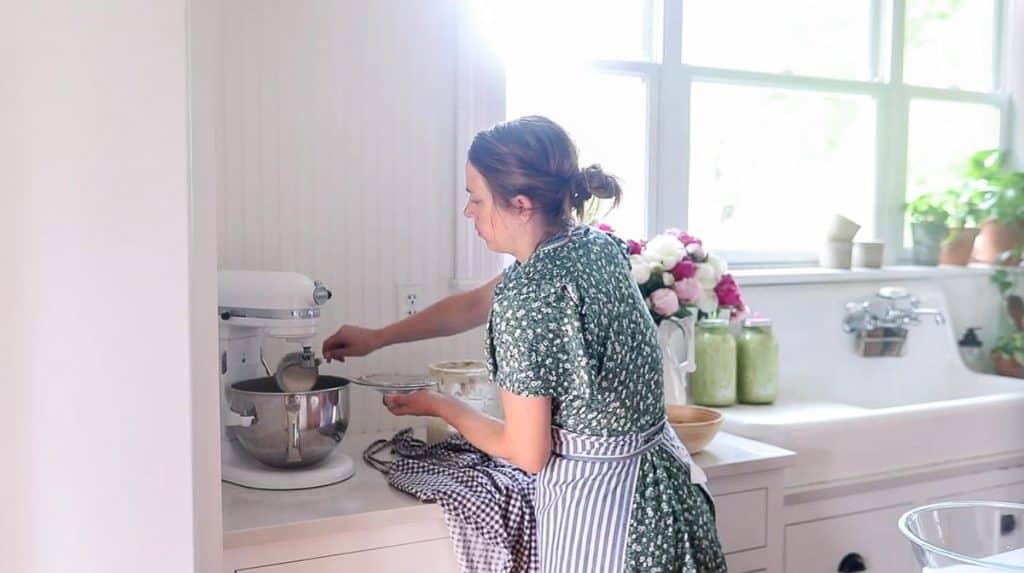
Knead all the ingredients in a stand mixer until stretchy and pulling away from the sides of the bowl. The original recipe called for this method. I now use the stretch and fold method, which is included below.
- It should pass the ‘windowpane’ test. This is when you can take a small piece of dough between your fingers and stretch it out. If the gluten is formed properly, you should be able to stretch it out into a thin layer that you can see through.
- If it doesn’t pass this test and is breaking apart, then place it back into the stand mixer and knead for a few more minutes. You could also do this by hand, but it takes a little more time.
If you do not have a stand mixer, you can use the stretch and fold method.
Add dry ingredients to a large bowl. Add in the sourdough starter and water. Mix until a shaggy dough forms. Cover and let the dough rest for 15-30 minutes.
Grab the edge of the dough and pull up stretching it out as you pull upwards.
Place dough that is in your hands back into the center. Turn the bowl about a quarter turn and complete another stretch and fold. Repeat the stretching and folding two more times. Cover.
First 3 stretch and folds – every 15 minutes.
Last 3 stretch and folds – every 30 minutes.
Cover with a tight lid, damp towel, or cling wrap.
Bulk Ferment
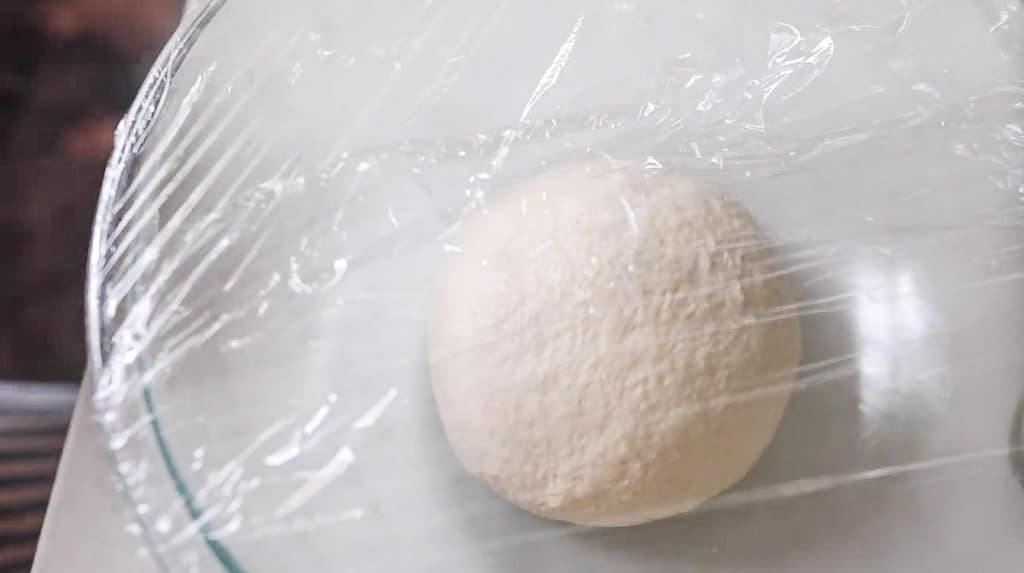
Place the dough in a large, oiled bowl (I like to use olive oil) and cover bowl. Cover with plastic wrap, beeswax wraps, or something that is airtight to prevent the dough from developing a hard crust.
Allow to ferment for 8 to 24 hours in a warm place. If you are gluten sensitive, you may need that extra fermentation for digestion. This is a delicate balance as you don’t want the dough to ferment too long causing an over-fermented mess. It should at least double in size.
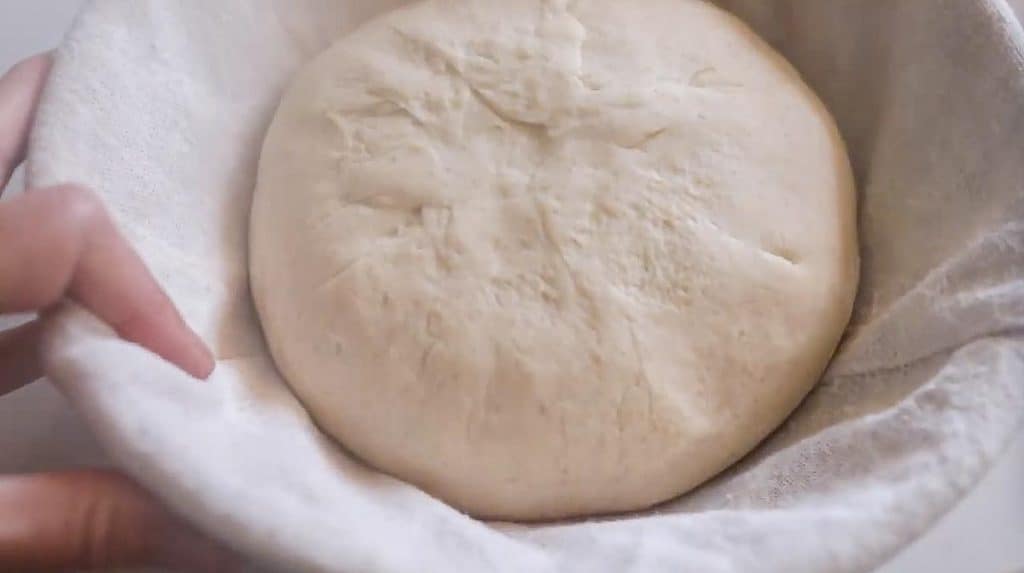
Shaping A Boule
The next day, punch down the dough, turn the dough onto a clean and lightly floured work surface.
Shape it into a round shape, by spinning it towards you and pulling against the counter. Turn over and pull the edges into the center pinching together. This creates tension which gives you a springier final loaf.
Place the dough ball in a banneton basket seam side up.
Allow to rise a second time until doubled – about two to four hours, depending on temperature of house and the maturity of your starter. Or 12-15 hours in the fridge (it will not look like it has risen much, but I promise it will still work).
Preheat oven to 500 degrees with a cast iron Dutch oven inside for an hour.
Sourdough Boule Scoring
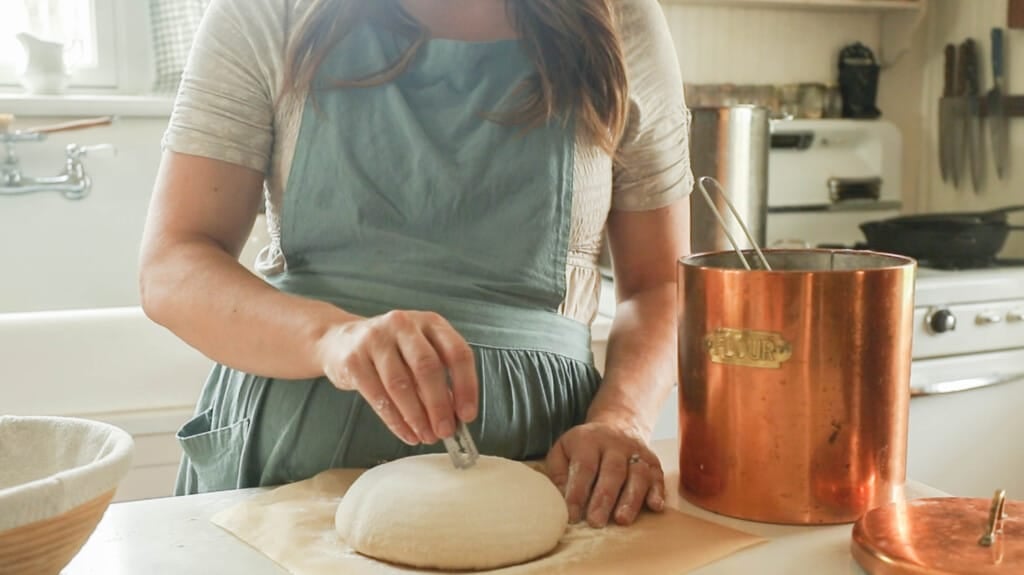
Turn the dough out onto a piece of parchment paper. This just makes it so much easier to lift into the Dutch oven and prevents any sticking.
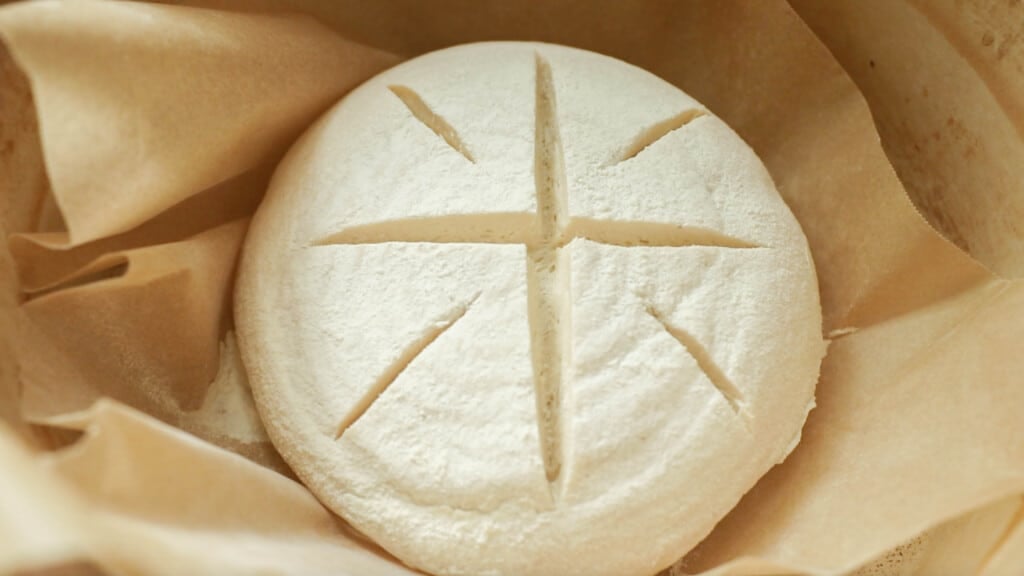
Sprinkle with flour (use rice flour if you cannot tolerate unfermented grains) and score with a pretty scoring pattern or just a simple slash on top of your loaf to give the bread room to expand. Find my favorite scoring patterns here.
Place into the preheated Dutch oven (parchment paper and all).
Optional: Add steam and spray top for a crustier exterior. If you do not have a dutch oven, you can bake your boule on a baking stone, pizza stone, or sheet pan, but in order to achieve that crusty exterior, you will need to add a lot of steam.
This can be done by spraying the top with water, and/or adding a couple of ice cubes to a baking dish in the bottom oven rack of the oven.
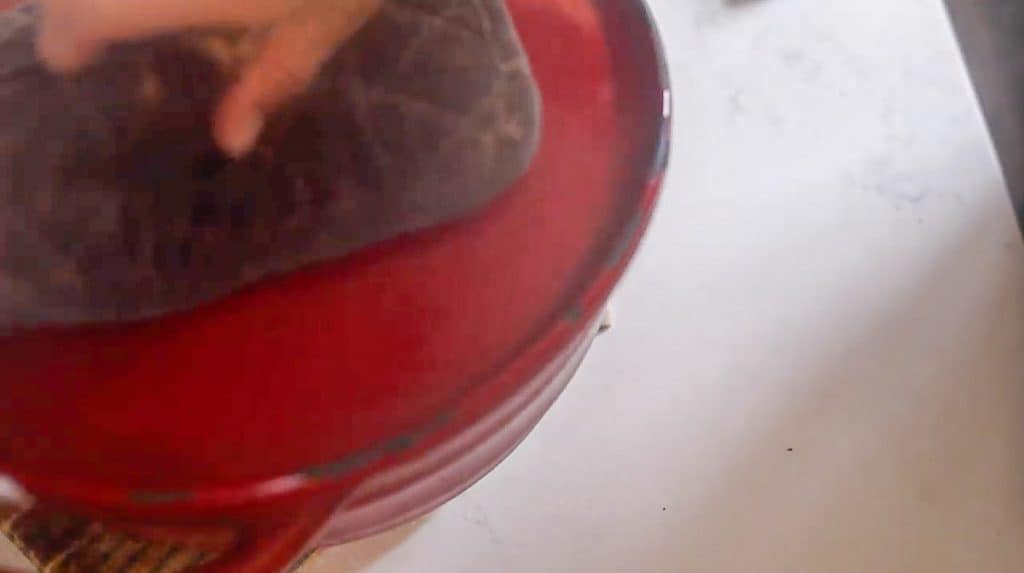
Bake 20-30 minutes with the lid on. Remove the lid, reduce heat to 450, and bake for an additional 20 minutes.
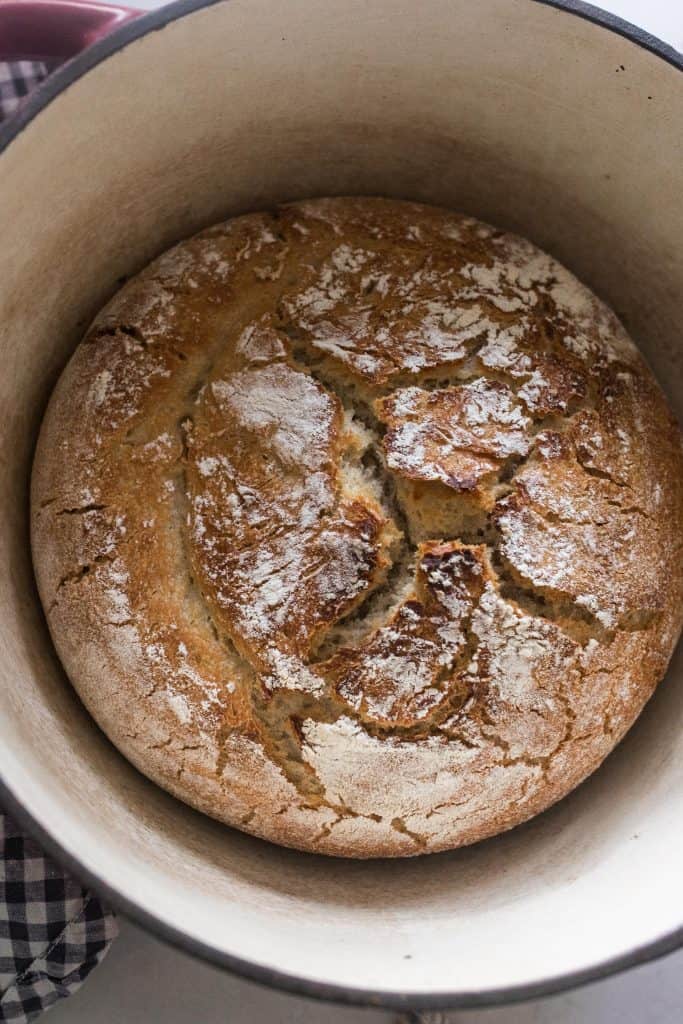
Examples Of Baking Time
10 am: Feed sourdough starter. If your sourdough starter is in the fridge, you will want to feed it at least two times before baking bread.
3-9 pm: Check if the sourdough starter is ready for use. It should be bubbly and at least double or triple in size. If you take a small amount and drop it in a glass of water, it should float.
3-9 pm: In a stand mixer with a dough hook, place flour, salt, active sourdough starter, and water. Knead for 5-10 minutes until the dough is stretchy and pulls away from the side of the bowl. Place in a large oiled bowl and cover. Or start the stretch and fold method.
8 am the next day: Punch down dough, shape in the glass bowl, and place in a banneton basket. Allow to rise until doubled (about 2-4 hours depending on temp of house). Or place in the
10 am: Preheat oven to 500 degrees. Place a Dutch oven, with a lid on it, inside the oven while it preheats.
11 am: After the Dutch oven has been preheating for 1 hour, place sourdough bread dough onto parchment paper, dust with flour, and score.
12 pm: Place dough in a Dutch oven and cover with a lid. Place it in the oven and bake for 20 minutes. Remove the lid, reduce heat to 450, and bake for 20 more minutes until the bread is golden brown.
Allow it to cool and then slice.
Find More Of My Sourdough Favorites:
- Sourdough Banana Bread
- Sourdough Chocolate Rolls
- No-Wait Sourdough Recipes
- Sourdough Ciabatta Bread
- Sourdough Buns
Artisan Sourdough Boule

Ingredients
- 1 cup sourdough starter
- 1 1/4 cups water
- 2 teaspoons salt
- 4 cups all-purpose flour
Instructions
- Knead all the ingredients in a stand mixer until stretchy and pulling away from the sides of the bowl. It should pass the ‘windowpane’ test. Or start the stretch and fold method.
- If it doesn’t pass this test and is breaking apart, then place it back into the stand mixer and knead for a few more minutes.
- Place in a large, oiled bowl and cover with plastic wrap, beeswax wraps, or something that is air tight.
- Allow to ferment for 8 to 24 hours in a warm place or until doubled.
- The next day, punch down the dough, shape it, and put in a banneton basket. Allow to rise until doubled (about two to four hours, depending on temperature of house). Or place in the fridge for 12-15 hours.
- Preheat oven to 500 degrees with cast iron Dutch oven inside for one hour.
- Turn the dough out onto parchment.
- Optional: Sprinkle with flour and score with a pretty scoring pattern.
- Place into the preheated Dutch oven (parchment paper and all).
- Optional: Add steam and spray top for a crustier exterior.
Bake 20 minutes with lid on. Remove lid, reduce heat to 450, and bake an additional 20 minutes.
Notes
- If you are gluten sensitive and you need that extra fermentation for digestion, then I suggest letting it ferment for 24 hours.
- I highly recommend baking the bread on parchment paper. It just makes it so much easier to lift into the Dutch oven and prevents any sticking.
- Make sure to cover the dough with plastic wrap or beeswax wraps, something air tight to prevent the dough from prematurely developing a crust.
- Grab the edge of the dough and pull up stretching it out as you pull upwards.
- Place dough that is in your hands back into the center. Turn the bowl about a quarter turn and complete another stretch and fold. Repeat the stretching and folding two more times. Cover.
- First 3 stretch and folds – every 15 minutes.
Nutrition
Nutrition information is automatically calculated, so should only be used as an approximation.




I have a round dutch oven I use for this recipe. Works well.
Now I got an oval benneton basket and would love to bake an oval bread loaf too. Dont have a fitting dutch oven. How would I bake my loaf with no dutch oven?
Here’s a blog article on baking without a dutch oven.
Hello Lisa!
Love your work and have used your recipes a great deal.
What is your conversion for 1 cup sourdough starter? The references I have looked at are various. Thank you.
Hi Margaret. Here’s my conversion chart.
I didnt have enough starter, but I’m going to try It anyways. How do you make sure to have enough starter? Thank you!
Is this recipe made with active or discard starter?
Active starter.
I use a silicone mat with long handles and mine still does that. I am okay with it, as there is no burnt taste whatsoever.
I love this recipe! I am new to sourdough and your podcasts and blogs have been such a gift.
Question, my bread is burning some on the bottom. I am doing just what you suggest above, but I wonder if I should keep the temp at 450 the whole time?
I use a silicone mat with long handles and mine still does that. I am okay with it, as there is no burnt taste whatsoever.
I crinkle parchment paper up and put in the bottom of my Dutch oven then I put another piece laid out then the dough. This helps to prevent burning the bottom. Or maybe your rack is too low.
Hi Lisa, I’m currently in the market for a new stand mixer that can hold up to heavier bread doughs. What kind do you use and/or recommend? Thanks!
I use the highest grade Kitchen Aid mixer with no issue!
I have made this recipe twice.. without the mixer, I prefer the s&f method.. both times the dough is very stiff after mixing it together.. not shaggy at all… I let it sit for 60 mts before starting the s&f.. it doesn’t rise well, taking 8 hours ish on a very hot summer day.. and then it hasn’t doubled in size but given the hour I just shaped it and put it in the fridge.
the first time I thought I had done something wrong. but this is twice now..
any help would be appreciated
Have you tried freezing this bread?
I had the same problem with the first dough I made as well. It was so stiff I had a hard time working all the flour into it. I watched her video on this recipe and noticed she said she doesn’t add all the flour at once because it depends on the hydration of your starter. I made it again and waited to see how it was coming together before adding the rest of the flour. I started with about 3 1/2 cups. It’s much better! I hope this helps.
Is it necessary to have the oven on for an hour before baking?