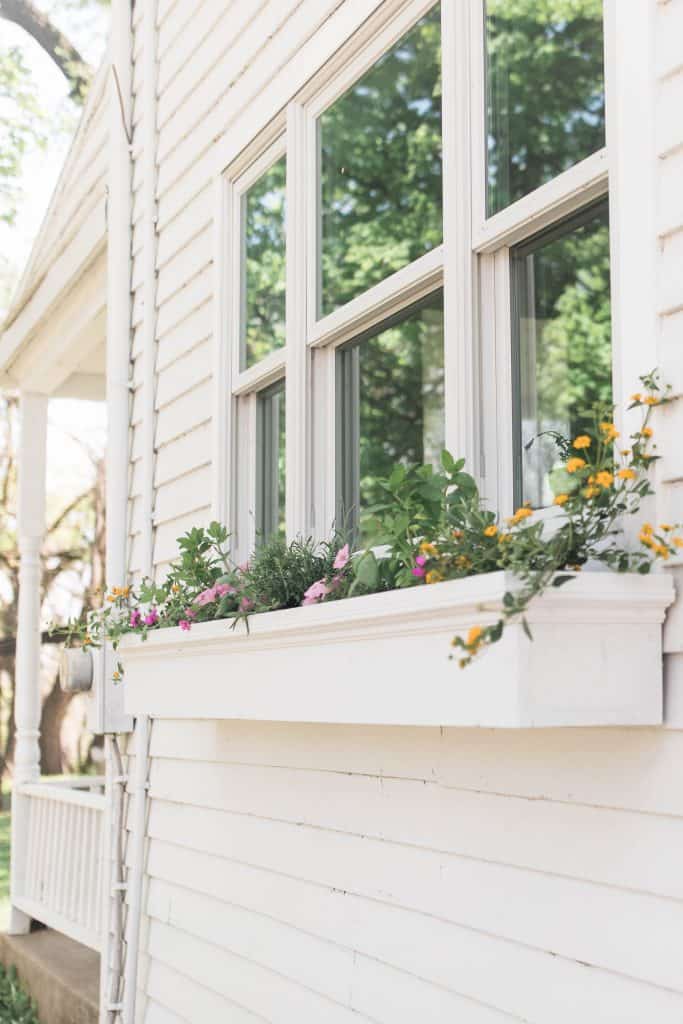
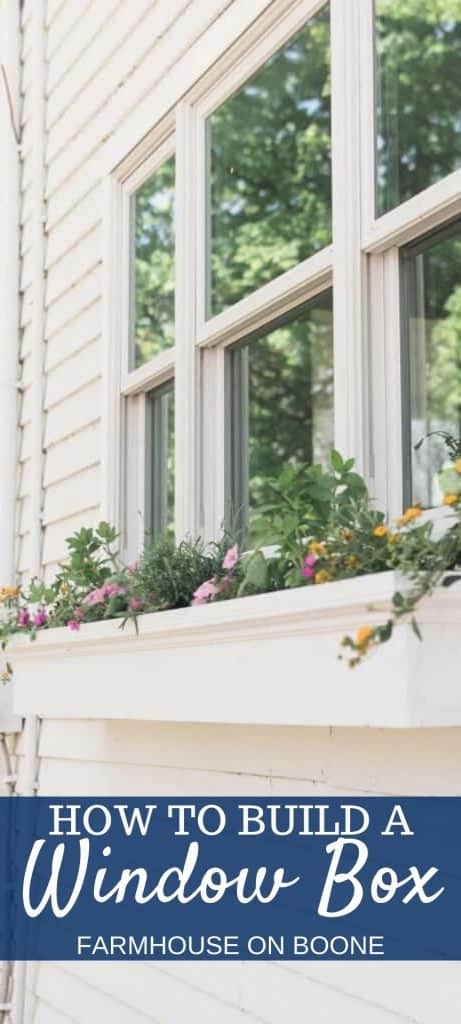
Learn how to make this DIY window box to add character and dimension to your windows. Add colorful flowers and herbs to bolster your farmhouse charm.
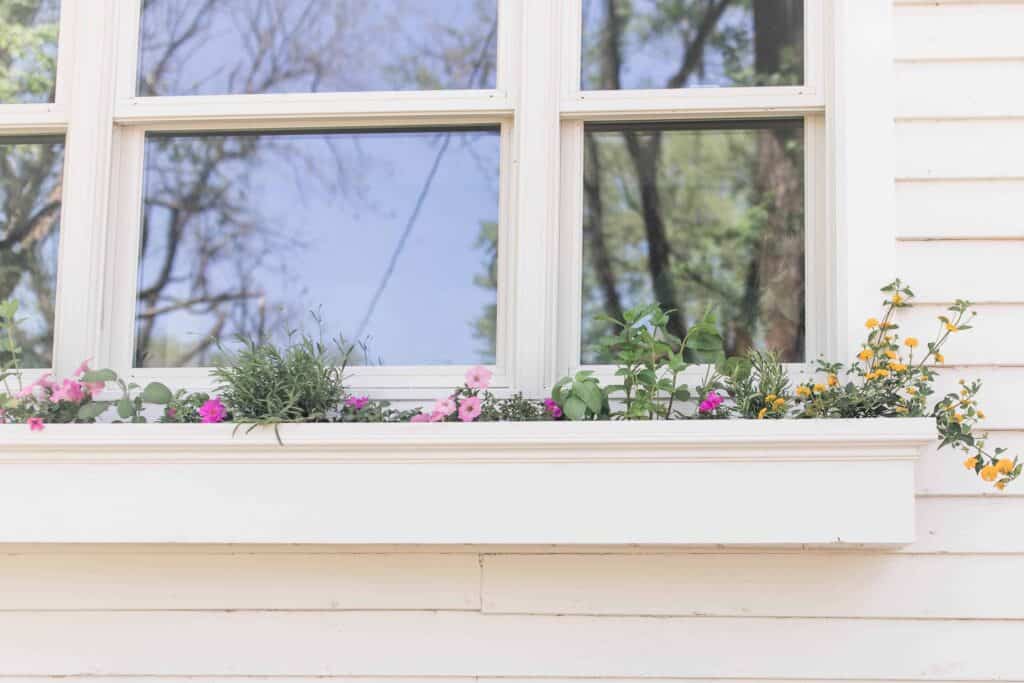
If you have been following along on our kitchen renovation journey, you may remember that we replaced the small window above the sink with a much larger window.
The larger window looks like it has always been there, and I love that I can wash dishes while looking out over the garden, barn, and goats.
Goats and gardens make dishes much more fun.
On the exterior of the house, we trimmed out the window with some basic molding that fits in with the rest of the house, but it doesn’t have the same detail as the other exterior trim.
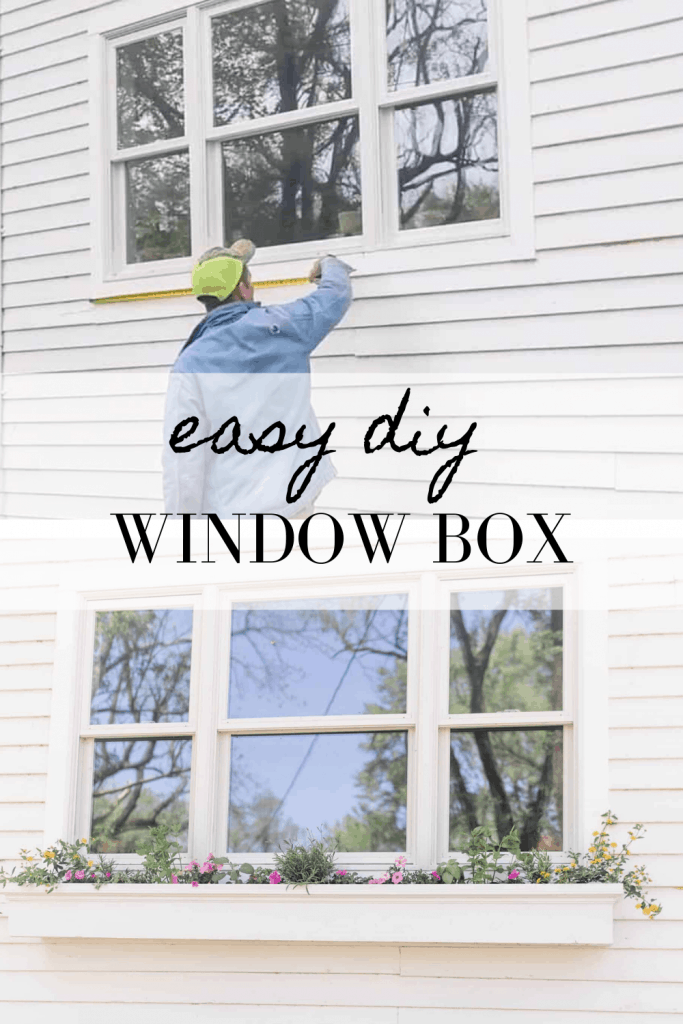
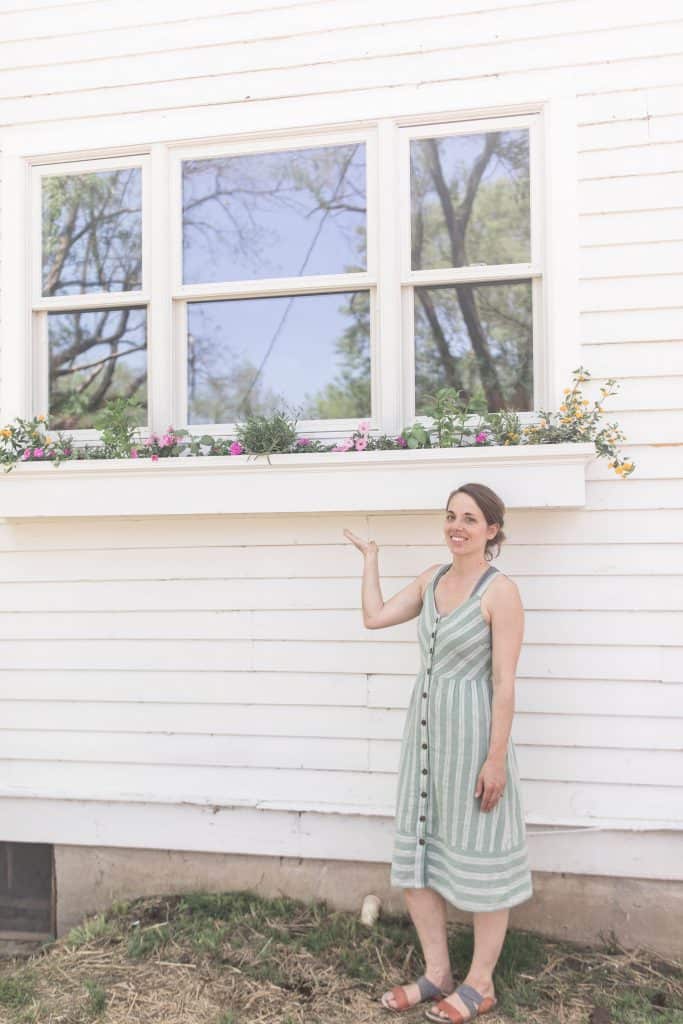
Adding the extra feature of a window box really made the window feel like it has always been there, and I have always loved the idea of putting a flower box full of colorful blooms and herbs there.
This project was so easy. We did it in just a of couple days, because well, we have six kids. So, we worked on it a little at a time.
If you were to dedicate some time, you could easily get it done in an afternoon.
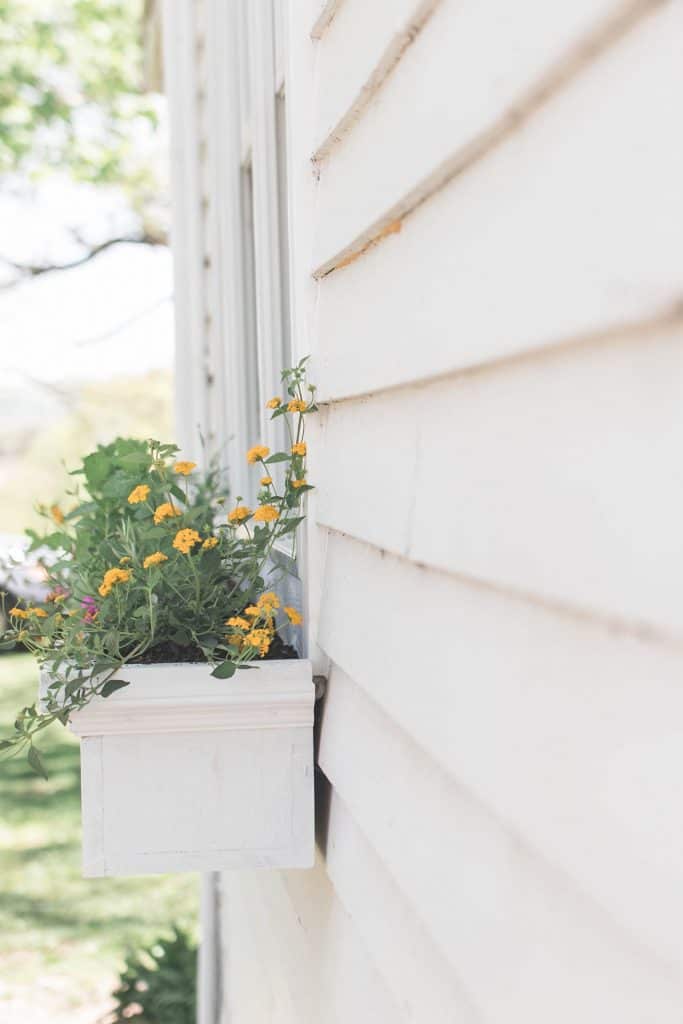
This DIY planter box turned out better than I ever could imagine. I kept finding myself eyeing it from all over the property and loving it from every angle.
Tips For Making A DIY Window Box
- Use cedar for a more weather durable box. Other woods such as Douglas fir and pine will not last as long. You can read more about this in my DIY Raised Garden Bed Tutorial.
- Pre-drill holes before screwing them in to prevent the wood from splitting.
- Don’t forget to drill holes at the bottom of your flower box for drainage. If you don’t, your plants may not survive.
This post contains affiliate links, which means I make a small commission at no extra cost to you. See my full disclosure here.
Tools you will need:
Hammer
Miter saw
Drill and drill bits
Tape measure
Clamps
DIY Window Box Materials:
4 cedar 1 x 8 boards. I chose cedar because it can withstand the elements better than, say, Douglas fir or pine.
Trim
Finishing nails
Screws
Lag bolts
Watch The Tutorial:
How To Build A Window Box
Step 1: Measure The Window
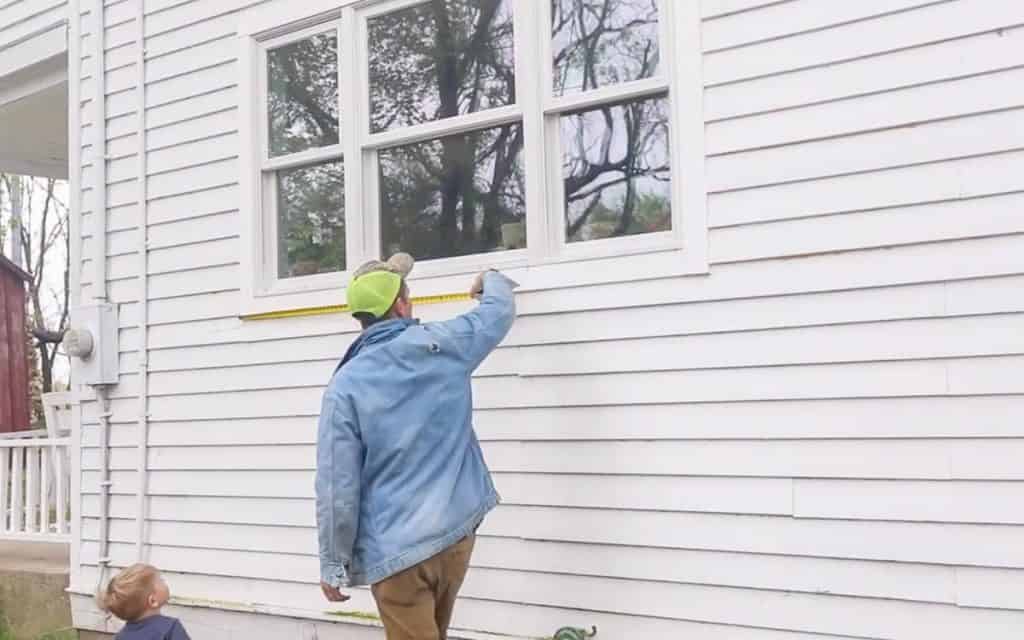
Measure the size of your window. Our window was 90.5 inches wide with the trim, and we wanted the window box to match that length.
Step 2: Cut The Length
Measure and cut the length of the boards.
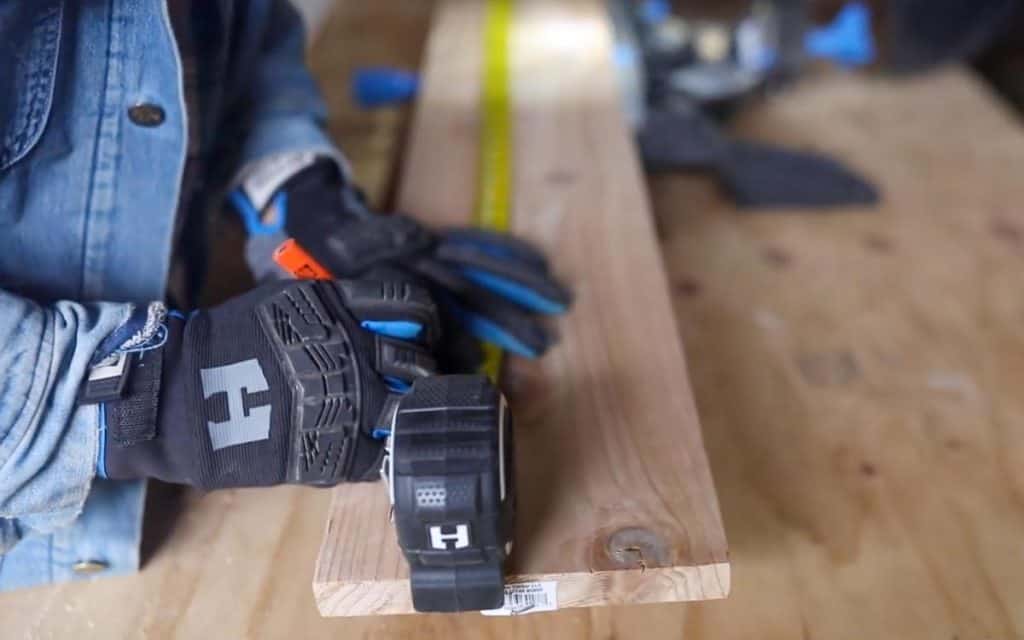
Place one board on the bottom and add a line of wood glue along the edge. Stand up the second board on the long edge to meet up with the board on the bottom and drill to create the front of the box.
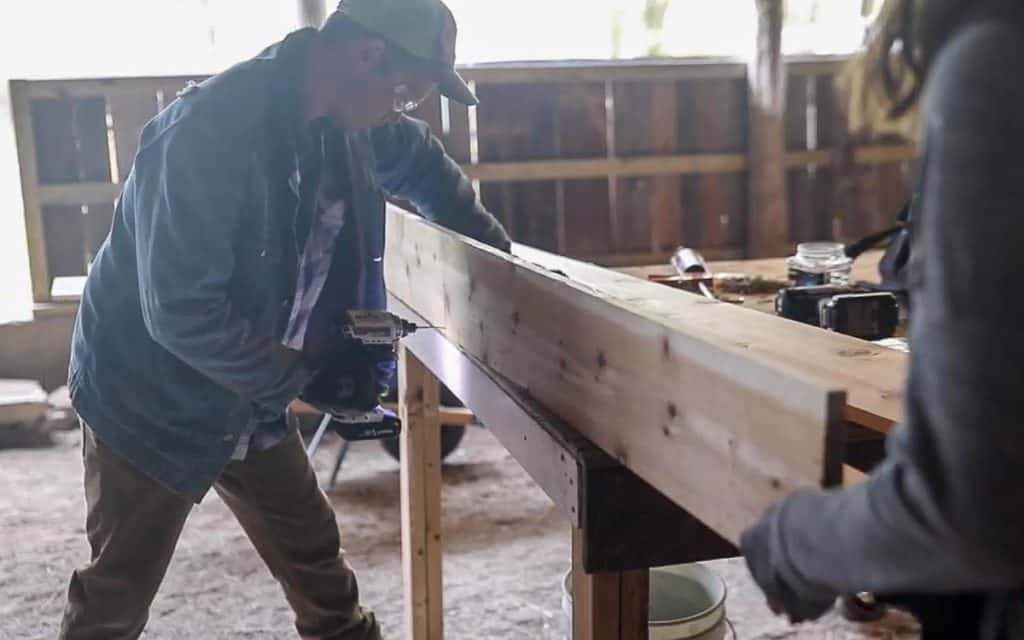
We recommend pre-drilling holes before drilling the screws in, so the wood doesn’t split.
Step 3: Measure And Cut The End Boards
Make the end boards by taking your two-sided window box and measuring the width and height of each end where you want the wood piece to go.
Cut two pieces. I like to measure and cut each end, because there may be slight discrepancies.
Place end boards in place and secure with screws.
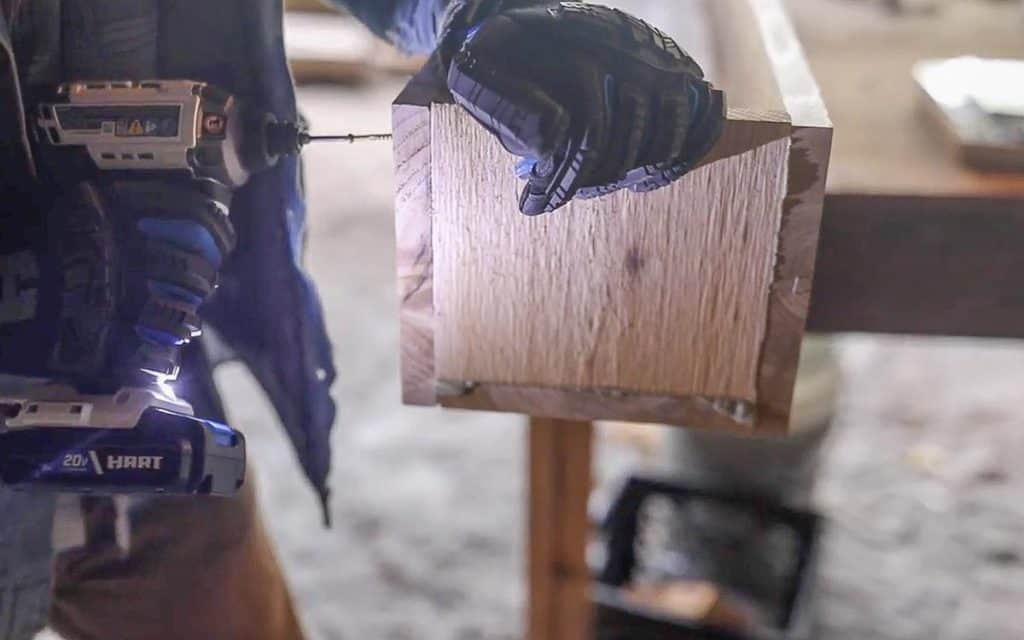
Step 4: Screw Last Board
Add another line of glue along the long edge of the bottom board.
Stand up the third 1×8 board on the long edge to meet up with the board on the bottom. Pre-drill holes, then secure with screws.
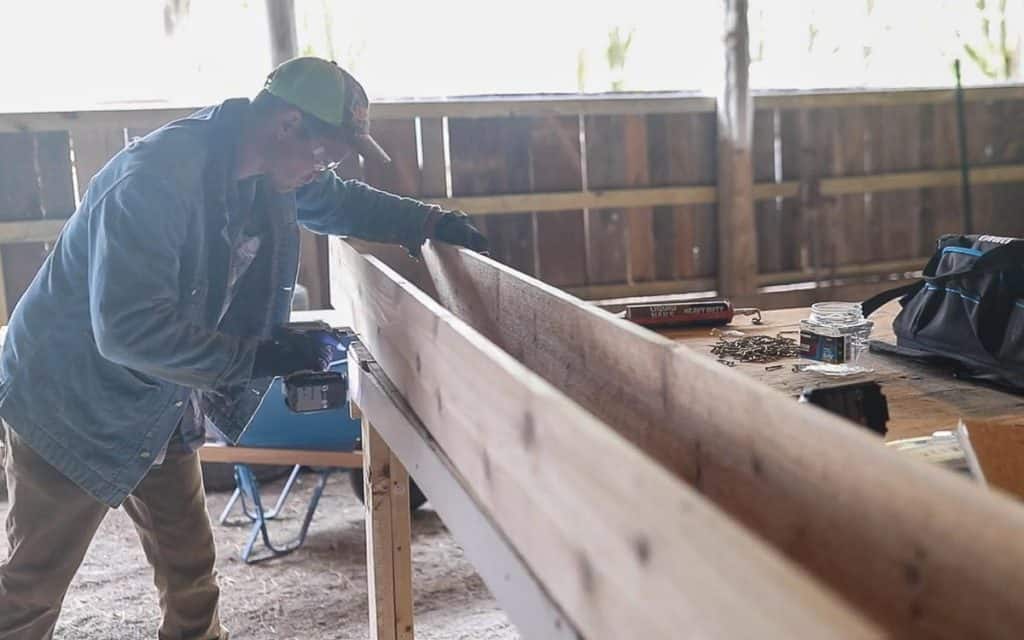
Step 5: Add Trim
Measure and cut trim around the two short sides and one long side using a miter saw, then cut the corners at 45-degree angles.
Nail trim into place using a hammer and finishing nails, or a brad nailer.
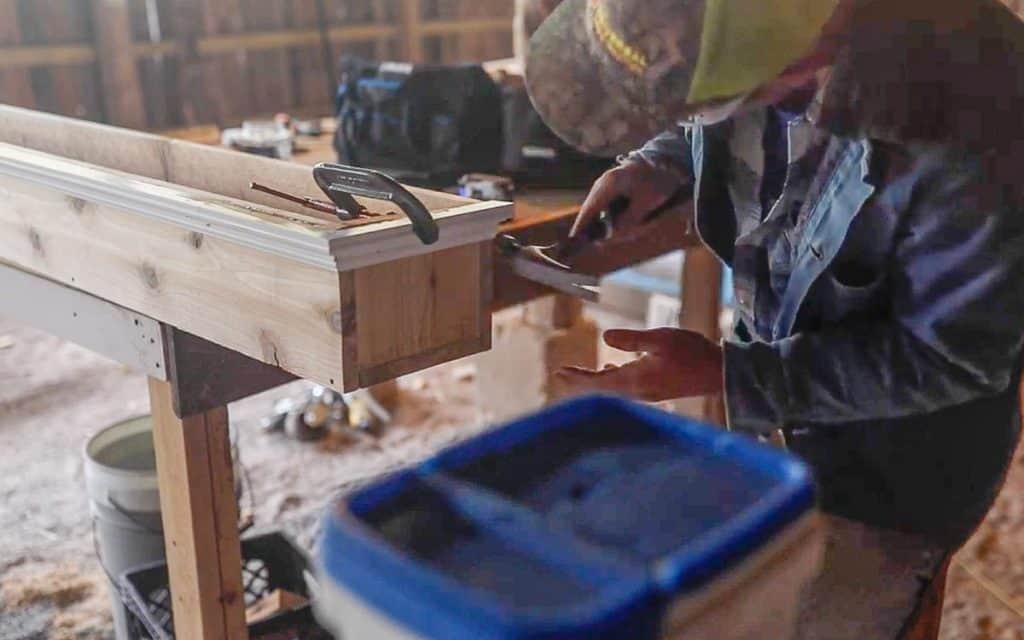
You can leave it like this, but we decided we wanted to add a little more bulk to the top, so we ripped down the remaining 1×8 board into two-inch wide pieces the length of the box, and nailed it to the top.
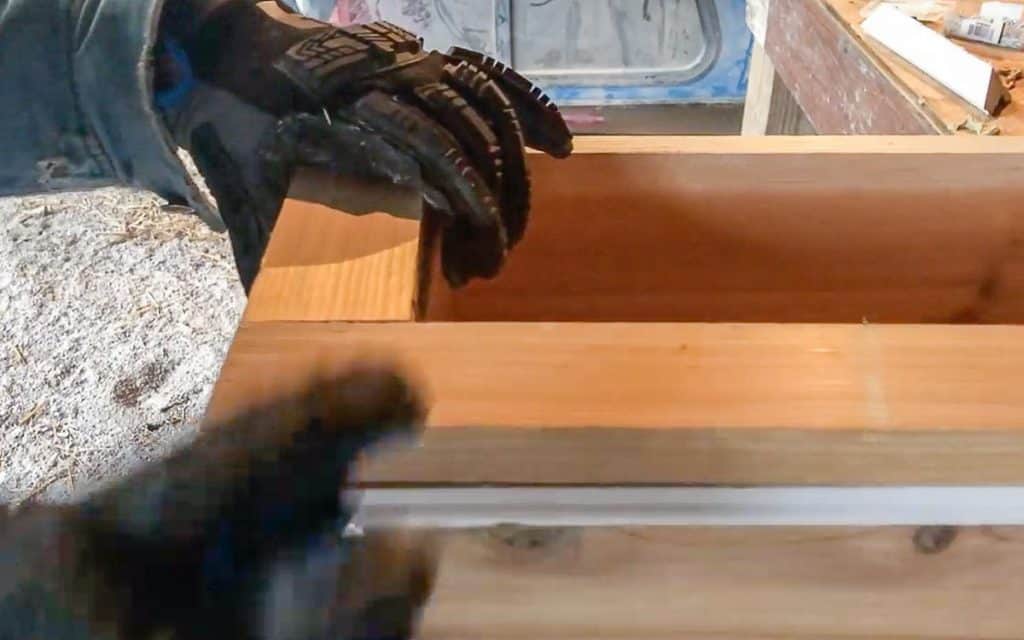
Step 6: Paint
Congratulations! You built a planter box! Now, you get to paint it.
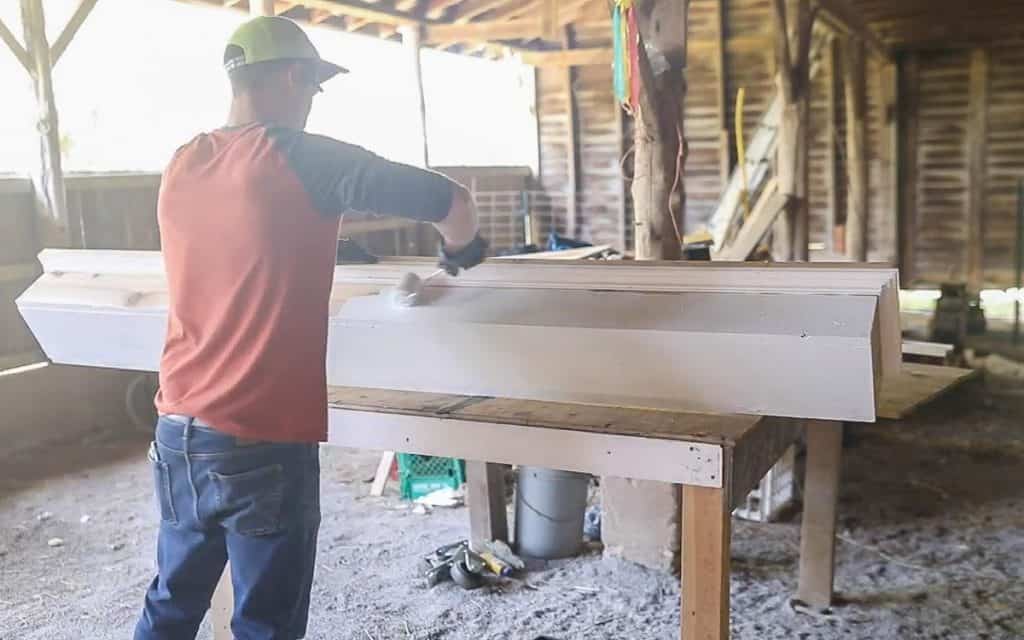
We went with a basic white paint to match the house. My parents actually gave us some paint that had been sitting in their barn for 20 years, and we’ve been using it up on different projects around the house.
I recommend using an exterior paint.
Allow to dry.
Step 7: Drill Drainage Holes
Using your 1/4 inch drill bit, drill drainage holes on the bottom of the box.
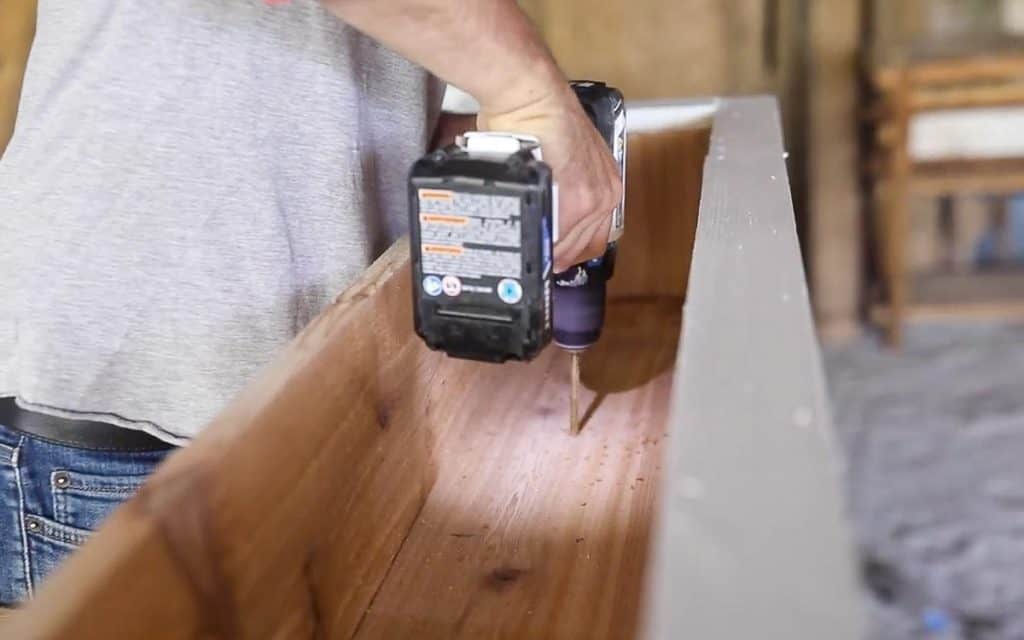
Add two to three holes, an inch apart, about every six inches.
How To Hang A Window Box
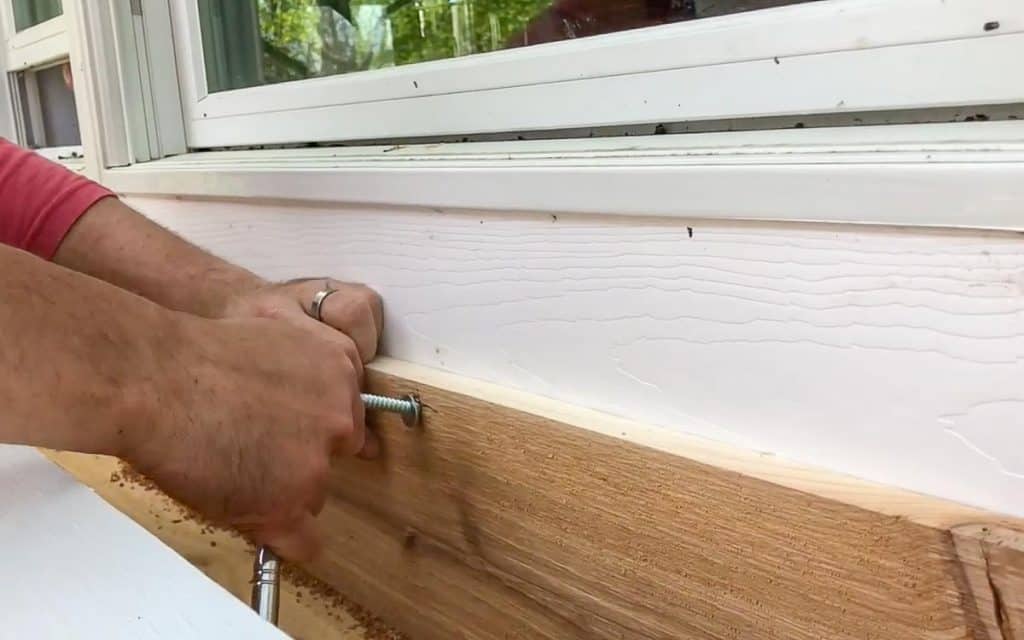
There are a few ways you can do this. You could hang with brackets or even a French cleat. We opted to hang the box with lag bolts.
Step 1: Find Studs
Find the studs. Mark on the window box where the studs are on the house, and pre-drill holes.
Place the lag bolts into the pre-drilled holes and tighten with a wrench.
Step 2: Fill The Planter Box
Once the planter is secure, pour in an even layer of rocks on the bottom for drainage.
Then fill it with dirt.
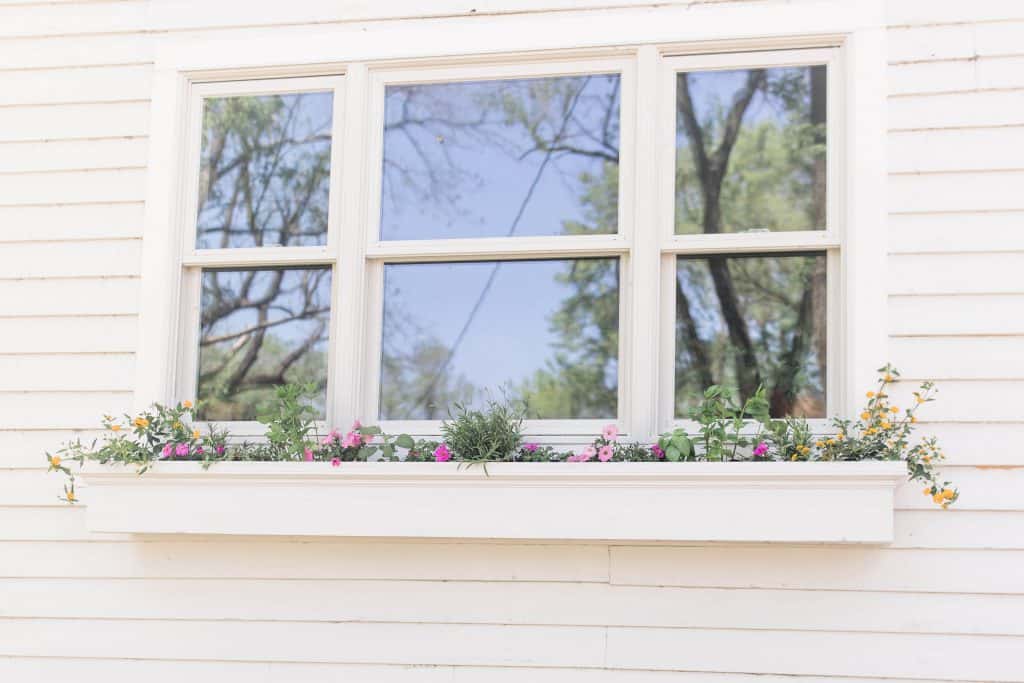
Step 3: Plant Herbs And Flowers
Plant your favorite herbs and flowers.
I wanted a nice mix, this way I could just reach out my kitchen window to grab a handful of fresh herbs, while also being able to enjoy the beauty of the flowers.
For herbs, try rosemary, mint, oregano, and lavender.
I really love how this project turned out. The result was even better than I expected.
Find More Of Our Favorite Beautiful Farmhouse Projects:
- Victorian Farmhouse Kitchen Reveal
- How To Build Raised Garden Beds For Cheap
- Our Old Farmhouse Porch Renovation
- DIY Farmhouse Coffee Table
- A-Frame Chicken Tractor
Pin It For Later


Where did you guys get your trim from? I haven’t been able to find anything like this.
We just got everything from Lowes!
Is it treated pine or just normal interior trim? I asked about a cedar trim but no one had any.
Love this! I always love window boxes. It reminds me of a rip that we took to a small town in France and every home has them! Beautiful- but I also LOVE the herbs in arms reach in the kitchen! Brilliant.