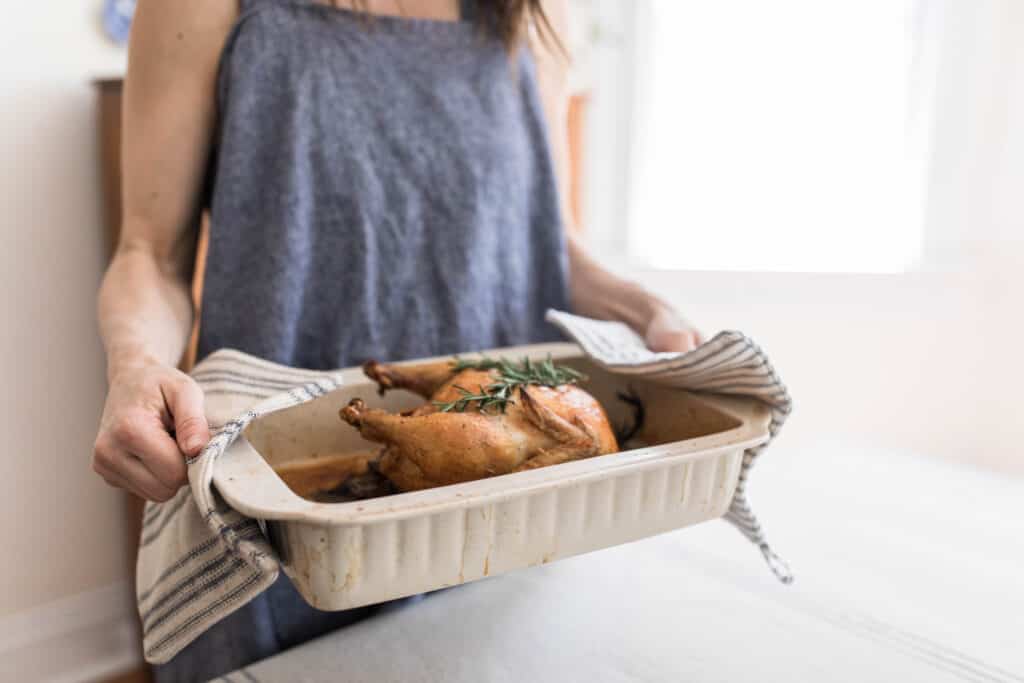
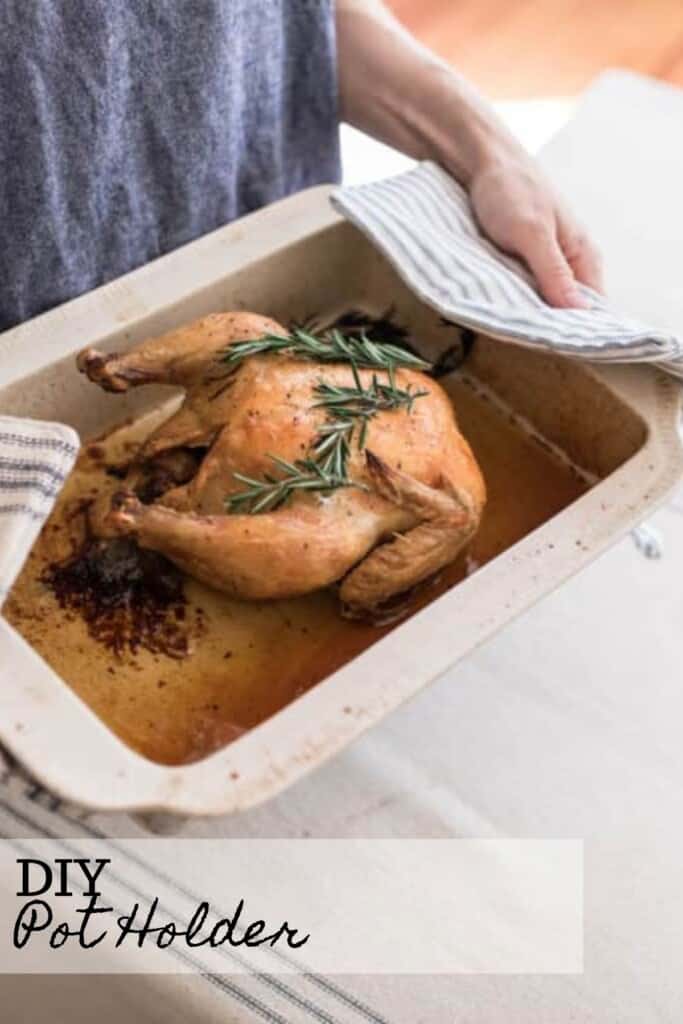
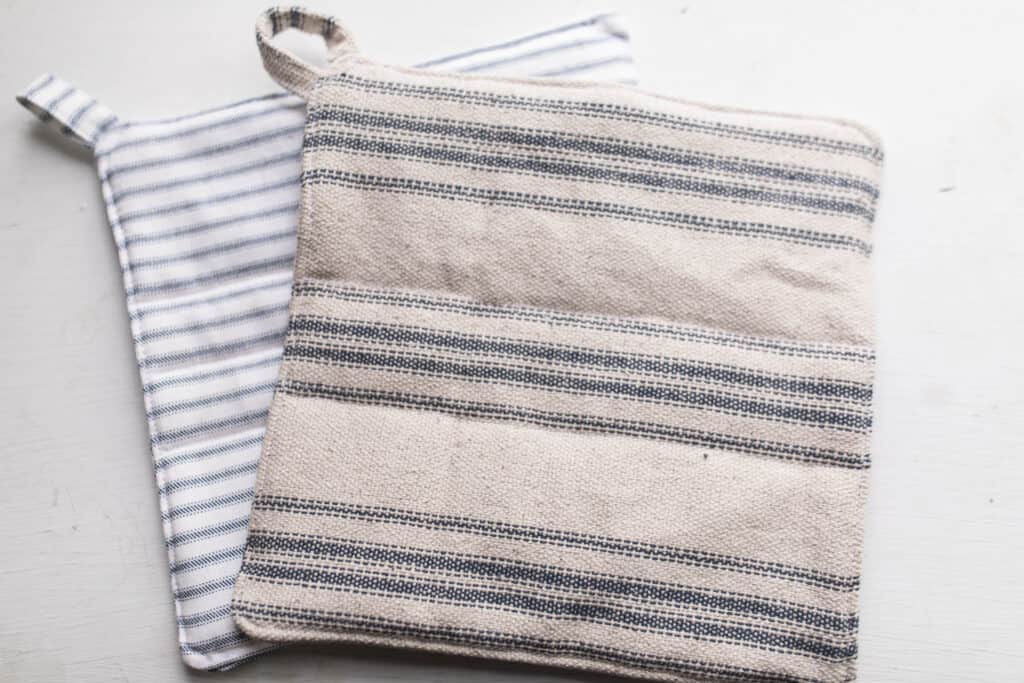
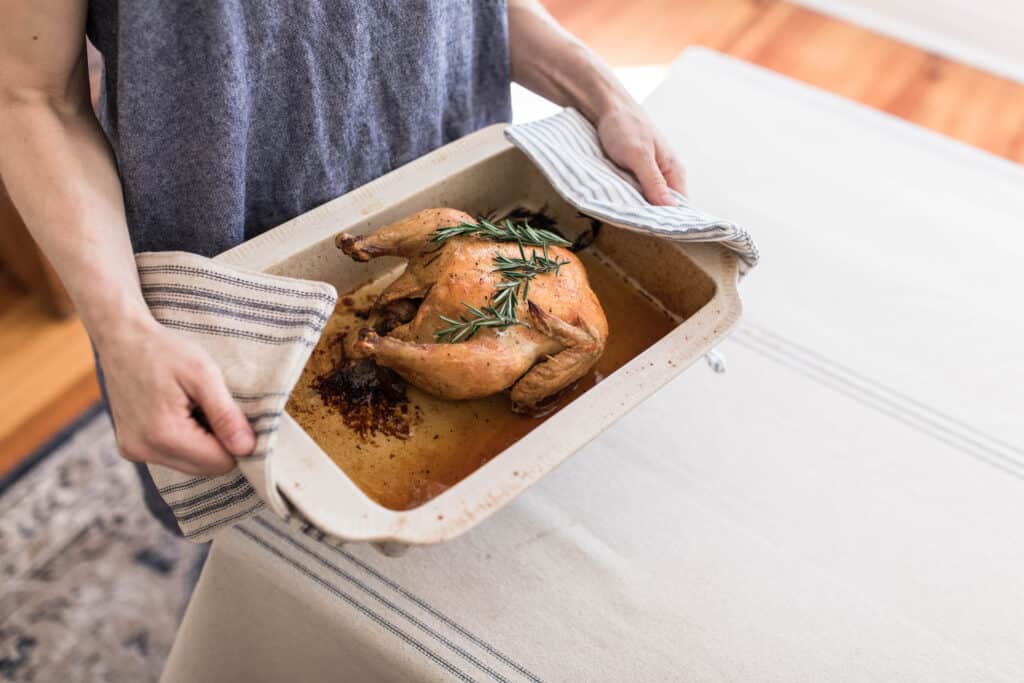
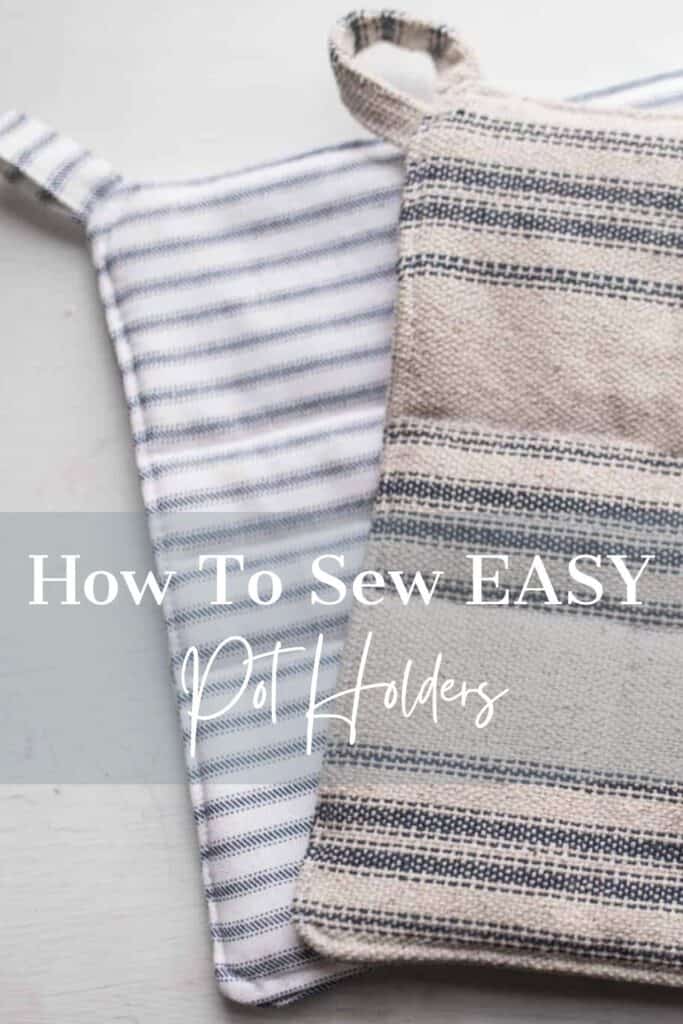
These fun and beautiful DIY pot holders are not only a great tool for your kitchen, but they are also a wonderful gift for loved ones. These heat-resistant pot holders are a simple project, perfect for the beginning sewer.
This year, one of our resolutions is to take one day a week for a family adventure. Once a week, we pack up and head out to hike, explore new towns, and enjoy our time together.
Where we live in Missouri, we often experience a few pretty cold days each year. The snow comes, but it disappears pretty quickly. Nothing lingers too long.
But lately, it has been really cold.
I’m talking single digits cold. And with six kids, it’s just not fun for anyone to be out in these temperatures. So instead, we decided to take a family adventure day – at home.
What does this look like? We filled our day with bread baking, making a sourdough coffee cake, doing crafts, playing games, and letting go of many of the everyday responsibilities that we usually undertake. It was a simple, cozy day at home.
This DIY pot holder project is perfect for a day like today. The pot holders are simple enough to make multiple in less than an hour, while using up scrap fabric, and creating special memories with my girls.
DIY Pot Holder Tips:
- This is the perfect project for using up scraps. You don’t need much fabric to complete it.
- Make sure to sew a few lines of stitching down the center to secure the fabric and insulation together, and to ensure it doesn’t bunch up. If you are in a hurry, you can get away with one line down the center.
- If you are totally new to sewing and don’t know where to start, be sure to check out my free sewing course.
This post contains affiliate links, which means I make a small commission at no extra cost to you. See my full disclosure here.
How do I make my pot holder heat resistant?
There are two ways to make it heat resistant. Use heat resistant batting (Insul-Bright), or use a few layers of thicker fabric. See below for more information.
What is the best batting for pot holders?
The best batting for pot holders is Insul-Bright, specifically because it is heat resistant. Quilt batting will also do. Honestly, you can use a wide variety of materials, such as heavy duty denim, drop cloths, or old dish rags. Just avoid using any lightweight fabrics.
Materials and Tools You May Need:
10” fabric scraps – Almost anything will work here: denim, cotton, linen, grain sack, or drop cloth are all great choices. I would simply avoid using any super lightweight fabrics.
Insulation material – Quilt batting or Insul-Bright (a heat resistant batting, which is the best option). You could also use old dish towels, flannel, or other heavy duty fabric like drop cloth or scrap denim.
Coordinating thread
Pins
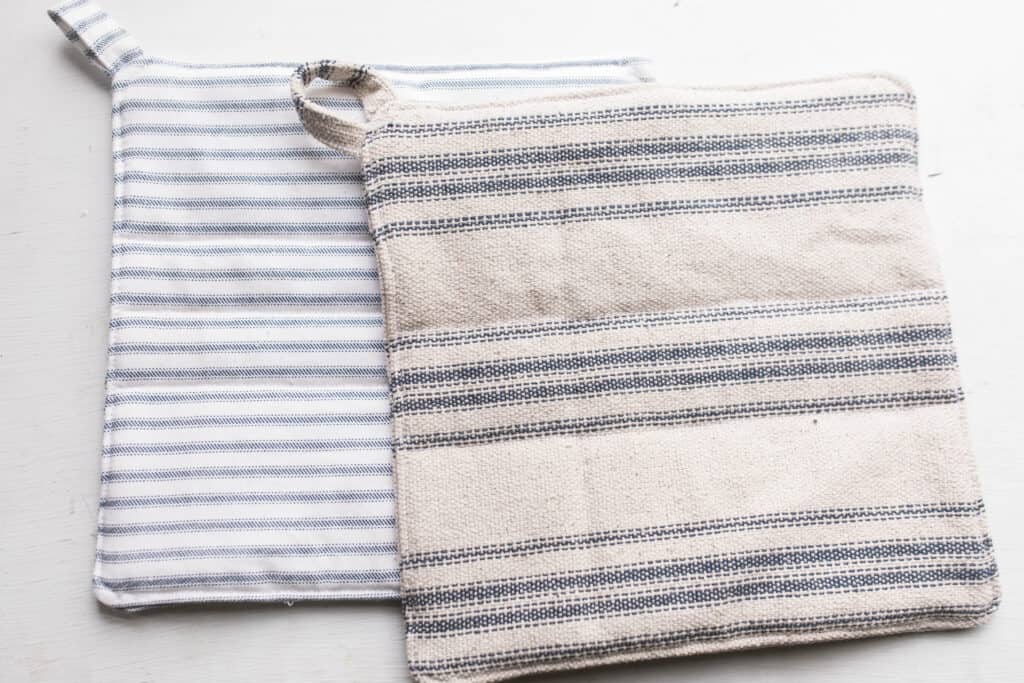
How To Make A DIY Pot Holder:
Measure and mark your fabric. Cut two 10” squares of fabric. For the loop, cut one piece of fabric 1½” by 4”.
Lastly, cut 2-3 10″ squares of insulation material.
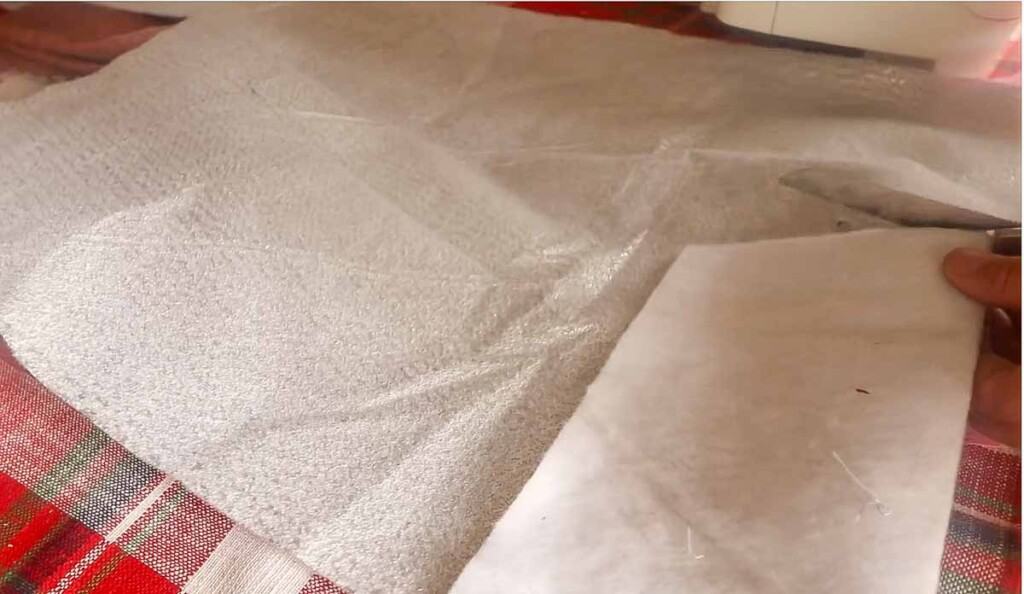
Over the years, I have tried several options for insulating my homemade pot holders (see above). The best option is a product called Insul-Bright, which is a highly insulating polyester material. Layering it between two layers of cotton quilt batting seems to be most effective in ensuring a heavy insulation.
If you don’t have Insul-Bright, don’t fret, you can try the other options listed above. Before you sew the layers together, test the heat protective properties by stacking them all up and grabbing a hot pan (be careful of course). If you can only pick it up for a few seconds before your hand gets too hot, you may want to rethink the fabric configuration or increase the layers.
Create The Loop:
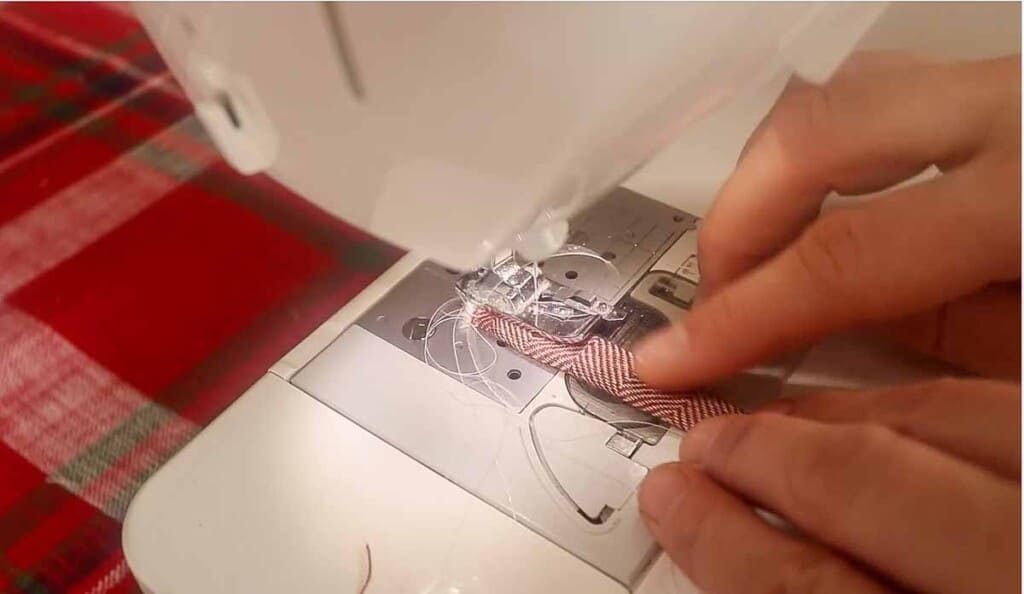
Fold the loop piece in half lengthwise with right sides together. Sew the long side with a very narrow seam about 1/4″.
Using a safety pin, turn the loop you just created right side out.
With an iron, press the loop piece flat, then top stitch along the seam.
Stack all the layers:
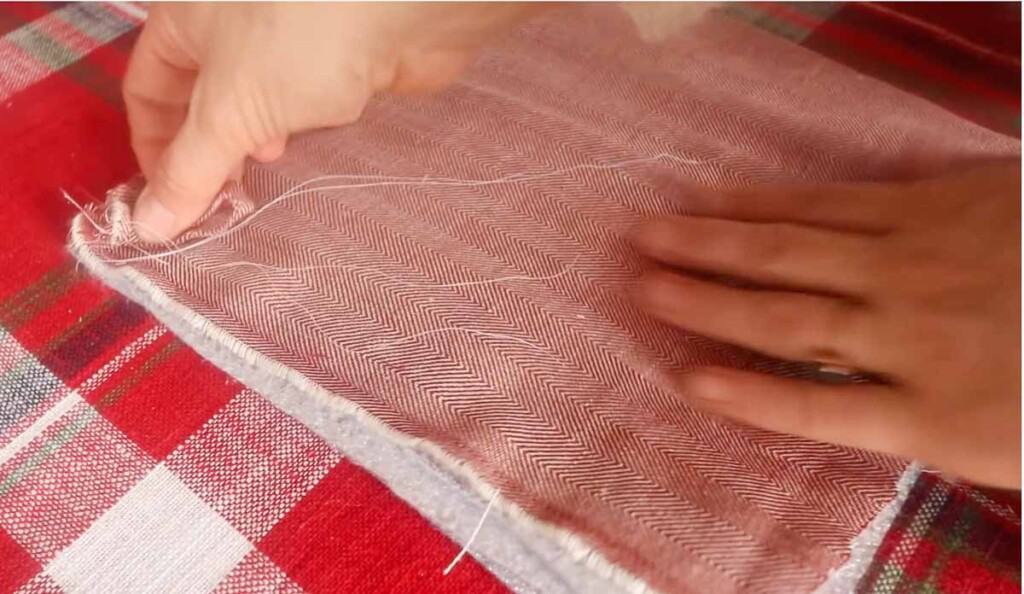
Stack your 10” pieces of insulation material on your work surface.
Situate one 10” fabric piece on top of the insulation pieces, with right side facing out.
Fold the loop in half and lay it on one of the corners of the fabric, with the raw edges facing the corner.
Place the other piece of fabric on top, right side facing the other piece of fabric and the wrong side facing out.
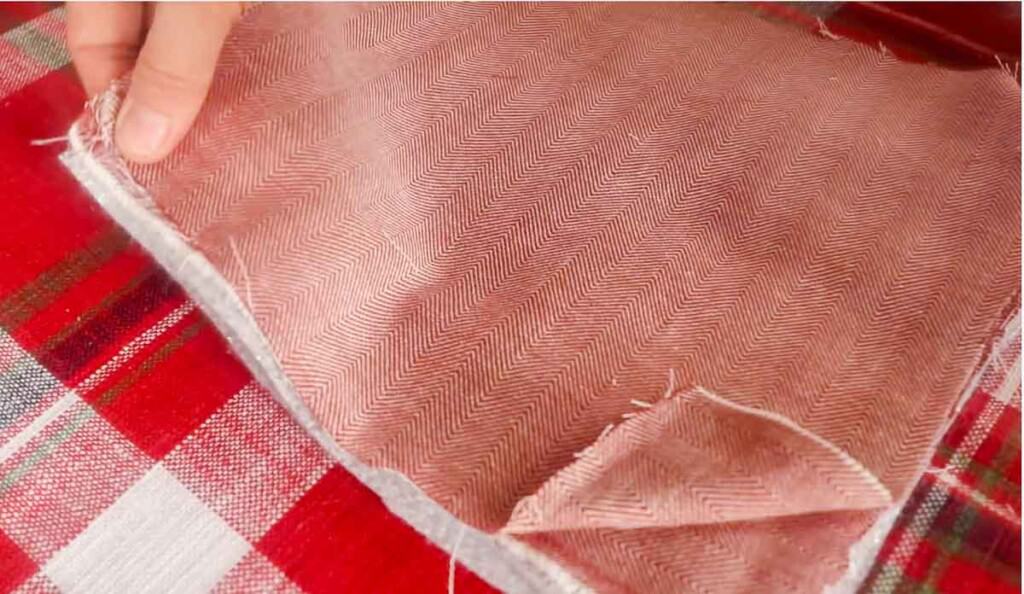
Pin all of the layers together, making sure the loop is secured in place well.
Stack your 10” pieces of insulation material on your work surface.
Sew
Using a 1/2″ seam, sew all the way around the pot holder. Leave a 4” opening on one side.
Remove some of the bulk on the corners by trimming the excess insulation material.
Turn the pot holder right side out using the opening you left. This will hide all of the insulation material inside.
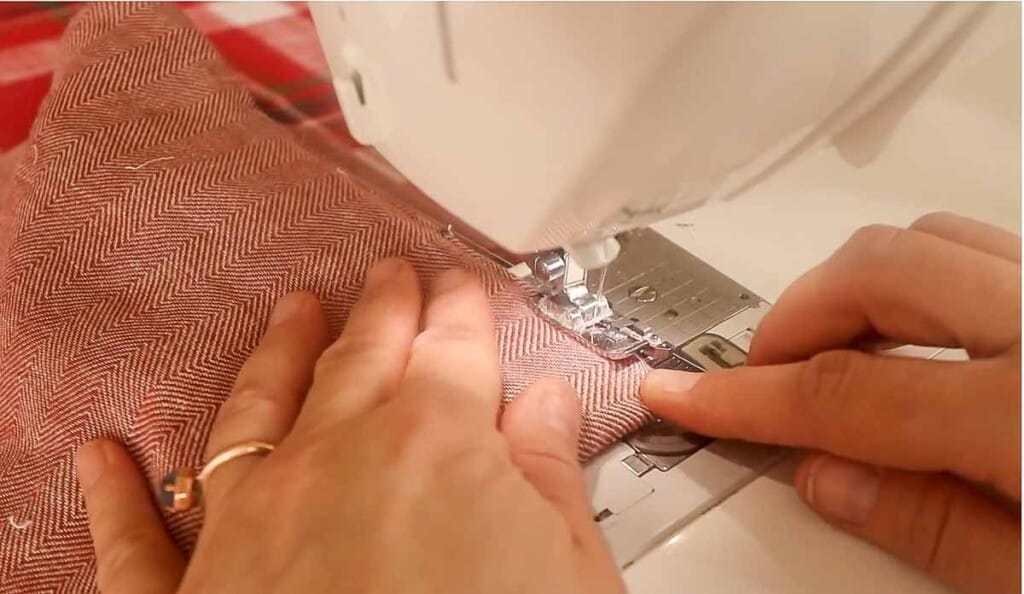
Using a 1/4″ seam, top stitch all the way around the potholder. Not only does this make the pot holder more secure and pretty, but it will also close up the gap left to turn it right side out.
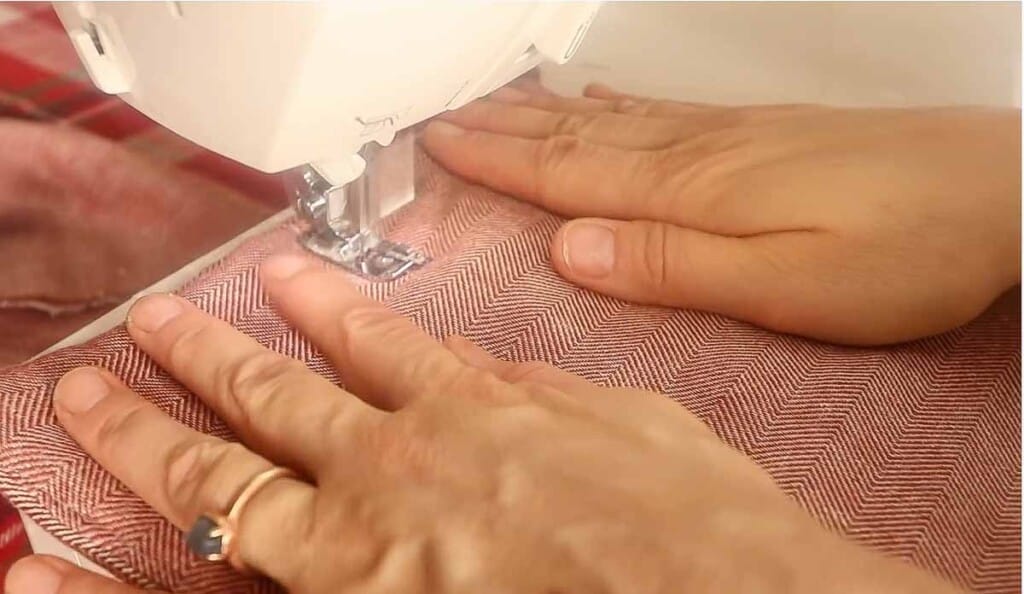
To prevent the fabric from bunching in the center and not looking very pretty, sew a few lines, evenly spaced, down the middle to hold the layers together.
You could also sew all the way across with vertical and horizontal lines to make the potholder look more quilted. Just make sure the lines are evenly spaced.
Enjoy your beautiful handmade creation.
Find More Easy Sewing Projects:
- How to Make a Scrunchie Bow
- How To Make A Baby Bonnet
- Ruffle Linen Pillow Cover Sewing Pattern
- DIY How To Sew A Half Apron
- DIY Flannel Blanket
If you try this project and love it, I would love if you could come back and give it 5 stars!
DIY Pot Holder
Equipment
- Sewing machine
- Sewing sheers
- Pins
Ingredients
- 10” fabric scraps – Almost anything goes here: heavier fabric options are more ideal. Avoid any super lightweight fabrics as they will transfer heat.
- Insulation material – Quilt batting or Insul-Bright (a heat resistant batting, which is the best option). You could also use old dish towels, flannel, or other heavy duty fabric like drop cloth or scrap denim.
- Coordinating thread
Instructions
- Measure and mark your fabric. Cut two 10” squares of fabric. For the loop, cut one piece of fabric 1½” by 4”. Lastly, cut 2-3 10″ squares of insulation material.
- Before you sew the layers together, test the heat protective properties by stacking them all up and grabbing a hot pan (be careful of course). If it becomes hot quickly, rethink the fabric configuration or increase the layers.
Create the Loop:
- Fold the loop piece in half lengthwise with right sides together. Sew the long side with a very narrow seam about 1/4″.Using a safety pin, turn the loop you just created right side out.With an iron, press the loop piece flat, then top stitch along the seam.
Stack the Layers:
- Stack your 10” pieces of insulation material on your work surface.
- Situate one 10” fabric piece on top of the insulation pieces, with right side facing out.
- Fold the loop in half and lay it on one of the corners of the fabric, with the raw edges facing the corner.
- Place the other piece of fabric on top, right side facing the other piece of fabric and the wrong side facing out. Pin all of the layers together, making sure the loop is secured in place well.
Sew:
- With a 1/2″ seam, sew all the way around the pot holder. Leave a 4” opening on one side.
- Remove some of the bulk on the corners by trimming the excess insulation material. Turn the pot holder right side out using the opening you left. This will hide all of the insulation material inside.
- Using a 1/4″ seam, top stitch all the way around the potholder. Sew a few lines, evenly spaced, down the middle to hold the layers together.
Notes
- Make sure to sew a few lines of stitching down the center to secure the fabric and insulation together and to ensure it doesn’t bunch up.
Nutrition information is automatically calculated, so should only be used as an approximation.






I made this Lisa its great! Just Id leave more than four i ches to turn it inside out maybe five…But it worked! Great batting too!
Thank you so much for sharing your pattern. Your instructions were easy to follow. I made a couple sets plus matching hot pads for my sons & their families. I will be making more for other family members. Thank you again.
Thank you! Sounds easy and will give the pot holders a try.
Where did you get the fabric I see you used in the pot holders and other projects? What is it called also?