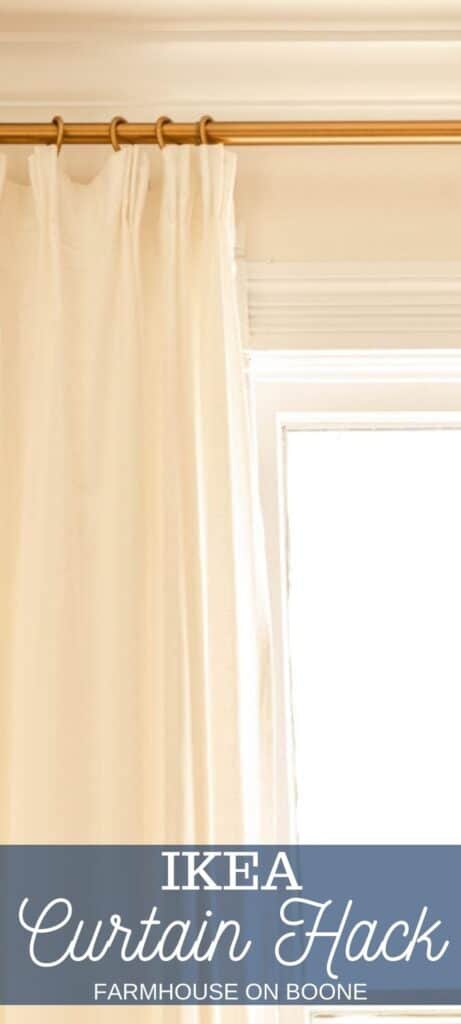
Transform cheap, Ikea Rivta curtains into visually high-end, high-quality drapes. This simple Ikea curtain hack requires no sewing, and it’s super quick and easy!
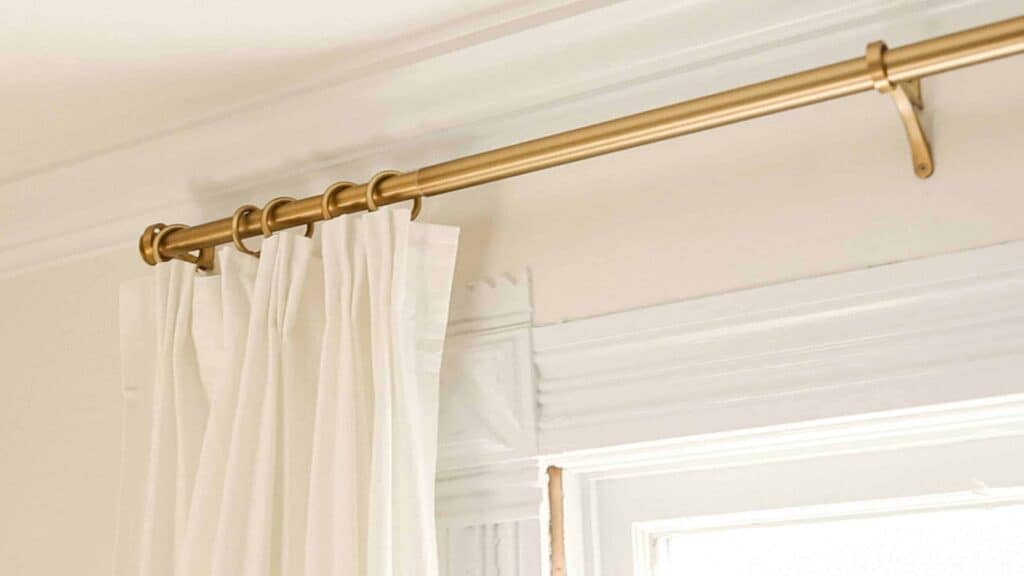
If you have been following along on our farmhouse journey, we purchased this house almost two years ago.
Over the last two years, we’ve updated this room a few times. Originally, we just placed our old farmhouse furniture in here and tried to make do.
Then we did a spring update, followed by another update, where we brought in a green couch that I ended up not liking in here.
This space has gone through a lot of changes, because nothing really felt right. I had created tie-top curtains for the space, but they were just too light and airy, and the ties weighed the top down.
This room needed something more substantial, with the high ceilings and thick moulding.
The tie-top curtains went upstairs to the girl’s room for their room make over.
So, we are trying to do another, more permanent makeover. We created this beautiful faux mantle which really warmed up the space. Next, we are planning to paint the room, but in the meantime, we swapped out the curtains with the Ikea Rivta curtains, using this no-sew hack.
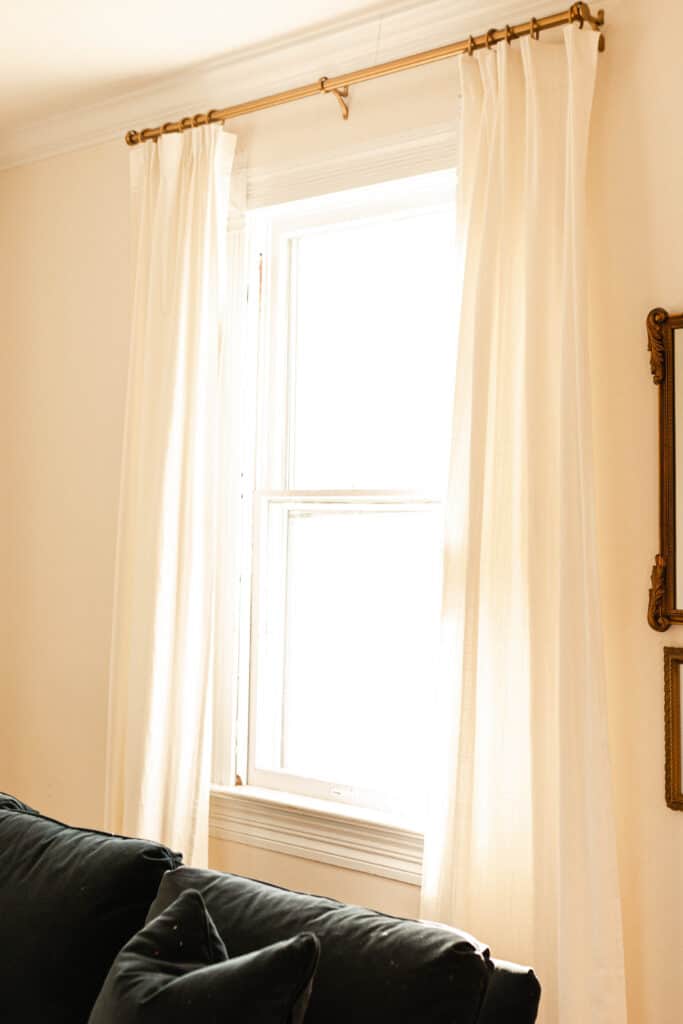
The curtain rods were hung higher and wider, showing off the beautiful trim, and automatically giving this space a grander impression.
There are multiple ways to accomplish this look, but today, I’ll show you two.
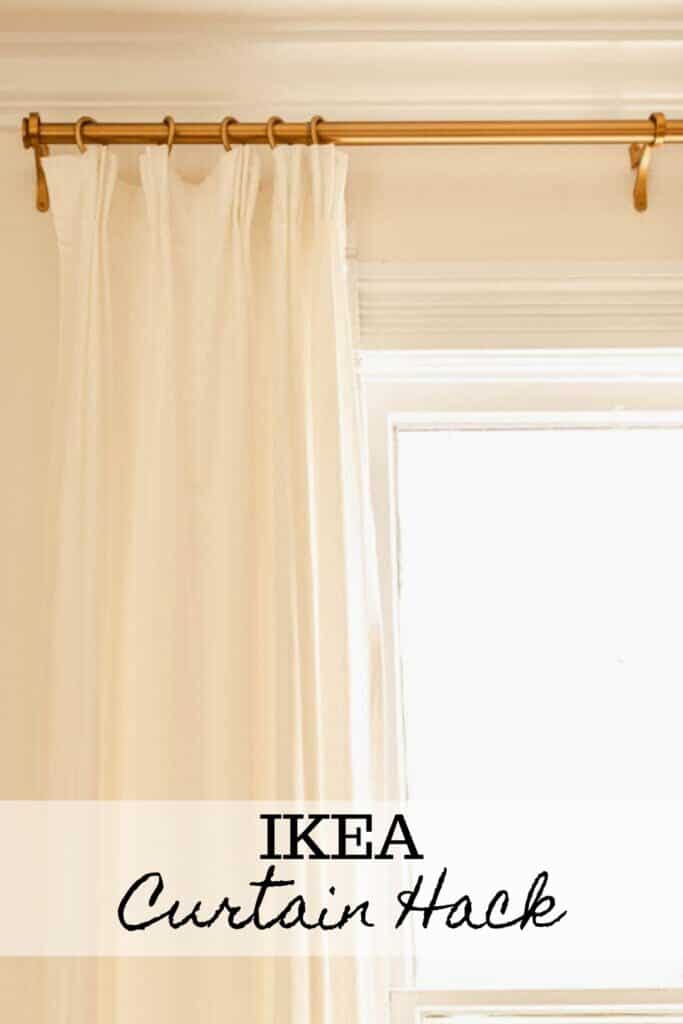
Watch The Tutorial
Tips For Pleating The Ikea Curtains:
- I found you can really only put the pleater hook in one row at a time. Once you have all the hooks done in the row, you can start hooking the row above.
- There are multiple variations to make this project. From switching up where you place the pleater hooks, to even using binder clips to clip them and then add a few stitches to keep the pleats together. I ended up using the process that White Lane Decor used.
- The key is to be consistent where you place the pleater hooks, to get a professional look.
This post contains affiliate links, which means I make a small commission at no extra cost to you. See my full disclosure here.
Tools You May Need To Get The Look:
How To Make This No-Sew Ikea Curtain Hack
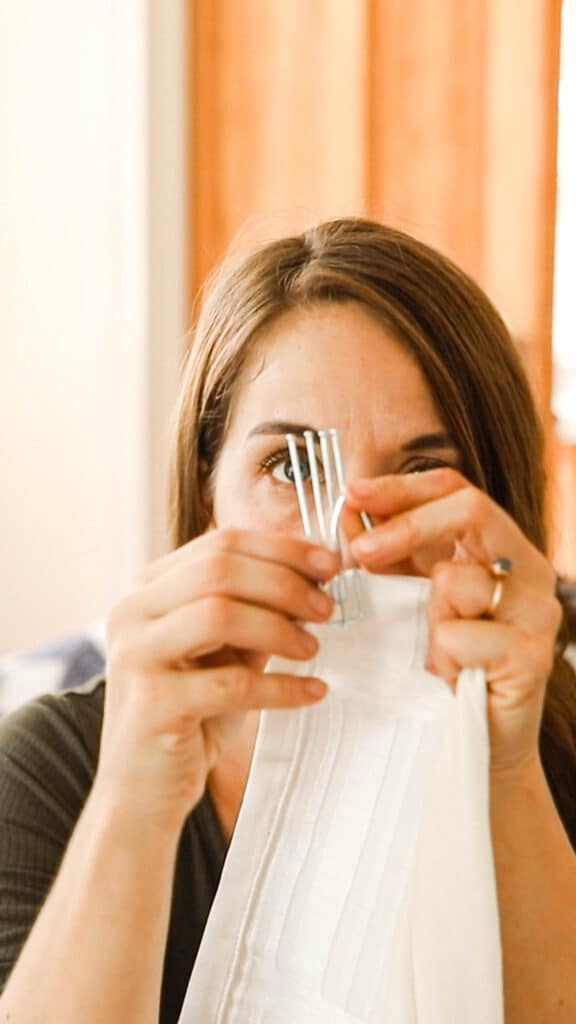
All you need to do is grab your pleater hooks and the curtains. There is no sewing involved, unless you need to hem the drapes.
The key is being consistent.
Start at one end:
Start at one end, directly to the left of the first set of tabs.
Place the first pleater hook wire through the loop on the bottom row. As stated above, it’s really only realistic to put the pleater hook in one row at a time. You can start the next row once you have all the hooks done in the bottom row.
Count five loops over on the same row and add another pleater hook wire.
Repeat for the other two hook wires.
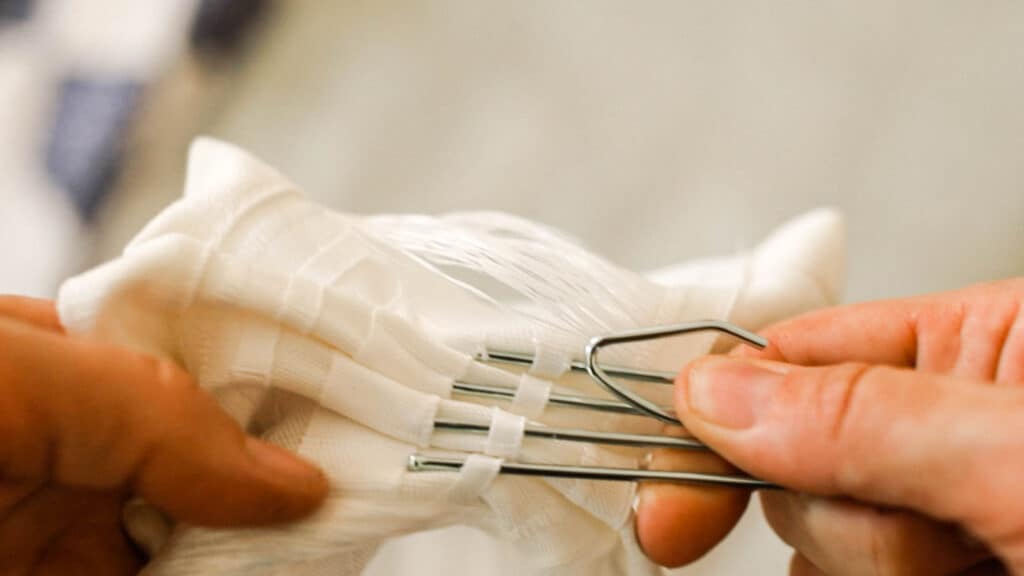
Hook Row Above
Once all four hooks are in place, go to the row above and place the first hook directly above the bottom one in place.
Count over five loops to make sure they are staying in the corresponding loop in the section above. This is when it starts to get tricky, trying to keep the bottom hooks in place, while also trying to snag the top loops.
Once all the hooks are in place, go to the section above and repeat the same process. This will be your last set.
Push the pleater hook up as high as you can.
Since I’m doing five pleats per panel, I skipped the next tab and started the process again directly to the left of the next tab.
Add remaining four hooks.
Another Ikea Curtain Hack Version:
The Grit And Polish did a similar version, but she started four loops to the left of the tab with the first pleater hook pin, then skipped three, added a pin, skipped three, added a pin, and the last pin is four over from the edge of the next tab.
You would add one between each tab.
How To Hang Pleated Curtains
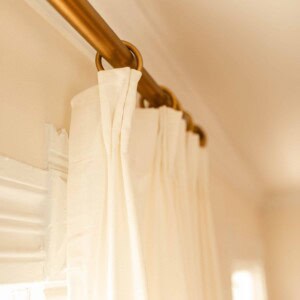
Once all your pleater hooks are in place, add curtain clips and place on curtain rod.
For your curtain rod, it is suggested to hang it high and wide. This will make your window look bigger and draw your eyes up, making the ceilings look taller.
Ikea Curtain Hack – Pleated Curtains
Equipment
- Window
Ingredients
- Pleater hooks
- Rivta curtains
- Curtain clips
Instructions
- Start at one end, directly to the left of the first set of tabs. Place the first pleater hook wire through the loop on the bottom row. Count five loops over on the same row and add another pleater hook wire.
- Repeat for the other two hook wires.
- Once all four hooks are in place, go to the row above and place the first hook directly above the bottom one in place.
- Count over five loops to make sure they are staying in the corresponding loop in the section above. Once all the hooks are in place, go to the section above and repeat the same process. This will be your last set.
- Push the pleater hook up as high as you can.Since I’m doing five pleats per panel, I skipped the next tab and started the process again directly to the left of the next tab.
- Add remaining four hooks.
Notes
- You can really only put the pleater hook in one row at a time. Once you have all the hooks done in the row, you can start hooking the row above.
Nutrition information is automatically calculated, so should only be used as an approximation.
Find More Farmhouse Decor:
- DIY Farmhouse Window Trim
- Farmhouse Office Reveal
- Spring Bedroom Makeover
- Ruffle Linen Pillow Cover
- DIY Lavender Wreath
Pin It For Later




Can you please suggest a fabric as close to these as possible? I need to add 12″+ to the 118″ curtains as my ceilings are 12′. Thank you so much for this tutorial, can’t wait to do it!
Hi Lisa, I love your blog. When you pull the curtains shut, do they cover your window? I assume so but wanted to ccheck, thanks!!
where did you buy your curtain rod?
Would you recommend washing the panels first?
Thank you for sharing this awesome hack! Can you tell me the source of the antique bronze curtain rods?
I just ordered the curtains from Ikea. We have been using sheets to help with the drafts from our single pane windows. It will be nice to have something more stylish on over the windows. Did you use short or long neck pleater hooks?
The pleat hooks come in at least two lengths. Maybe you need the longer ones and would only have to put in one row of hooks. Also, if you iron the pleats in, it provides more structure.
Thank you so much for sharing this curtain project!!!! I have been trying to think of a way to make my curtains look a bit more high end and you just solved my problem.
Thanks again !!!!!!!!!!!!
and FYI…you inspire me:)