
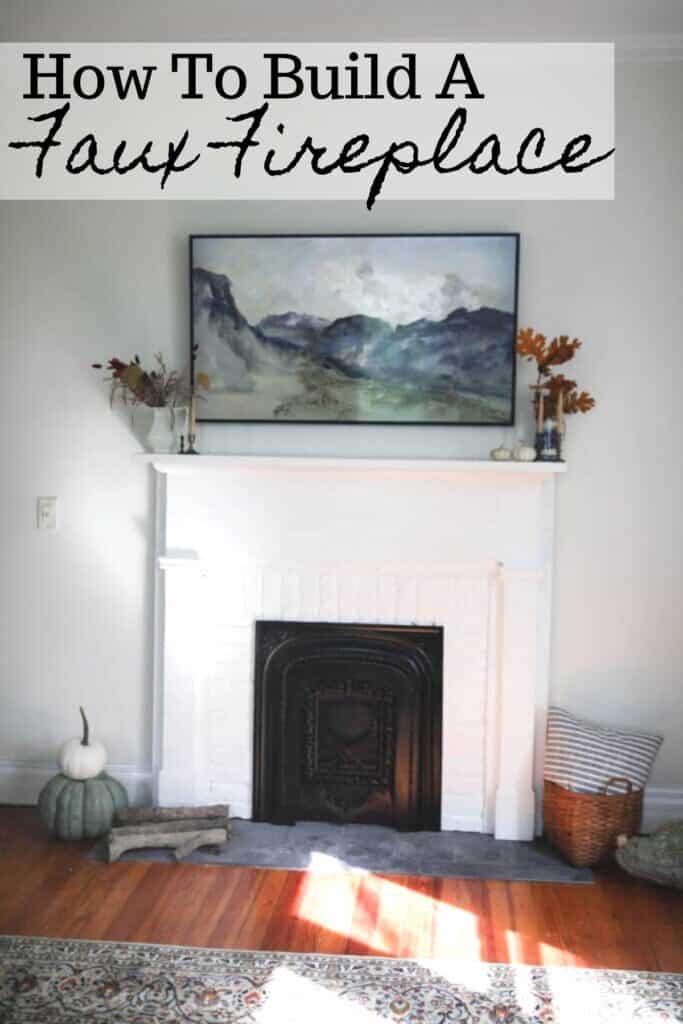
Learn how to make a faux fireplace with a hearth that gives your room a cozy look, while also being completely removable. It’s an easy project that will instantly add warmth to any space.

I’m so excited to share this project with you. I’ve been dreaming about it for a long time.
I remember when we first toured this house, the previous owners had put a large electric fireplace on the wall, and I just knew it needed something.
The large wall with high ceilings just longed for a beautiful mantle. A place where stockings could be hung for Christmas, and decor could change with the seasons.
There must have been something originally here to heat the house, like a wood stove, because there is a vent going to the room above.
So, when we moved in, we placed a large armoire against the wall to hide the TV, but it didn’t feel right.
One thing I really wanted to avoid was putting up something that looked obviously fake and forced. I didn’t just want to throw a mantle up on the wall, but rather wanted something that looked like you could light a fire in it – and was meant for our 1860’s farmhouse.
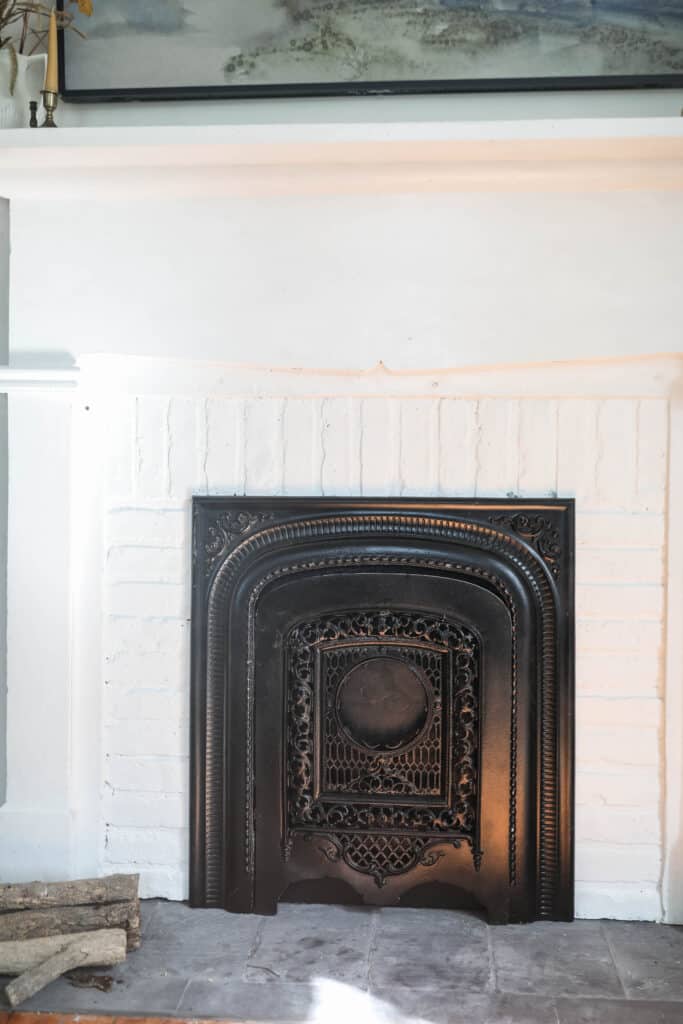
To be honest, this project ended up taking forever. I spent time collecting a period-appropriate mantle, thinking through and sourcing the hearth, and acquiring the antique surround and summer cover.
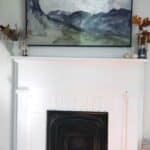
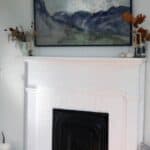
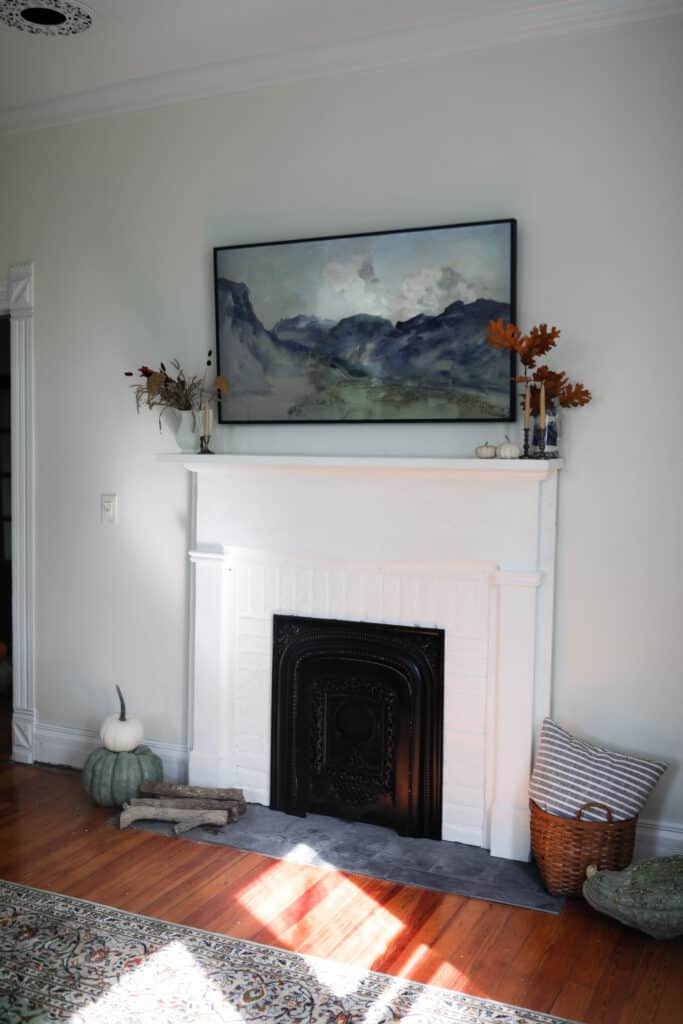
It’s finally finished, though, and I’m so pleased. It looks amazing and just feels right in this room.
How much does it cost to build a faux fireplace?
This is completely based on how much you spend on materials, and also whether you build the mantel yourself, purchase one, or find one at a thrift store.
This ended up costing us around $250 for the mantel, the brick and slate tile were leftover from our chimney project, $35 for the insert and summer cover, plus $150 to get it sand blasted, plus plywood and some paint. All in all, we are in the project for less than $500.
Why would you want a faux fireplace?
This is a great way to add a cozy element and character. Even if you don’t own an old home, but you do want that added character, this is a great way to recreate that. The brick, stone, and a mantel. You can totally get the look without spending a fortune installing a real fireplace.
Faux Mantel Project To-Do List
- Take off existing shoe molding or corner round.
- Make hearth pad, grout it, and put in place.
- Outline mantle on wall.
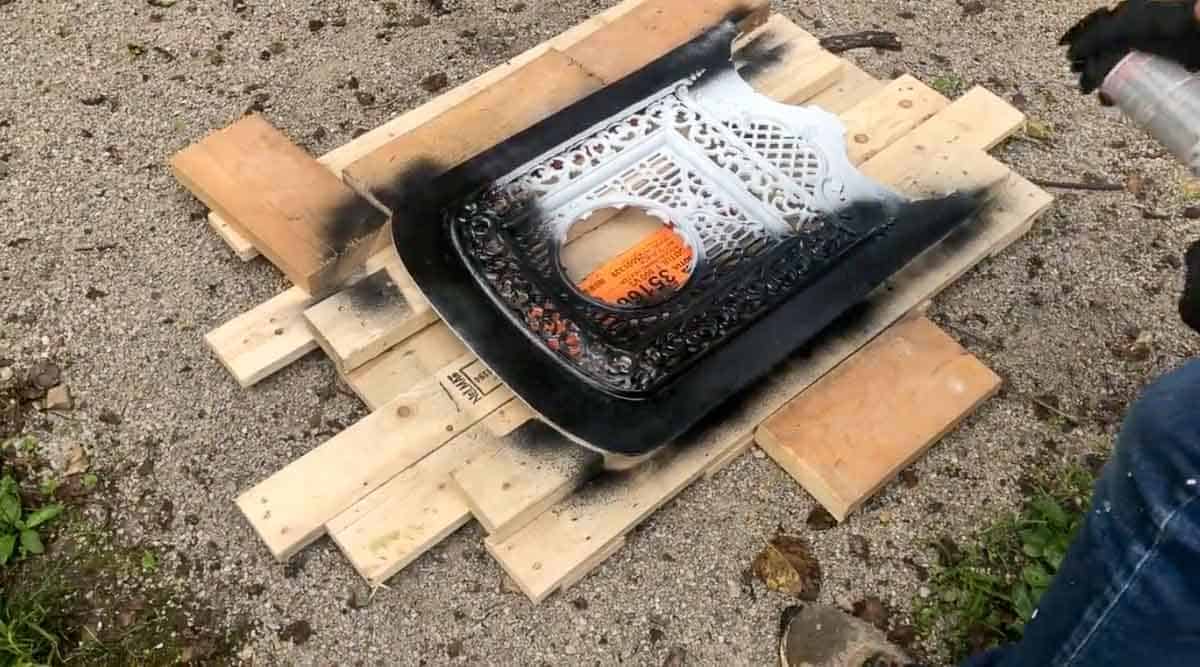
- Sand blast and paint the insert and summer cover.
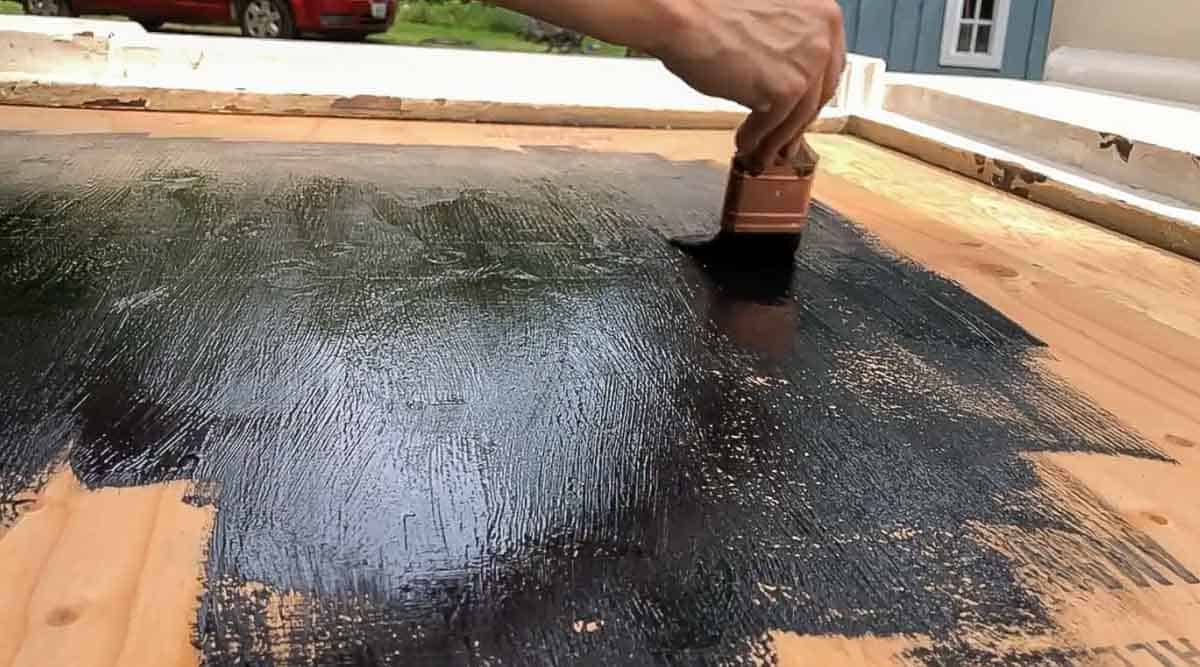
- Attach plywood to the back of the mantel.
- Paint plywood black.
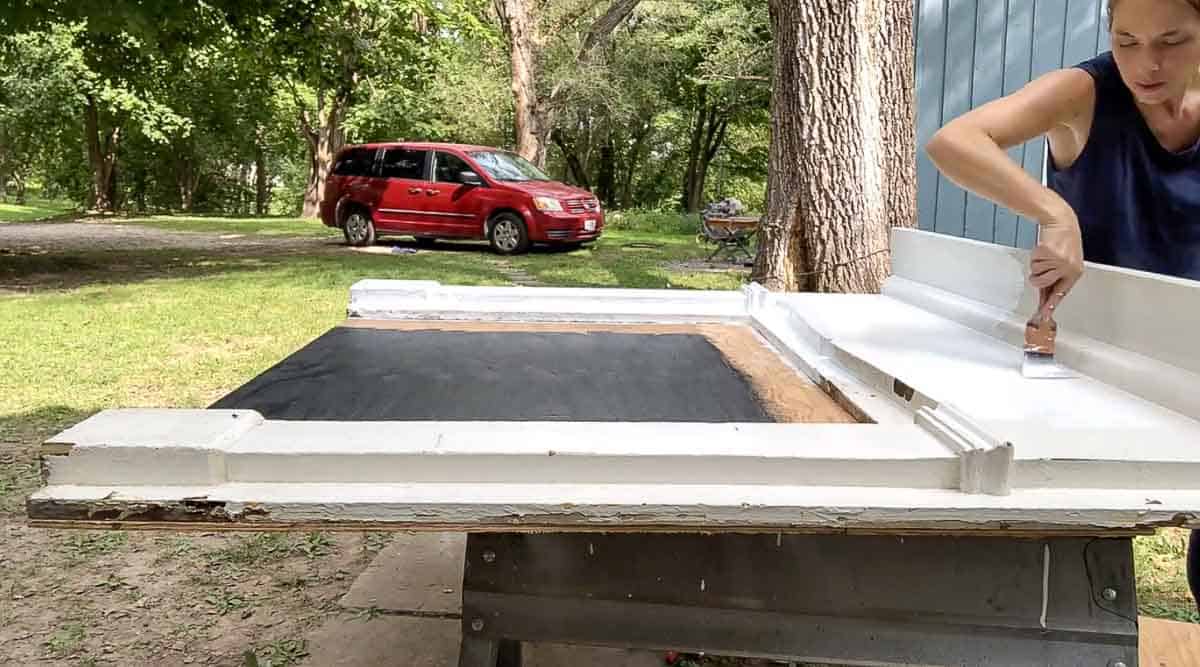
- Paint mantel.
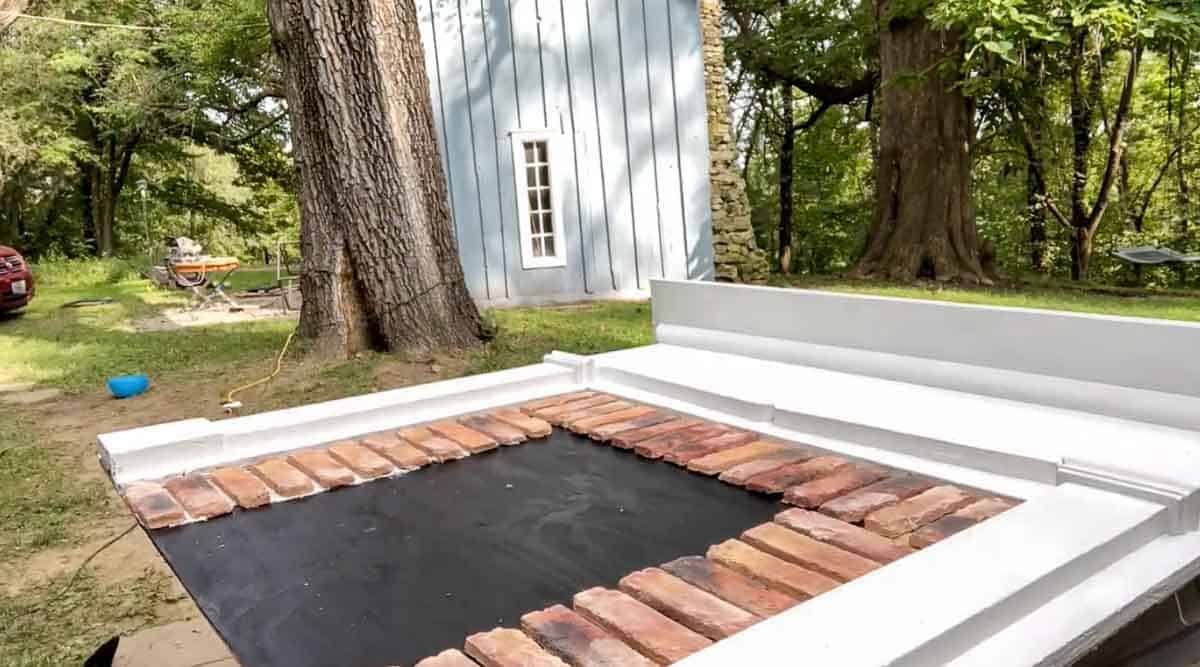
- Brick over plywood.
- Mortar brick.
- Paint brick.
- Create holes for TV cords.
- Hang TV.
- Attach mantel to wall.
- Add 1×6 to back of surround.
- Fix insert to plywood inside.
- Wire the summer cover to 1×6.
- Patch screw holes and paint.
- Style.
This post contains affiliate links, which means I make a small commission at no extra cost to you. See my full disclosure here.
Watch The Tutorial
Tools And Materials You May Need:
Wet saw
Drill
Pry bar
Grout float
Sponge
Tile adhesive mat (like this one)
1×6
Brick veneers – leftover from the wood stove project.
Mantel – we found ours on Facebook Marketplace
Insert and summer cover
How To Build A Faux Fireplace
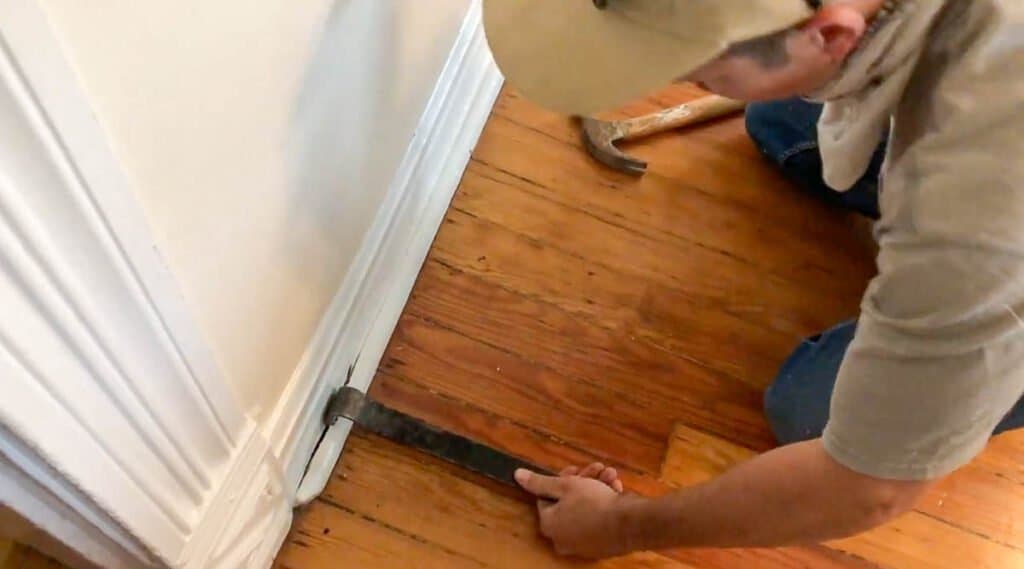
- Remove shoe moulding from the wall you plan to place the fireplace on. You may need to remove the regular moulding, as well.
- We didn’t, because the walls have been patched or replaced in so many places that the wall is flush with the moulding.
- You may be able to just remove the moulding only where you are planning to place the mantle.
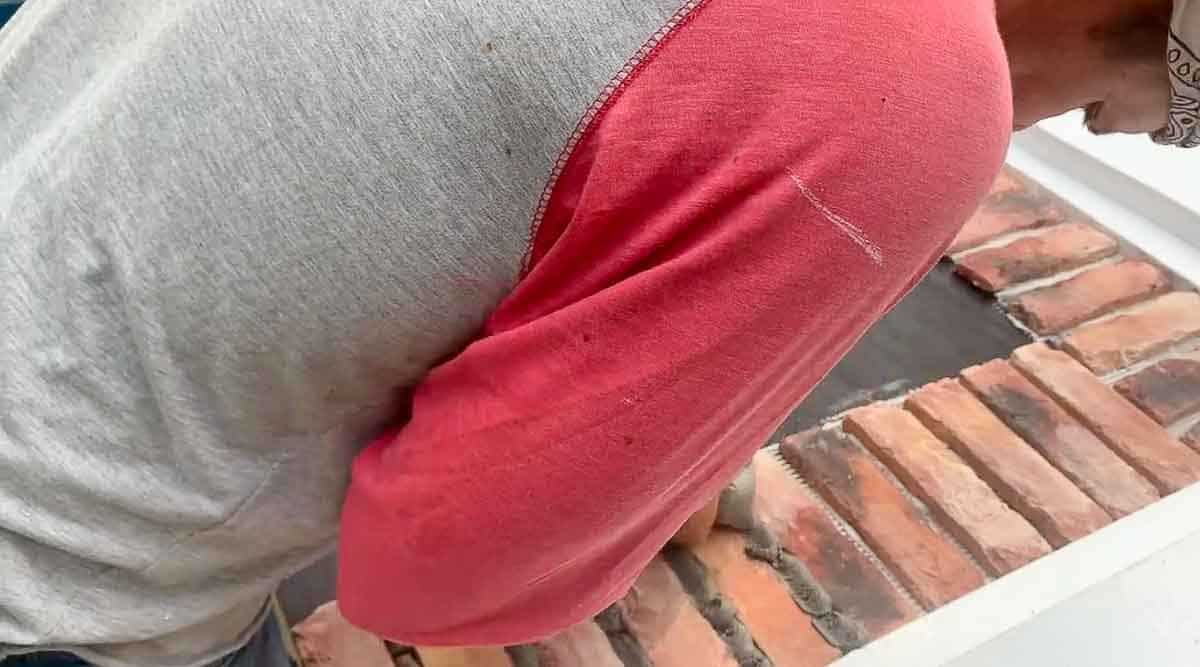
Tile
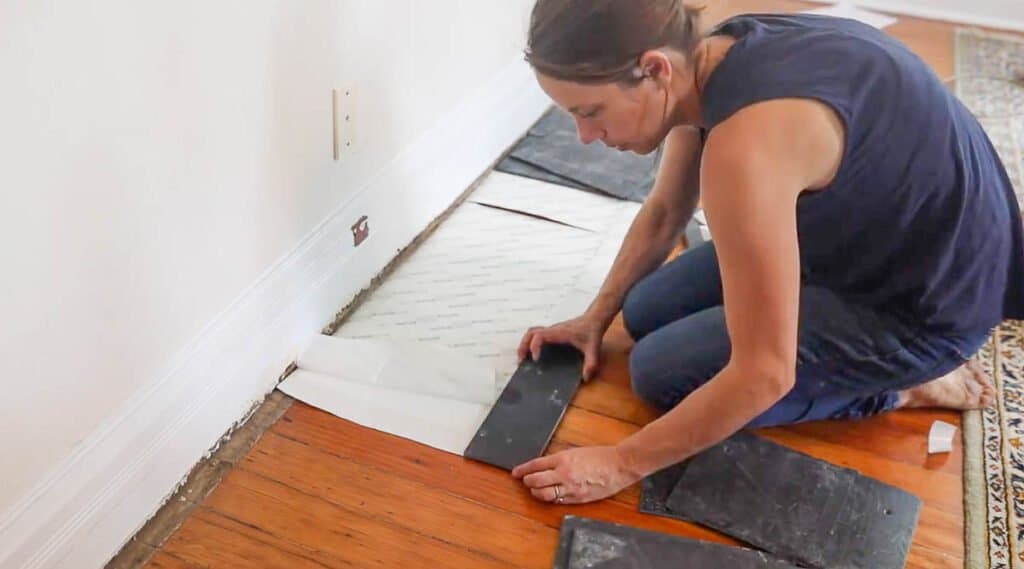
- Make a hearth pad by measuring how wide you want the hearth, and cutting the tile adhesive mat to length. Place on floor and place tiles to fit. I actually left most of the adhesive backing on the portion that stuck to the floor, so that it wouldn’t move around, but also wouldn’t ruin the floors underneath. (For reference, we made our hearth 16″ deep and then just a few inches wider than the mantel.)
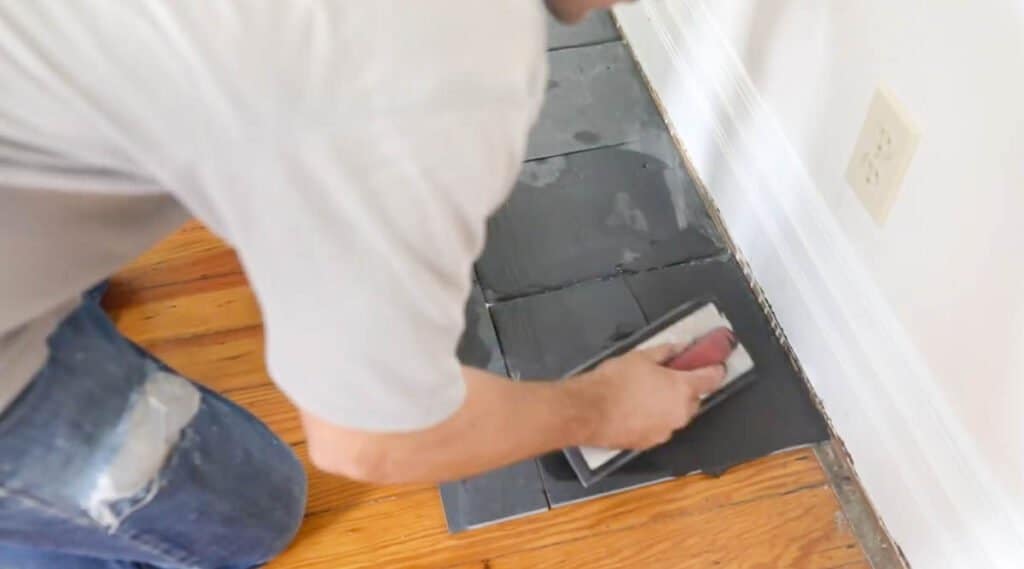
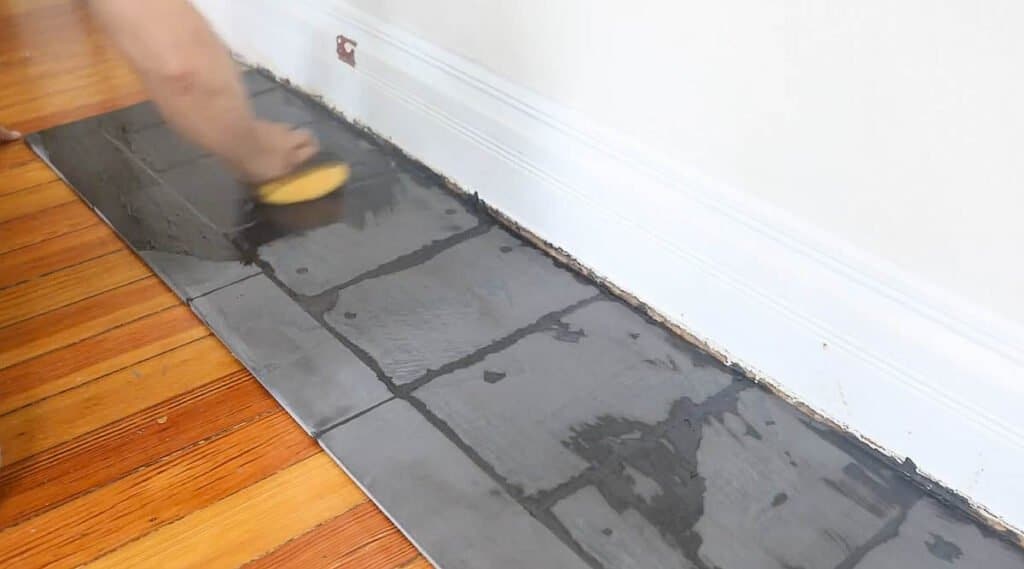
- Grout using non-sanded grout, then wipe with damp sponge. Allow to dry, then use a haze remover, if needed.
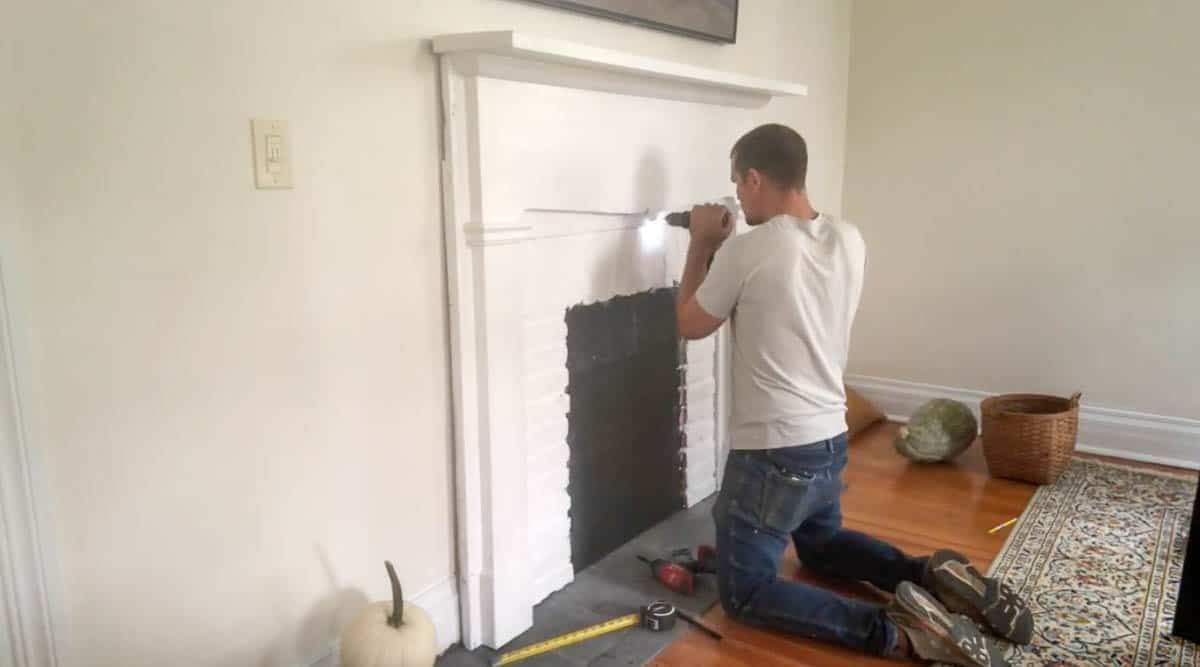
Create Mantel
- Place the mantel on the wall where you planned, then outline it with a pencil or sharpie.
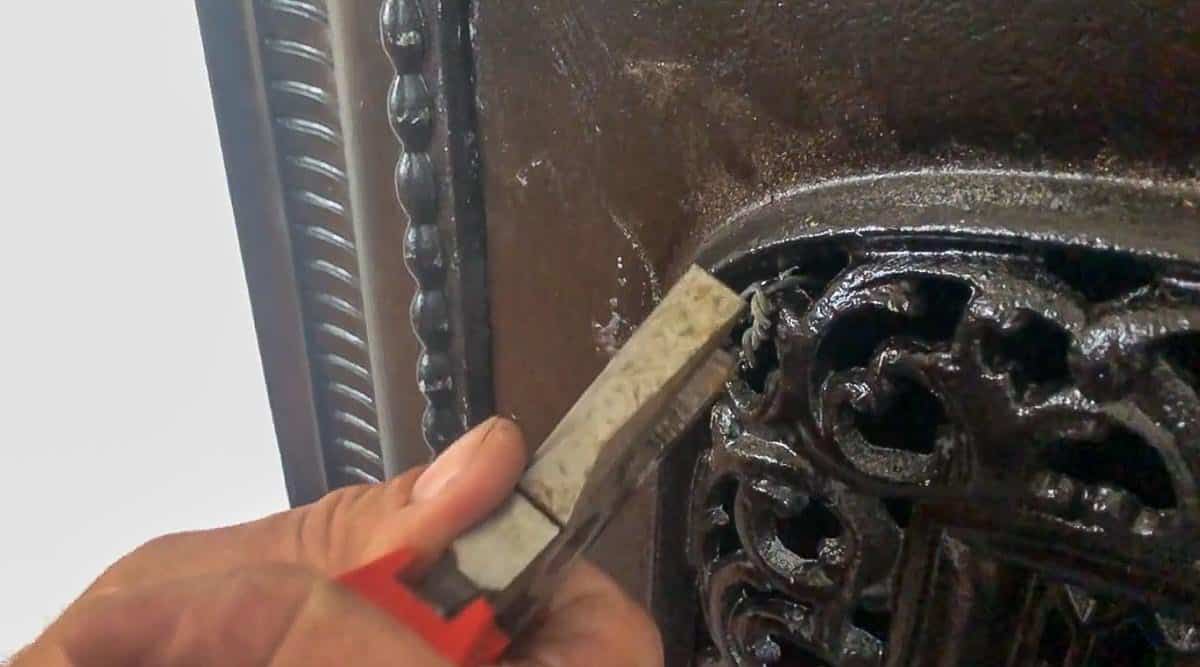
- Prime and paint insert and summer cover. If we were planning on making this a working fireplace, we would have had it powder coated.

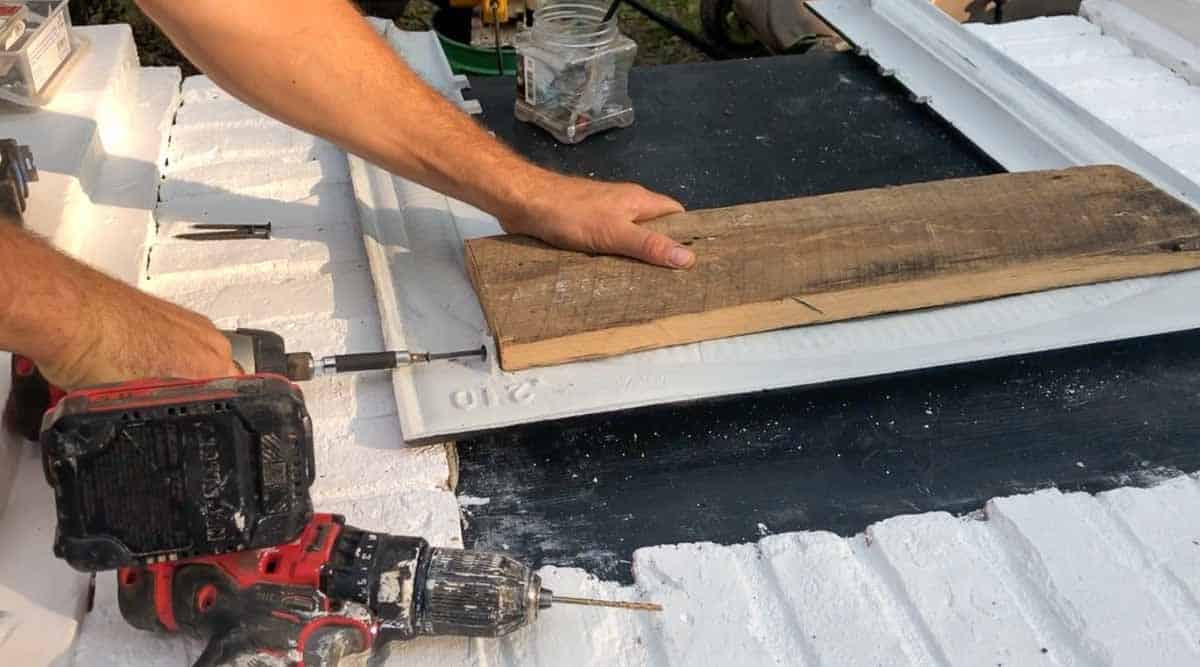
- Measure and cut plywood to fit the back of the mantel. Attach the plywood to the back of the mantel.
- Paint plywood black. Take off the mantel, if needed. Allow to dry.
- Paint mantel desired color. We went with a crisp white.
- Apply thinset to the plywood and add bricks.
- The bricks ended up fitting perfectly with the insert and summer cover. If your tiles or bricks don’t fit perfectly, use a tile saw to fit correctly.
- Mortar brick. We placed the mortar in a gallon-sized ziplock bag, cutting a small tip off a corner. Then, we added some mortar between the bricks (like you are icing a cake) and smoothed it out with a small spatula. We ended up having to go back and smooth out some more mortar because it was so thick, when I started painting the brick, it looked like just one layer.
- Once the mortar is dry, paint the brick.
Faux Fireplace Installation
- Since we were hanging the Frame TV above the fireplace, we didn’t want the cords showing. So, we drilled a hole to run the cords behind the wall and mantel so they were nicely hidden. Also, since we outlined where the mantel would go, we knew exactly where to hang the TV. We bought a new frame TV so that the TV looks like art when not in use.
- Find the studs and hang mantel on the wall by securing it with a drill and screws.
- This is actually very tricky in old houses, but can be done by tapping on the wall.
- Use a stud finder, if you have a new home. We wanted it to be really secure, since we have kids and it is very heavy.
- The fireplace insert had holes to attach to the fireplace. We ended up attaching two 1×6’s to the back of the surround, painting them black, then attaching the wood to the plywood on the mantel through the studs in the wall.
- Screw a piece of wire into the 1×6 board that is connected to the surround. Place the summer cover on and twist the wire to secure it, tucking in the ends. Paint black. Do this at least on the top two corners.
- Patch screw holes and touch up paint.
- Re-install shoe moulding.
- Style the mantel.
I can’t get over how real and beautiful it looks. While it would be really cool to get a gas insert in this one day, we do have the wood burning stove right around the corner.
Find More DIY Projects Around The Homestead
- DIY Hearth Pad
- Easy DIY Farmhouse Window Trim
- How To Sew A Linen Bed Skirt
- How To Chalk Paint Upholstery
- DIY Goat Milking Stand