When I spotted this vintage sack at an antique shop, I knew I could make something with it. See how I made this DIY concrete sack pillow cover in this very basic sewing tutorial.

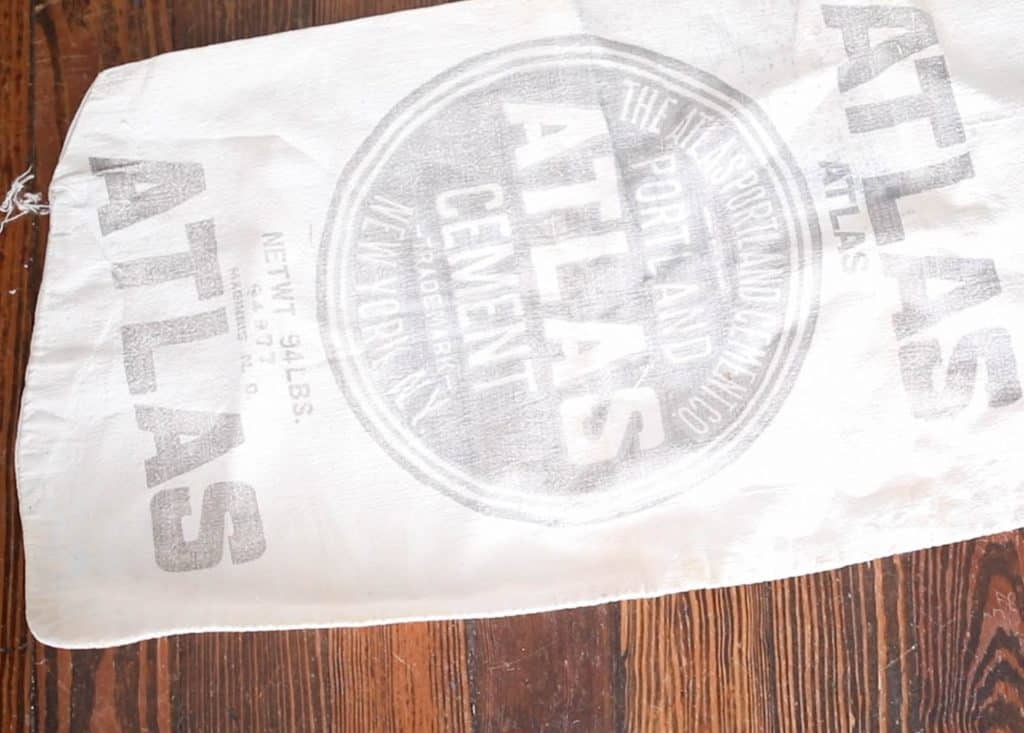
On a recent trip to my favorite antique shop in the area, I spotted a vintage concrete sack for less than five bucks. When I saw it the first thing that popped into my head was pillow cover.
I liked that the text on it was a neutral color, and it had the perfect lumbar style pillow shape.
DIY Concrete Sack Pillow Cover Video Tutorial
DIY Concrete Sack Pillow Cover Process
To start the project I made a custom size pillow insert for it and shared that tutorial HERE.
I thought about closing the open end of the concrete sack with button holes and buttons. The more I thought about it though, I just didn’t think that would end up looking very nice. I remembered I had a little extra linen leftover from making my girls’ pinafore aprons. I knew the combination of the vintage sack and the linen would be beautiful.
To begin, I corrected the odd shape that the sack was sewn in.
I’m sure people didn’t take their time sewing sacks that would just be used to store concrete. They probably never considered the, paper and plastic loving, humans in the future who would be impressed with the cloth sacks of their day and age.
I turned the sack inside out, ripped out the original seam in the bottom of the sack, and replaced it with a straight seam.
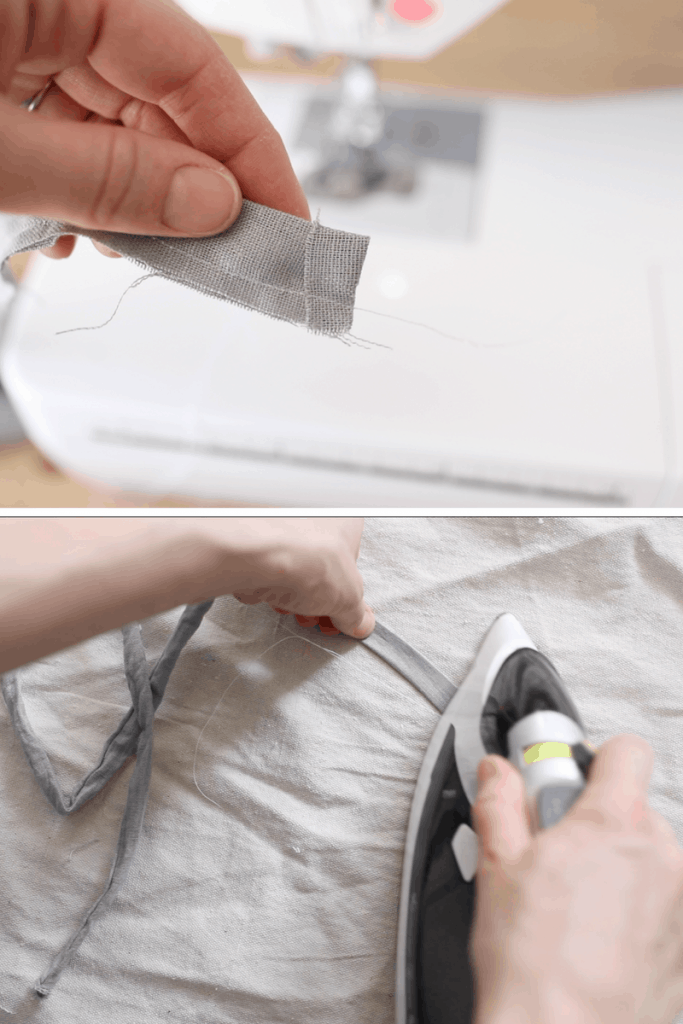
For the ties, I cut four strips of linen that each measured 1.5″ by 30″. I wanted the bows to be long for this project.
To finish them, I folded them in half and sewed all the way down the long edge. I tucked one end under to hide the raw edge inside.
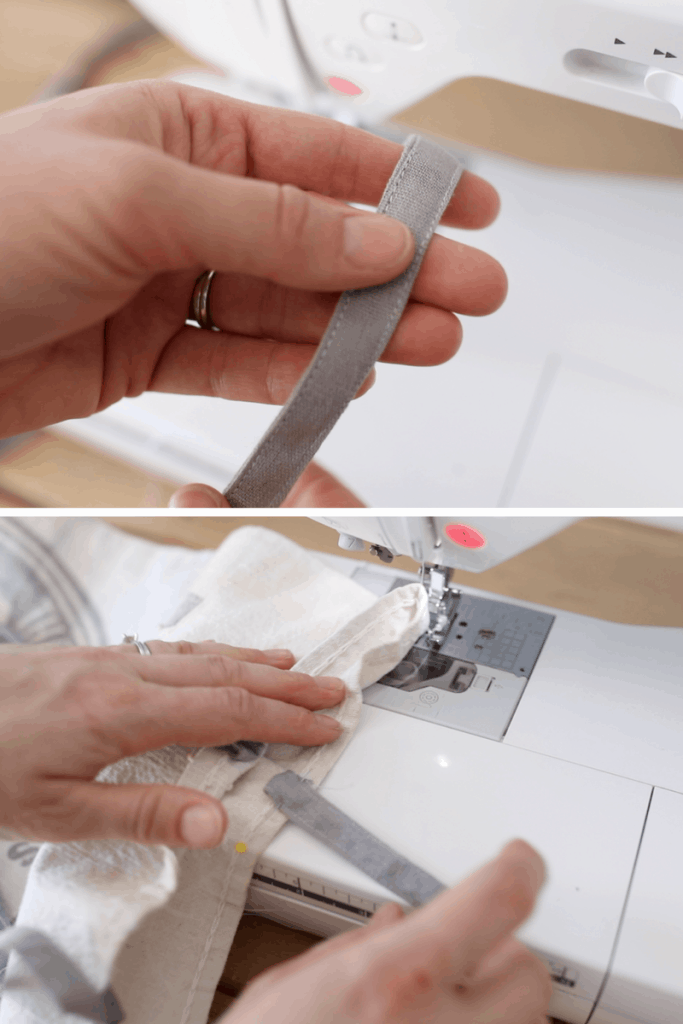
Using a large safety pin on one end, I turned them right side out. I pressed the seam flat and topstitched all the way around.
I sewed the four linen ties to the inside of the pillow. Since the pillow cover was about 14 inches wide, I placed the ties about four inches from each edge.
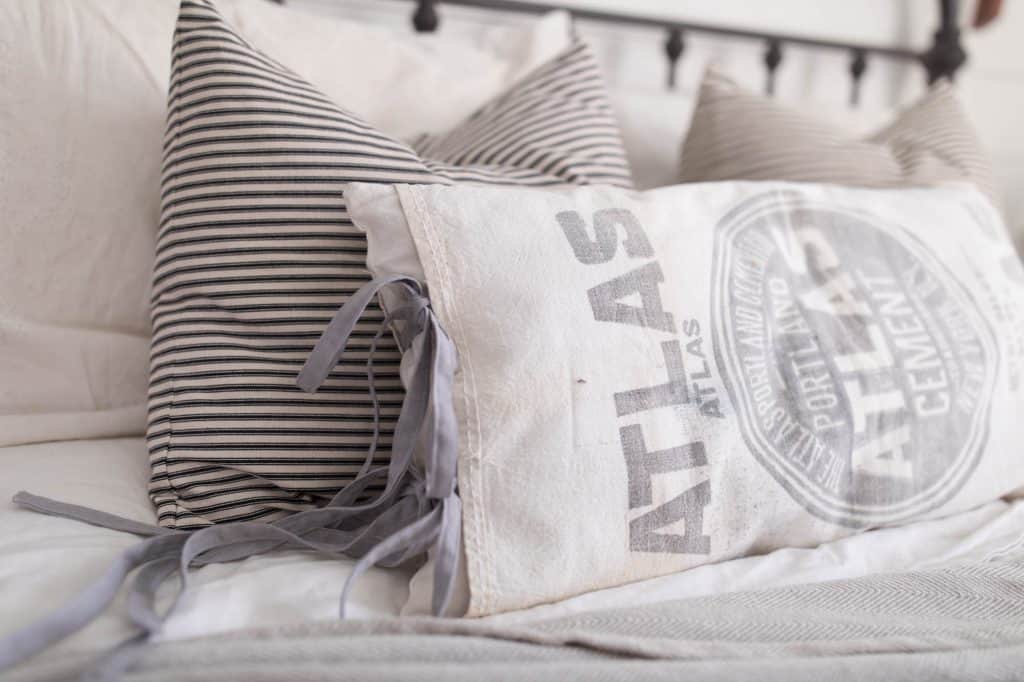
I slipped in my DIY drop cloth pillow insert, and voila! A super simple pillow cover, for less than five bucks, and not much time.
I love the way it turned out!
What thrift shop treasures have you repurposed into something new?
Shop the linen
Pin it for later
DIY Concrete Sack Pillow Cover

Video
Ingredients
- concrete sack
- linen fabric
- sewing machine
- safety pins
Instructions
- To begin, I corrected the odd shape that the sack was sewn in.
- I turned the sack inside out, ripped out the original seam in the bottom of the sack, and replaced it with a straight seam.
For the ties, I cut four strips of linen that each measured 1.5″ by 30″. I wanted the bows to be long for this project.
To finish them, I folded them in half and sewed all the way down the long edge. I tucked one end under to hide the raw edge inside. - Using a large safety pin on one end, I turned them right side out. I pressed the seam flat and topstitched all the way around.
I sewed the four linen ties to the inside of the pillow. Since the pillow cover was about 14 inches wide, I placed the ties about four inches from each edge. - I slipped in my DIY drop cloth pillow insert, and voila! A super simple pillow cover, for less than five bucks, and not much time.
Notes
- Keep an eye out for flour sacks or any other sort of fun fabric when thrifting!
Nutrition information is automatically calculated, so should only be used as an approximation.
Thank you so much for stopping by the farmhouse!







This is so cute! And I think I could even do it, even though sometimes I am not as crafty as I’d like to think! Such a great idea.
First of all, what a great find! You always inspire me to keep an eye out for potiential projects! Thanks!
This is a great tutorial! Easy to follow. Thank you! I love how mine turned out.
What a fun project to do! Thanks for sharing!