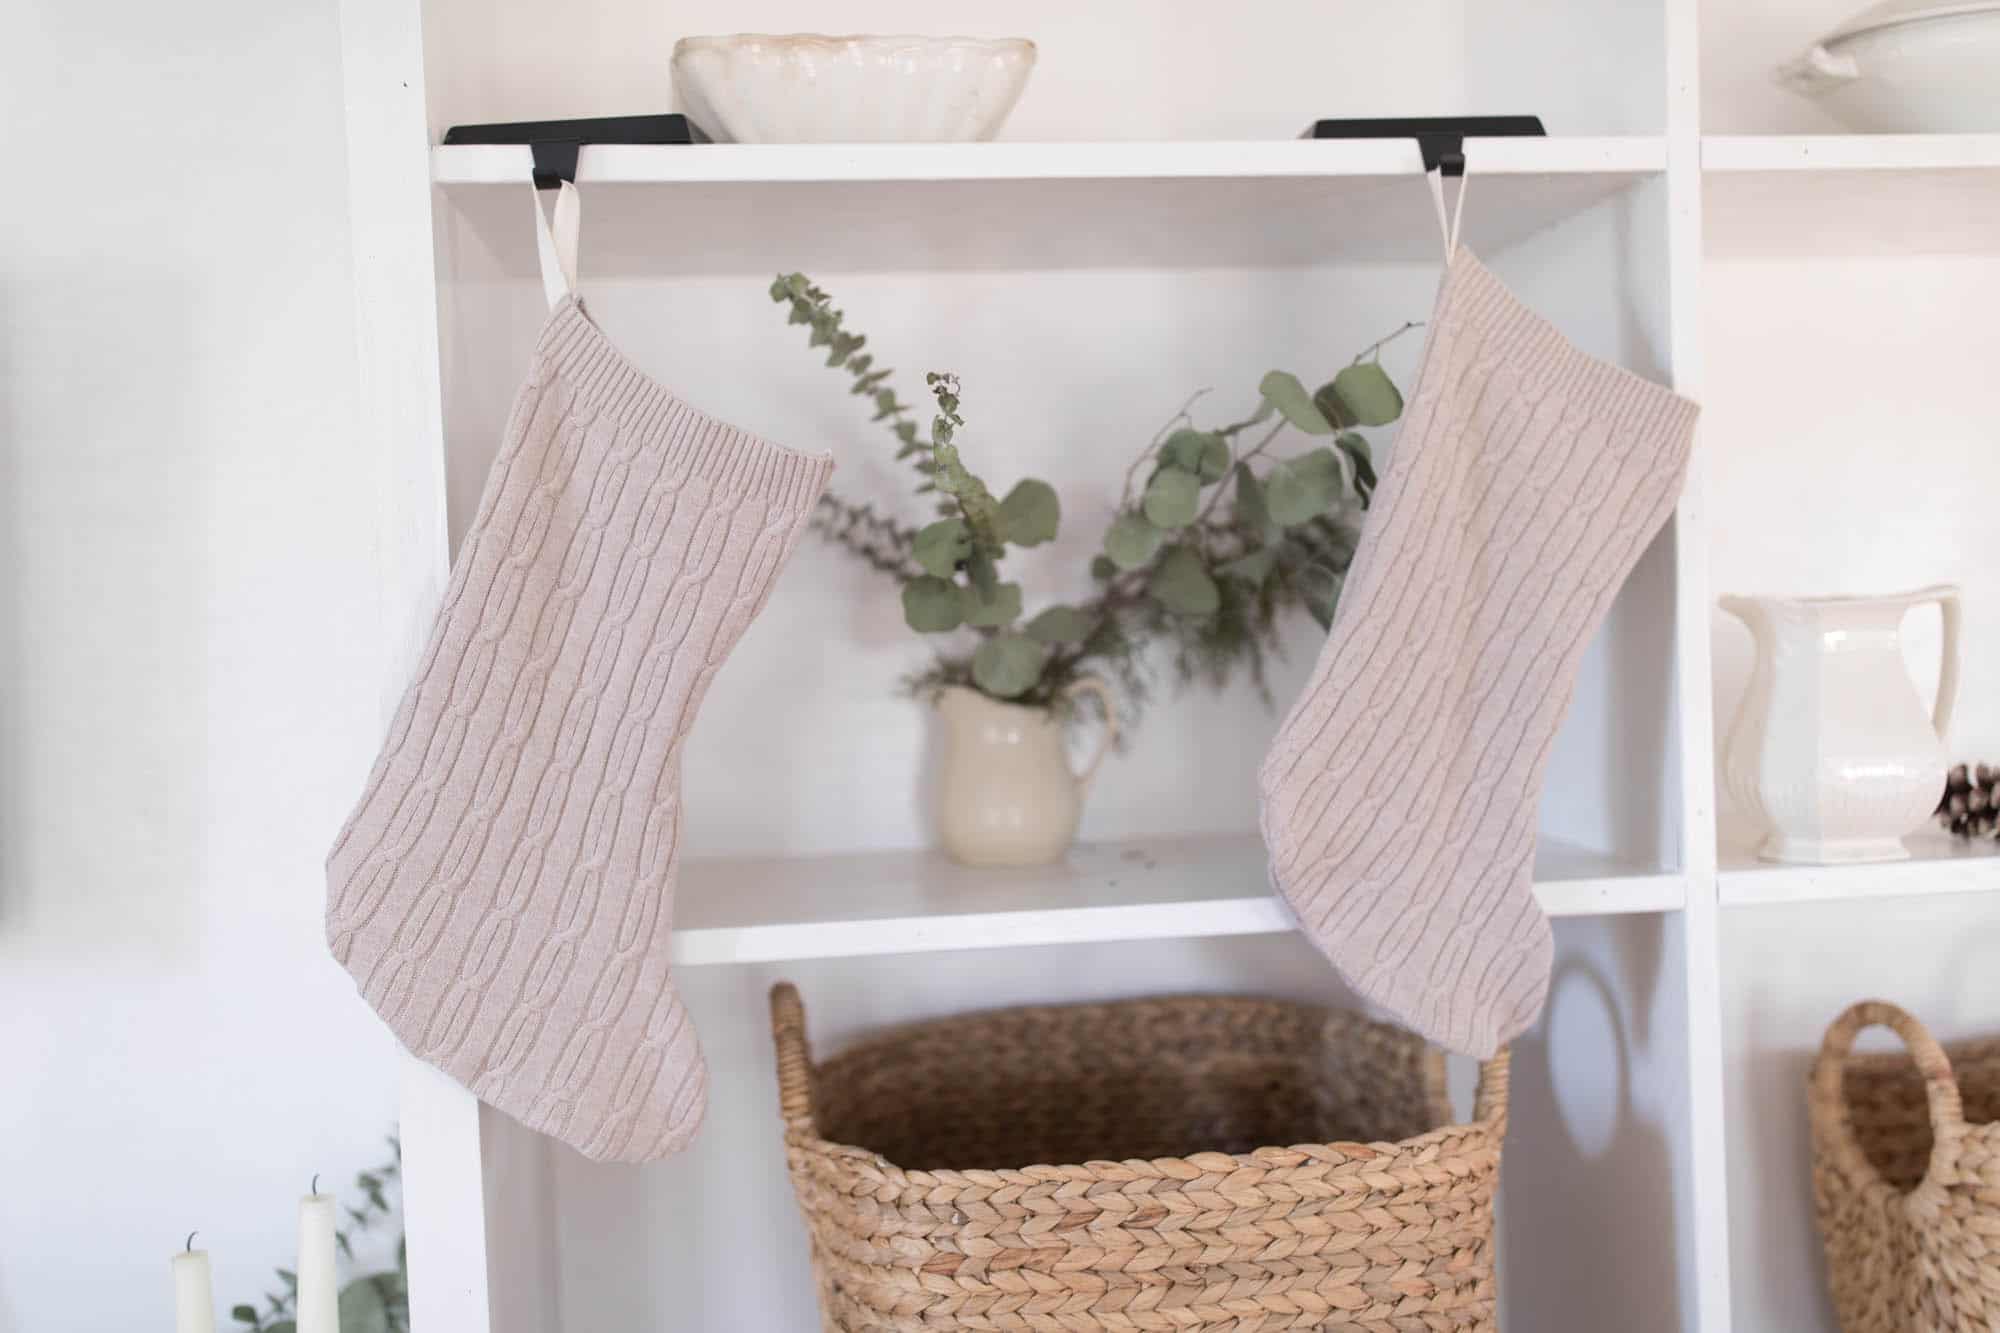
In this simple tutorial, I want to show you how to make beautiful DIY Christmas Stockings from old sweater fabric.
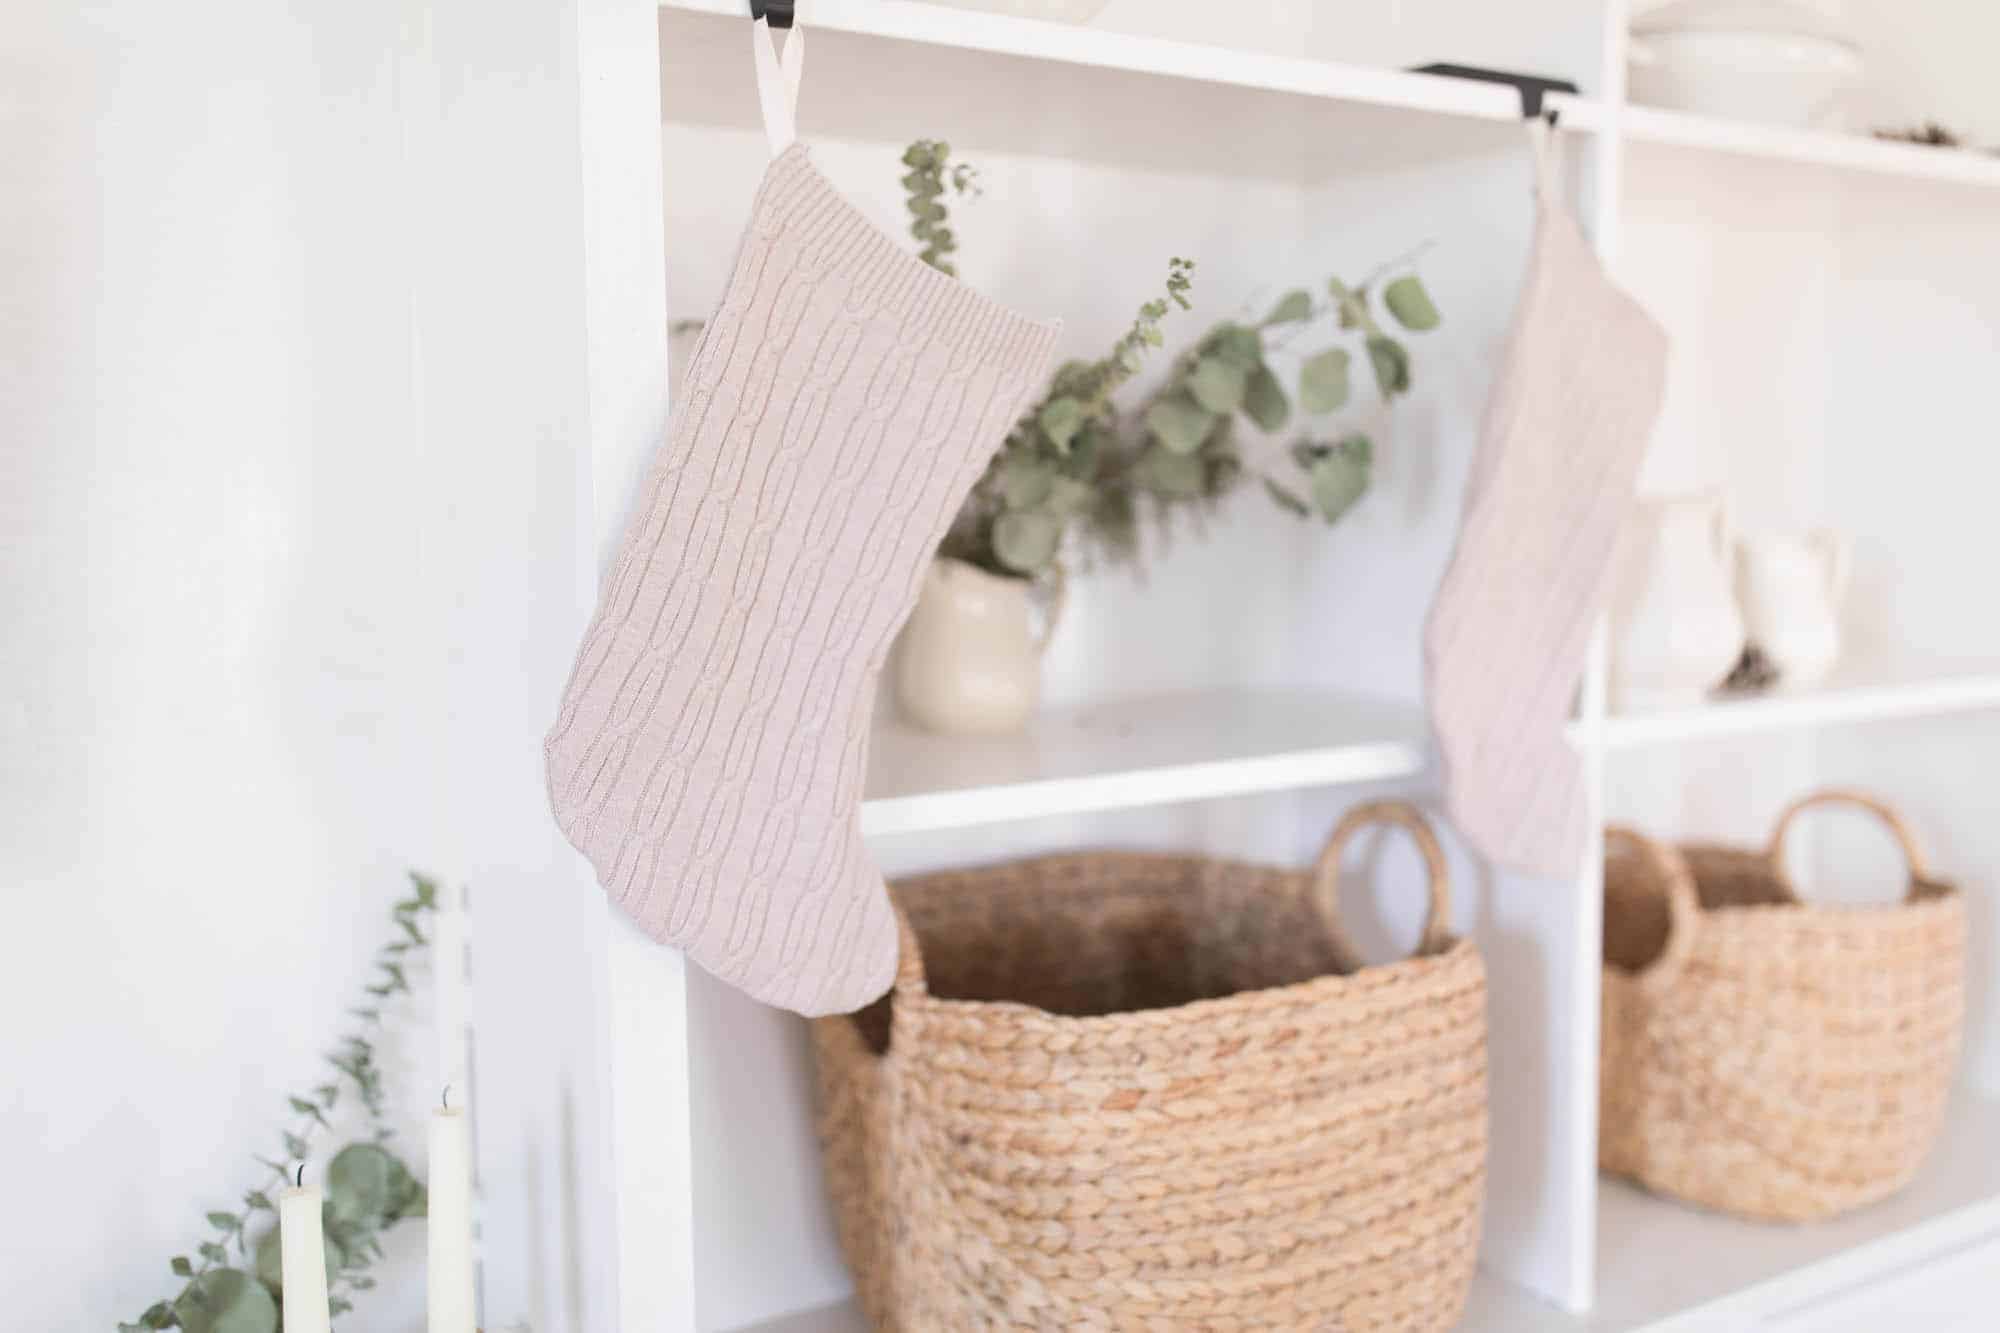
The other day, I had an idea to make some very simple stockings from a thrift shop sweater. I love the look of cable knit, but I do not actually love the process of knitting. At this point in my life, it’s simply too much effort for very little reward. I’m sure some people find the process therapeutic and relaxing, but I haven’t reached that place yet. Perhaps one day!
That said, I’m not making actual cable knit stockings anytime soon.
And have you seen the prices on some of the beautiful, vintage-inspired stockings out there? They are painfully pretty and painfully expensive. Yet, they are inspiring.
I was just sure I could find something at the local thrift store to save money and speed the whole process up. Sure enough, I found an extra large cable knit sweater for only $2 at the first thrift shop I tried. I’m always shocked by the beautiful things that find their way to thrift shops!
This is a great way to repurpose something old, giving it new life. In this case, an adorable sweater stocking that will last for years to come.
This tutorial works great for thrift store sweaters, but you can easily shop your own closet for old sweaters you don’t wear. Or where do you keep your growing pile of donations? Check in there!
Really, there is so much freedom and versatility with the colors and textures and designs of your piece of fabric.
This is the perfect way to make a unique stocking for your own holiday decorating, but it’s also a thoughtful and fun gift idea, as well. Tie a handmade Merry Christmas tag to the top, and voila! A gift for grandparents, friends, or even teacher gifts!
Notes
- I want to make a quick note on the type of sweater to look for. You don’t want anything that has big yarn and a loose knit. It needs to be super tight with fine threads. This will prevent the whole thing from unraveling when you cut your pattern.
- For this stocking, I used the natural hem of the thrifted sweater for the top of the stocking, as it is already finished. In my video tutorial, I used an extra piece of fabric as the cuff piece on top, so simply skip that step and adjust using the full outline of the stocking you base your template on.
- Toss the excess fabric into your fabric scrap bin for the next time you pull out your sewing machine! I always find some use for these bits and pieces.
- Decorate further with a piece of ribbon, pom pom trim, sew on some bells, or pop out the hot glue gun and add embroidery pieces, glitter, buttons or felt.

Tools You May Need
- Sewing machine
- Sweater
- Bias tape
- Sewing scissors
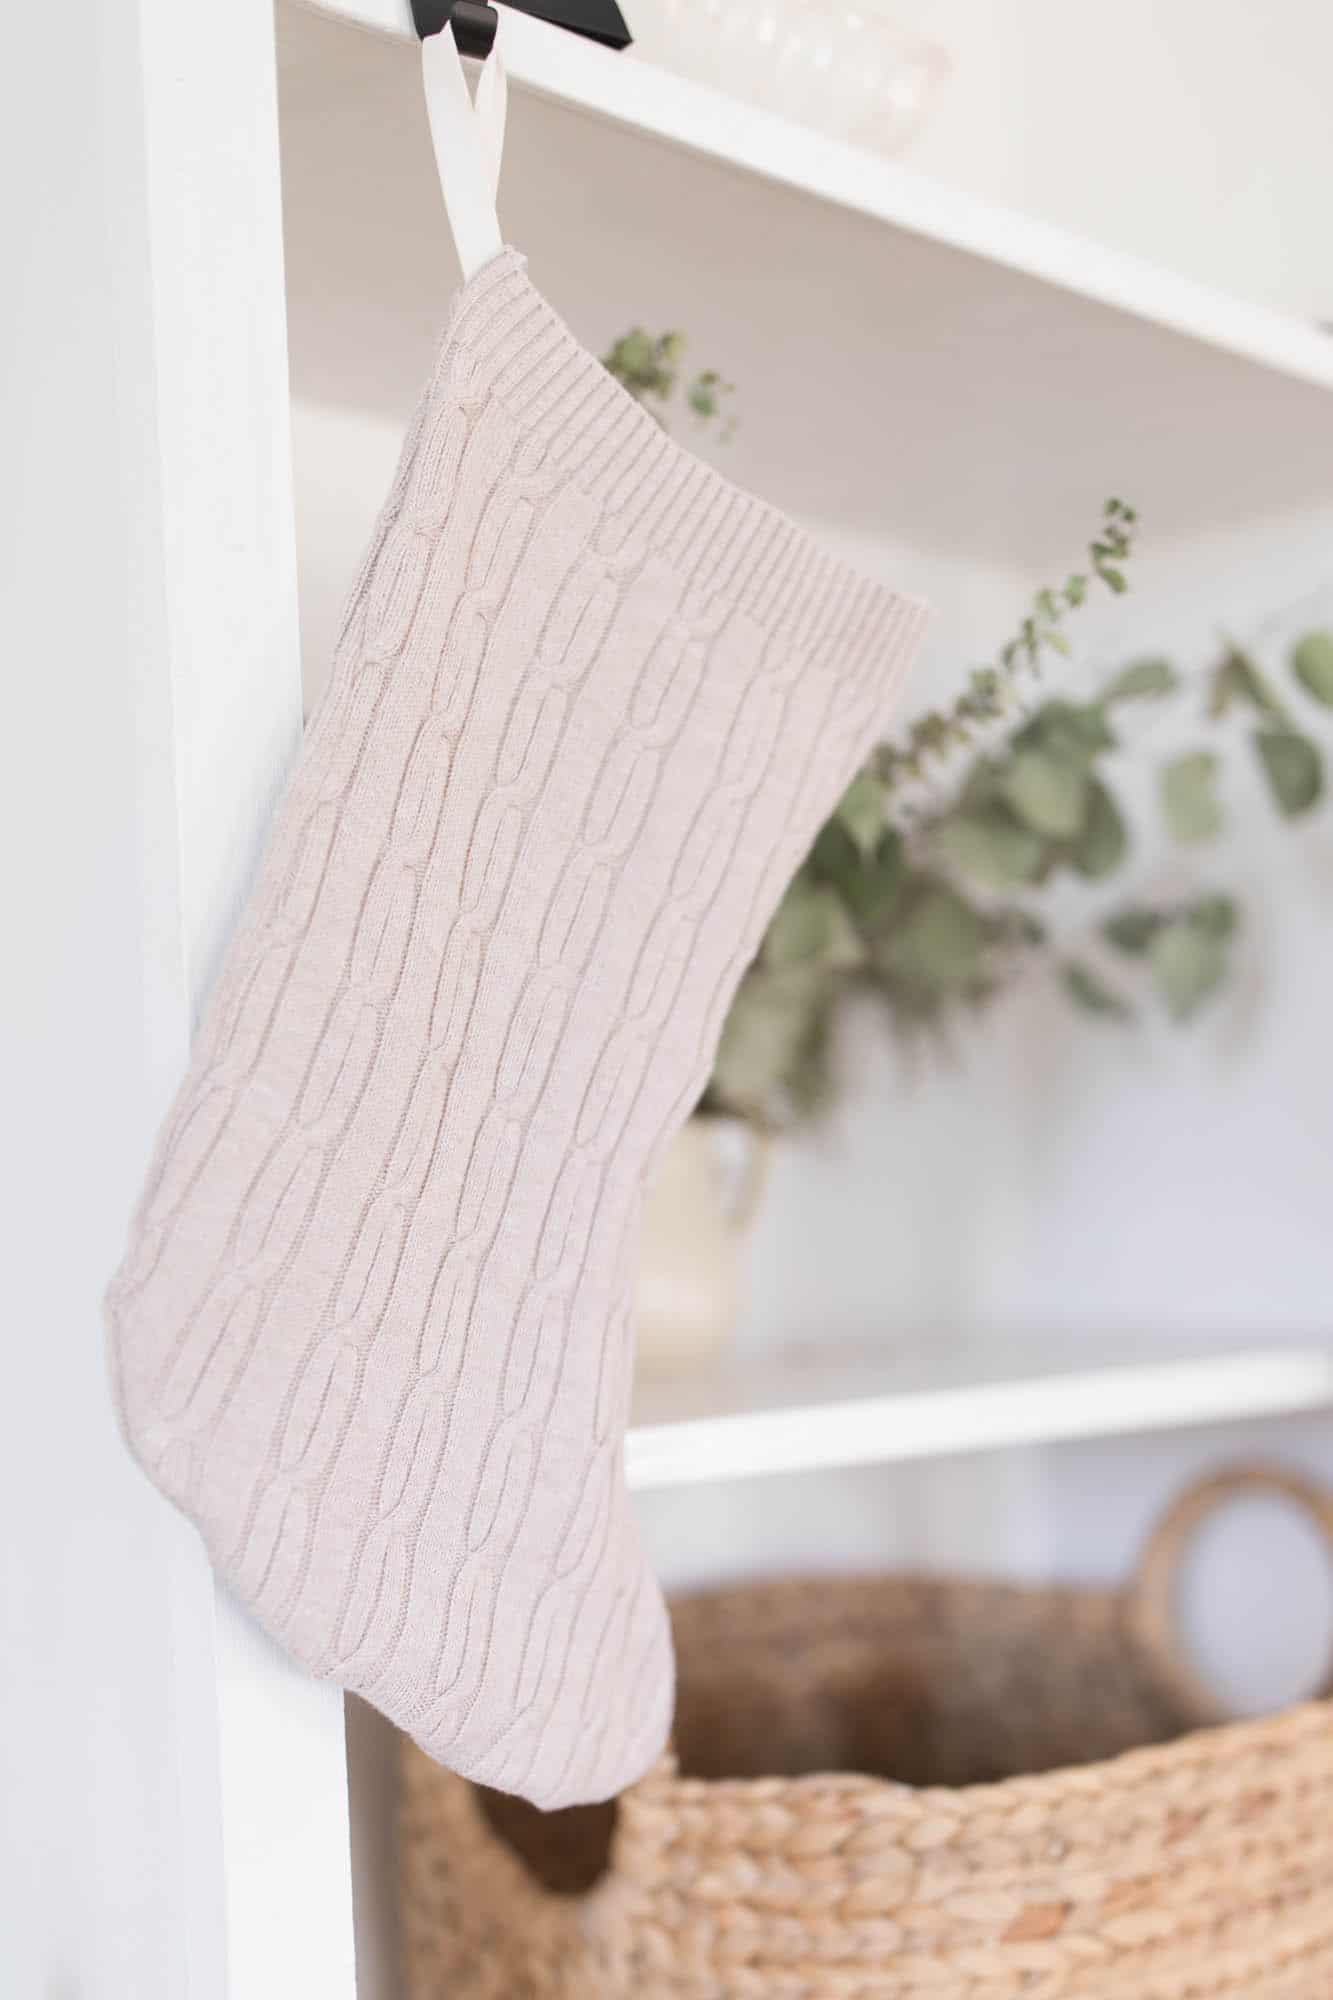
How To Make DIY Sweater Stockings
- I took a basic old stocking we had from last year and used it as a pattern.
- Leaving about a half inch all the way around for seam allowance, I traced the original stocking and cut out the pattern on the body of the sweater. You can also use a large piece of paper to make your stocking template and keep for next time.
- Just like I did in my DIY Grain Sack and Ticking Stripe Pillow tutorial, I used bias tape for the little loop at the top. I cut a 5″ strip of bias tape and stitched down the long side to close it off.
- With right sides together, I laid the two stocking pieces on top of each other.
- I added the bias tape loop to the top outside edge of the stocking – the heel side – and pinned it in place.
- I sewed all the way around the outside edge, going over the the bias tape loop, but leaving the top of the stocking open.
- Next, I finished the inside seam with my serger. If you don’t have a serger, you can finish it off with a tight zigzag stitch. Make sure to trip the seam first so there isn’t a whole lot of excess. You may also want to clip in close to the seam around the curved edges. These little tips will help prevent the final seams from looking wavy.
- Turn the sweater stocking good side out, so wrong sides and seams are inside.
- The next step is optional. Using flannel this time, I cut two more pieces the same size as the stocking pieces and stitched them together all the way around, leaving the top open. I took the flannel stocking and stuffed it inside the sweater stocking. Lining it adds extra shape and stability. They still look nice without it, though, as you will see in the video.
Christmas season is my favorite time of year for DIYs and homemade gifts. A Christmas craft goes a long way in establishing lasting memories – which are truly the best things we can give or receive. I hope this project was inspiring to you!
Make sure to come on over and follow me on Youtube for all my video tutorials. I upload at least twice a week!
DIY Christmas Stockings from Sweaters

Equipment
- Sewing machine
Ingredients
- sweater
Instructions
- I took a stocking we already had and used it as a pattern.
- Leaving about a half inch all the way around for seam allowance, I traced around the original stocking.
- ust like I did in my DIY Grain Sack and Ticking Stripe Pillow tutorial, I used bias tape for the little loop at the top. I cut a 5″ strip of bias tape and stitched down the long side to close it off.
- With right sides together, I laid the two stocking pieces on top of each other.I added the bias tape loop to the top corner of the stocking and pinned it in place.I sewed all the way around the outside edge, leaving the top open.
- Next, I finished the inside seam with my serger. If you don’t have a serger you can finish it off with a tight zigzag stitch. Make sure to trip the seam first so there isn’t a whole lot of excess. You make also want to clip in close to the seam around the curved edges. These little tips will help the final seams from looking wavy.
- Turn the final sweater stocking out so the seams are inside.The next step is optional. I cut two more pieces the same size as the stocking pieces from flannel and stitched them together all the way around, leaving the top open. I took the flannel stocking and stuffed it inside the sweater stocking.Lining it adds extra shape and stability. They still look nice without it, though, as you will see in the video.
Notes
Tips on Finding the Right Sweater
- I want to make a quick note on the type of sweater to look for. You don’t want anything that has big yarn and a loose knit. It needs to be super tight and tiny threads. This will prevent the whole thing from unraveling when you cut into it.
Nutrition information is automatically calculated, so should only be used as an approximation.




Lisa is so talented. These stockings are darling and I have a couple in our give away pile I will try it on.
Hello!
Just curious when you are going to publish all of your sourdough recipes in a book? I would certainly buy it! Between little spoon farm’s website and yours, I would be set if you both came out with a huge sourdough cookbook with all of your recipes and your discard recipes as well! 🙂
What a great idea! These turned out so perfect! Thanks!
This is so cute, and a great use of older sweaters! I know the girls are going to love helping me make these.
This is such a great idea! Thanks for the tutorial!
I am so happy I saved this. I made one last year and want to make another one for my sister in law this year! So easy!
Thank you for sharing your videos.
You are true inspiration.