Learn how to plank a popcorn ceiling the easy way with this planked ceiling tutorial.
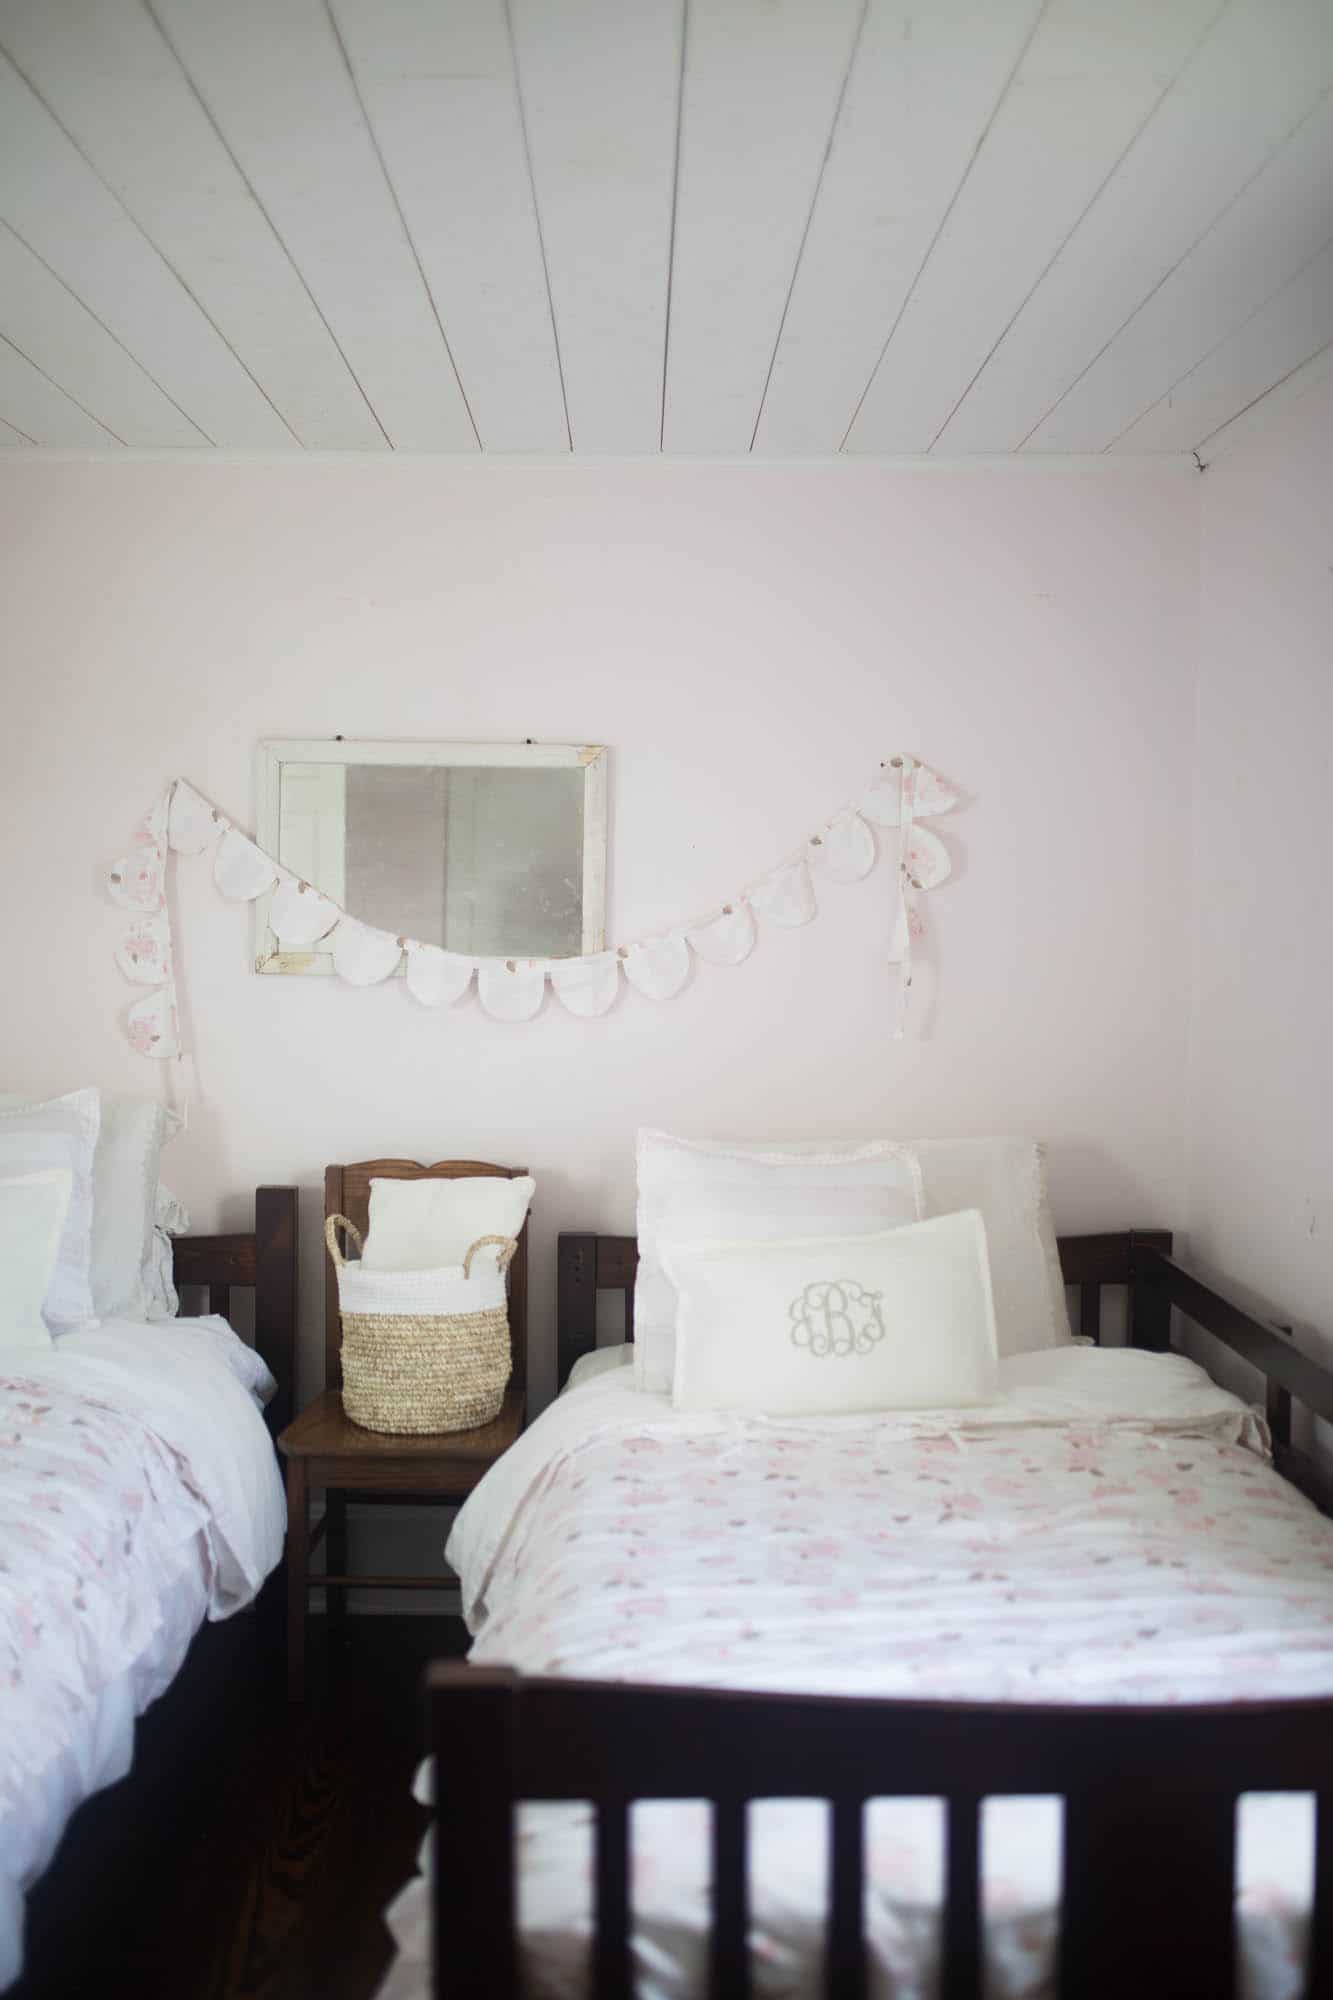
When we moved into our 1920’s home, every ceiling in our house was covered with texture. We fixed this problem easily and inexpensively, starting with our girls’ room.
Learn how to plank a popcorn ceiling the easy way with planked plywood.
How to plank a popcorn ceiling video tutorial
Old house ownership comes with many benefits. Crown molding, five panel doors with glass door knobs, original heart pine flooring, to name a few.
But, it also comes with a few drawbacks. Squeaky floors, outdated electrical and plumbing, and, the dreaded, dealing with renovations done through some less fashionable time periods. Linoleum floors, blue carpet, and my favorite, textured ceilings.
Please tell me, when were popcorn ceilings cool? Apparently they were so desirable that, at some point, someone took the effort to cover every ceiling in our house with the stuff. And since, I’m guessing, it wasn’t hip in the 1920’s, someone probably added the lovely texture in less romantic times, like the 80’s, for example.
We decided to cover up this ugly trend, starting with our girls’ room.
We covered this ceiling with the exact same process as we did for the shiplap wall in the master bedroom makeover.
The Supplies
- Four sheets 4′ by 8′ sanded plywood at 11/32″ thickness, cut into 6″ strips
- Air compressor and nail gun
- 1 and 3/8″ 18 gague nails
- Nickel for a spacer
- White Paint
We started by purchasing four sheets of 4′ by 8′ sanded plywood at 11/32″ thickness from Lowe’s.
We had them cut it into 6″ strips.
The workers will do this for 25 cents per cut. In my opinion, the convenience of this is totally worth a little added cost.
The Process
We basically planked this ceiling the exact same way we planked our shiplap wall in the master bedroom.
Since our ceiling measured 156″ by 104″, we ran the planks parallel between the door and window (long ways), as opposed to perpendicular to the door. On each line we had a short board that was 60″ and a long board that was 96″. We alternated them, so every other board was a long board and a short board.
Since we were working on the ceiling, we decided to paint the board prior to putting them up. It was so much easier than reaching up with all that paint.
We used a Bostitch air compressor and nail gun and 1 and 3/8 inch 18 gauge nails to nail the plywood planks into the ceiling. It made for a very speedy job.
Between each row, we used a nickel for a spacer. This created just a small line between the planks to make them more visible, yet not allow any of the popcorn texture to show through.
I suggest having 10 nickels on hand. We just kept losing them!
After every few rows, we measured from the start of the planks to the current plank we were working on, to see if they came out evenly. This helped to ensure nothing was getting too far off. On our shiplap wall we used a level, but we couldn’t do that when working on the ceiling.
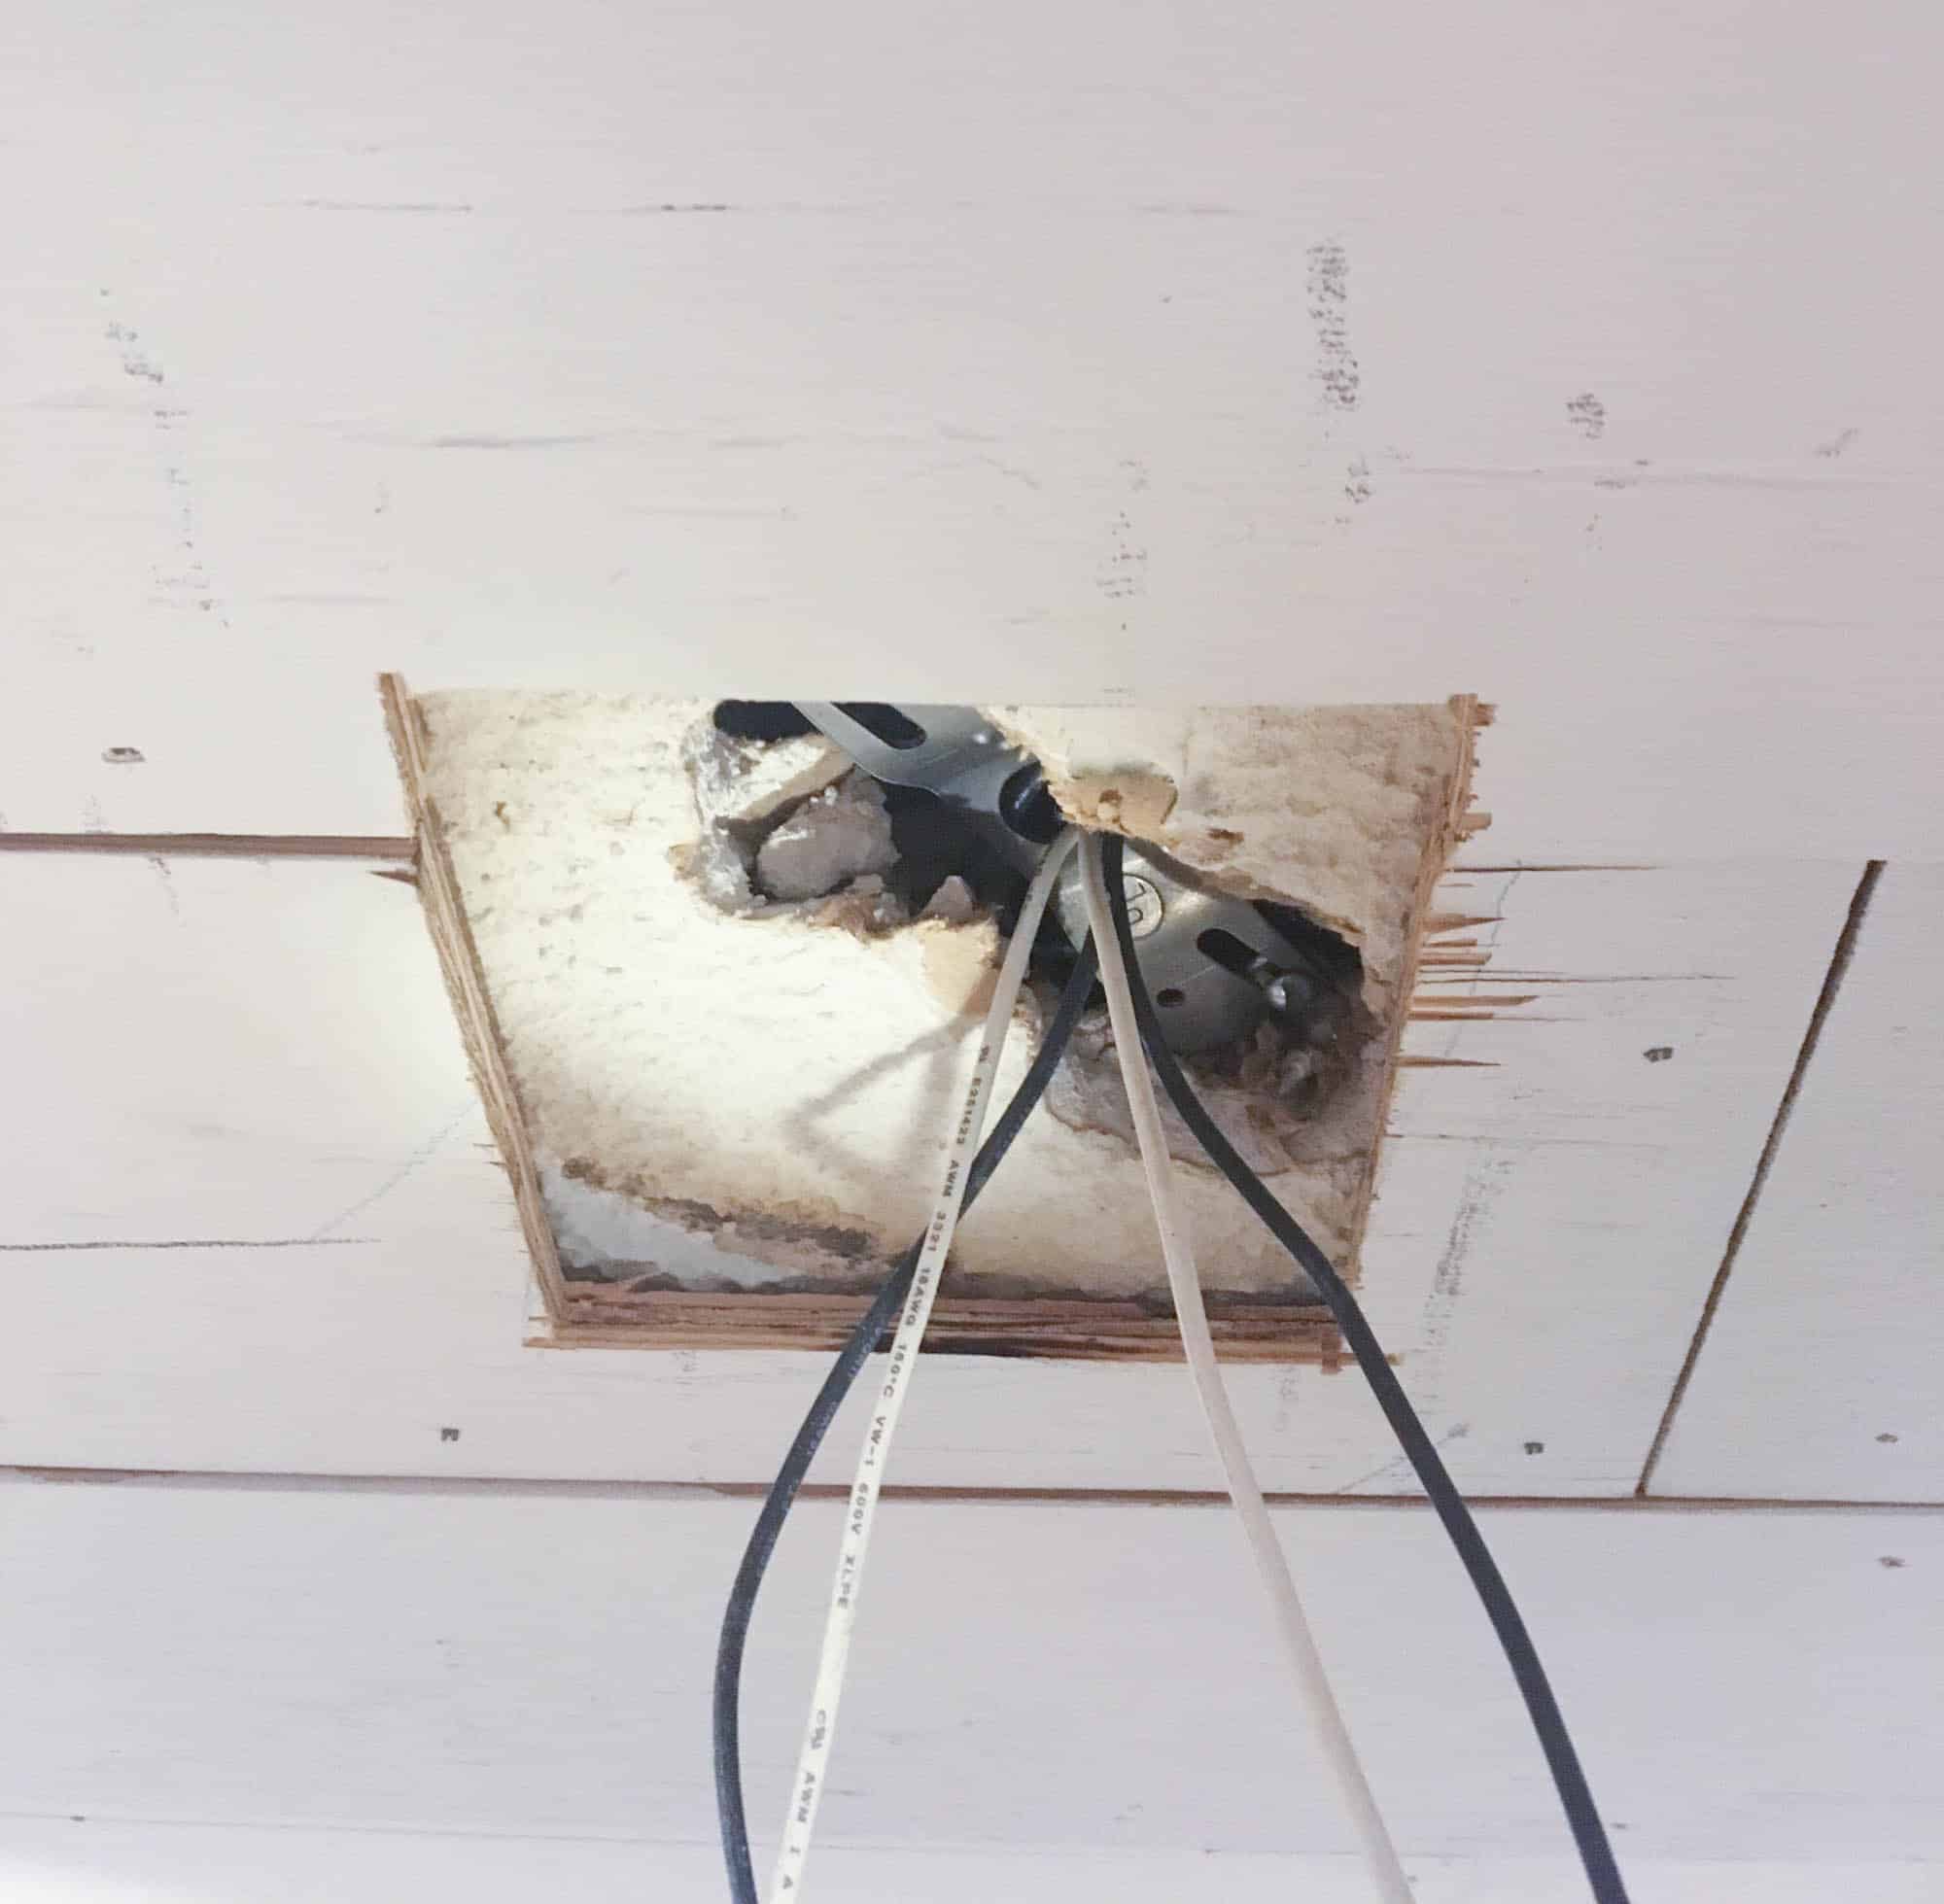
To go around the light fixture, we notched the boards, to allow enough room for the wires to hang down.
When we reached the last row, on other side of the room with the planks, we had to cut them thinner to make them fit.
Wouldn’t it be great if we lived in a perfect world where ceilings were perfectly divisible by six, and no modifications would be needed to squeeze the last planks in? Unfortunately, that isn’t what we found.
Why didn’t we scrape the popcorn ceilings?
The main reason we didn’t scrape the popcorn ceiling is the asbestos risk. According to the EPA, asbestos was banned in 1977. Since our home was built well before that, I am not willing to take the risk of my family breathing in asbestos. This is why most of the ceilings in our home remain untouched, and probably always will. I could test them all for asbestos, and maybe will eventually, but right now that isn’t a high priority.
The second reason is I love the added farmhouse style. The planked ceiling looks adorable in my farmhouse girls’ room. I hope to add it to the boys’ room next!
[thrive_lead_lock id=’10866′]Hidden Content[/thrive_lead_lock]




Wow! I love this idea! Thank you so much for the detailed instructions. Really helps! We just bought a ranch style home with a basement. The mail level all has popcorn ceilings and I will be using your idea to cover them all. What a lifesaver! I bought a nail gun that is battery operated and has been working great on some weathered grey shiplap that we got from Lowe’s. I think the white shiplap will compliment it nicely. At least better than popcorn. 😉
First of all I will say WOW! Great job. Did you have to nail in the studs under thst popcorn ceiling or you nailed here and there making sure the plank was solid enough? Thinking of doing similar ceiling in our basement to cover those ugly ceilings that are not even popcorn but worse, kind of some floral design. yuk! Thanks.
Lisa, what color did you use for the ceiling?
Just plain white right out of the can! 🙂
How did you get your planks to look distressed? Did you sand them after painting them white?
No we didn’t. I’m not really sure how that happened. We did paint them first, so they had a lot of handling and nailing after being painted. Plus they sat painted in the basement a while before we actually put them up, so that could be why they look like that!
If I may address the concern of finding the studs…since this house was built in the 20’s, the walls and ceiling are both solid wood throughout the home. So there is no need to find the stud.
You ceiling looks great, nice job. I’m doing this in my kitchen right now. I’m using tongue and groove boards. I primed a few boards first but noticed they cupped so stopped, will prime when installed. This turned out to be a big project, my kitchen is big 12 x 22ft, new addition settled now ceiling lower than old construction. A challenge to say the least.
I love this look! I know some others have asked but I’m just trying to clarify. Are you saying you just nailed the boards into the dry wall and did not make sure they were going into the studs? That would certainly make the job much easier but I’m concerned the drywall would not hold the boards for very long.
That’s what we did!
I love that ceiling look! You’ve got a great house and such a talent to making it all look how you want. Having a vision helps…you can avoid the random look that characterizes my house! ?
What a great idea, thanks for the details & pics.
Love the porch.I have a porch like yours but I don’t have the overhang my porch is opening don’t want it close in, my gable covers to the middle. I just want to set on my porch without flys,and bugs,and tx heat bean ing on me